Civil unrest is a topic that has been front and center lately as a result of the attempted coup d'état in Venezuela, and the unnerving footage that has spread across the internet. Although the incident in Venezuela could be viewed as an inevitable byproduct of a situation that has been worsening for years, it's certainly not an isolated case. Dozens of other countries have experienced violent rebellions and uprisings in the last decade. Some would even argue that increasing polarization within the United States is a sign that conflict may be in our not-so-distant future.
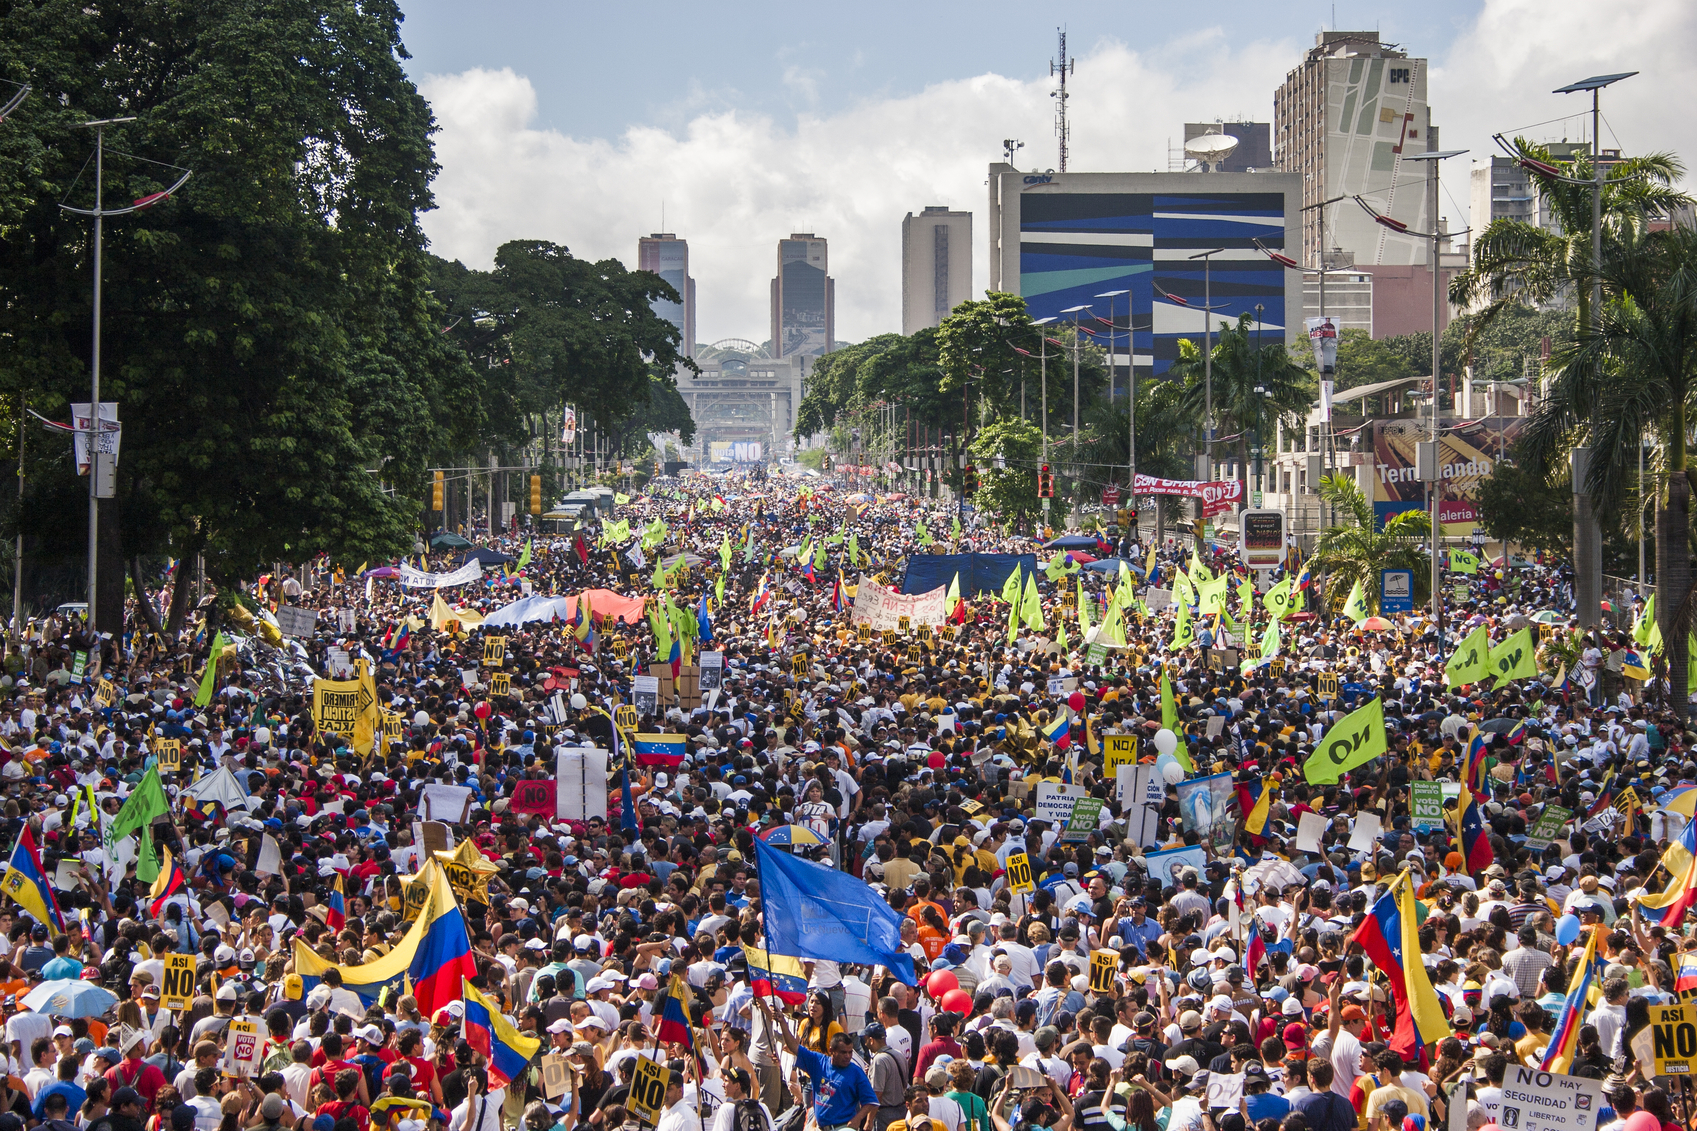
This photo from 2007 shows Venezuelan demonstrators marching in the streets.
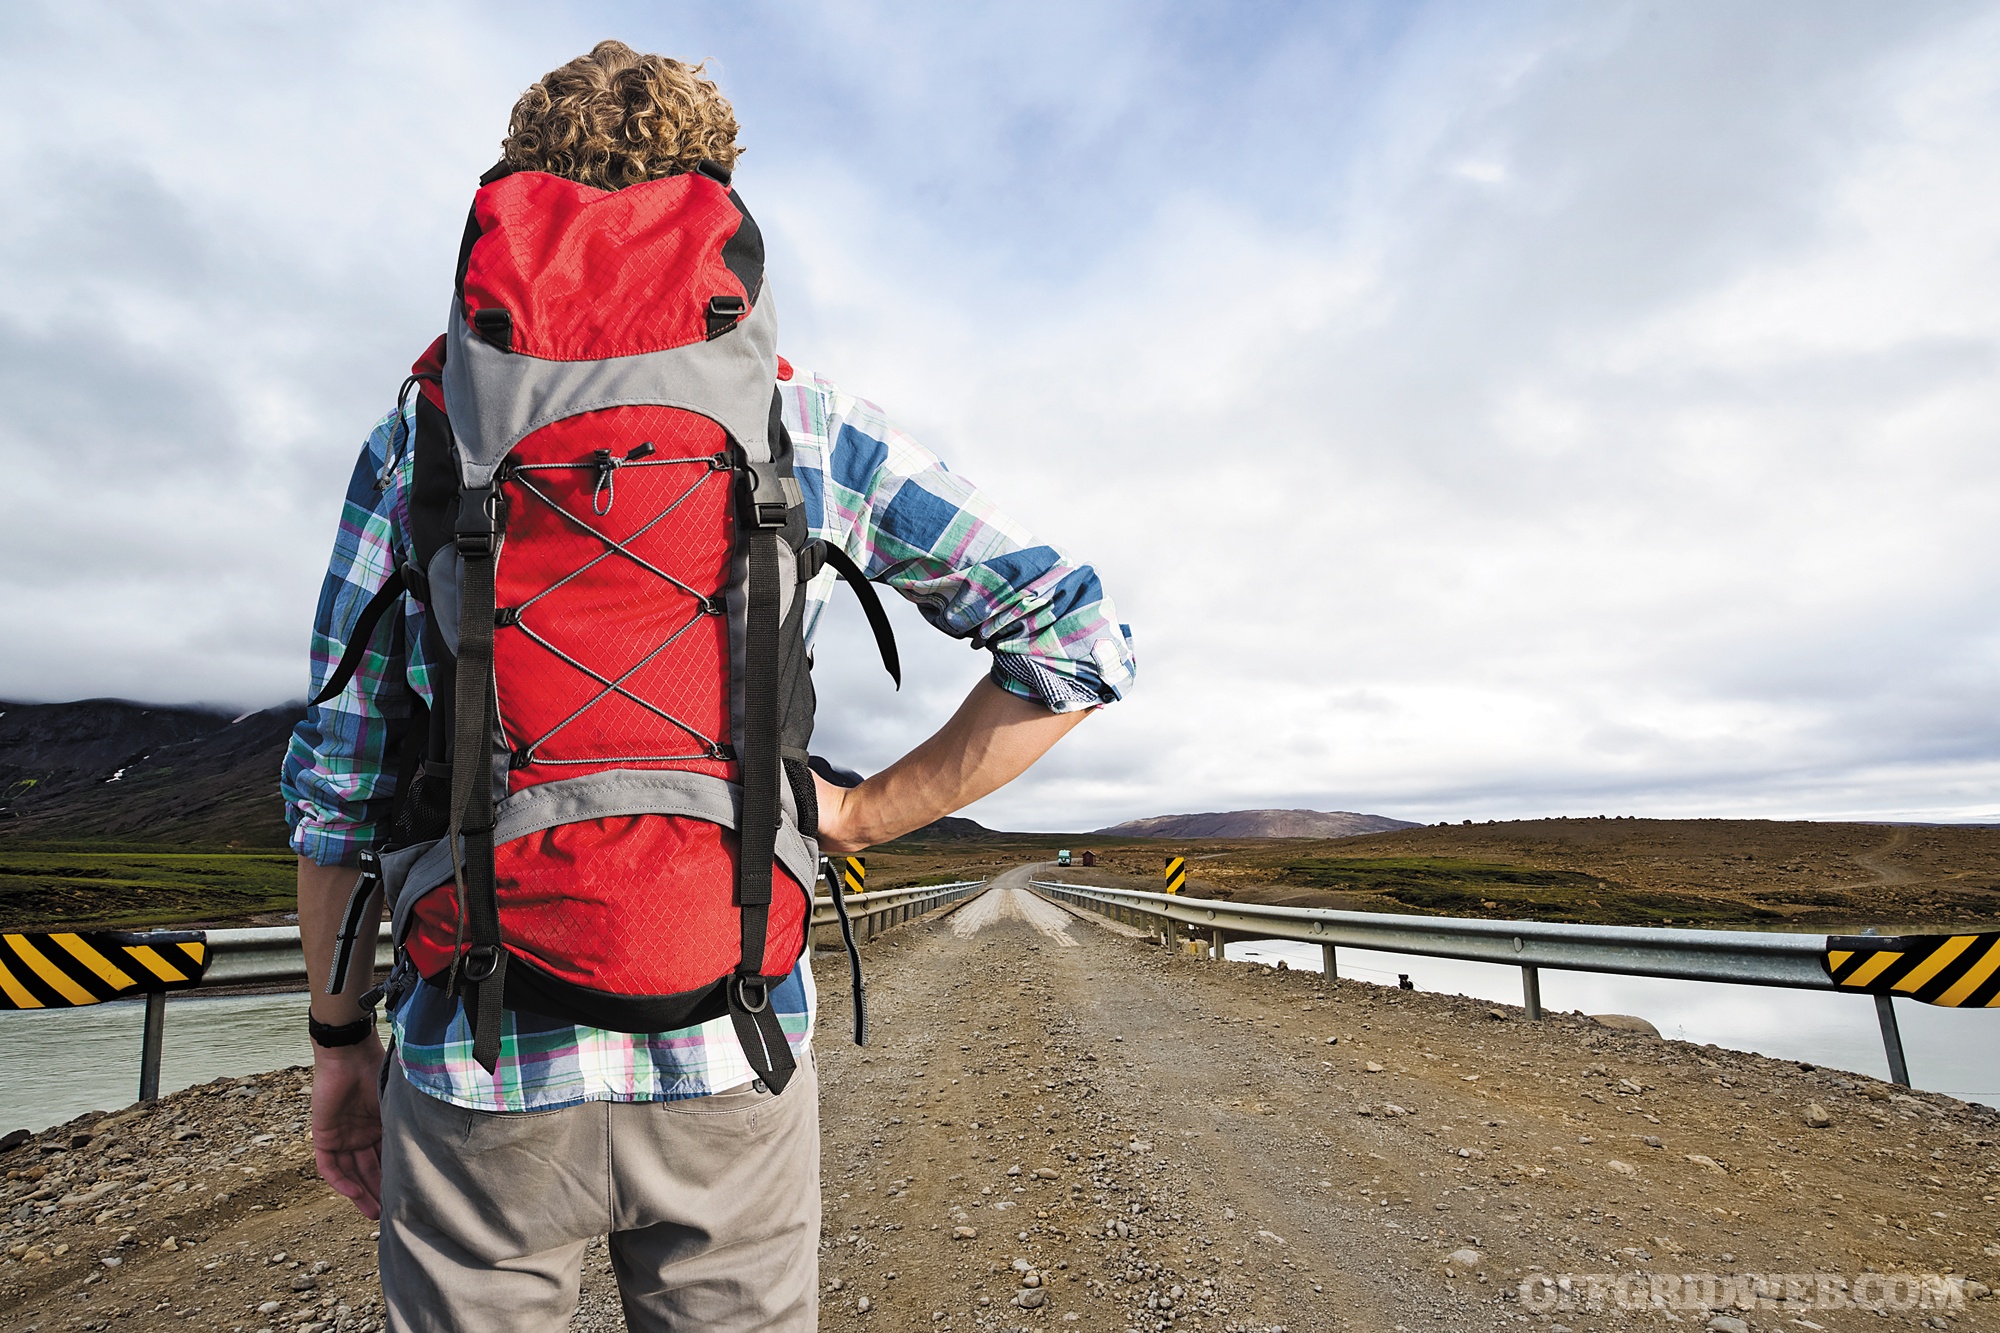
Regardless of the current stability of your home country, civil turmoil is an important variable to consider for those of us who travel internationally. During our own recent travels, we've spent a substantial amount of time in airports. While sitting in various waiting areas, coffee shops, and restaurants, we pondered the unique challenges that would be posed by attempting to ride out a disaster in these crowded and confined spaces.
More specifically, what would you do if civil unrest broke out while you were stuck in a foreign airport?
There are many variables to consider under these circumstances — if flights are grounded and there's chaos in the streets, you'll have to choose between staying put inside the terminal and immediately leaving to find a safer location. Both choices offer potential advantages and risks.
This hypothetical scenario will serve as the subject of today's entry in our ongoing Survival Scenarios series. As usual, we'll explain background information on the circumstances of the event, offer some of the factors to consider for each choice, and end with a poll where you can vote for your choice and see how other readers responded.
Background Info
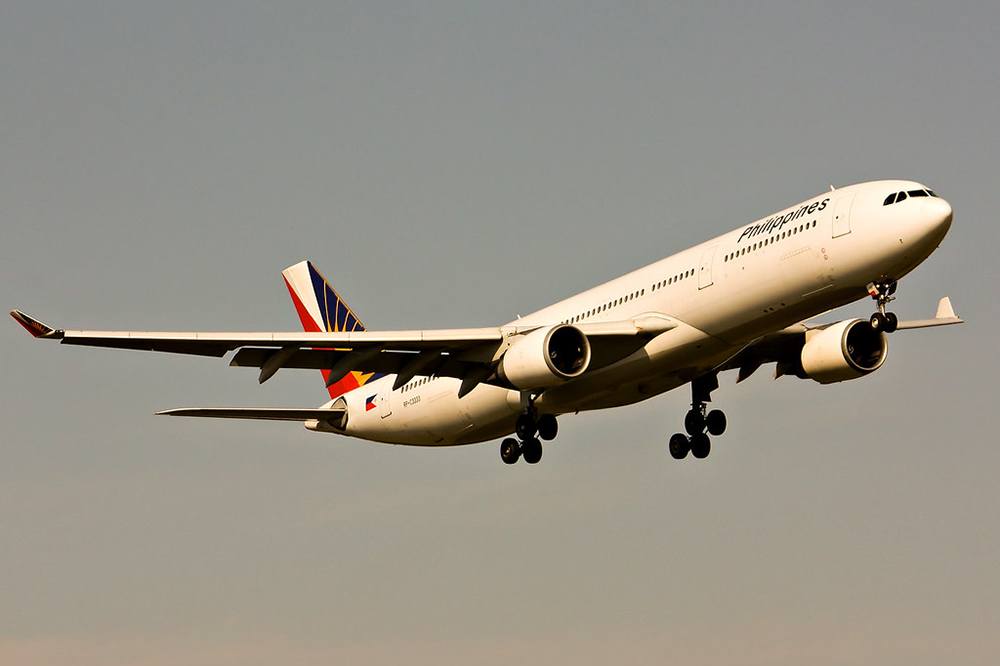
Photo: Flickr.com/14652587@N05
Six months ago, your boss called you into his office for an announcement — you've been promoted. This promotion came with a healthy bump in pay, but also meant you'd be taking on more responsibility to travel. Your company recently acquired a facility in the Philippines, and visiting it is part of your new job duties. You're not much of a globetrotter, but you figure this will be a fun experience — and you really couldn't say no to that salary increase.
Your stay in the Philippines will be only four days, but the flight is a long one. Over the course of a day and a half, you fly from your home in Texas to Los Angeles, then Los Angeles to Hong Kong, and finally Hong Kong to your destination in Cebu City. You don't speak any Tagalog, but you know that English is an official language in the Philippines and most Filipinos speak it.
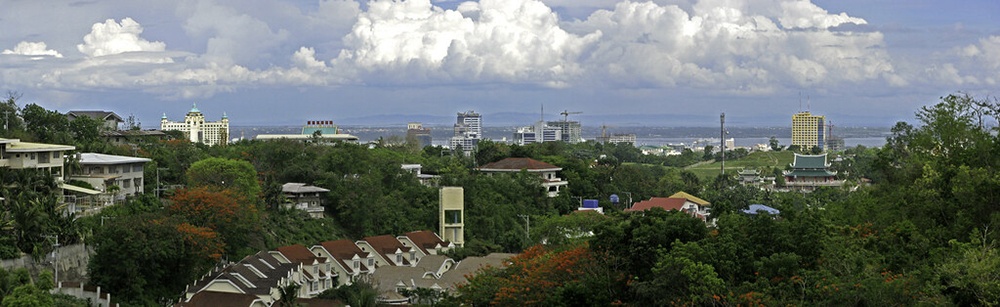
Photo: Flickr.com/dbgg1979
Although your boss assured you the area is perfectly safe, you've also heard rumors to the contrary. In one article you read, Cebu's own mayor called the city “not so safe” due to ongoing conflicts between police and armed criminals. The U.S. State Department's web site advises travelers to “exercise increased caution in the Philippines” due to risks of crime, terrorism, and civil unrest, but most of these concerns seem to relate to the southern island of Mindanao (especially the infamous city of Marawi). Regardless, you're committed at this point, so you try not to dwell on these nagging concerns.
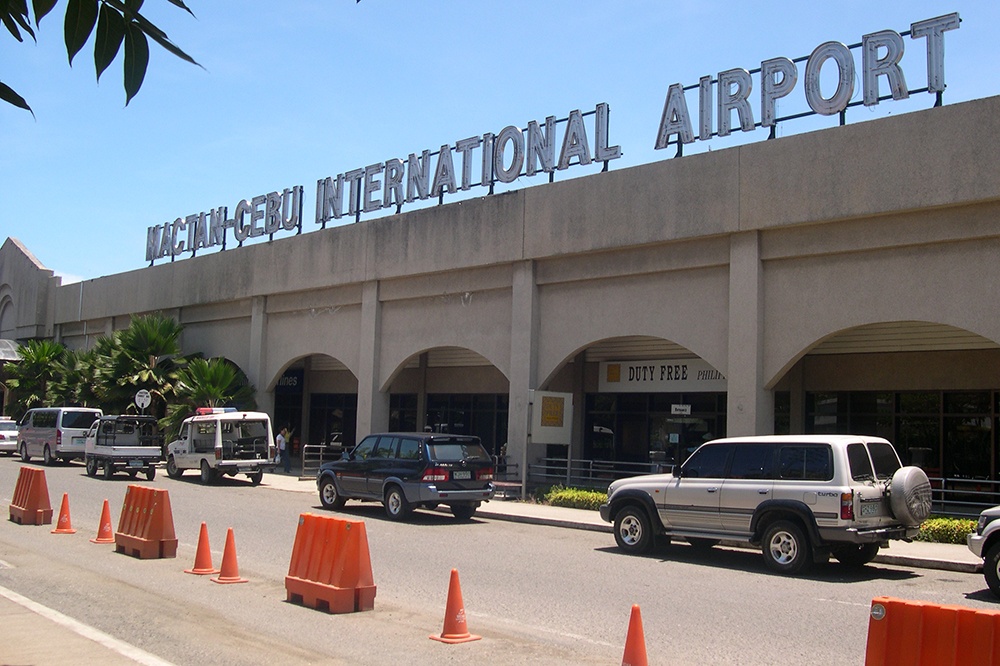
Photo: Magalhães / Wikimedia Commons
Fortunately, your four-day trip goes by without a hitch. Before you know it you're ready to head home to give the good news to your boss. However, during your cab ride to Mactan-Cebu International Airport — about 40 minutes from your company's facility — you notice heightened police activity in the city. Security personnel at the airport also seem to be on edge, but you make it through to your gate on schedule. Then you look up at one of the TV monitors.
News footage shows protesters burning cars and clashing with riot police in the streets. The broadcast is narrated in a mixture of Tagalog and English, so you're not entirely sure what's happening, but the body language of bystanders in the terminal tells you something is very wrong. Some are anxiously making phone calls; others are standing in front of monitors looking worried. Suddenly, you hear the thud of an explosion — it couldn't have been far away.
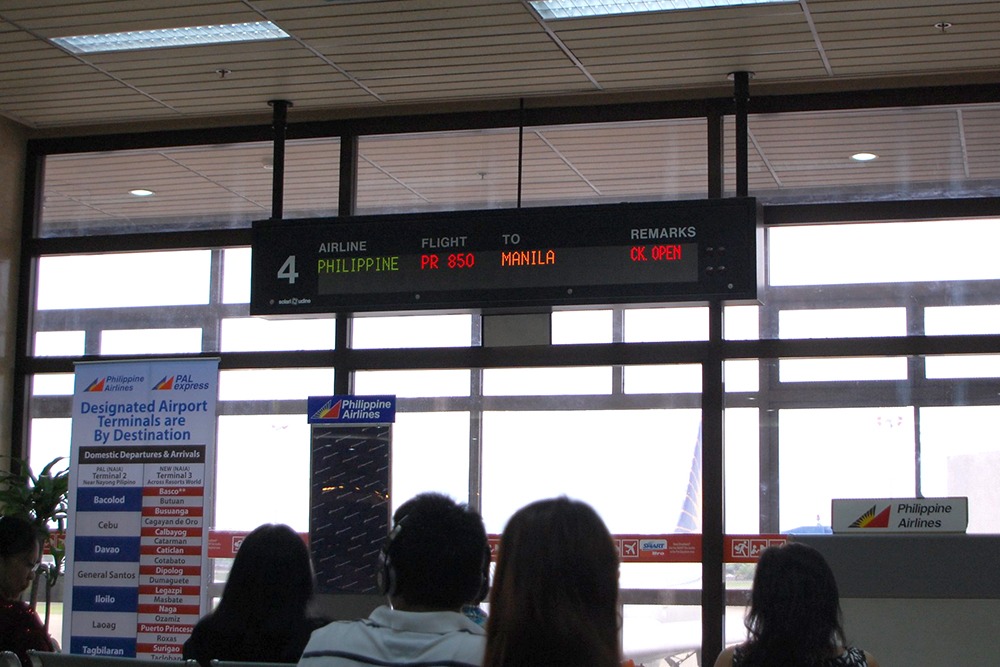
Photo: Flickr.com/gleam_df
An automated message echoes through the intercom, repeating in various languages on a continuous loop. It states that all flights have been temporarily grounded, and instructs everyone to stay calm and remain inside the terminal. Unsurprisingly, most people do the opposite, rushing through the airport towards exits.
Your Gear
As usual, you prepared thoroughly for this trip. Your suitcase contains the usual spare clothes and toiletries, but nothing that would be irreplaceable if it were left behind. The backpack you're wearing contains your essential items:
- Paper maps of the Cebu City area
- Your cell phone, which you already know is functional in-country
- An EDC electronics kit with wall chargers, cables, and a backup USB power bank
- Granola bars and a water bottle from an airport store
- An individual first-aid kit
- A soft-shell jacket and ball cap
- Your wallet with some cash, and your passport
- An 18650 flashlight and an aluminum tactical pen
Obviously, carrying weapons here was never an option, but you could try to defend yourself with the latter two items in a pinch. A better plan is to do everything you can to avoid conflict.
You look around for someone who might know what's going on, but everyone seems just as confused as you are. A Google search on your phone reveals news articles about widespread civil unrest in the city, but nothing mentions the explosion near the airport — it's too soon to gather exactly what happened. You need to decide whether you're going to heed the intercom message and stay put, or try to get out of the airport and reach a safer location.
Staying at the Airport
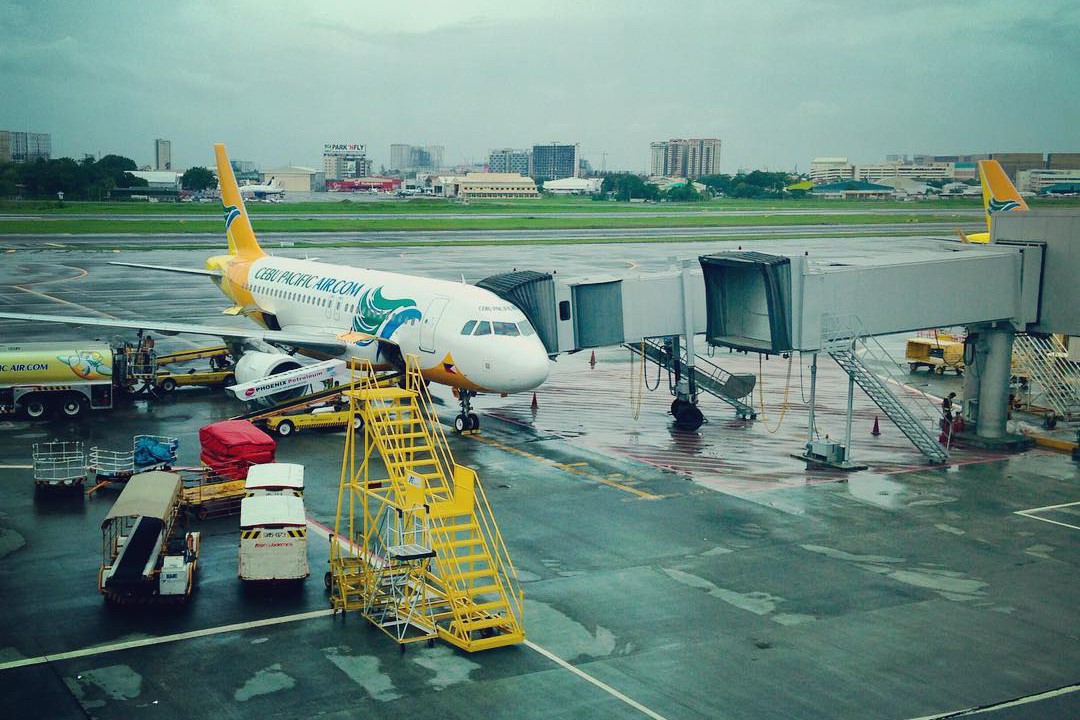
Photo: Flickr.com/ichstyle
Remaining at Mactan-Cebu International Airport has some clear advantages. It's naturally a high-security position, assuming that airport personnel can keep the entry and exit points under control. You know there are some armed law enforcement officers on-site. Flights have been grounded, but there's no way to know how long that will last.
There's also no shortage of supplies at the various shops and restaurants in the airport, as long as they don't go into lockdown. You can continue watching the news broadcasts to gather more information; your cell phone has signal, and the free WiFi is still working as well.
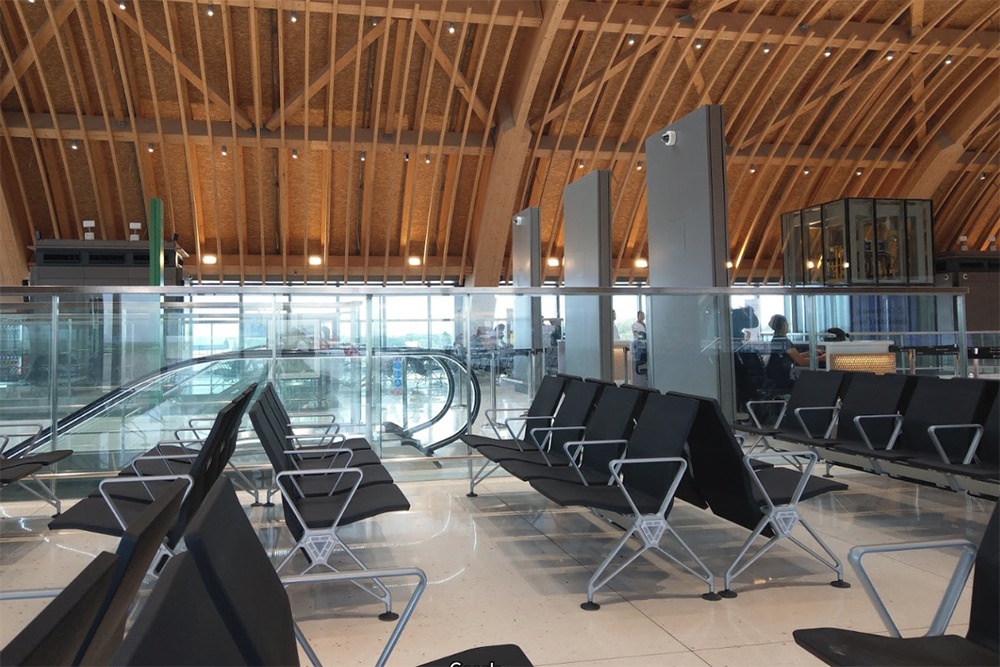
Photo: Guan Yihe
By staying put, you won't have to get caught up in the crowd that's rushing towards the exits. If necessary, you can move to an out-of-the-way location and wait for news.
However, the downsides to staying put are twofold. First is the internal chaos — you may be stuck in this airport with hundreds of panicked and angry strangers for hours or even days. If violence spreads or supplies run low, you could be trapped here. Second is the external threat — whoever caused that explosion could be targeting the airport, and the handful of police officers may not be equipped to stop them from gaining entry.
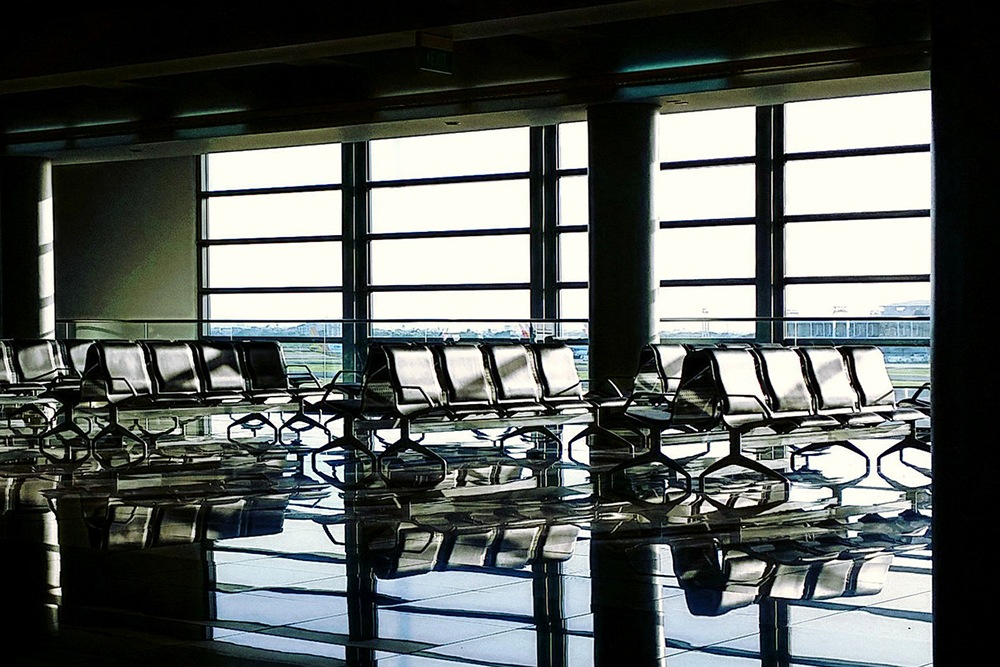
Photo: Flickr.com/traveloriented
Thoughts of terrorism and hostage scenarios run through your head. You don't speak the language, and despite your efforts to dress discreetly, you don't look like a local. The last thing you want is to be cornered here, identified as an American, and taken captive by either side of a conflict you know nothing about.
Leaving the Airport
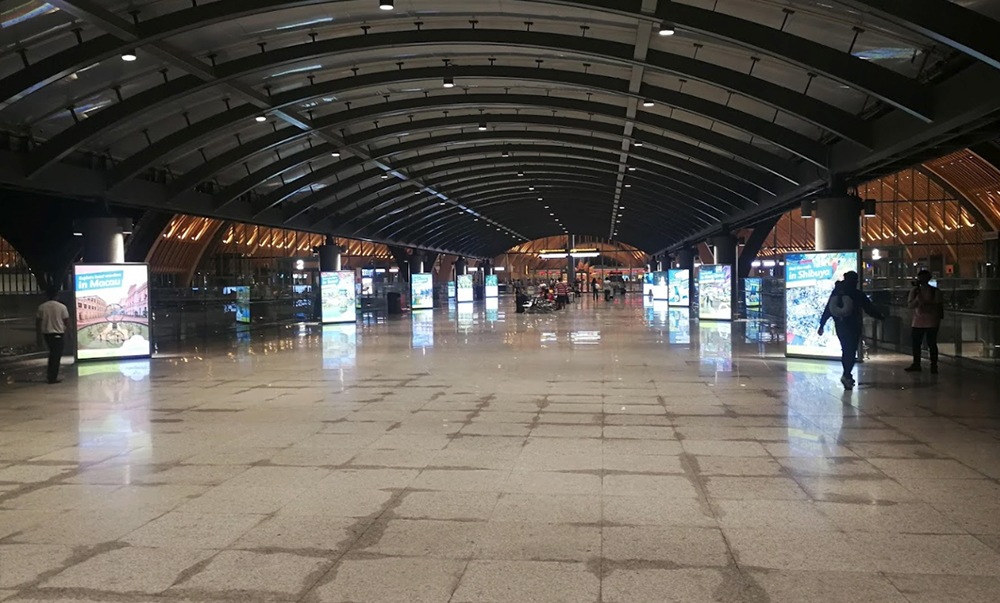
Photo: CW Tan
If you choose to disregard the intercom message and head for the exit, you'll need to move quickly to beat the crowd that's intent on doing the same. You may face resistance from security personnel at the exits if the airport is already locked down, or you may be able to walk right out. Once you're outside, finding a taxi or rideshare will probably be a challenge given current events and the sudden surge in demand for transportation.
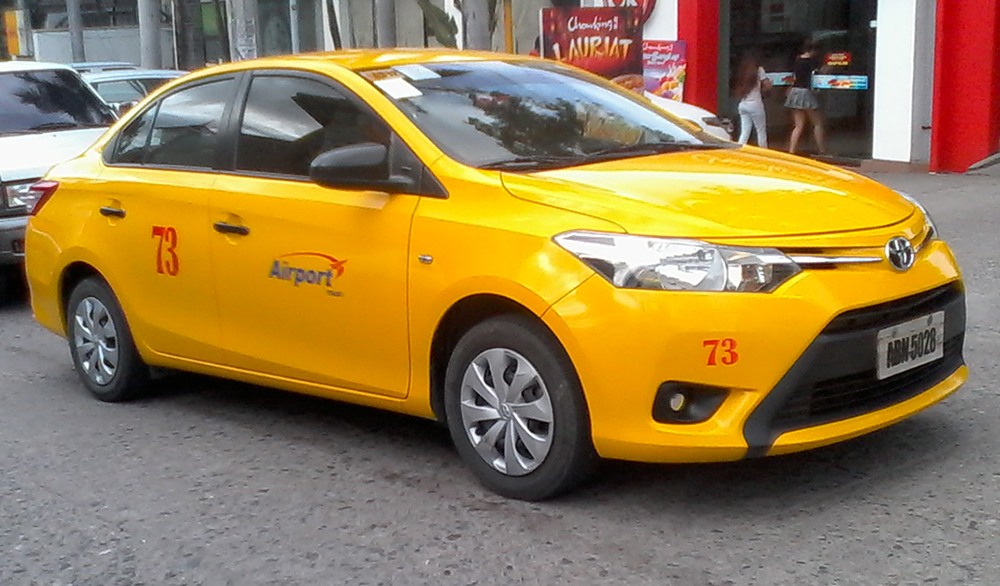
Photo: Flickr.com/ronaldocomaling
Assuming you do manage to get outside and catch a ride to your company's facility, you're fairly certain it will be a safe location. You may be able to call ahead to confirm this. However, road conditions are an unknown variable. There might be increased traffic, or the civil unrest may cause total gridlock due to roadblocks. You'll need to trust the driver and keep your fingers crossed that you don't end up in the middle of a riot.
In the event that you can't get a taxi or rideshare, you may be in trouble. Re-entering the airport probably won't be an option due to the heightened security, and walking through the city alone with your luggage is a recipe for getting robbed (or worse). Attempting to use public transportation during this chaos would be your last resort.
As with most survival situations, leaving your position comes with higher risk and a greater reward. Avoiding a terrorist attack, hostage scenario, or miserable multi-day lockdown comes at the price of traveling through a tumultuous city that may pose even greater dangers.
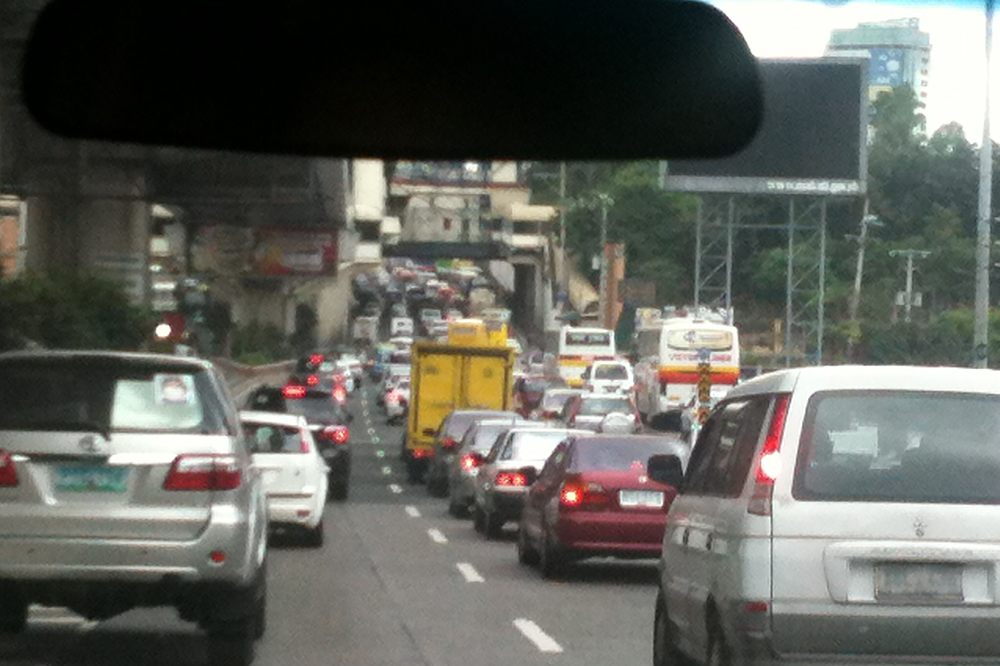
Photo: Flickr.com/brownpau
The Decision
Based on the information above and the pros/cons of each choice, it’s time to decide which course of action you’d take. Would you stay in the airport and hope you can get on a flight home before things get worse? Or would you try to quickly make it back to your company's office where you can ride out the chaos in relative safety?
Enter your decision into the poll below, and feel free to justify that choice in the comments section.