In This Article
Disclaimer
This guide is meant to be a quick overview, and not a detailed guide, on improvised fire-starting methods. Any use of the information contained in this article is solely at the reader's risk.
Your fingers are numb. Your face stings from the bitter icy wind. Everything around you is wet. Shelter from the excruciatingly frigid environment is nowhere in sight. You need to start a fire — now! Can you do this with limited tools? The answer is yes; read on a little further to see how.
Whether it's for warmth, cooking, signaling, or most likely, all of the above, having the knowledge and skill to generate fire can mean the difference between life and death. Television shows often feature a lone protagonist twisting a stick onto a larger piece of wood until smoke appears, establishing a life-saving fire. But have you ever tried to start a friction fire? It's not as easy as the TV shows and books may lead you to believe. More often than not, an inexperienced person winds up with a broken stick, blistered hand, uncontrollable shivers, and an altogether pissed off state of mind. Add in a critical factor such as your life depending on it, and suddenly creating fire becomes an entirely different task. Mastery of this takes practice, but there's hope, even for the inexperienced with a bare minimum of implements.
The key thing about starting a fire is that it's only as easy as your ignition source and the quality of your fuel. Waterproof matches, windproof lighters, and the classic flint and steel are items no prepper or avid outdoorsman or woman should be without. One can even go a step further by carrying petroleum jelly-soaked cotton or dryer lint, solid fuel cubes, or any other variety of fire fuel. Since we live in a world where Murphy's Law is commonplace, imagine you find yourself caught in a snowstorm or lost in frigid temperatures. You need to start a fire, but you don't have the Supplies: that you so carefully purchased, tested, and packed. Do you still have the knowledge it takes to start a life-saving fire under those conditions?
For fire to occur, four things must be in place: oxygen, fuel, heat, and a chemical chain reaction. This is known as the fire tetrahedron. To create fire, all four elements must be present, just as to extinguish fire, you can simply remove any one of those four elements. Rarely would someone attempt to start a fire in an oxygen-deficient atmosphere, and, when all other elements are in place, the chemical chain reaction will naturally occur. That leaves two parts of the equation that must be provided: something to start the fire and something to burn. Finding dry fuel and an ignition source can be daunting, particularly in a cold and wet environment, one of the most difficult settings to establish a fire.
The cold will be more of a factor on your fingers than it will on the fuel that you want to burn. Science tells us that more energy will be needed to bring the fuel to its ignition temperature, but for our purposes, the difference is negligible. The damp conditions are another story. Anyone who has tried to start a fire when everything is seemingly wet knows what a frustrating challenge it can be. Fortunately, challenging doesn't mean impossible. When attempting to burn wet wood, over half the heat is utilized in drying the wood before it can burn. Often, though, dry wood is available with a little bit of effort and ingenuity.
Location
Before discussing alternative methods to start a fire in cold, adverse conditions, a few considerations must be addressed. First, the location of the fire is of utmost importance. Ideally, your fire should be placed away from moisture, out of the wind, and near a large rock wall or another noncombustible surface or structure.
Much warmth can be absorbed by the radiant heat reflected by a boulder, rocks stacked in a horseshoe shape around the fire, or even large logs stacked on top of one another (possibly leaned against a few small trees). If you're able to utilize a large boulder or rock wall, you can build the fire a few feet away from the wall so you can place your body between it and the fire for maximum warmth.
Nearby melting snow can hinder a small fire that you're trying to build into a big fire. You should elevate your fire by building a base of rocks or logs. The small spaces in between them provide water runoff channels as well as a dry foundation for you to build on. Also, avoid building your fire under a tree that has accumulated snow or ice on its branches, for obvious reasons.
Kindling
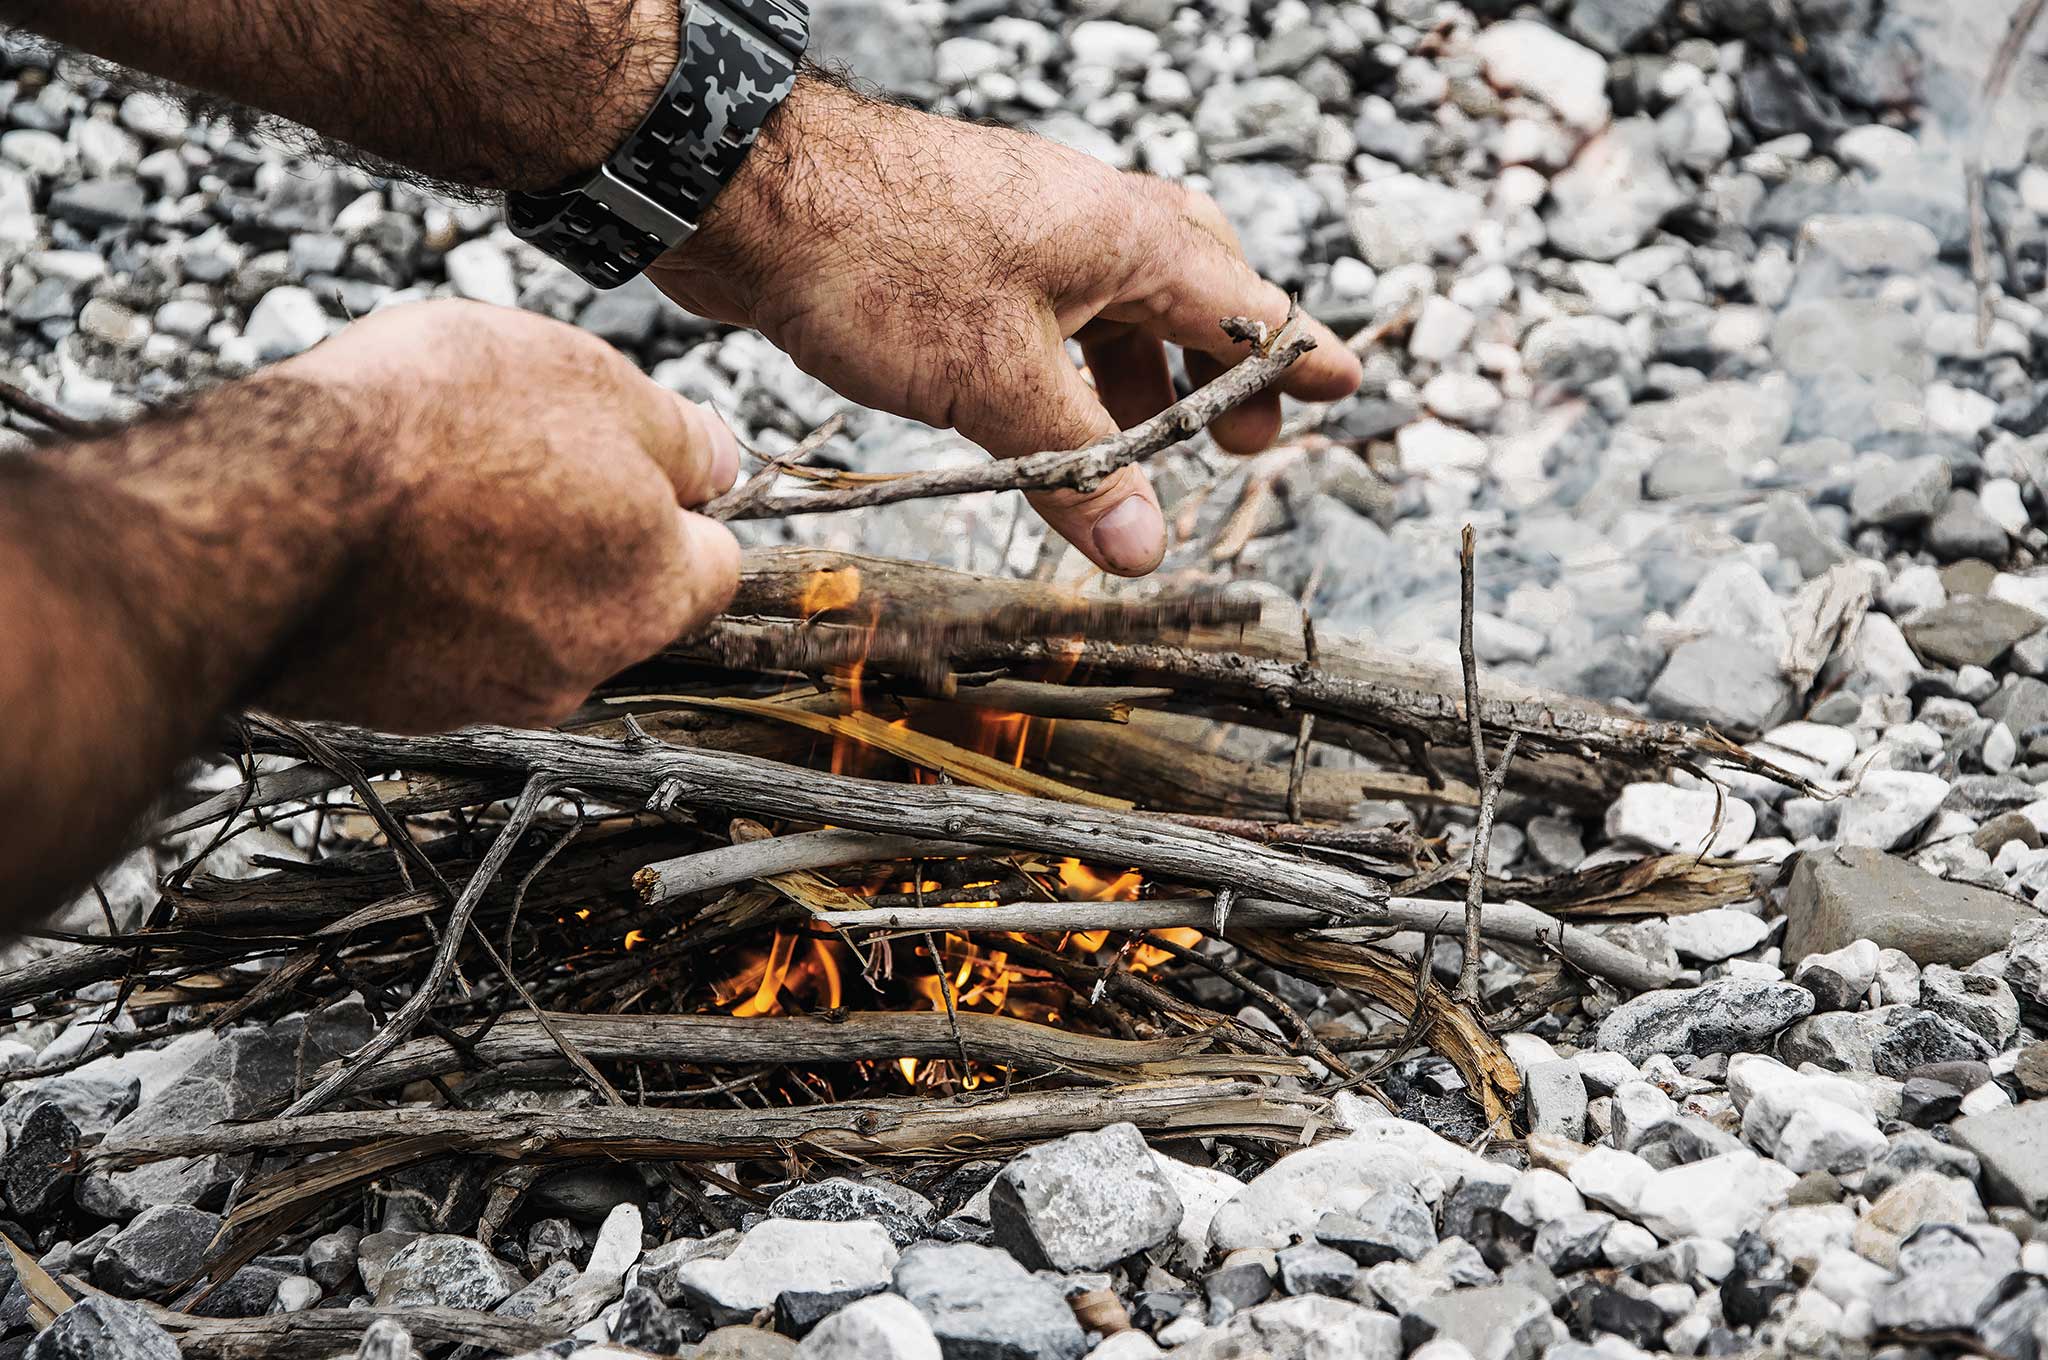
Successful creation of a fire begins with proper kindling. When you don't have fire-starting supplies on hand, you must learn how to find some in nature. Dry, finely fibered, and easily ignitable wood or dead grass are often the most prevalent and utilized. Start small and slowly add larger and larger tinder.
There are some trees that are well-known for providing valuable tinder:
White Birch: Its paperlike bark provides easily accessible and ignitable tinder. White birch also, almost exclusively, grows Chaga (birch tinder fungus) that's widely utilized for its flammability.
White Pine: The pine needles make superb fire tinder, and the flammable sap is invaluable when trying to keep a fire going in rainy conditions.
American Basswood: It's soft enough that it makes an excellent choice for starting a friction fire, but not so soft that it crumbles when pressure is applied.
Maple: Twigs are often readily available and yield effective tinder.
There are other tinder options that you may need to use if trees in the immediate vicinity aren't helpful. As with most survival scenarios, a certain amount of ingenuity may be required. Check your pockets. You may have pocket lint or rogue threads that can help you get a fire going. The lip balm that you carry with you religiously during the winter months can help start and maintain a small fire. As painful as it may be, paper money can be used as tinder. The pocket itself, as long as it's not part of the structure of your garment, can be pulled out and cut or ripped to create tinder. Dry bird feathers, bird nests, hair or fur, cigarette tobacco and filters, dry animal dung, and any clothing not necessary for warmth or to keep dry can all be used to get a fire going.
With no ax or saw available to cut deadwood into manageable-sized pieces, you'll have to locate deadfall and carry or drag it to the vicinity of where you'll build your fire. You can break up larger pieces by wedging them between two standing trees and using leverage by pulling until the branches break. Green logs are OK to use, but only after your fire is large enough and generating enough heat to burn them. The general rule is to have three dry logs for every green one.
Fire Starting Methods 1. AA Battery
Difficulty: 2
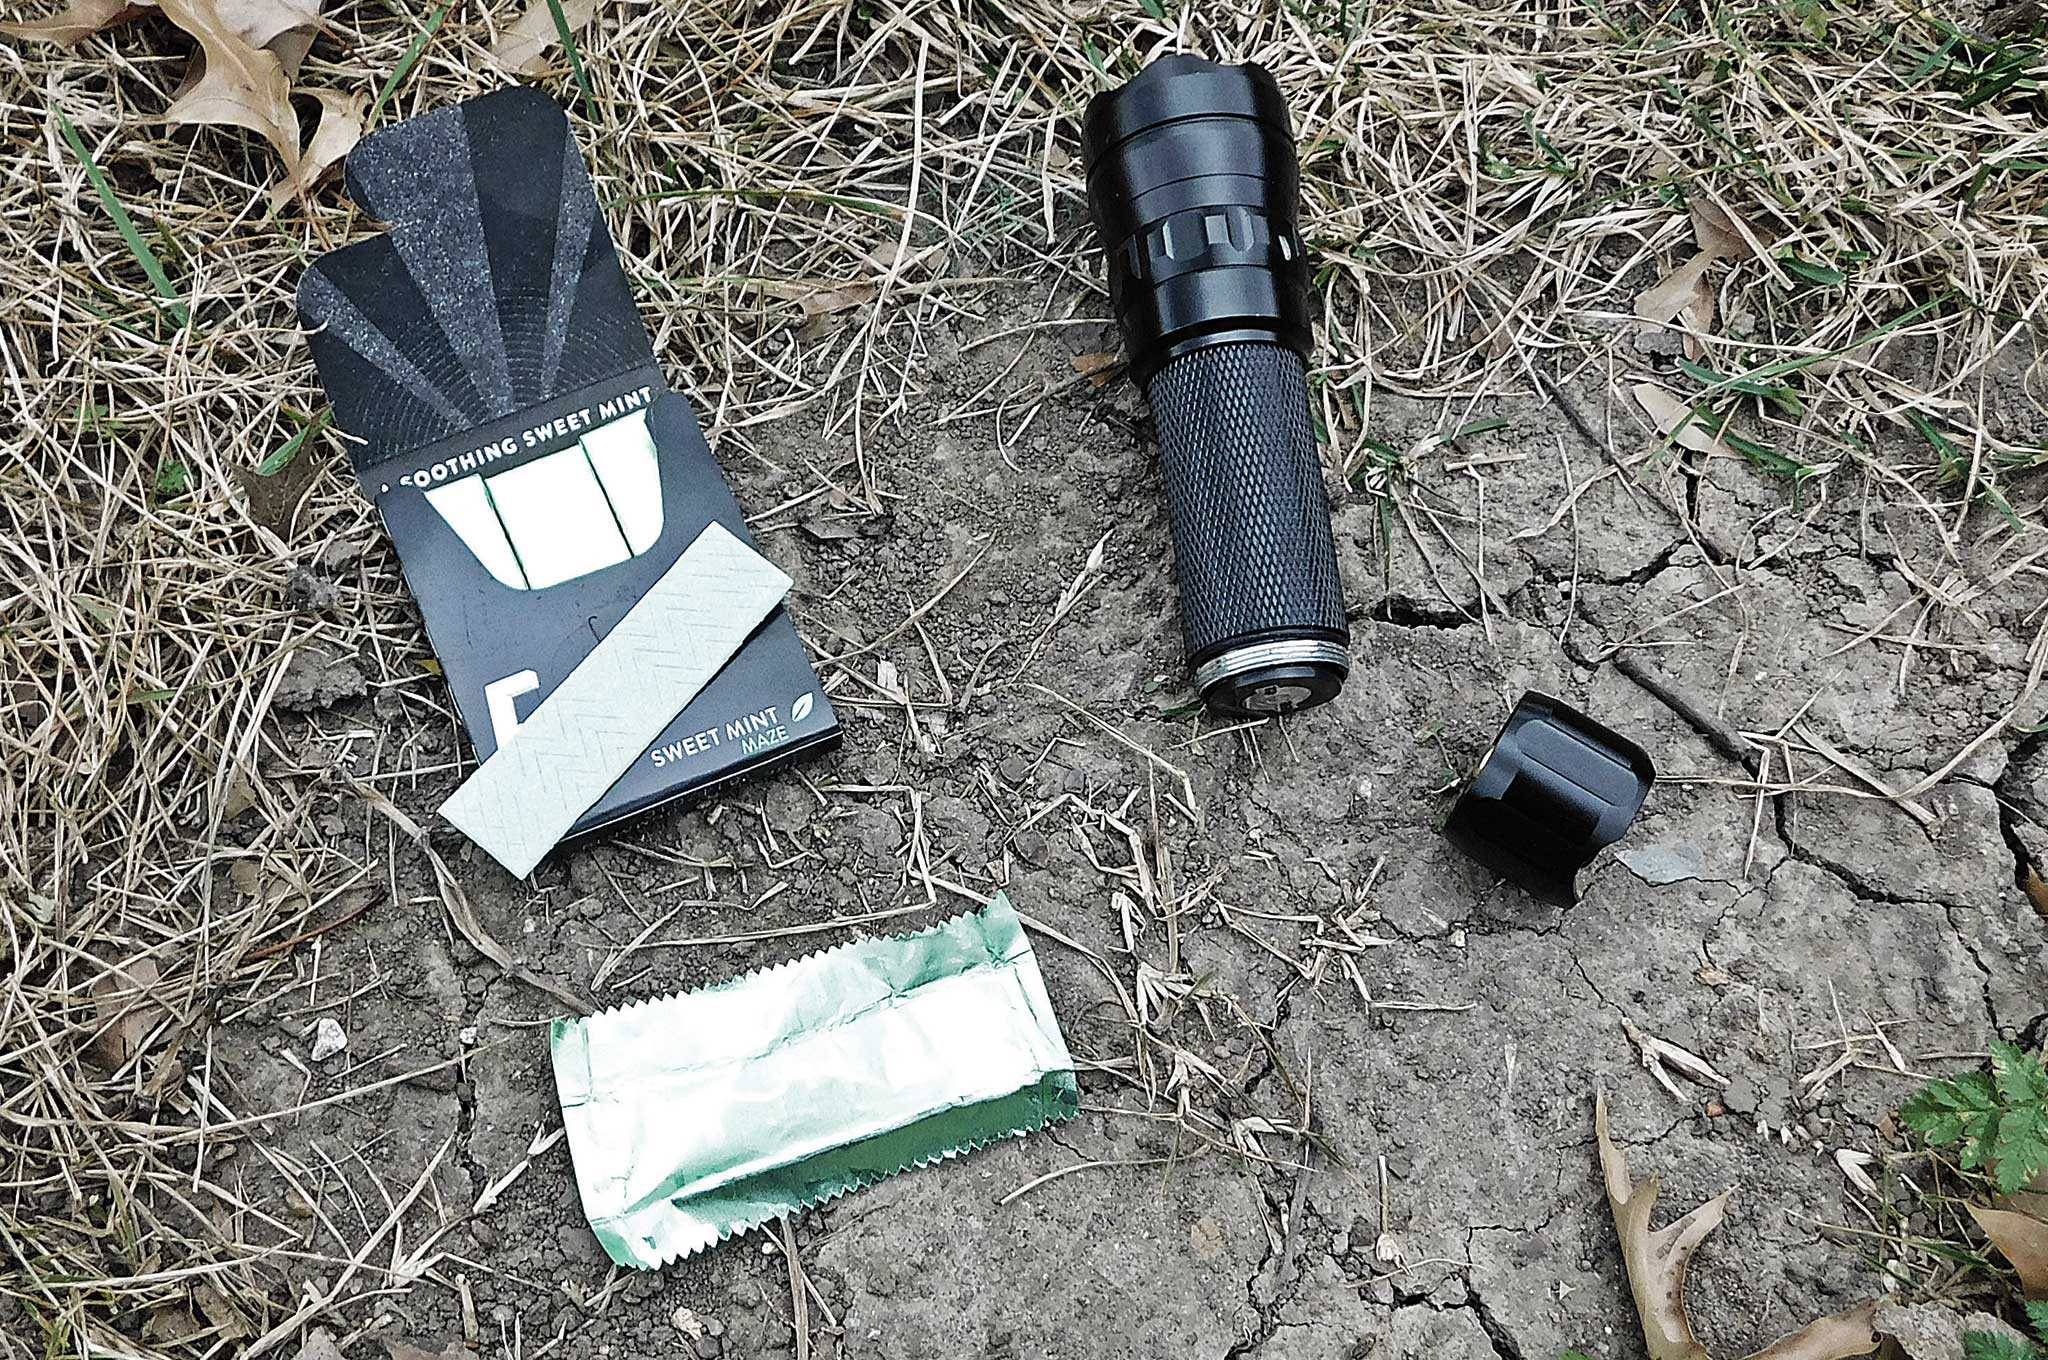
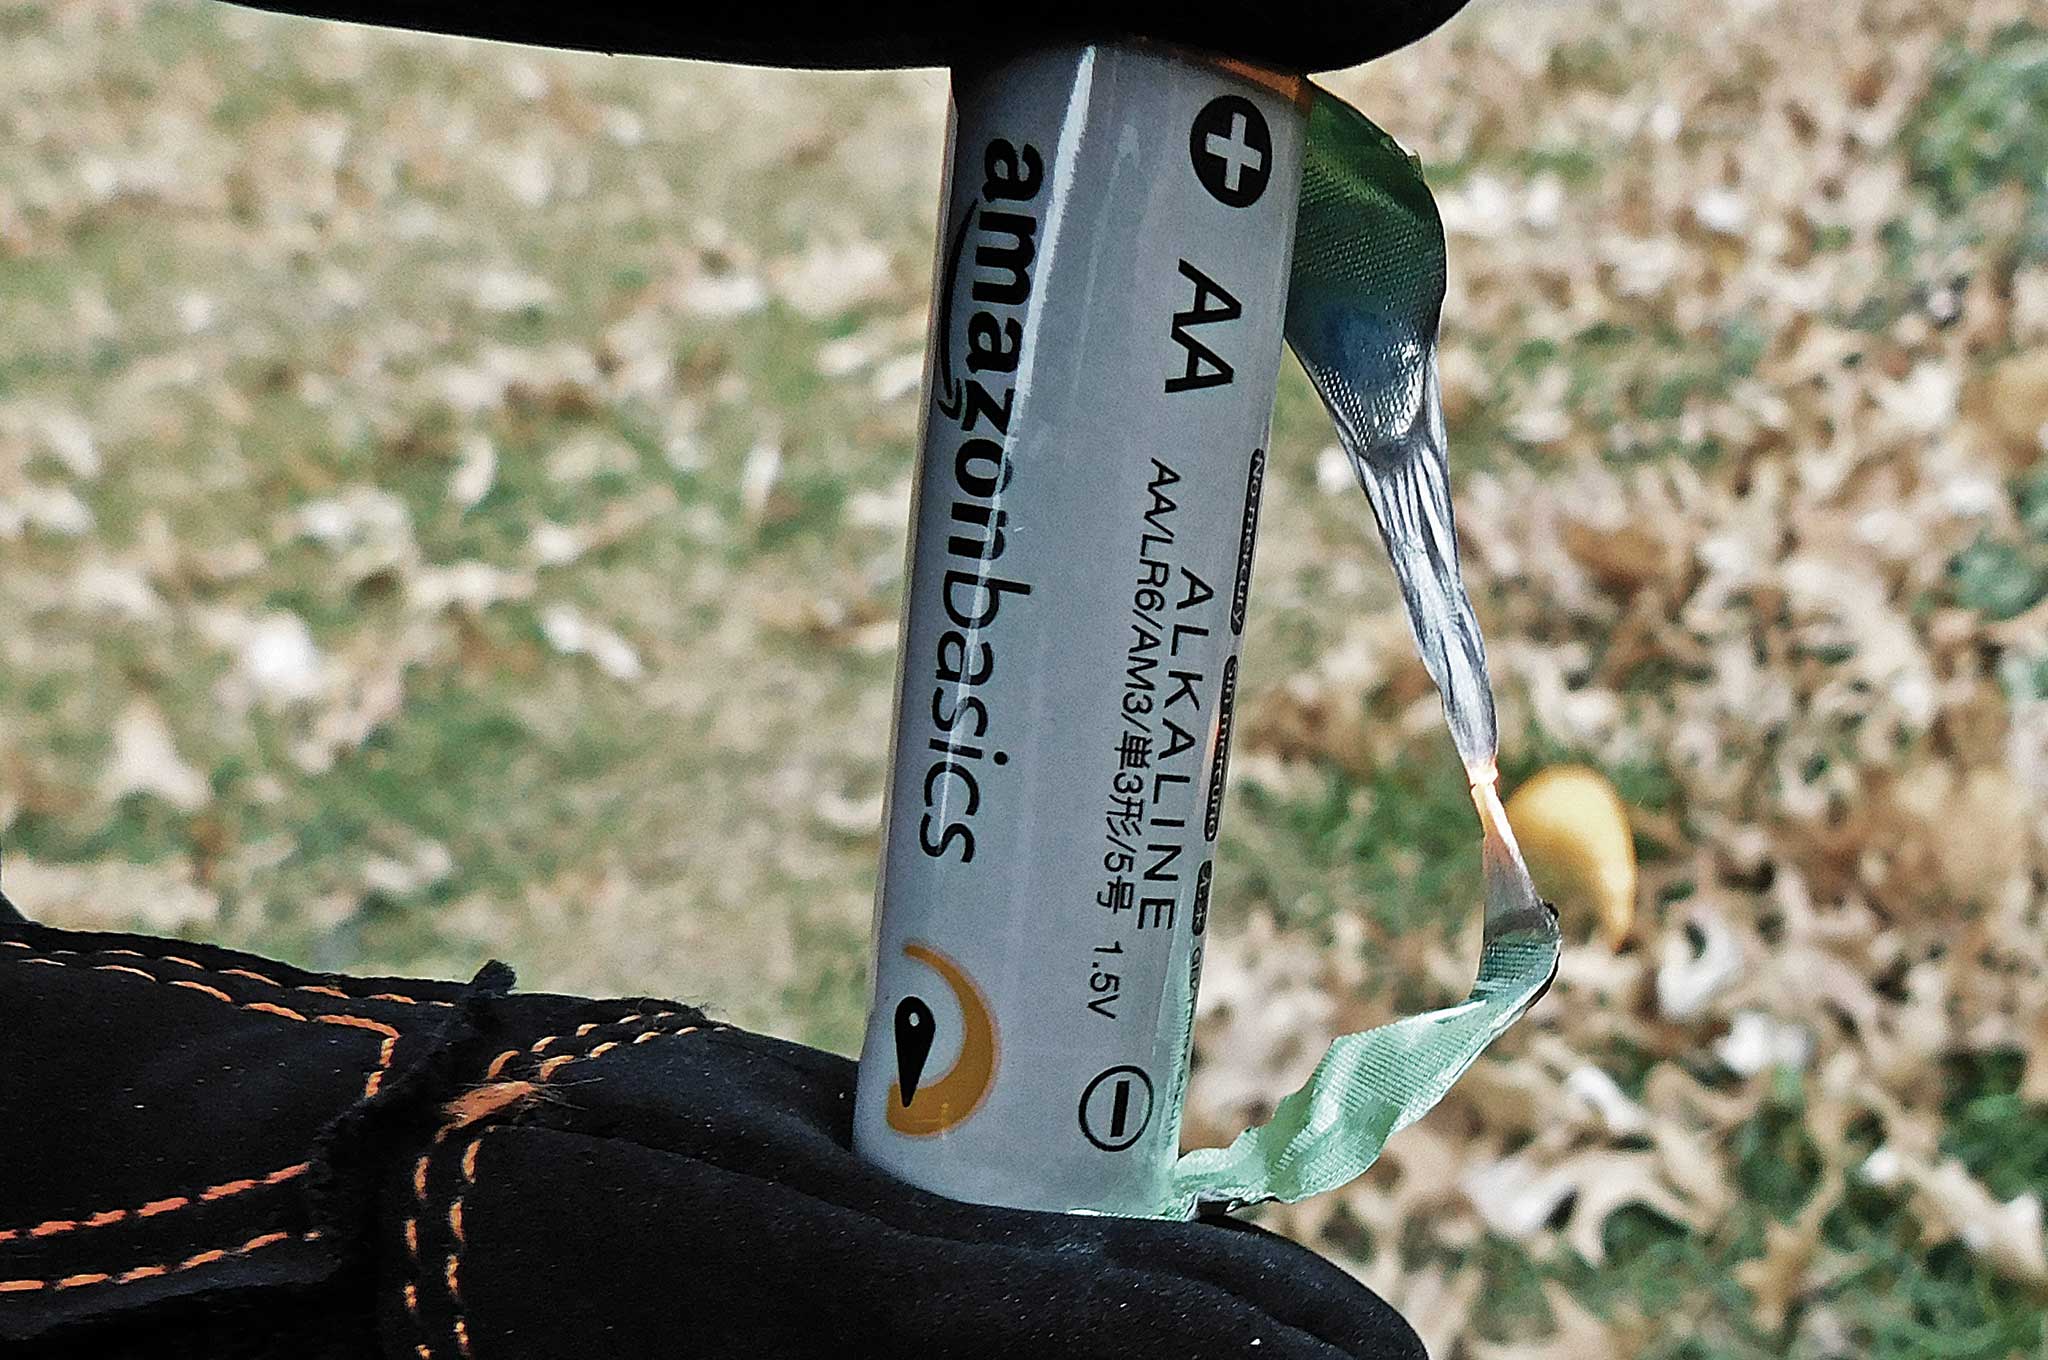
Supplies: AA battery and a gum or cigarette wrapper
Many people don't carry a traditional tool that'll allow them to start a fire, but may have the means to start a fire right in their pocket and not even know it. If you have a flashlight or other electronic device that utilizes AA batteries, you're halfway there. Next you simply need gum with an aluminum wrapper or cigarette package paper. The gum or cigarette foil wrapper is thin enough to create resistance, which will generate heat. Steel wire could also work, but only if it's very thin (steel wool), otherwise it'll be too thick to provide adequate resistance. This is important because even a paperclip or standard aluminum foil is too thick to offer enough resistance to generate the heat required. Even copper wiring won't work. Copper has very low resistance that's good for carrying current, but not for generating heat. So it won't produce the results you need.
Steps:
- Remove the battery from the flashlight.
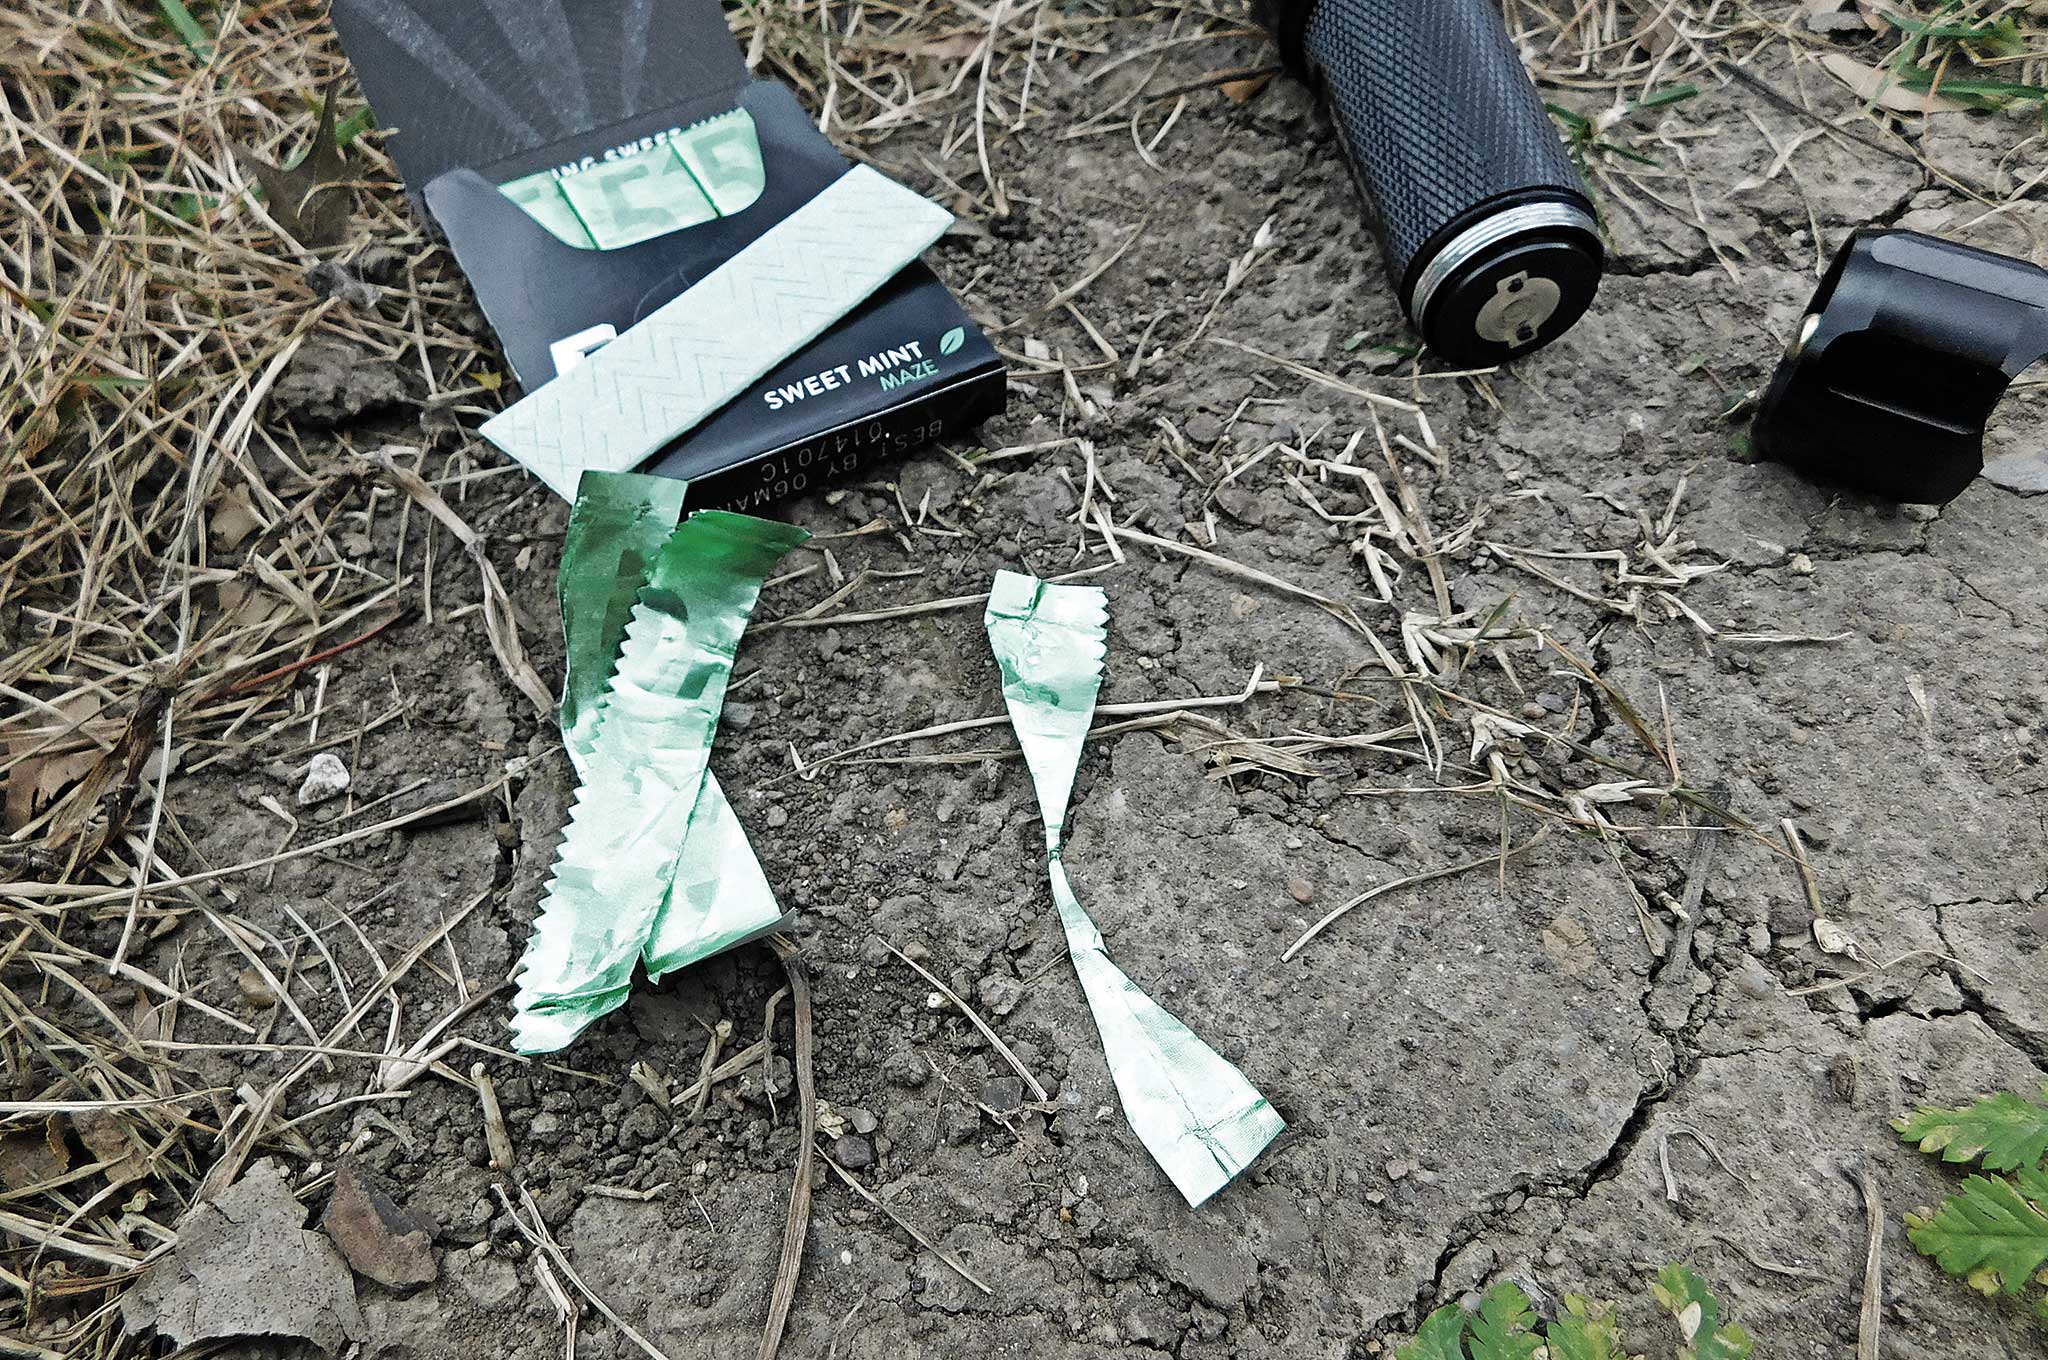
- Cut or tear the gum wrapper into an hourglass shape where the thin part is about as wide as the width of your knife blade.
- Hold the foil side of the wrapper against the positive and negative posts of the battery. Almost immediately the thin part of the wrapper will ignite.
Notes:
This method is very simple, but requires a fairly exact shape of the gum wrapper, which will take practice to perfect. If the narrow part of the wrapper is too wide, it won't ignite. If it's too thin, it'll burn through before it catches fire. The width of the top of a knife blade should be about right. Sometimes this method can create a lot of heat on your fingers. You should use gloves or even the gum that was removed from the wrapper to create a barrier between your fingers and the foil against the battery posts.
Some cell phone batteries have exposed positive and negative terminals as well and could potentially achieve the same result. Because the terminals are typically recessed it can be more difficult to make contact with them. Steel wool can be used with greater success, but people don't often carry steel wool with them.
Another method that should only be utilized in a dire survival situation is to pierce a lithium-ion battery with a knife. When the lithium becomes exposed to oxygen, a chemical reaction occurs that produces heat and flame. This will obviously ruin your cell phone battery, and, more importantly, the reaction is unpredictable and could be potentially violent. Therefore, only attempt this when there are no other options.
Fire Starting Methods 2. Chain saw
Difficulty: 3
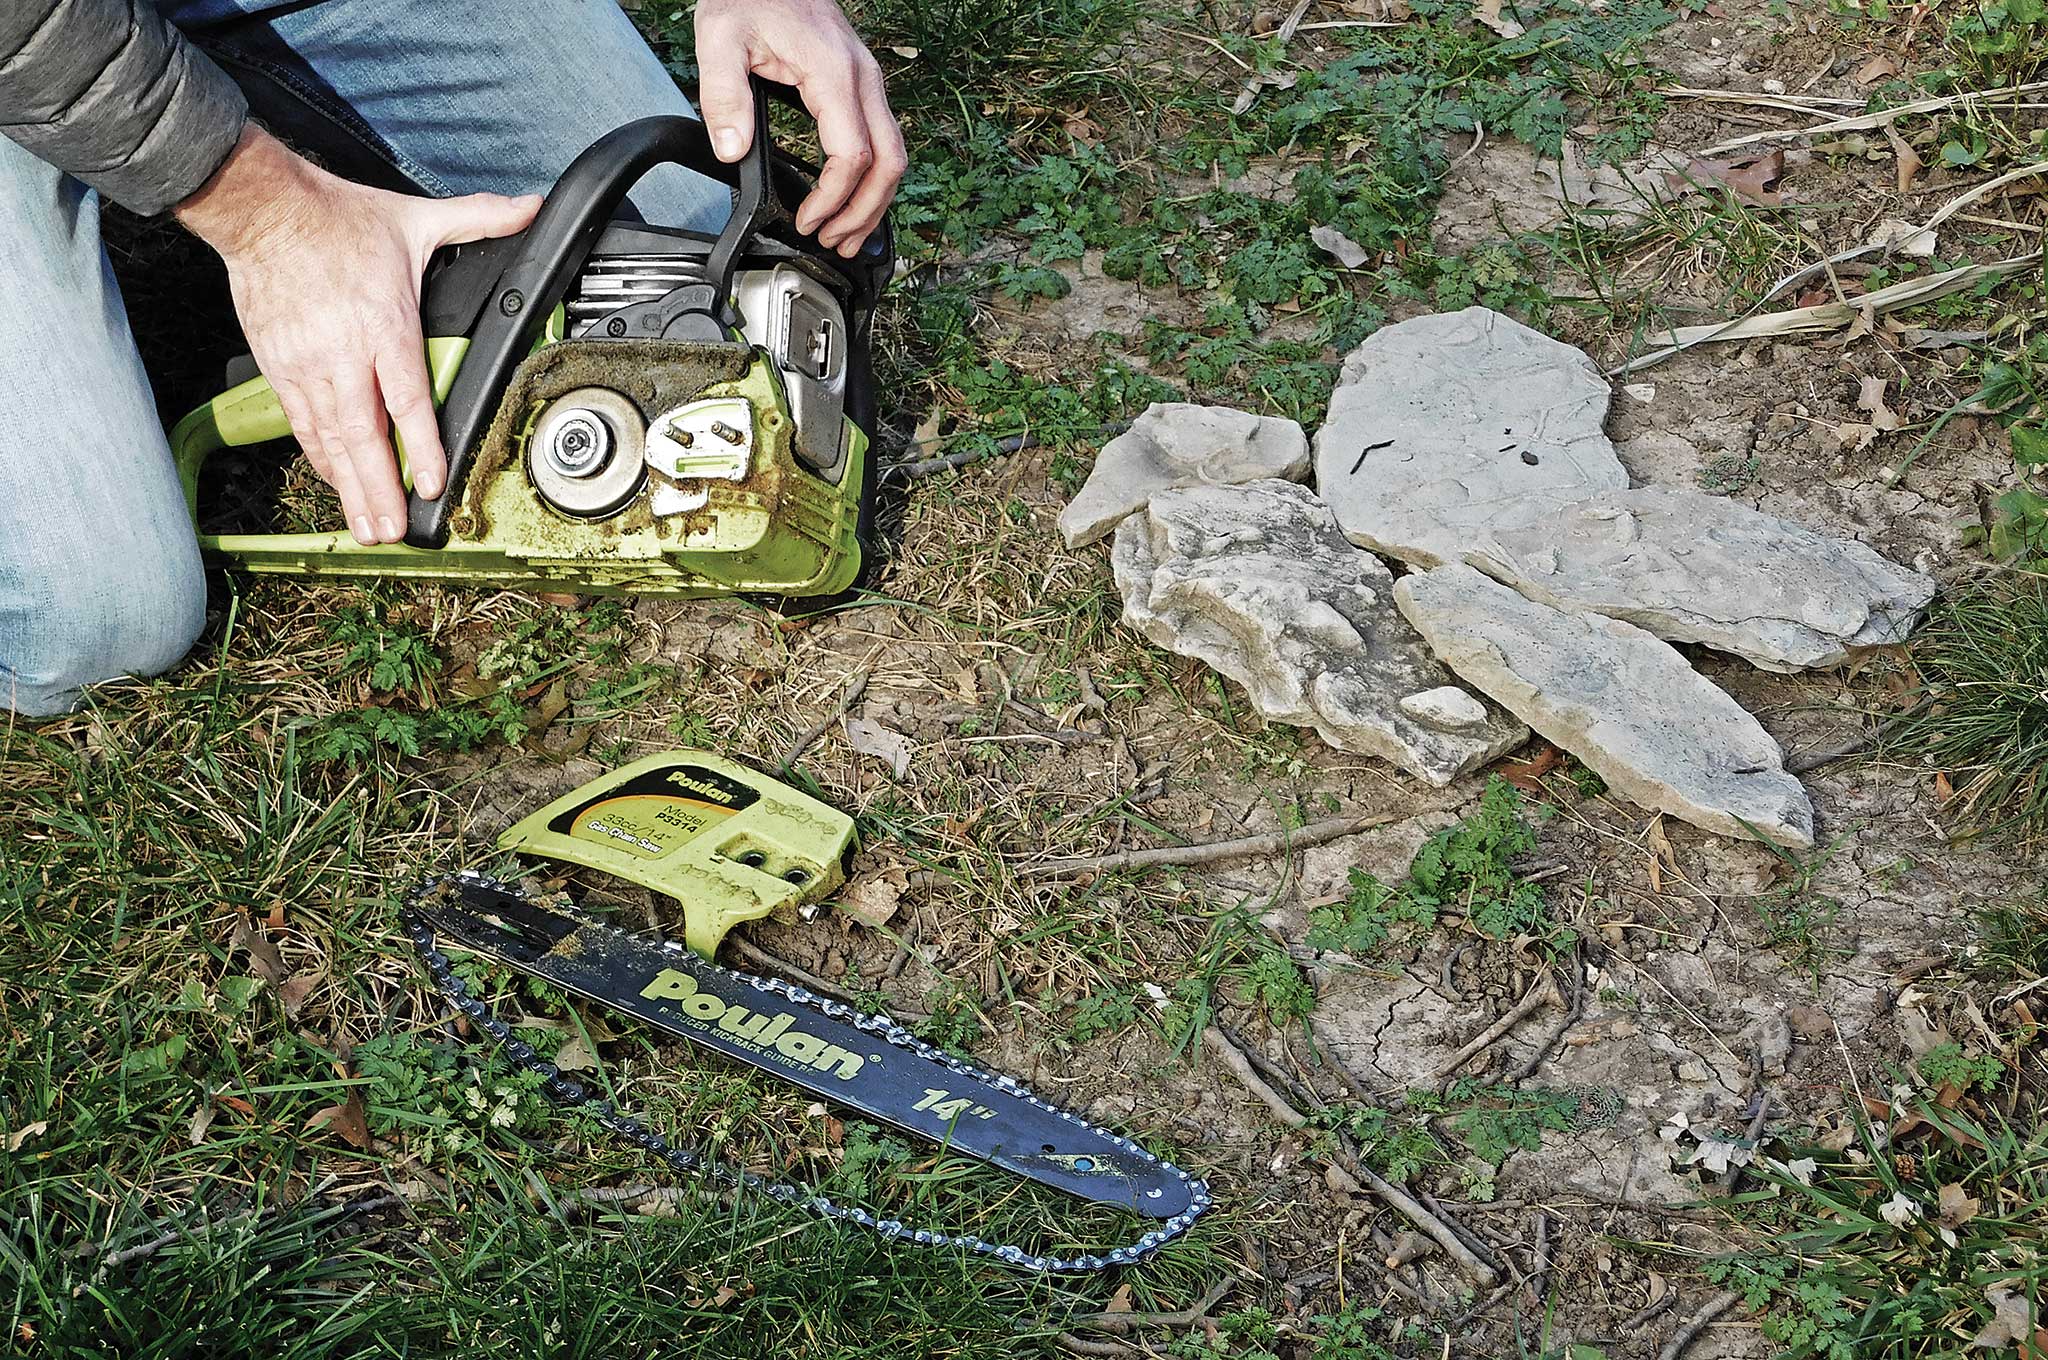
Supplies: Chain saw
It's not uncommon to head out in the woods on a winter day to locate and cut firewood. It's also not unheard of for the weather to quickly change or to get turned around and find yourself lost and in immediate need of warmth. You may not have matches or a lighter, but if you have a chain saw, you can create fire.
Steps:
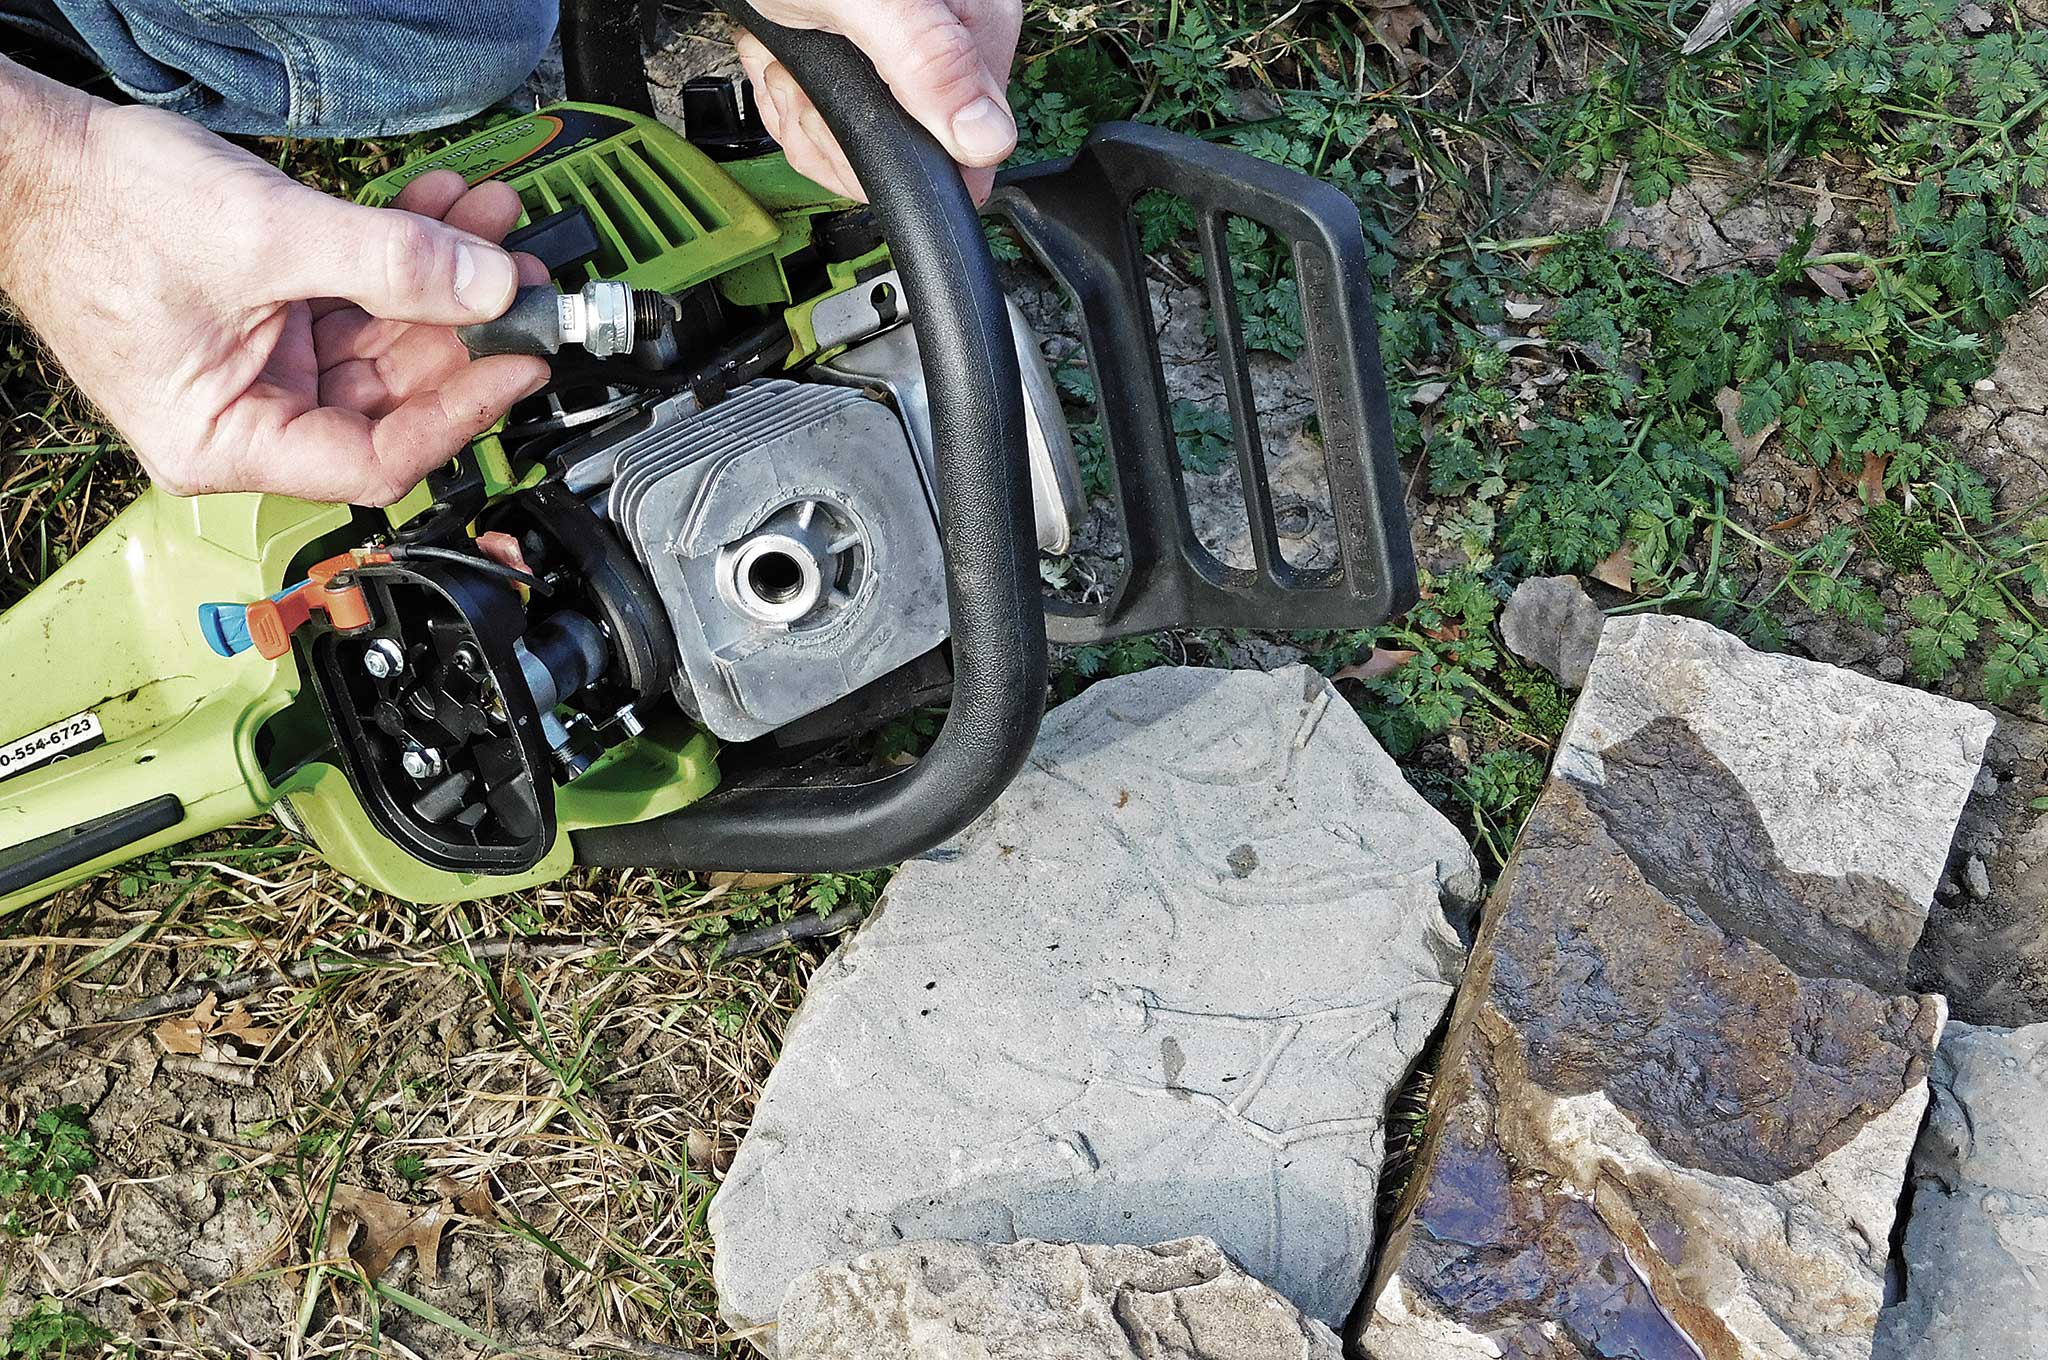
- For safety reasons, remove the bar and chain from the saw.
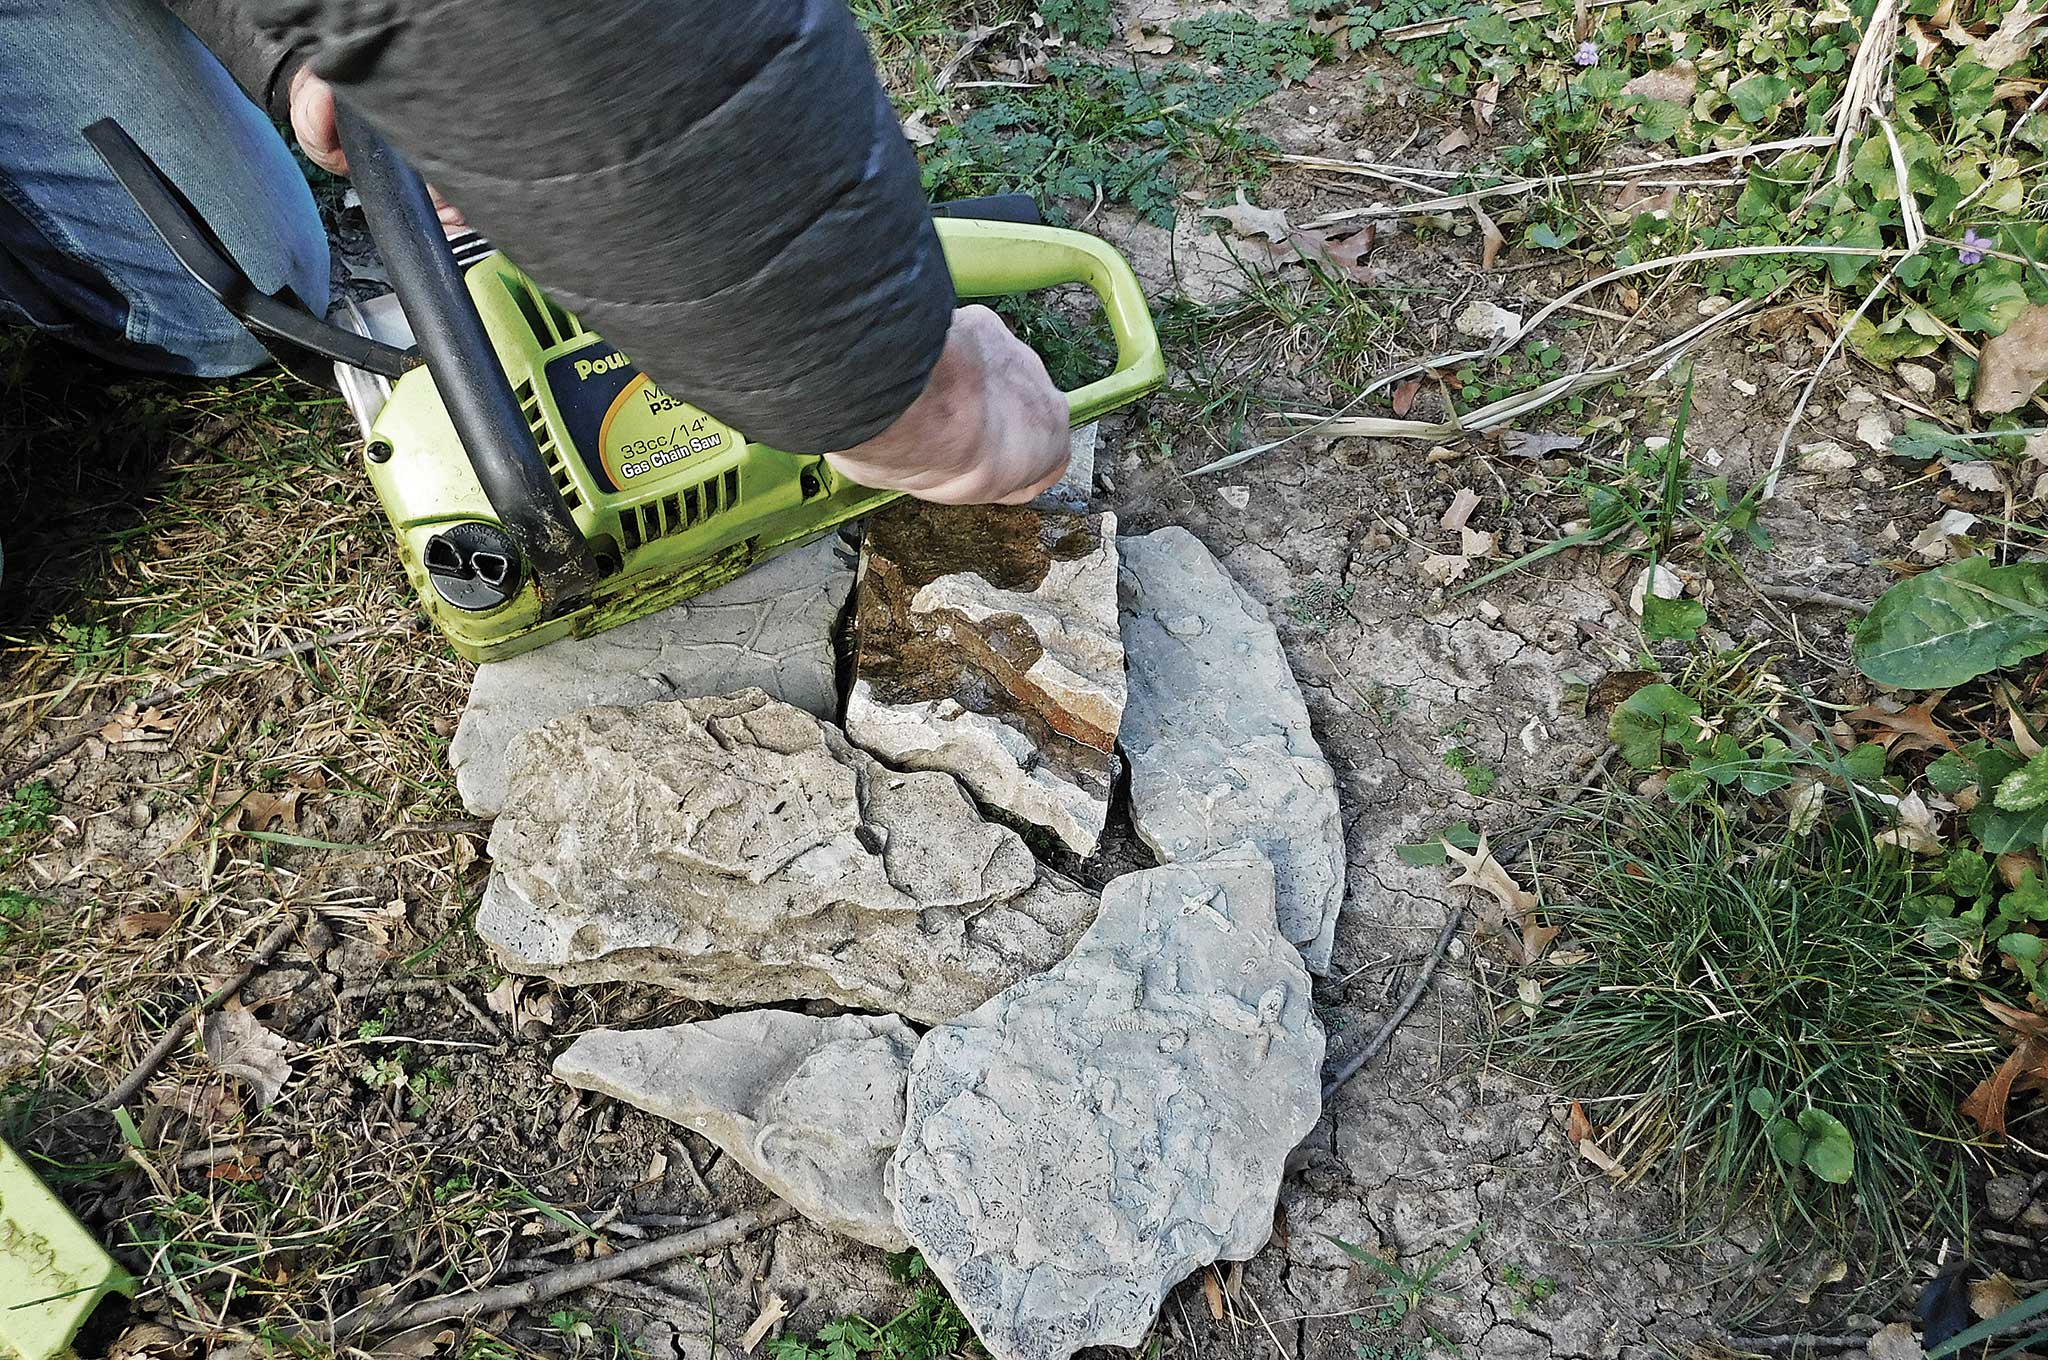
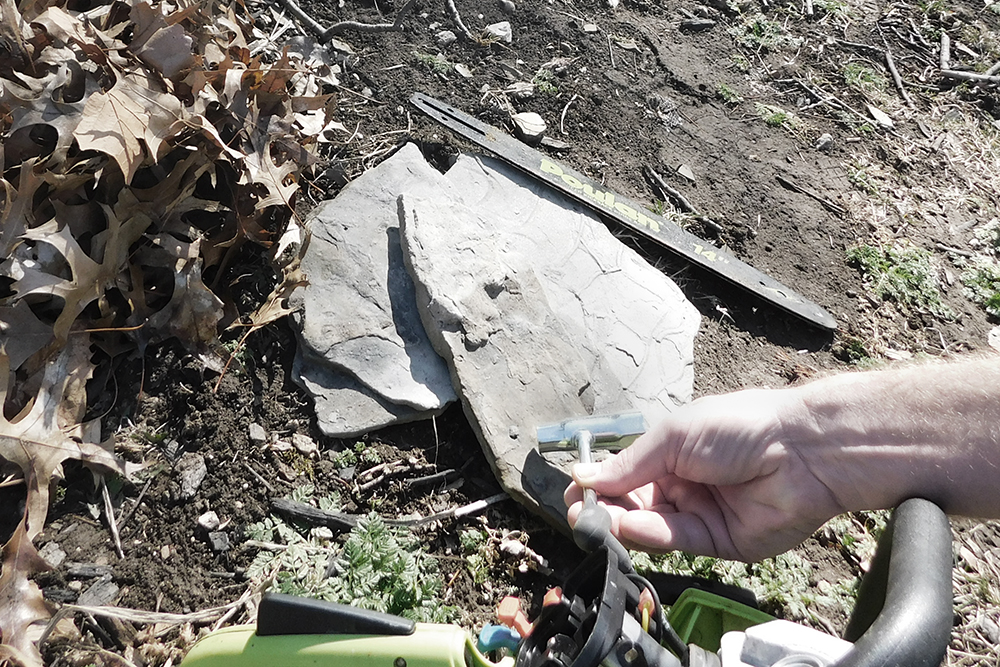
- Find a depression in a log (or rock) that can confine liquid.
- Pour a small amount of gasoline from the chain saw into the depression. (Consider adding bar oil from the other reservoir in approximately a 50/50 mixture to lower the flash point.)
- Soak a small amount of quality tinder in the mixture.
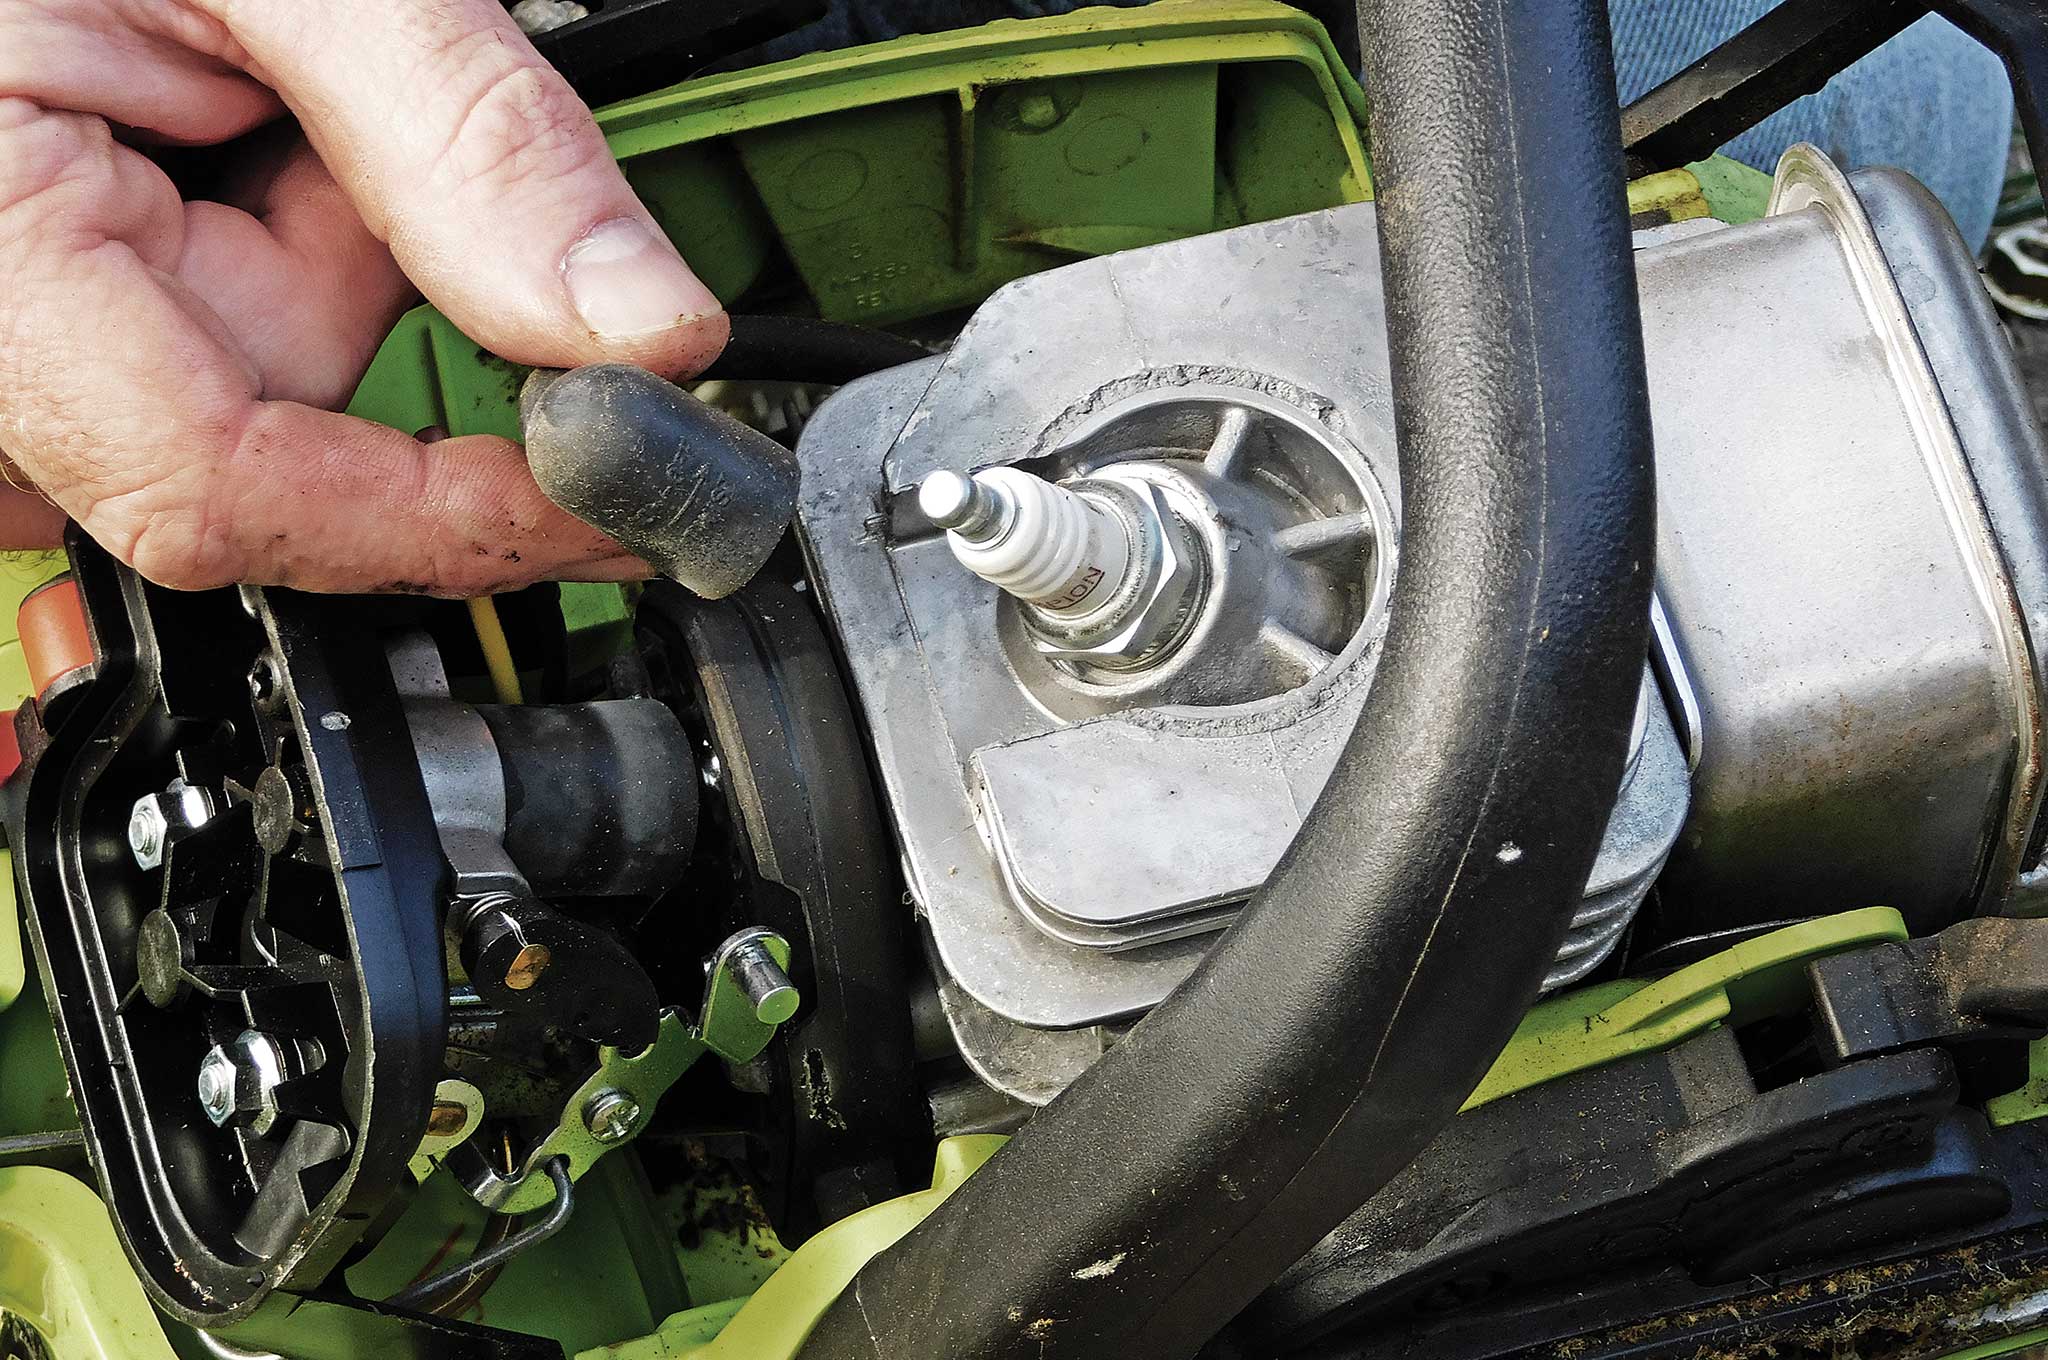
- Remove the spark plug from the engine and pull from the plug wire.
- Place the chainsaw tool (a piece of wire would also work) into the boot of the plug wire.
- Place the other end of the attached tool near (but not IN!) the fuel. The tool must be close enough to create a ground, but not so close it is in the liquid. Roughly 1/8 of an inch is about right.
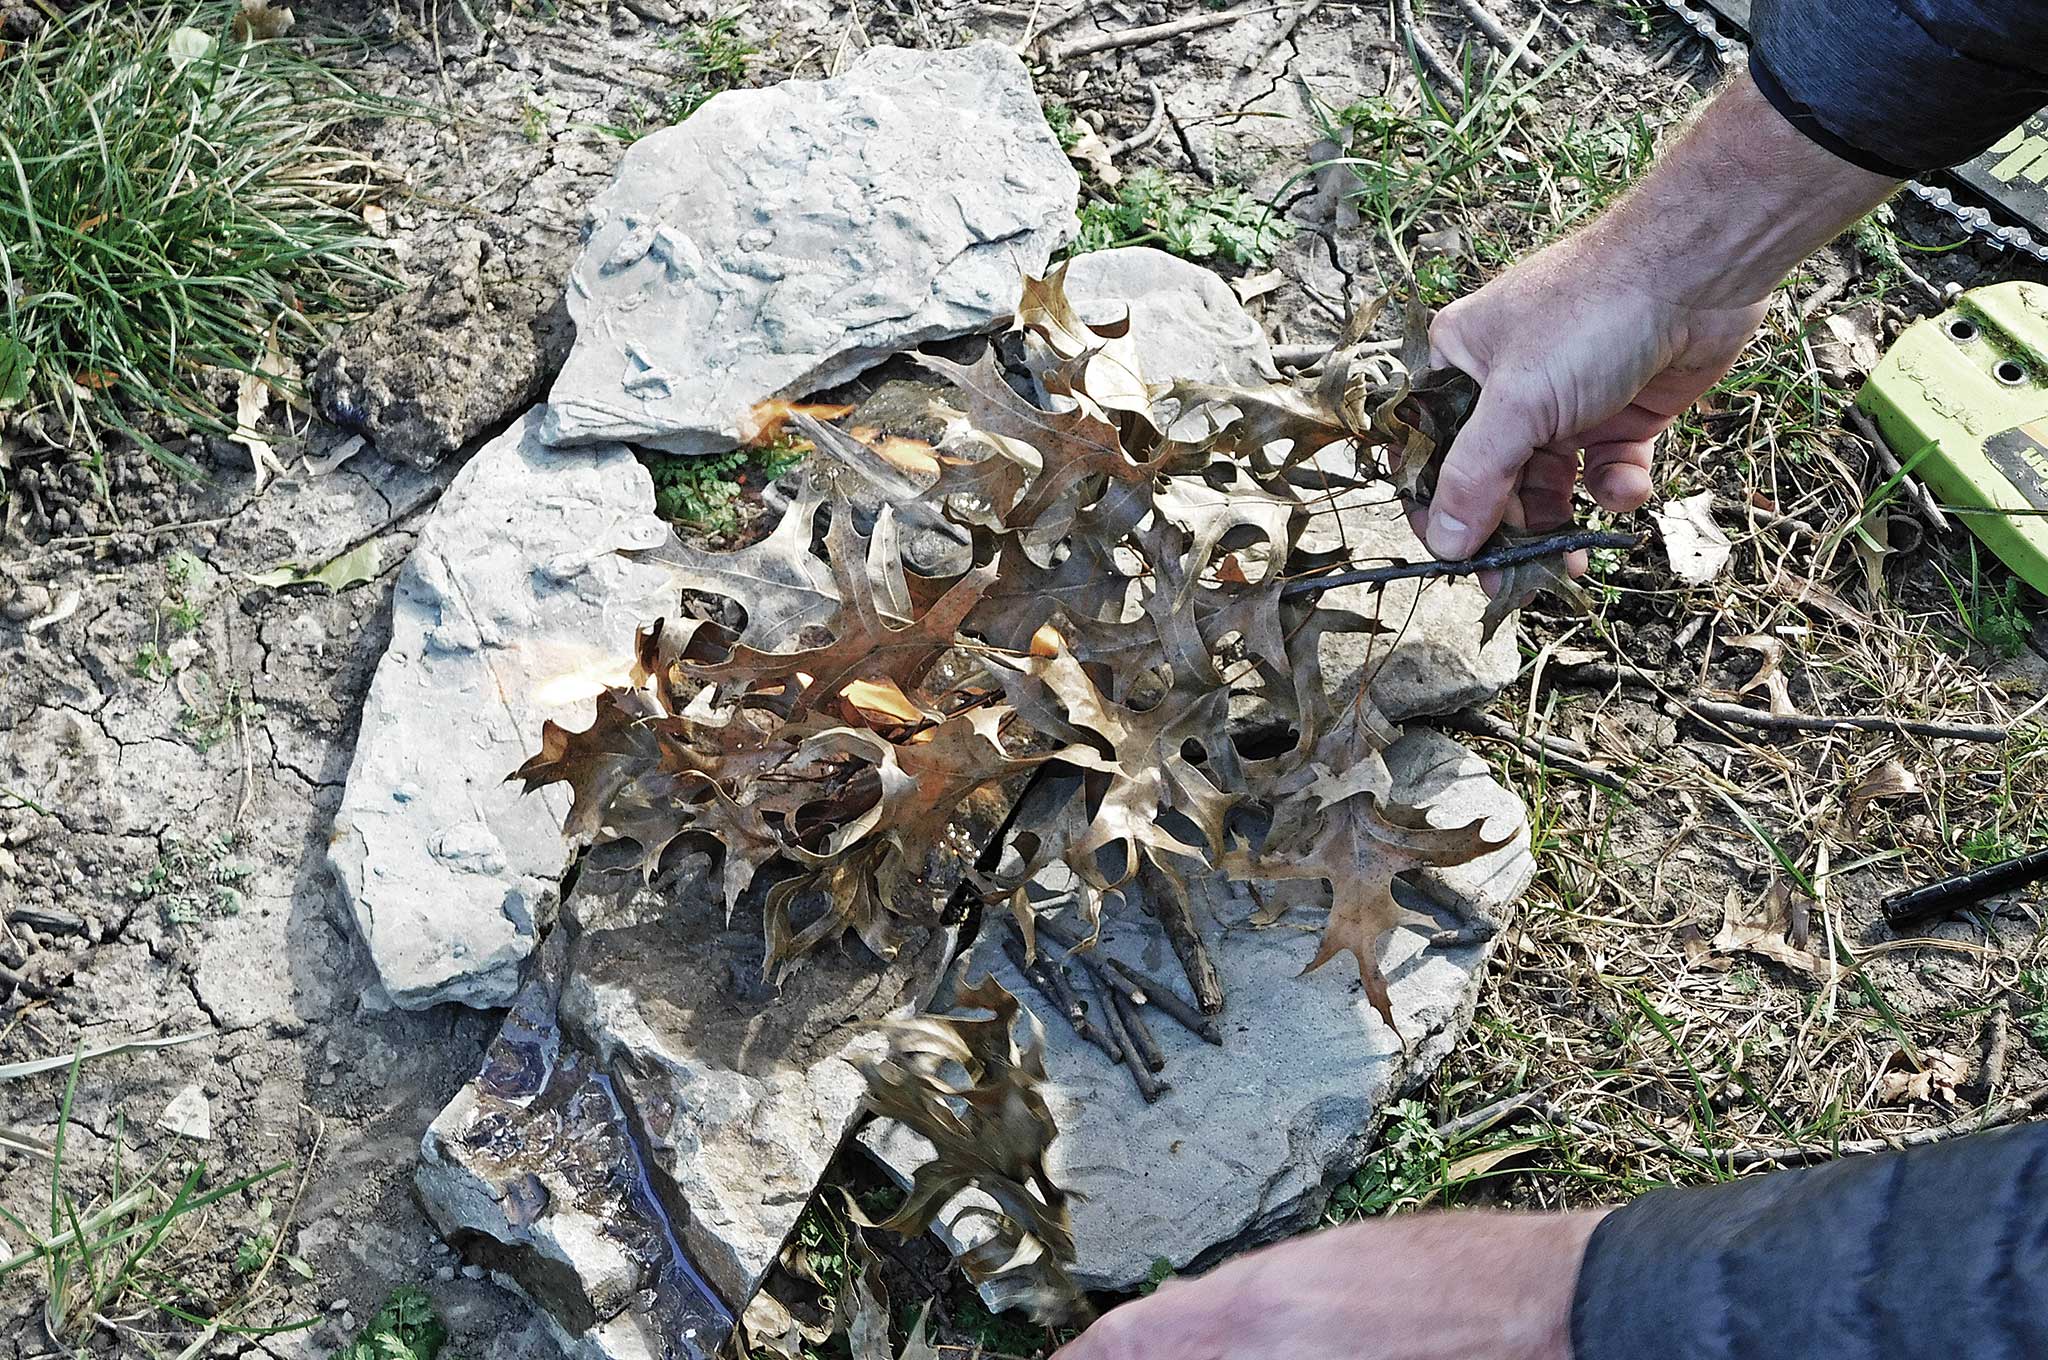
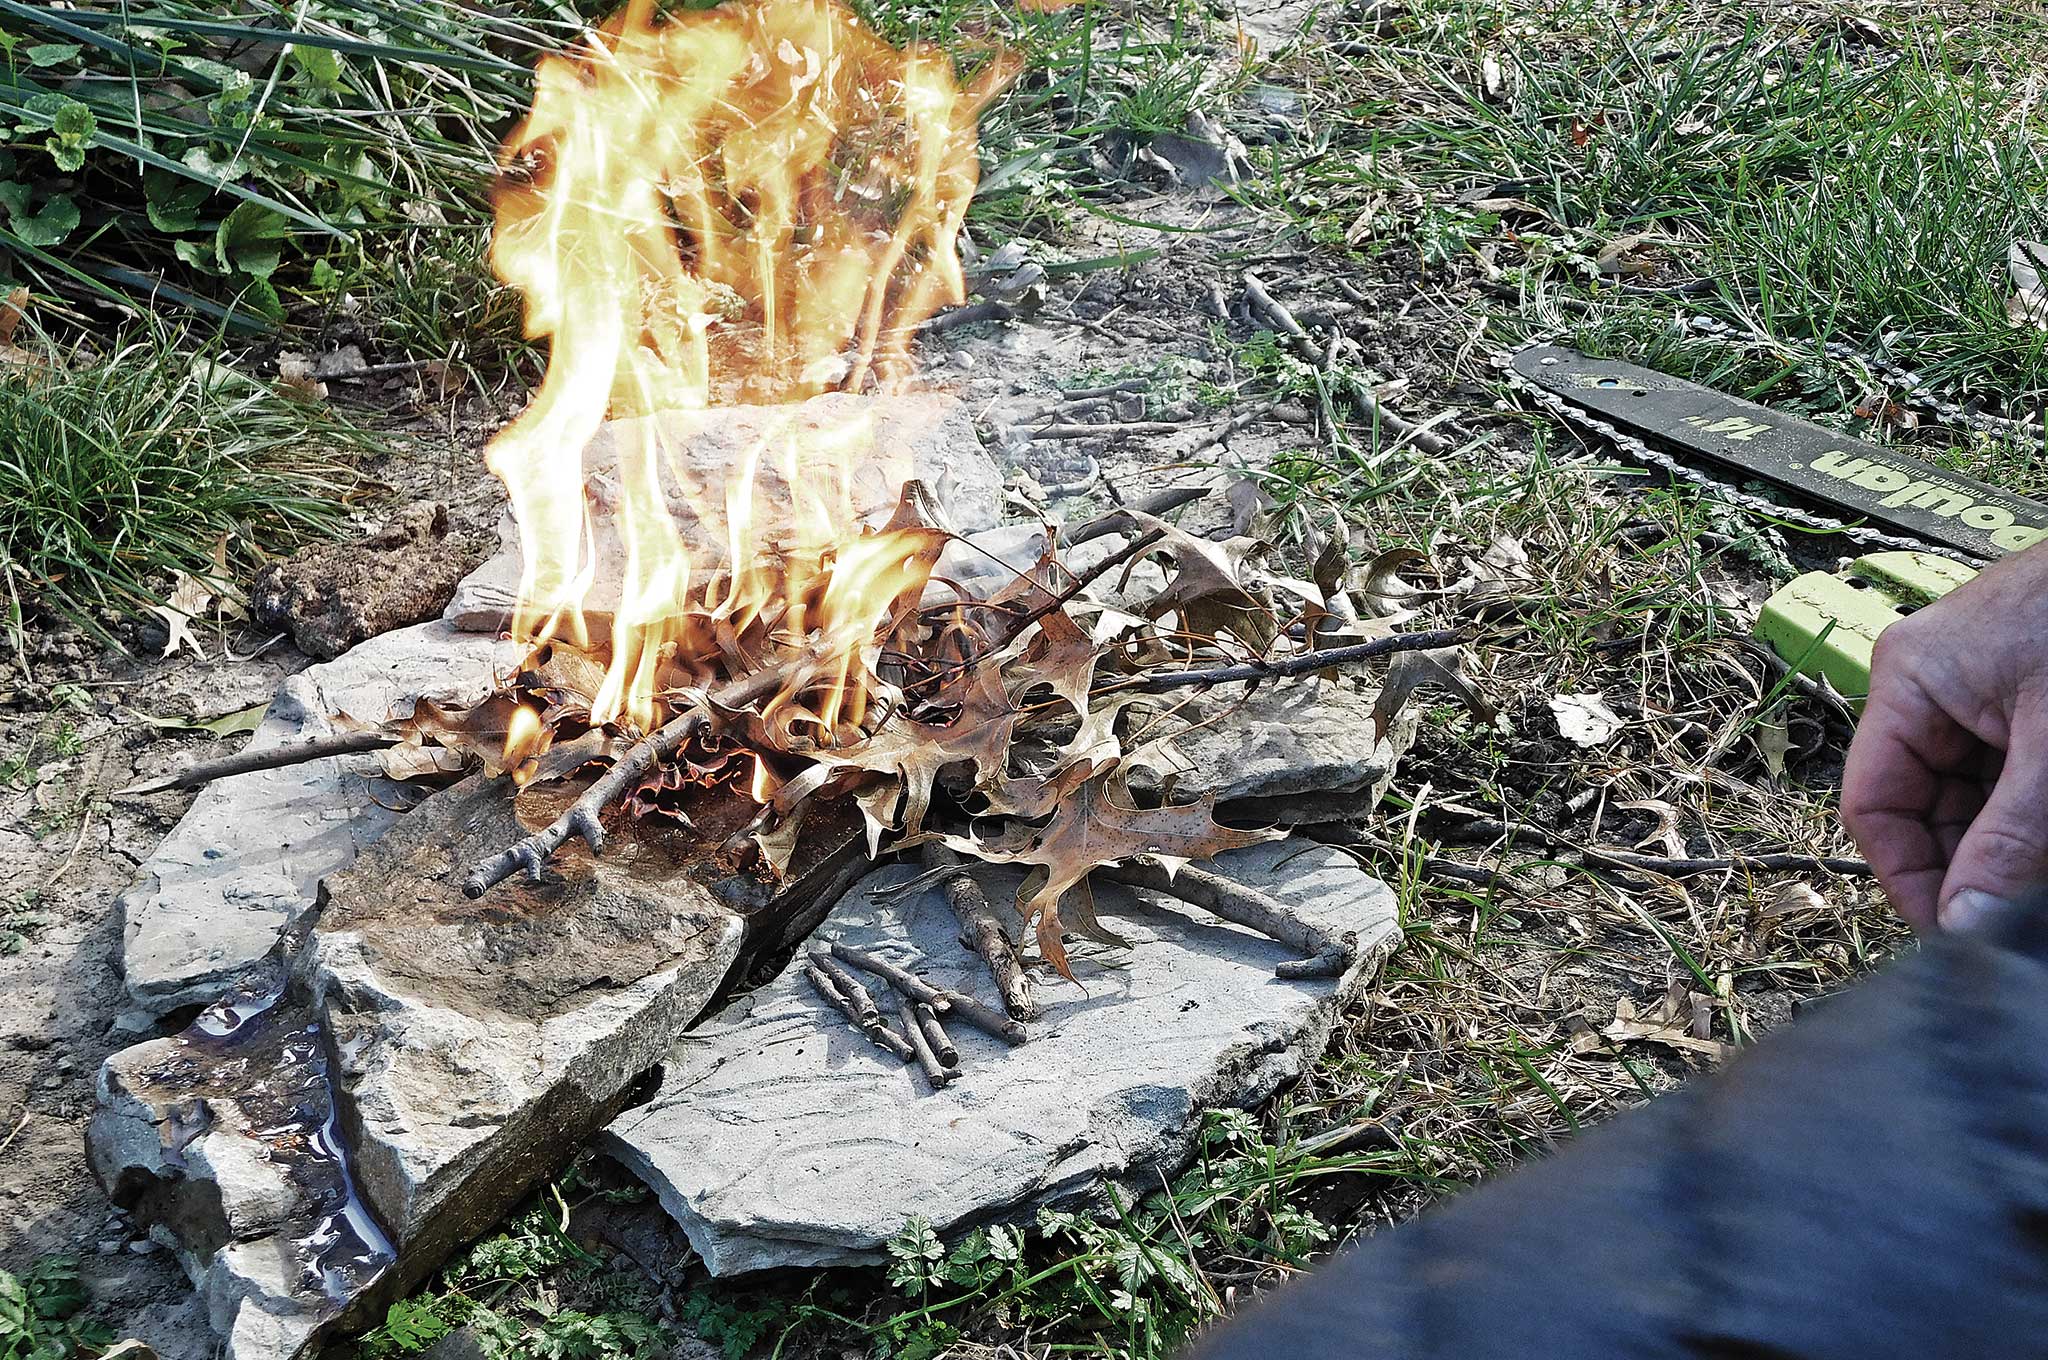
- Pull the pull cord to create a spark, igniting the fire.
Other Considerations:
Consider using a stick to hold the spark plug in place so the spark doesn't “bite” you.
You could also dip a stick in the gasoline, creating a makeshift match, and ignite with a spark plug the same way.
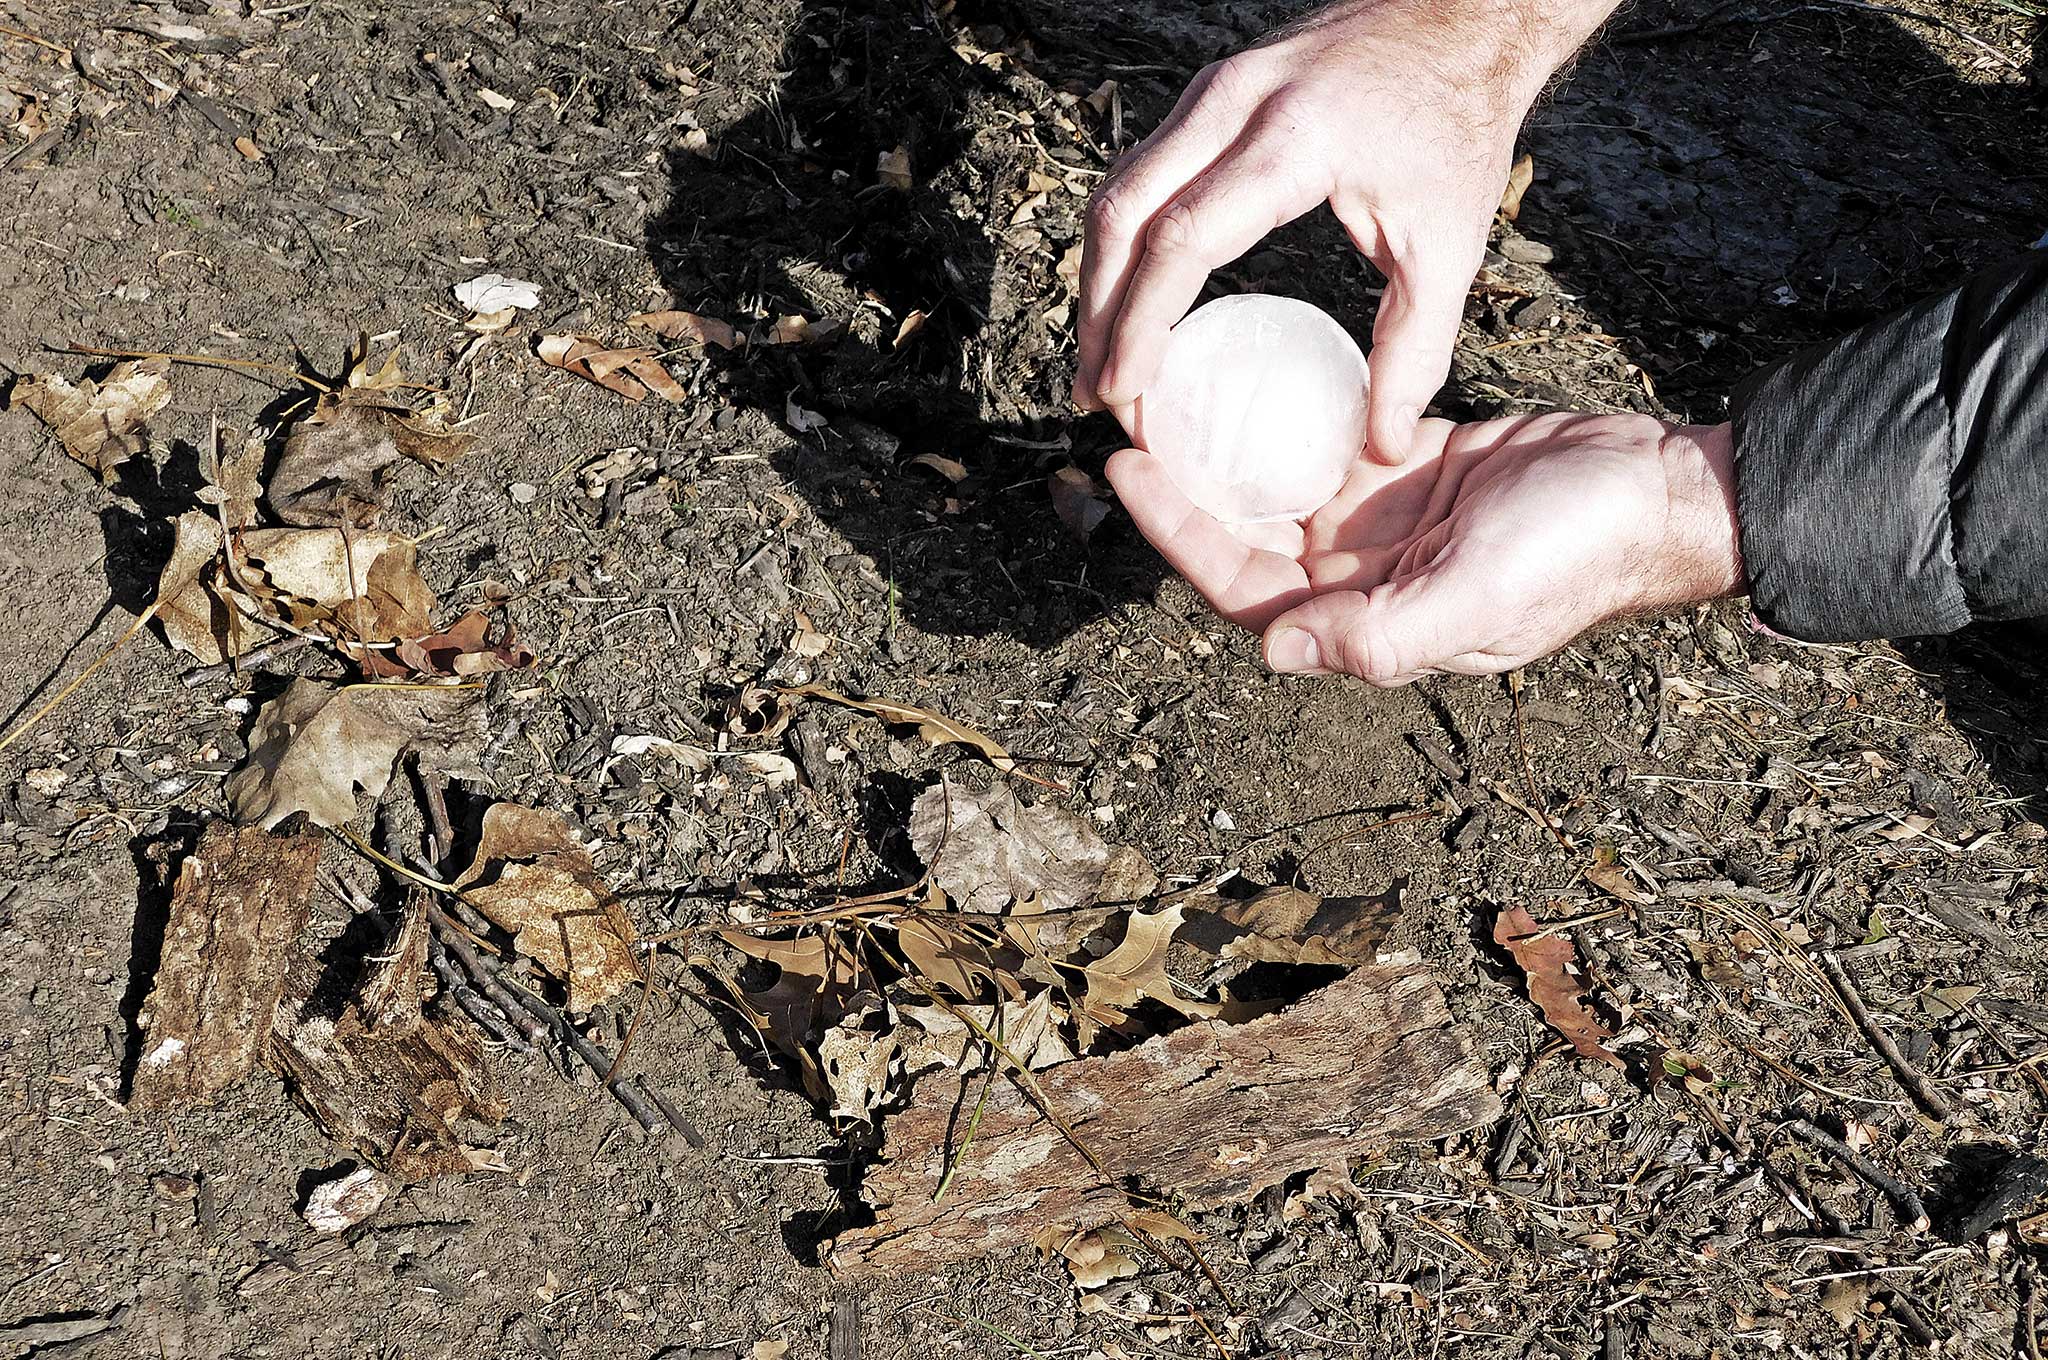
Fire Starting Methods 3. Ice lens
Difficulty: 5
Supplies: Ice
Lens-based fire starting techniques are commonly known and practiced. Some find them easy, while others find them rather difficult to successfully create fire. Commonly used lenses come in the form of a magnifying glass, water bottle, eyeglasses, or any other actual or makeshift lenses. One option, which may be more prevalent than others in cold weather, is ice.
Steps:
- Locate as clear a piece of ice as possible.
- Cut or break off a piece about the size of your palm.
- With your hand, rub the ice smooth on one side and convex on the other.
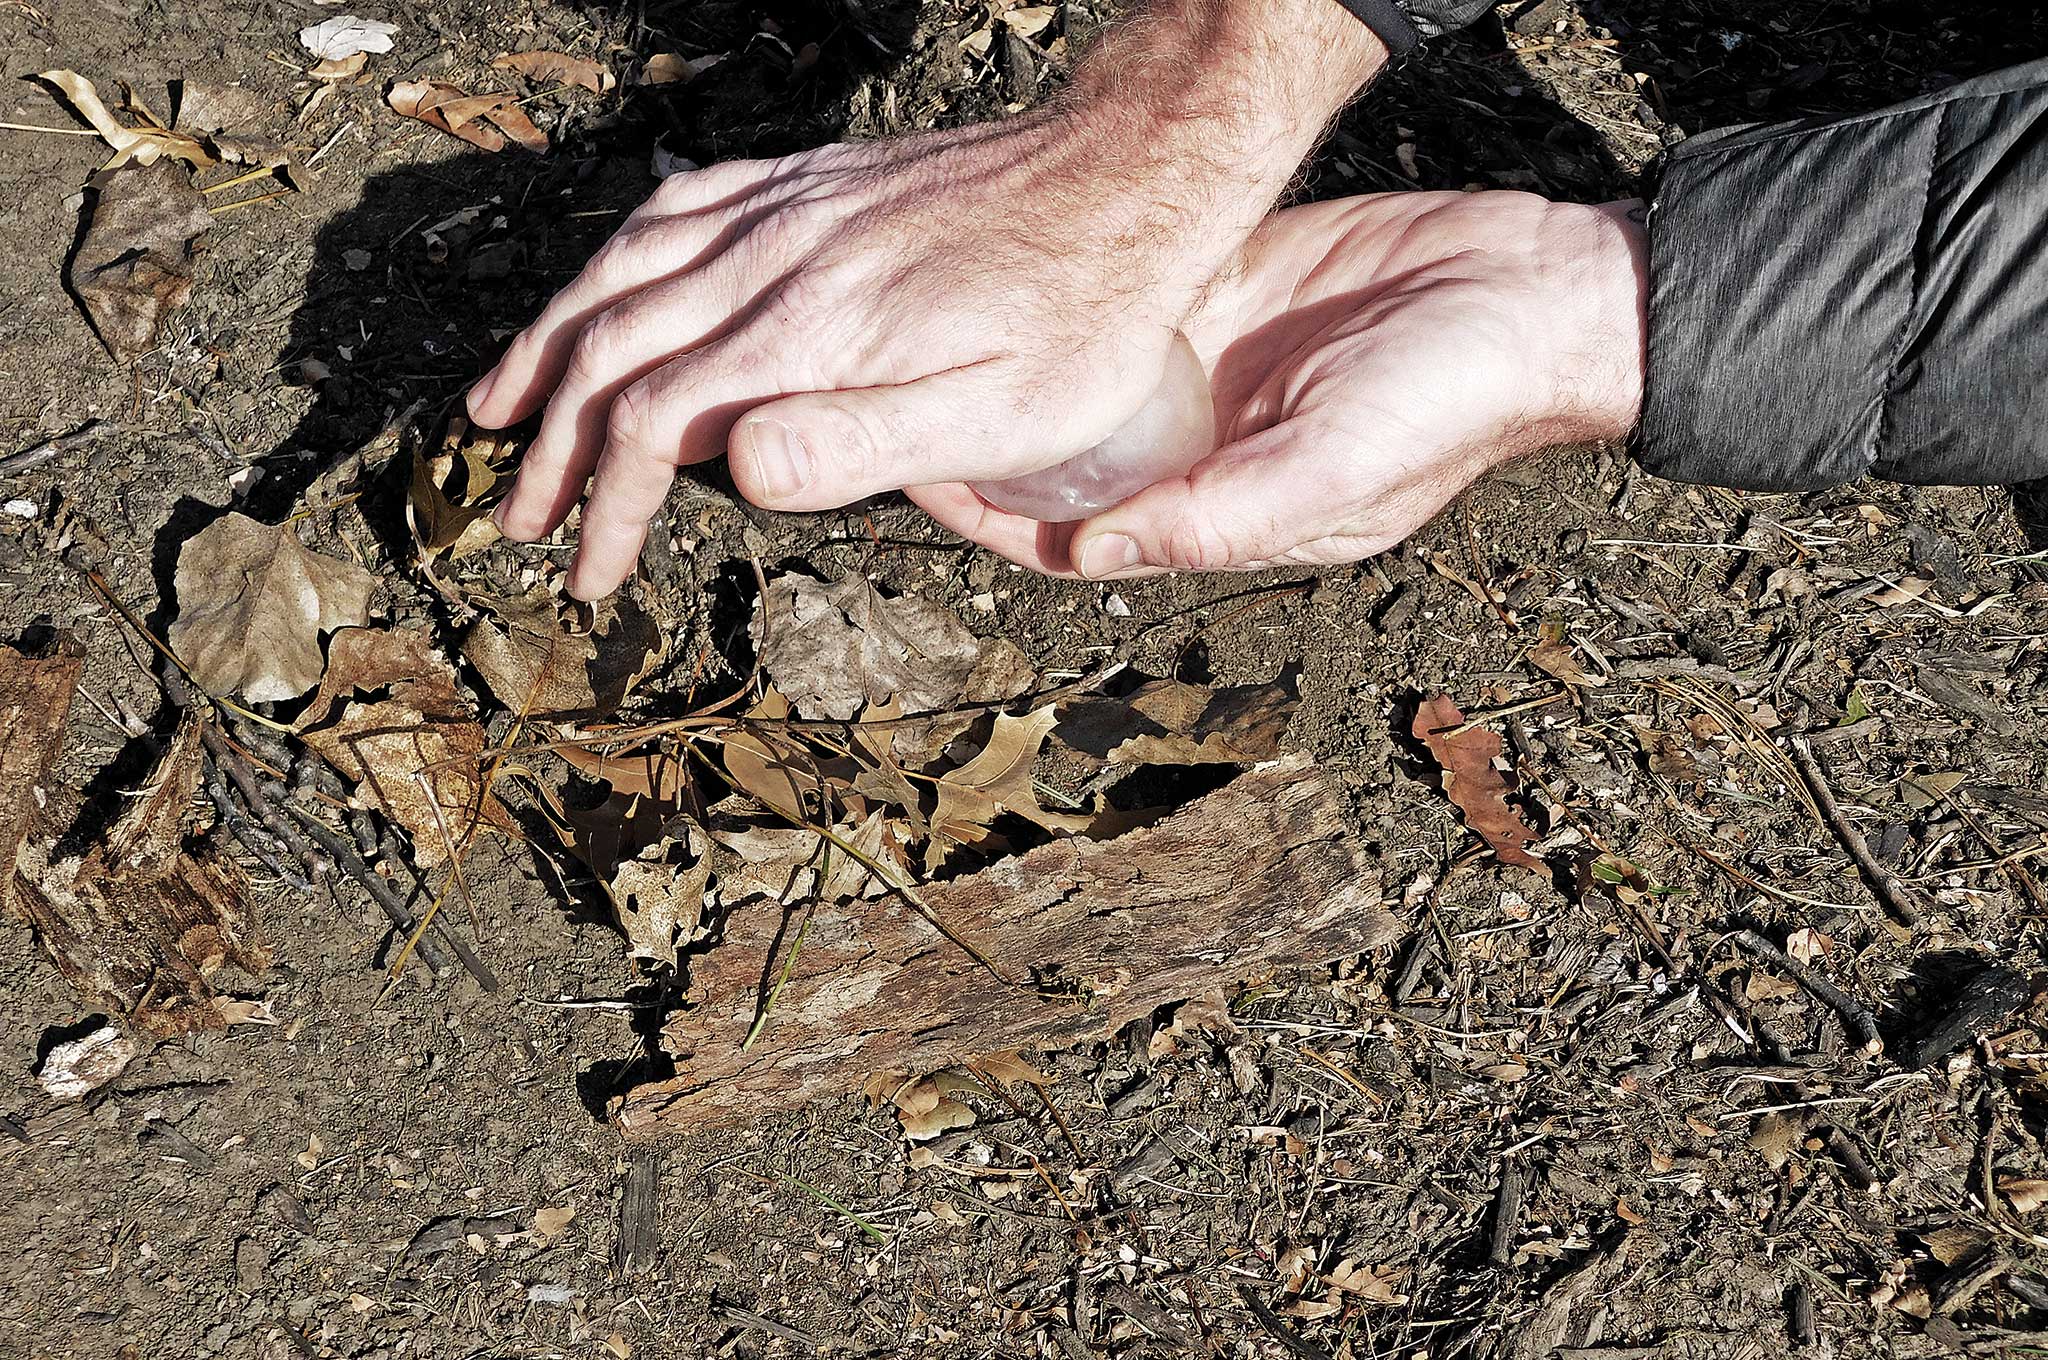
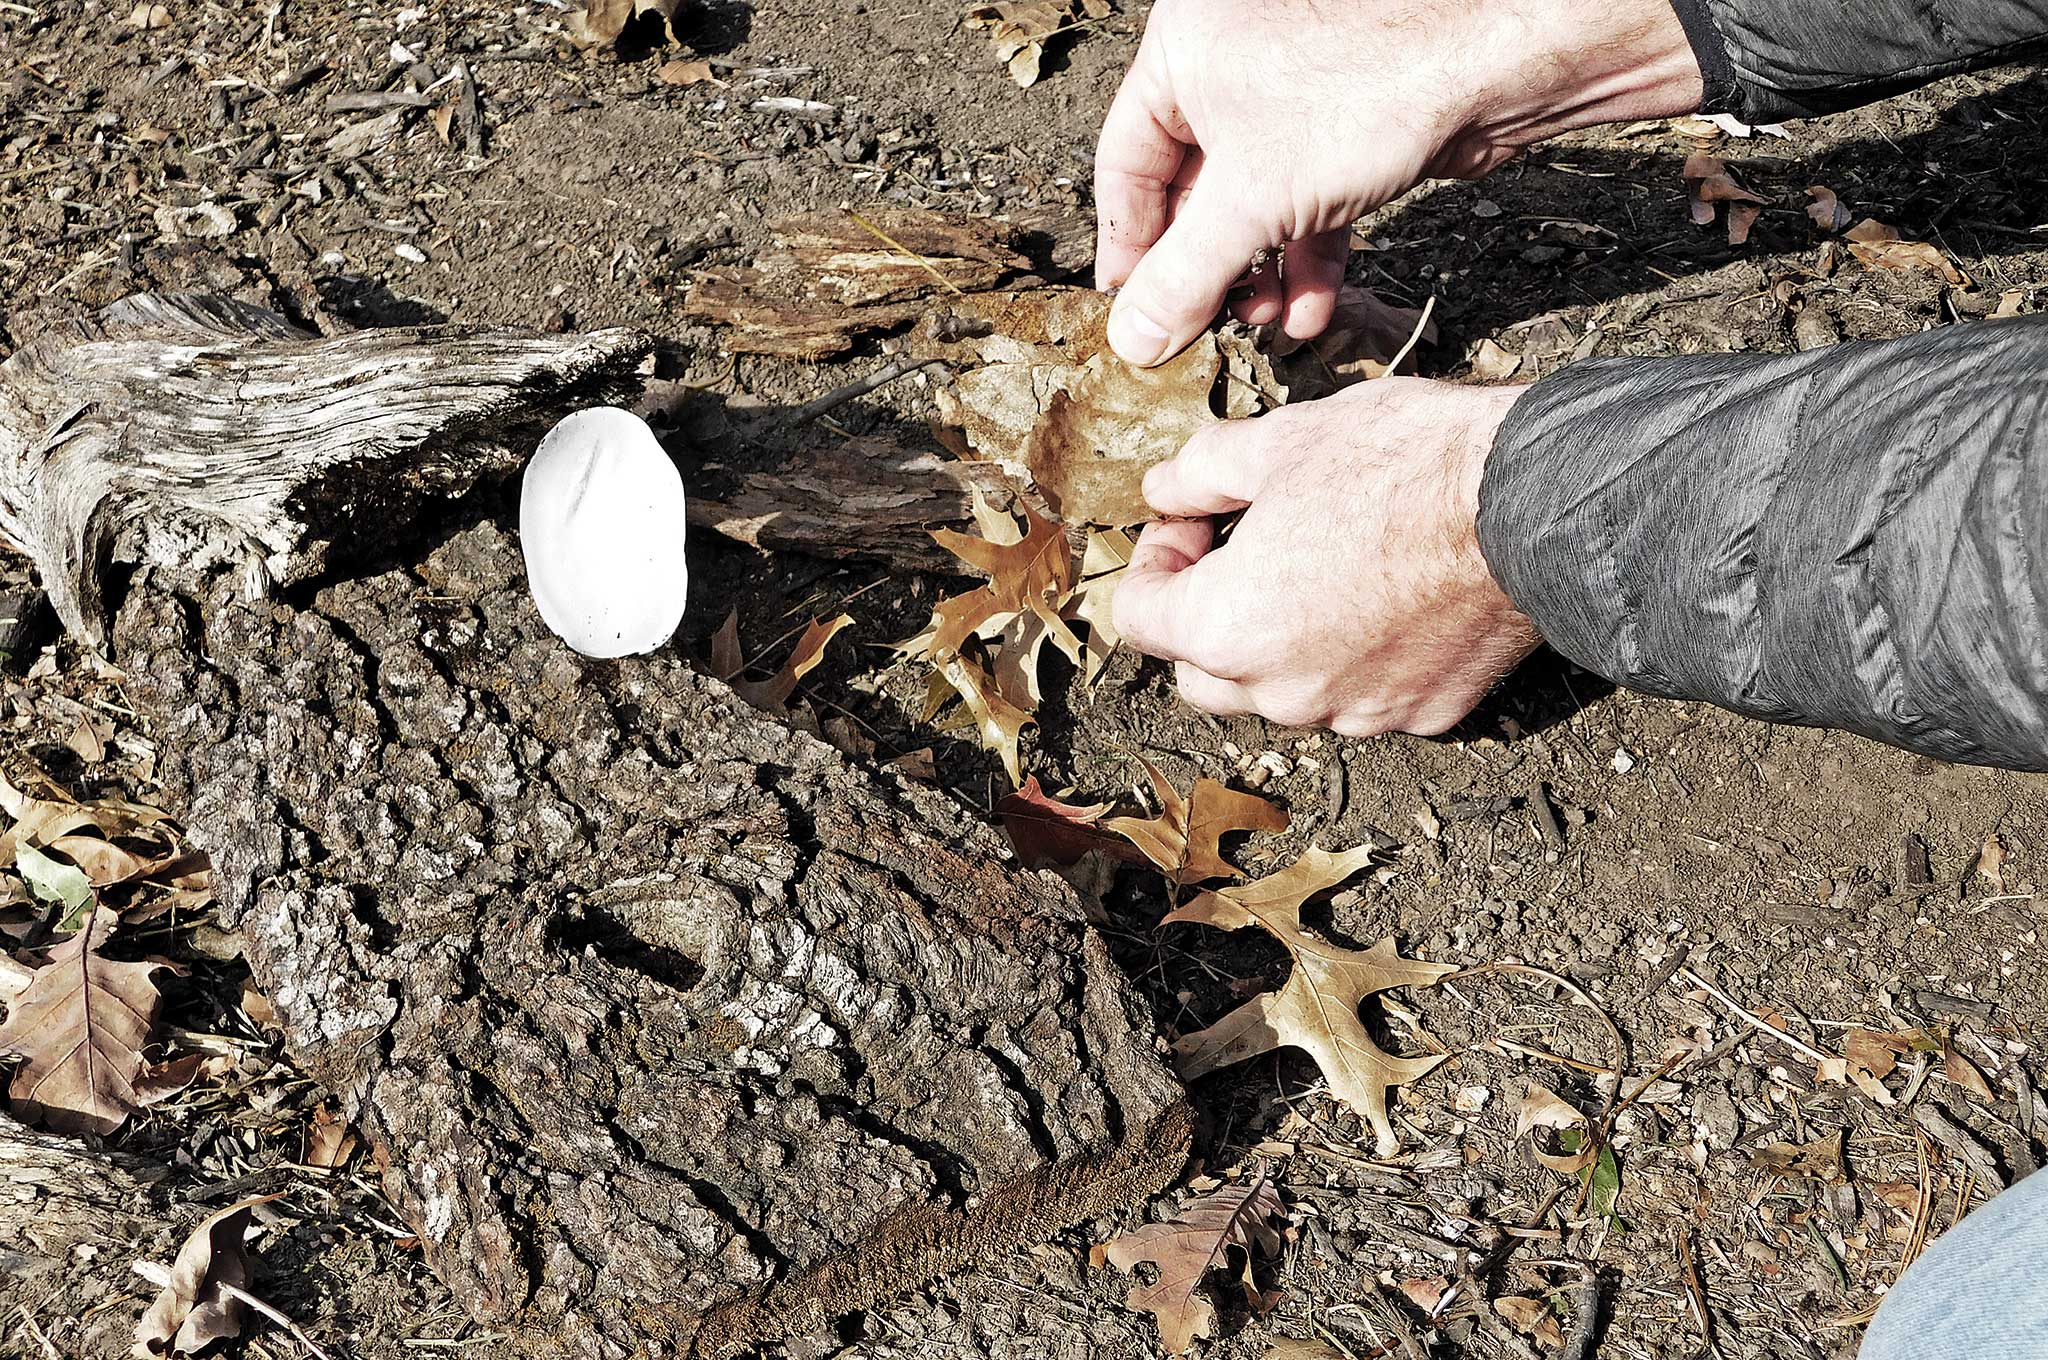
- Prop the ice with a rock or wood to allow sunlight to pass through and focus on one specific spot.
- Place light kindling (the darker the better) at the focal point of the sunlight.
Other Considerations
Only use your ungloved hand to shape the ice if there are immediate ways to rewarm your hand, otherwise you could expedite frostbite.
Conclusion
For every person you ask, you'll get a handful of differing responses as to the best ways to start a fire in a survival situation. There are tried-and-true methods that've been utilized for as long as humans have walked the earth. You certainly have your own opinions. One thing everyone can agree on is to start with the easiest methods first. If those are not an option, some outside-the-box techniques may need to be employed. It's those unusual and extreme techniques that must be practiced before needed. Try these out and become proficient with them so when the need arises, it's not the first time you've tried it. One sure way to improve your chances for success is to prepare in advance!
More From Issue 24
Don’t miss essential survival insights—sign up for Recoil Offgrid's free newsletter today!
- Carrying & Dragging Techniques – Let's Get Carried Away
- Multi-Tools Buyer's Guide
- Issue 24 Gear Up
- Review: Dometic CFX35W Portable Refrigerator Freezer
- Review of Prepper Guns by Bryce M. Towsley
- The Myths of Dealing With Frostbite
- Merino Wool Baselayers Buyer's Guide
- The Diabetic Survivalist
- Advanced Fire-Starting Techniques in Cold Weather
- What If Your Cruise Ship Is Hijacked?
- Hiking Boot Buyer's Guide – Take a Hike
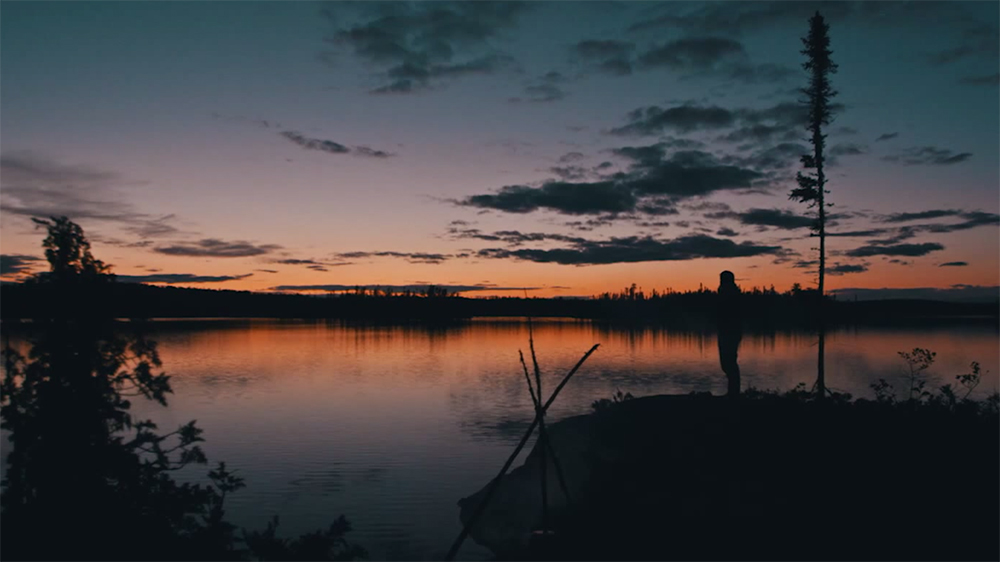
- Lost In The Wild Survival Tips – Get Lost
- How E.J. Snyder Paved a Road to Survivalist Success
- Must-Have Items for Survival in Hostile Regions
Read articles from the next issue of Recoil Offgrid: Issue 25
Read articles from the previous issue of Recoil Offgrid: Issue 23
Check out our other publications on the web: Recoil | Gun Digest | Blade | RecoilTV | RECOILtv (YouTube)
Editor's Note: This article has been modified from its original version for the web.


 Hank Janssen
 Joey Nickisher
 Gary Presson