The Annual Disaster Statistical Review of 2016 ranked the United States second on the list of countries most frequently hit by natural disasters. A 2016 FBI report found that there was a 4.1-percent rise in violent crime in the U.S., totaling over 1.2 million incidents.
According to a Washington Post article, “a Federal Emergency Management Agency (FEMA) survey found that nearly 60 percent of American adults have not practiced what to do in a disaster by participating in a disaster drill or preparedness exercise at work, school, or home in the past year. Further, only 39 percent of respondents have developed an emergency plan and discussed it with their household. This is despite the fact that 80 percent of Americans live in counties that have been hit with a weather-related disaster since 2007.”
FEMA’s findings highlight that people still choose to be oblivious, nonchalant, or just plain irrational about the importance of preparedness, even when faced with the serious risk of a life-altering disaster. This behavior is often referred to as normalcy bias, a psychological state that causes us to ignore the likelihood of disaster and assume our lives will always remain normal.
A more common name for this type of behavior is denial. According to 19th century neurologist Sigmund Freud, denial is classified as a defense mechanism. He categorizes it in three ways:
- Simple Denial: Completely denying that something unpleasant is happening.
- Minimization: Admitting an unpleasant fact, but denying its seriousness.
- Projection: Admitting an unpleasant fact and the seriousness of it, but choosing not to take responsibility for it or blaming someone else for it.
Simple Denial
Often when we hear about traumatic or stressful situations, the people who lived through them say something like, “I can’t believe this is happening to me.” The unfortunate reality is that bad things happen to good people every day. Whether we do it consciously or subconsciously, humans have a tendency to avoid negative experiences. Our lives slowly become one-sided, allowing us to experience only the things we feel are pleasant.
When we feel something may be unpleasant, we avoid or remove ourselves from it. This creates the illusion that we’re safe from the things that we don’t want to happen — that somehow we’re in complete control of our experiences in the world. However, when the unavoidable truth of an unfortunate event interrupts our lives, we can’t believe it’s happening because it’s not something we chose.
At martial arts seminars, we sometimes use aggressive language with people who aren’t used to hearing it. In response, students often freeze or need a break because they simply aren’t used to the projection of energy given off by aggressive language. Many people aren’t able to process it, because it’s abnormal and jarring. So, they deny it, usually leading to inaction. This happens in survival and disaster preparation as well. People are so far removed from the idea of a traumatic experience that they believe it’s impossible and choose not to prepare.
Minimization
People with military experience have almost certainly encountered this type of denial. In order to keep up with the group an injured soldier will often minimize his or her injuries. The individual may say, “I hit the ground really hard and landed on my hip weird; it hurts, but I’m OK,” even as they’re barely able to walk. In the context of disaster, this happens when people repress situations they’ve lived through.
For example, think of someone who lost everything in a flood, or lost heat and power during a storm. Immediately after the event, they tell everyone how horrible it was and how they were on the precipice of not making it. The difficulty is made clear, but after a few months have passed, it just becomes a cool story. Gradually, the event fades into a distant fairytale, rather than a real and lasting memory that invokes action to minimize future risk. The survivor may make statements such as, “That was a little scary, but I was fine.” However, those who spoke with them immediately following the event may recall a much more dramatic and dire story.
Repression is tempting because few want to dwell on their hardships, especially those that were made significantly worse based on their own lack of action and preparation.
This then leads to a cycle of avoiding the truth in order to avoid acknowledging personal failures.
Projection
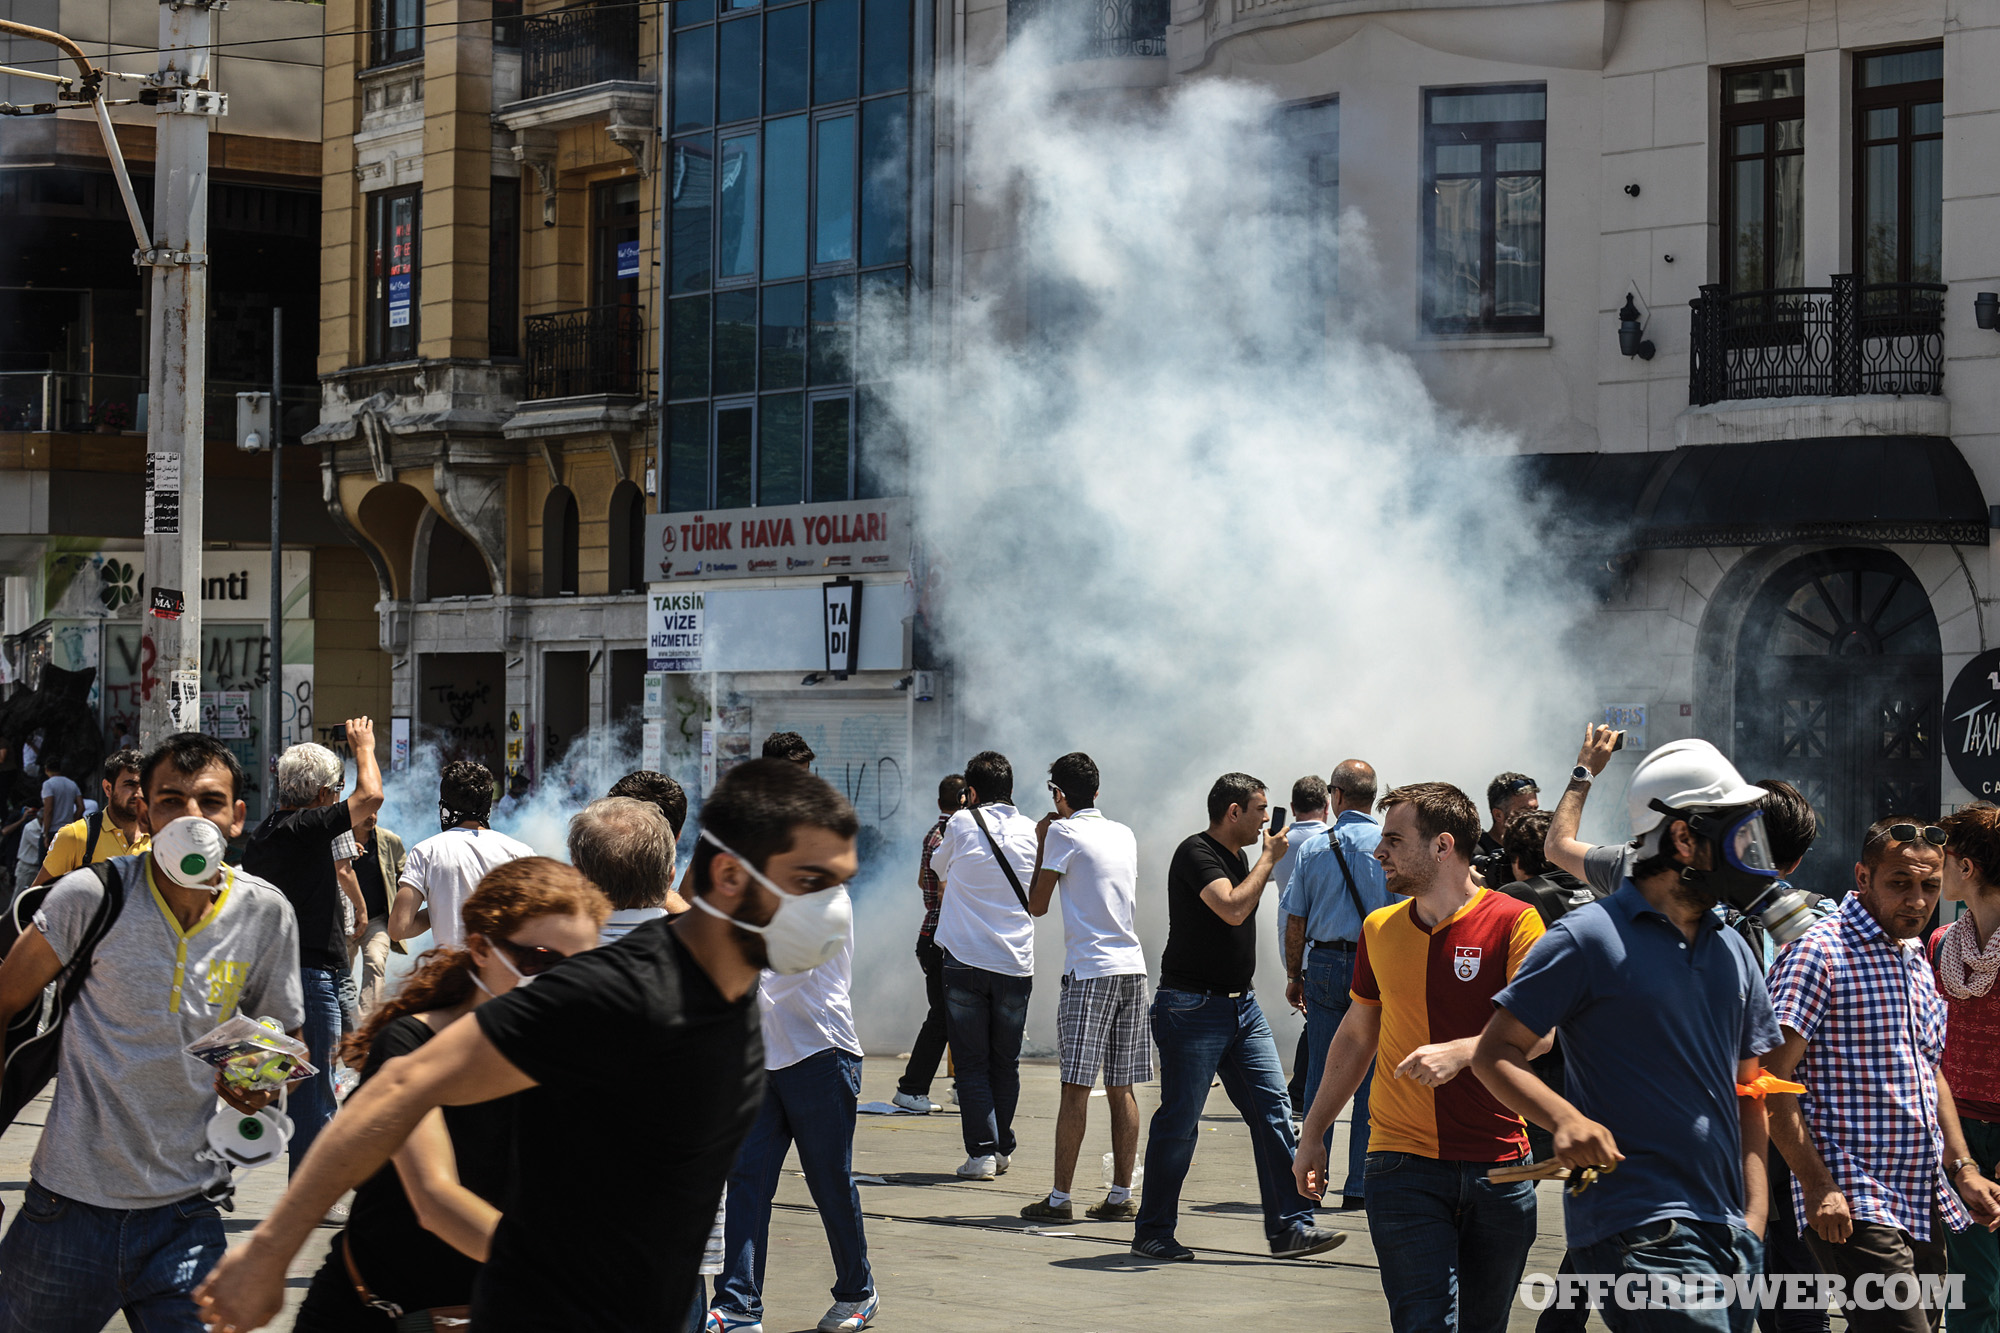
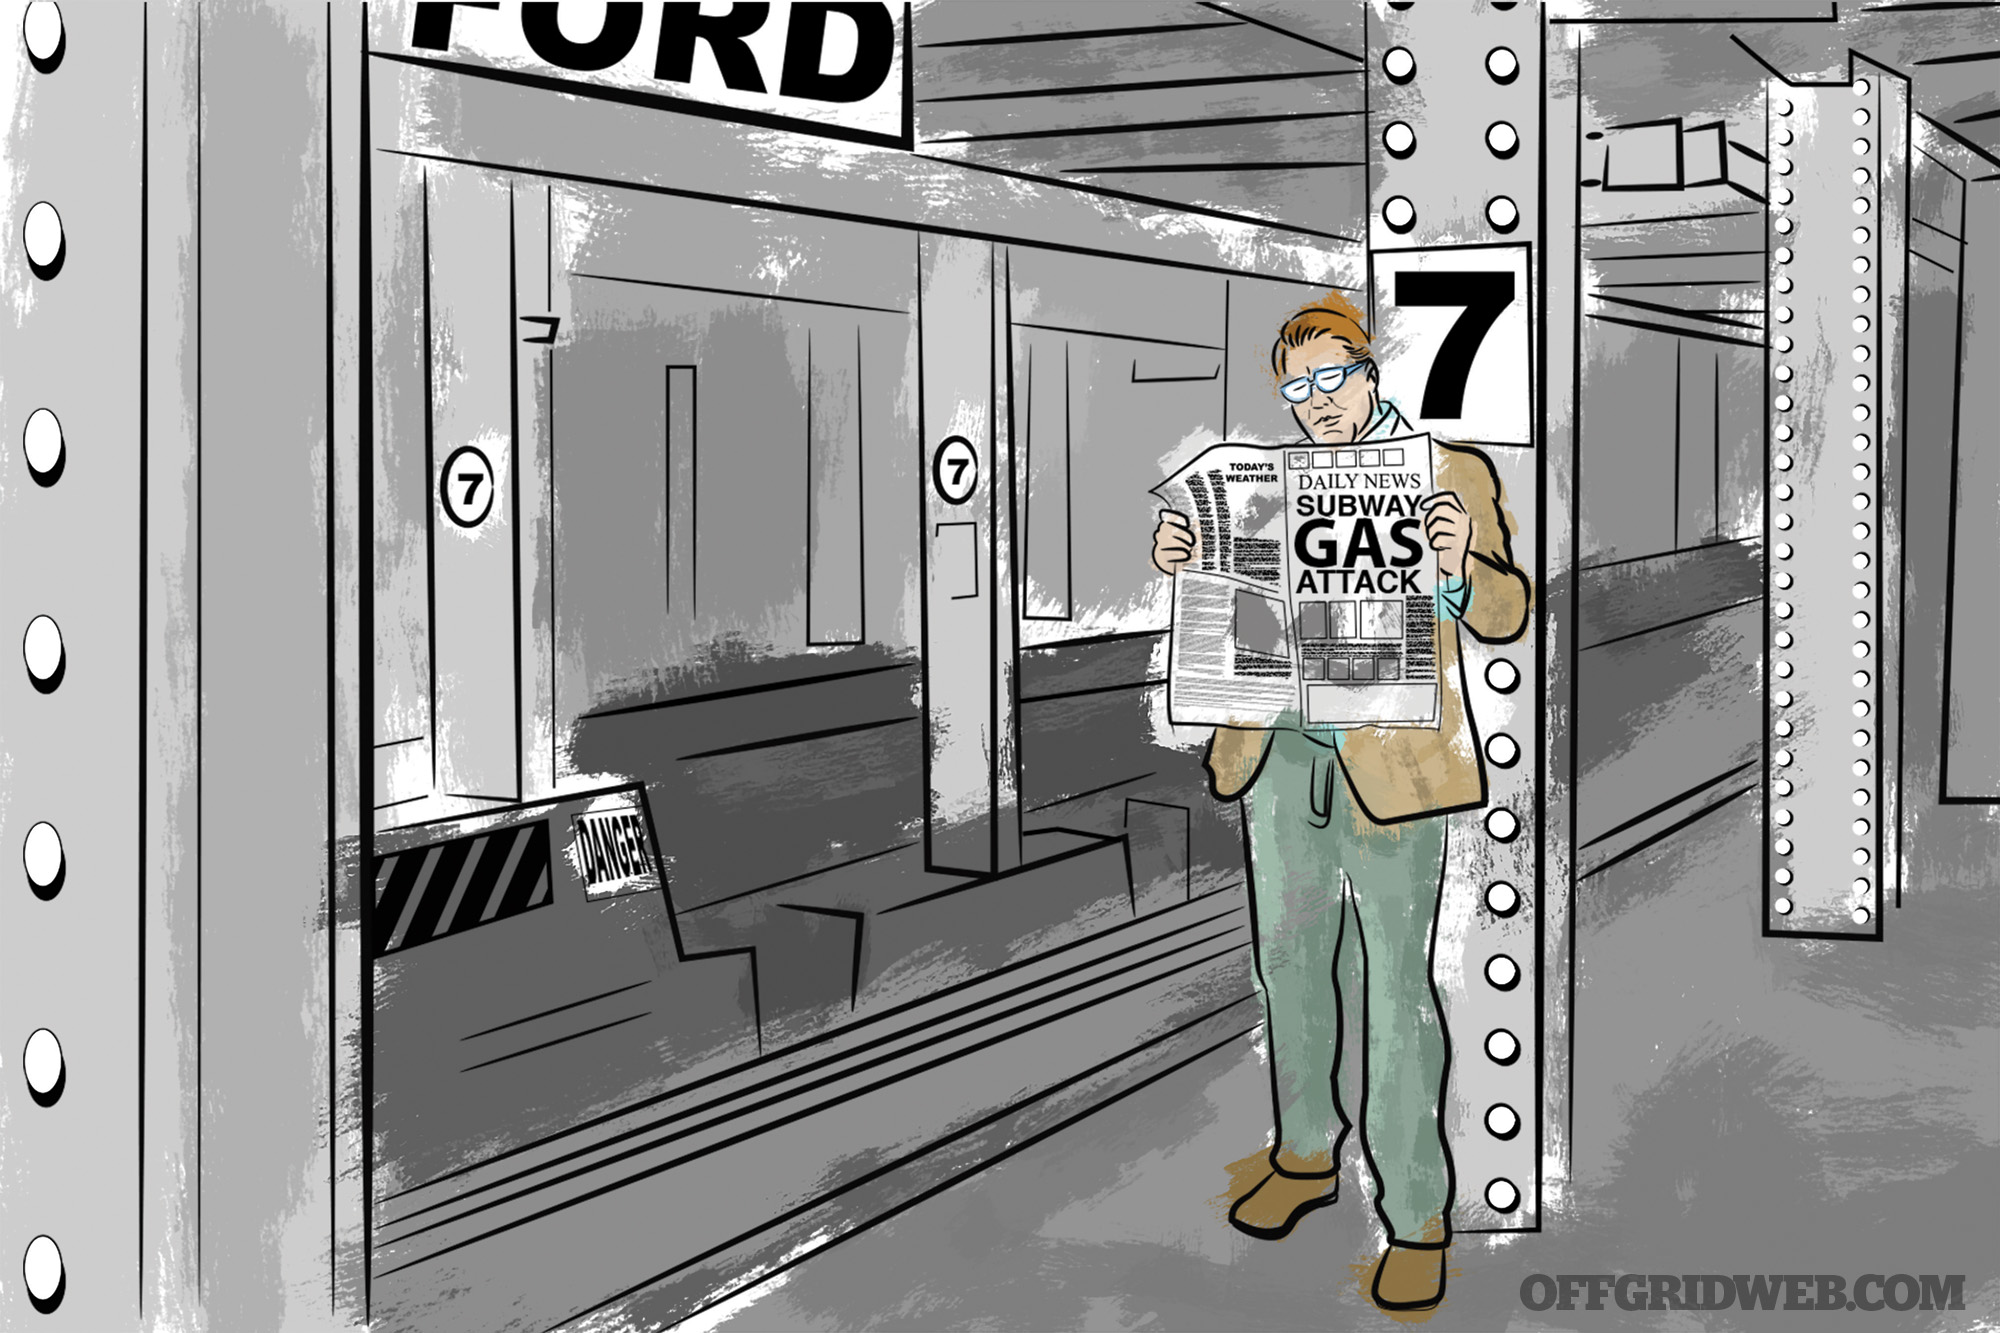
We’ve all seen it happen — a storm is reported moving toward an area, and residents are warned to leave that area. However, rather than evacuating, many choose to stay. Segments on the news feature locals stating, “I don’t think it will be that bad” or “I’ll just ride it out.” Then the storm comes, those areas are decimated, and some of those same people end up on the news complaining about the slow response time of rescuers and the lack of adequate medical care, food, and shelter.
Those of us watching are empathetic, but often wonder why they didn’t prepare or evacuate when the warnings went out. The answer is summed up in a word: projection. This is a state of denial where someone acknowledges the seriousness of a situation, refuses to take action, and then blames someone else for the resulting consequences. Projection can manifest itself in several ways:
Procrastination: A simple example of this inaction is in the field of investing and financial planning. A study done by Northwestern Mutual showed that 58 percent of Americans feel their financial efforts need improvement and that 34 percent have done nothing to plan for their financial future. Rather than attempting to adjust our priorities and plan for the future, we often choose to wallow in despair.
Shifting responsibility: People sometimes don’t take action because the task is so overwhelming that they have a hard time imagining an outcome and thus a solution. Instead, they often push the responsibility off on a perceived authority. Victims often make statements like, “That’s why I pay taxes, so emergency responders can be equipped to help in a disaster.”
Peer pressure: Often a response to an issue can be tempered by our desire for social acceptance from our peers. If a friend or a neighbor feels like it’s not a concern, we may conform our own beliefs. Humans naturally resort to pack mentality when the going gets tough. For example, when a storm warning is issued, milk and bread are often sold out at grocery stores. Despite the fact that shelf-stable items and canned food would be better options during a disaster, shoppers follow the crowds and fight over items that appear most desirable, regardless of their actual value.
Simple Solutions
As you can see, failure to prepare is often a result of denial. It’s OK to be skeptical about what could and will happen, but to stick your head in the sand and deny the possibility of danger is unhealthy and foolish. You don’t have to become a disaster guru or a doomsday prepper to be prepared for a natural disaster; all you need is a slight change in mindset and to take some small actions that’ll lead to big results if something does happen. Here are four simple steps to defend against disaster denial and prepare for the inevitable storm:
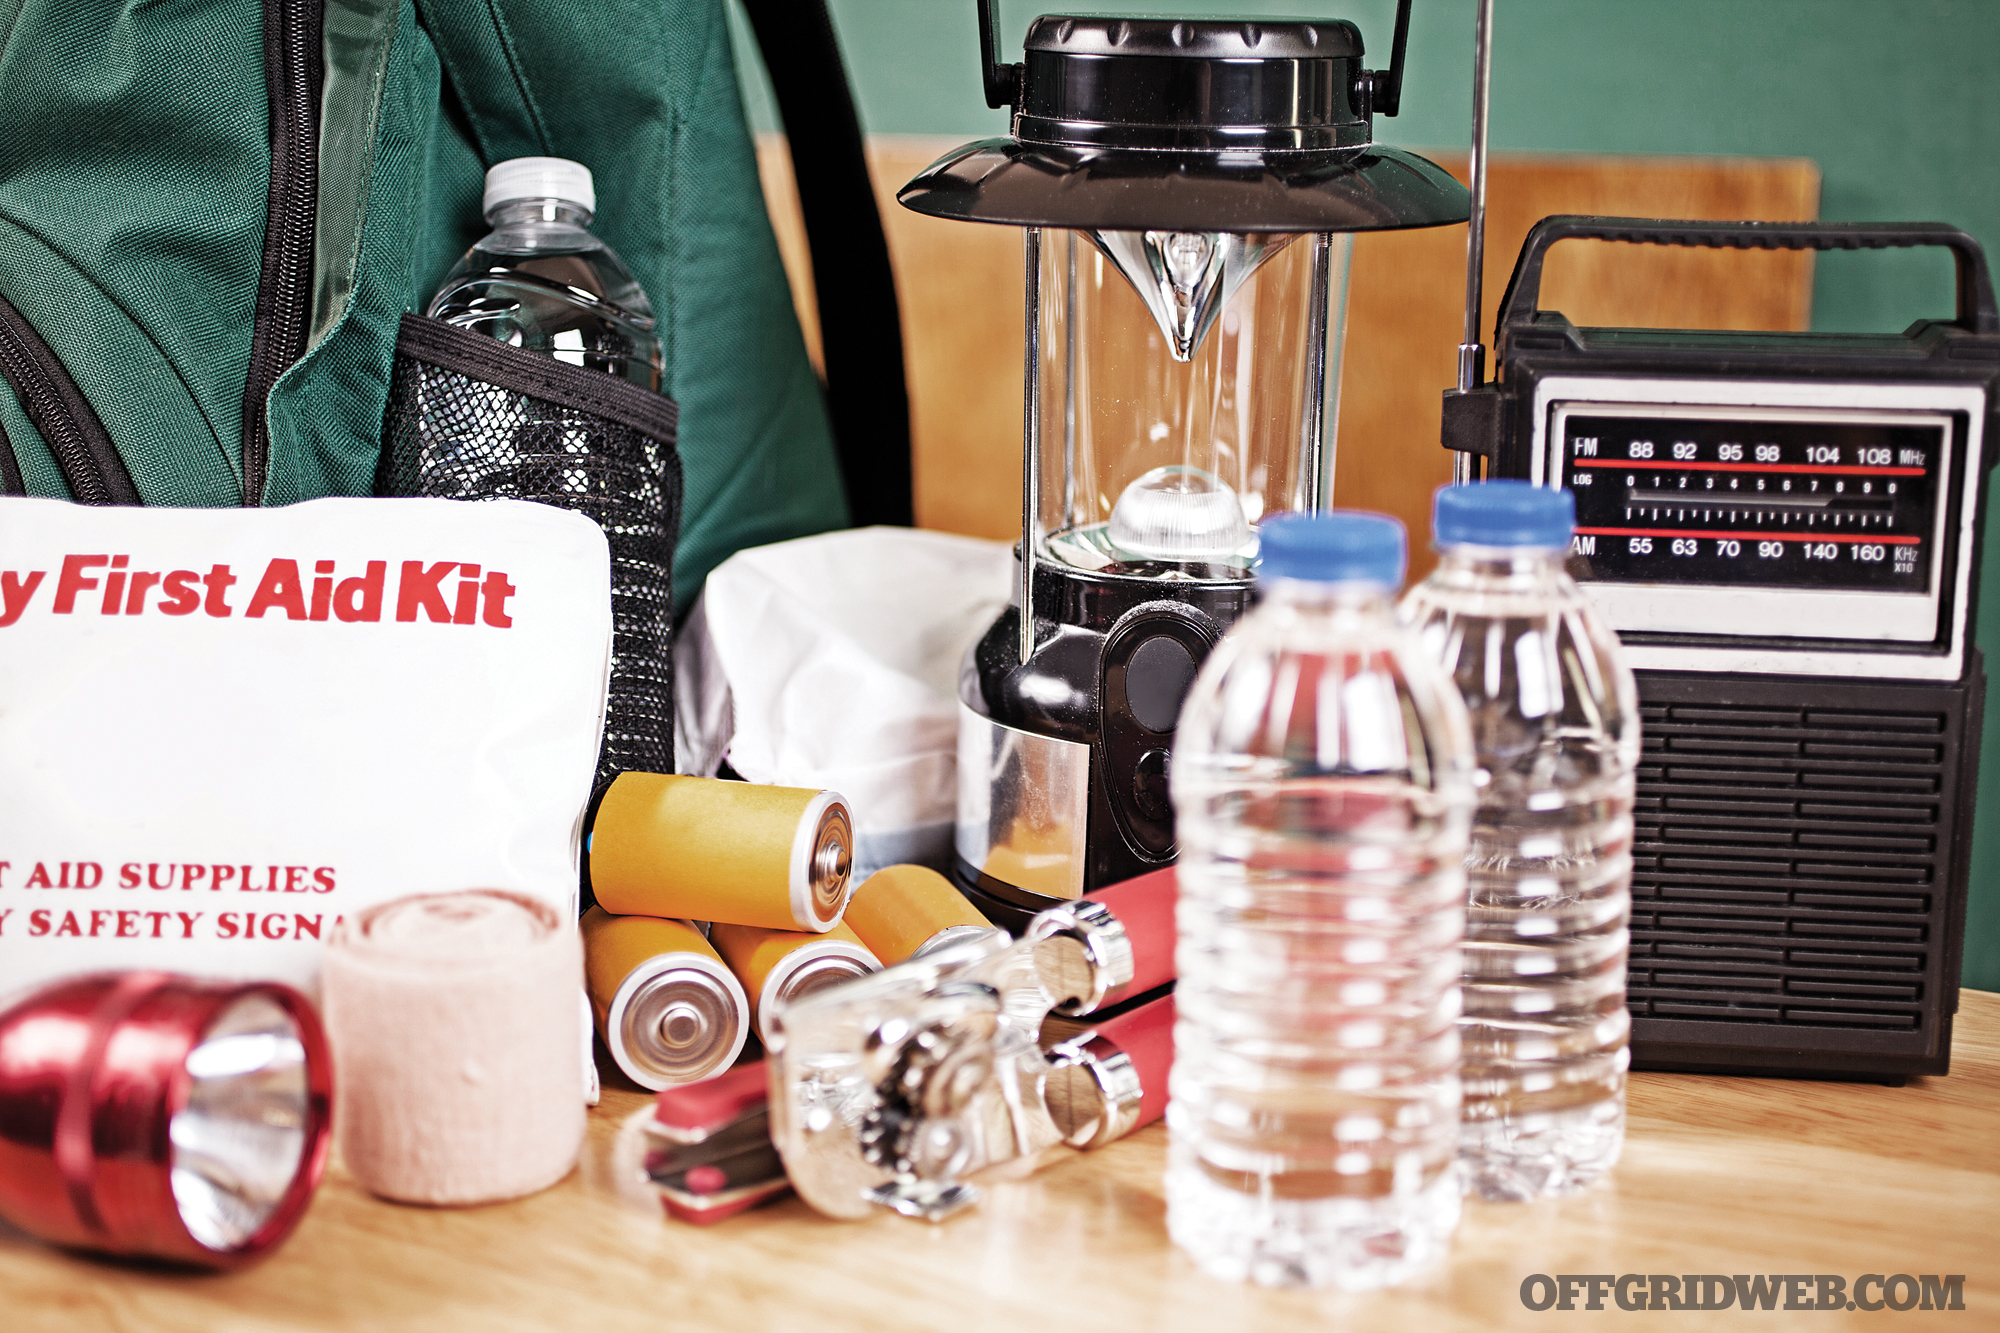
Accept that it’s a good idea to have some bare essentials around the house just in case you need them. This forms a general foundation of preparedness, even if the possibility of a disaster seems unlikely. Better to have it and not need it …
Accept the fact that disasters are inevitable. Turn on the news, and you’ll see disasters happening everywhere. It may not be today or tomorrow, but something may happen close to you at some point. If you accept this truth, it’ll make facing the shock of a disaster a lot easier to overcome, potentially improving your response time.
Study the type of disasters that have happened in your area, even if they’re not recent. A few decades ago, you’d have to go to a library to figure this out, but now the answer is one Google search away. Once you’ve done some research, compile a list of preparations to improve your situation during an event like this.
Don’t allow yourself to get overwhelmed or burned out. Think of training to be fit or studying for a degree — none of this happens overnight. This is a marathon, not a sprint, so gradually get to a point you feel comfortable. As is often the case with New Year’s resolutions, biting off more than you can chew tends to lead to failure.
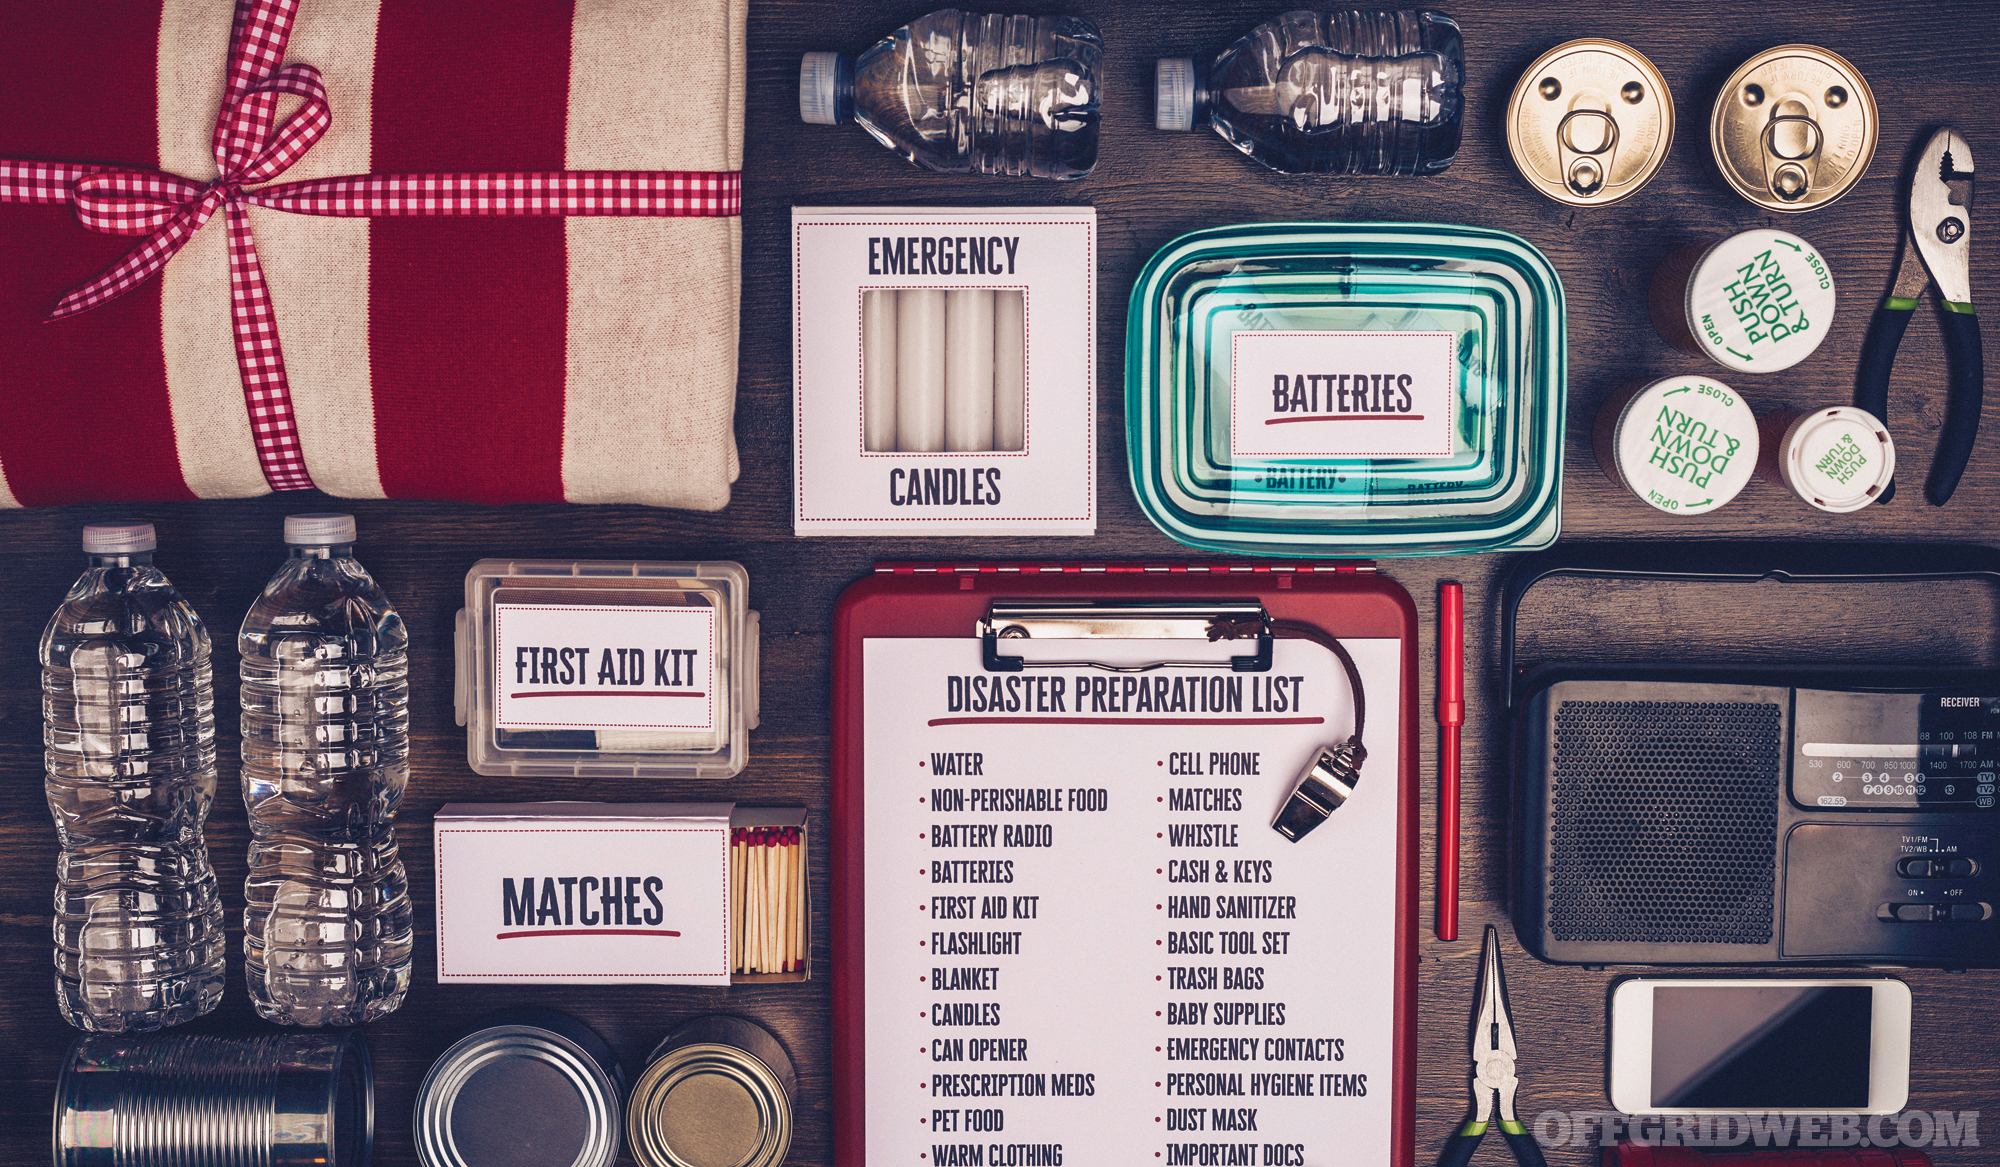
So rather than trying to become a full-on disaster prepper tomorrow and wiping out your bank account to buy a bunker, start slowly. Buy an extra case of water or canned food once a month. Find room in your budget to gradually accumulate supplies. Soon you’ll find that you’ve built a strong emergency kit. Enroll in basic first-aid classes to learn CPR and skills that could potentially save someone’s life. Spend a weekend taking an urban or wilderness survival course. Once you take that initial step, things become easier, and you find ways to incorporate further preparatory measures into your life.
As far as others you know who have a history of avoidance problems, you might not be able to convince everyone to also become more interested in prepping, but you have nothing to lose by trying. Invite friends or colleagues to attend those same classes with you. That first encounter may be enough to get them thinking about their thinking more. You’ve planted that seed, and that may be all it takes for them to see the importance of changing some bad behaviors and becoming more proactive. What’s the worst that can happen? They might say no, but that doesn’t mean you can’t keep trying.
Conclusion

As we become more technologically advanced and wrapped up in our digital reality, our physical reality becomes much less pressing. We don’t experience danger or fear the same way our ancestors did. We’re quick to remove ourselves from environments we don’t enjoy or that make us uncomfortable, surrounding ourselves with our social media echo chambers. Our new belief is that reality is only what we want to be real, and facts are only what we choose to believe. Unfortunately, when life and nature prove us wrong, we find ourselves grossly underprepared. This isn’t because we weren’t warned, but because we chose not to act.
What will you do with this knowledge? Will you shrug this off as an interesting read, or will you share your passion for preparedness with your family, friends, and neighbors, encouraging them to take some small steps to prepare themselves for what will come? Make today the day you accept denial for what it is, in yourself and in those around you, and work to defy it. Be as ready as you can be with the knowledge and resources at your disposal.
Sources
- www.citylab.com/environment/2015/07/why-you-dont-really-care-about-the-next-big-one/398969/
- www.orau.gov/cdcynergy/erc/content/activeinformation/essential_principles/EP-psychology_content.htm
- www.ceep.ca/resources/Guterman2005_Psychological_Preparedness_for_Disaster.pdf
- www.minddisorders.com/Del-Fi/Denial.html
- www.statista.com/statistics/236504/number-of-natural-disasters-in-the-us-by-type/
- www.minddisorders.com/Del-Fi/Denial.html
- medical-dictionary.thefreedictionary.com/Denial+(psychology)
- www.psychologytoday.com/blog/our-emotional-footprint/201512/the-denial-reality
About the Author
A former psychological-operations sergeant with the U.S. Army, Hakim Isler is the designer of several wilderness survival products and the owner of Elevo Dynamics, the first “Dojym” (a 24-hour gym and martial-arts facility) in the United States. He is also the founder of the SOIL Foundation, a nonprofit that offers off-grid training and excursions to help veterans, law enforcement, and civilians recover from anxiety, depression, and PTSD. Isler is a fourth-degree black belt in To-Shin Do.
More From Issue 26
Don’t miss essential survival insights—sign up for Recoil Offgrid’s free newsletter today!
- Book Review: “100 Deadly Skills” by Clint Emerson
- Debunked: Sucking Venom from a Snakebite
- Review: Fast-Act Chemical Decontamination Ready Kit
- Cooler Heads Will Prevail: Wide Brim Hat Buyer’s Guide
- Review: Henry U.S. Survival AR-7 Rifle
- The Disaster of Denying Disaster
- Cody Lundin Spotlight – Moral Compass
- Save Your Breath: Preparing for a Chemical Weapon Attack
- Off-Grid Driver’s Ed: Learning to Drive a UTV
- Vaporwear: Gas Mask Buyer’s Guide
- The Road Less Traveled in a Yamaha Wolverine X4
- What If Your Subway is Attacked With Chemical Weapons?
- Pocket Preps: Identification Lights
- Issue 26 Gear Up
Read articles from the next issue of Recoil Offgrid: Issue 27
Read articles from the previous issue of Recoil Offgrid: Issue 25
Check out our other publications on the web: Recoil | Gun Digest | Blade | RecoilTV | RECOILtv (YouTube)
Editor’s Note: This article has been modified from its original version for the web.