In This Article
Photos by Firelance Media
It was 07:00 at the New Hampshire Police Standards and Training Compound. I stood at attention, holding a duffle bag stuffed with all the essentials for the next 13 weeks of my life. Standing as tall as my 5-foot-2 frame would allow, I had the world figured out. A New Hampshire state trooper, with his campaign hat pulled down low, got just 2 inches from my face and bellowed, “Why are you here?” My meek reply was, “I want to help people.” He screamed, “It's called human compassion — we all have it! You better dig deeper and figure out why you're really here!”
And so began my journey to becoming a peace officer. What would seem to most like a simple interaction completely changed my mindset from a confident college grad to that of a young woman who had no survival plan for that day, the next 13 weeks, my law enforcement career, or my future.
The truth is that most people, in general, don't have a survival mindset, let alone a plan of action if something were to go wrong. Male, female, prepper, or just a responsible citizen who wants to be prepared for worst-case scenarios — we can all use a little guidance in making sure we're taking daily steps to prepare for the unknown. Fast forward a decade and a half; I've learned a lot since my formative years at the police academy. So, here are the top five survival lessons I've learned that have guided my success in law enforcement and continue to keep me safe in my everyday life.
Lesson 1: Prep Your Mind
We're all guilty of multi-tasking — biting off more than we can chew. Have you ever thought of how this may affect your decision-making ability? As a law enforcement officer, I'm tasked more times than not to make split-second decisions that can affect not only my own life, but also those around me — perpetrators, witnesses, and innocent bystanders. It became very apparent early in my career that complete mental focus on the task at hand was essential for my safety and those around me.
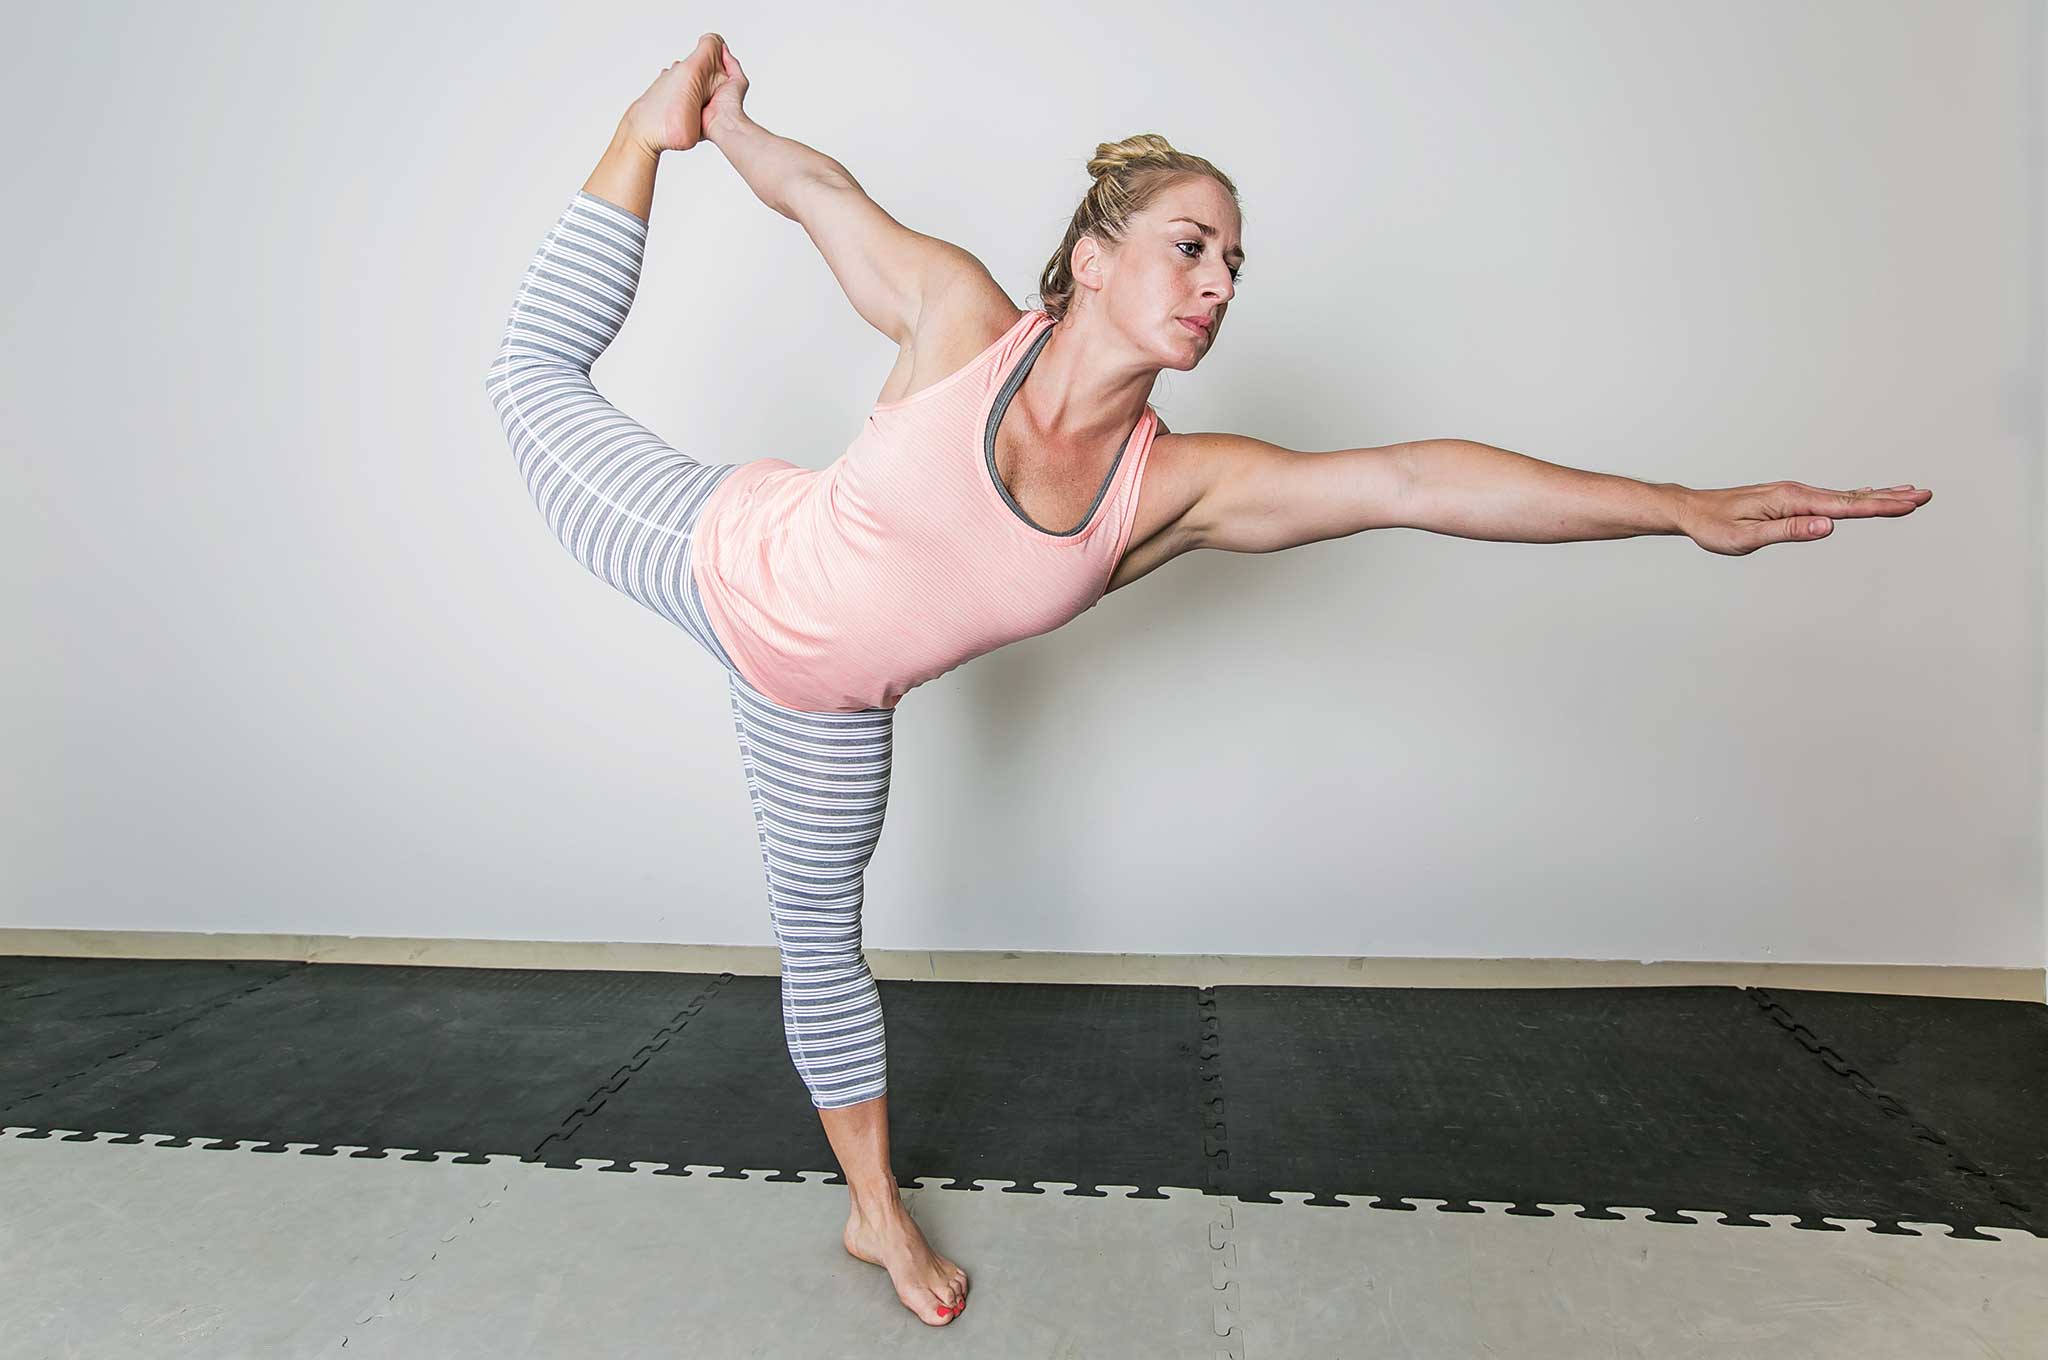
Mental clarity is key to making sound decisions when SHTF. Practicing yoga, meditating, or just intentionally...
Survival Application: More often than not, when the unexpected occurs, chaos erupts. Prepping your mind at the start of the day will allow your mind and body to relax. Clarity can be characterized by the balance of physical, mental, and emotional well-being. Finding daily mental clarity will help alleviate the body's chaotic response (i.e. shallow breathing, increased heart rate) to uncontrollable incidents (e.g. stress, threats, etc.). Good decisions hinge on mental clarity.
Start each morning with affirmations of your daily routine, priorities, and intentions. When things don't go as planned, immediately derive a new plan of attack based on options you've already considered. Be a problem solver.
Also, consider writing down a list of goals — be they daily, weekly, or long-term goals. Make sure you have parameters in place to rectify deficiencies if you don't reach your goals. Don't let things linger. When issues aren't put to rest, they occupy space in our psyche and can inadvertently alter our decision-making process.
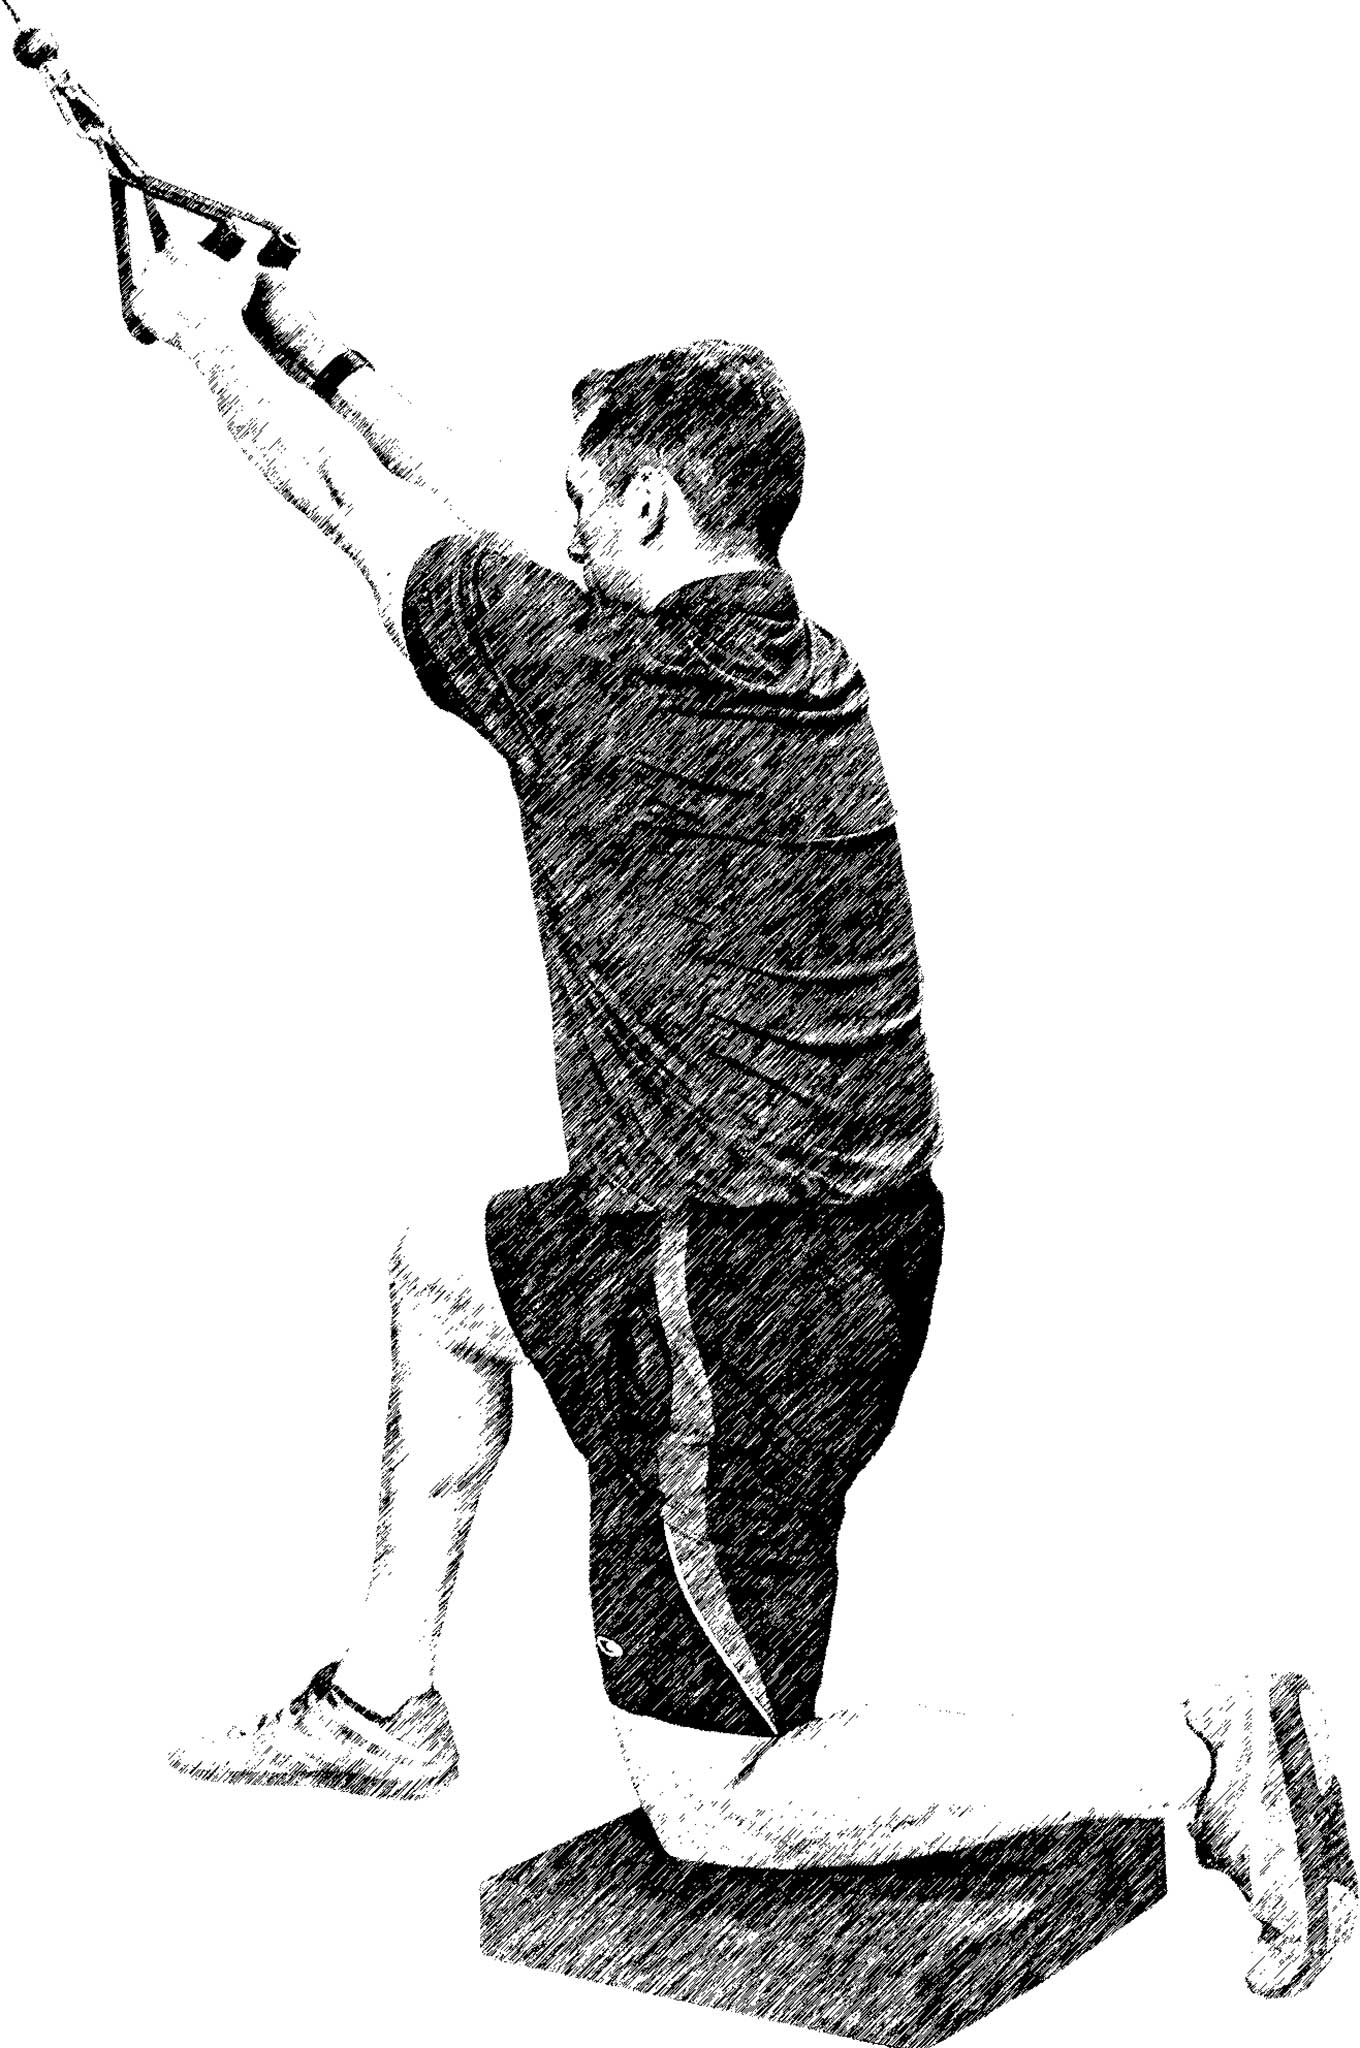
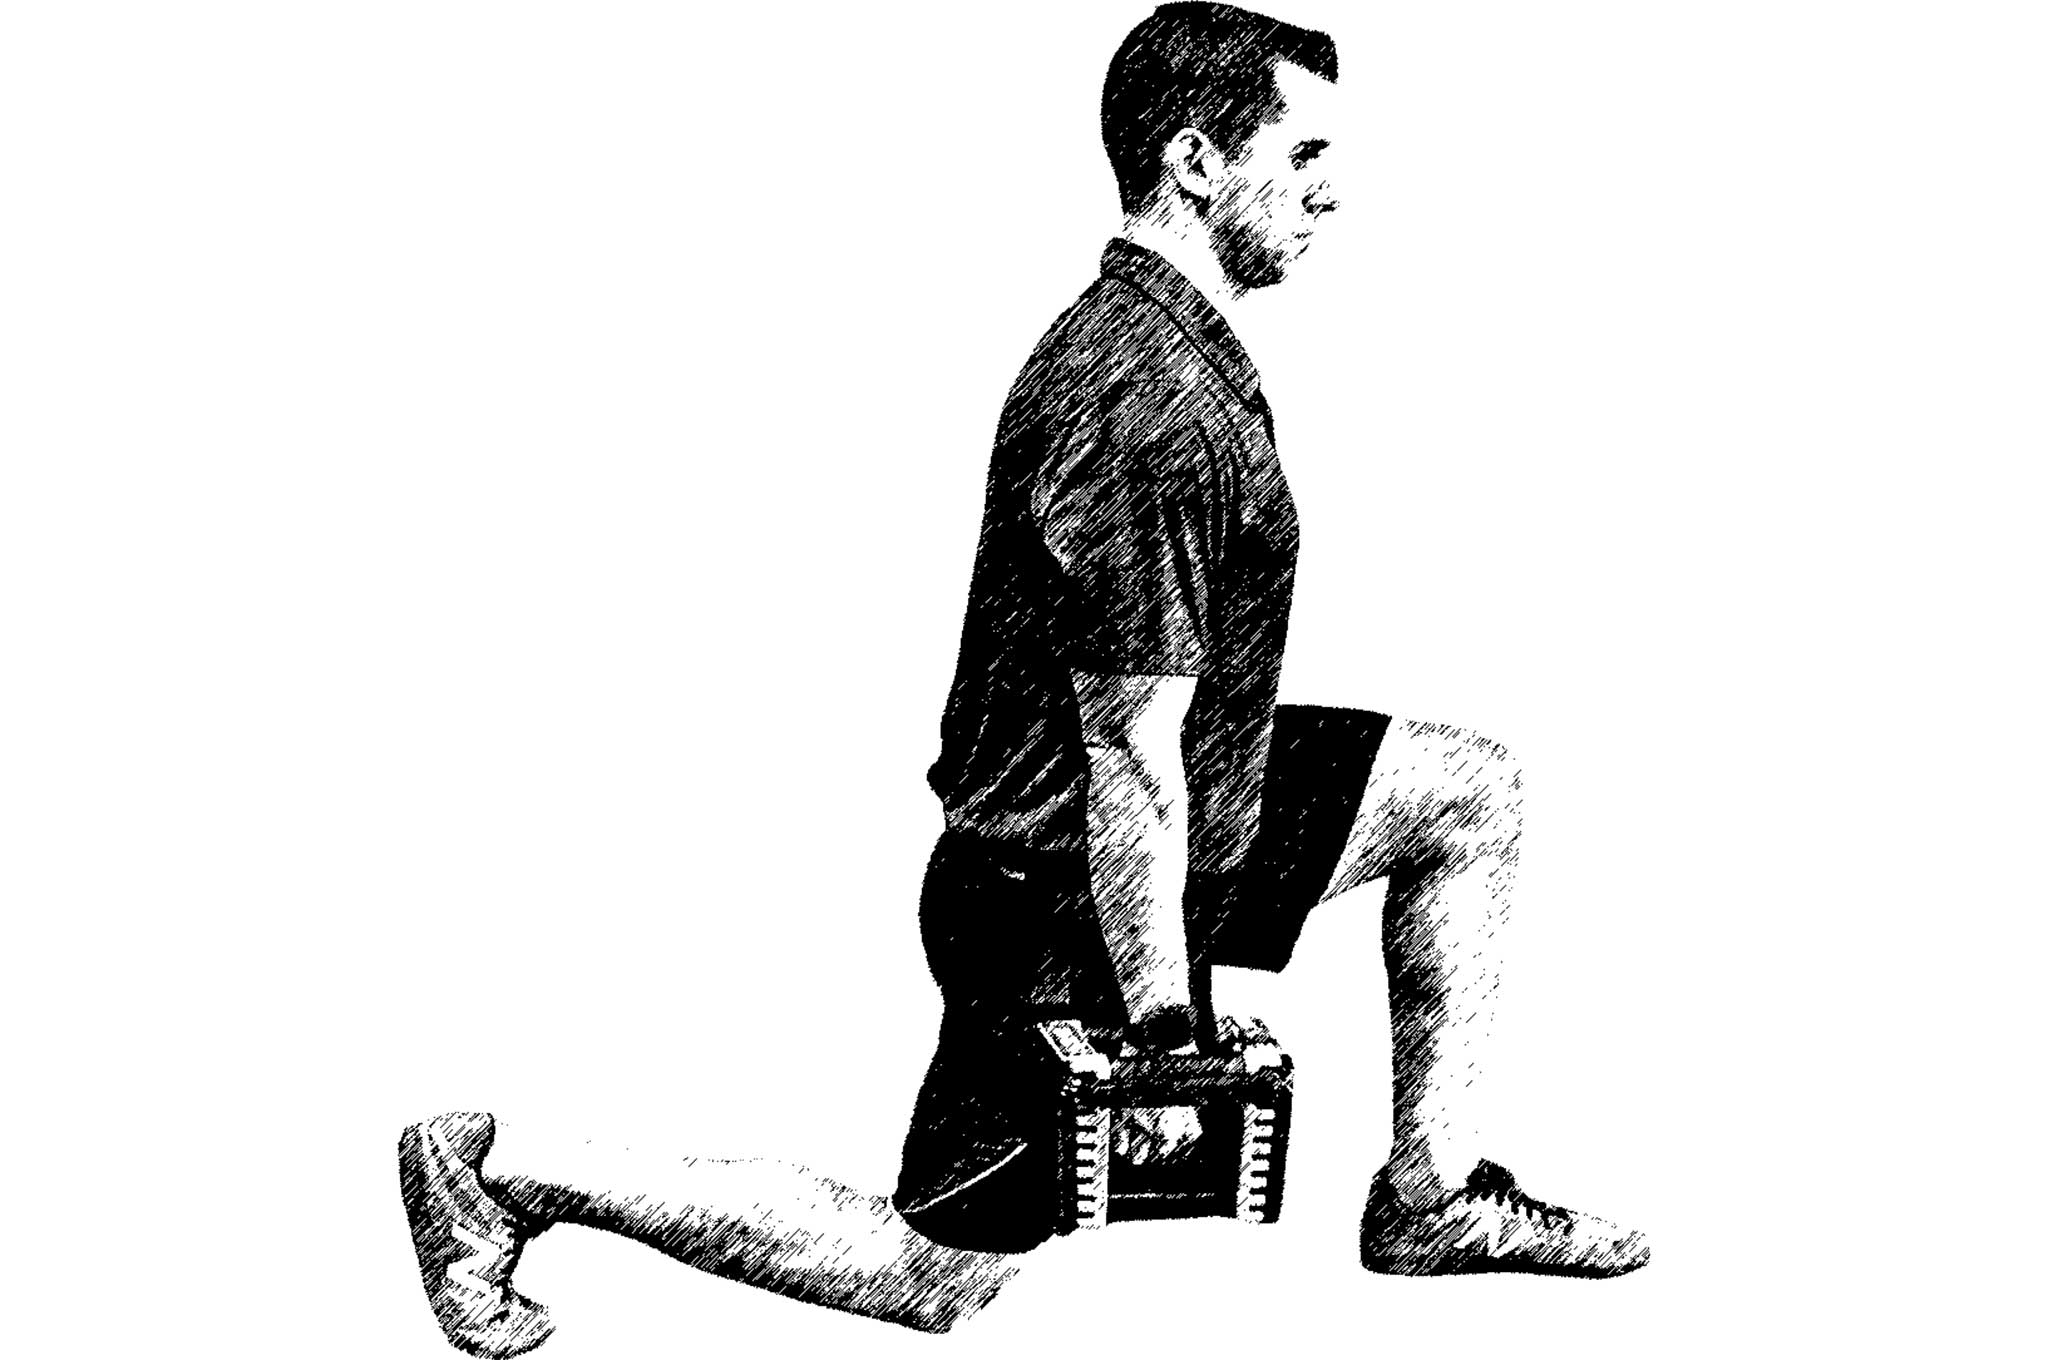
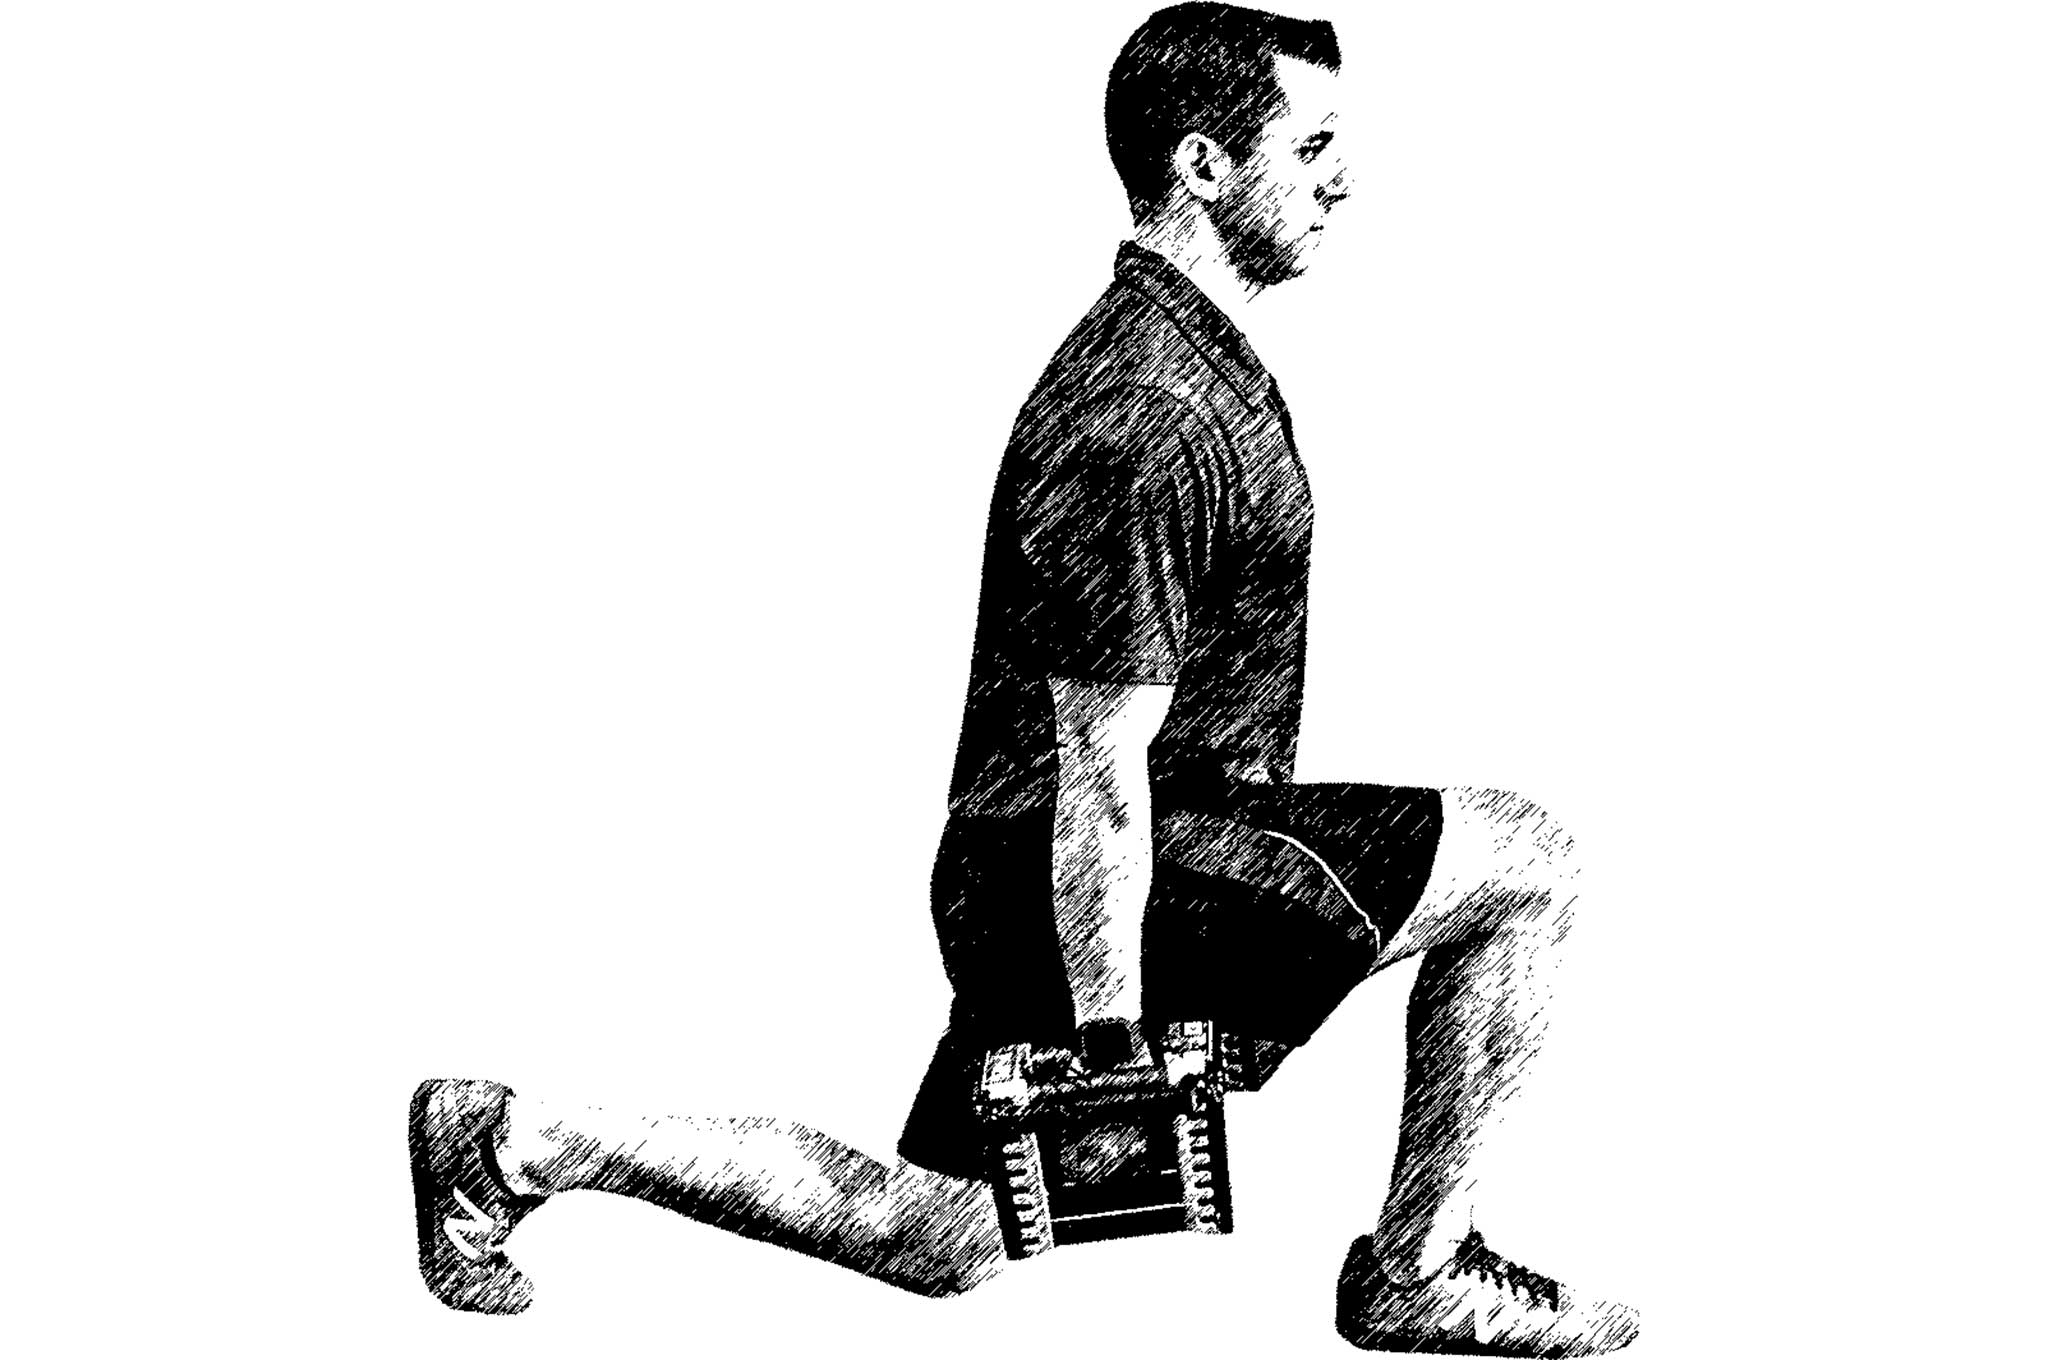
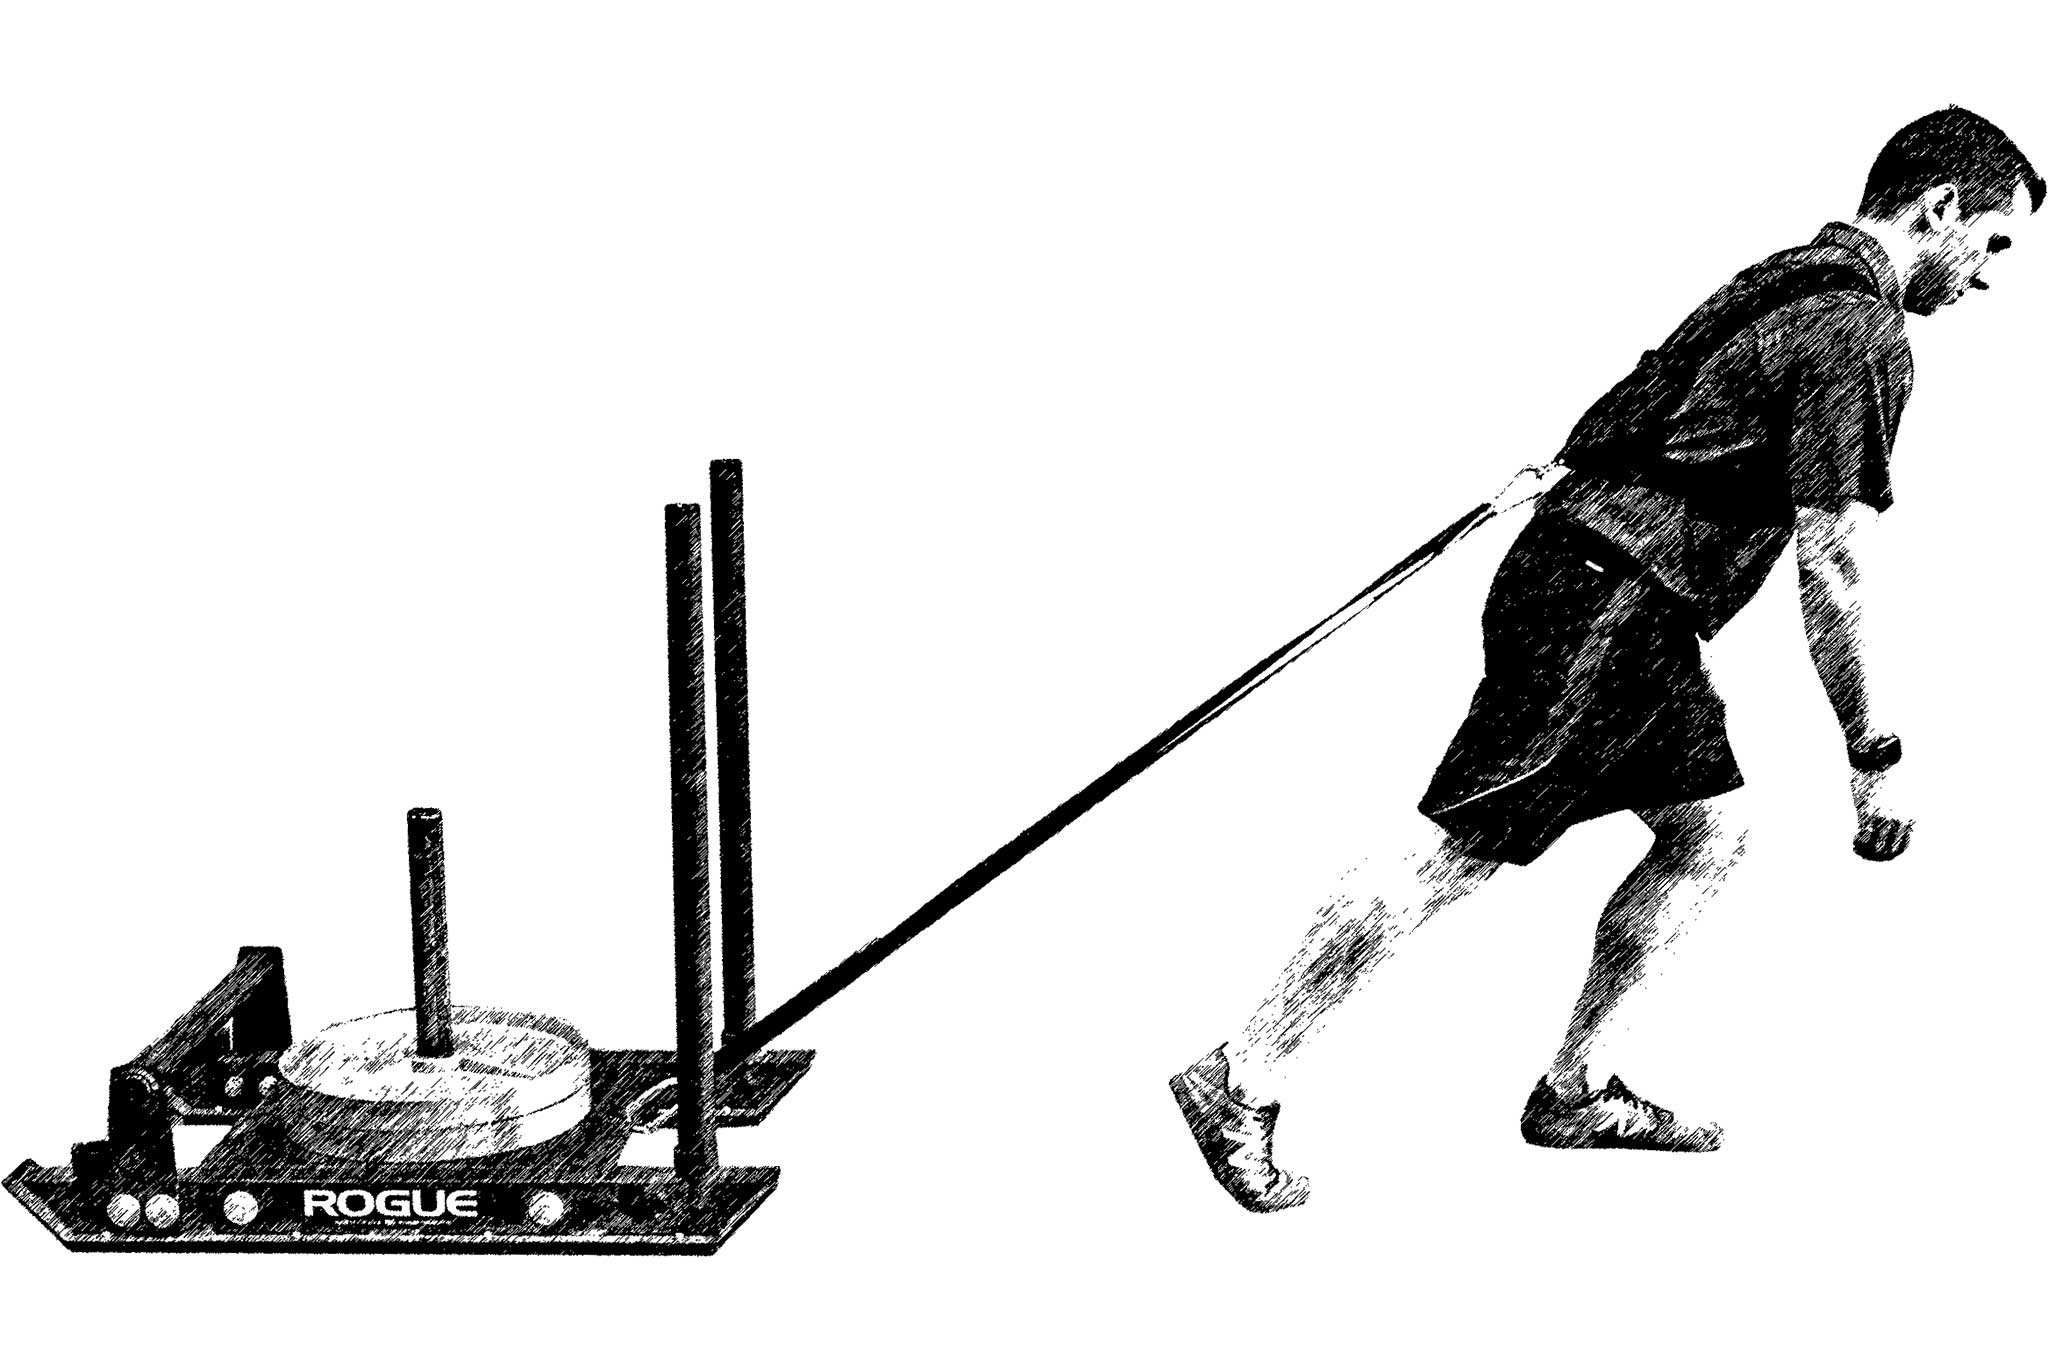
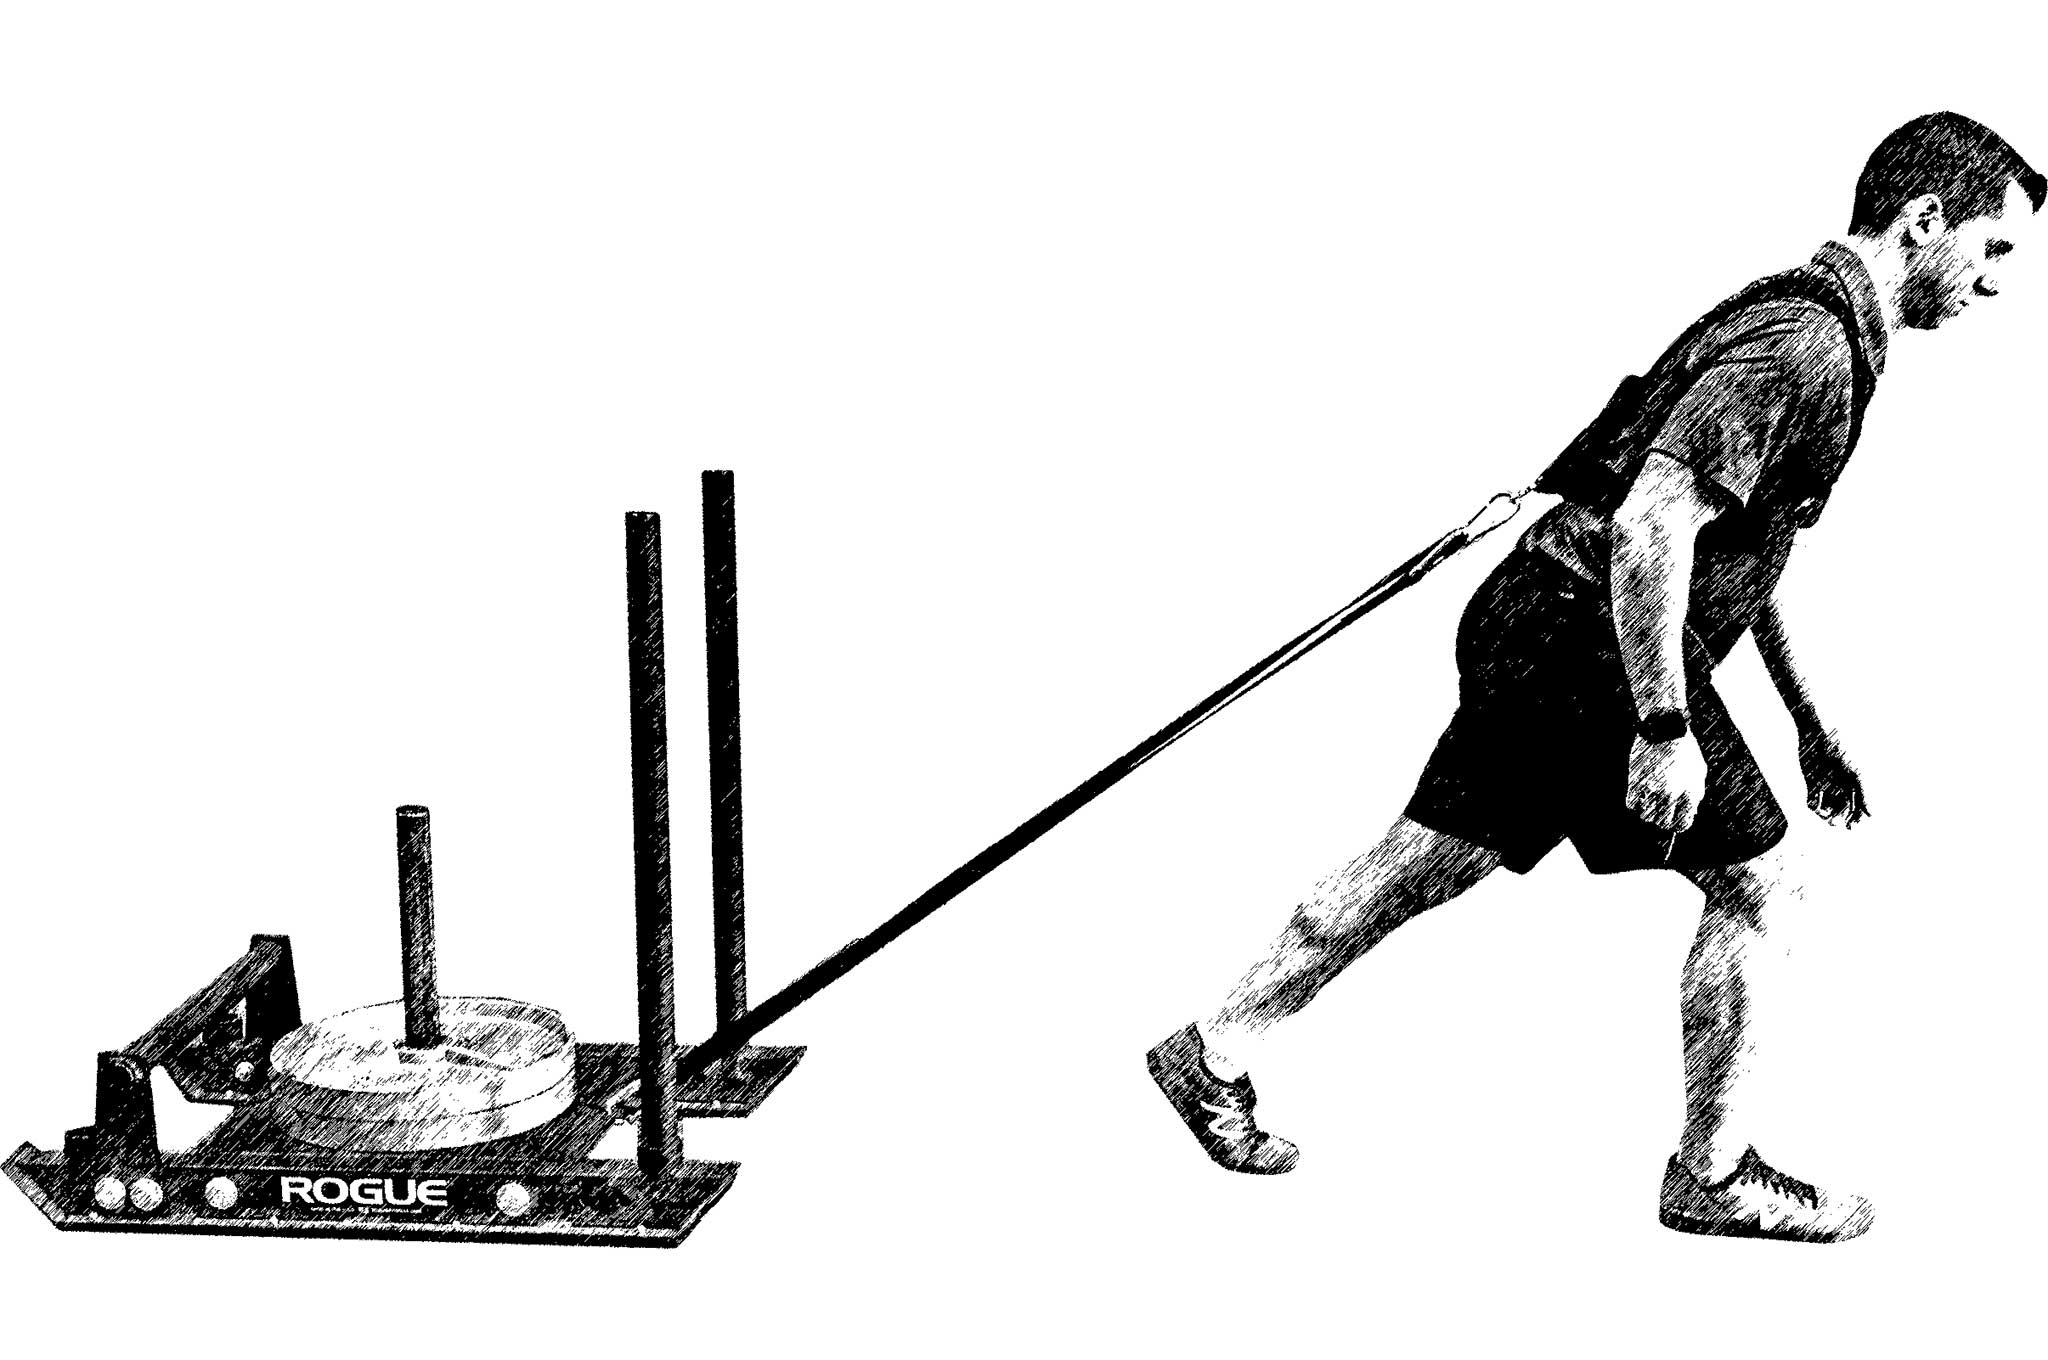
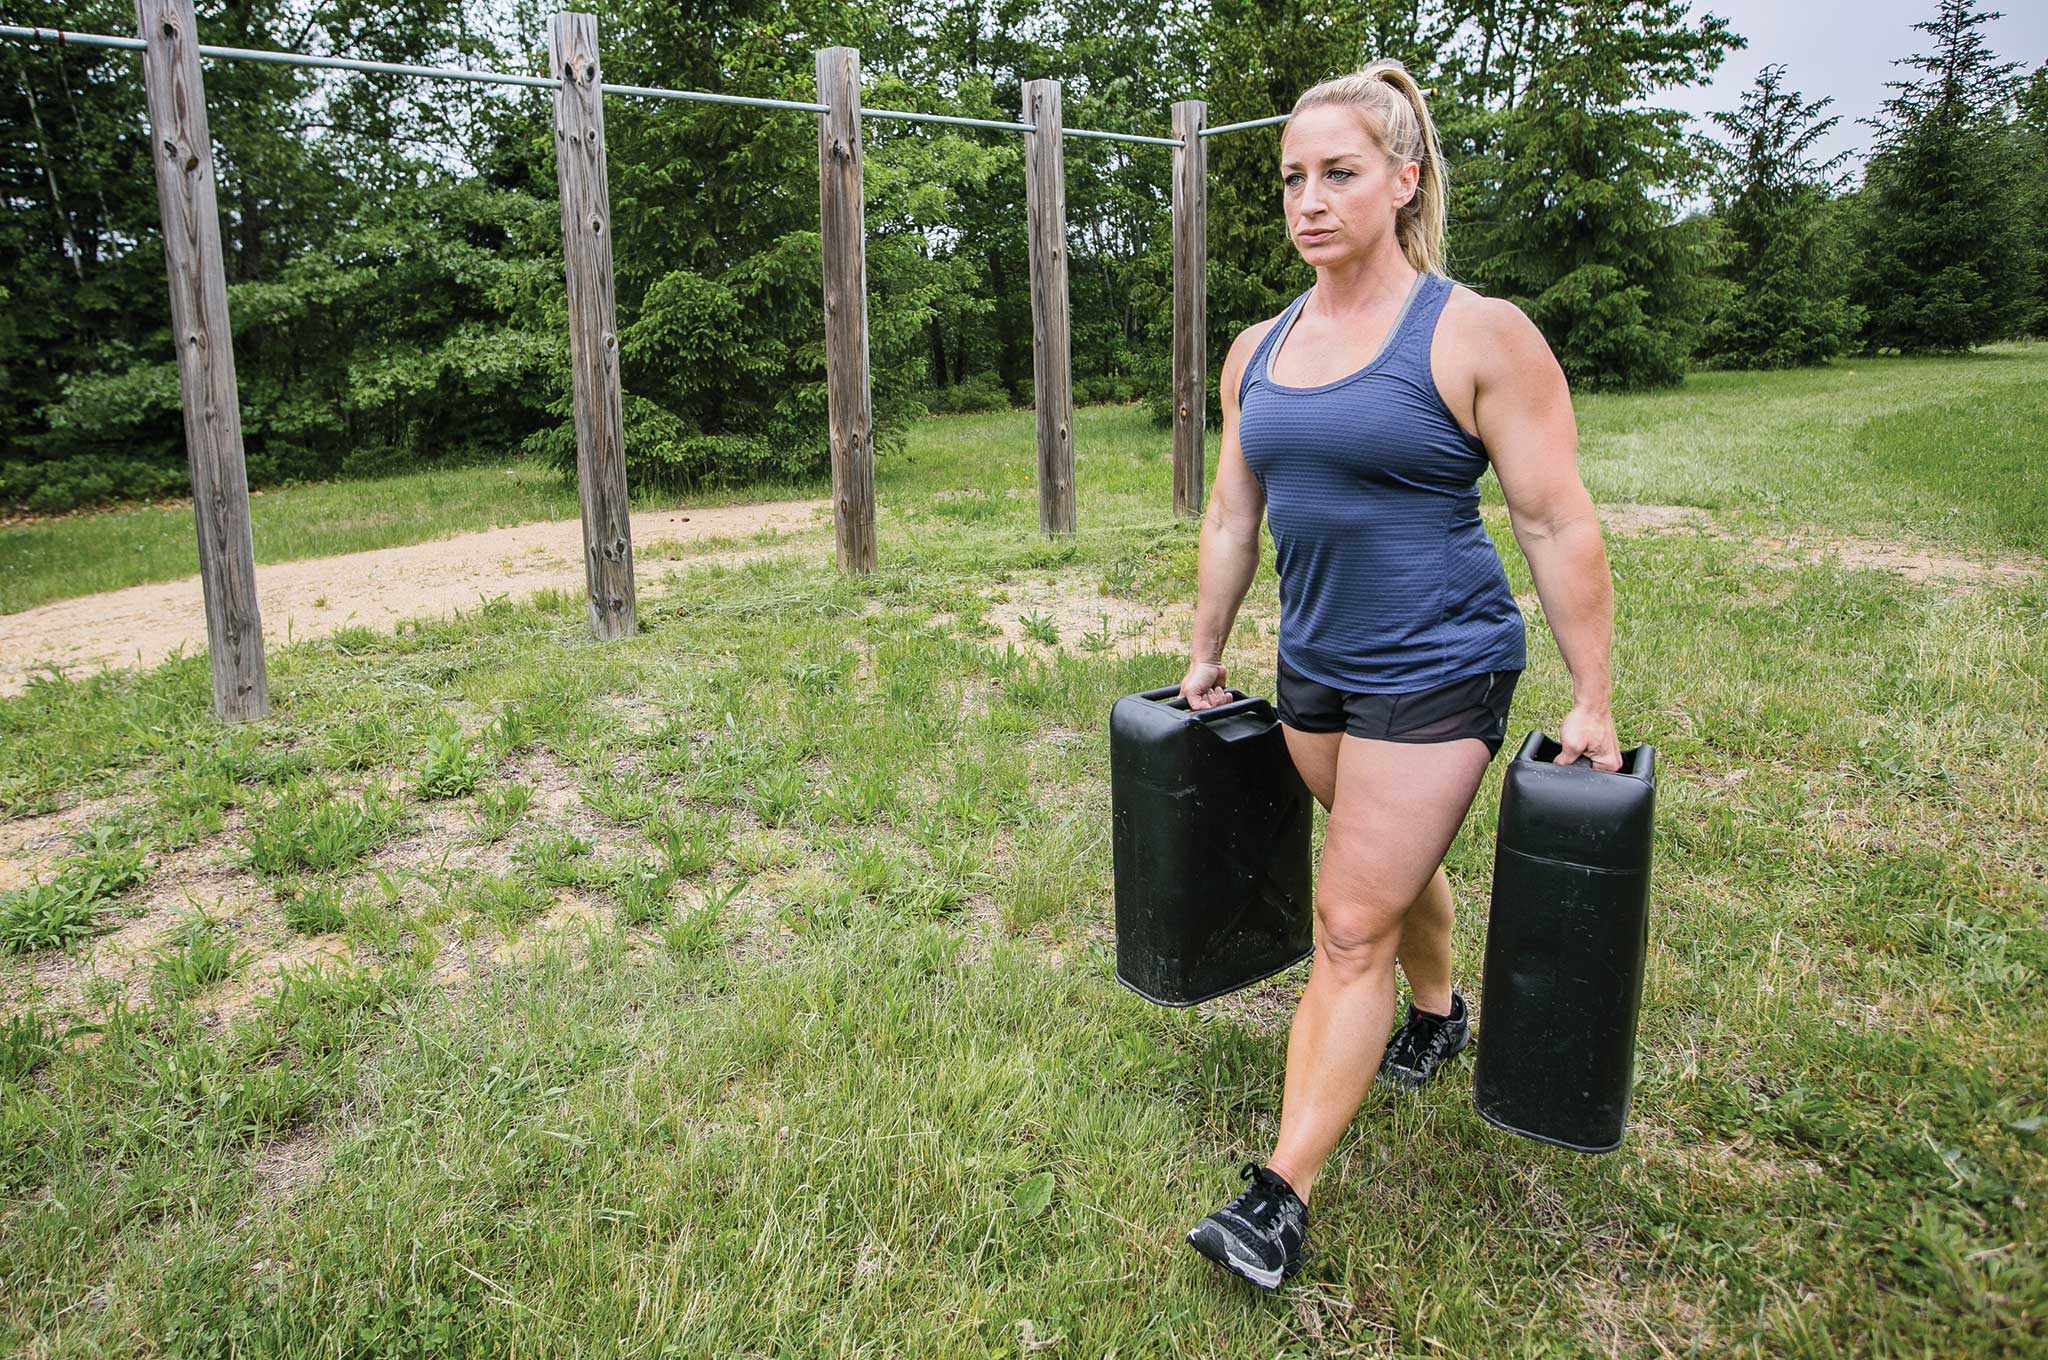
Lesson 2: Prep Your Fitness
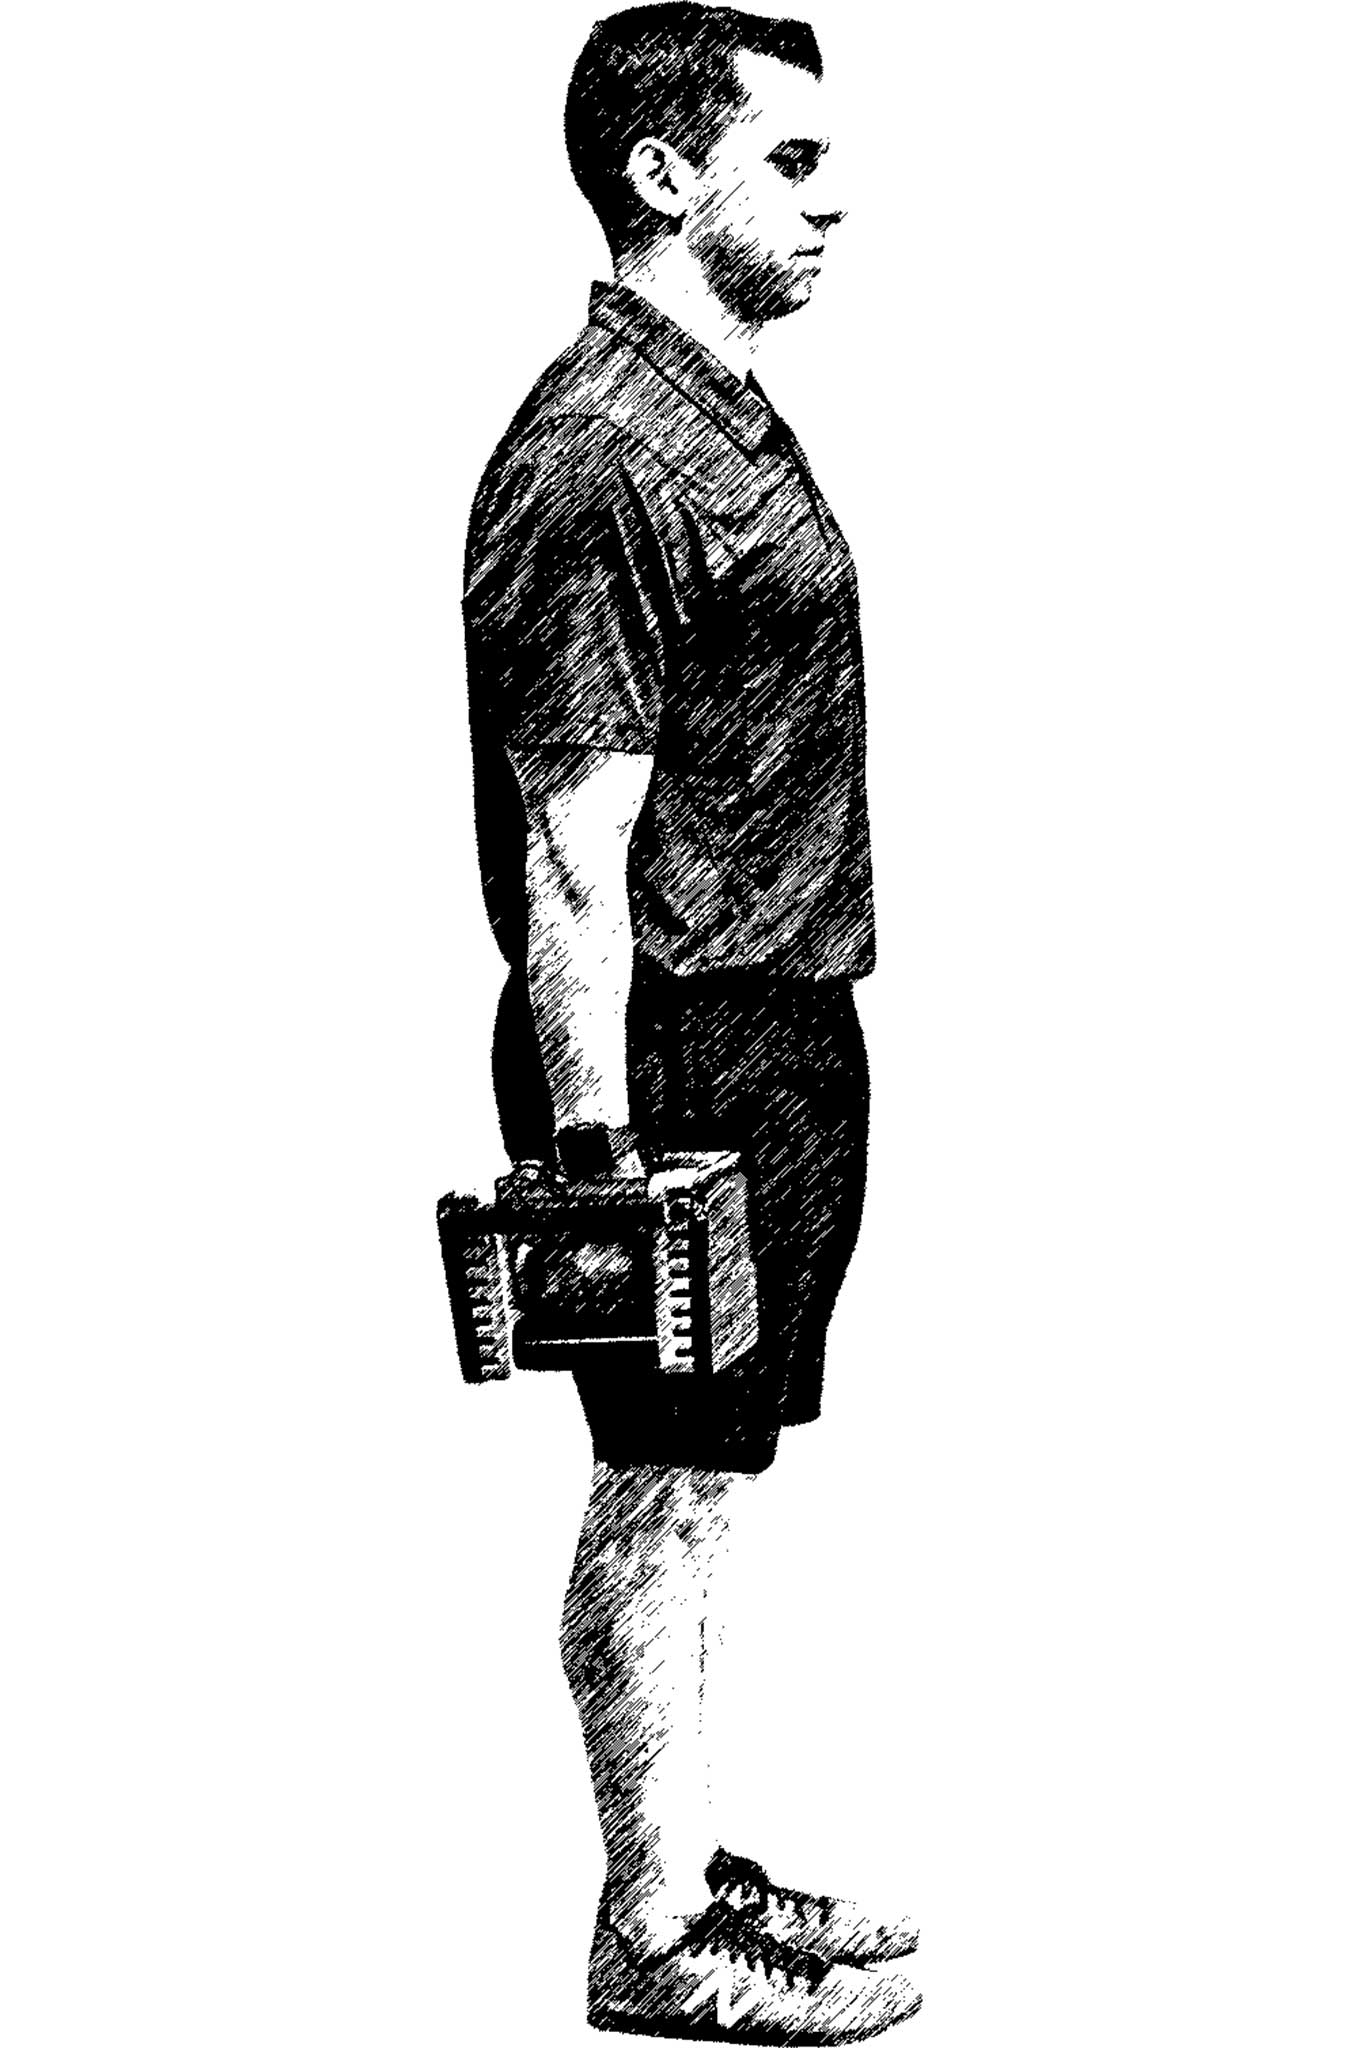
Picture a rookie police officer working the midnight shift, responsible for covering 45 square miles of land. Backup? Nowhere in sight. While on that shift, I was dispatched to a house for a wanted-person call. Before I could put my cruiser in park, the person we were seeking saw me approach and immediately burst out the side door of the home. I bailed out of my cruiser, instantly going from a sedentary position to an all-out sprint. Though I've been a lifelong athlete, always priding myself on physical fitness, I realized in that moment how my rudimentary fitness plan had failed me. I never thought about how my 20-pound duty belt and ballistic vest could slow me down or inhibit my body movement.
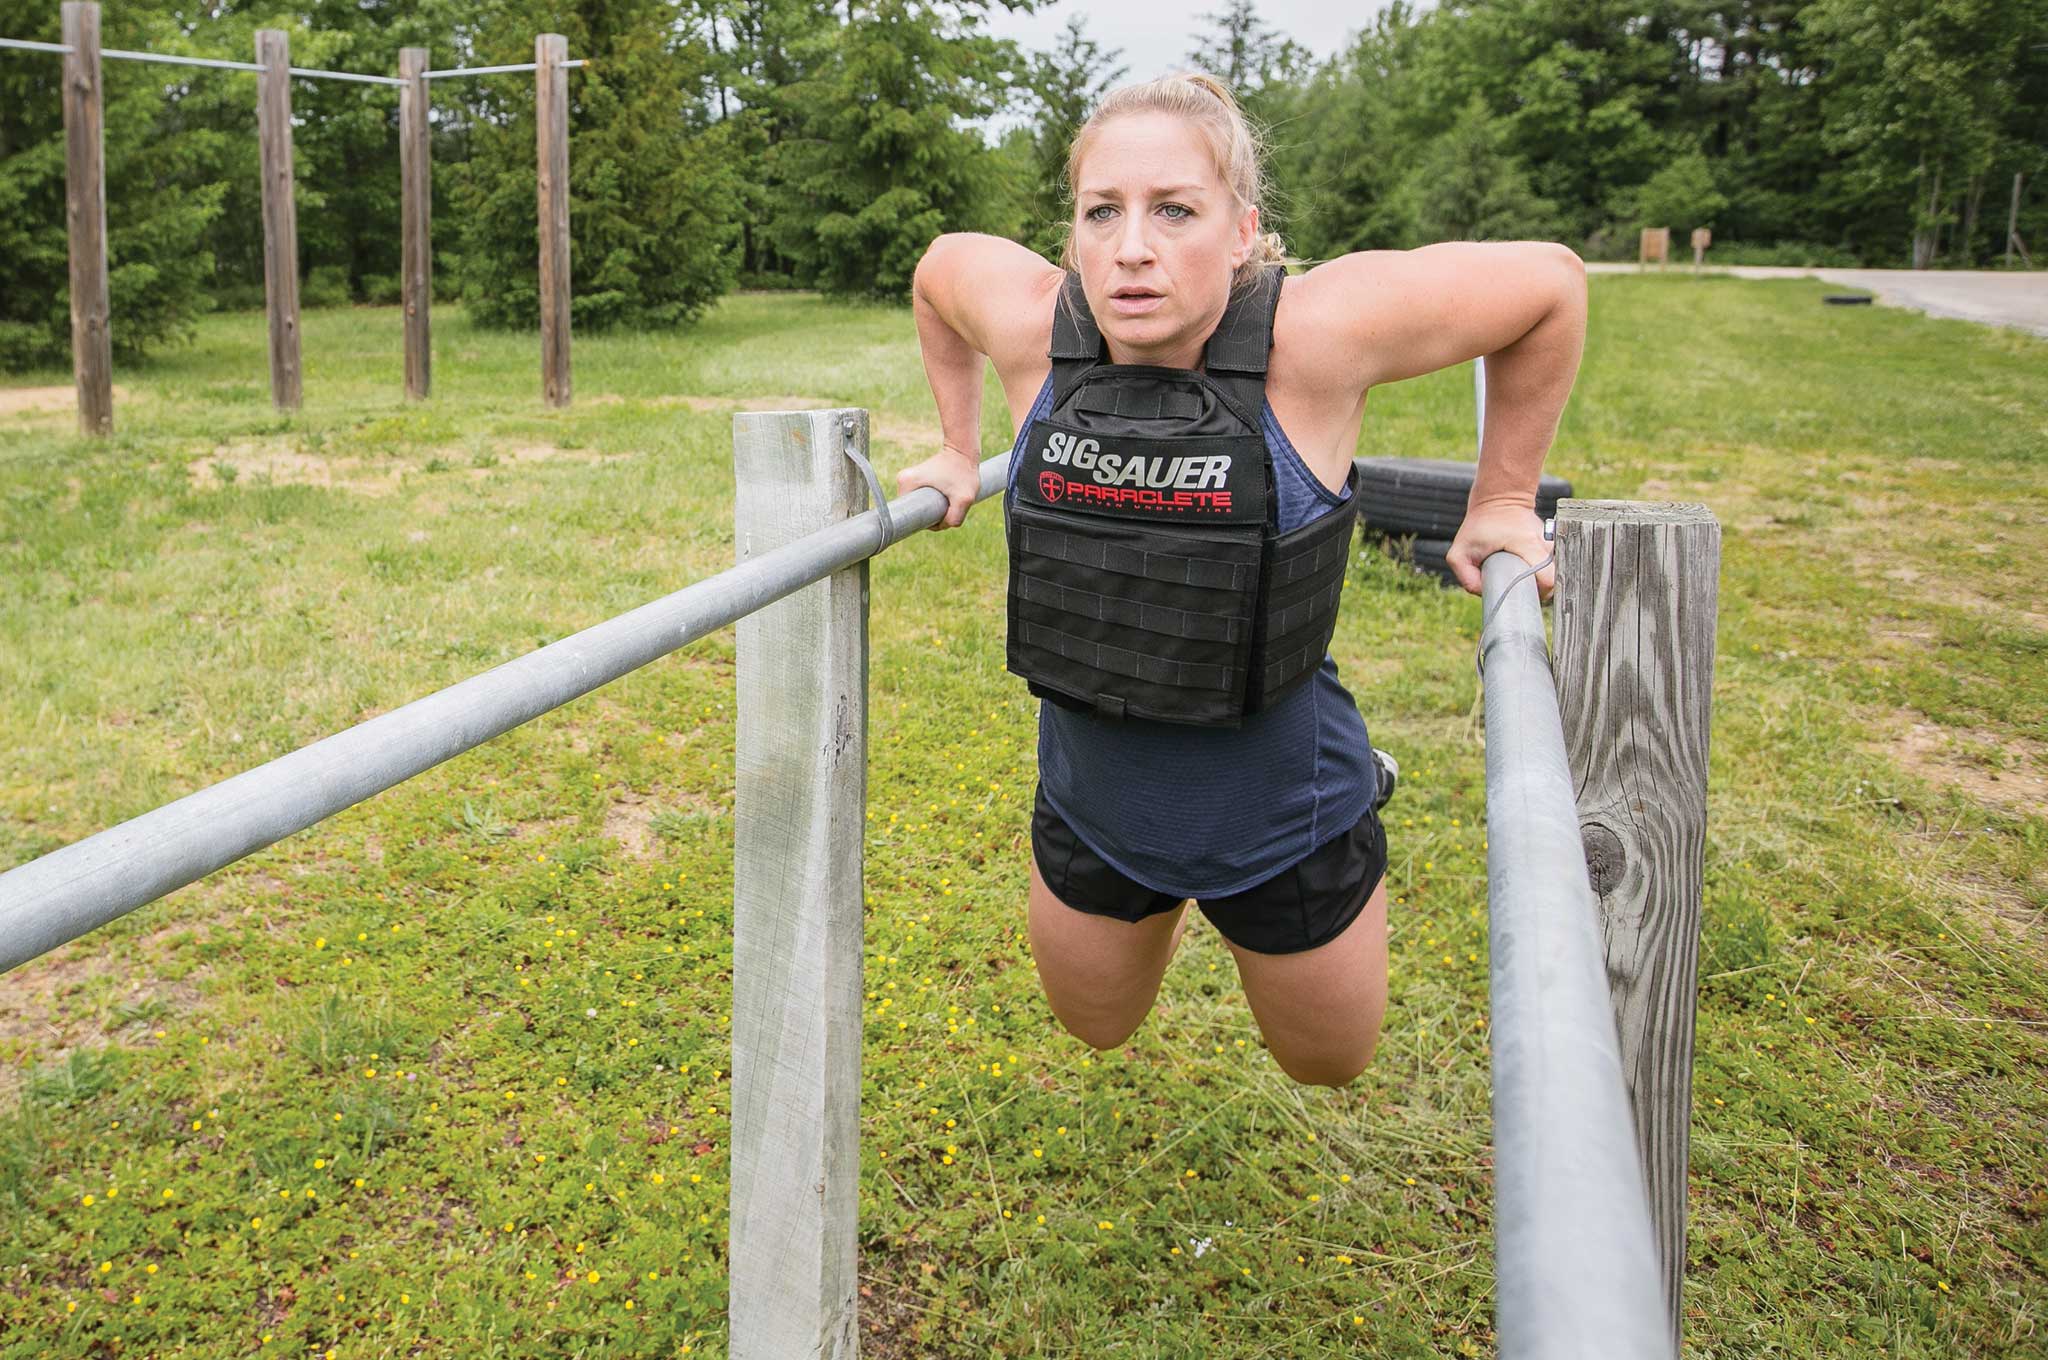
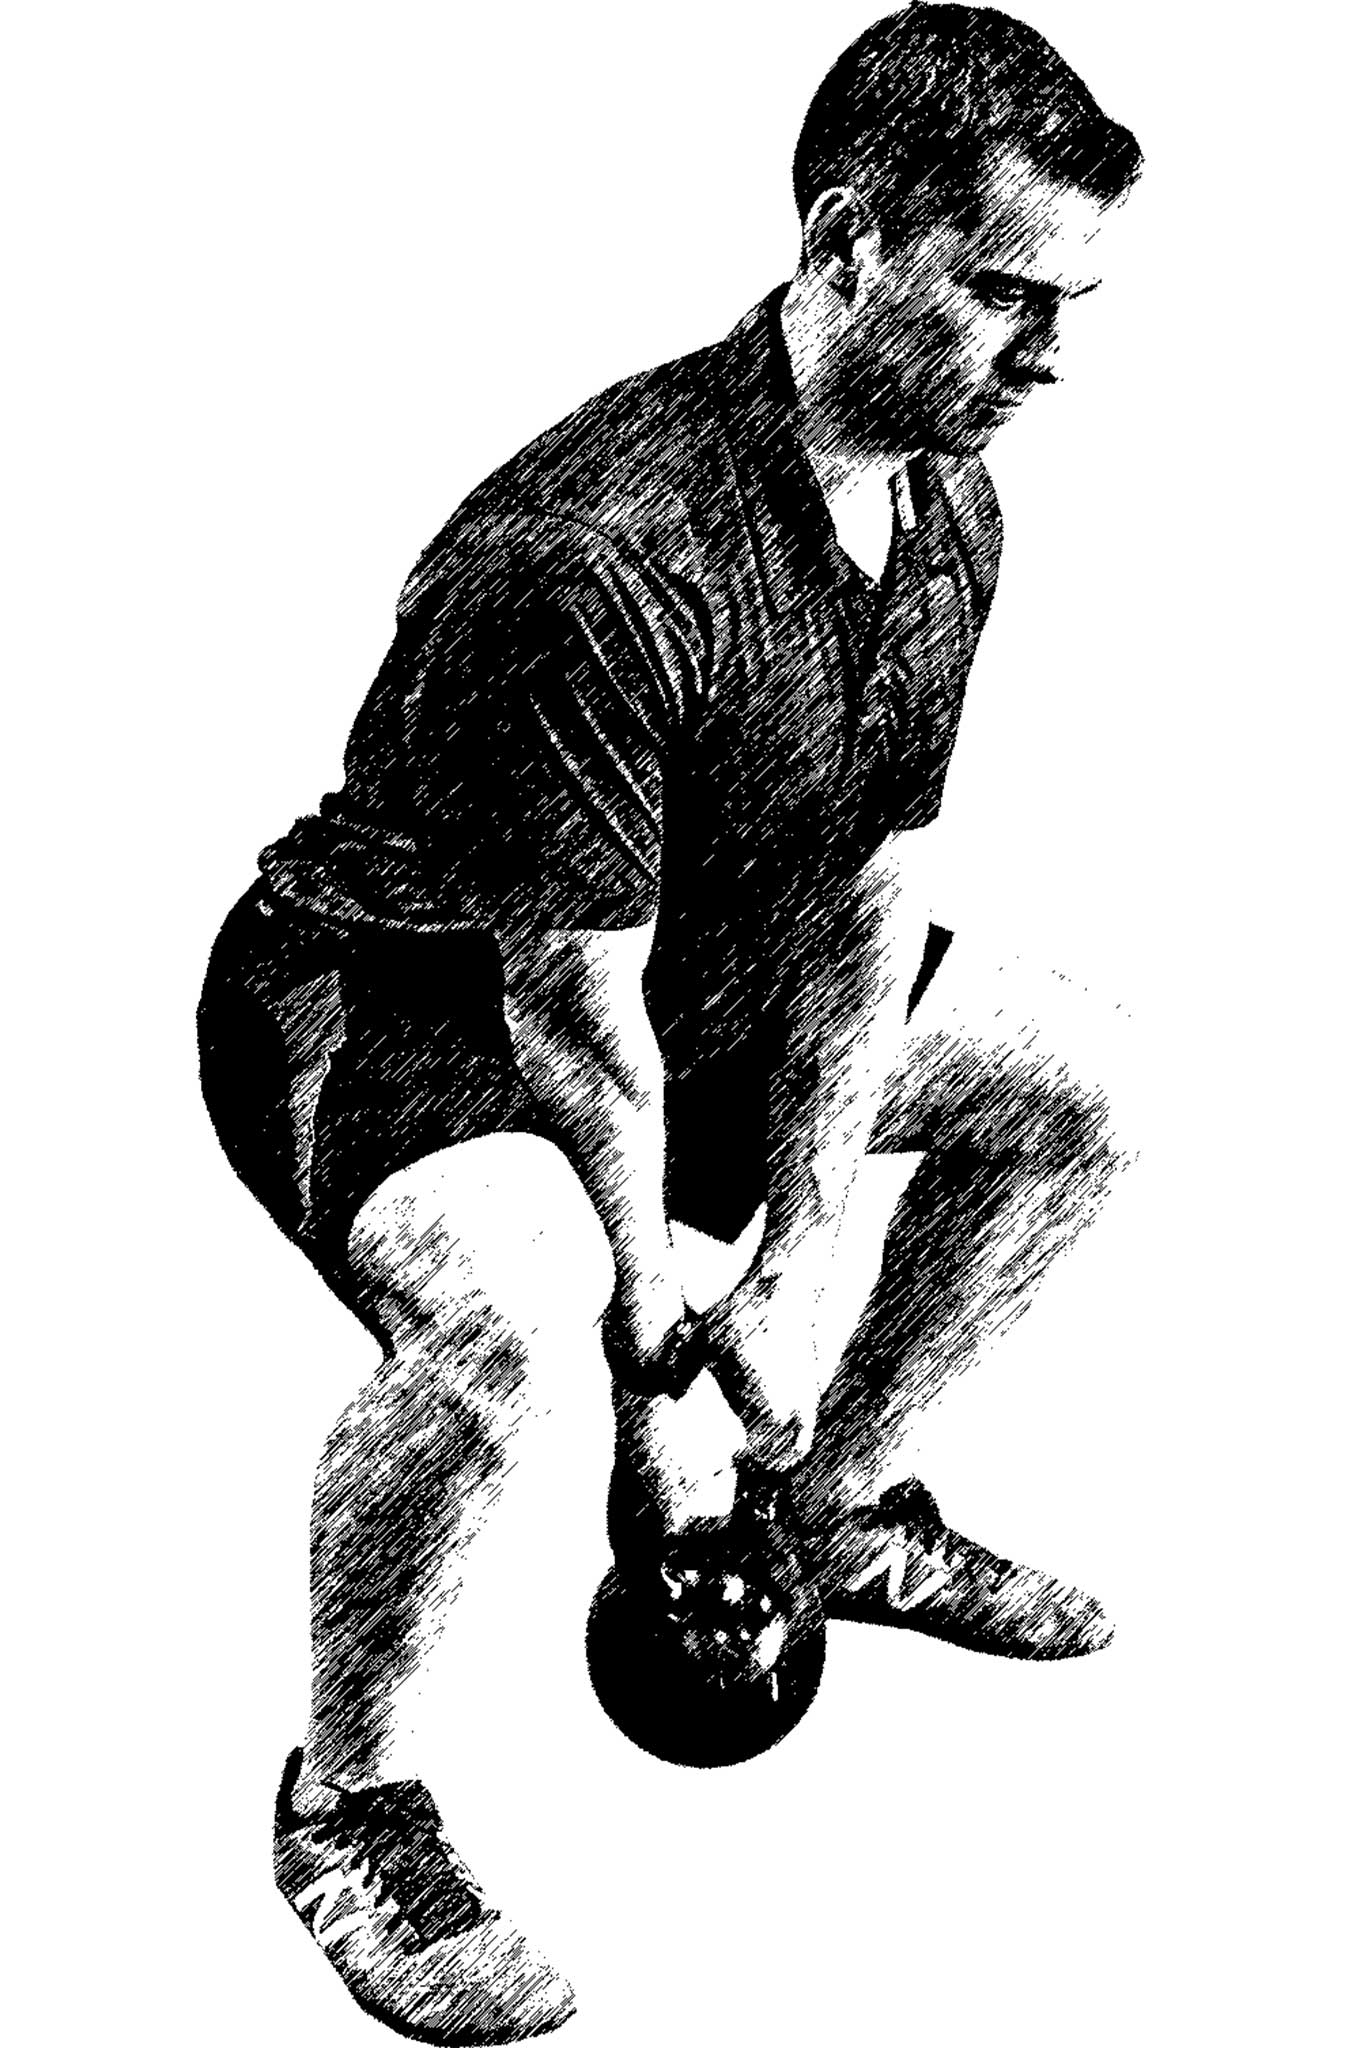
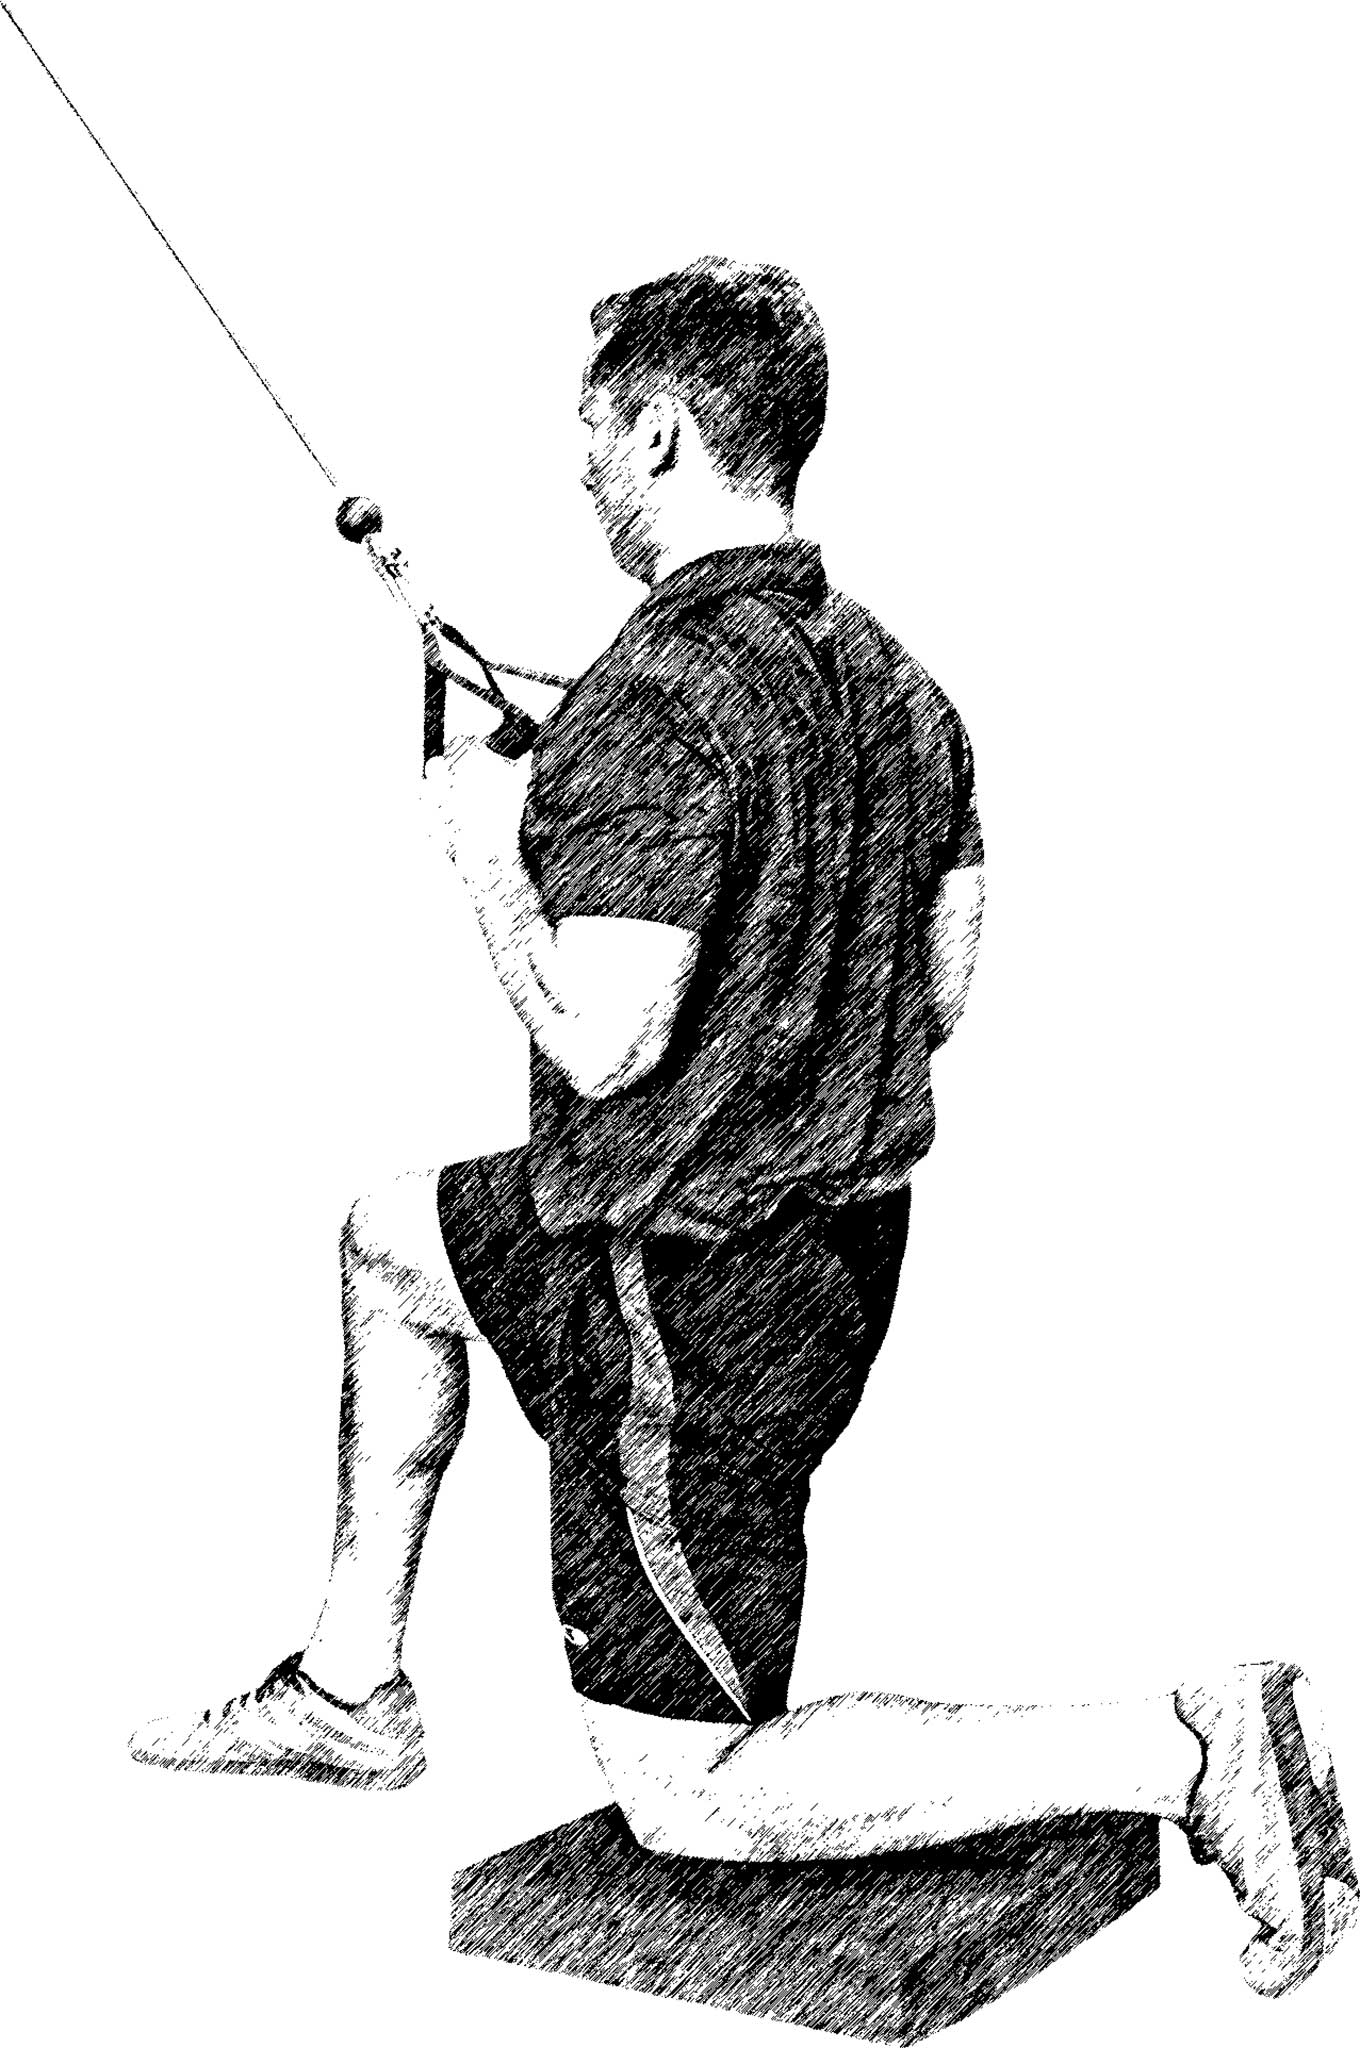
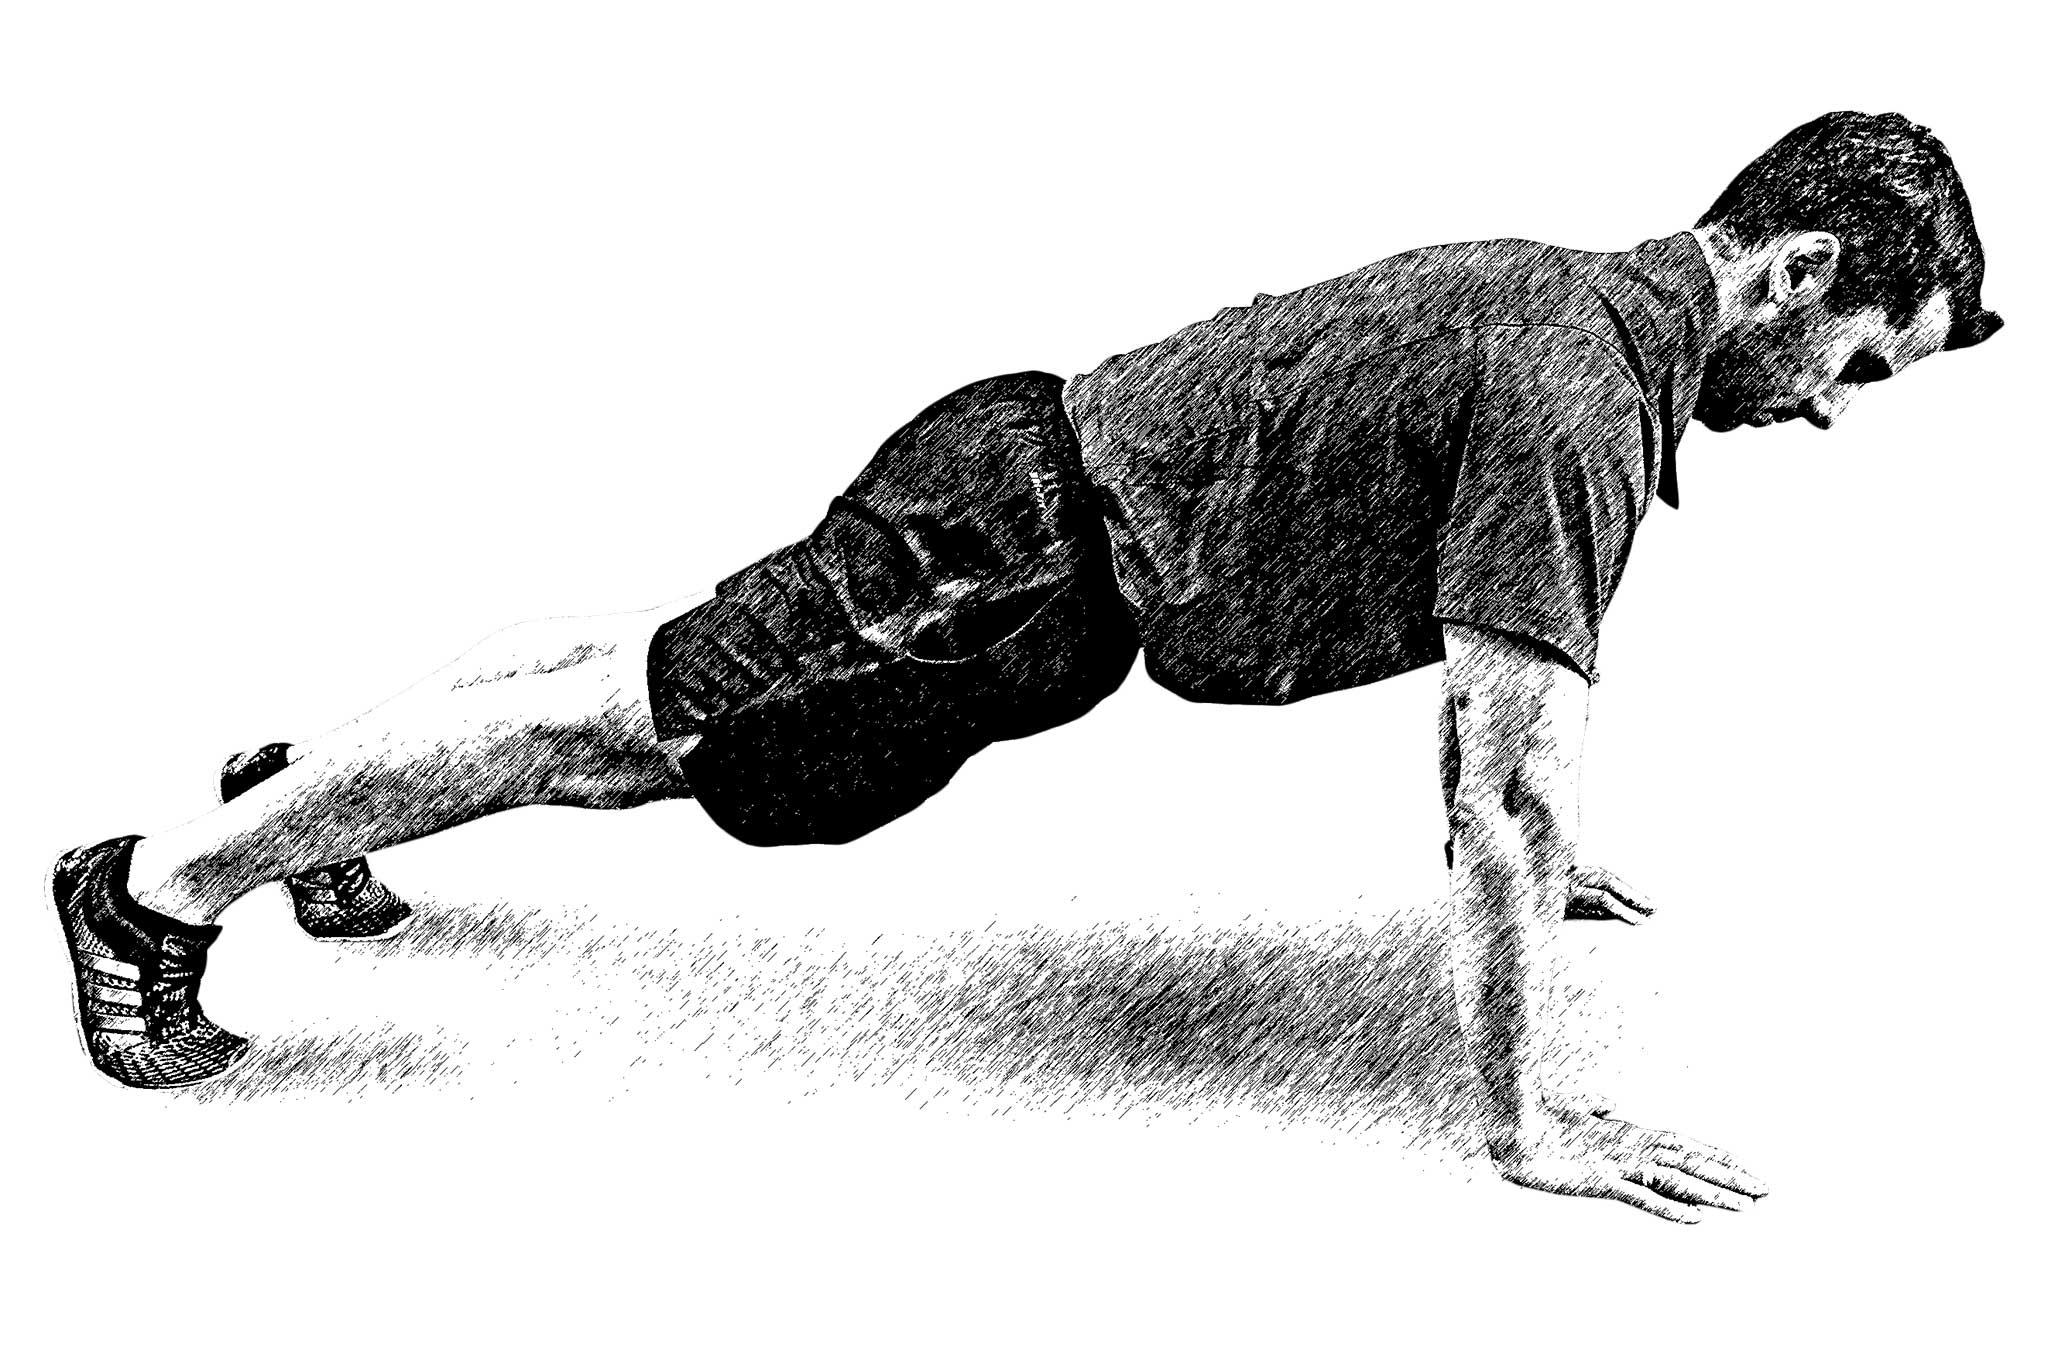
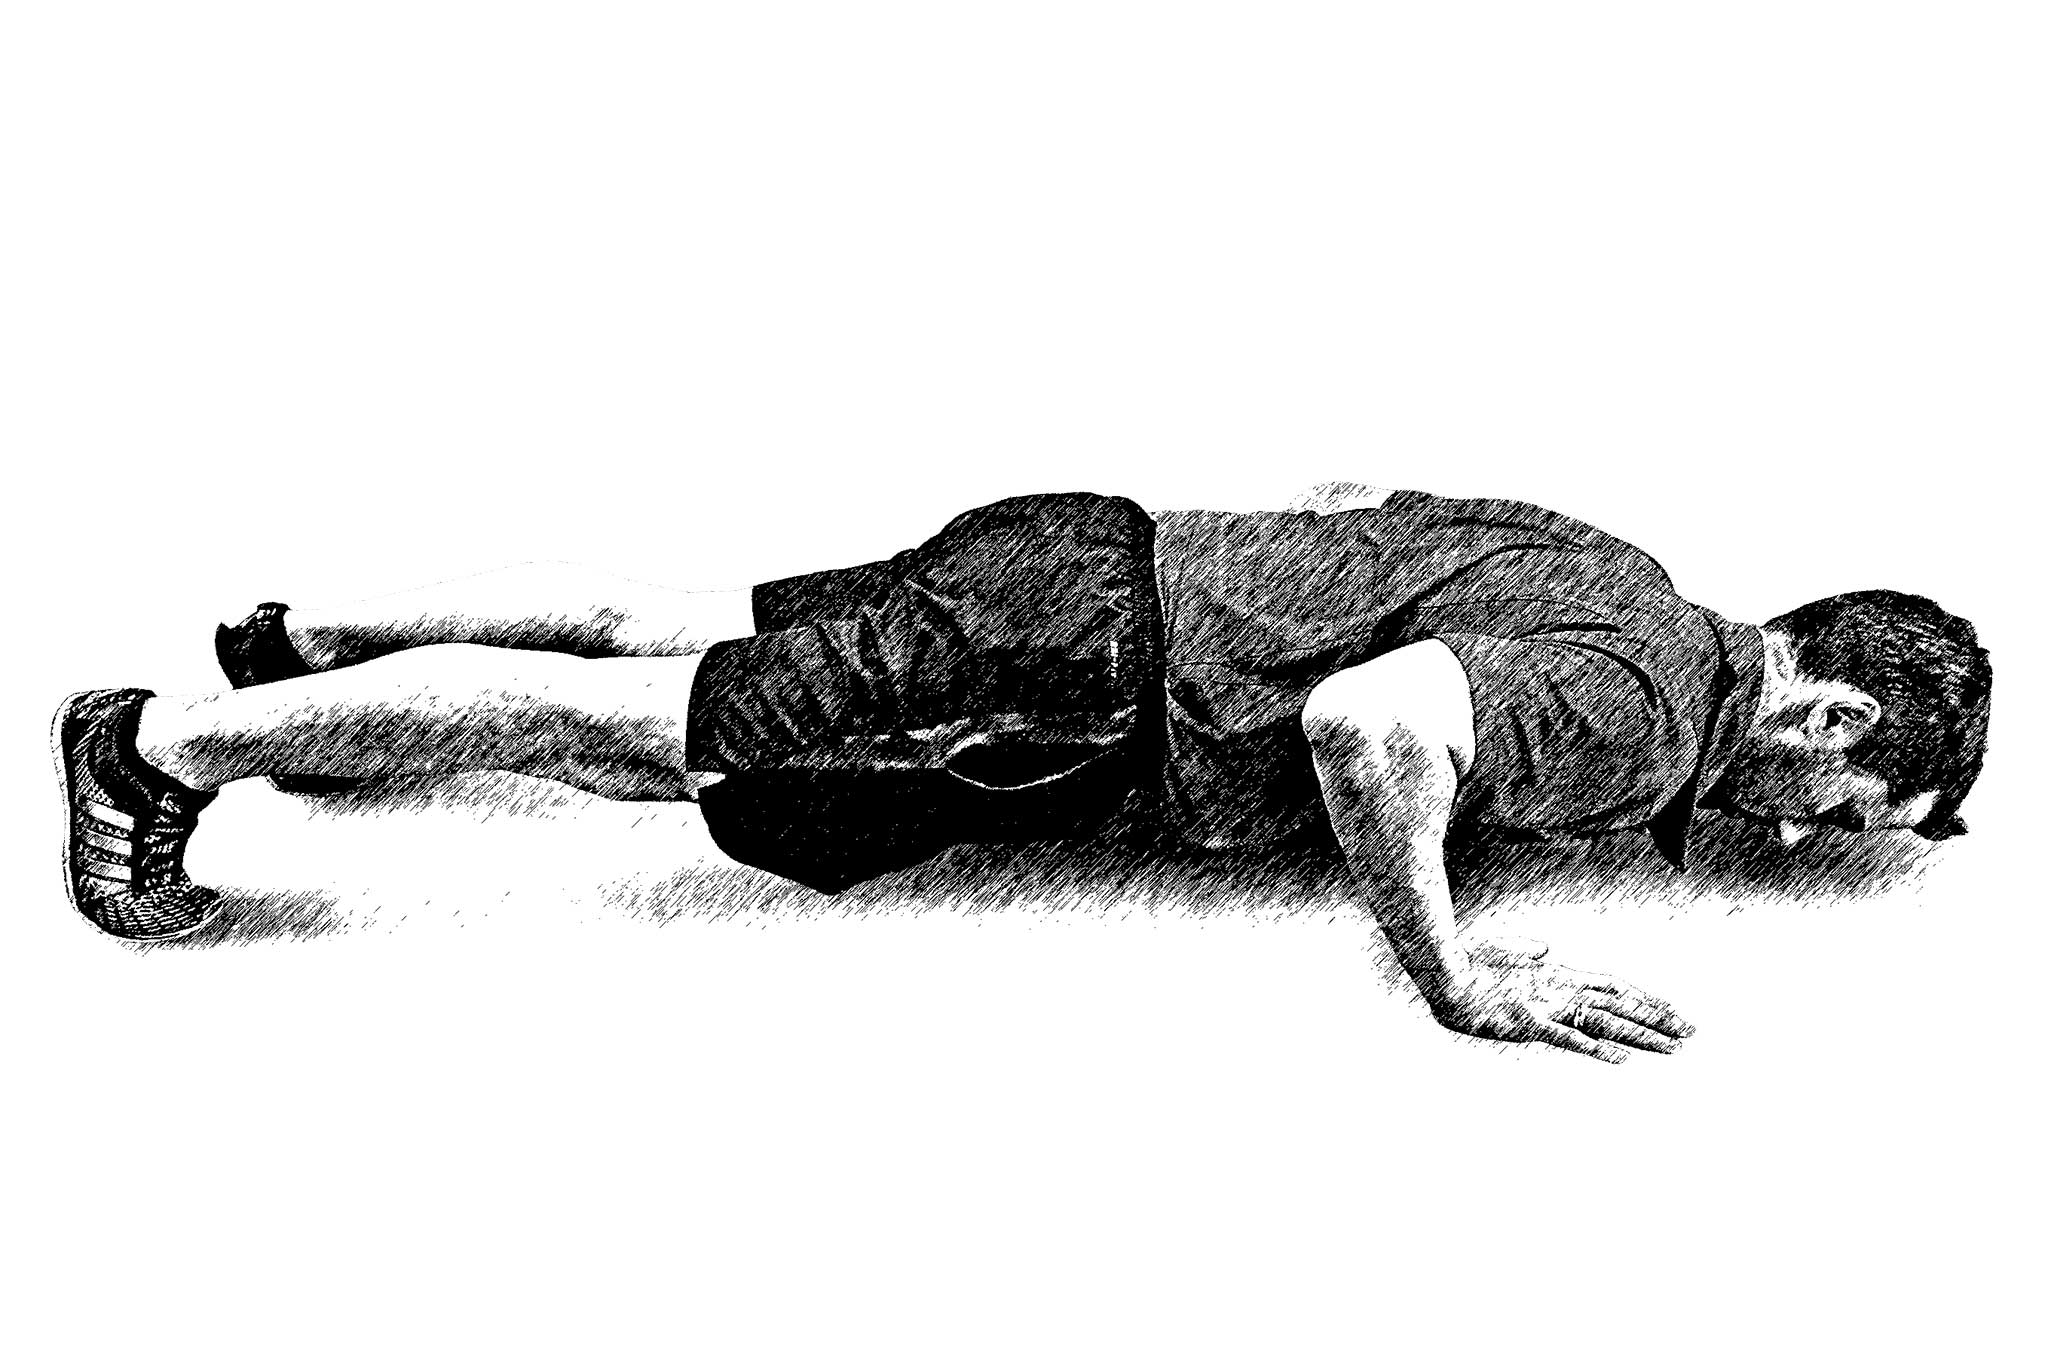
In the middle of a disaster is not the time to find out that a physical fitness regime is important. Prep now, and that...
Survival Application: Overall physical fitness can be evaluated as one's ability to perform daily activities, including sports and occupation. The average person can get through their daily activities well enough. But when viewed from a survival perspective, we typically fall short. Most preppers practice diligence in packing a kit to include foods, supplies, and tools. But how well have they prepared to carry that 50-pound kit over rocky terrain for more than 5 miles? Are you physically capable of carrying an injured loved one from a disabled car to an emergency shelter while gale-force winds pound your face?
A weekly exercise regime should encompass all aspects of fitness — cardiovascular conditioning, weight training, and explosive movements. Fitness doesn't necessarily mean making daily visits to a franchise gym. It can start off as something as simple as making a habit of walking some local hiking trails on the weekends. And don't forget while hiking to incorporate carrying a weighted pack. Using differing planes of motion, move your body for at least 20 minutes a day. And read the Health column in every issue of RECOIL OFFGRID for more ideas.
Increasing your overall physical fitness gradually will ensure that you can perform and assist others when SHTF.
Lesson 3: Prep Your Nutrition
As you can imagine, police officers spend the majority of their time working out of a cruiser. Depending on service calls, meal breaks can sometimes be nonexistent, thus making fast food and poor nutritional choices even more appealing.

Stocking up your pantry with freeze dried food and MREs is great for the long-term, but don't forget about your...
Survival Application: Whether it's shift work, social engagements, or managing the schedule of a busy family, meal prep is key. Eating a balanced diet is vital for overall well-being. Making sure to take in proper macro nutrients (protein, carbohydrates, and fats) will support your body's functions and provide necessary energy to migrate through daily rituals.
Prepare nutrient-dense meals and have them readily available. Invest in a good cooler. (See “Chill Out and Roll With It” in Issue 20 for bug-out cooler options.) Have extra nonperishable foods and snacks on hand. Foods that are convenient to stock at home include nuts or nut butters, dehydrated or freeze-dried fruits, protein bars, dehydrated meats (beef, turkey, or salmon jerky), canned meats or fish, popcorn, legumes, and oats. These are just some of the nutritious options that offer a long shelf life, are easy to prepare, and are minimally processed.
For those unexpectedly long days, I always carry fruit, nuts, protein powder, protein bars, and a spare water bottle. For protein powder and bars, look for products with the least amount of artificial ingredients and processing. My go-to for protein powder is Vega Sport, a plant-based performance protein. Some of my favorite protein bars are Epic Bars, LARABAR, Rise Bars, and RXBAR. All contain five ingredients or fewer.
When you provide your body with adequate fuel through proper nutrition and exercise, you'll enhance your body's ability to perform. Mental stimulation, consistent exercise, and proper nutrition have been shown to improve alertness and job performance, as well as the ability to perform survival-related tasks.
Lesson 4: Prep Your Vehicle
My police agency outfitted my cruiser with essential tools for common emergencies. This got me thinking, What would I do if I had an emergency while driving my privately owned vehicle?
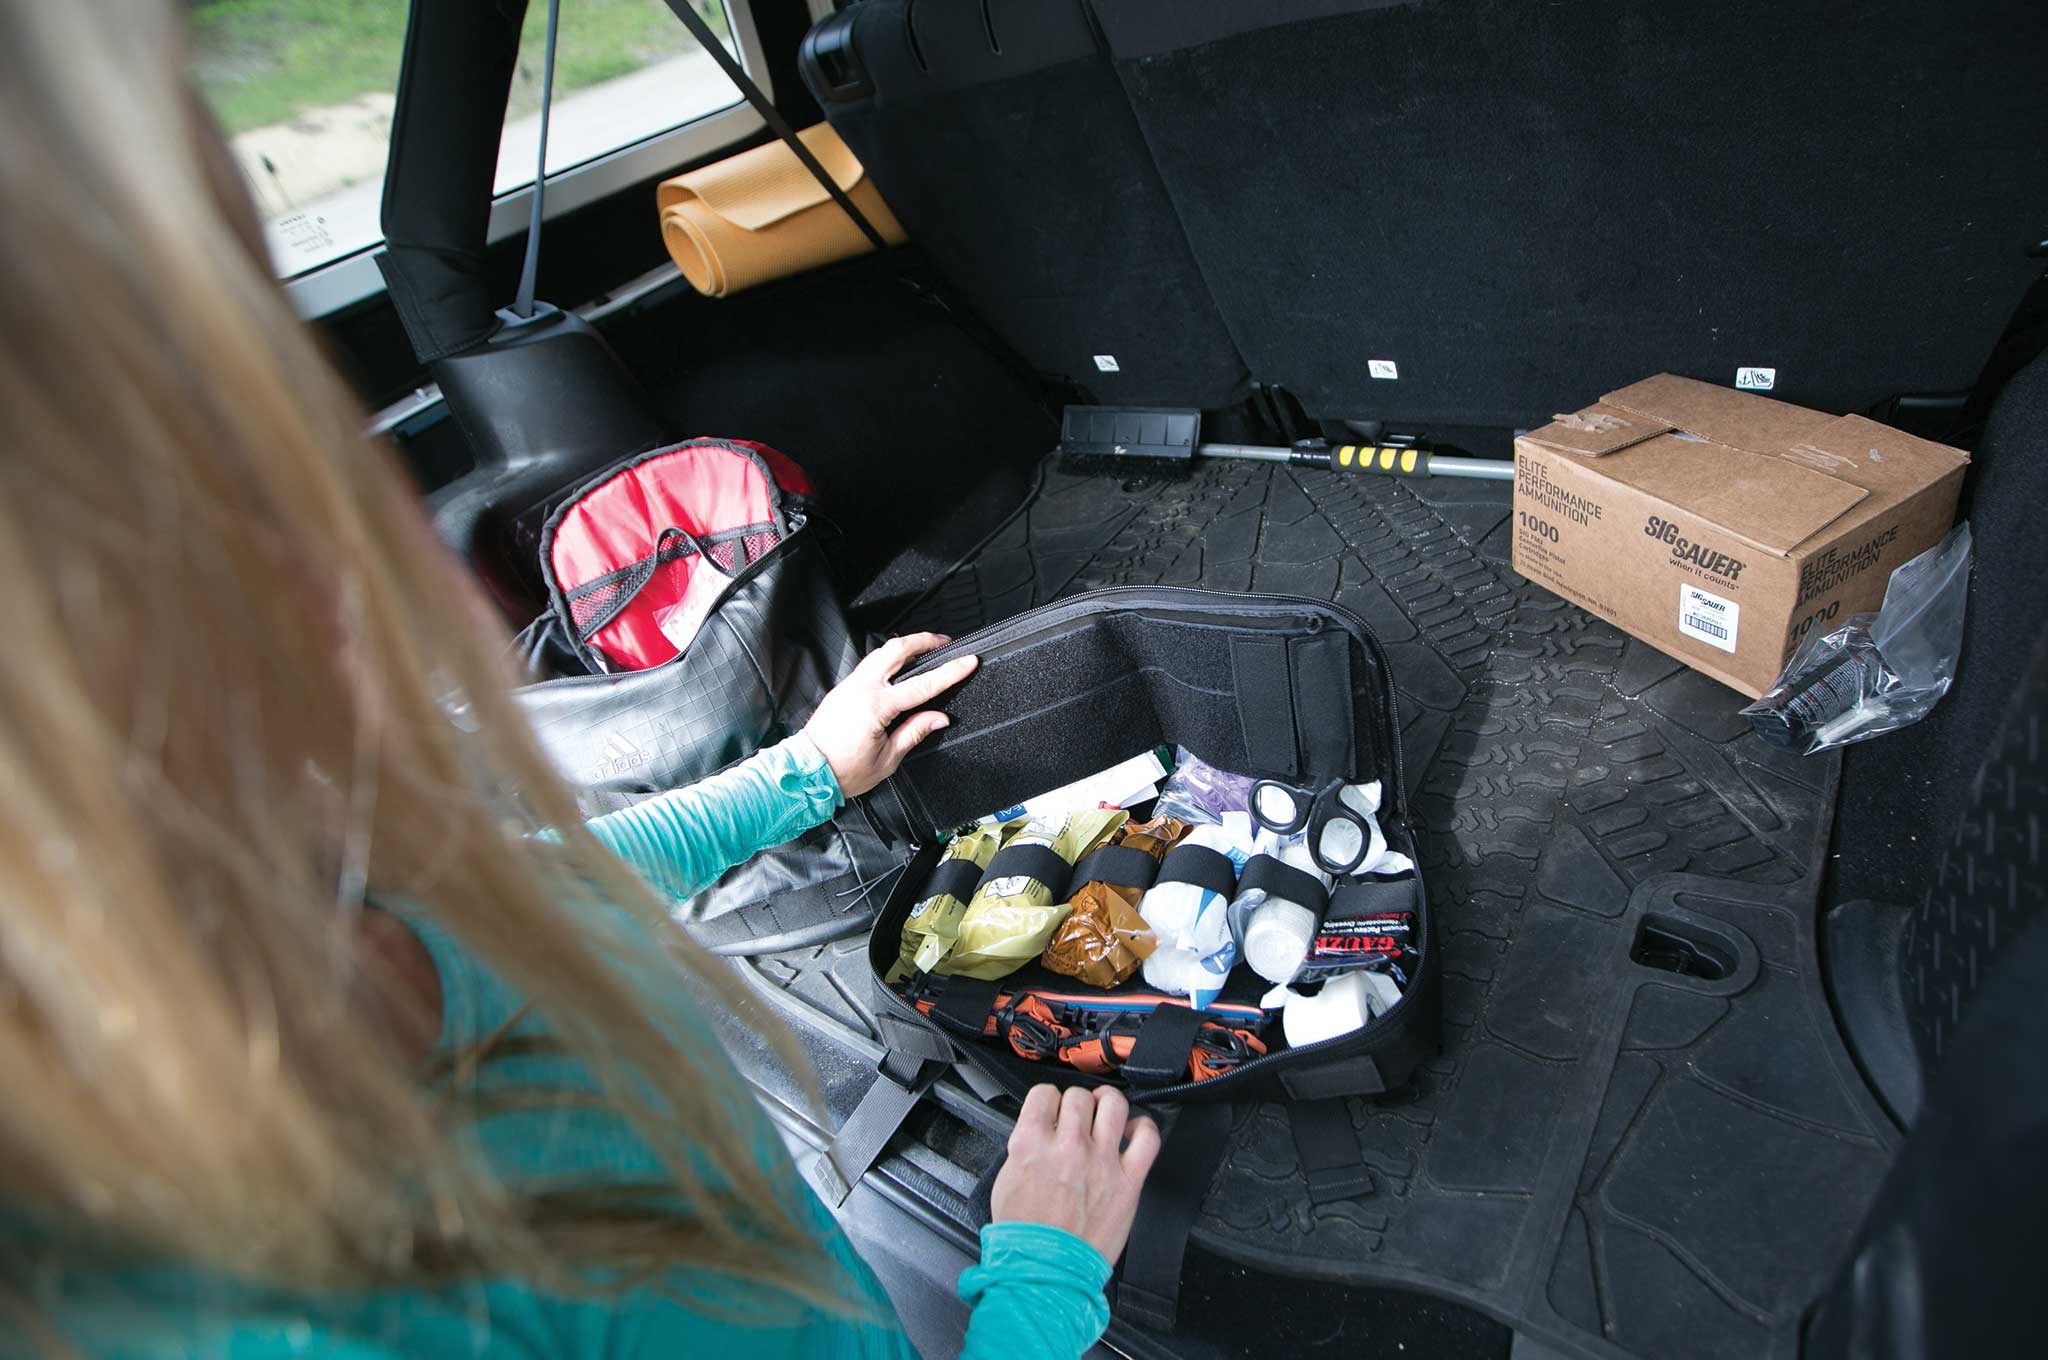
Most of us drive on a daily basis, so it's a no-brainer that you should pack a vehicle emergency kit.
Survival Application: I came up with an emergency readiness bag containing some basic tools and supplies for unexpected emergency situations. Inside the bag is a medical kit, protein bars, bottled water, a Leatherman tool, a flashlight, a battery bank, spare batteries, and a change of clothes.
Readiness is as much a plan as a mindset. Humans must assume chameleon-like tendencies and be prepared to adapt to our environment as it changes. Having simple supplies on hand in your car will help solidify your ability to acclimate to any situation, be it mundane or life threatening.
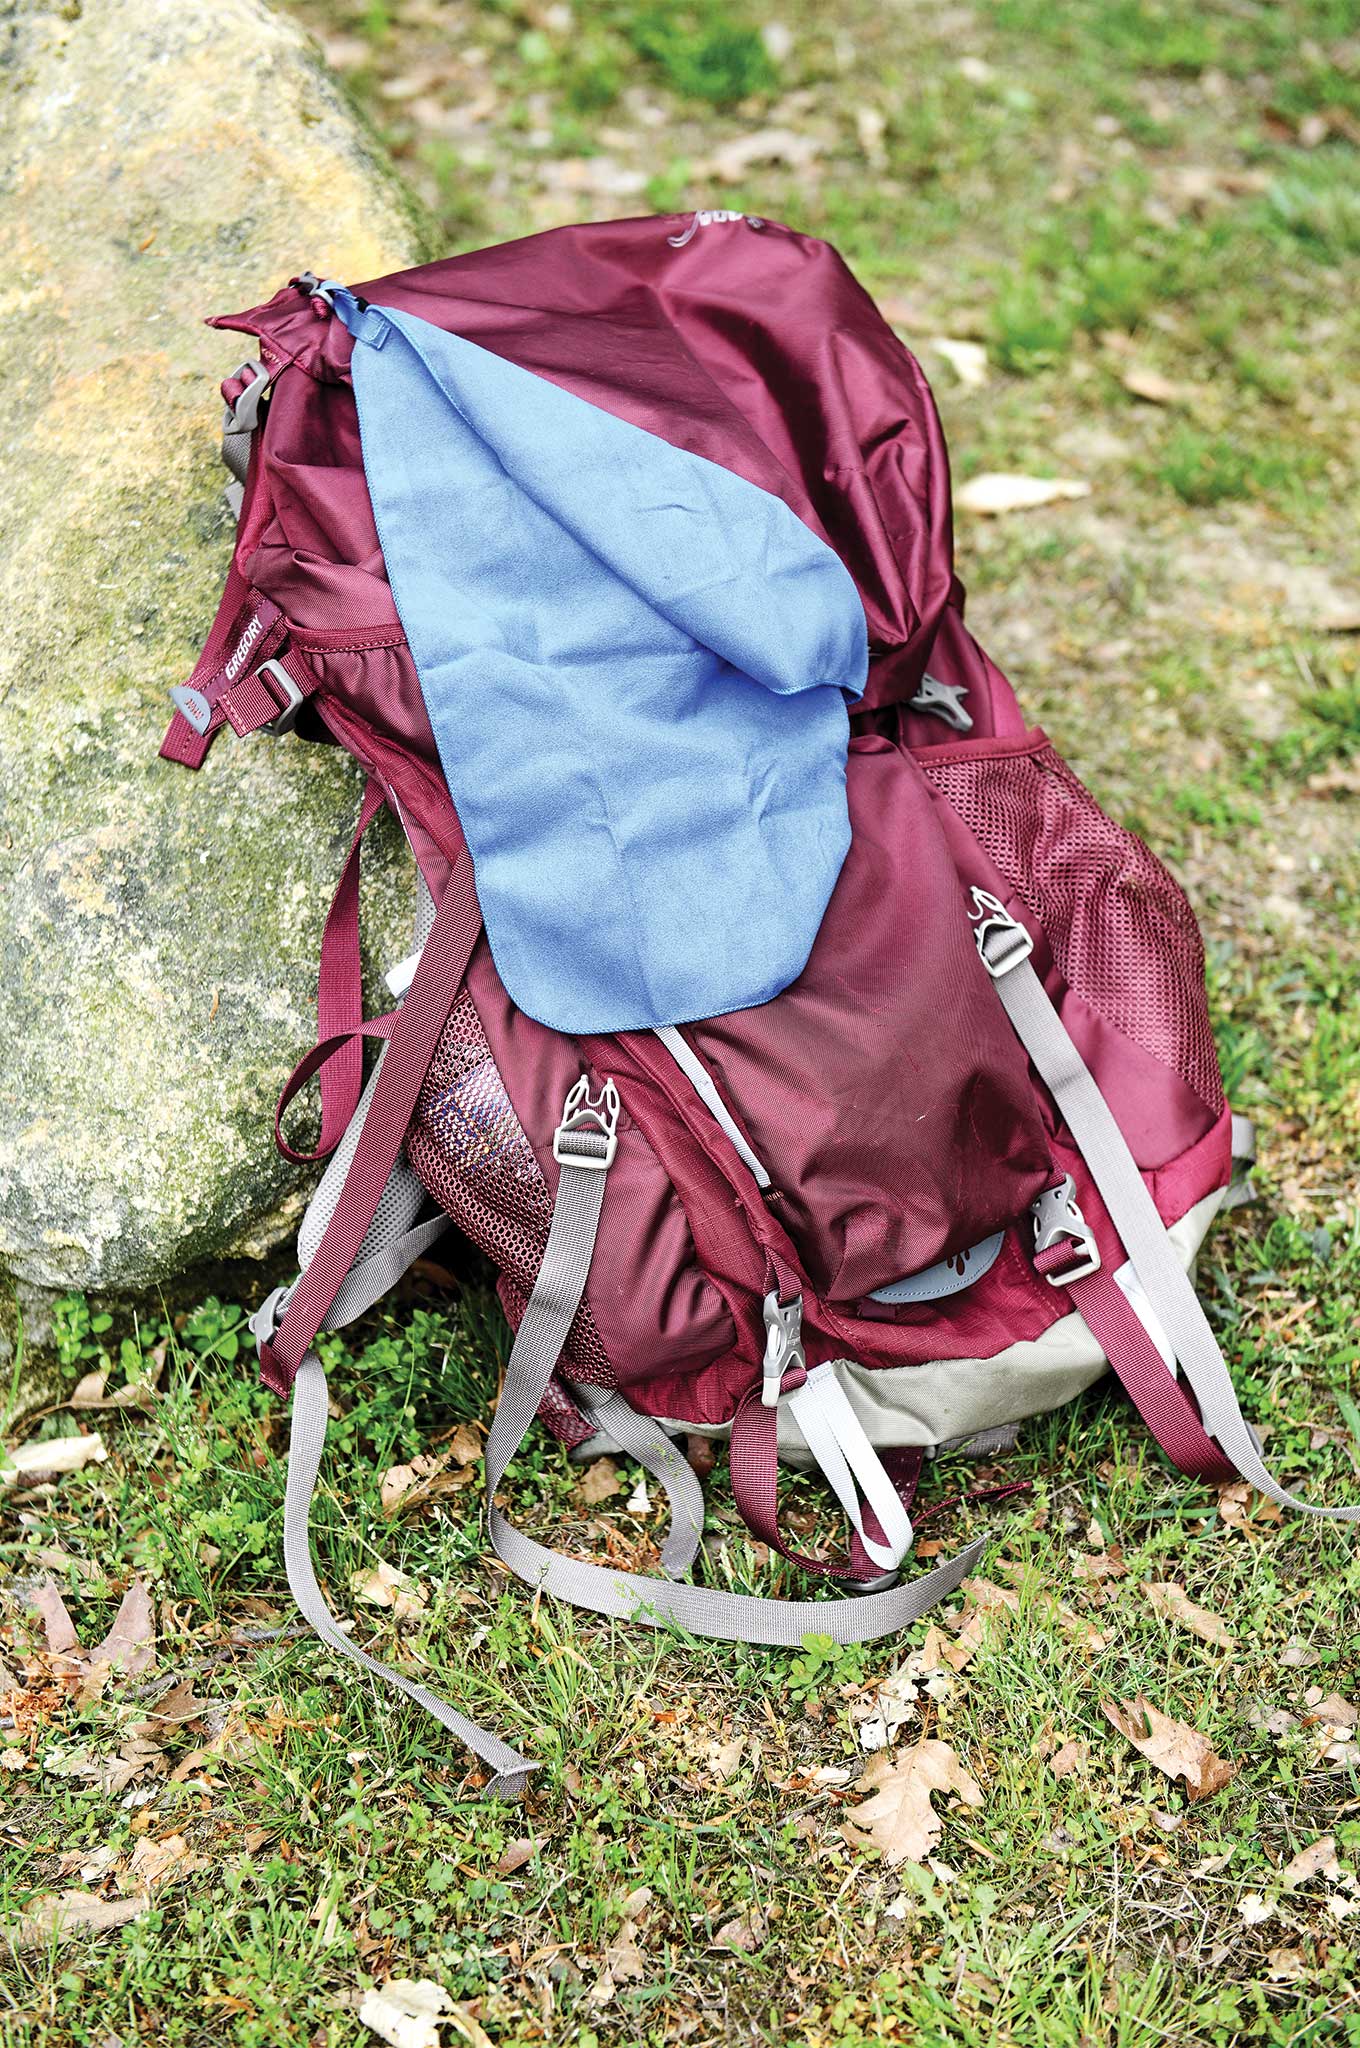
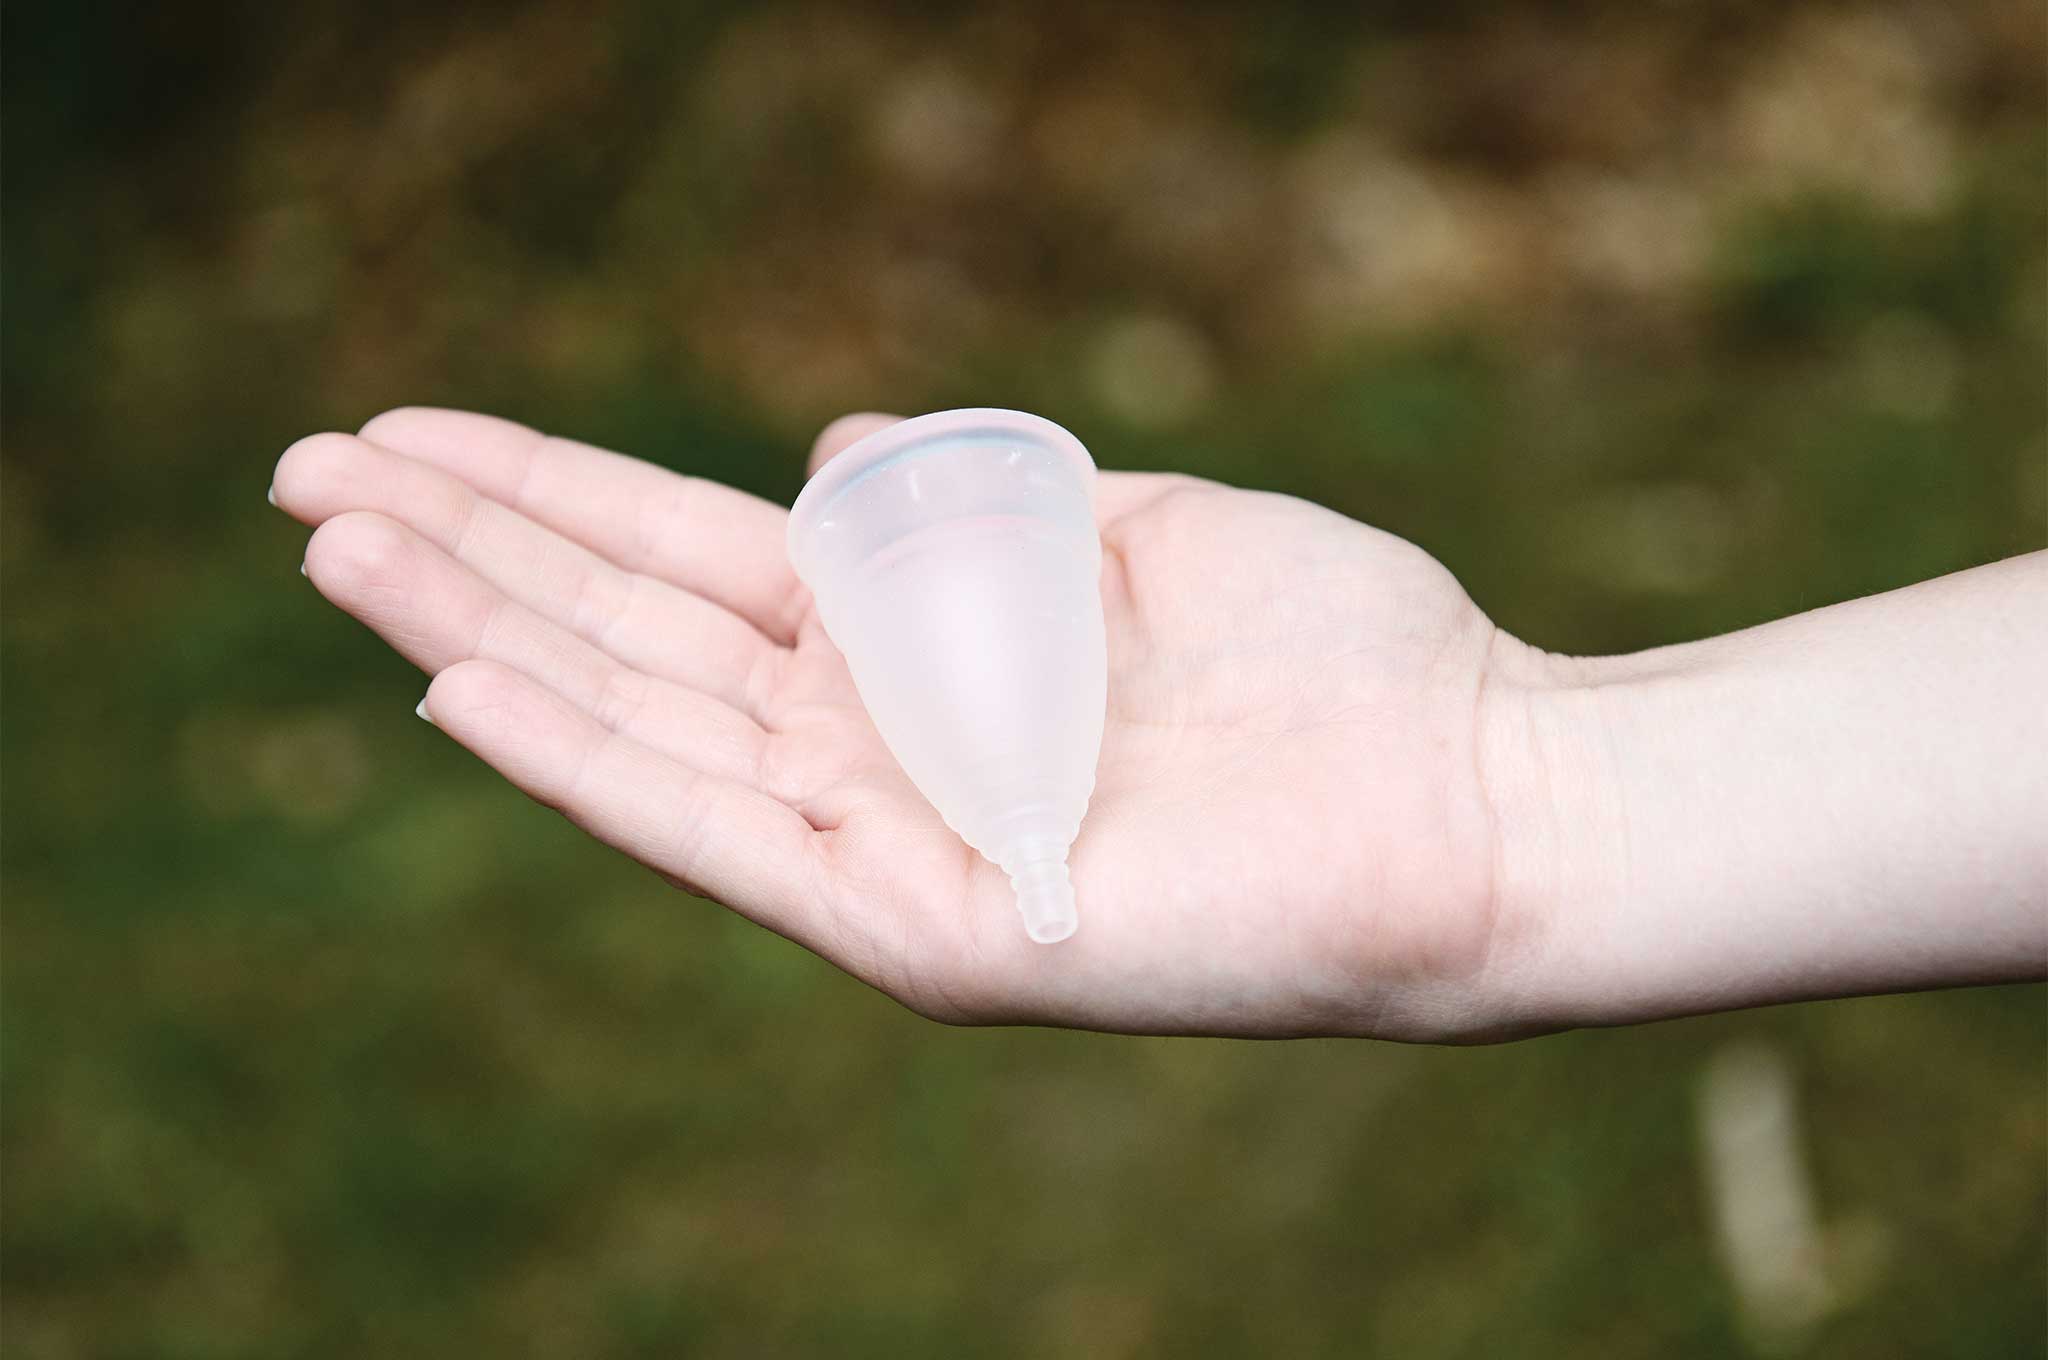
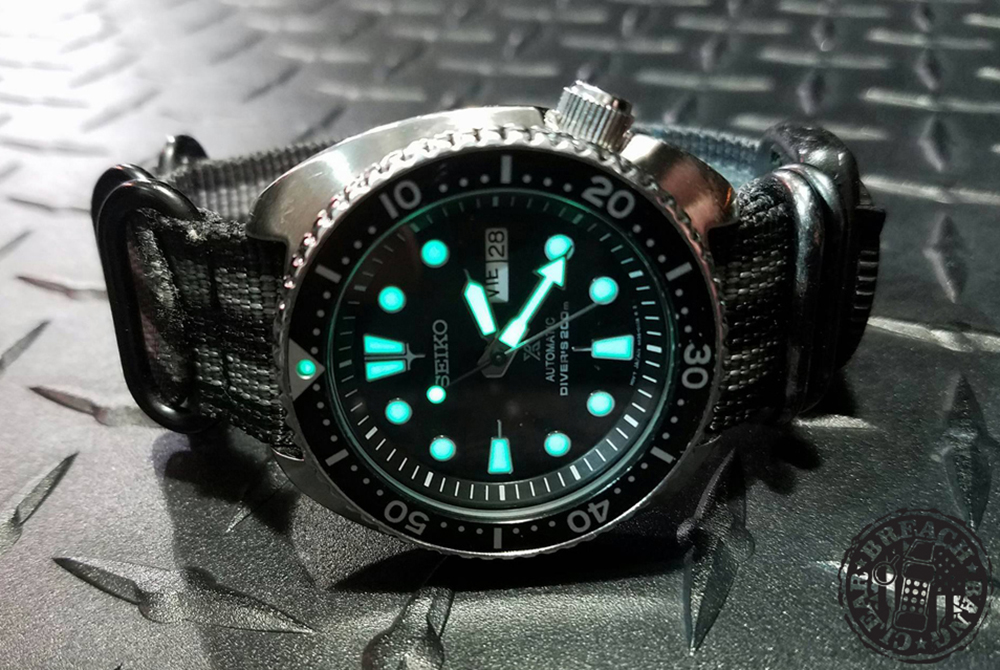
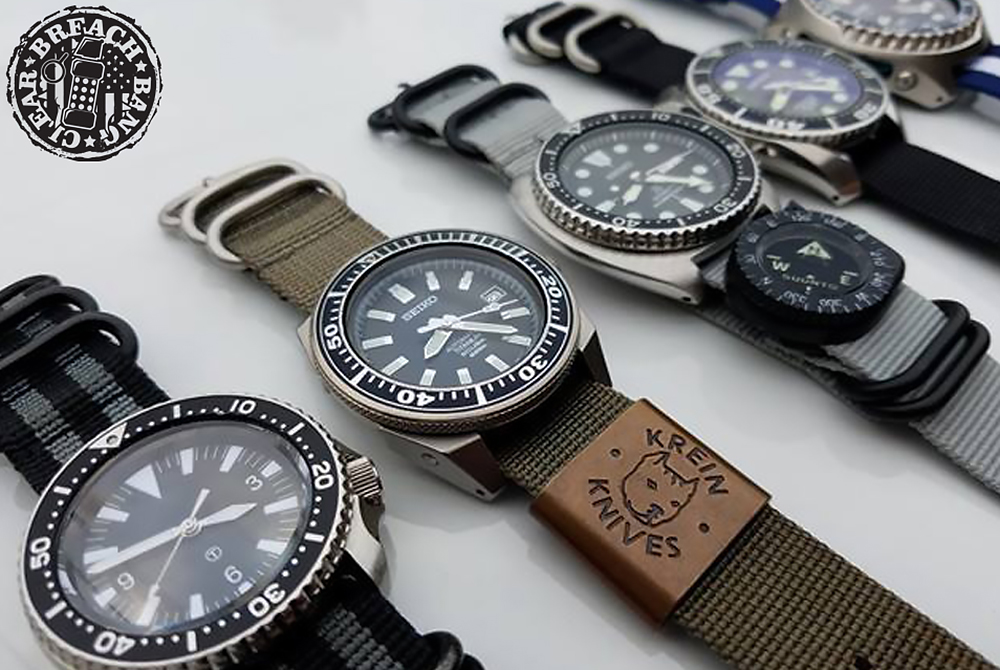
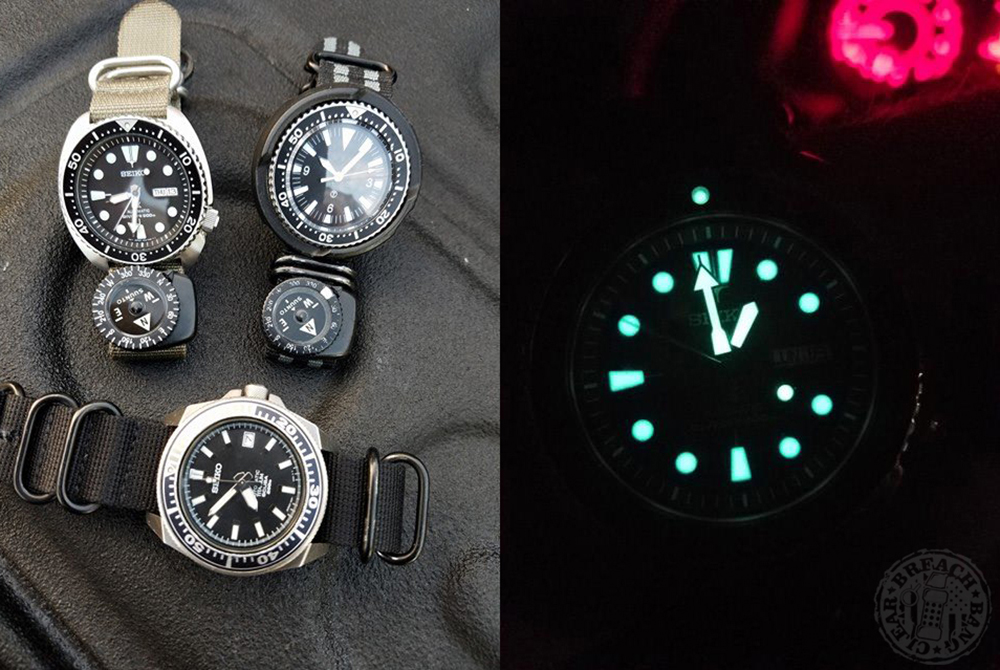
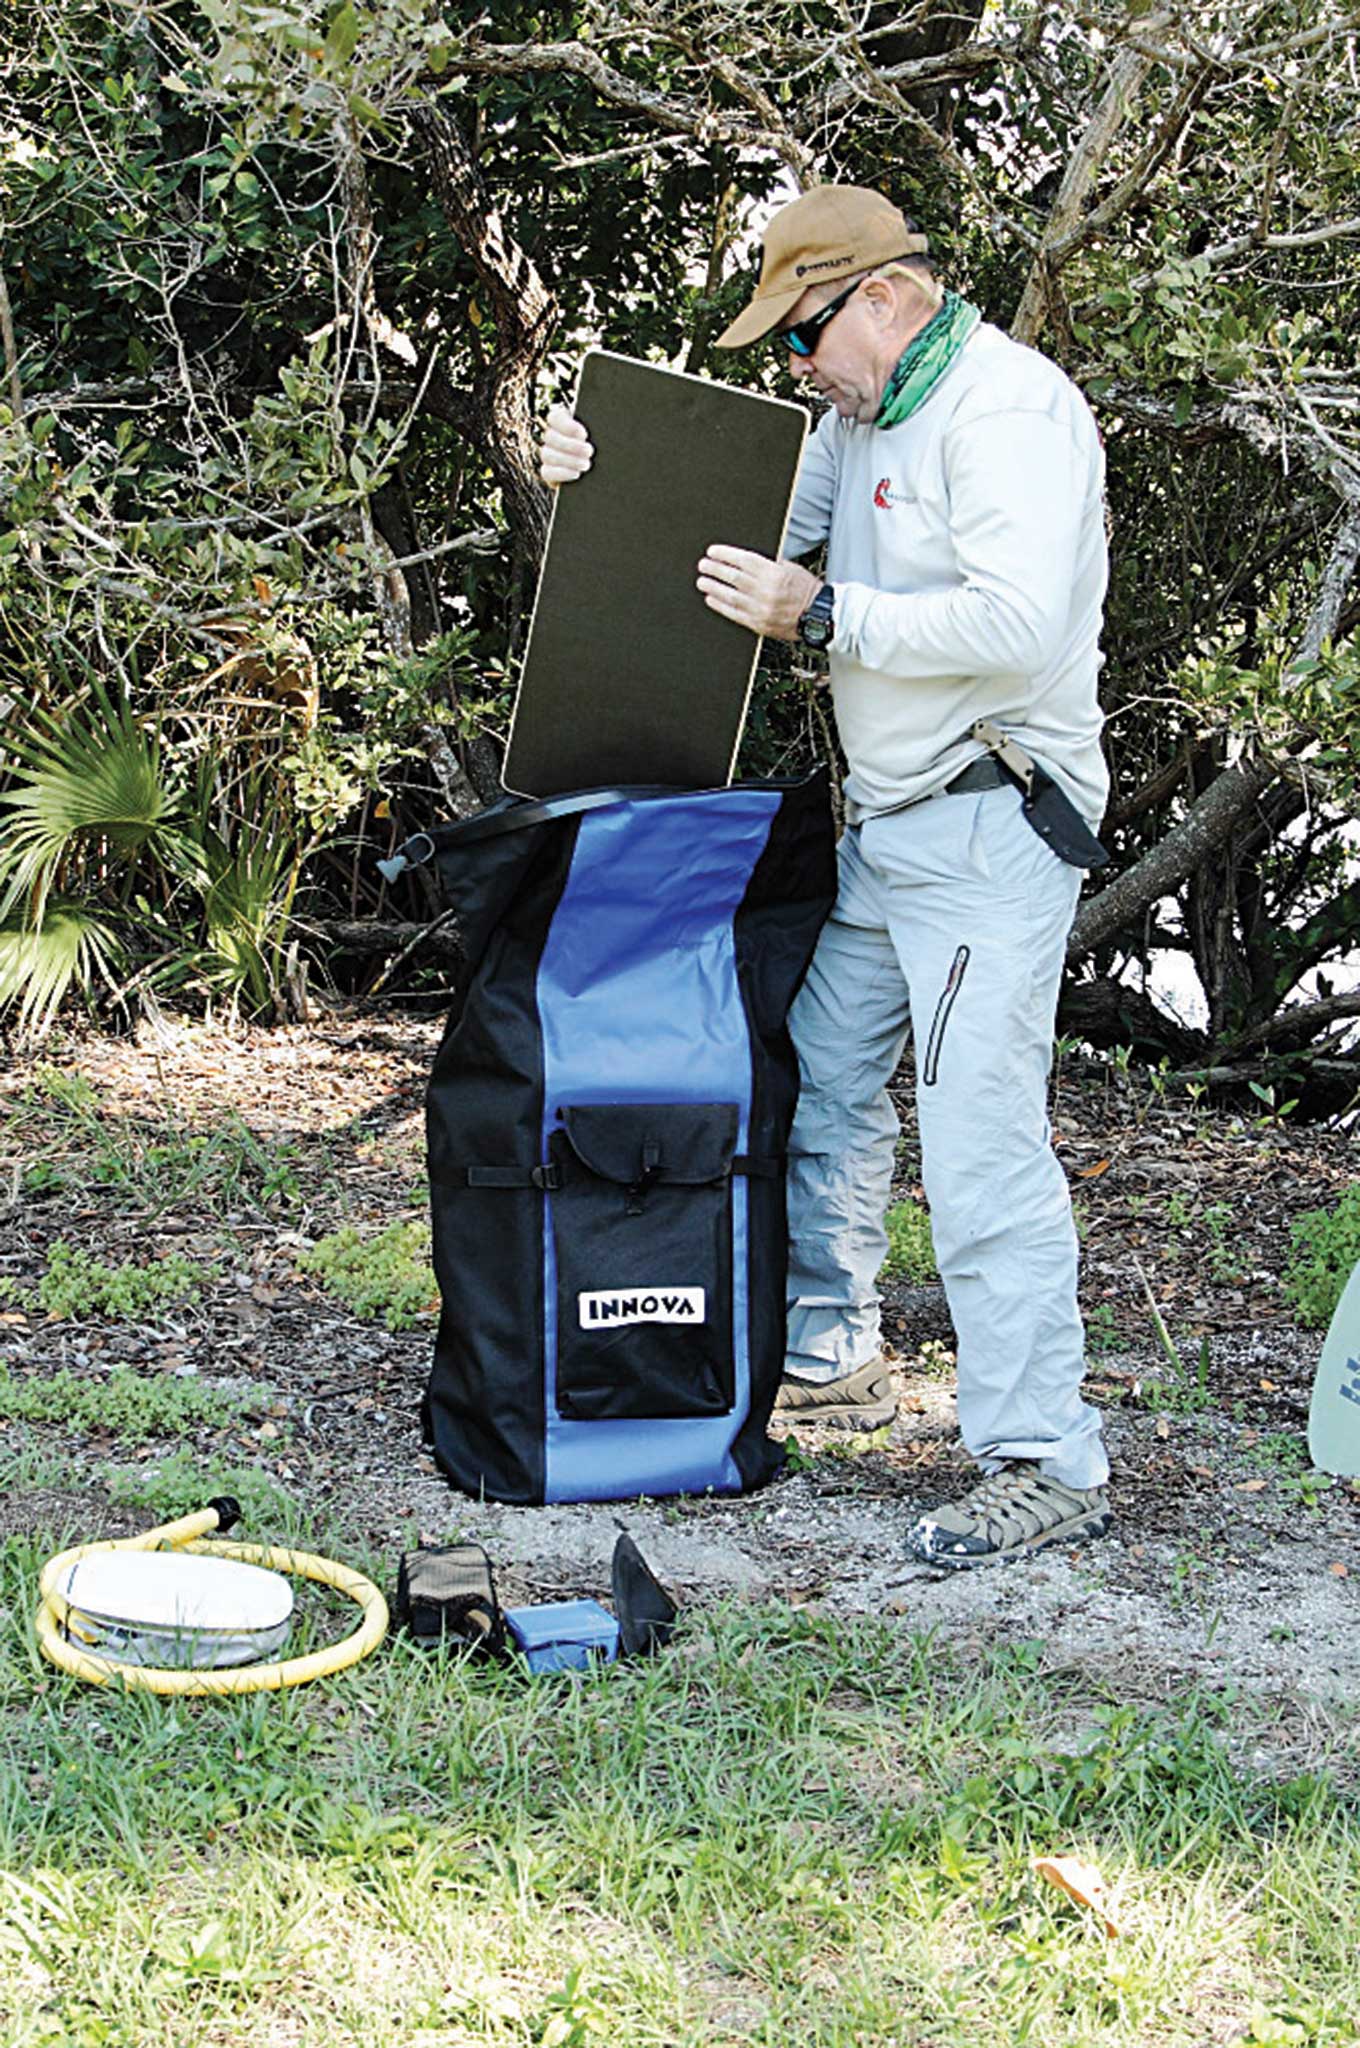
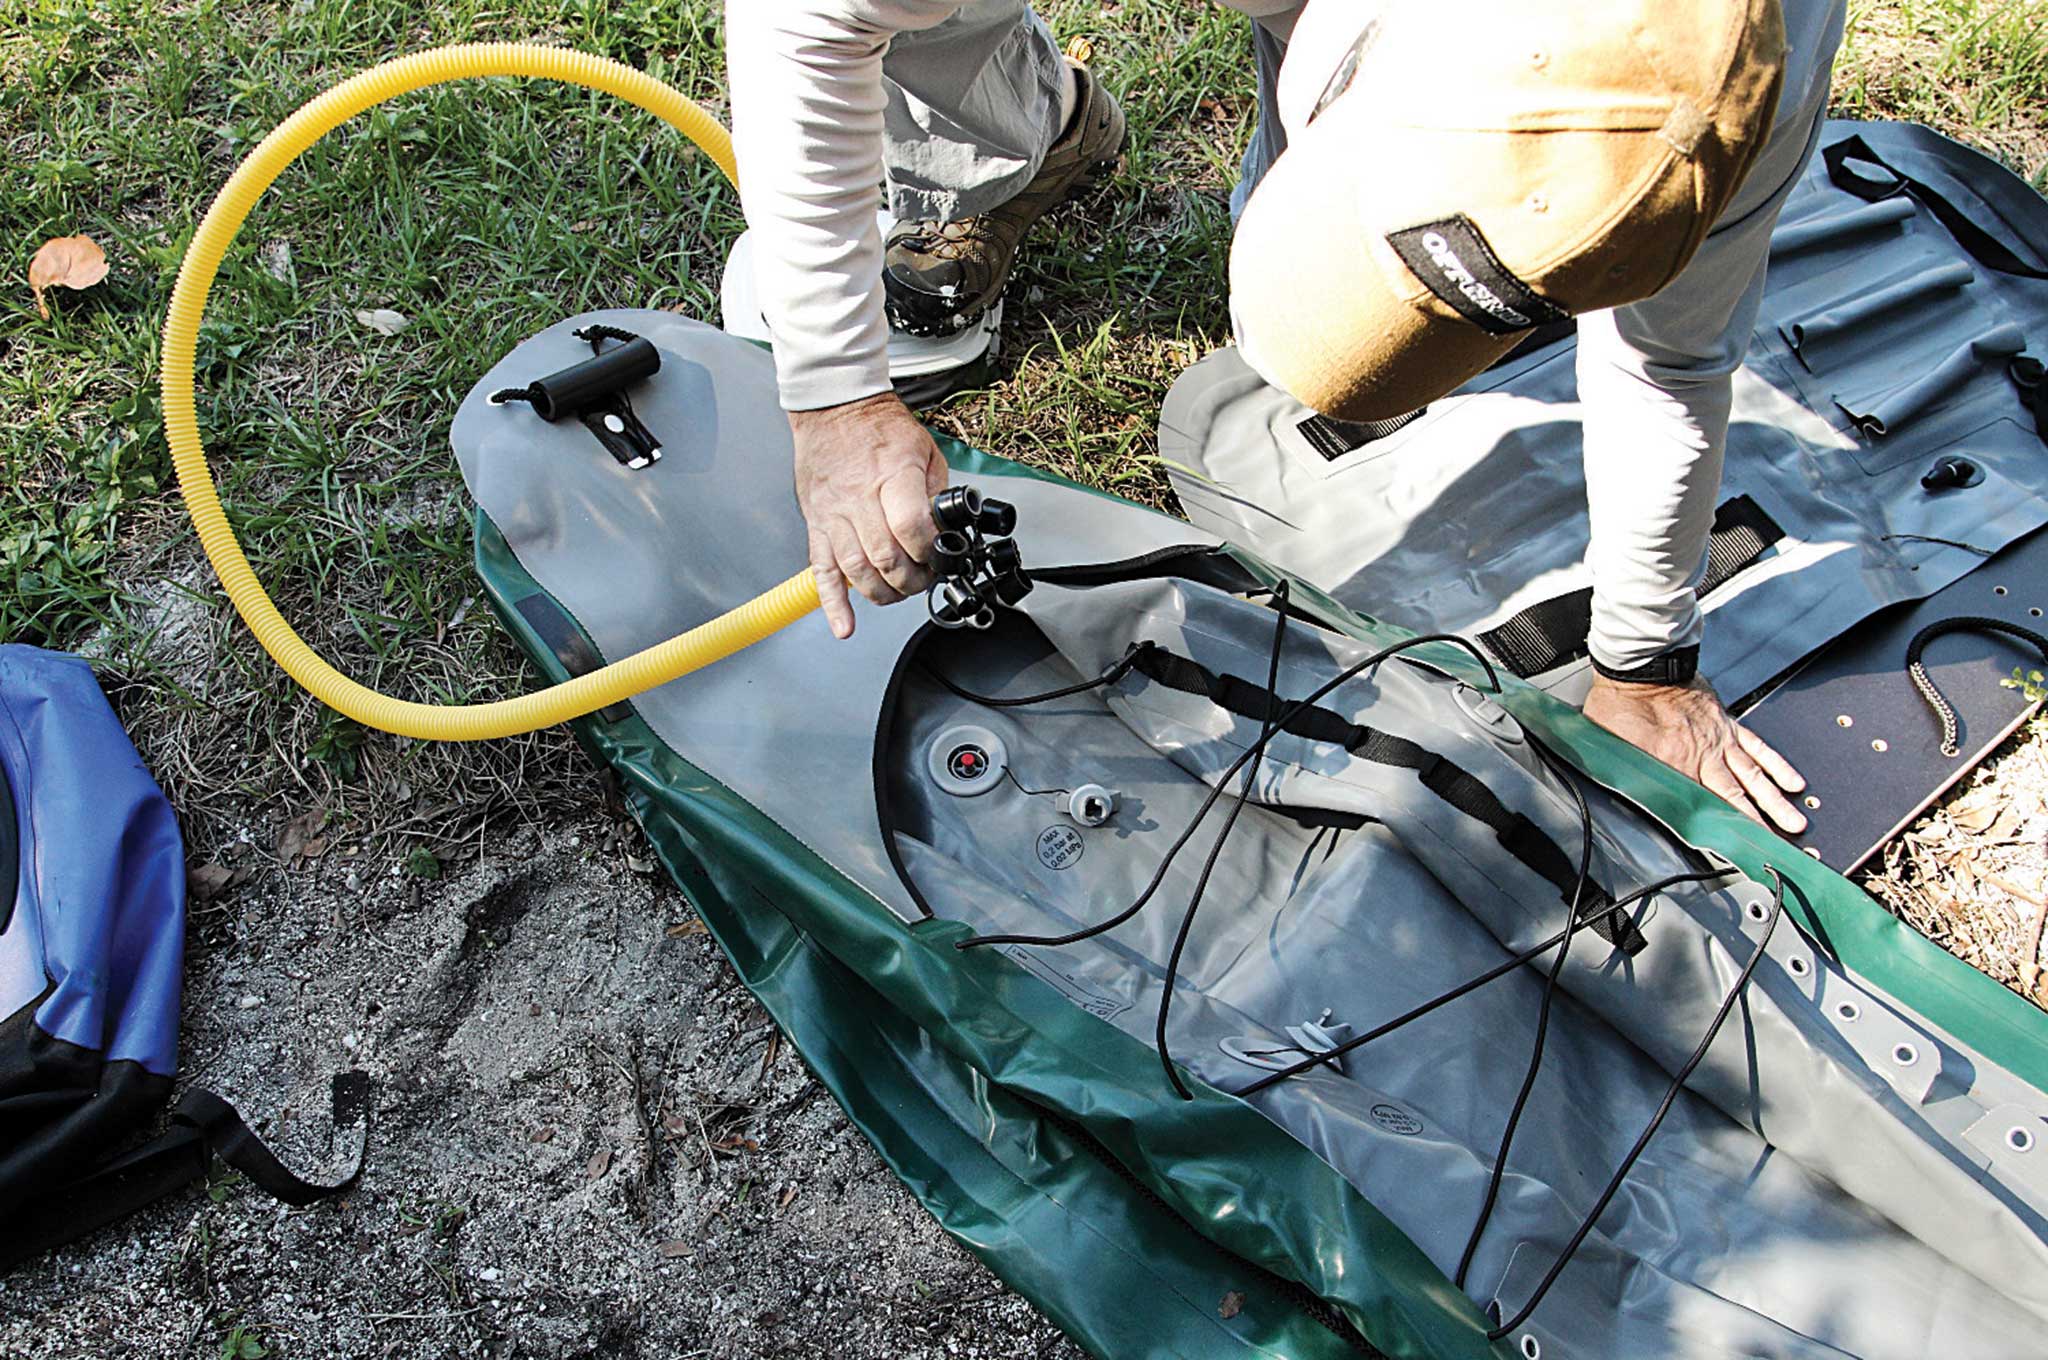
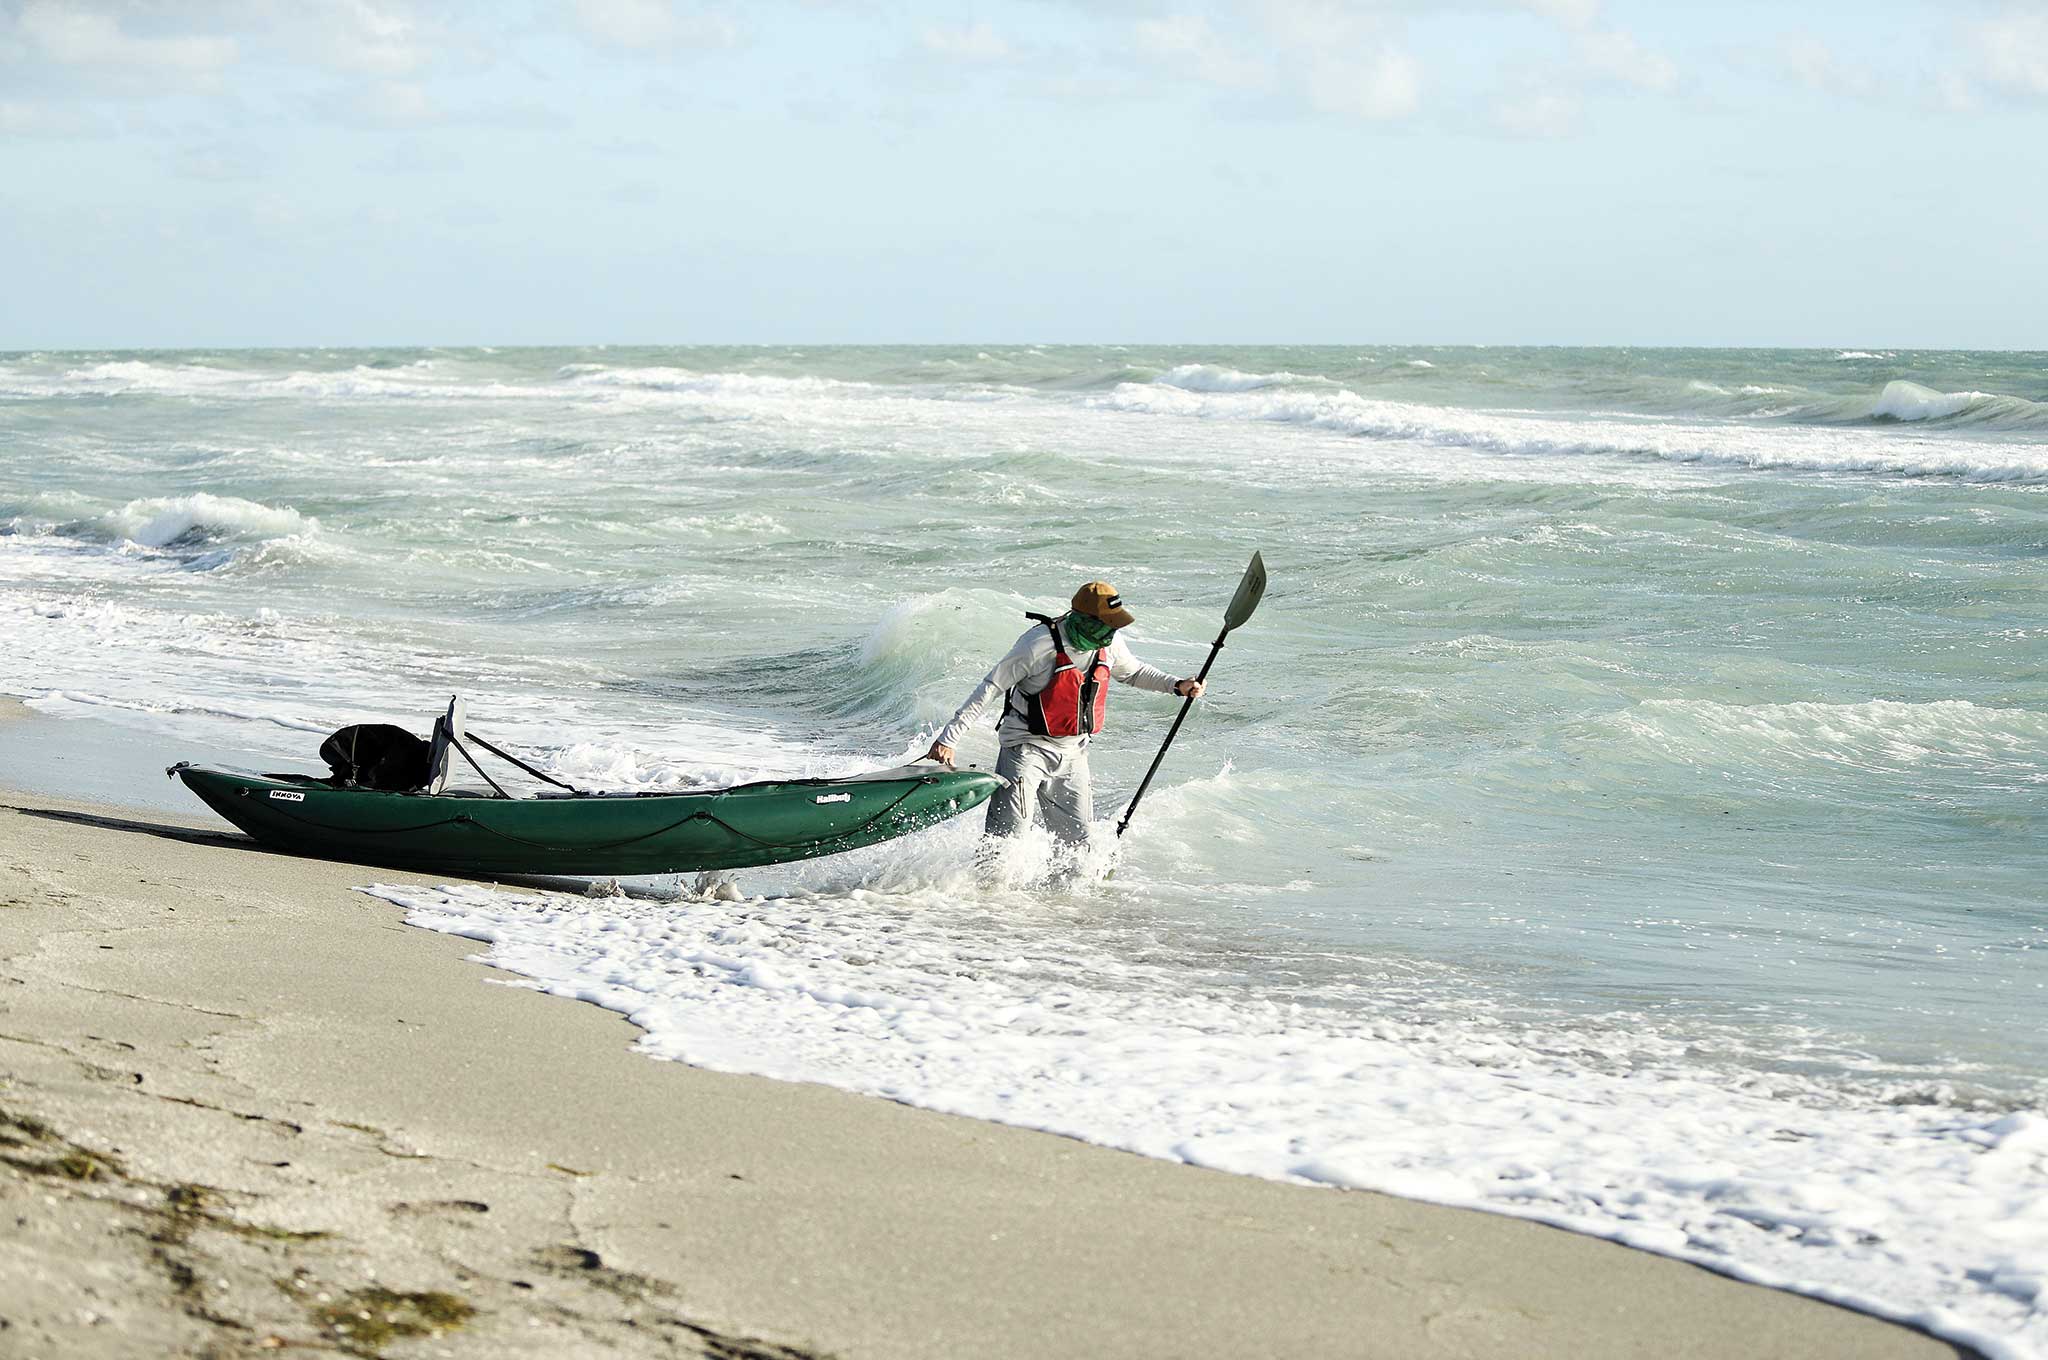
Lesson 5: Prep Your Gear
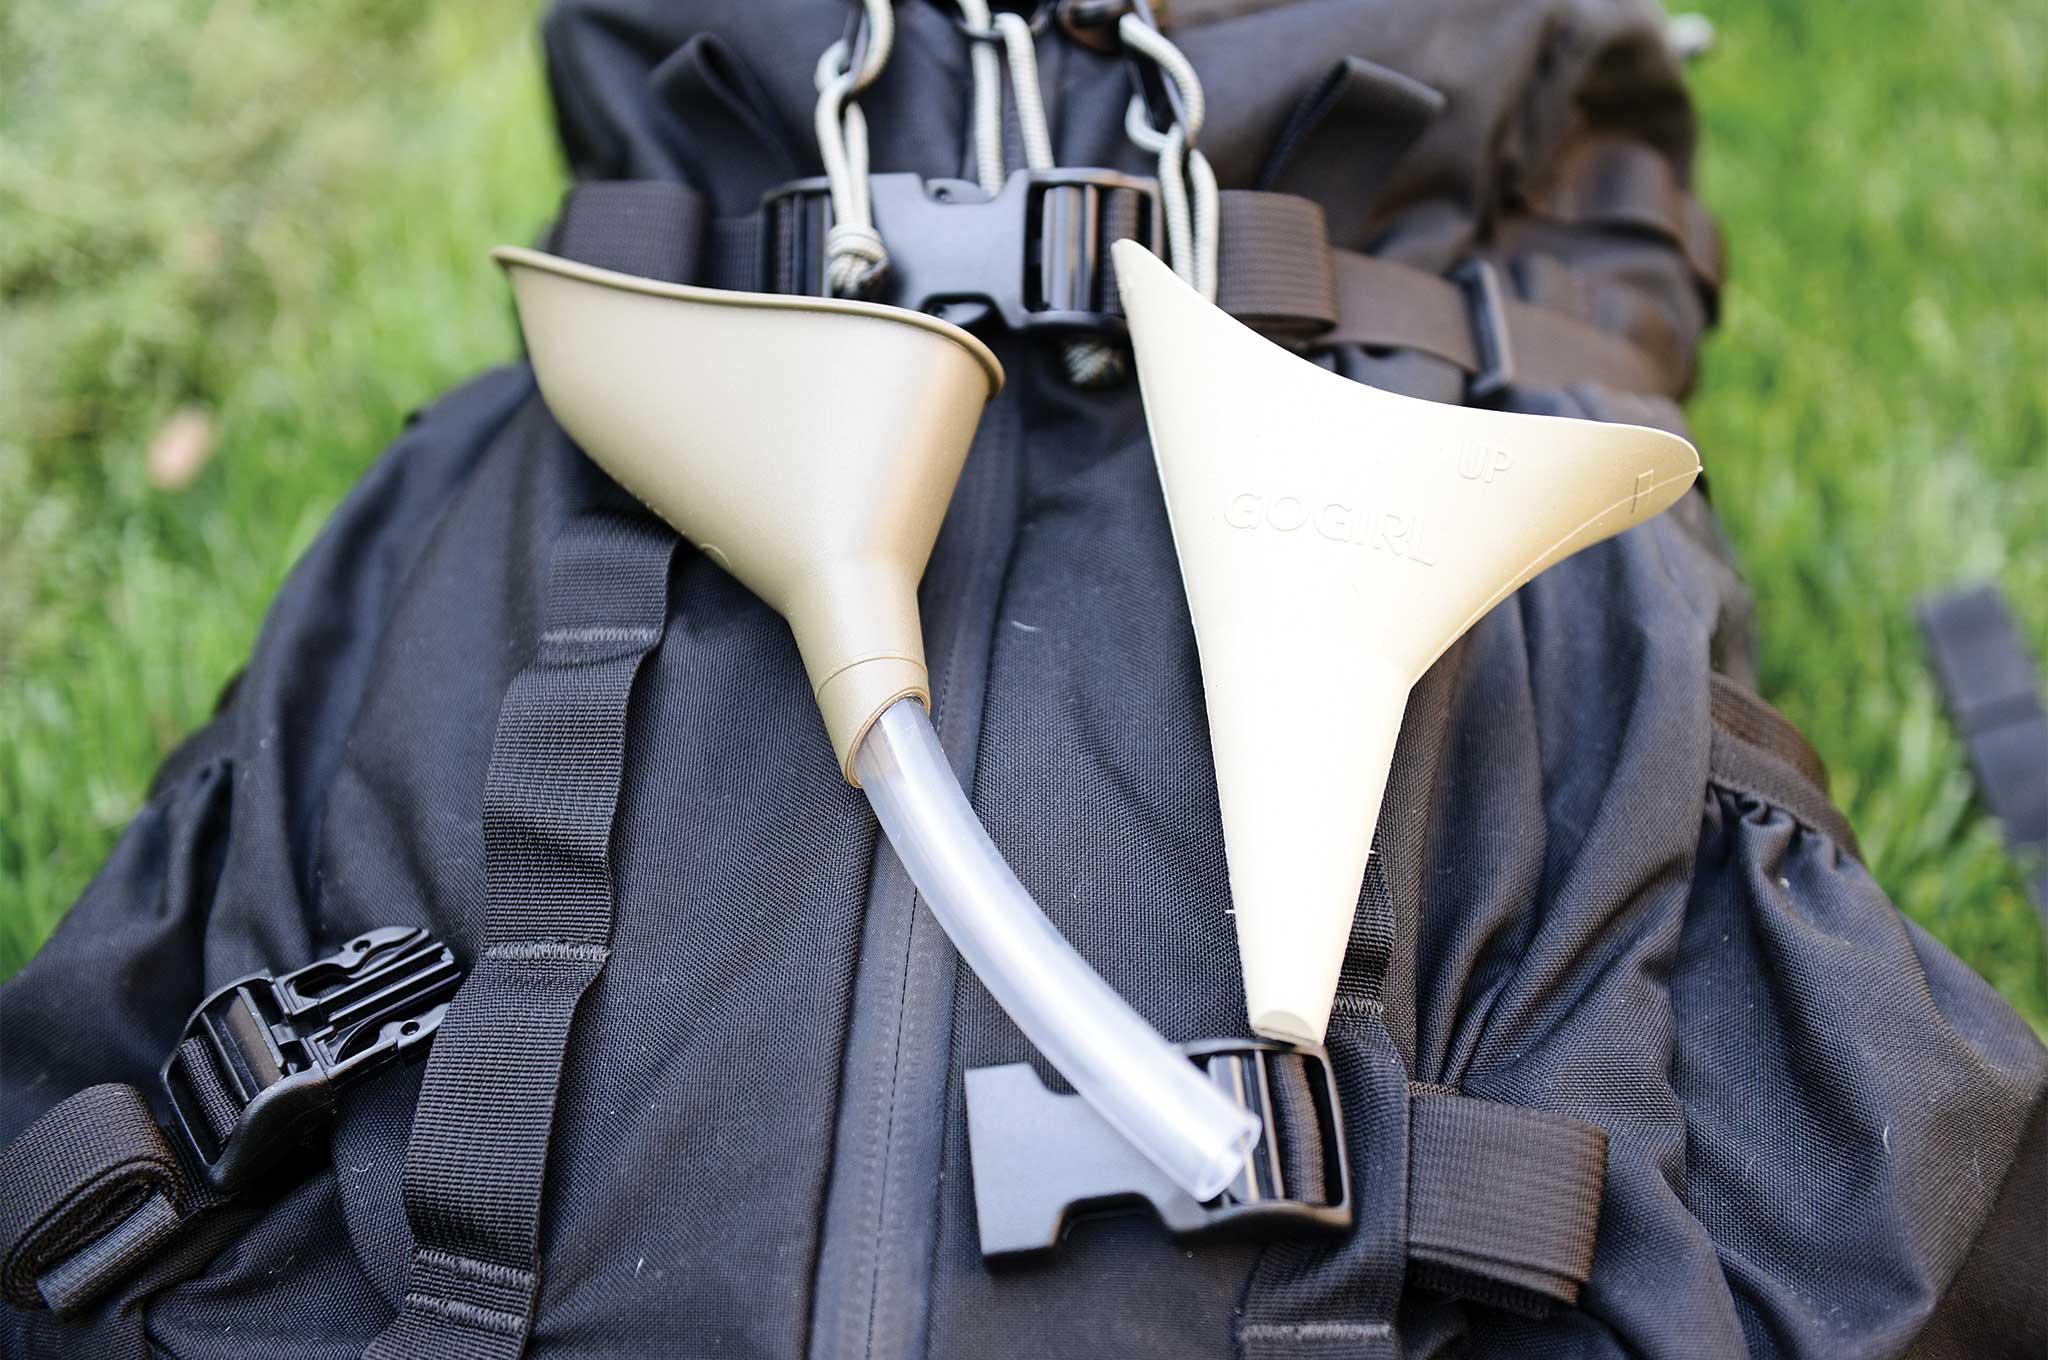
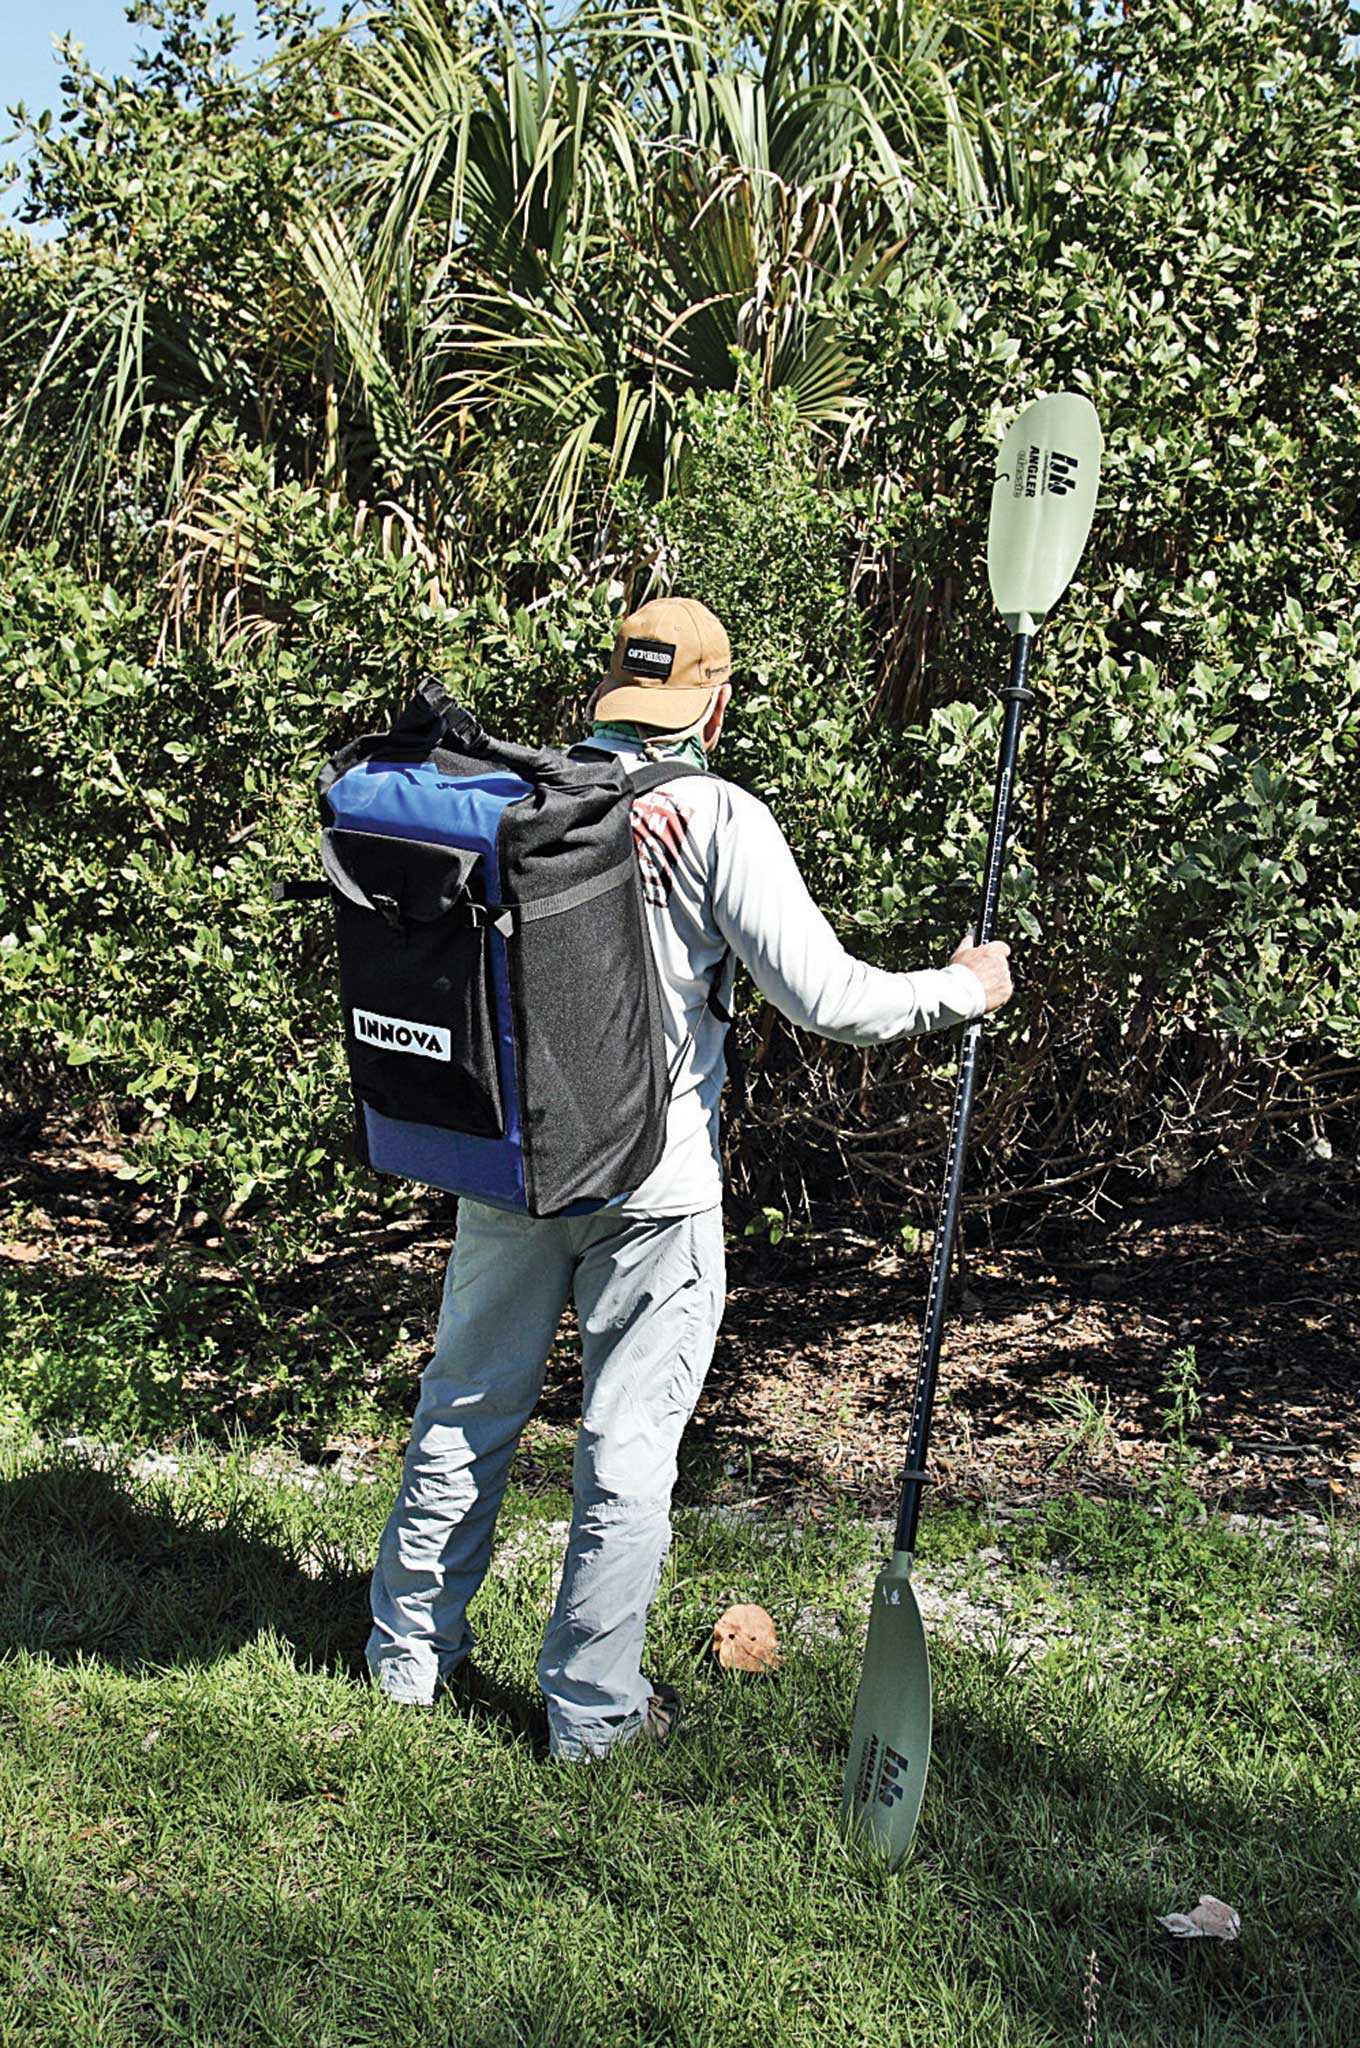
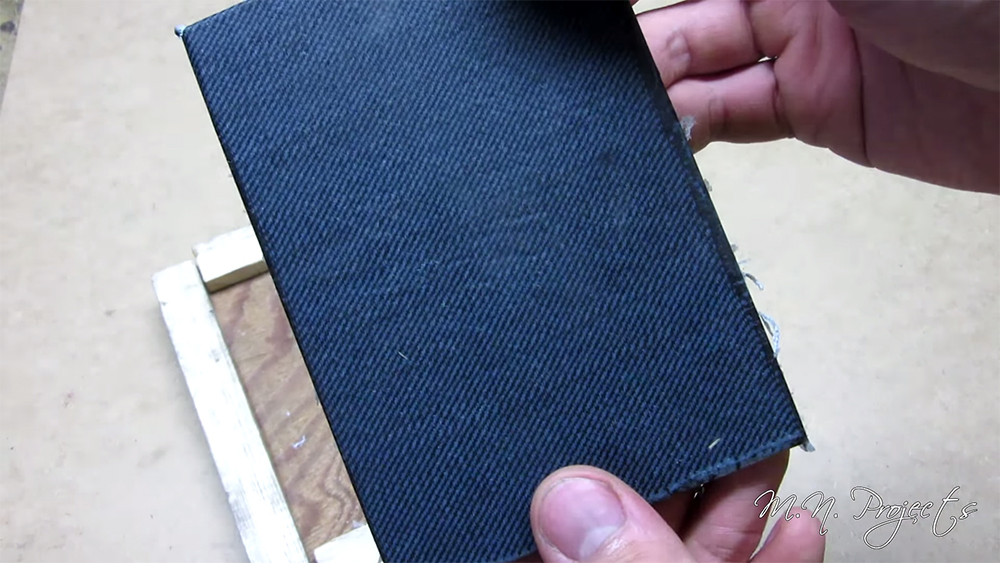
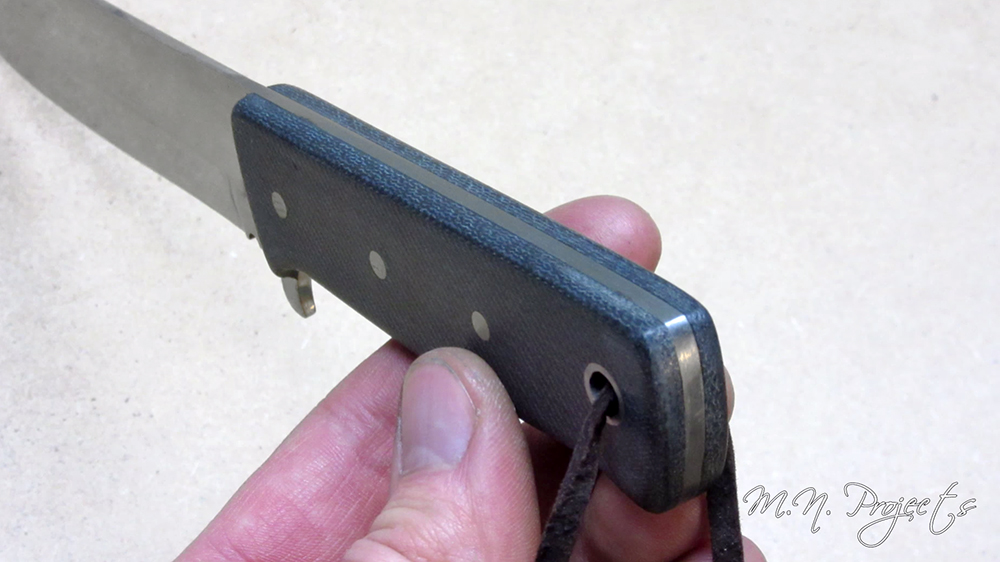
Coming from the police world where gear is issued and typically one-size-fits-all, I realized that products often aren't easily adaptable to the end user. It's important to select gear that'll work for you and not against you.
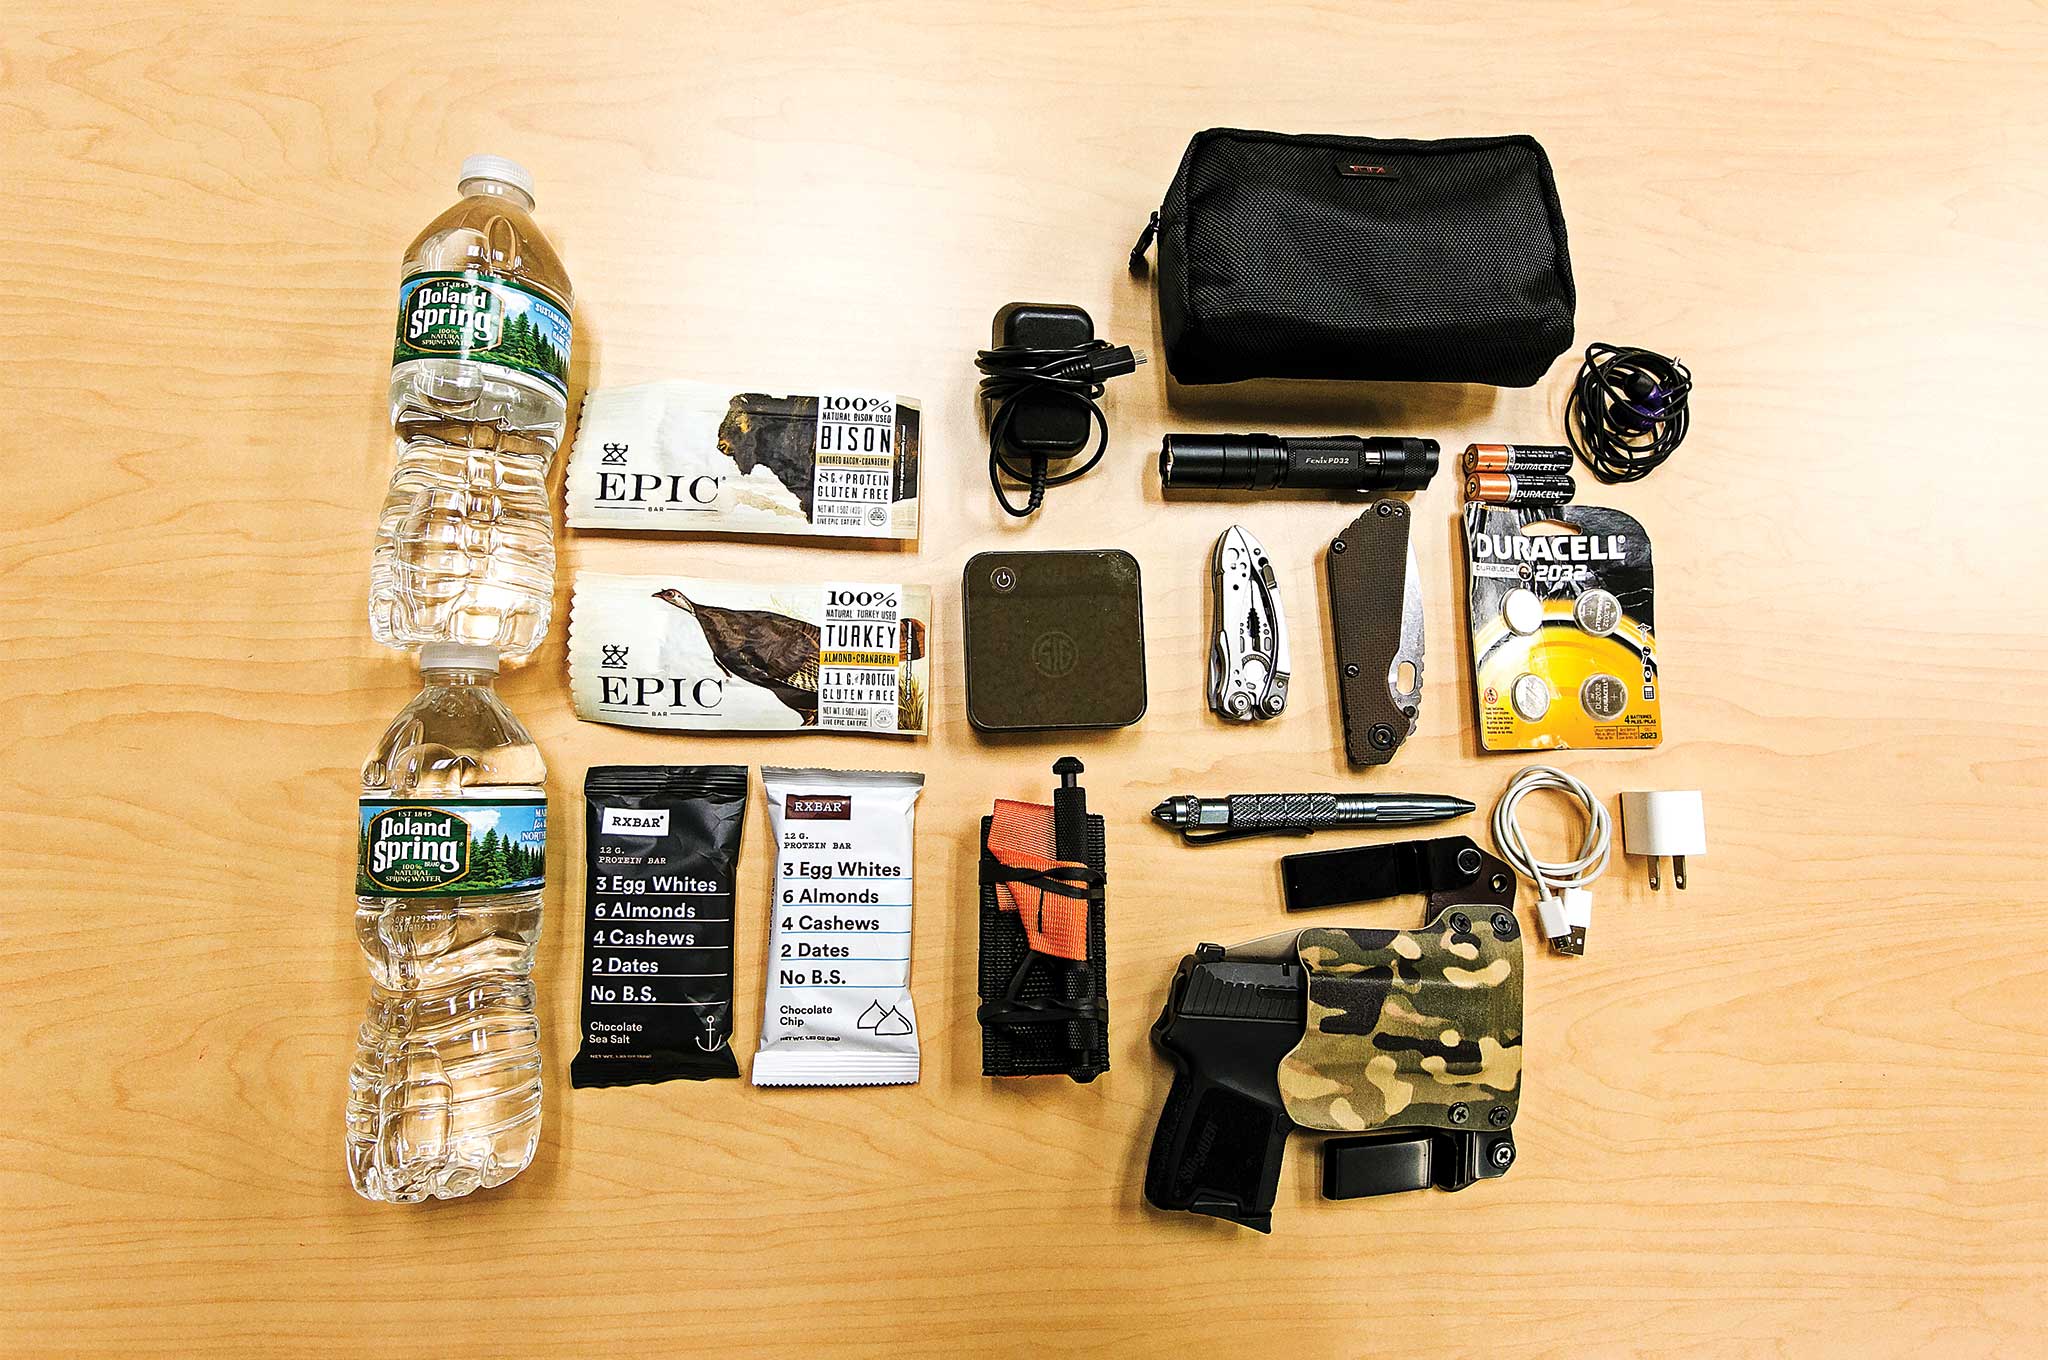
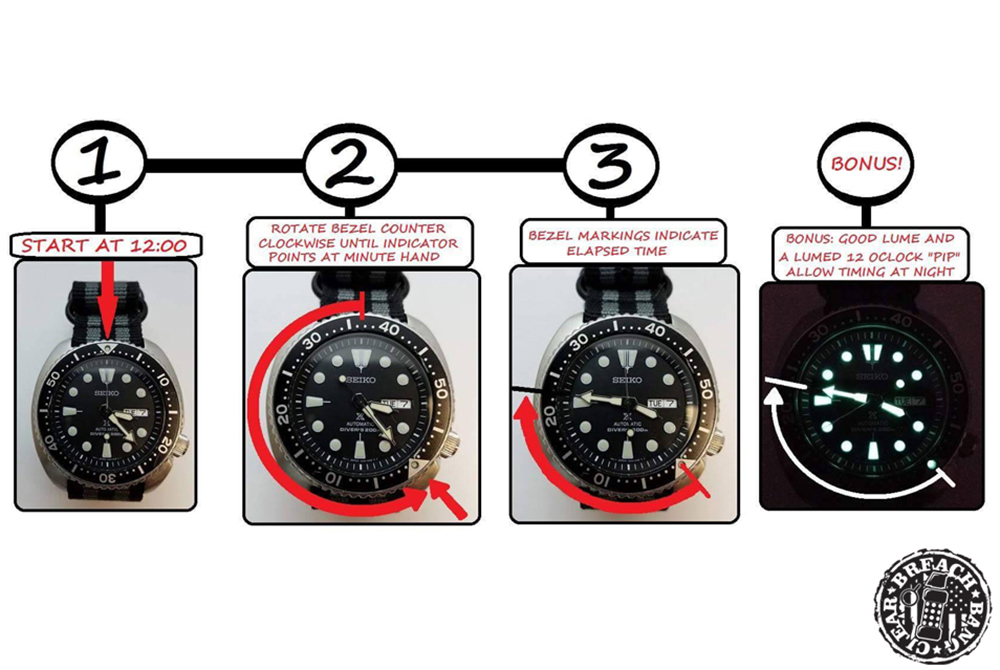
Choose your gear wisely, not just based on looks or popular opinion. The author's gear was chosen after careful...
Survival Lesson: People don't come in one size. Take into consideration the difference in the skeletal system of a man versus a women. On average, a male is 30-percent stronger than a female, especially when it comes to upper body strength. Most tools manufactured, including those produced for tactical applications, are geared toward male body structures because they encompasses the majority of the market.
Also men and women tend to learn differently. I've found that women often take directions literally. This makes the application of products more important to the average women. Because of this, I encourage everyone to open and test out the tools you've chosen for your get-out-of-dodge bag or vehicle emergency kit. Evaluate the products and make sure they align with your skills and goals. Open your medical kit and make sure you know how to use all the equipment. Take any unnecessary wrappers off your supplies. Set your tourniquets to make sure they're staged for immediate use. Evaluate your Leatherman or multitool so that you're familiar with all the attachments. If there are failure points in your gear selection, it's important to find out prior to an emergency.
Conclusion
Police work may not be a profession that everyone aspires to do. However, there are important survival tips to be learned from individuals who choose to run toward danger instead of away from it. Each component of your daily readiness regiment should work together to provide you with optimal mind-body performance and the necessary physical tools for immediate survival.
As with anything in life, survival planning isn't an absolute. Taking precautionary measures to prepare for life's uncertainties will help you plan for survival — regardless if you're a female rookie cop or a veteran outdoor adventurer.
About the Author
Hana L. Bilodeau is a former local and federal law enforcement officer with a bachelor's degree in criminal justice. She's trained as an advanced forensic interviewer and was a member of the Strafford County SAFE Team where she worked as a crisis negotiator. In addition to being an instructor for SIG SAUER Academy, Bilodeau is also a deputy sheriff with the Strafford County Sheriff's Office.
www.sigsaueracademy.com
More From Issue 21
Don’t miss essential survival insights—sign up for Recoil Offgrid's free newsletter today!
- Swiss Army Knife Uses: Ultimate Guide To A Classic Tool
- 5 Solar Ovens That Turn Sunshine into Mealtime
- Insect Repellent 101
- A Buyer's Guide to UPF Shirts
- Building a DIY Parabolic Solar Cooker
- Beam-Focusing Flashlights – HighLights
- OffGrid Issue 21 Gear Up
- What If You're Stranded in the Desert
- 5 Survival Lessons Learned from a Veteran Officer and Trainer
- Survival Hygiene – Wilderness Wash-Up
- Strength and Conditioning for Survival Swimming
- Innova Kayak's Inflatable Halibut Review
- The Myth of Water Rationing While Stranded in the Desert
- Krav Maga Tactical Survival: Personal Safety in Action
Read articles from the next issue of Recoil Offgrid: Issue 22
Read articles from the previous issue of Recoil Offgrid: Issue 20
Check out our other publications on the web: Recoil | Gun Digest | Blade | RecoilTV | RECOILtv (YouTube)
Editor's Note: This article has been modified from its original version for the web.