In This Article
Make & Model – Goal Zero Rechargeable Torch 250
Max. Output – 250 lumens
Max. Runtime – 48 hours
Weight – 14.4 ounces
MSRP – $80
URL – http://www.goalzero.com
There's an old saying about gear redundancy: “Two is one, and one is none.” Obviously, this philosophy is intended to remind us about redundancy. Did we mention redundancy? Seriously though, it's not always practical to follow this one-liner, since nobody wants to lug around two of everything all the time. However, on a much smaller scale, the “two is one” mindset does make sense. If a single tool can have multiple redundant functionalities, it can dramatically increase its reliability in a survival situation.
Take vehicles, for example. Rather than relying on a single fuel for your bug-out truck, you'd be better off with a rig that could run on diesel, used vegetable oil, and natural gas. If you can't find one power source, you've got two more options. The same goes for electronics — if the electrical grid is down, you can't necessarily plug into a wall socket and expect any juice. You'll need to find alternative means of recharging.
Goal Zero has developed a solution to this dilemma. The company's Torch 250 is a device with an internal battery, and three built-in methods to recharge it: manual cranking, solar panel, and traditional USB cable. Said battery power can be used to run various attached LED lights, or to charge other devices via a USB port. This sounded like an interesting premise, so we picked one up to review.
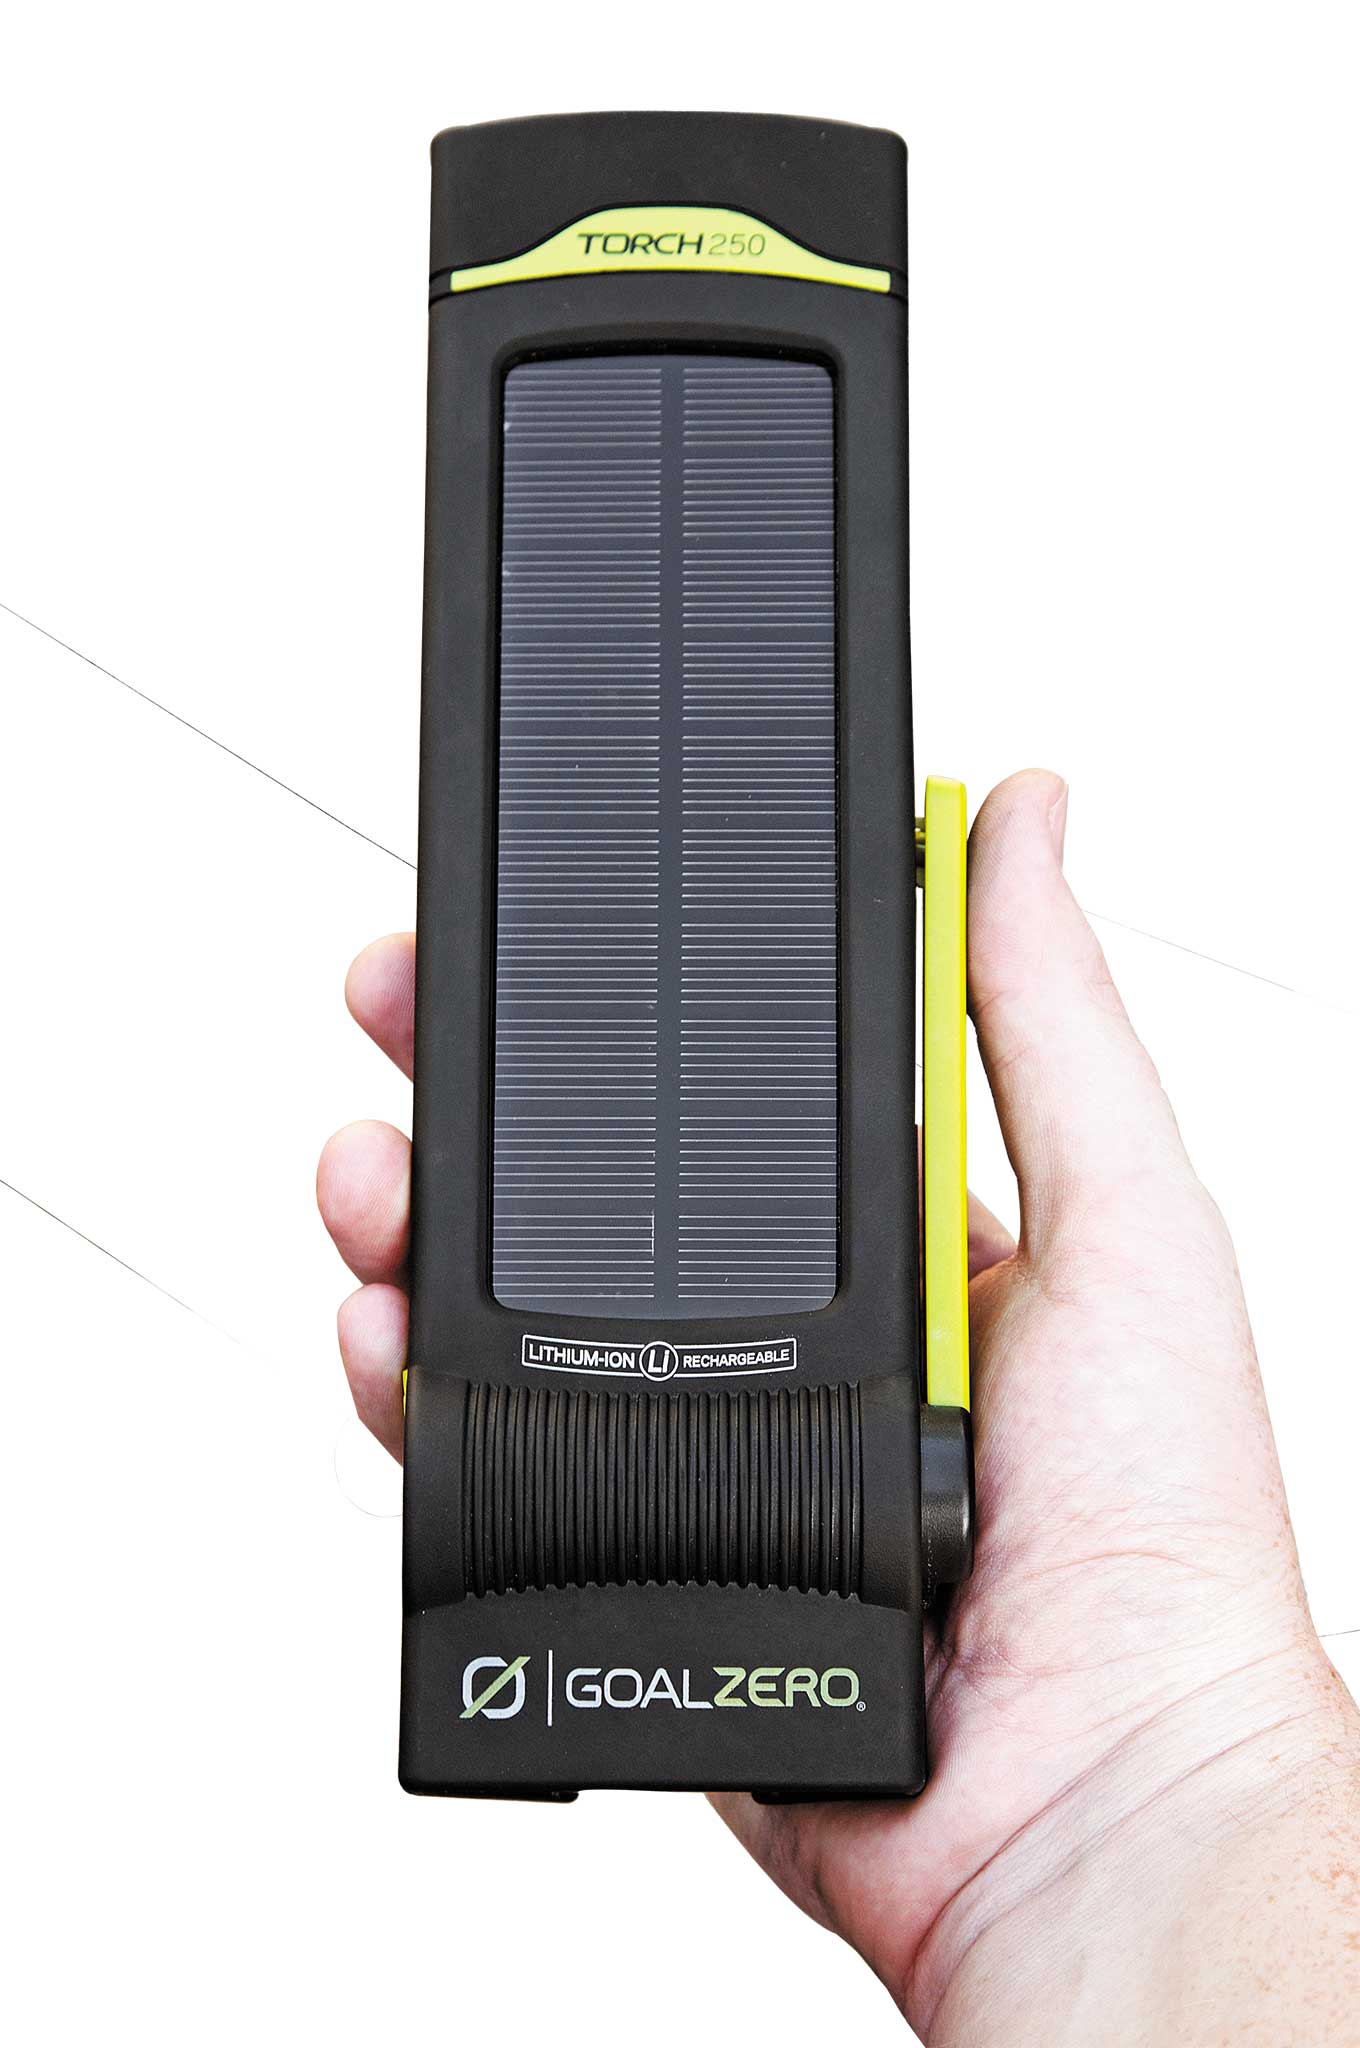
Torch 250 is a device with an internal battery, and three methods to recharge it: manual cranking, solar power, and...
The 411
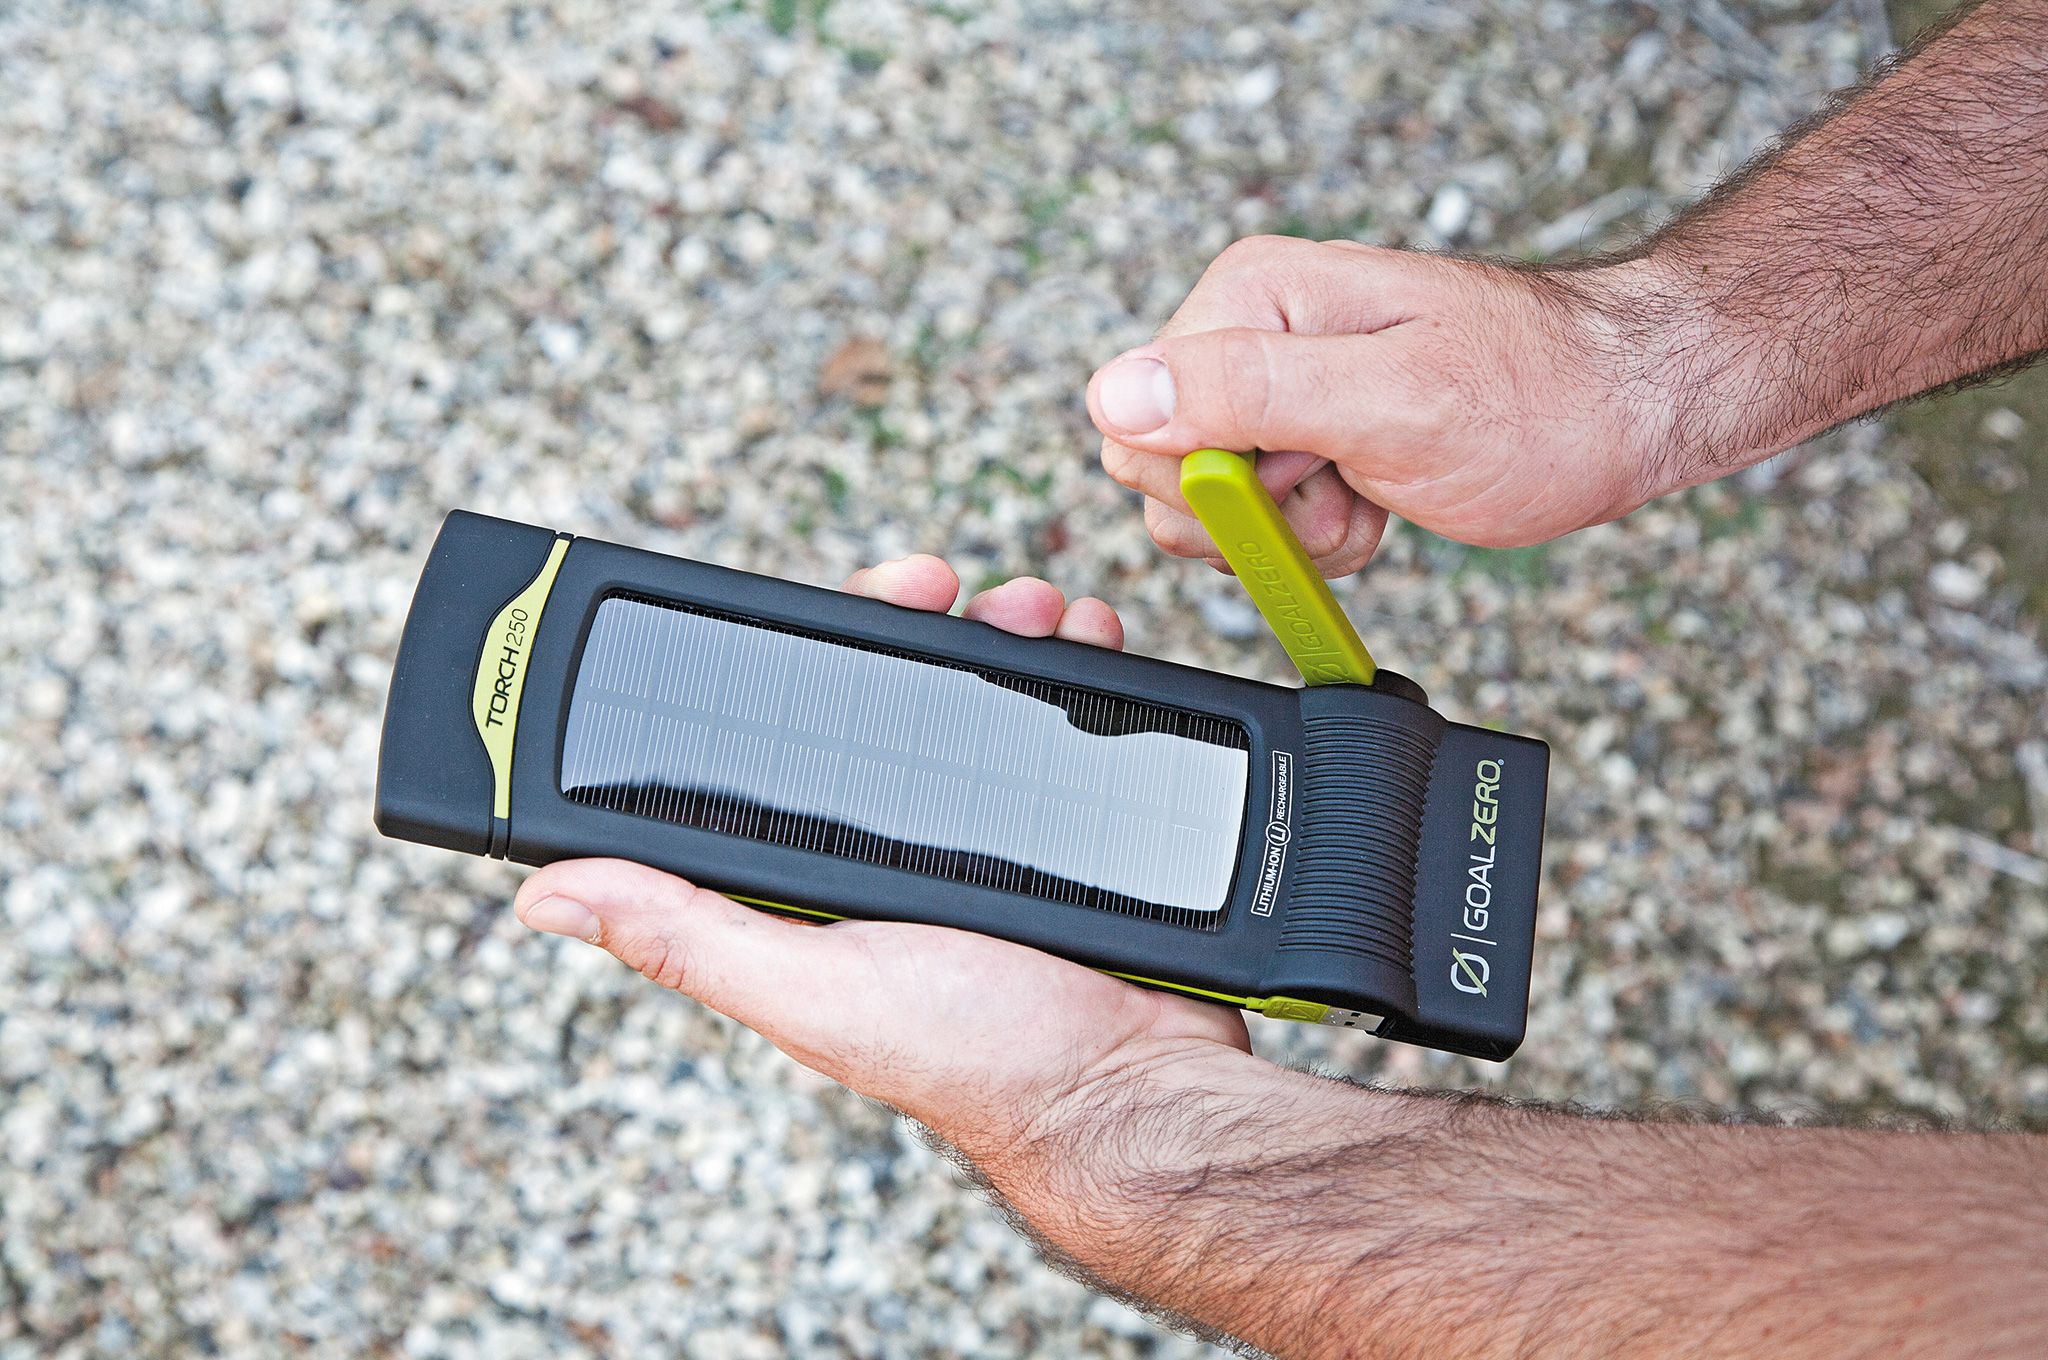
The Torch 250 is larger than most flashlights, at 10×3.5×1.75 inches, or about the size of an adult's forearm. However, it's also relatively light, at under 1 pound (14.4 ounces). The device is constructed of hard plastic with a black rubberized finish and bright green accents. Inside the Torch is a Li-NMC 3.7V 4,400-mAh battery, which is rated to operate between temperatures of 32 and 104 degrees F (0 to 40 degrees C).
The front face of the Torch is occupied by a 2×5.5-inch solar panel, which Goal Zero says will recharge the battery fully after 24 hours of direct sun exposure. Additional Goal Zero solar panels, such as the Nomad 7 ($79.99 MSRP), can be connected for quicker charge time. At the top of the Torch is a trio of LEDs in a chrome-reflector housing. In the center is a 180-lumen Cree LED spotlight, while the outer two LEDs provide dimmer red light for signaling or map reading at night. On the back side of the device, you'll find an array of 22 LEDs under frosted clear plastic. These are configured in a wide flood light pattern, and provide an additional 70 lumens of white light.
On one side of the Torch, there's a bright green hand crank, which is held in place by a small magnet. Pivoting this handle out and turning it charges the device's battery. According to Goal Zero, 1 minute of fast cranking will provide 10 minutes of light run time. On the opposite side, there's a built-in USB cable, which can be plugged into any USB port or wall charger to fully recharge the device in seven hours.
The bottom of the Torch houses its controls: three green buttons for the flood light, spotlight, and red LEDs. Each button can be pressed once for full power, and a second time for low power (or in the case of the red LEDs, a flashing mode). The spotlight will run for seven hours on high, or 15 on low, while the flood light runs for 22 hours on high, or 48 on low. Beneath the buttons is a set of four blue LEDs, which indicate battery level when the device is in use, or flash to indicate battery level when charging. The USB port below allows charging of other electronics at 5V and up to 1.5 amps. Goal Zero claims it will recharge most cell phones approximately two full times. Finally, there's a fold-out metal hanger, which allows the Torch to be suspended to light up a room or basecamp.
The Verdict
For a device called Torch, we were hoping it would be a better flashlight. In reality, the spotlight function actually seems like an afterthought, especially since using it means holding the brick-shaped Torch 250 awkwardly in your hand. The spotlight beam pattern is not particularly even, and its light appears more yellow than the flood light. The red light function suffers from similar issues, though its dual LEDs provide a more even beam pattern. That said, the flood light is better than the other two functions, lacking the spotlight's yellow tinge and providing a near-180-degree wide spread of bright light.
However, we tested Goal Zero's claim that it would run for 48 hours on the low setting — our light shut off after 25 hours, even with a full charge.
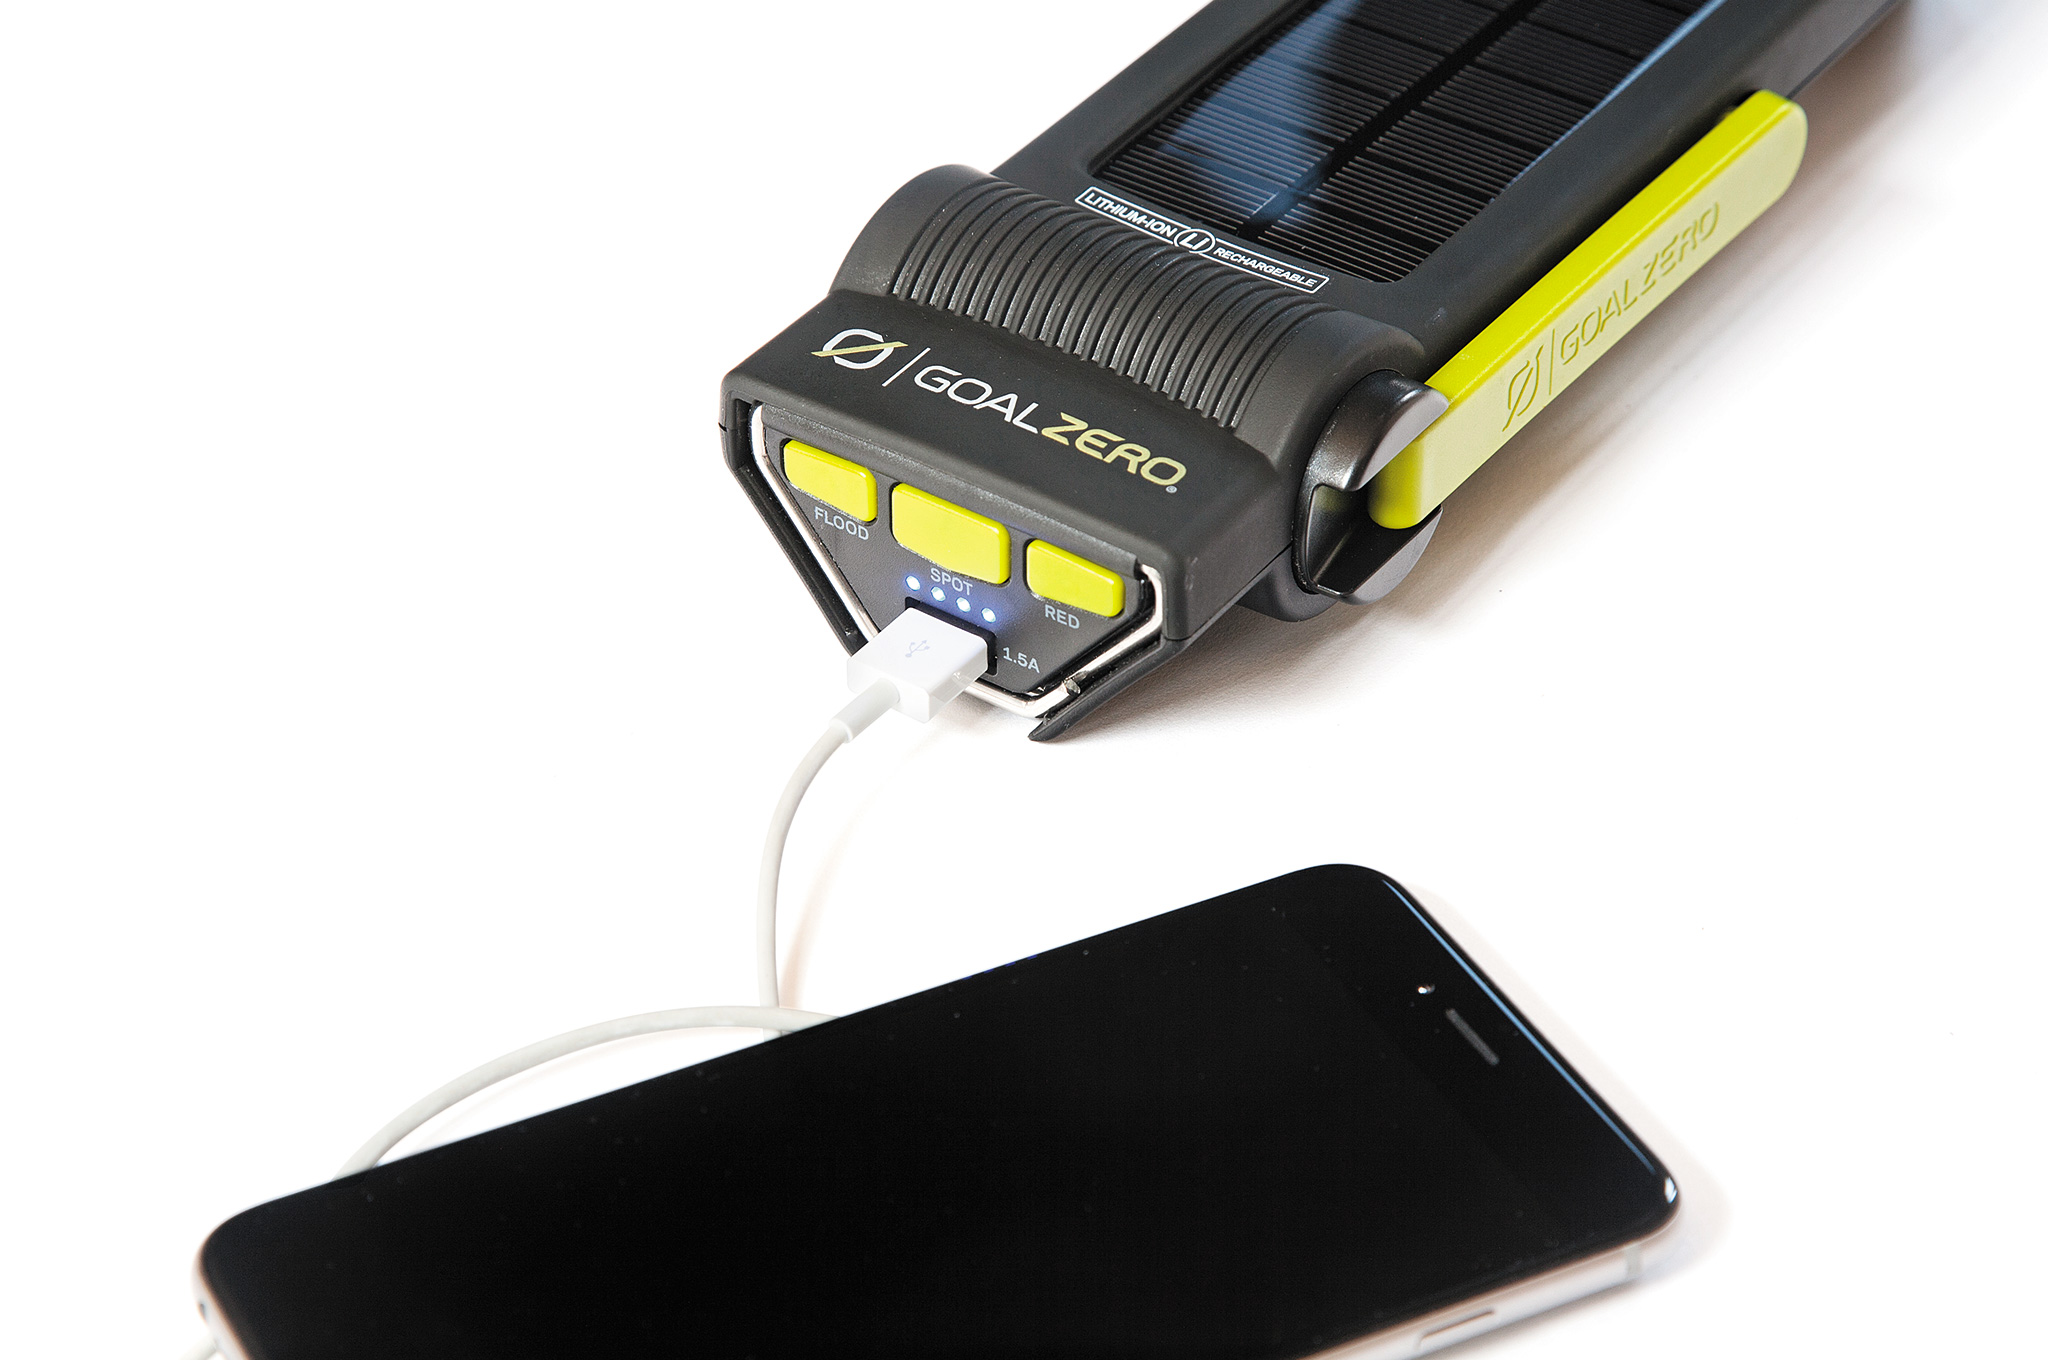
All manner of electronic devices can be charged from the built-in USB port, including GPS units, head-lamps, cameras,...
As a portable battery, the Torch 250 fares better. It's worth noting you'll need your own USB cable to connect your electronic devices, but that's not uncommon for portable batteries these days. The Torch charges devices at 1.5 amps, which is about the same as most smartphone wall chargers. We tested charging speed with a common smartphone, and found that after 10 minutes, the Torch increased its battery charge by 6 percent — the exact same amount as when it was plugged into the wall for 10 minutes. The internal battery's 4,400-mAh capacity isn't as much as we'd like, since it runs out of juice quickly when charging devices, and many other portable USB batteries offer double or triple that amount of mAh. However, it trades high battery capacity for light weight, an understandable compromise.
When it comes to recharging, the Torch 250 lives up to its claims for the most part. You can charge the internal battery traditionally via the built-in USB cable, but strangely, Goal Zero doesn't include a USB wall charger attachment with the Torch. A standard cell phone charger will work fine for this purpose, but we wish Goal Zero had given us a spare. Then there's the hand crank, which is tedious to use, but it's good to have as a backup. Finally, there's the solar panel, which was surprisingly sensitive to ambient light. Just walk outside, and the four blue battery LEDs turn on to indicate the panel is working. We'd say solar is the ideal way to charge this device if the power's out, although the panel seems rather fragile and prone to scratches, given its location and lack of protective cover.
On one side of the Torch, there's a bright green hand crank, which is held in place by a small magnet. Pivoting...
There's one additional feature we'd like to see implemented into the Torch. Goal Zero does sell a USB attachment separately to charge AA batteries (the Guide 10 Plus Recharger for $49.99 with four batteries), but we'd love to see that functionality integrated into this device, or at least offered as a discounted add-on. That way, you'd be able to easily recharge small flashlights and other electronics that don't have a USB port.
The Torch 250's lighting-related hiccups make sense when you consider that Goal Zero is known more for their portable batteries and solar panels than their lights. Overall, this device is a mediocre flashlight, a pretty good flood light, an average portable battery, and a great rechargeable backup power source for electronics. With an improved spotlight, larger battery capacity, and less bulky design, the Torch 250 could be truly outstanding. As it stands now, it still has several useful features in an all-in-one package — and it's not bad value for $80.
More From Issue 11
Subscribe to Recoil Offgrid's free newsletter for more content like this.
- Today's Active Volcanoes
- Making Your Own Jerky
- Boost Your Sprint Performance and Save Your Life
- Jerky Taste Test: Which Dried Meat is Prepper Approved?
- DIY Blade-Smithing
- Don't Be Afraid of Fear
- Using Filipino Self-Defense Tactics for When SHTF
- Backyard Survival Training
- A Buyer's Guide to Bug-Out Hammocks
- Build Your Own Survival Bow
- Can a Bug-Out Canoe Be a Viable Transportation Alternative?
- What If You Have to Deliver a Baby Without Medical Help?
- Bugging Out With A Baby
- What If? Yellowstone's Underground Super-Volcano Erupts?
Read articles from the next issue of Recoil Offgrid: Issue 12
Editor's Note: This article has been modified from its original print version for the web.