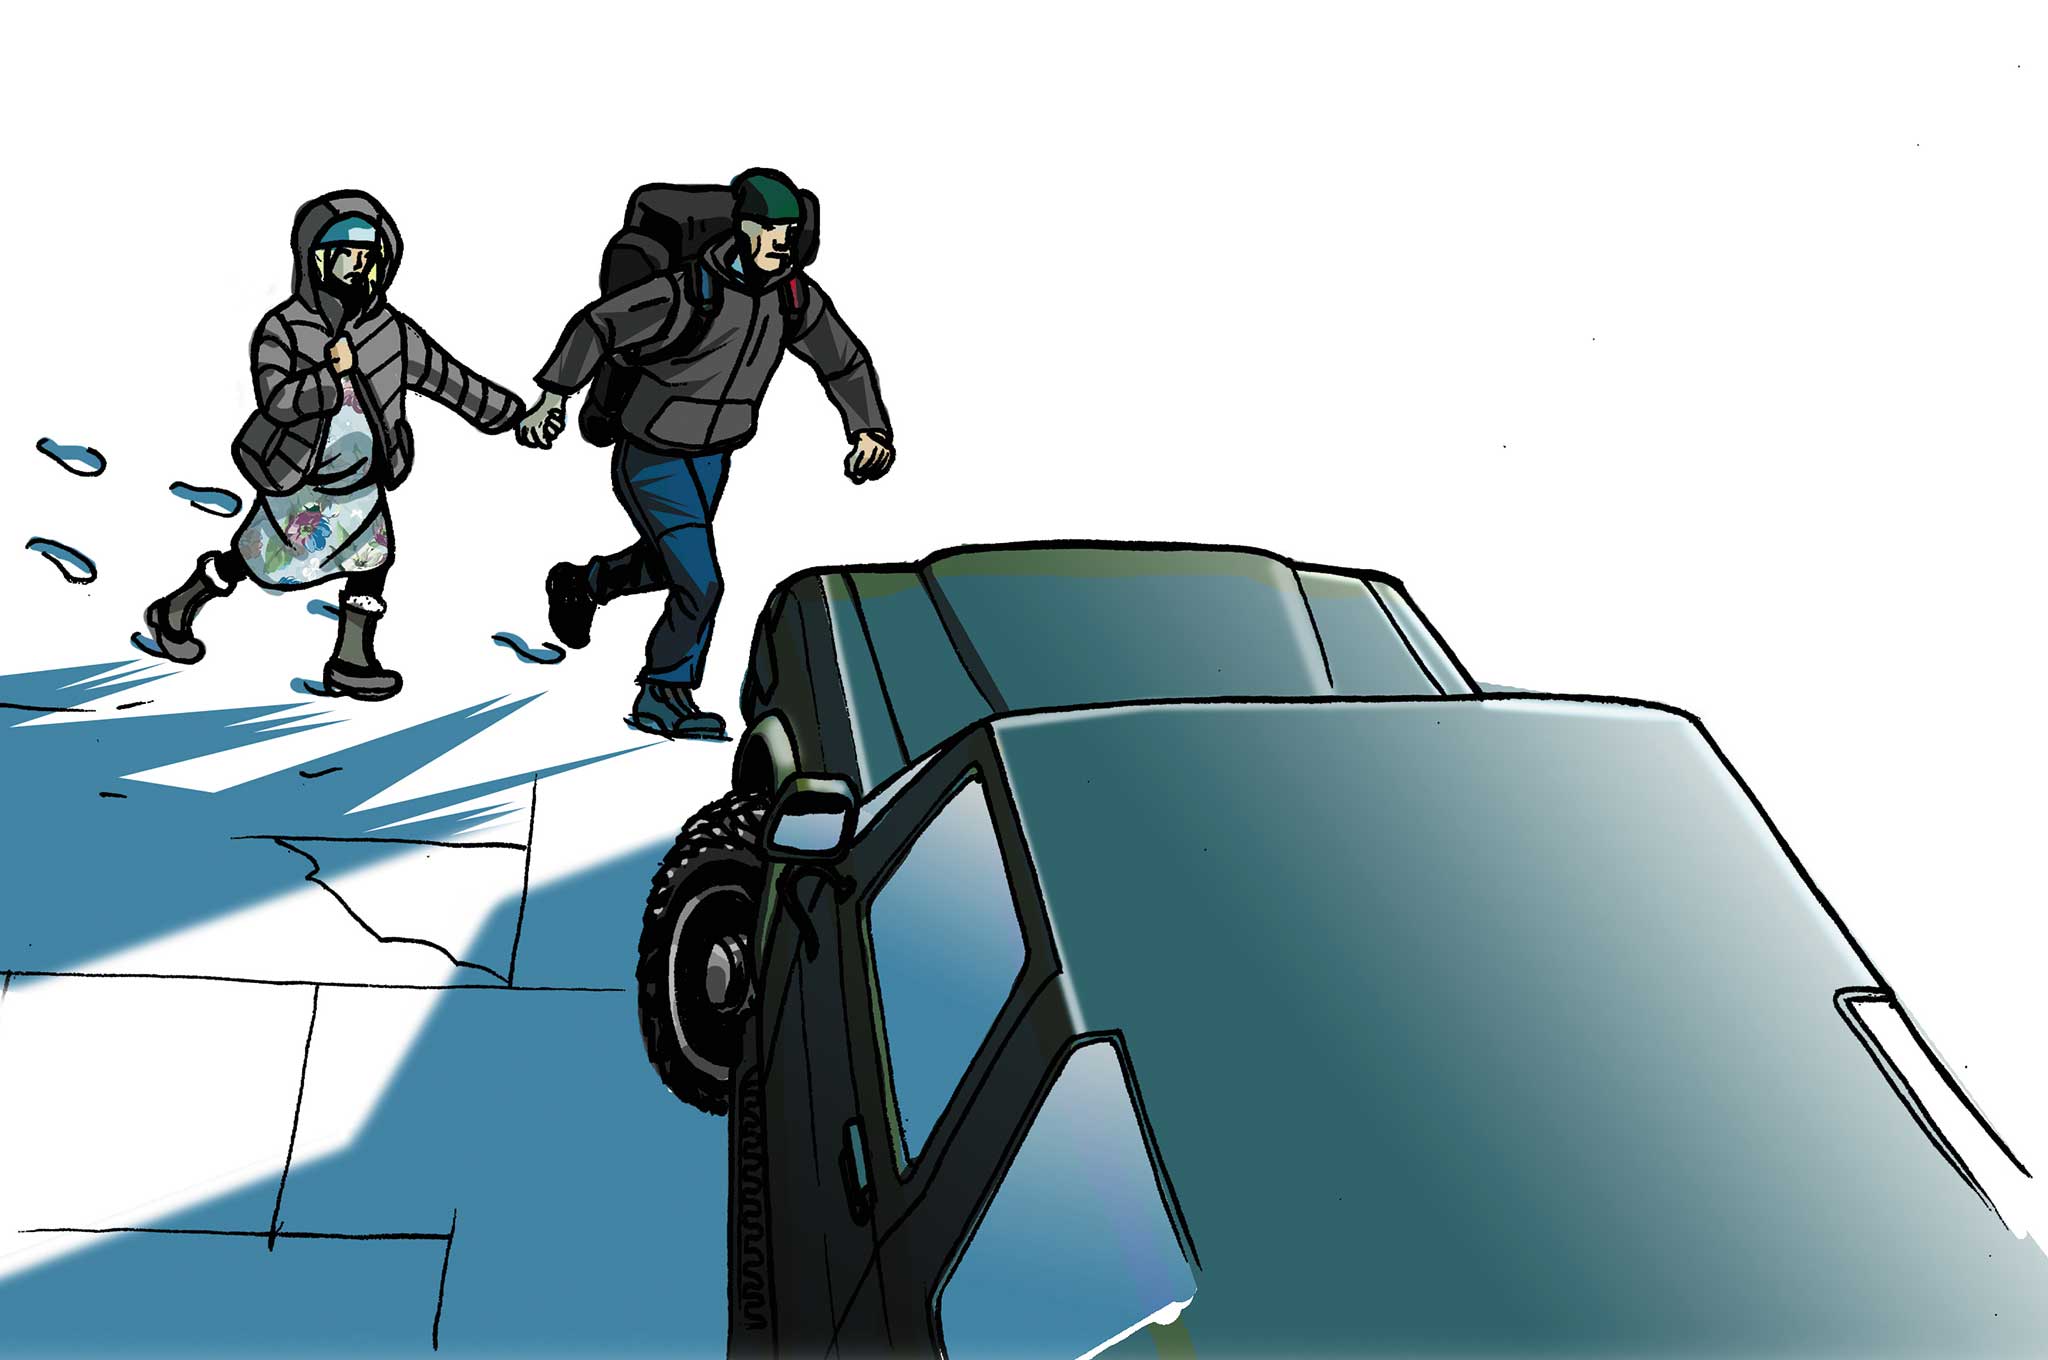
New York City is home to approximately 8.5-million people. On any given day, the city has only a three-day food supply if the bridges and tunnels are cut off and resupply trucks are not able to get in. As history has shown, when crisis hits a city, people flee. For the surrounding suburbs, the strain on resources will prove unsustainable. Fortunately, urban crises have a finite life span and people will eventually return — but what can be done until then?
One option is to shelter in place and prepare for looting and civil unrest. Another option is leave the danger zone and return after things quiet down. Luckily for New Yorkers, just north of the Big Apple is the Adirondack State Park. It's home to 6-million-square acres of rugged land, some of which is so remote that access is limited to those with watercraft and the skills to navigate its winding channels.
Here's where the bug-out canoe comes into play. This scenario is not exclusive to the City that Never Sleeps. Metropolitans were established around major waterways, which can provide egress when streets and overland routes become chokepoints. From Puget Sound in Washington to the Okefenokee Swamp in Florida, there is a canoe bug-out location found in every state. If a bug-out is necessary, the panicked and unprepared will flood the roadways, turning freeways into parking lots. Preppers without off-road rigs might hit the backcountry on foot, but a more effective means of escaping with a larger load is by water.
Weighing Your Options
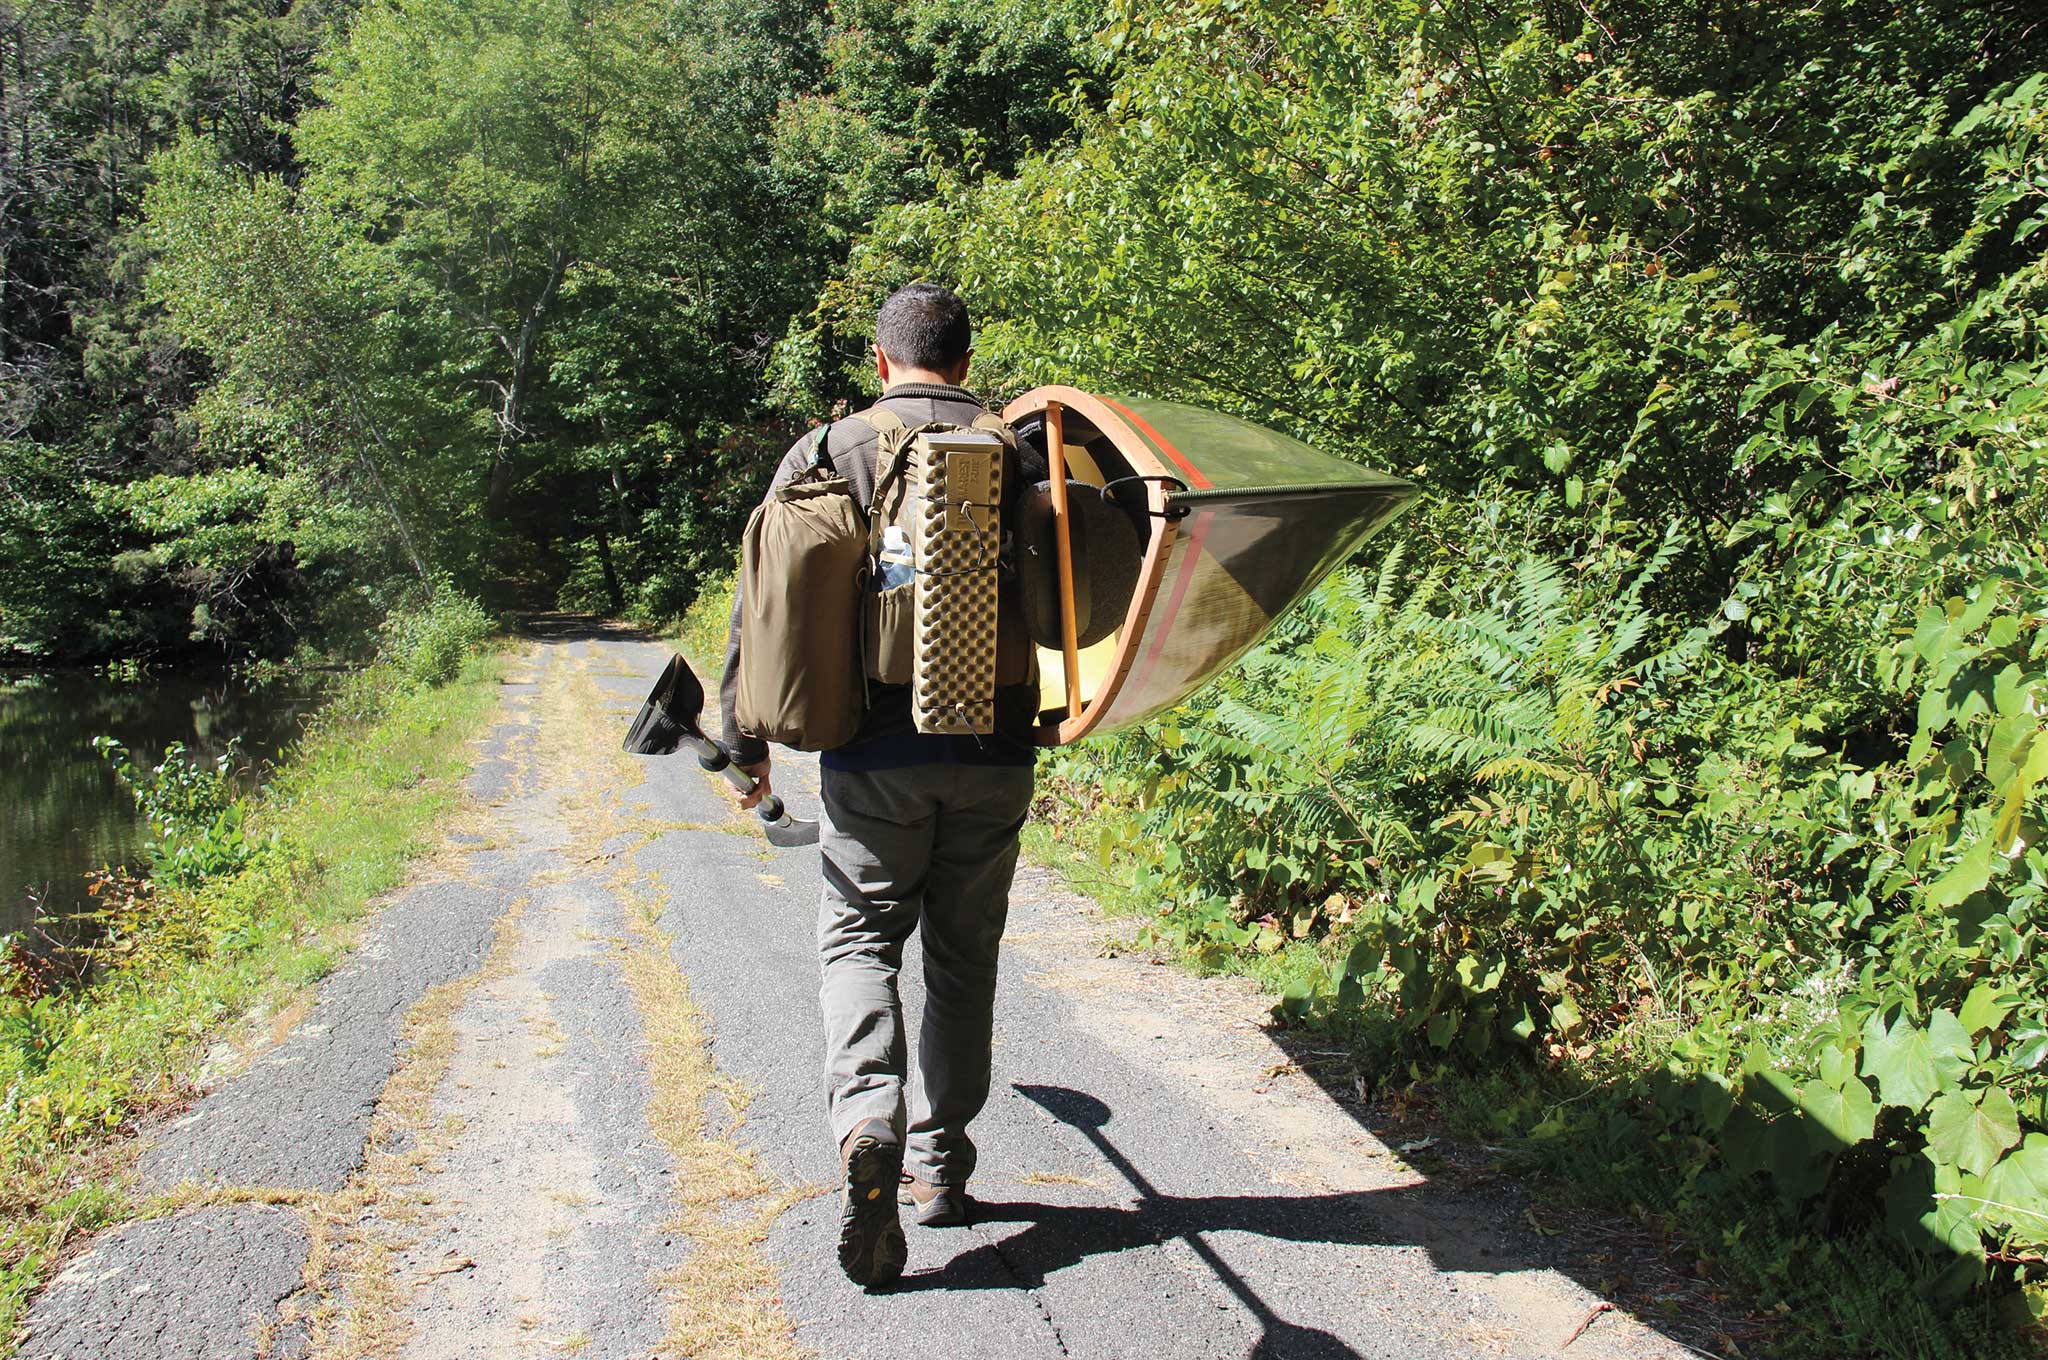
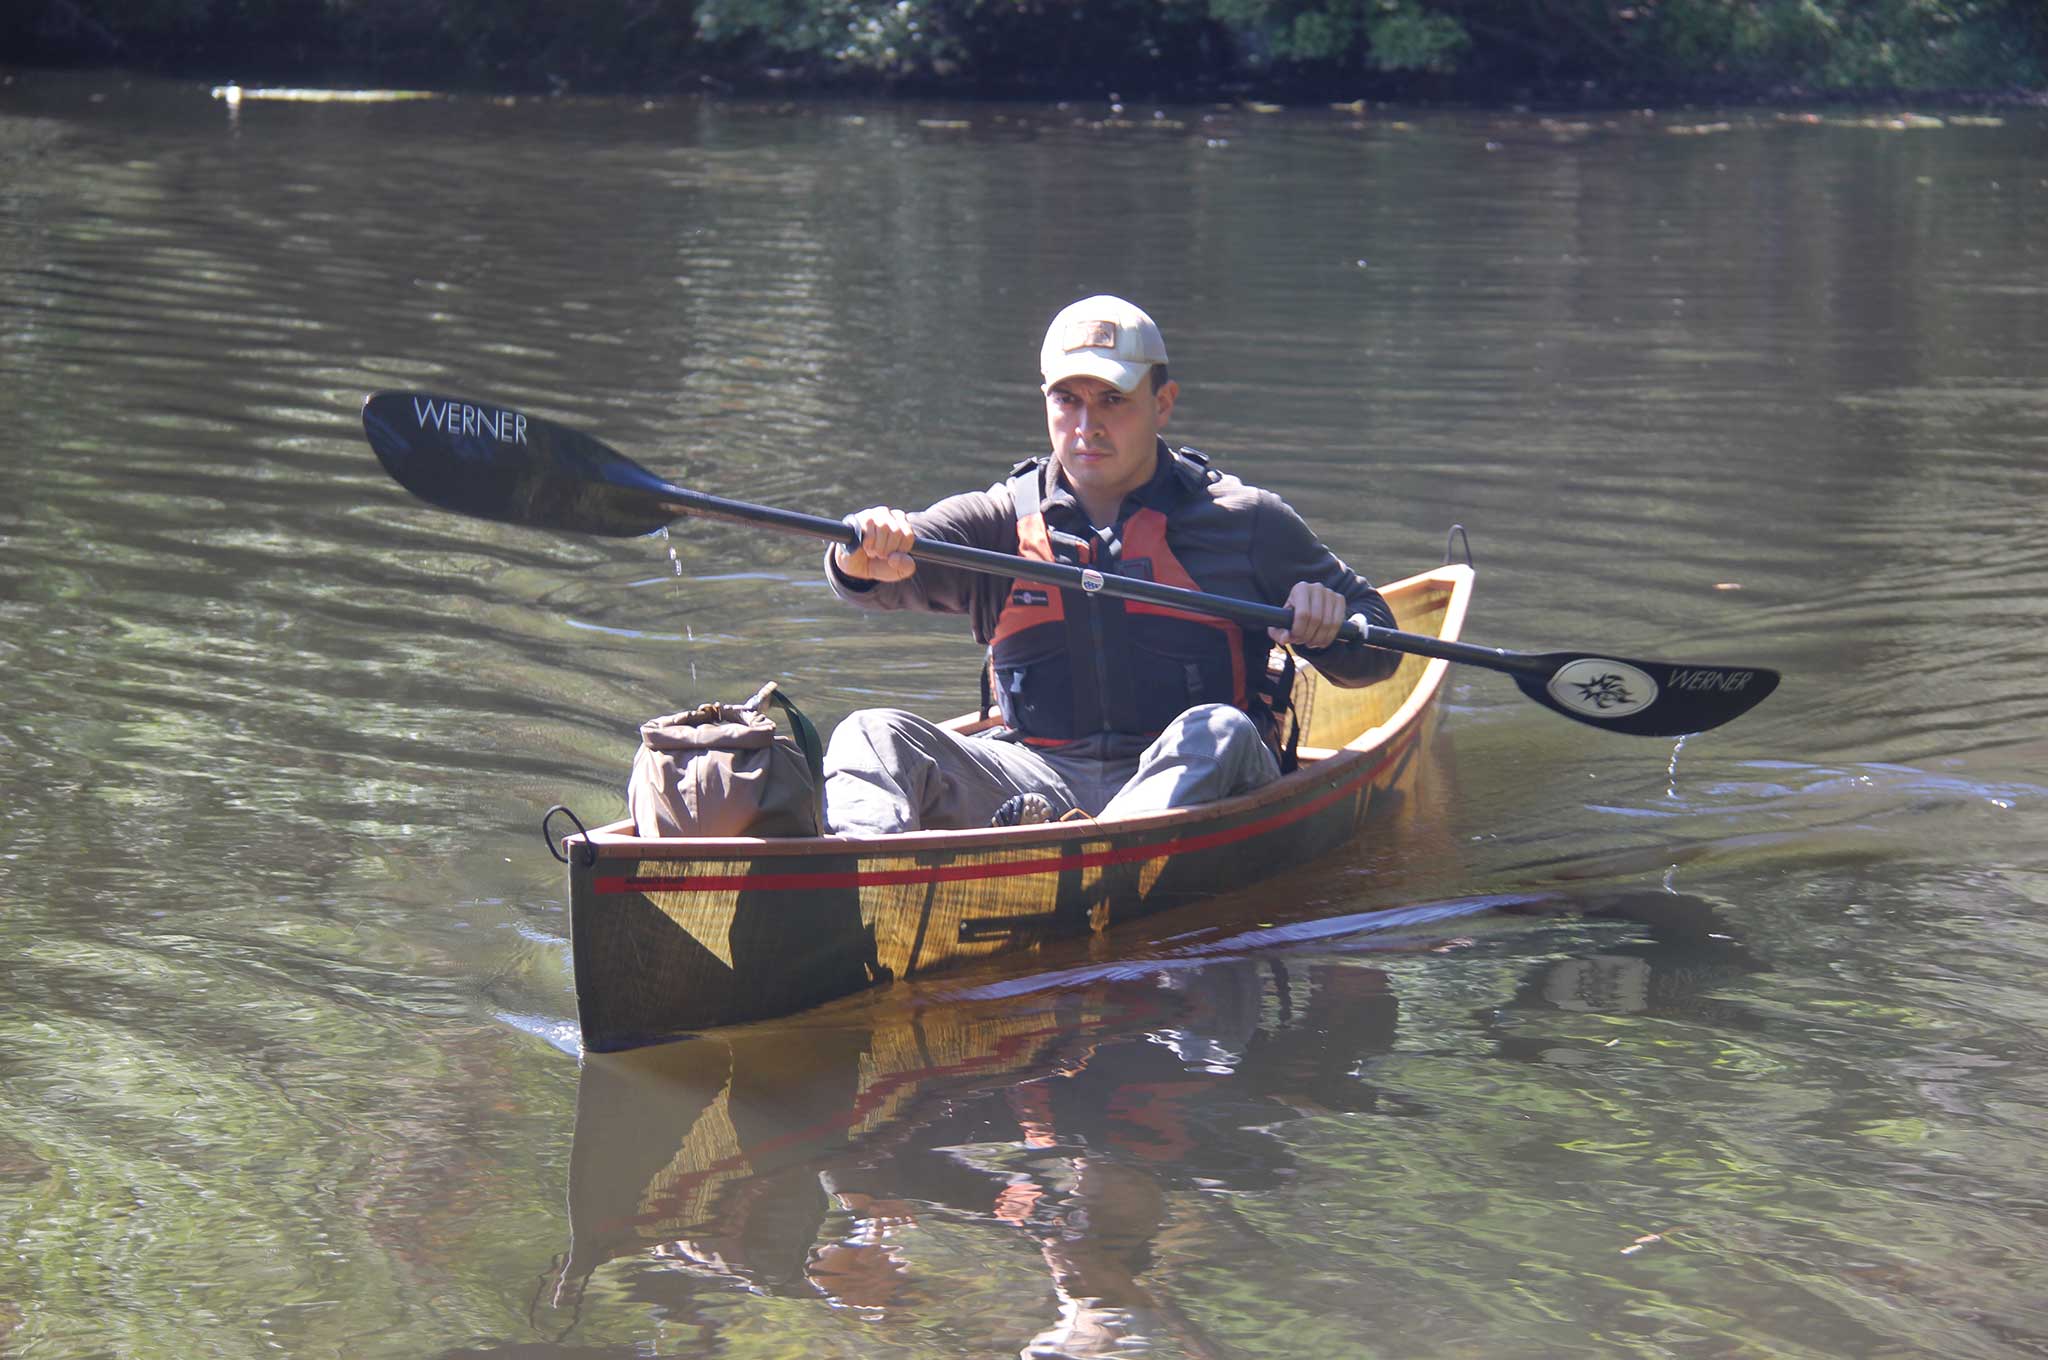
“But aren't canoes too heavy and bulky for a SHTF scenario?” we hear you asking. Traditionally done with standard dual-capacity canoes, the carries and portages are often dreaded for good reason — hauling both a go-bag and a canoe can make overland travel painful and exhaustive. However, standard materials like canvas, leather, wool, and wood can be substituted with carbon fiber, Kevlar, sil-nylon, and Primaloft Insulation. And featherweight solo canoes — like the ones from Hornbeck Boats out of Olmsteadville, New York — allow you to cover a lot of ground, and water, with less effort.

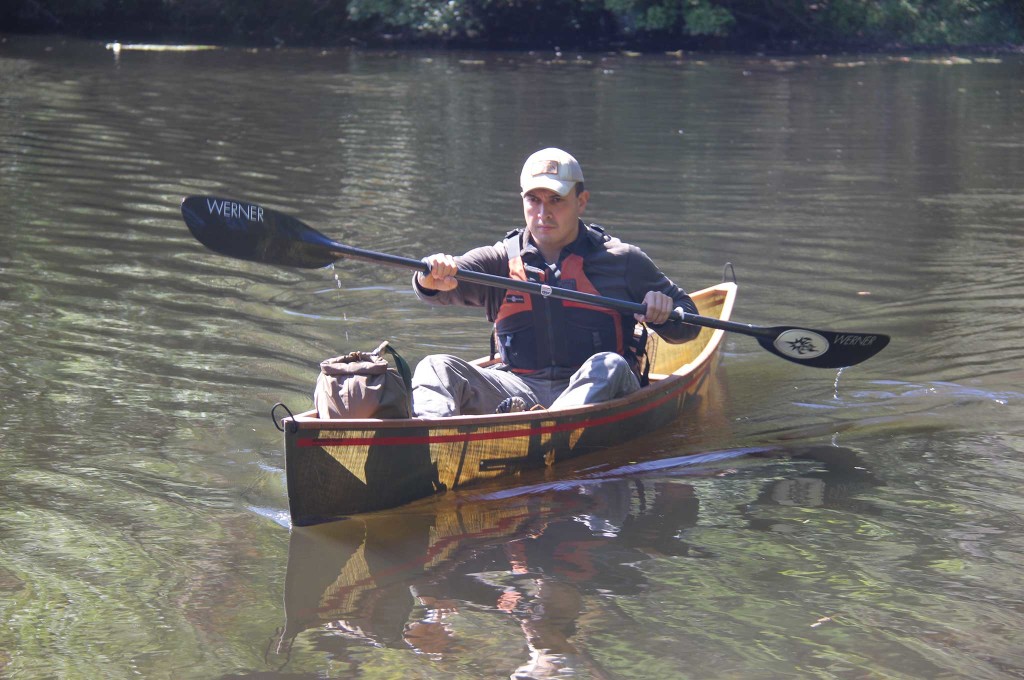
Modern canoes are lightweight, making them practical for recreation and bugging out.
There's a stereotype that people who paddle ultralight canoes are granola types who drive Subarus and eat vegan diets. But even the toughest, most-seasoned outdoor adventurer can appreciate how light this type of craft feels after a long carry. In fact, the British Special Air Service (SAS) have used small paddle-powered boats for warfare, and the portability and mobility of these solo canoes afford the user a level of stealth not found in other craft. The open design is an advantage over closed-cockpit boats providing easy entrance and exit in a hurry.
With a well-thought-out route, any prepper can tap into existing supply stores, cache critical equipment, and spend an indefinite amount of time afield.
Gear 101
Before setting off though, there are some basic items no boater should be without. In addition to the gear carried in the daypack to address camp needs, this supplemental gear weight can quickly add up. However, if one is willing to make a significant investment in a featherweight canoe, spending slightly more on a quality paddle, life jacket, and dry bags shouldn't faze him too much.
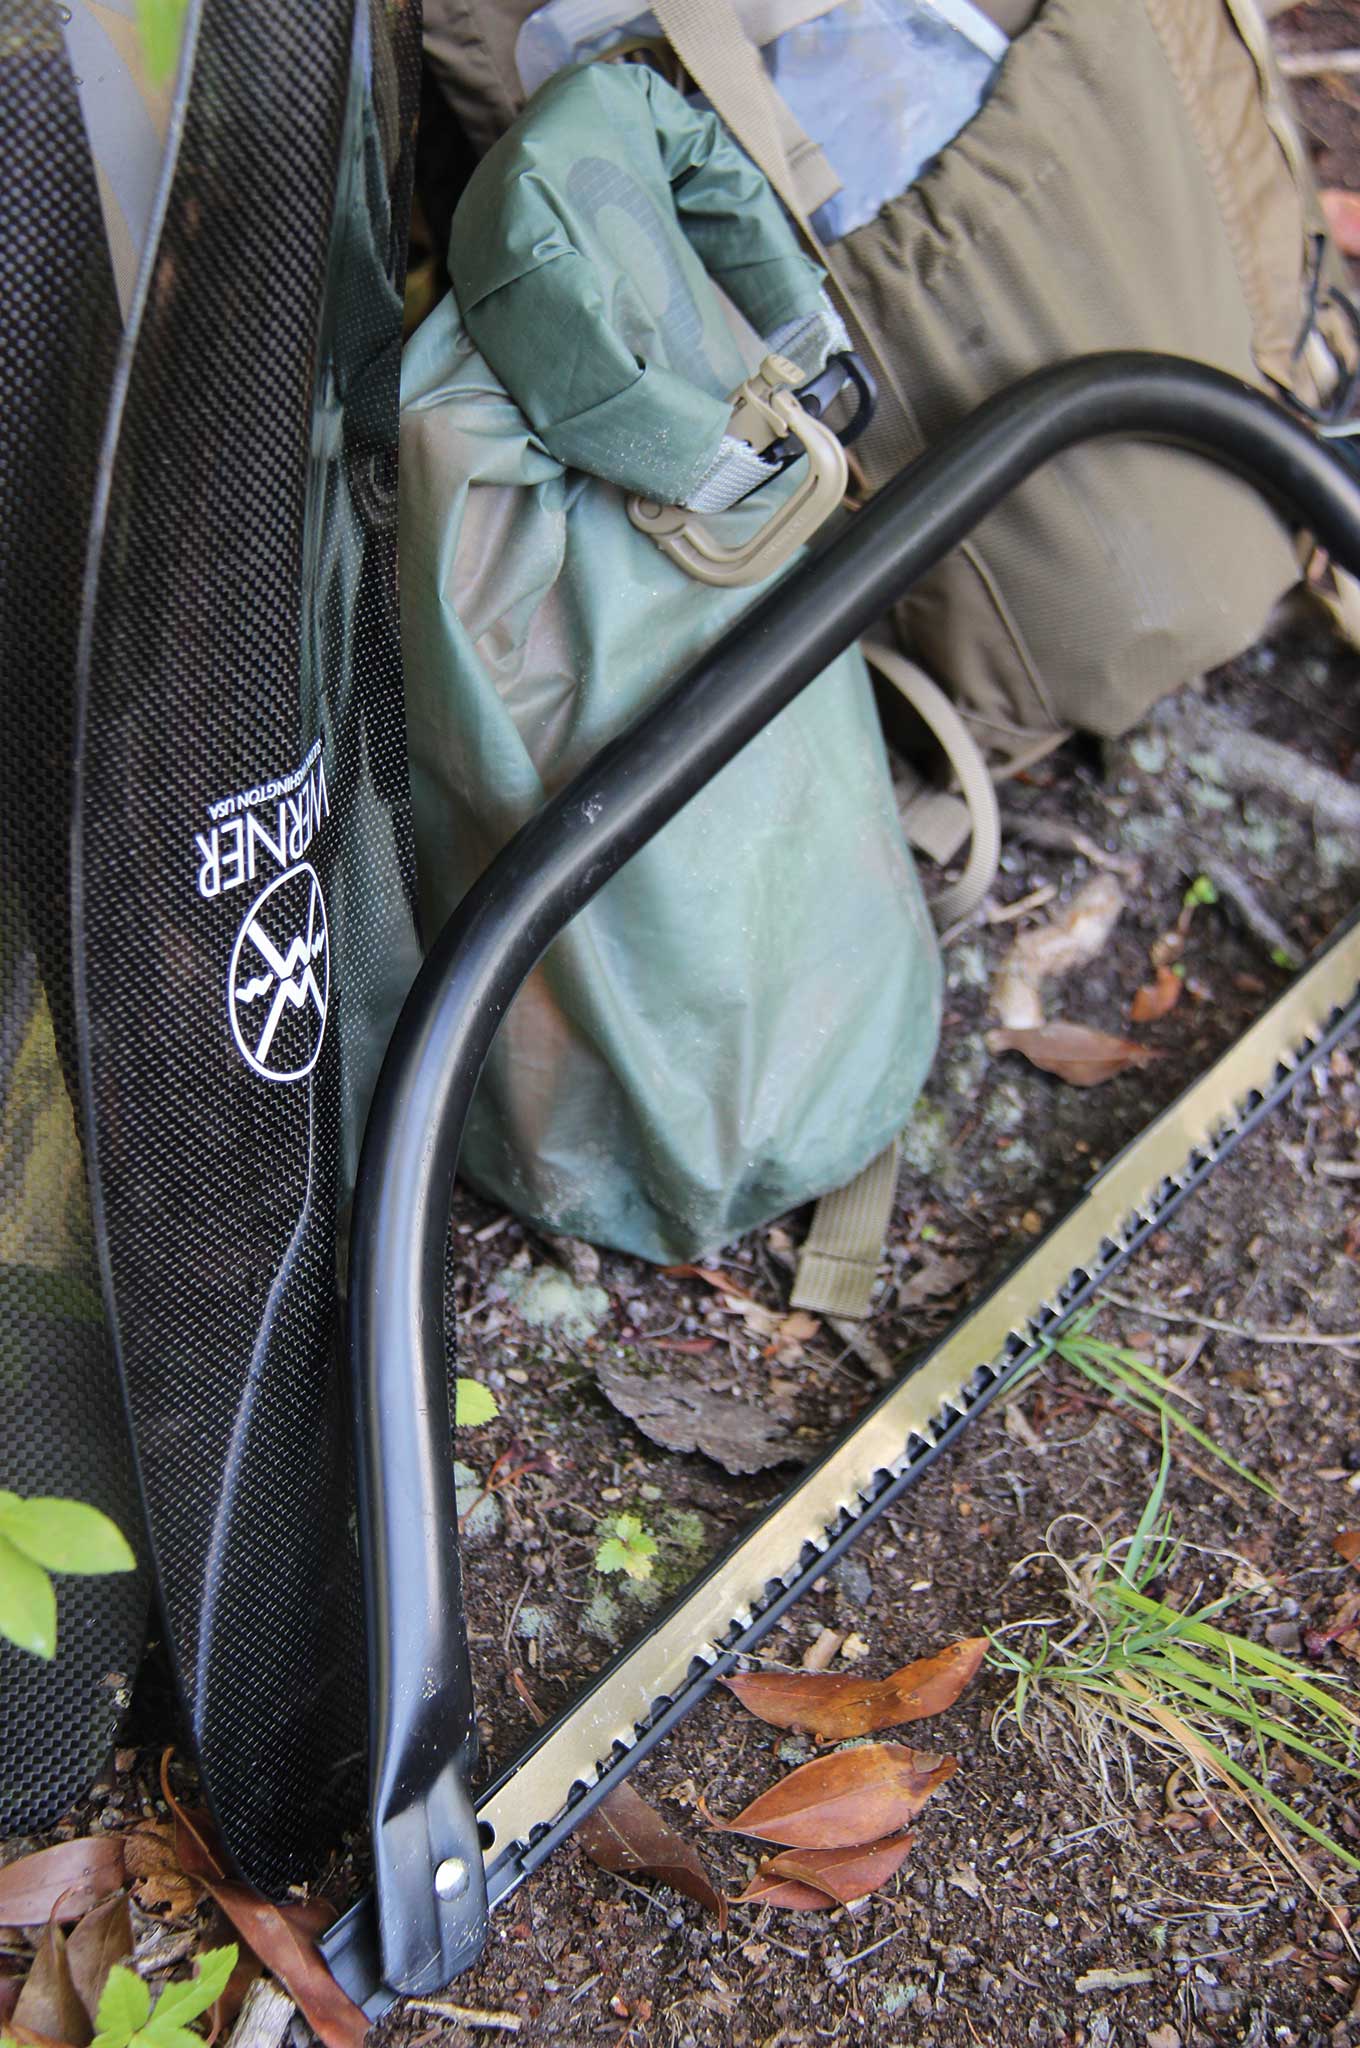
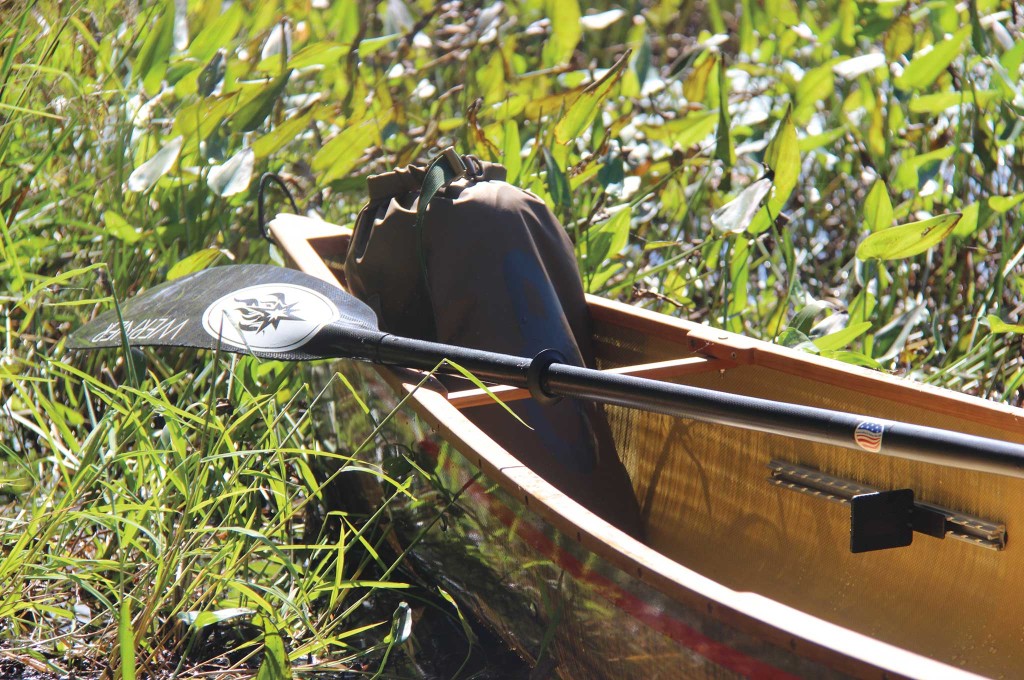
Paddle: This style of canoe is best maneuvered with a double paddle (kayak paddle). At roughly $400, the Werner Paddles Kalliste is a top-of-the-line touring paddle. But, there is a distinct difference between using any heavy economy paddle compared to this ergonomic, all-day, double-bladed stick. For really tight channels, a single-bladed canoe paddle like the Werner Carbon Bandit will make propulsion easier than a double-blade that could snag on low-hanging branches.
Life Vest: The ultralight boater should seek out a quality personal flotation device (PFD). The common type II — nicknamed “Mae West” for the busty actress of the 1930s — can work as a floatation device, but it is generally blaze orange, making visual camouflage difficult. Plus, there are better options for form and function. The type II isn't the best design for range of motion, and many modern life jackets, like those from Astral, are designed with canoers and kayakers in mind. Many are equipped with knife tabs and gear pockets for essential safety gear.
Water Bag: The canoe tripper should have a good supply of quality dry stuff sacks like those from Outdoor Research, as well as a water-resistant personal-security kit (filled with items for signaling, fire starting, etc.) within arm's reach. The UST Micro Survival Kit is a good way to start as it comes with an Aloksak waterproof bag, and the whole kit can fit in a PFD pocket.
Old-School GPS: Last but not least, a topographical map should be carried in a Ziploc bag. This map should be treated with Thompson's WaterSeal to provide an extra level of water resistance.
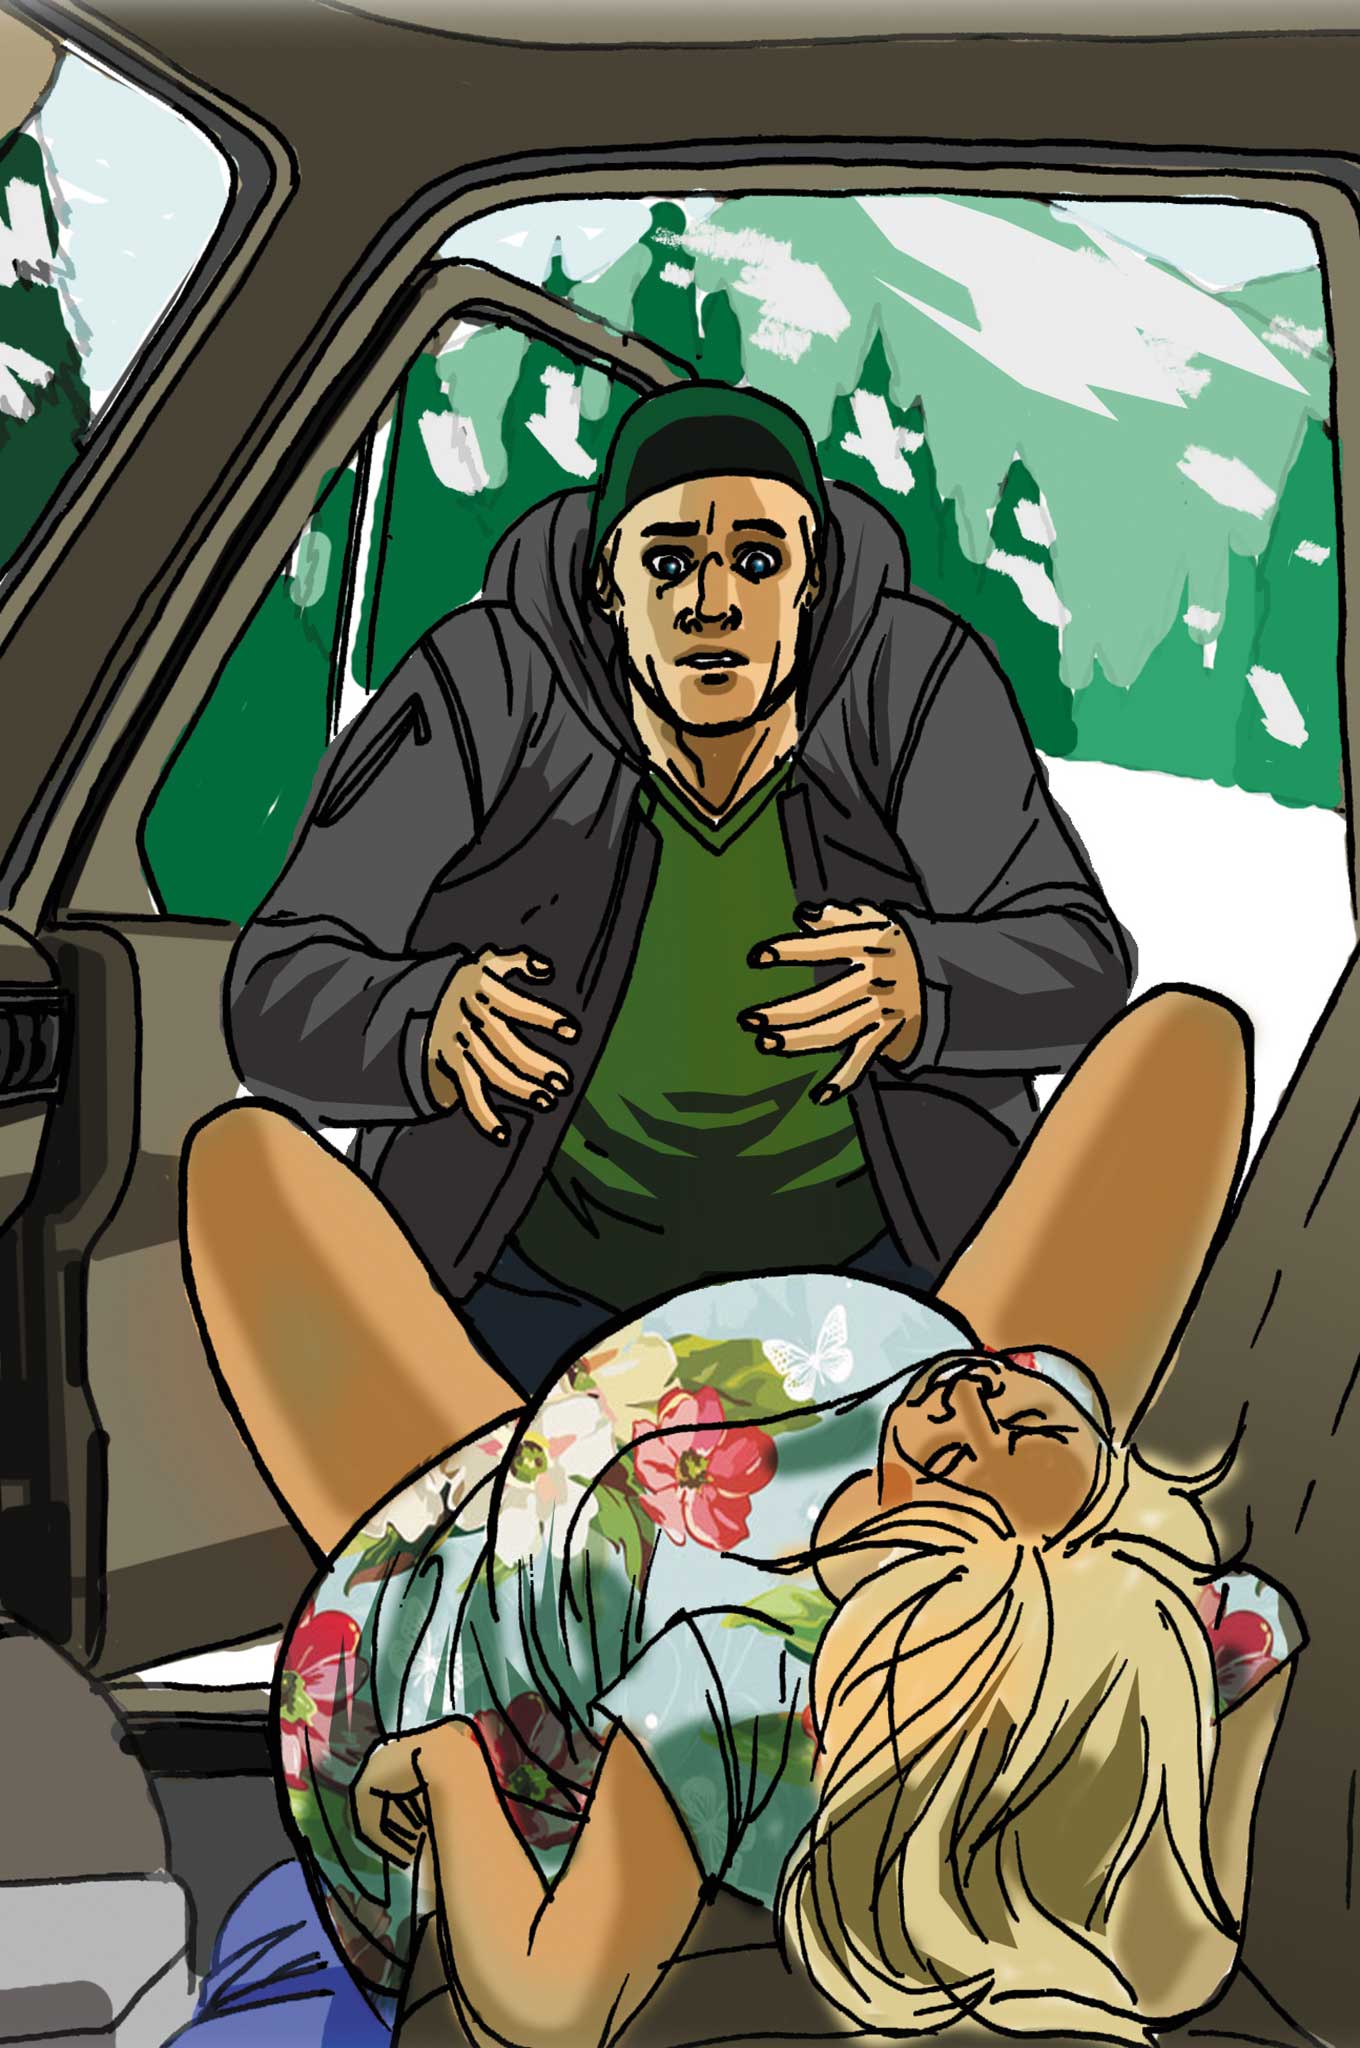
Bugging Out
When it's go time, the outdoorsman should move quickly but deliberately to load his canoe atop his vehicle. The basic bug-out gear can be tucked inside the canoe in storage to prevent disorganization and unnecessary searching when time is critical. Should roadways be clogged and the designated put-in location be within reasonable and safe walking distance, it's not infeasible to park a vehicle and hoof it with an ultralight canoe over the shoulder.
Do Your Research: Waiting until after aliens have invaded is not a good time to figure out where to hit the water. Examine your escape route by physically scouting it out. In general, boat ramp signs found from state to state will give you an idea as to where there's a high amount of motorized boat traffic. These areas should be avoided. The ultralight boater can instead use any hiking trail that leads to water as his boat launch.
A good guide to canoeing in a given area will provide the macro details, while friendly discussions with locals encountered in country stores will fill in the minor details not found in print or online.
Entering the Water: Once at a convenient boat launch in a state or national park, the outdoorsman might have to sign in before traveling through the backcountry. Plenty of people “forget” to do this and don't disclose their destination, the number in the float party, or their length of stay. The waterways will take the paddler through different areas of varied occupancy and traffic.
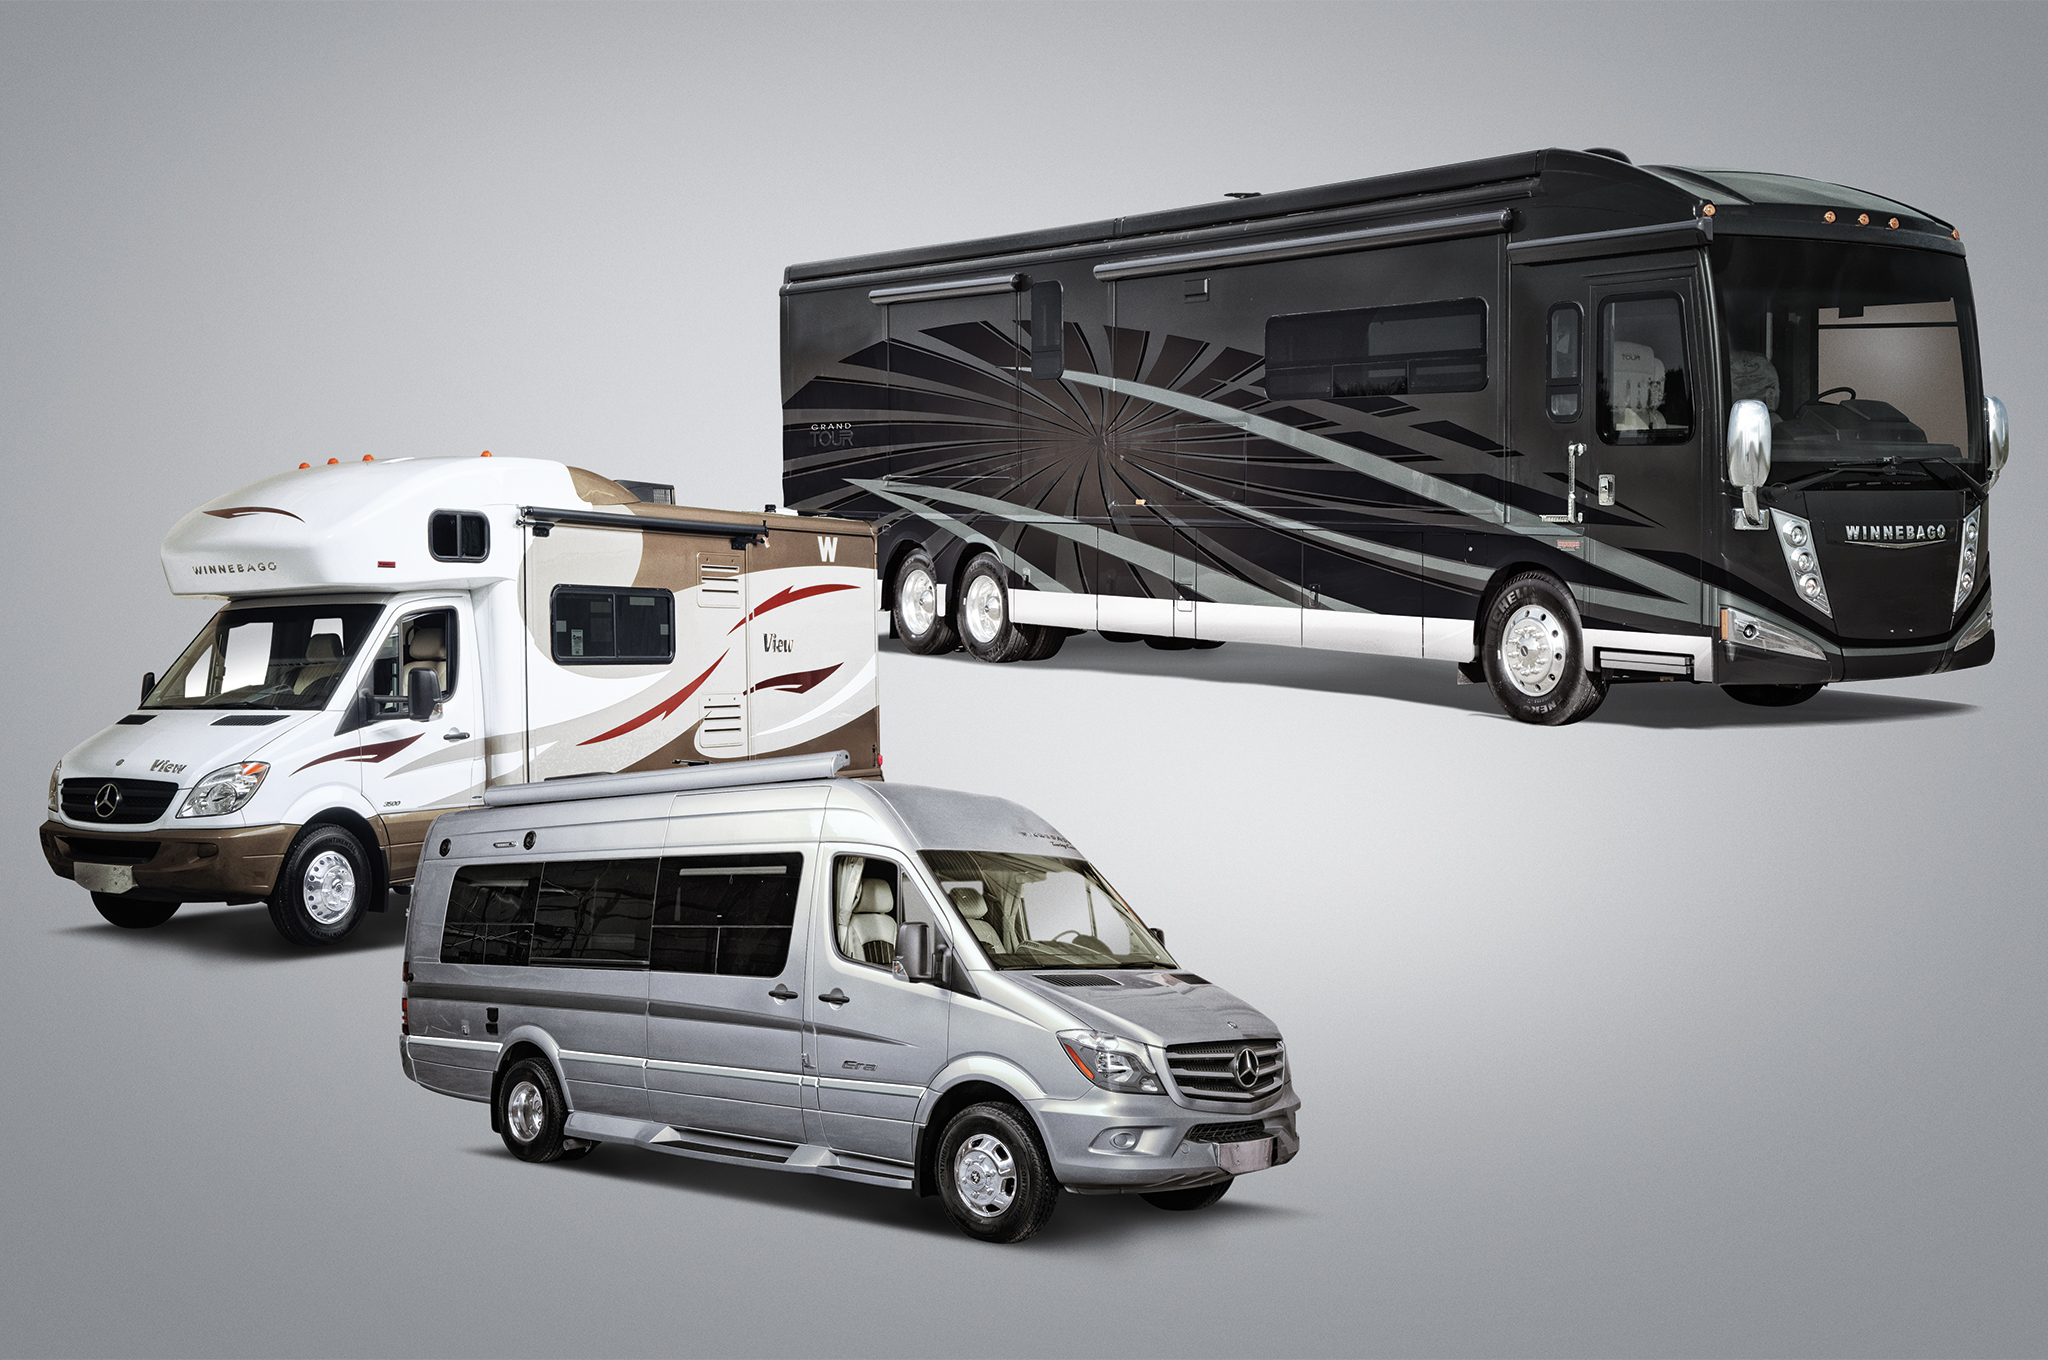
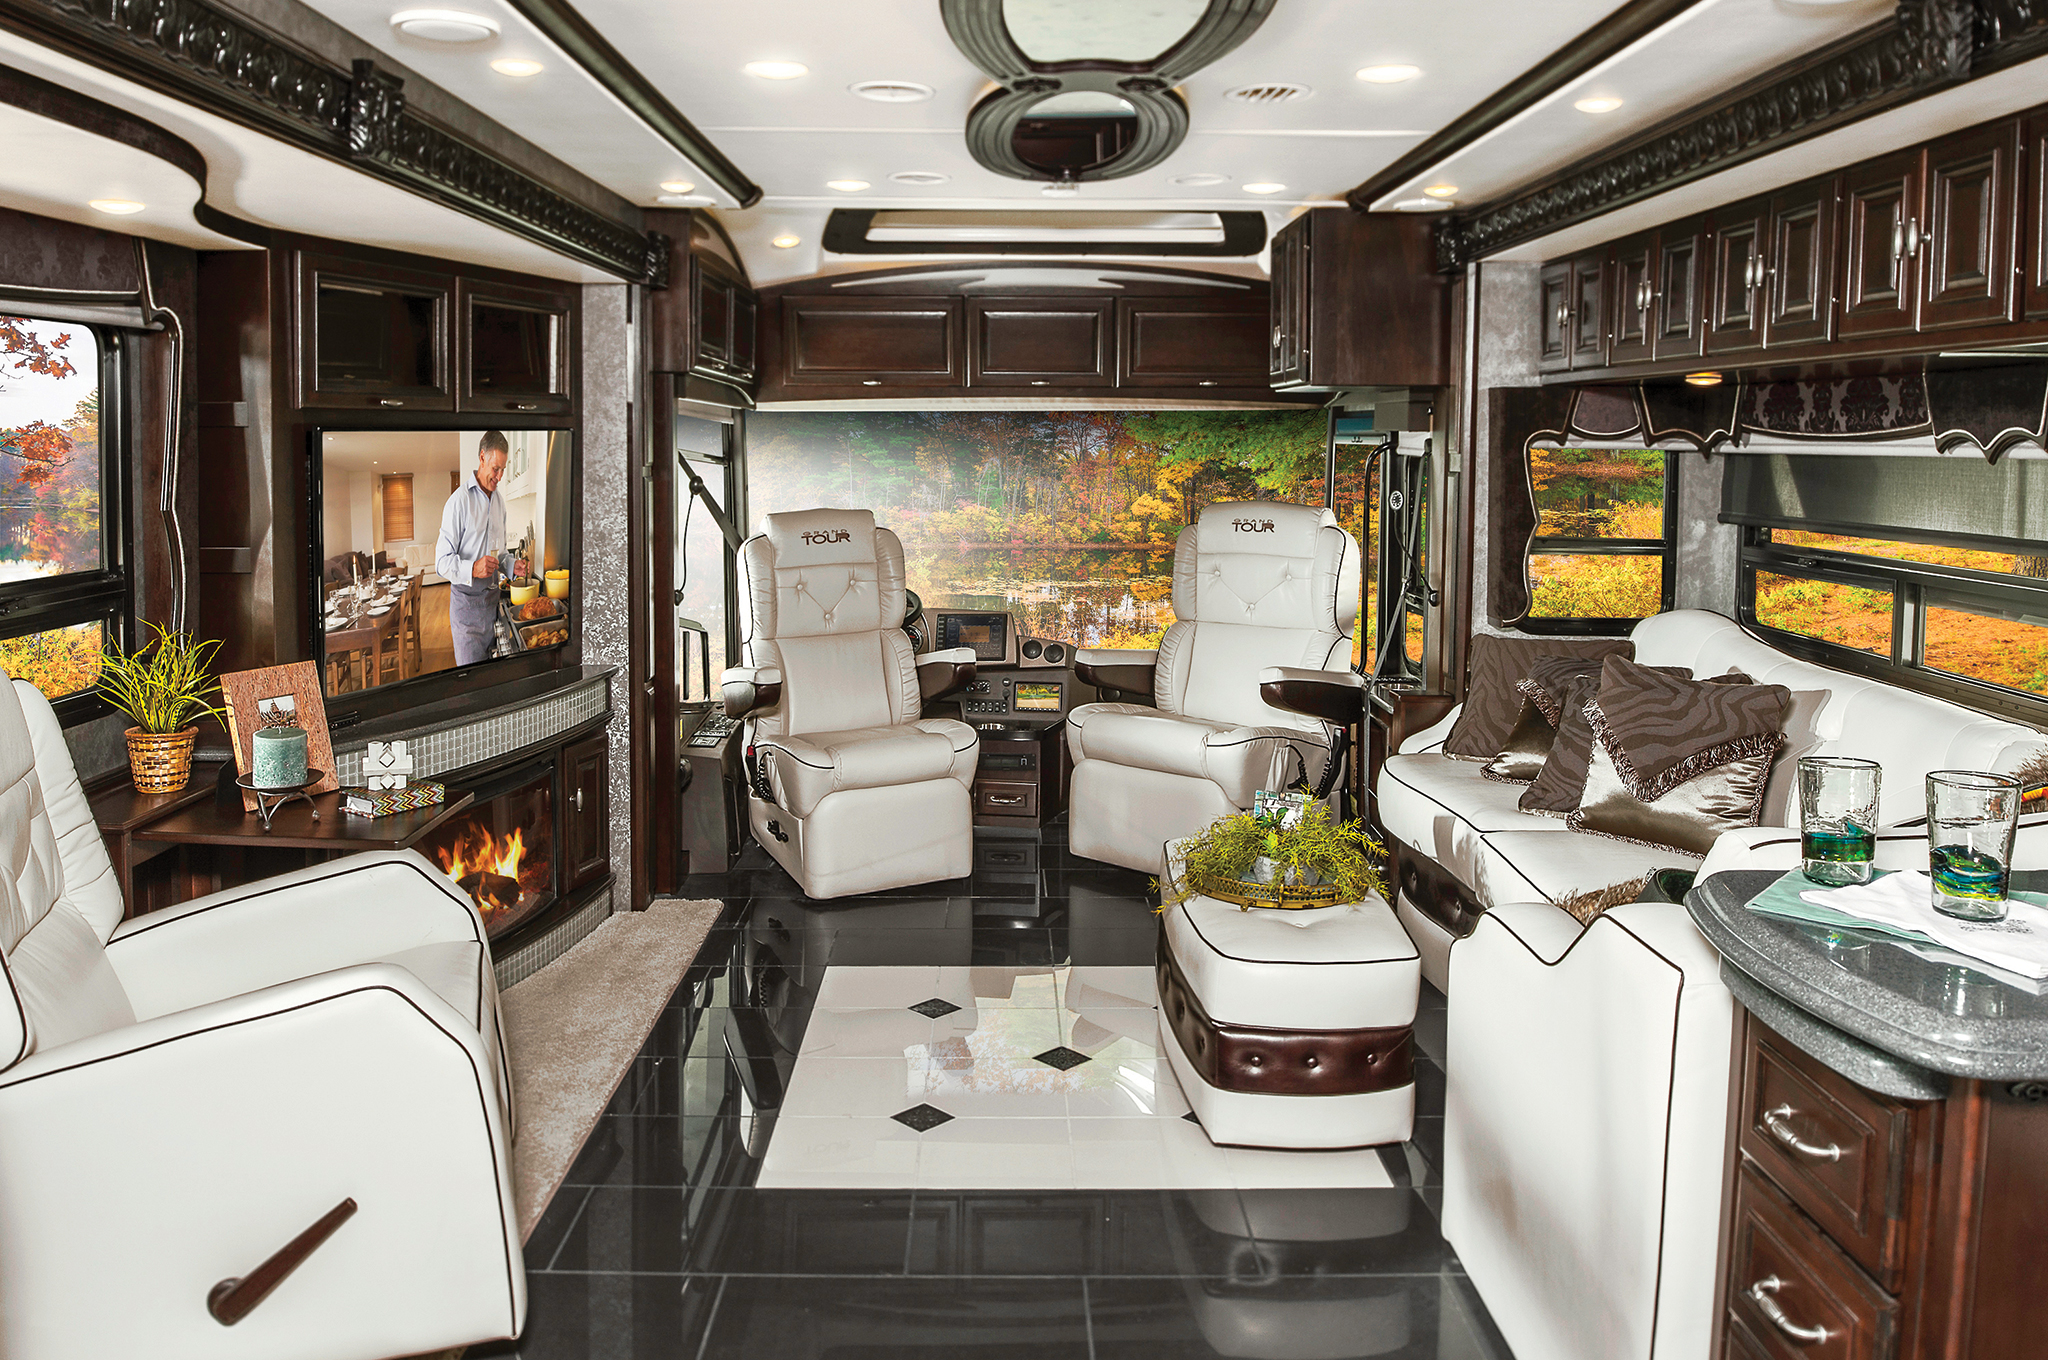
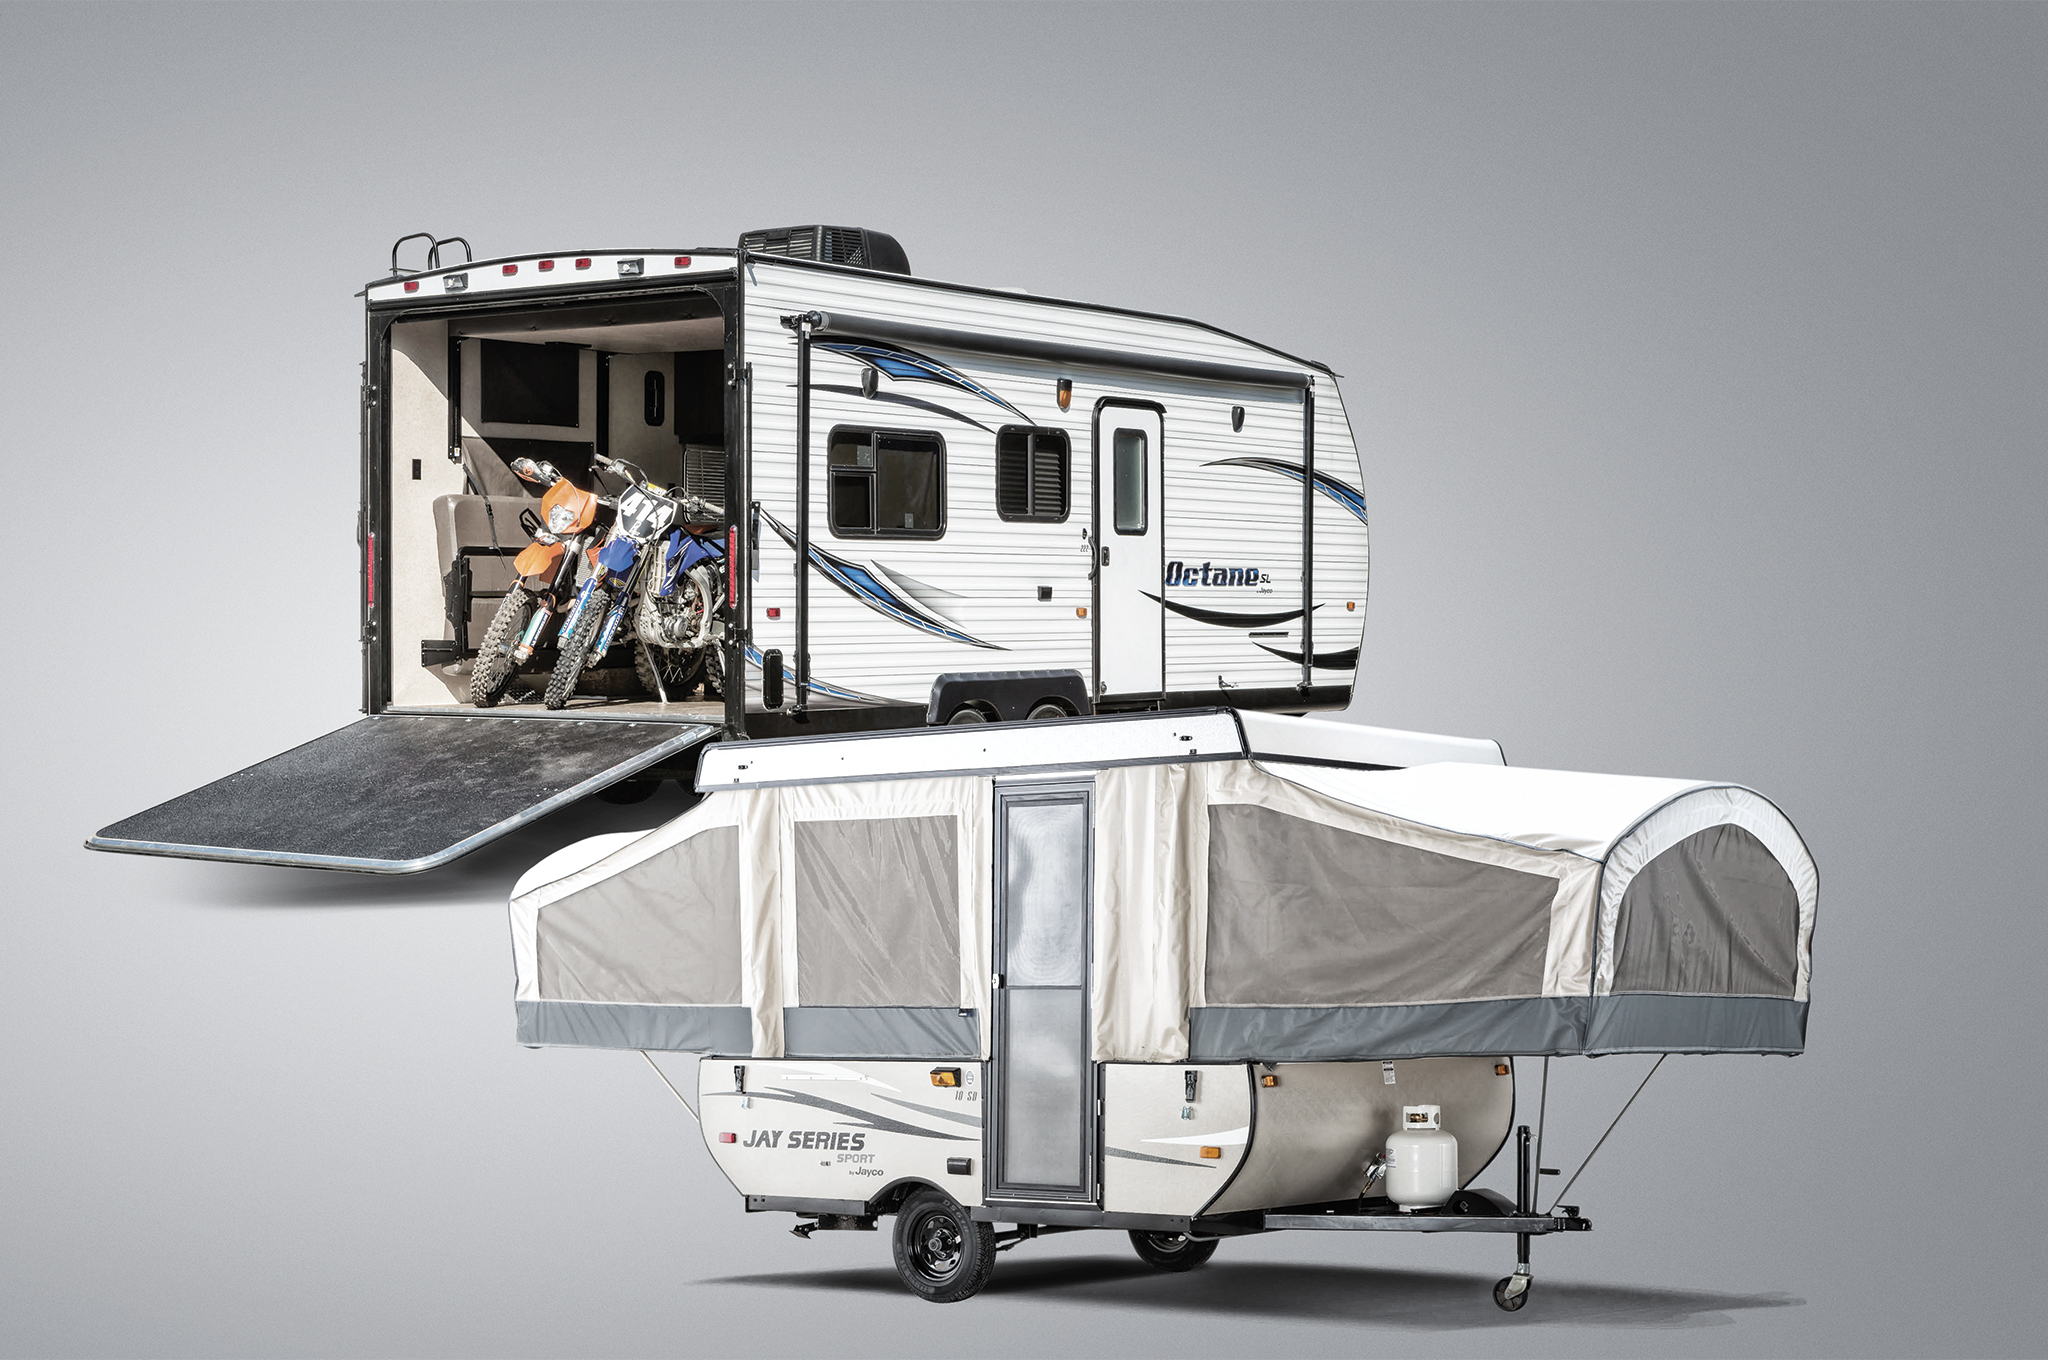
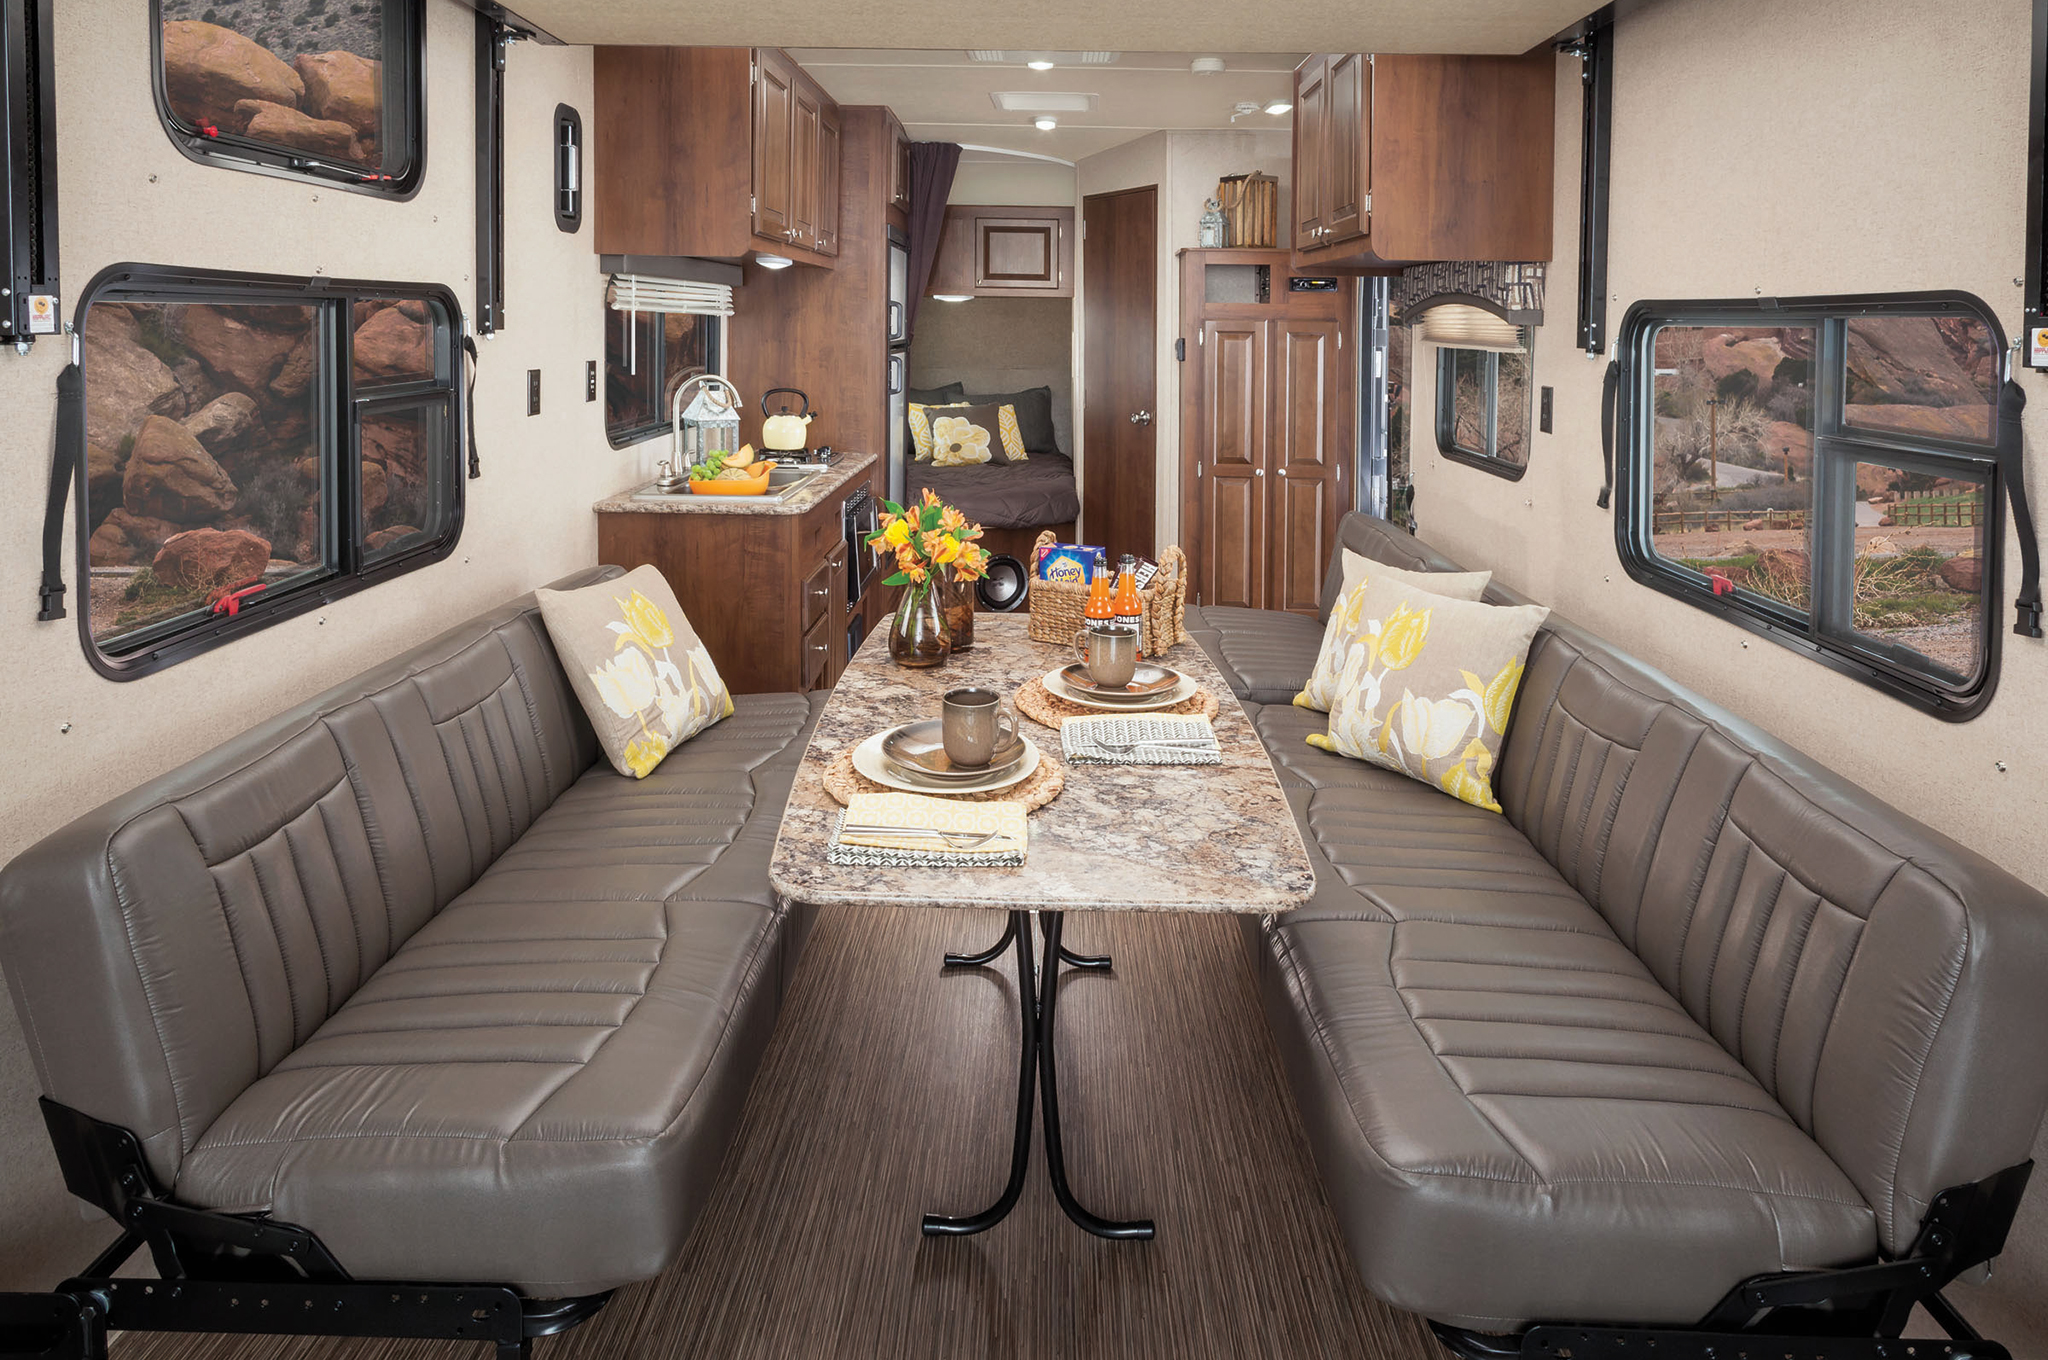
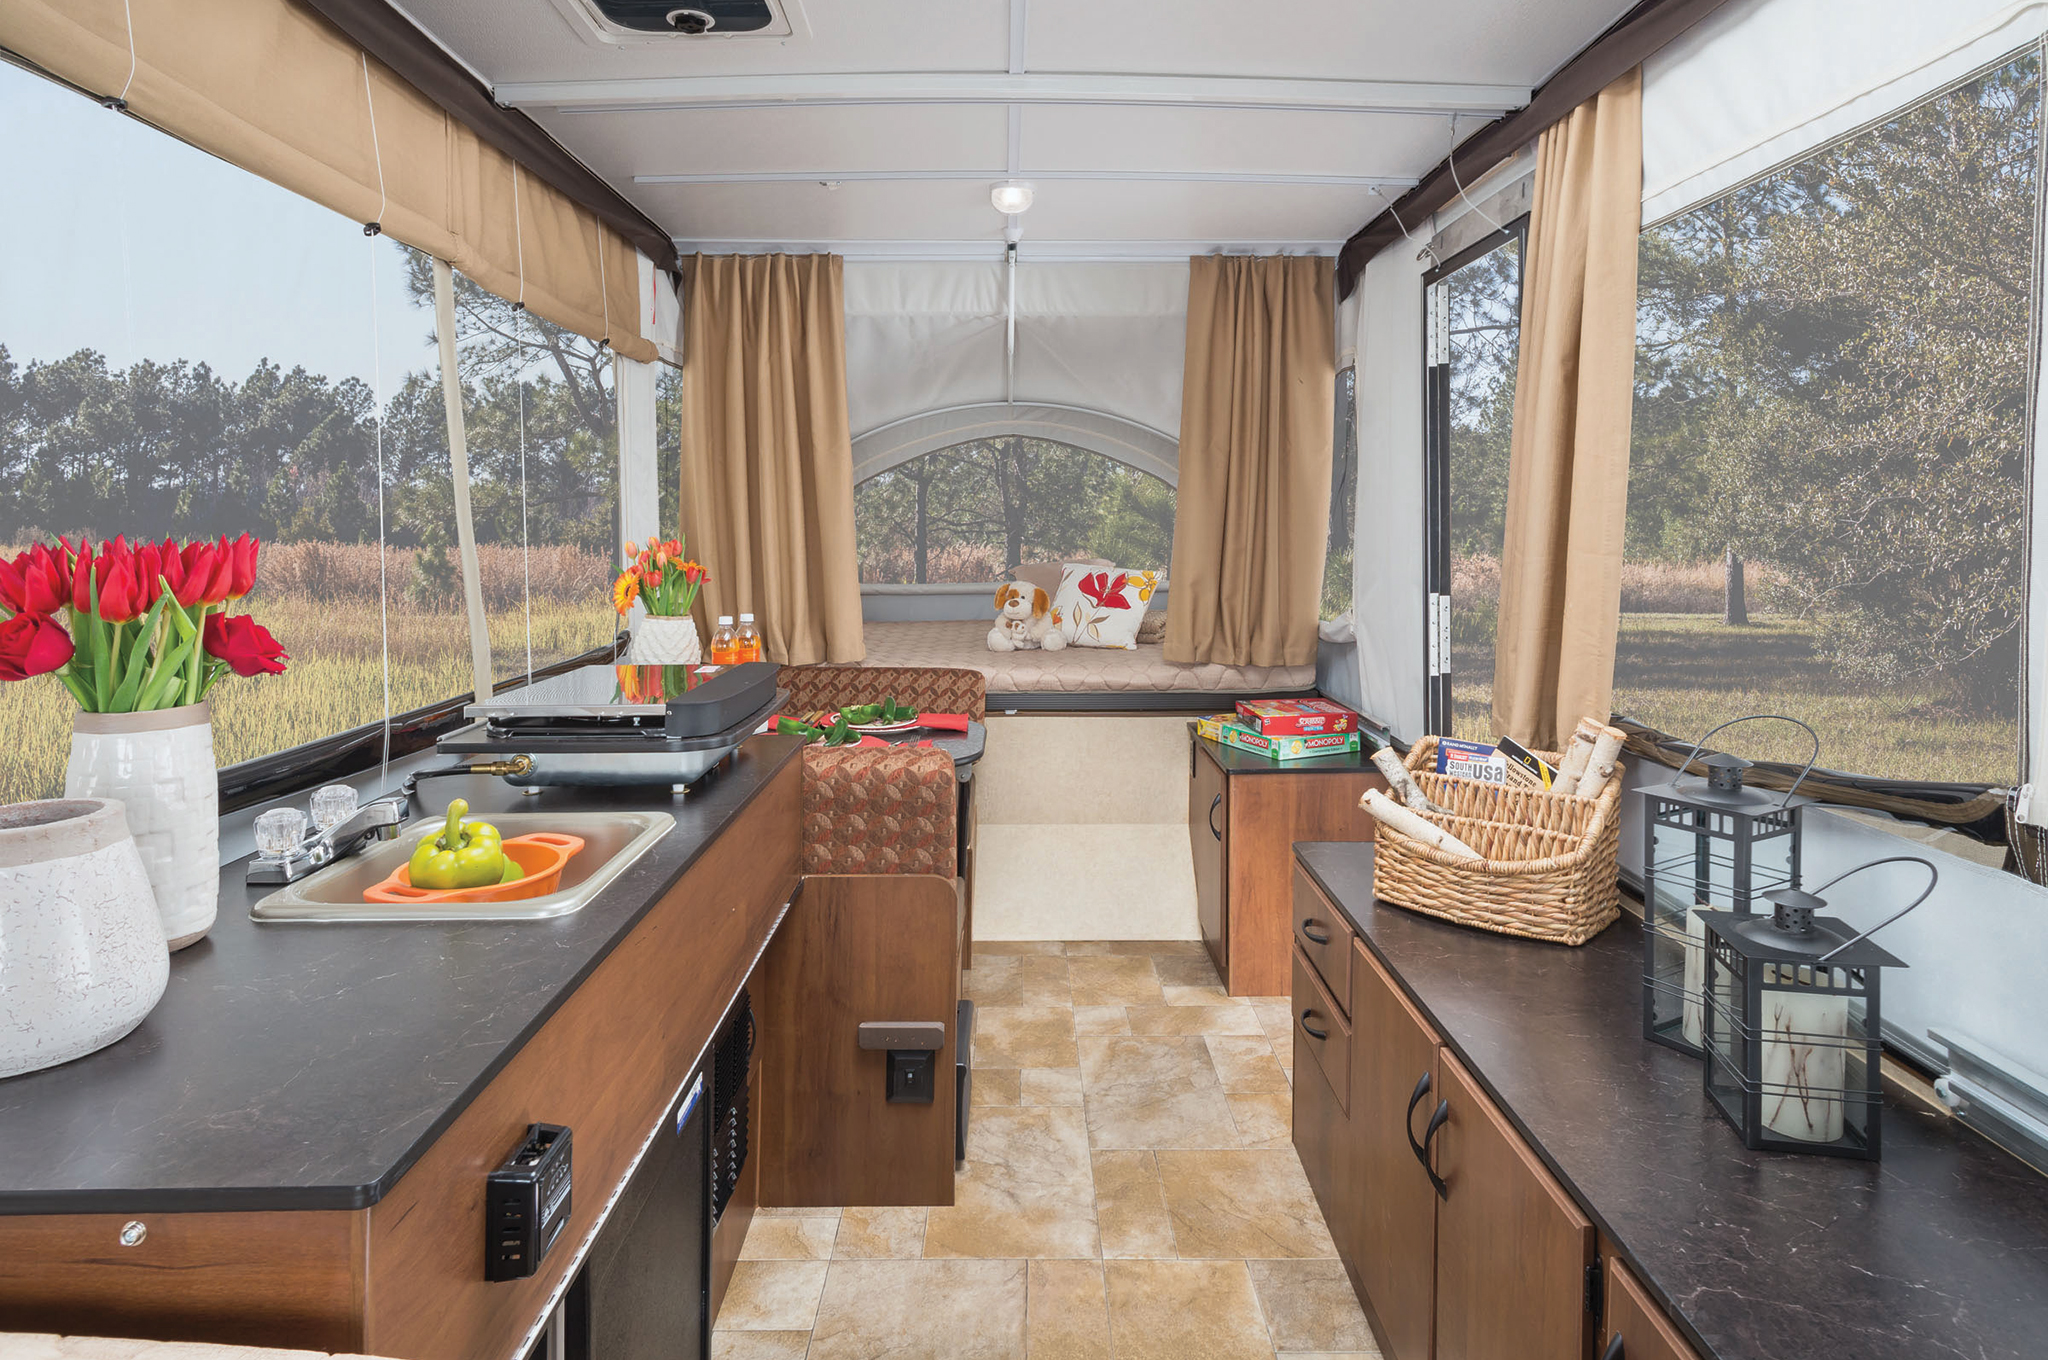
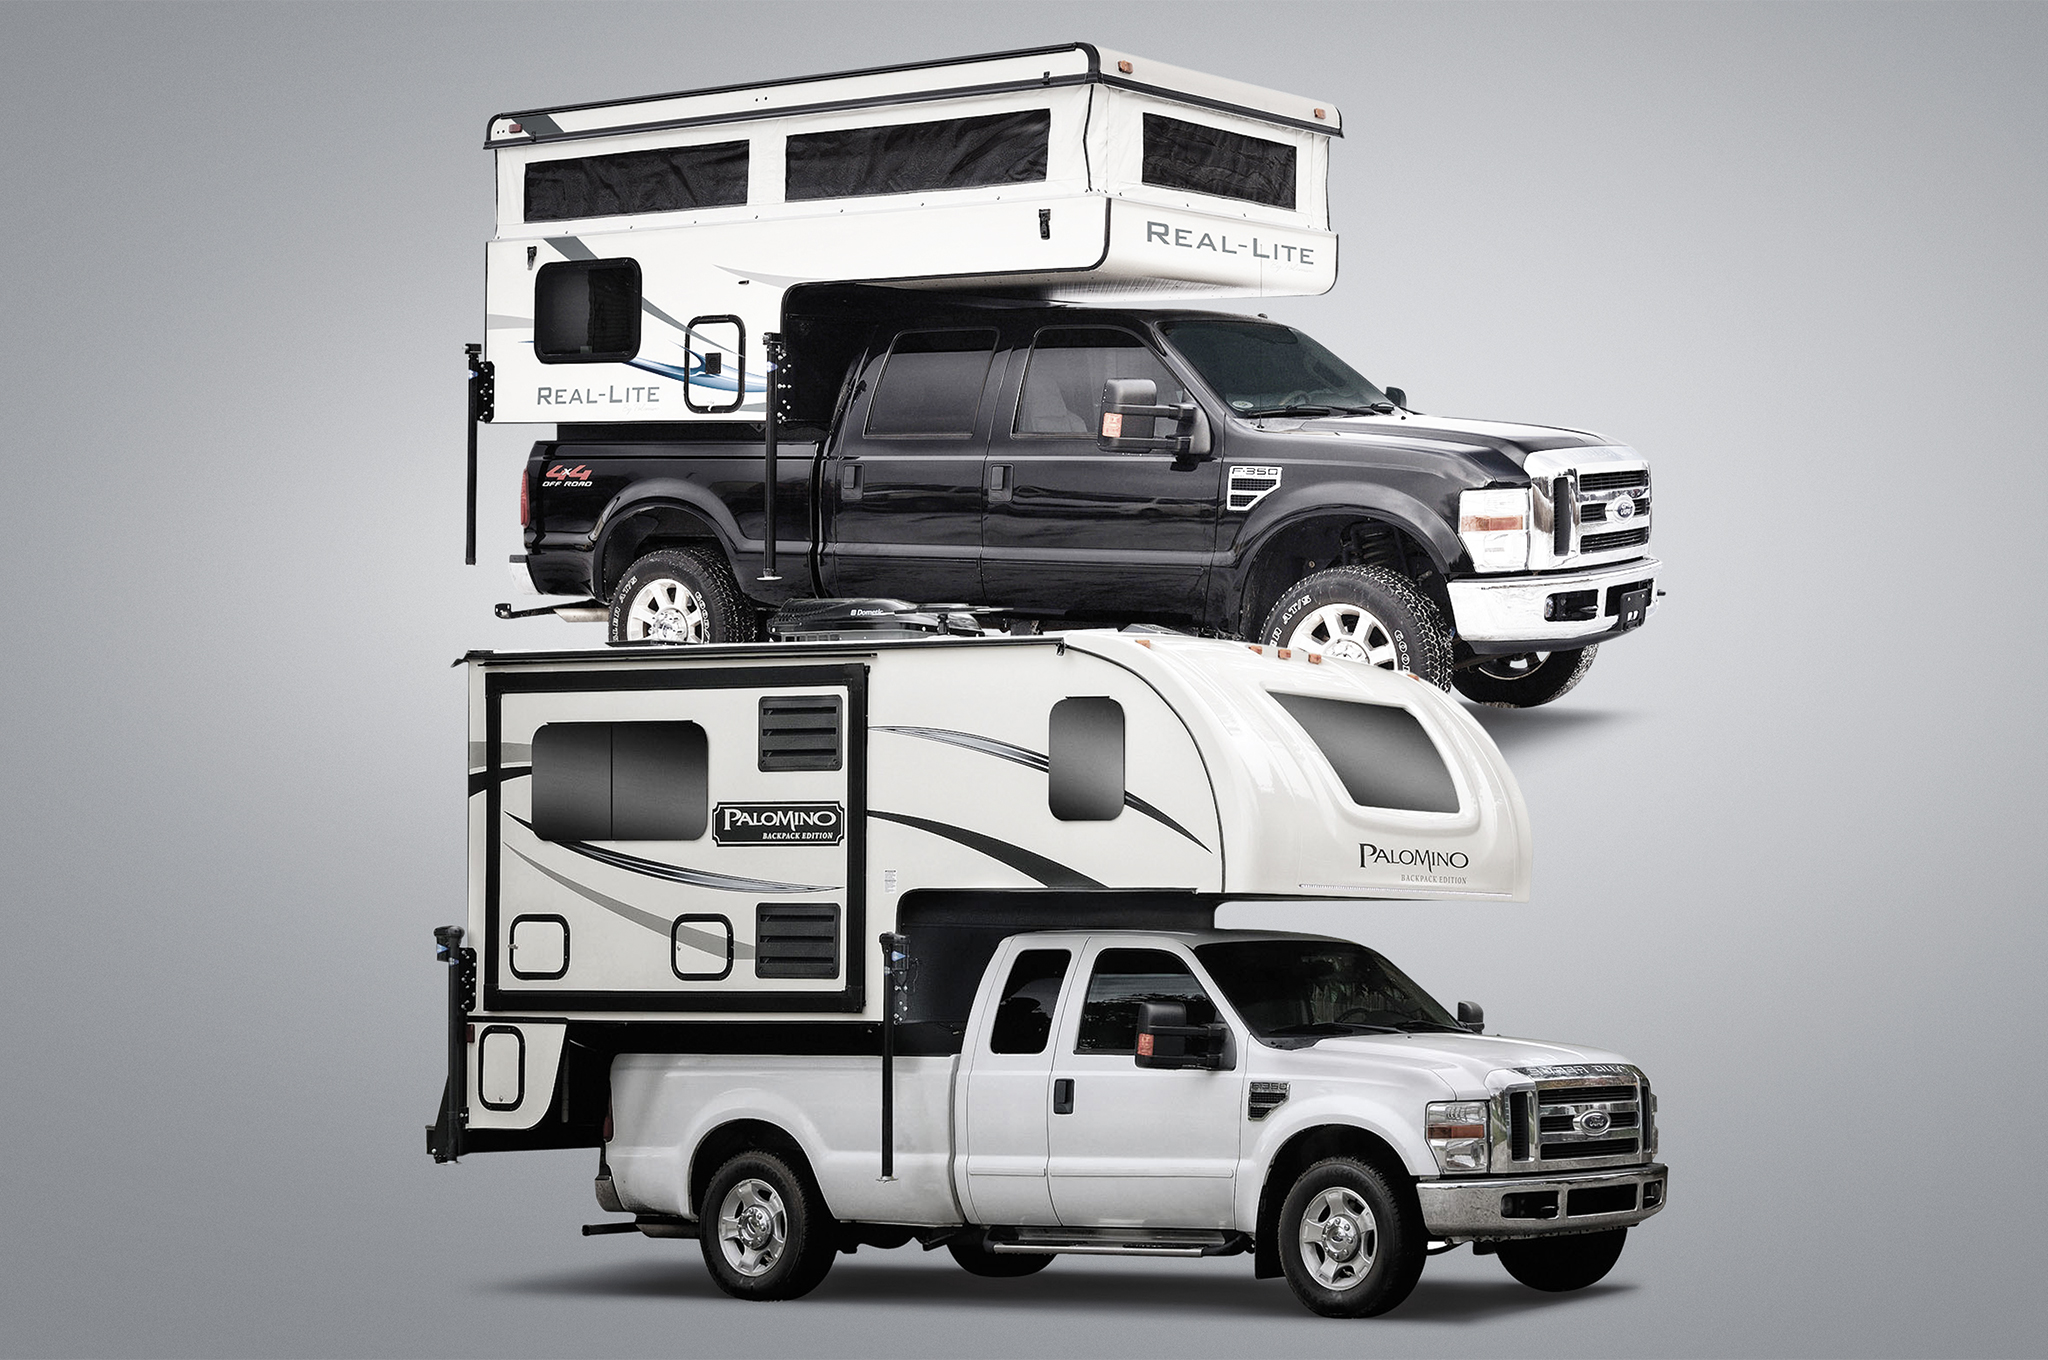
Canoe Camping: Some campsites are fed not only by the water, but also by roads that allow RVs and trailered campers. Other campsites are primitive with no running water, electricity, or facilities — these are generally marked with a yellow placard on a tree facing out from the water.
The resources in the campsites will vary depending on the amount of use it sees. Campsites nearest canoe trail junctions and not far from civilization will be picked over, but as the sites extend deeper into the wilderness, more branches within arm's reach reappear, and signs of use are few and far between.
Clearing a Path: Speaking of branches and wood, to reduce your signature and presence in the park, a sturdy bow saw works more efficiently at creating less waste than a chopping tool like an axe or machete. If weight is a major concern, the saw blade can be carried on its own and a buck saw frame can be built off the land. If canoe camping is done in the late fall or early spring, a medium-sized axe will benefit the boater, providing the means to access the dry wood inside seemingly waterlogged firewood.

A reliable bow saw can help clear branches and gather firewood.
Basecamp Basics
In camp, a handful of dedicated kit items will make the extended stay more pleasant.
Shelter: A large area tarp, muted in color such as brown or gray that can blend into the foliage and rocks, makes shelter and living space an easy setup.
H20 Ways: A water-bottle purifier allows the boater to dip and drink on the go. In cooler weather, boiling in a wide-bottomed pot is the preferred means of water purification as ceramic-filter elements can freeze, causing micro cracks that render the filter useless.
Gone Fishing: A takedown ultralight spinning rod with a small tackle box packed with flies, jigs, spoons, and spinners will put fresh panfish (bream, rock bass, perch, etc.) on the dinner plate nightly. [Editor's note: See “Teach a Man to Fish…” in our Summer 2014 issue and “Improvised Angling” in Issue 9 of OG for more ideas on how to catch dinner.]
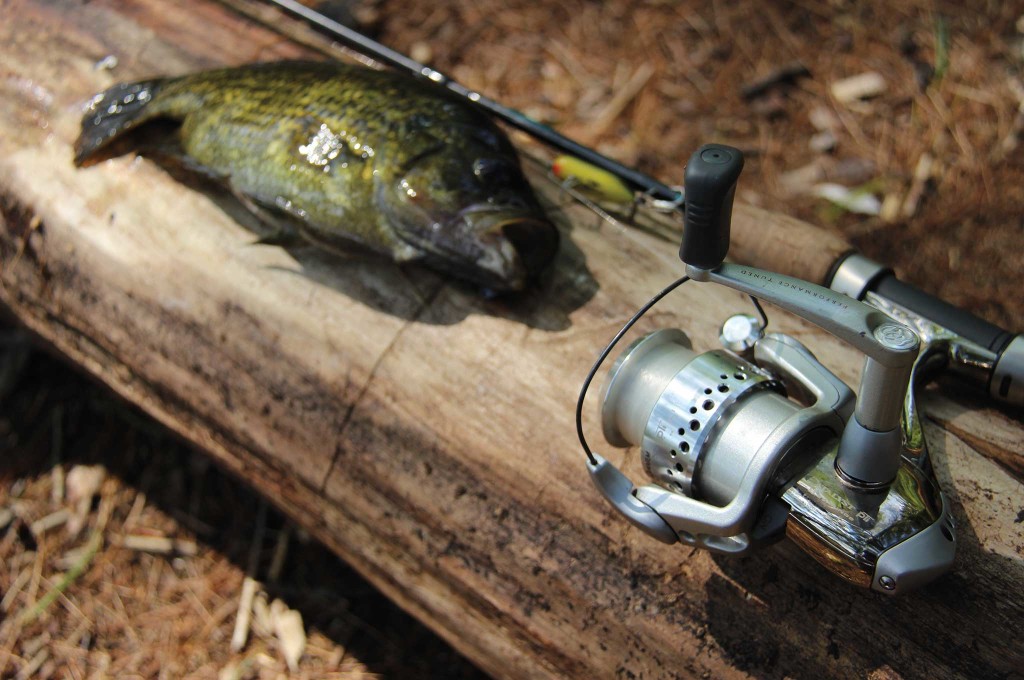
Consider packing lightweight fishing gear with your bug-out canoe. You'll thank us later when things get...
Spice It Up: Though not a life-saving tool, a recommended item is a spice kit to fight off food boredom. While the Adirondack Park, for example, is filled with wild edibles that can supplement the fish and fur food taken from the woods, a spice kit containing salt, pepper, balsamic vinegar, honey, olive oil, and hot sauce (Sriracha all the way!) will take the bland out of your limited menu options.
Supply Runs: Since the canoes used for this ultralight bug-out are minimalist in size and carrying capacity, it will be necessary to resupply at some point. Look for roadside stores containing the basics for camp-like coffee, propane, insect repellent, canned goods, and camp provisions. Canoers generally stash their boats, securing them to docks with painter cords or pulling them on shore and out of sight.
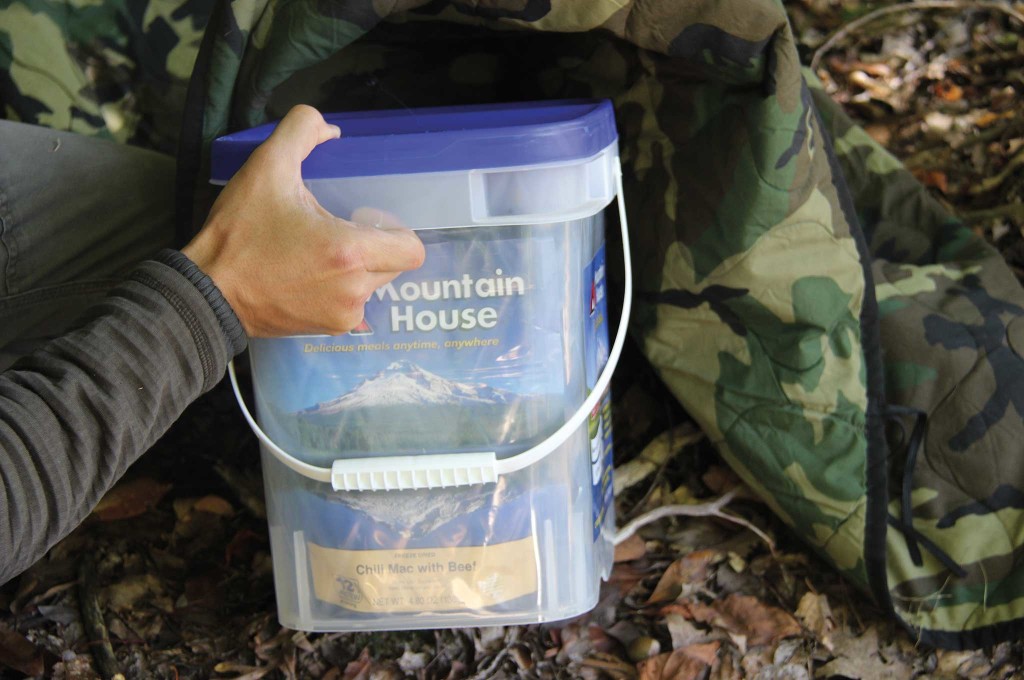
Pre-Staged Cache: In an emergency, many of these stores will likely be emptied before you reach them. In the off season, these stores might not be open at all. However, if your bug-out plan is to canoe to a remote park, you should create and hide a sealed 5-gallon bucket cache of supplies well in advance. For example, flour, baking powder, and salt are all that are necessary to make backwoods bannock. These supplies and others deemed essential to long-term survival can be sealed, stored, and accessed when other gear known to the public has been depleted.
Conclusion
When crisis strikes and refugees are crowding the streets, the savvy ultralight paddler can escape quietly into the wilderness. The ultralight canoe provides sufficient storage for a bug-out kit and room for other gear acquired along the way. With steady paddling strokes, the ultralight canoe has almost no presence in the water with the exception of a few drips of water coming off the paddle on the recovery of each stroke.
As the city falls into chaos, the overwater route out of the city may be the best option to safety. With the right preparation, equipment, and mindset, the ultralight canoe could be the best bet to take you off the grid.
Top 5 Tips to Keep the Hair Side Up
1. Understand Primary/Secondary Stability
Boats have primary and secondary stability. Primary stability refers to the initial tendency of the boat to tip over when the boat is positioned upright in the water. Secondary stability is when a boat is riding on its side slightly and the tendency of it to continue over to capsizing or return upright. Many boats have “tippy” primary stability, but come into their own once they are on edge. This gives them a more responsive feel and improved handling.
2. Turn into Wakes/Waves
When paddling a small solo canoe, every ripple in the water is felt. While the solo canoe is extremely fast through the water, it can be compromised by big water. Whenever possible, the paddler should turn the boat perpendicular into the wake or waves encountered. The boat has a longer surface to address the wave/wake lengthwise than it does widthwise.
3. Trim and Balance Properly
Solo canoes range in size from 9 feet on up. Depending on the design, the paddler will sit somewhere in relation to the centerline of the boat. The further back from the center, the more the paddler will need to offset the balance in the water with extra weight up front toward the bow. This practice is called “trimming.” With proper trim and balancing the weight evenly between port and starboard, the boat will perform better in the water.
4. Avoid Overloading and Swamping
A properly loaded canoe should have no less than 3 inches of freeboard (the amount of space seen on the side of the canoe between the gunwales and waterline) visible. The more weight carried, the less performance a paddler can expect. Too much weight and the boat may swamp if overcome with a large wave or an accidental lean to one side.
5. Move Deliberately
Erratic movements and jerky-style paddling are leading causes of capsizing. Reaching over the side of a canoe, moving the center of balance too far to one side, will cause a boat to flip. Rushing paddling strokes and sweeps also leads to body movement inside the boat and creating instability. Moving deliberately, understanding the slower pace of a canoe, and staying calm will keep a canoe upright.
Stay Dry
A personal dry bag containing emergency essentials should always be carried close to hand while in a canoe or kayak. This bag may or may not be tethered to the paddler's personal floatation device and should be compact and light enough not to affect the buoyancy of the life jacket or range of motion while paddling. The Outdoor Research 5L Lightweight Dry sack is an ideal size and has sufficient water resistance for this application. The contents of the kit should be determined by purpose and reality.
Capsizing is a real threat to the open boater. Inside the personal dry bag, the paddler should carry an immersion kit. This kit should include various fire-starters that are easy to use with cold hands, as well as a flame source such as tinder or a candle. The open flame paired with a reflective blanket to trap heat will help mitigate the effects of hypothermia. These items should have priority placement at the top of the dry bag for immediate access.
A quality water-resistant white-light emitting flashlight should be carried. At night, this will prove useful for obvious navigation, but also to alert larger boats, should they be encountered, of your presence. Signaling devices such as a floating mirror and whistle should accompany this light for daytime use.
Miscellaneous items including a small roll or card of duct tape, spare cordage, high-calorie energy bars, and minor first-aid items should take up some of the extra space in this bag. The rest of the space should contain a spare key for your vehicle, your identification, wallet, and everyday-carry items.
Tricked Out
The author's bug-out canoe of choice is the New Tricks from Hornbeck Boats — a family owned company that's been building boats in Olmstedville, New York, for more than 40 years.
- Make & Model: Hornbeck Boats, New Tricks
- Weight: 15 pounds
- Length: 12 feet
- Beam: 24.5 inches
- Profile: Mid
- Materials: Carbon/Kevlar construction with rot-resistant Pennsylvania cherry wood trim
- Features: Polyethylene foam seat, custom-installed adjustable aluminum foot braces
- MSRP: $1,695
- URL: www.hornbeckboats.com
More From Issue 11
Don’t miss essential survival insights—sign up for Recoil Offgrid's free newsletter today.
Read articles from the next issue of Recoil Offgrid: Issue 12
Editor's Note: This article has been modified from its original print version for the web.