Picture this. You're in one of America's beautiful national parks with your family for the weekend. With the family hauler packed and the sun beginning to set behind the mountains, you begin piloting the winding roads back to civilization. The radio suddenly gives off an intrusive shrill. Your gaze goes back to the road while in the background you faintly hear that calm voice reciting a message from the Emergency Alert System, only this time, it doesn't say, “This is only a test.”
Highways are at a complete stop. All lanes in both directions jammed with cars going nowhere fast and with no end in sight. After an hour and a half with no information coming over the radio, people begin abandoning their cars to go on foot, carrying with them what they can. There are chirps and flashes of lights as car alarms are armed. Worried owners perform quick walks around their vehicles, making sure everything is secure. As they walk away, some look back warily at their parked cars as if to say: “Don't worry. I'll be back to get you when whatever this is all blows over.”
Rather than get stuck in the impromptu parking lot, you find a part of the shoulder that leads to an elevated parallel dirt road and pull off to collect your thoughts. The phone network is down, judging by the telltale busy signal, as well as the data connection, and the browser won't refresh.
The Pelfreybilt Offroad lightweight aluminum bumper and the IFS aluminum skidplate also by Pelfreybilt provide...
As you look off miles and miles away in the horizon toward the city, where home is, you see the unmistakable orange glow of fire, and it can't be anything good. The pulsating glow and clouds of smoke is much too large to be localized.
This is widespread, you think to yourself. As you contemplate what to do next, a thick dark haze begins to form over the highway almost like fog. You squint to get a better look through the dying light and see several figures running toward your direction on the highway below. Seconds later a swarm of terrified people emerge from the haze darting in between the parked cars. Running for their lives. They are the ones who had abandoned their cars earlier.
Although the aforementioned scenario is fictional, almost reminiscent of a current popular cable television show, some can't help but wonder, “What if?” For Sean Jennings, as unlikely as the scenario sounds, he's not one to take chances.
An adventurer at heart, Jennings drew upon his experience in the U.S. Marine Corps and his two tours in Iraq, which put him in a mindset that being prepared isn't a suggestion, it's a way of life.
The Modifications
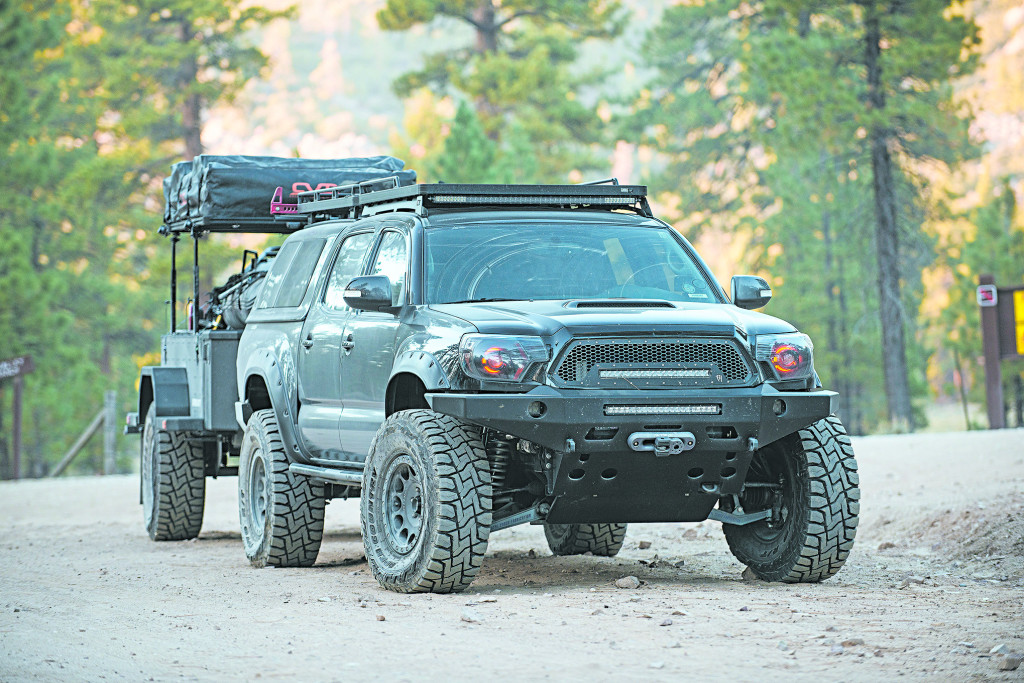
While this 2013 Toyota Tacoma was built for recreation, Jennings added that he chose the Tacoma's midsize truck platform for Toyota's unsurpassed reliability and felt that it would be a more than adequate bug-out vehicle if the need ever arises. Considering the modifications done to this Tacoma, we're in agreement.
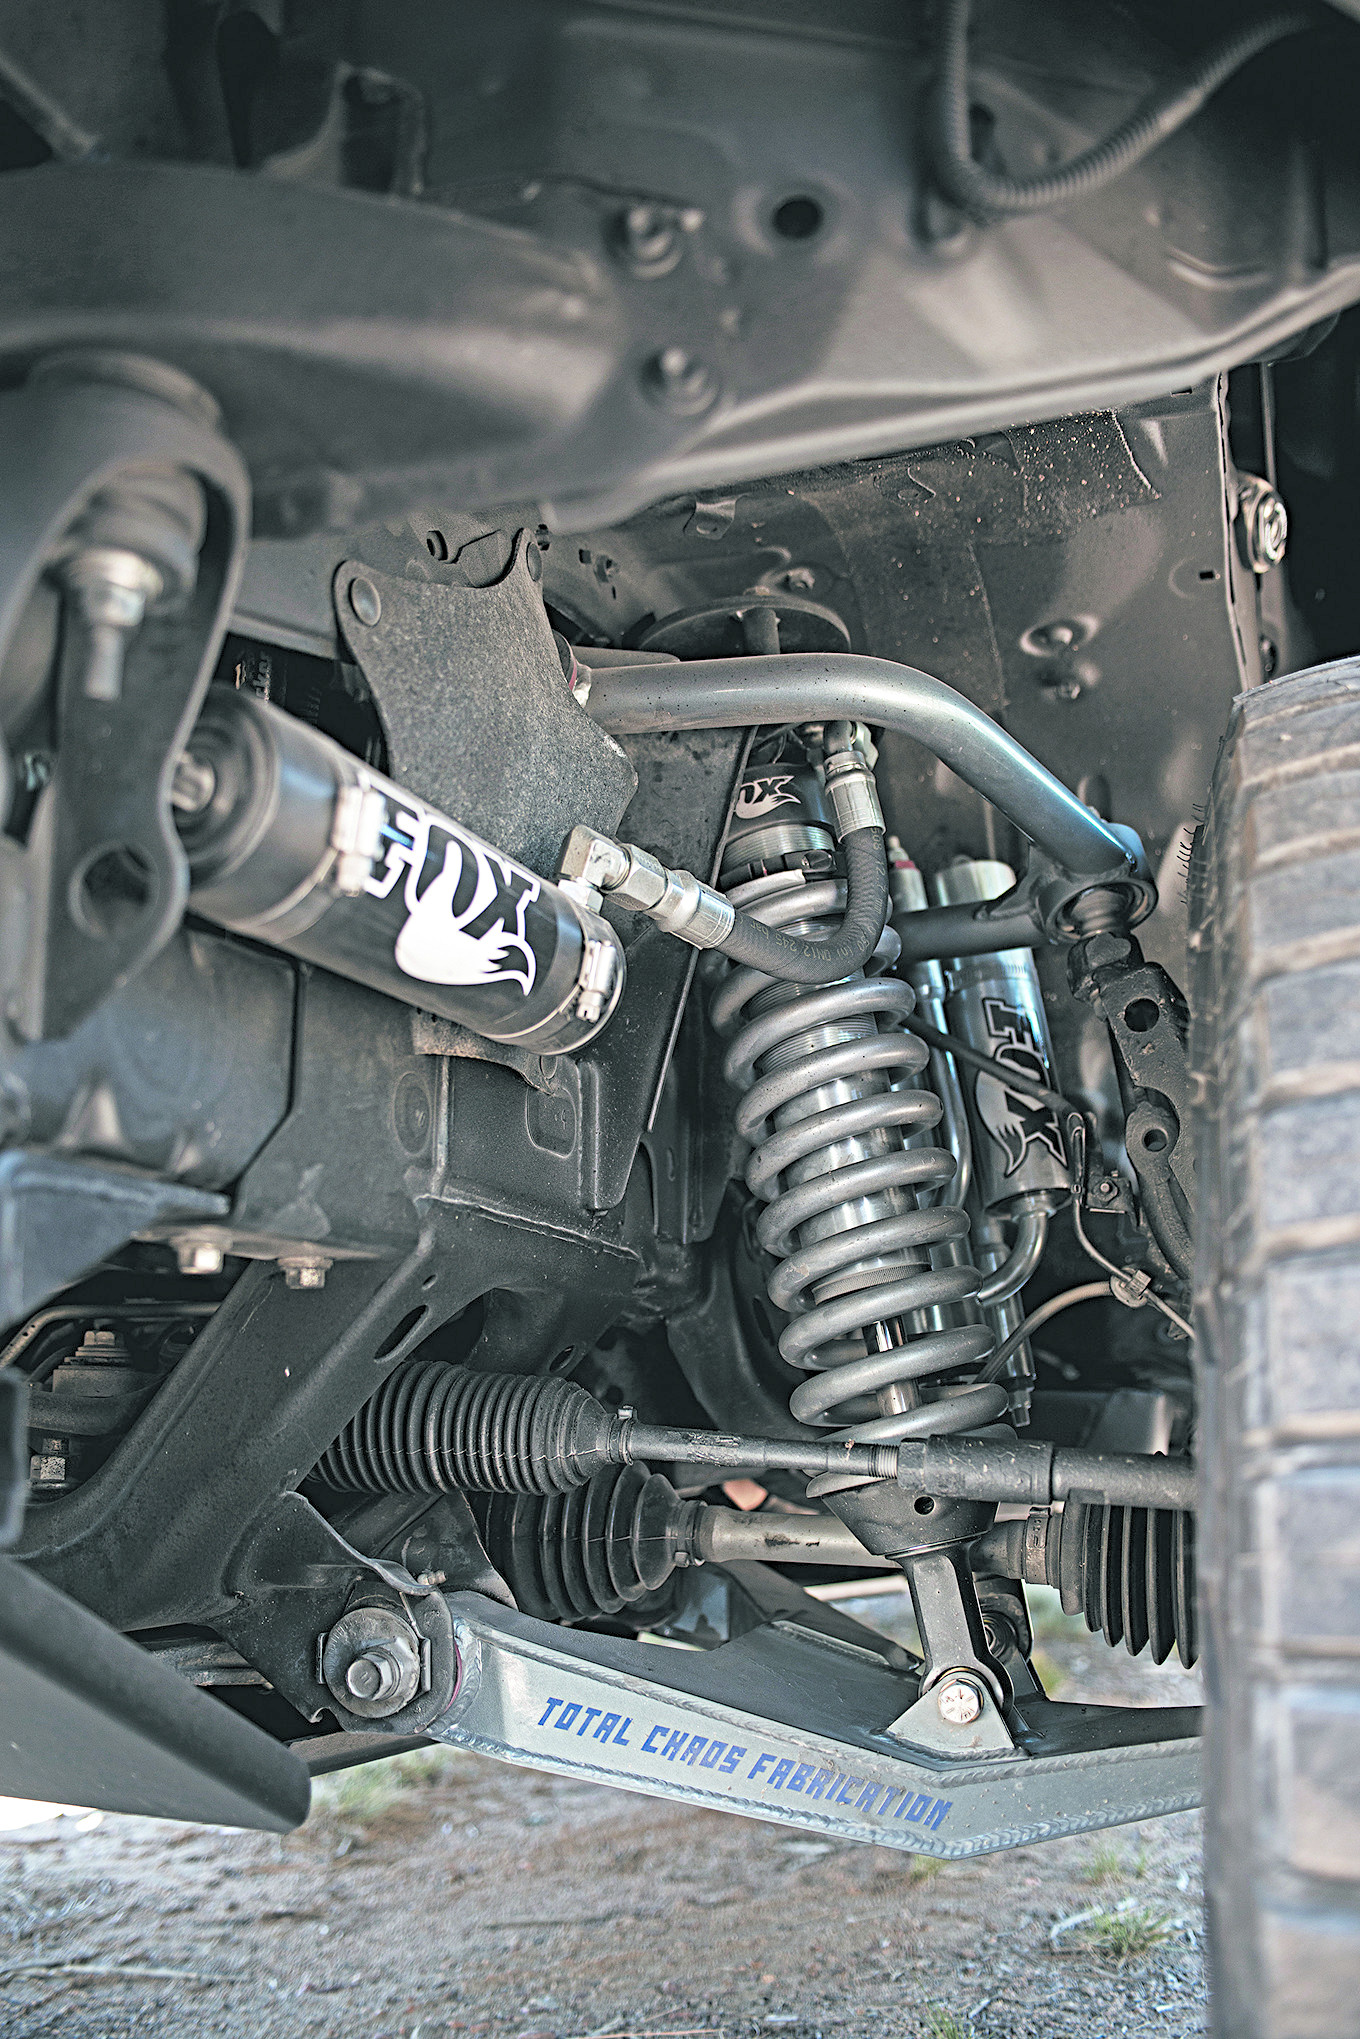
Since “Go anywhere” can literally mean just that, the Tacoma's independent front suspension was outfitted and modified for long travel. Both factory upper and lower arms were swapped for the Total Chaos +2 Long Travel Race Series Kit complemented by Fox 2.5DSC coilovers. A Total Chaos secondary shock hoop was added to properly install the Fox Triple Bypass system. With the front suspension sorted out, suspension travel was no longer much of an issue. The rear suspension was upgraded with Fox 2.0 DSC extended travel shocks and bumpstops with Pelfreybilt shock relocation hoops welded onto the frame. The factory leaf packs were swapped for All-Pro Expedition units to withstand heavier loads.
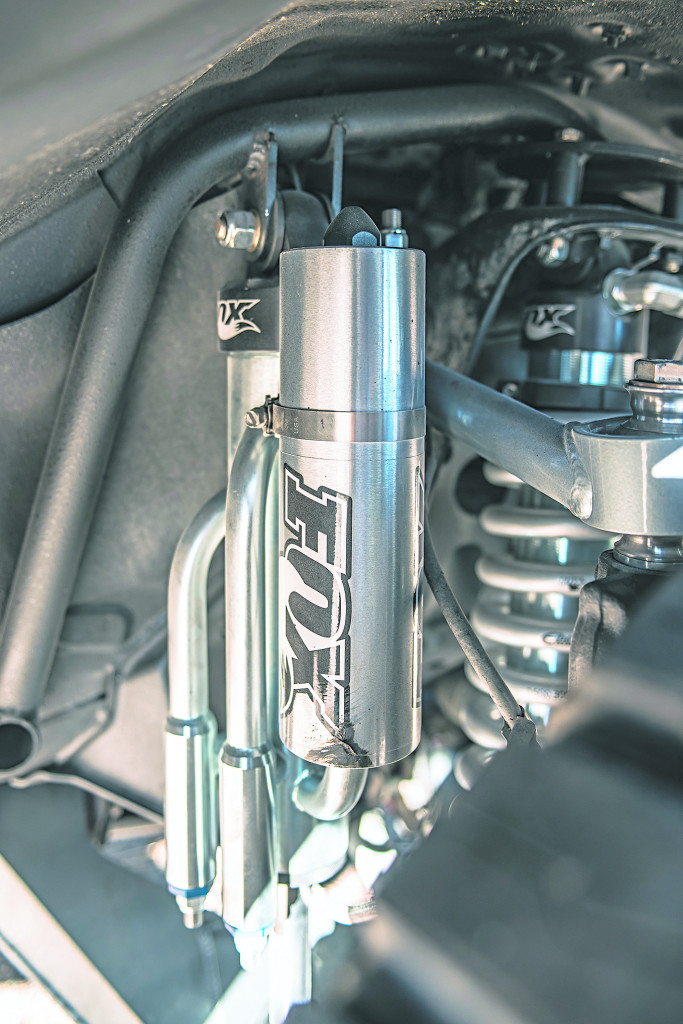
Fox Triple Bypass shocks offer compression and rebound adjustments to further refine the ride.
Crucial to any overland build are tires. Having the right size tire — as well as the right kind — is important when you've got to run for the hills or if you're just going on an off-road excursion with friends. Meaty sidewalls and the right track were important to Jennings, who opted for 35×12.50×17 Toyo Open Country R/T tires mounted onto Method Race Wheels' 105 beadlock model. Although 35-inch tires are a great size for any overland rig, getting them to fit properly on the Tacoma is a slight challenge.
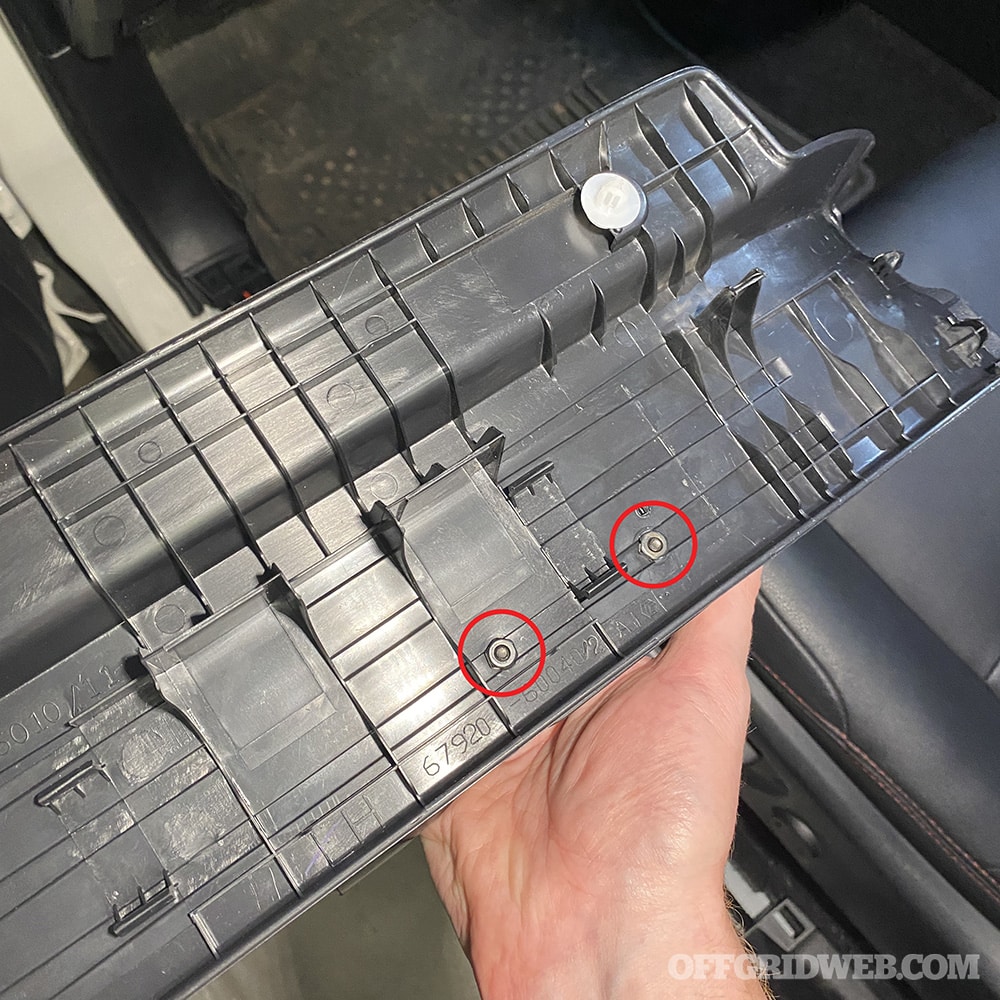
To achieve the proper clearance, a cab-mount chop was required. What this modification consists of is cutting a portion of the frame located on the backside of the inner fenderwell, allowing the tires to turn lock to lock without rubbing against the body and potentially causing damage to the tires and the truck itself. Further trimming and massaging of the front fenders, including the Bushwacker over-fenders, were required to ensure that the tires would clear under full suspension travel.
Four-wheel-drive enthusiasts have always relied on their rig's drivetrains and their driving skills to get through any tough situation the trail throws their way. Jennings, having traveled with his Tacoma through many a trail, wanted to ensure the chips were stacked in his favor when out in the rough. Installed on both axles are ARB Air Lockers activated by an onboard ARB Twin Air compressor. When activated, the Lockers will lock both axles 100 percent, achieving even greater traction when the factory 4-Lo setting won't do.
Jennings knows keeping the shiny side up on his rig is always ideal, but he also knows having body armor for the Tacoma was necessary for his build. Pelfreybilt Offroad was called on to outfit the truck with their line of products consisting of their aluminum front bumper and Hi-Clearance rear bumper. These components drastically improve the vehicle's approach and departure angles while providing ample protection from the terrain and road hazards. The Tacoma's undercarriage also received protection with an aluminum front IFS and transmission skidplate and Pelfreybilt's rock sliders round out the Tacoma's road armor.

Total Chaos Upper and Lower arms are part of their +2 Race Series Long Travel kit, increasing the track, suspension...
The Interior
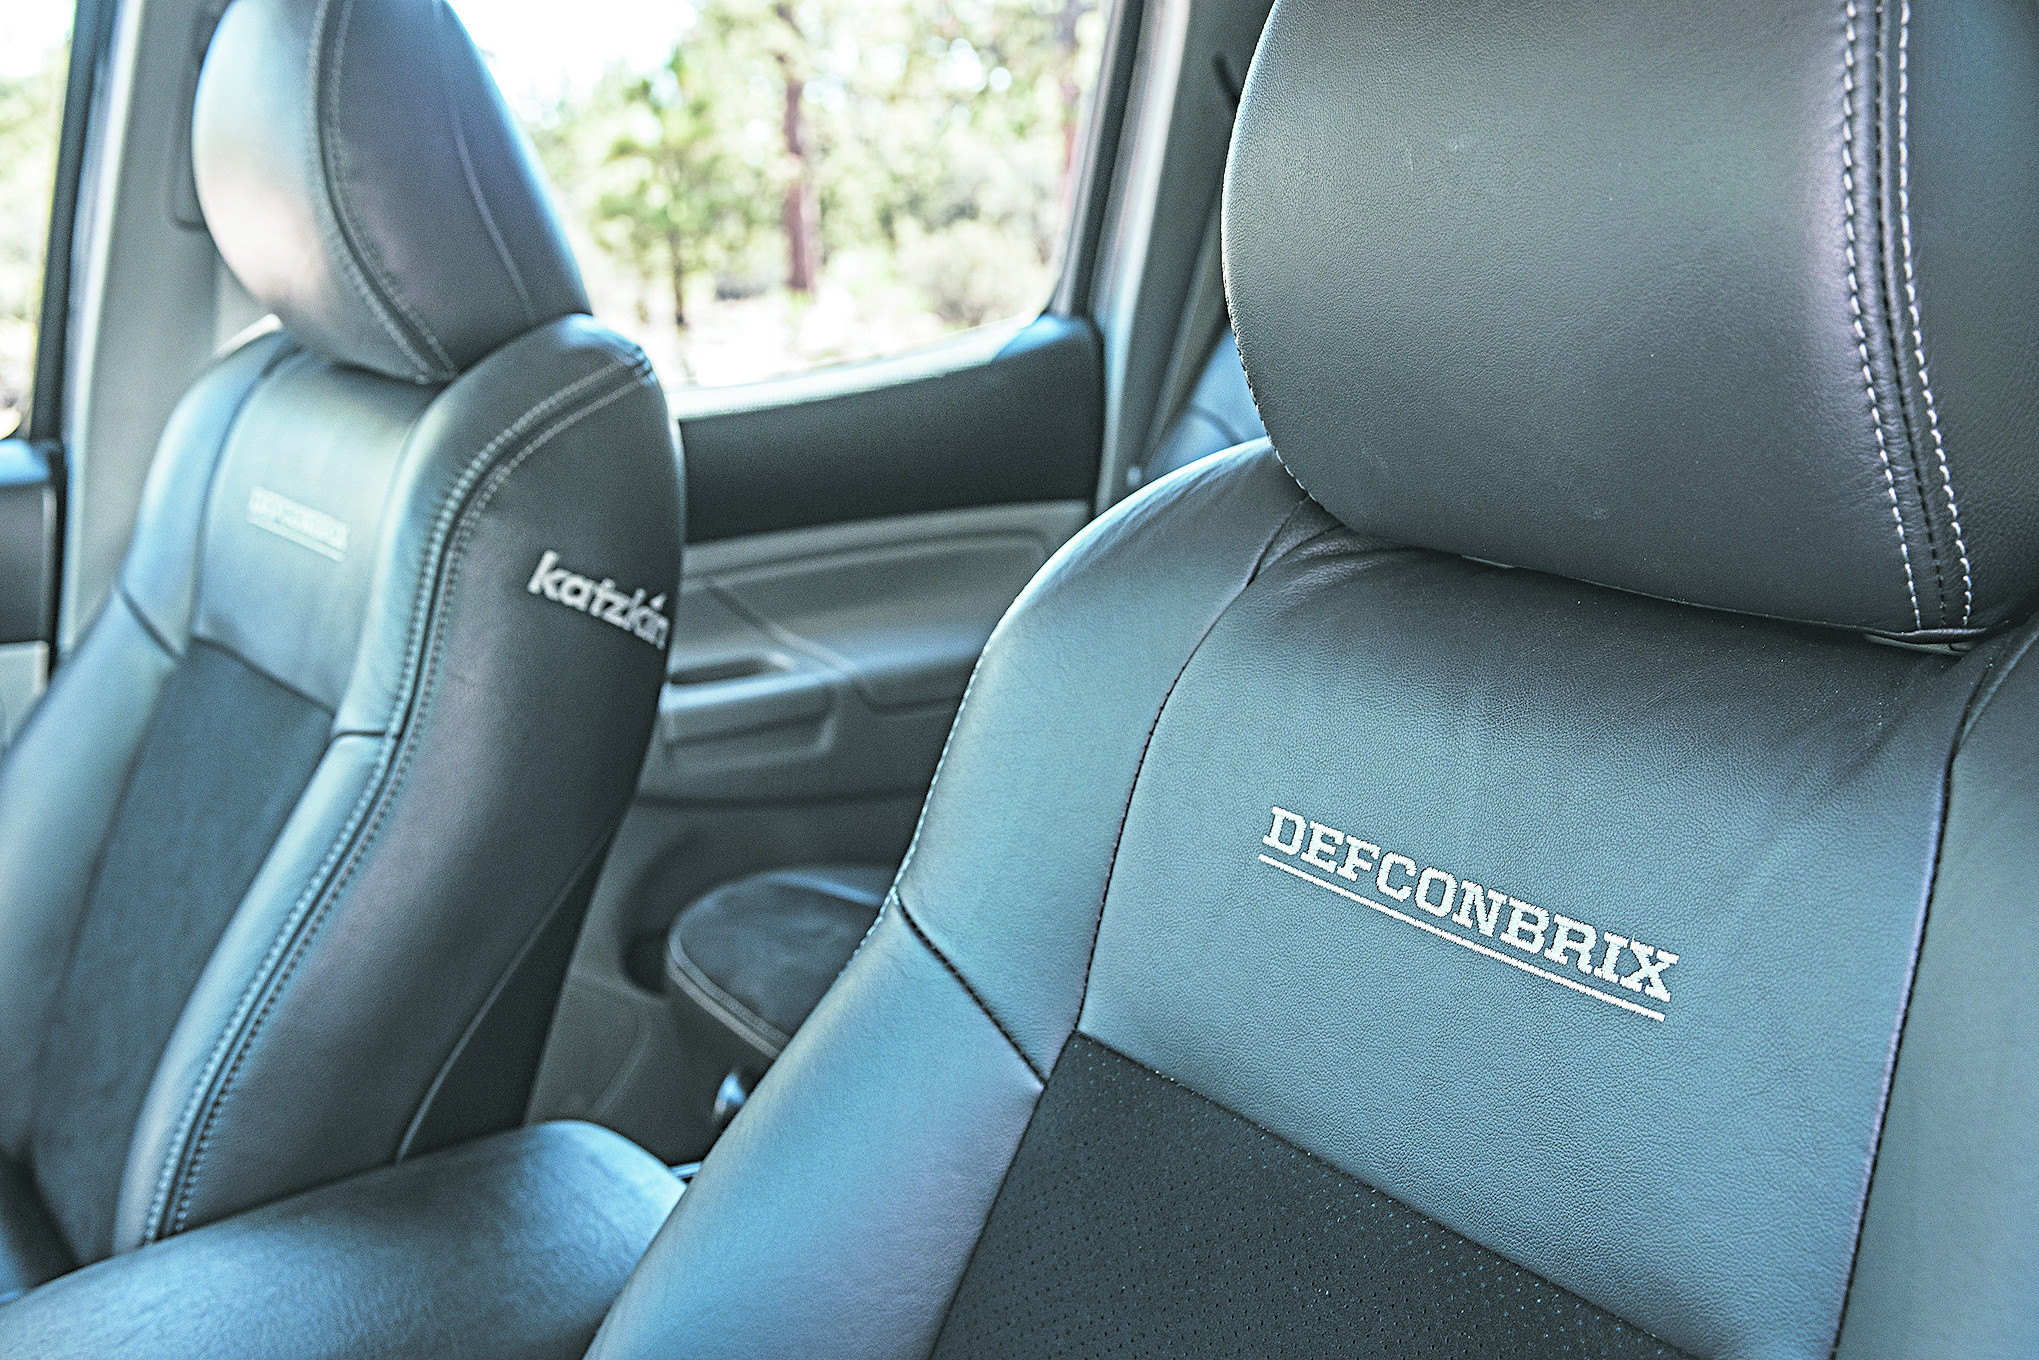
Inside, the Tacoma is decked out for long trips. The factory seats were redone with comfort in mind. Up front are heated and cooled leather seats with suede inserts by Katzkin. The rear bench also received the same leather and suede treatment.
Since a road trip wouldn't be a road trip without music, a trick custom fiberglass enclosure was built for the audio system, consisting of amplifiers and a slim subwoofer, all tucked away neatly behind the rear seats. A trio of switches control different functions on the truck such as the onboard ARB Twin Air Compressor to actuate the front and rear ARB Air Lockers. What really caught our eye inside this adventure rig was the sPOD SE Touch Screen controller. This unit can act as switches for eight different auxiliary lighting systems; this one was wired up to the bevy of Rigid Industries LED lights outfitted on the truck. From the rock lights to the lightbars, they're all controlled through the customizable touch screen.
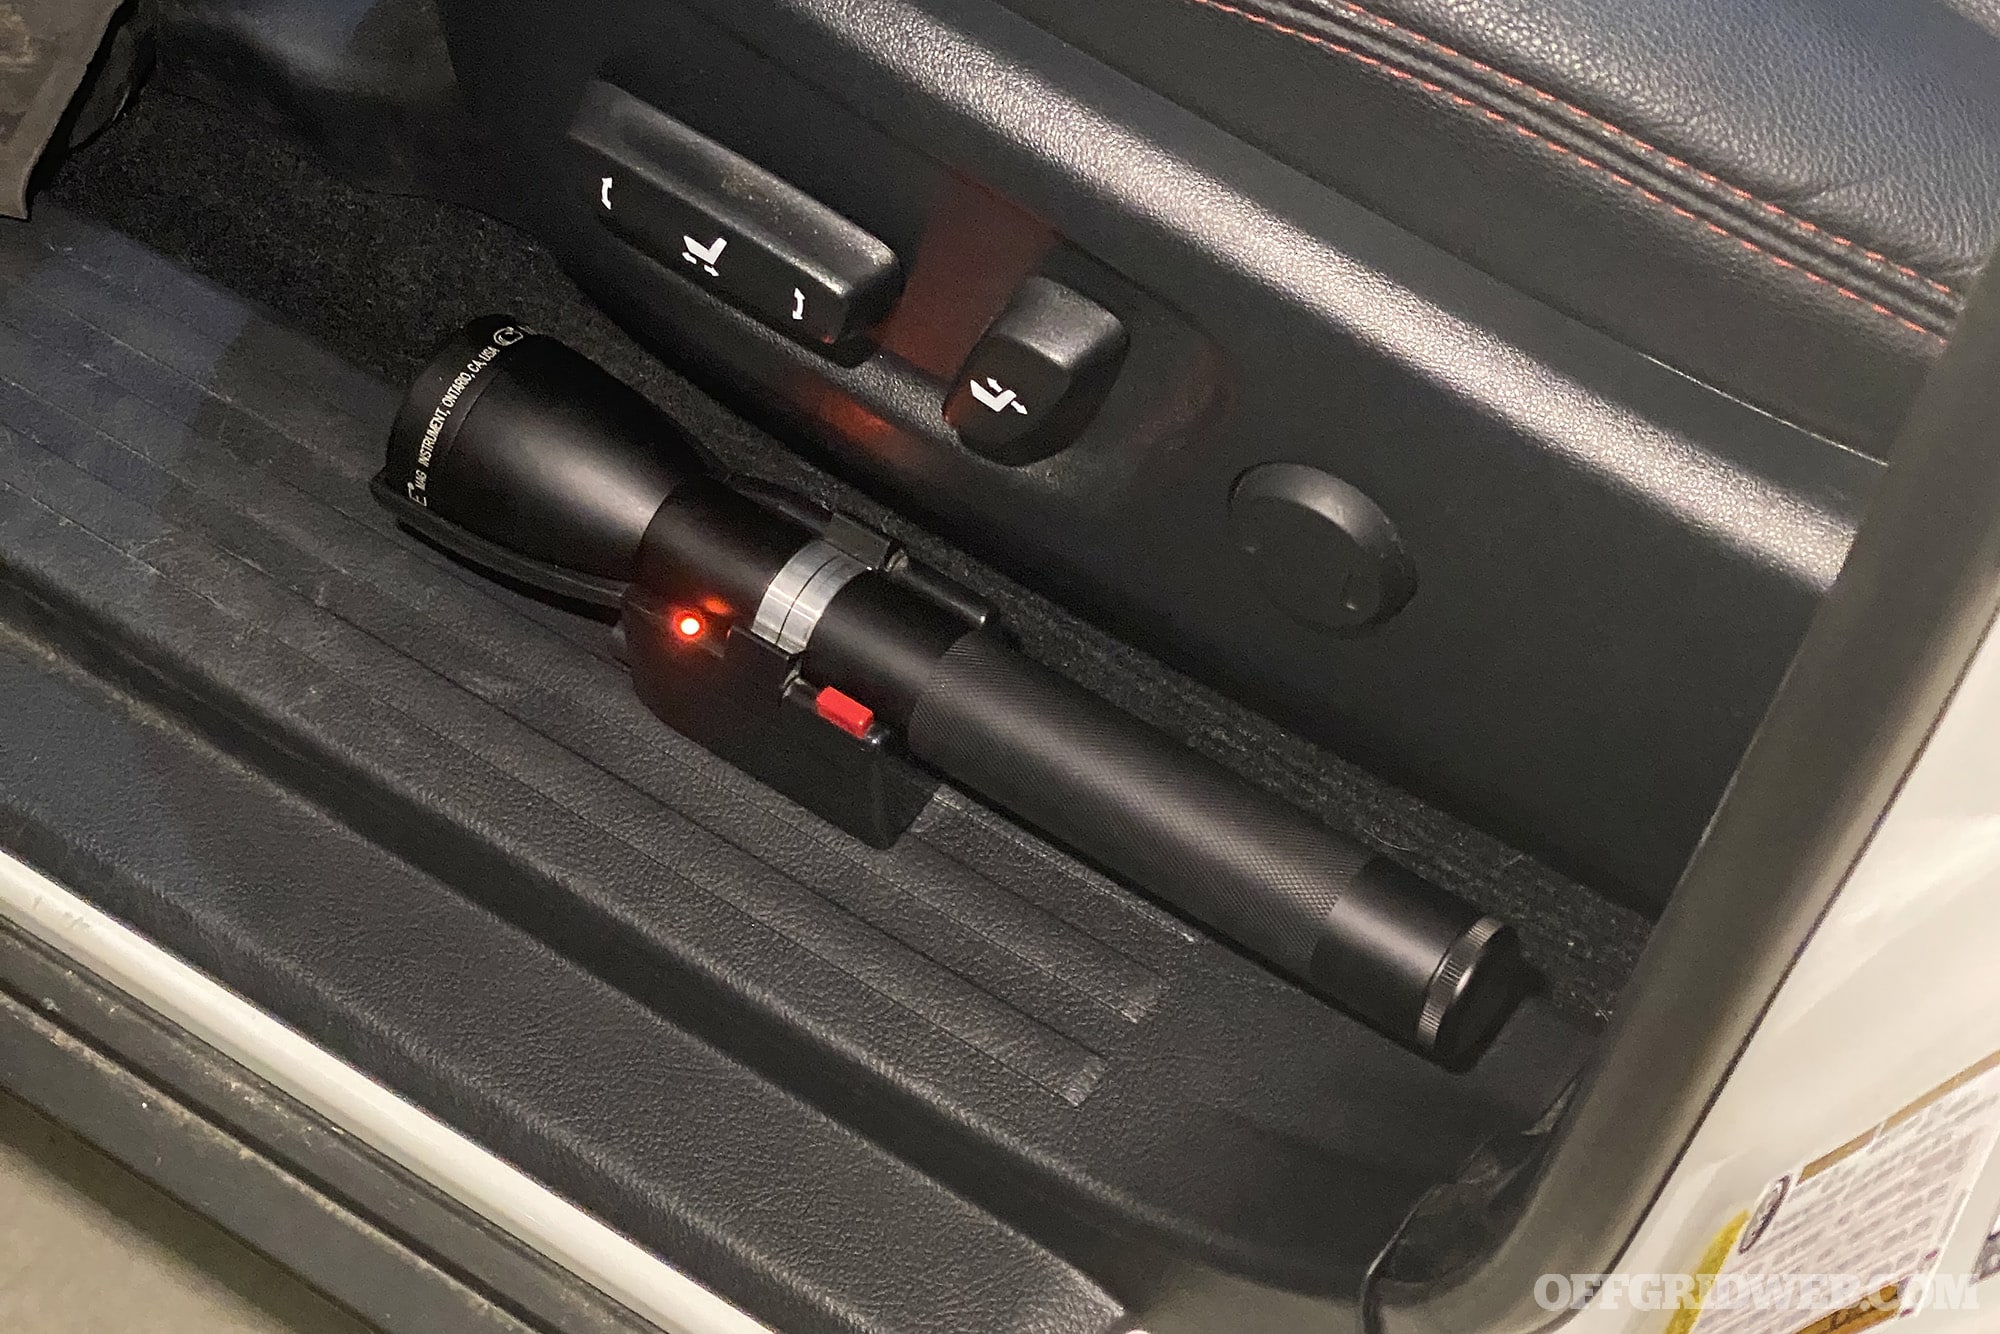
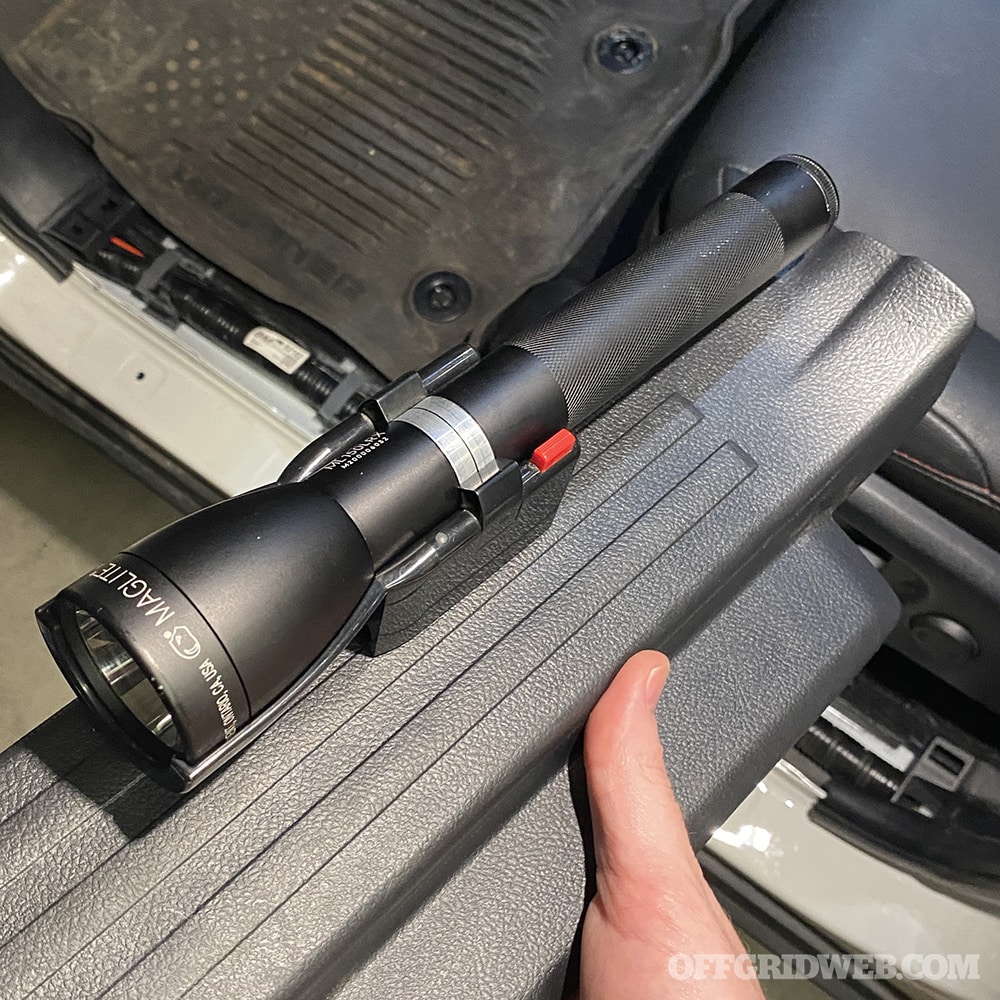
Storage was addressed with Truck Vault's All Weather series two-drawer locking cargo system installed in the bed, in addition to a Line-X coated Cargo Glide 600XL shelf. The Truck Vault was essential for Jennings' storage needs, as it would carry everything from his rifles to his recovery gear. The addition of an A.R.E. Z-Series truck cap keeps everything under lock and key.
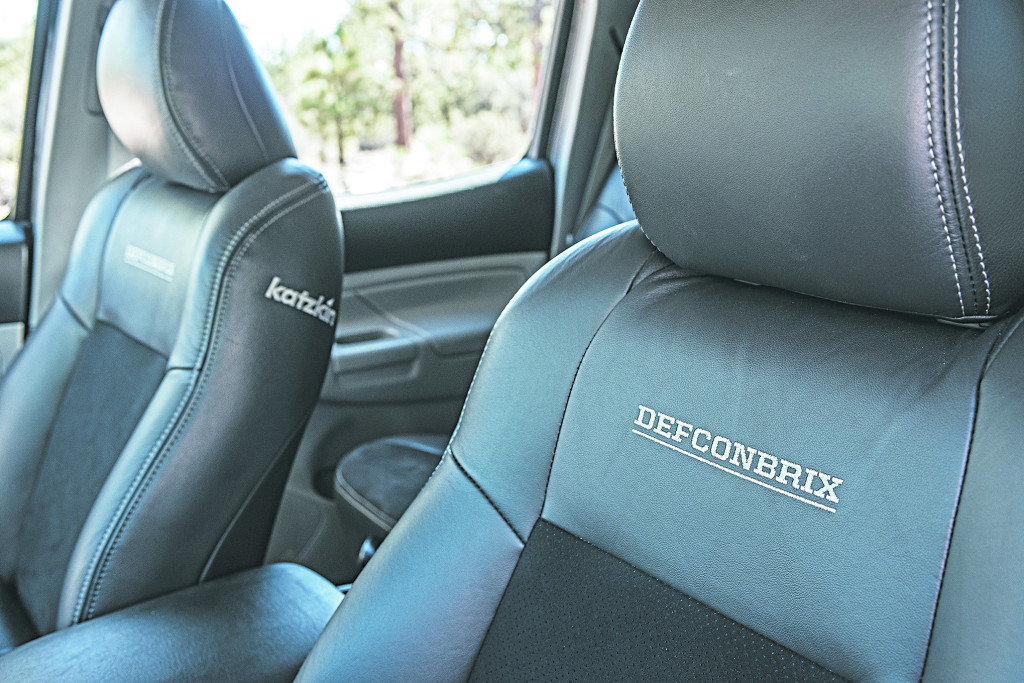
Katzkin custom embroidered Jennings' online handle, “Defconbrix,” into the heated and cooled seats...
The Shelter
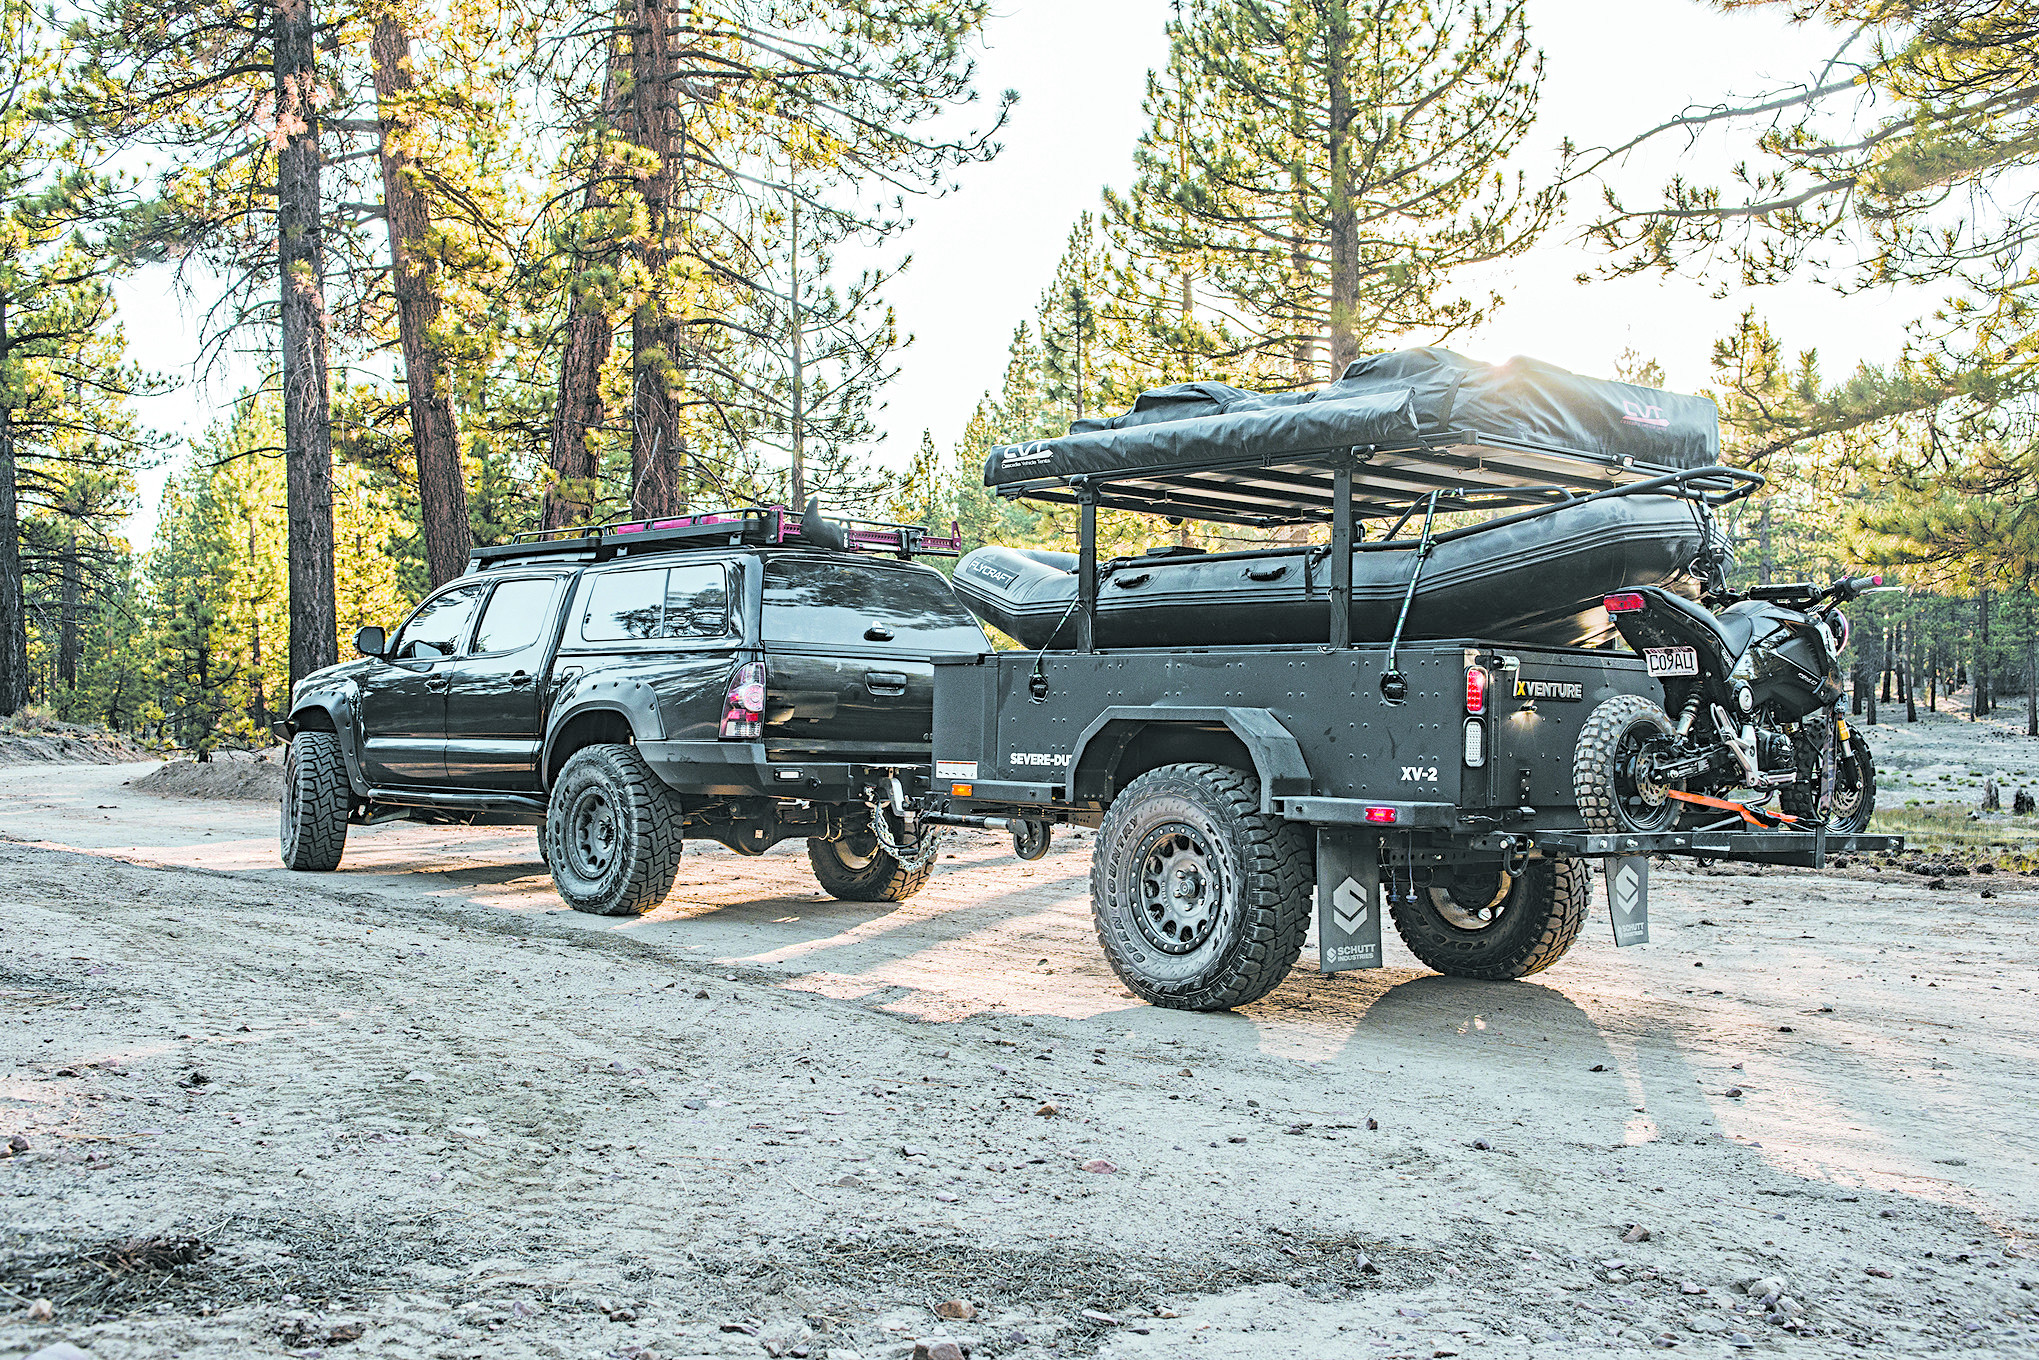
True to the overland theme, Jennings then added an XVenture XV-2 Off-Road Trailer complete with an 89×18-inch folding Galley table, which includes a three-burner range stove and sink. He then took it a step further and outfitted the trailer to be a sustainable shelter with a CVT Mt. McKinley Roof Top Tent. Capable of fitting four people, this tent ensures his family will stay out of the elements. A CVT 55-inch awning provides shade and the XV-2 is also outfitted with a 20L water tank with an electric pump and a propane water heater allowing the luxury of a hot shower.
The trailer also sustains it's own power via a deep cycle battery and an onboard power distribution center, easily allowing Jennings to hook up additional lights or appliances such as the ARB 63-quart fridge/freezer tucked in the XV-2's storage compartment.

The XVenture XV-2 Off-Road Trailer is a fully capable trailer especially the way Jennings has outfitted his. Equipped...
Anyone who has fished likely knows that going out into a body of water allows you access to a variety of fish and fishing grounds versus being on the shoreline. Luckily for Jennings, he's got that covered with his Flycraft inflatable fishing craft. The two-man vessel can also easily be an escape vehicle on water should options on land run out.
But say options on land call for two wheels instead of four or on foot, this Marine has one more trick up his sleeve. Jennings took a 125cc Honda Grom and outfitted it with knobby Maxxis Moto-Off Road Tires, giving the mini street bike a whole new level of capability. However, Jennings wasn't finished there. From his experience being out in the woods, he knows it gets dark, real dark. With this the halogen headlight on the Grom was dropped in favor of a single custom-mounted ARB Intensity LED Spot light. This single light is capable of producing over 8,000 lumens and throwing light over 900 meters giving this Honda Grom enough light to ride confidently during the darkest of nights.
Now, it's obvious this Tacoma didn't get to this level of preparation overnight. There have been several iterations of this build before it got to where it is today. Many different parts were installed and removed in a game of trial and error. But in the end, Jennings found that this current setup was the right balance of what would encompass his needs for recreation and survival. While we've seen an overland rig or two in our time, Sean Jennings' Tacoma definitely reinforces the saying, “It's better to have it and not need it, than to need it and not have it.”
But don't count on Jennings being done just yet. He still has plans for more upgrades to his ultimate survivalist rig.
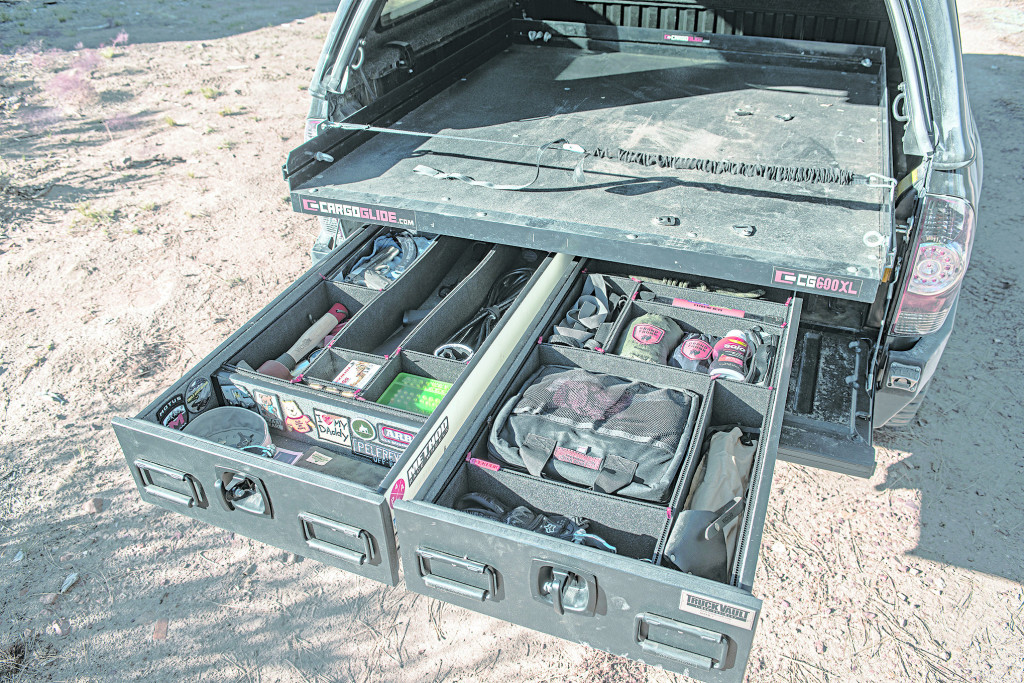
Never leave home without it. Jennings' Truck Vault drawers are filled with the essentials, from firearms to his...
Bug Out Tacoma Stats
2013 Toyota
Tacoma Double Cab 4×4 Double Cab Shortbed
Engine
4.0L Six-Cylinder (V-6)
Drivetrain
4WD
Horsepower
236
Height
80 Inches
Length
209 Inches
Width
77 Inches
Wheelbase
127 Inches
Ground Clearance
11.5 Inches
Curb Weight
5,500 Pounds
Approach Angle
54 Degrees
Departure Angle
36 Degrees
Bug Out Trailer Stats
Schutt Industries XVenture XV-2 Off–Road Trailer
Length
151.1 Inches
Widths
75 In. (52 In. W/Tires)
Curb Weight
1,190 Pounds
Water Heater
Camp Chef Triton 5L
Battery
Deep Cycle
Water Tank
20-Liter
Propane Tank
20 Pounds
About the Author
Mike Shin is a commercial photographer, outdoors enthusiast, and an occasional writer. When not photographing assignments, he and his wife enjoy four-wheel trips and camping all around California. mikeshin.com
More From Issue 12
Don’t miss essential survival insights—sign up for Recoil Offgrid's free newsletter today.
Read articles from the next issue of Recoil Offgrid: Issue 13
Read articles from the previous issue of Recoil Offgrid: Issue 11
Editor's Note: This article has been modified from its original print version for the web.