In This Article
Long range shooting is a skill that many shooters will never pursue, and that's a shame. Before you dismiss it as a niche skill that's only applicable to snipers, consider an analogy — let's say your friend buys a brand new Lamborghini that's capable of 220 miles per hour, but never once exceeds 65 miles per hour. You'd probably scoff at him and tell him he wasted his money. How many of us own rifles that are capable of accurate hits at 500 yards or more, but almost never shoot beyond 100 yards? Worse still, many guns are relegated to 30-yard indoor ranges. If you've got hardware that's capable of a modicum of precision — you almost certainly do, whether it's a bolt-action hunting rifle or even a 16-inch AR-15 — I'd encourage you to take it out to stretch its legs. You'll learn more about your rifle, the ammunition you're feeding it, the optic that's mounted on it, and most importantly, your own capabilities as a shooter. With this goal in mind, I linked up with the experienced instructors at Apex Training Solutions for a four-day, in-depth course on the basics of long range shooting.
About Apex Training Solutions

Apex Training Solutions is based out of Saint Augustine, Florida, but the class I attended was hosted in Arizona by local firearm instructor Core Dynamics. Apex CEO and founder Damian Knight is a US Marine Corps veteran who started his career in the Recapture Tactics Team, a SWAT team that's part of the US Department of Defense PRP program for nuclear security; later in his career, he served as a Scout Sniper team member and Combat Marksmanship Coach. After leaving active duty, he served as a Defensive Designated Marksman Firearms Instructor for the Department of State in support of the Diplomatic Security Mission at the United States Embassy in Kabul.
Knight designed the curriculum for this course along with Apex's co-founder and Long Range Instructor Francis Santore, who is an active-duty Scout Sniper instructor for the Marine Corps' Urban and Aerial Sniper courses. Santore wasn't able to attend this class due to operational commitments, so Knight was assisted by Austin and Anthony, two other Scout Snipers.
Although long range shooting is one of Apex Training Solutions' specialties, the company offers a variety of other courses that include concealed carry pistol and defensive carbine skills. There's even a School Resource Officer training curriculum to assist those who protect children on a daily basis.
Hardware: Rifle Components
Much like Garand Thumb video, this course began with a “tip to butt” examination of a long range precision rifle. Read on for a high-level overview of some of the critical considerations.
Barrel
While there's a common misconception that a longer barrel equals better accuracy, that's not necessarily the case. However, barrel length does affect the velocity of a round — roughly 50 feet per second per inch — which in turn affects its stability and terminal ballistics. Barrel length of 24 inches or more is typically preferred to maximize velocity, but many shooters are willing to accept the trade-offs of a shorter barrel for improved portability. Muzzle velocity also decreases as a barrel wears out, so you should keep track of your round count (life expectancy is roughly 10,000 rounds for a .308 or 5,000 for a 6.5 Creedmoor). Barrel contour and fluting are also considerations; lighter barrels are easier to carry around, but heat up after only a few shots, leading to diminished accuracy.
Action
Our class focused primarily on bolt-action rifles, although it's certainly also possible to build a semi-auto “gas gun” for long range precision. The Remington 700 short action (or a third-party clone) is a common place to start. It's important not to skimp on your rifle's action, because machining tolerances for precision shooting parts can be as exact as 1/1,000th of an inch — about 1/3 the thickness of a human hair.
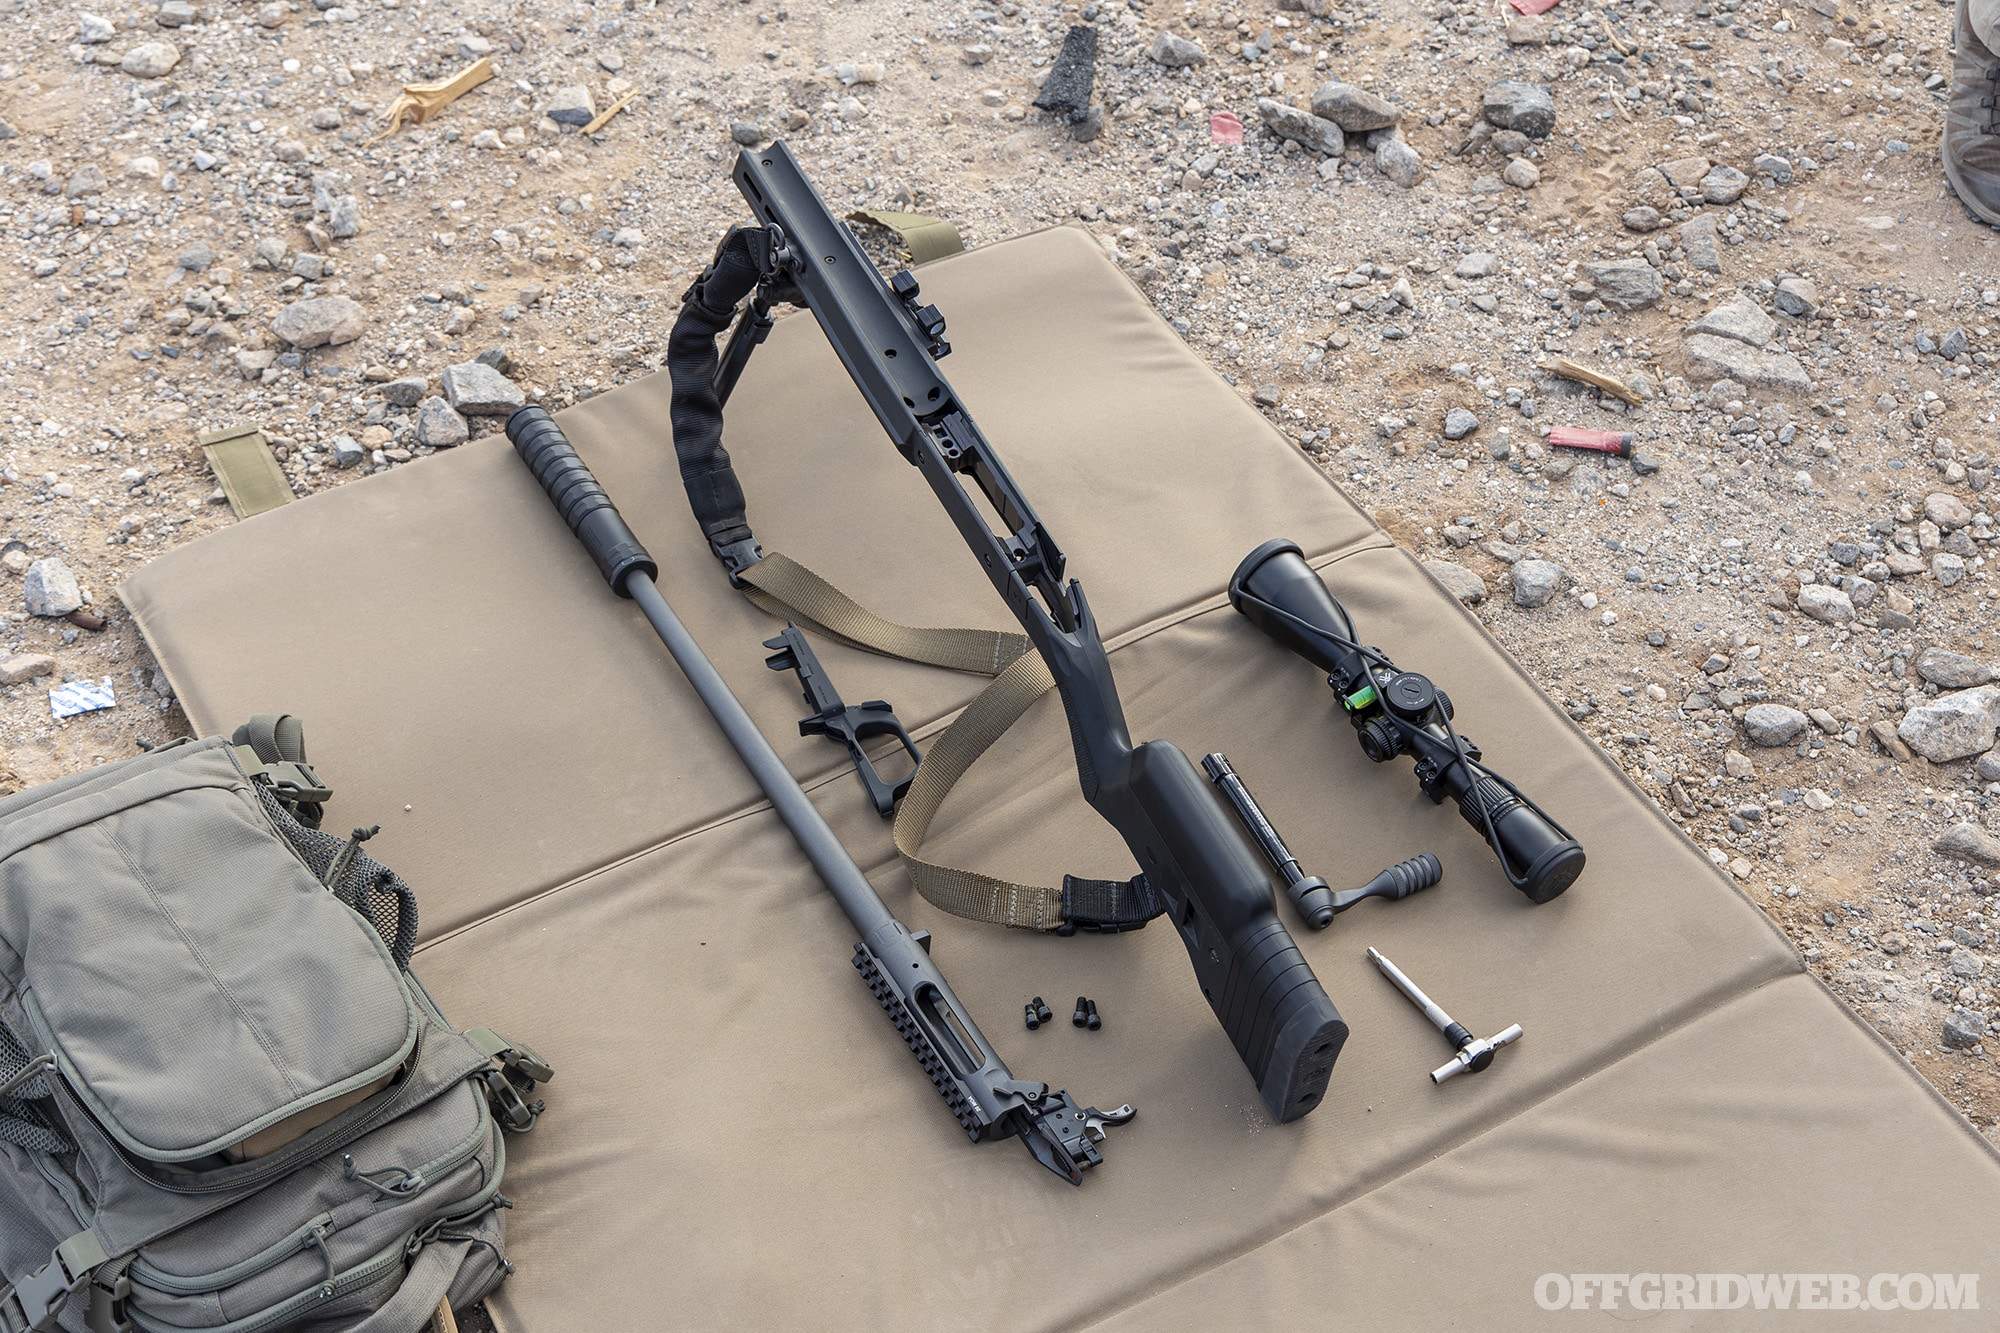
Above: Each student learned how to disassemble their rifle's barreled action, and used a torque wrench to confirm that it was securely reinstalled in the chassis or stock.
Chassis
The rifle chassis holds and supports the barreled action, and it can have a substantial effect on accuracy. A good rifle chassis should be able to withstand a firm side impact without the action or set screws moving. The chassis should also allow the barrel to free-float without making contact and affecting its harmonics. Many chassis offer adjustability for cheekpieces and length of pull to tailor the rifle to the shooter, which is important for comfort.
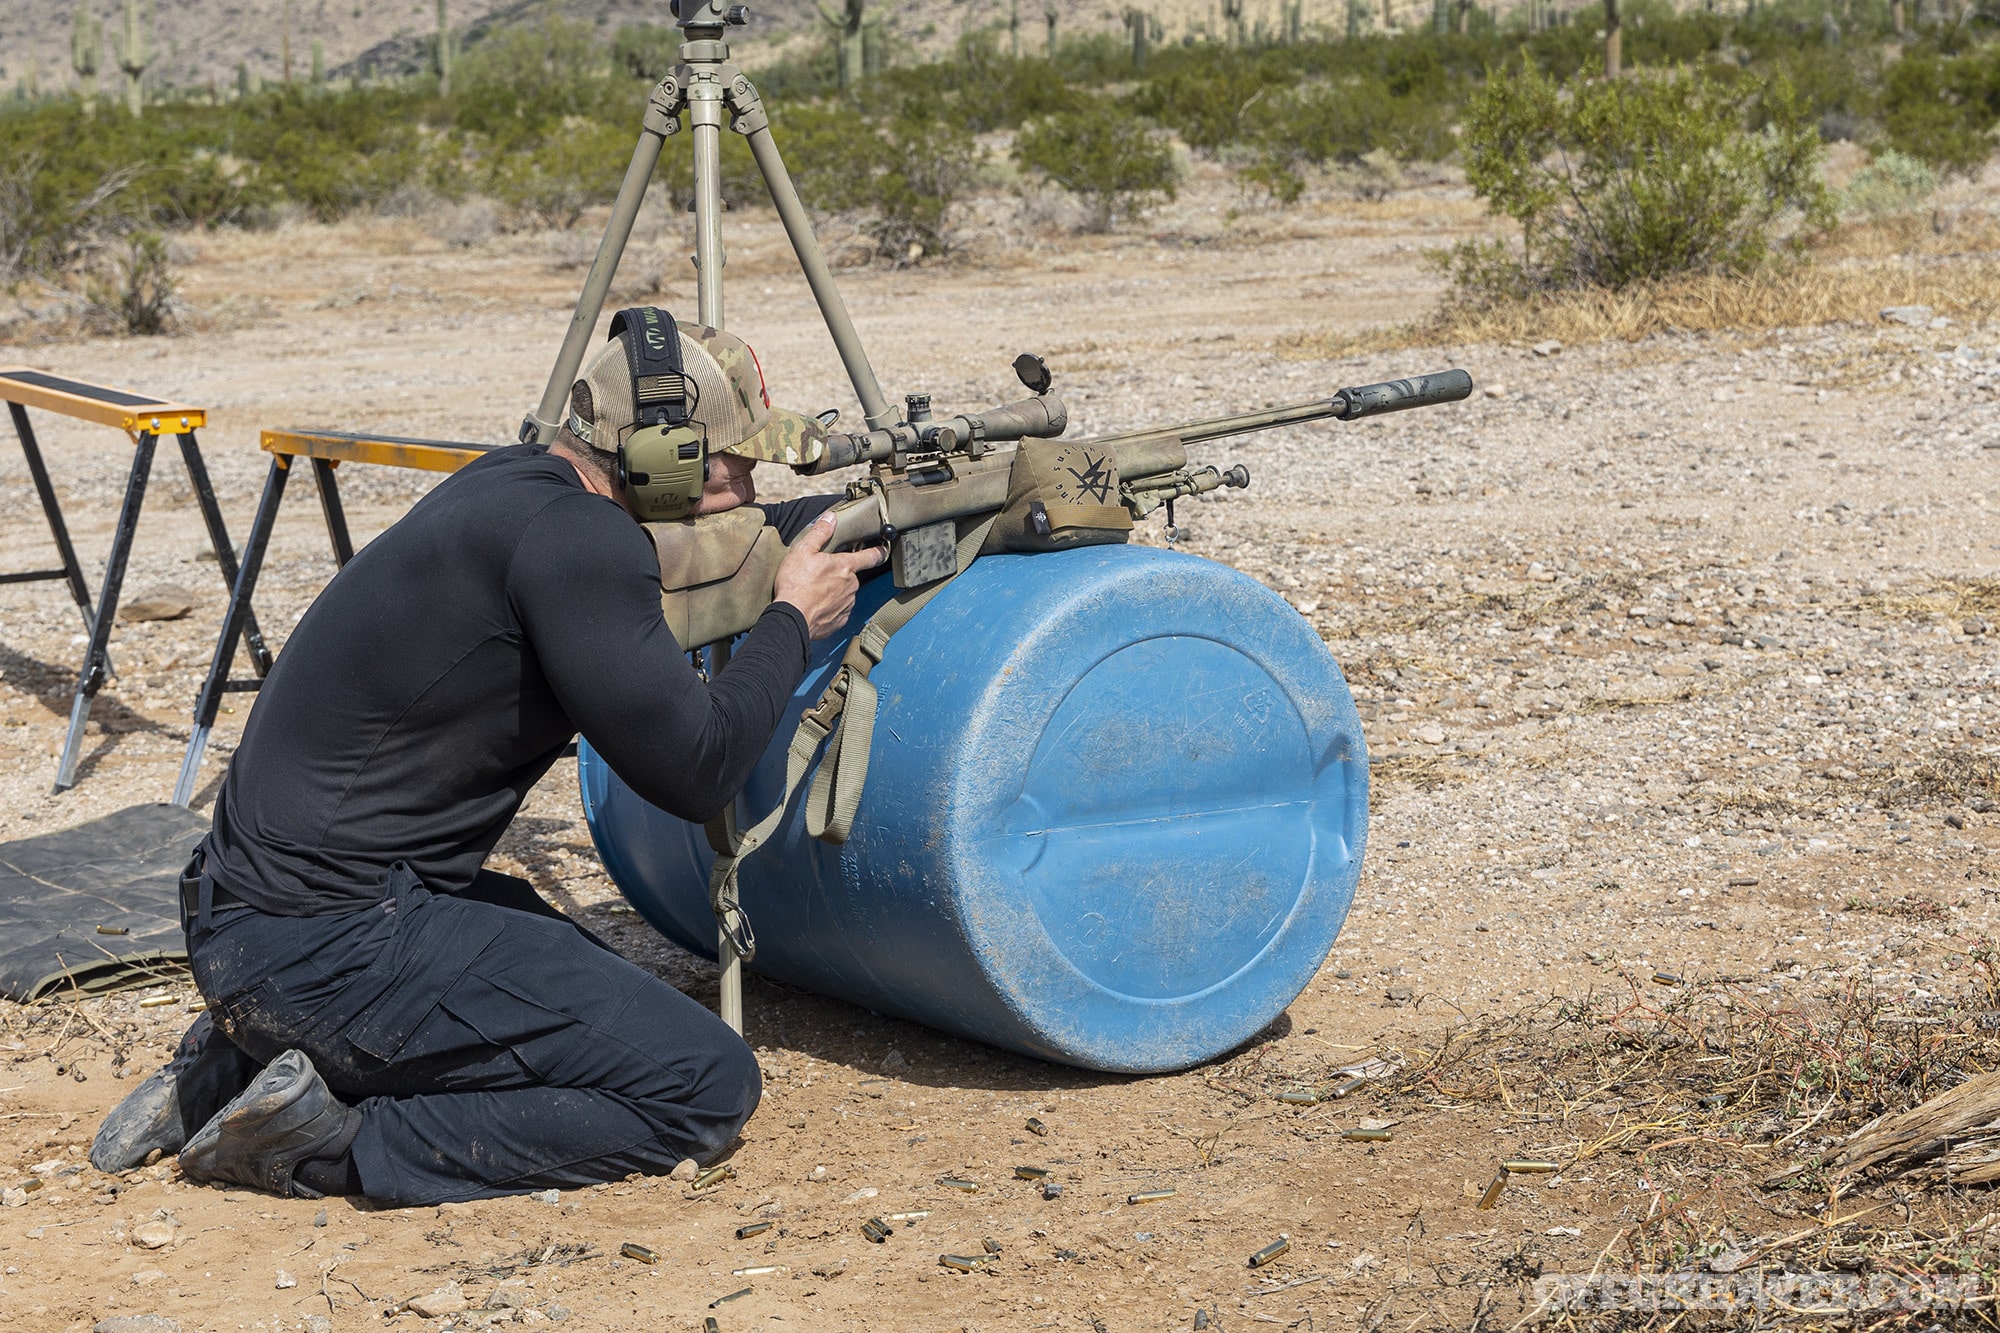
Bipod & Bags
At a minimum, you should have a bipod to support the front of the rifle chassis and shooting bag to support the the buttstock. The bipod should be sturdy and finely adjustable, including tilt to compensate for uneven terrain. The bags should be dense yet pliable enough to squeeze and adjust elevation of the buttstock in small increments. Knight says most bags come from the factory over-filled, so it's usually a good idea to take out a little filling to improve squeezability.
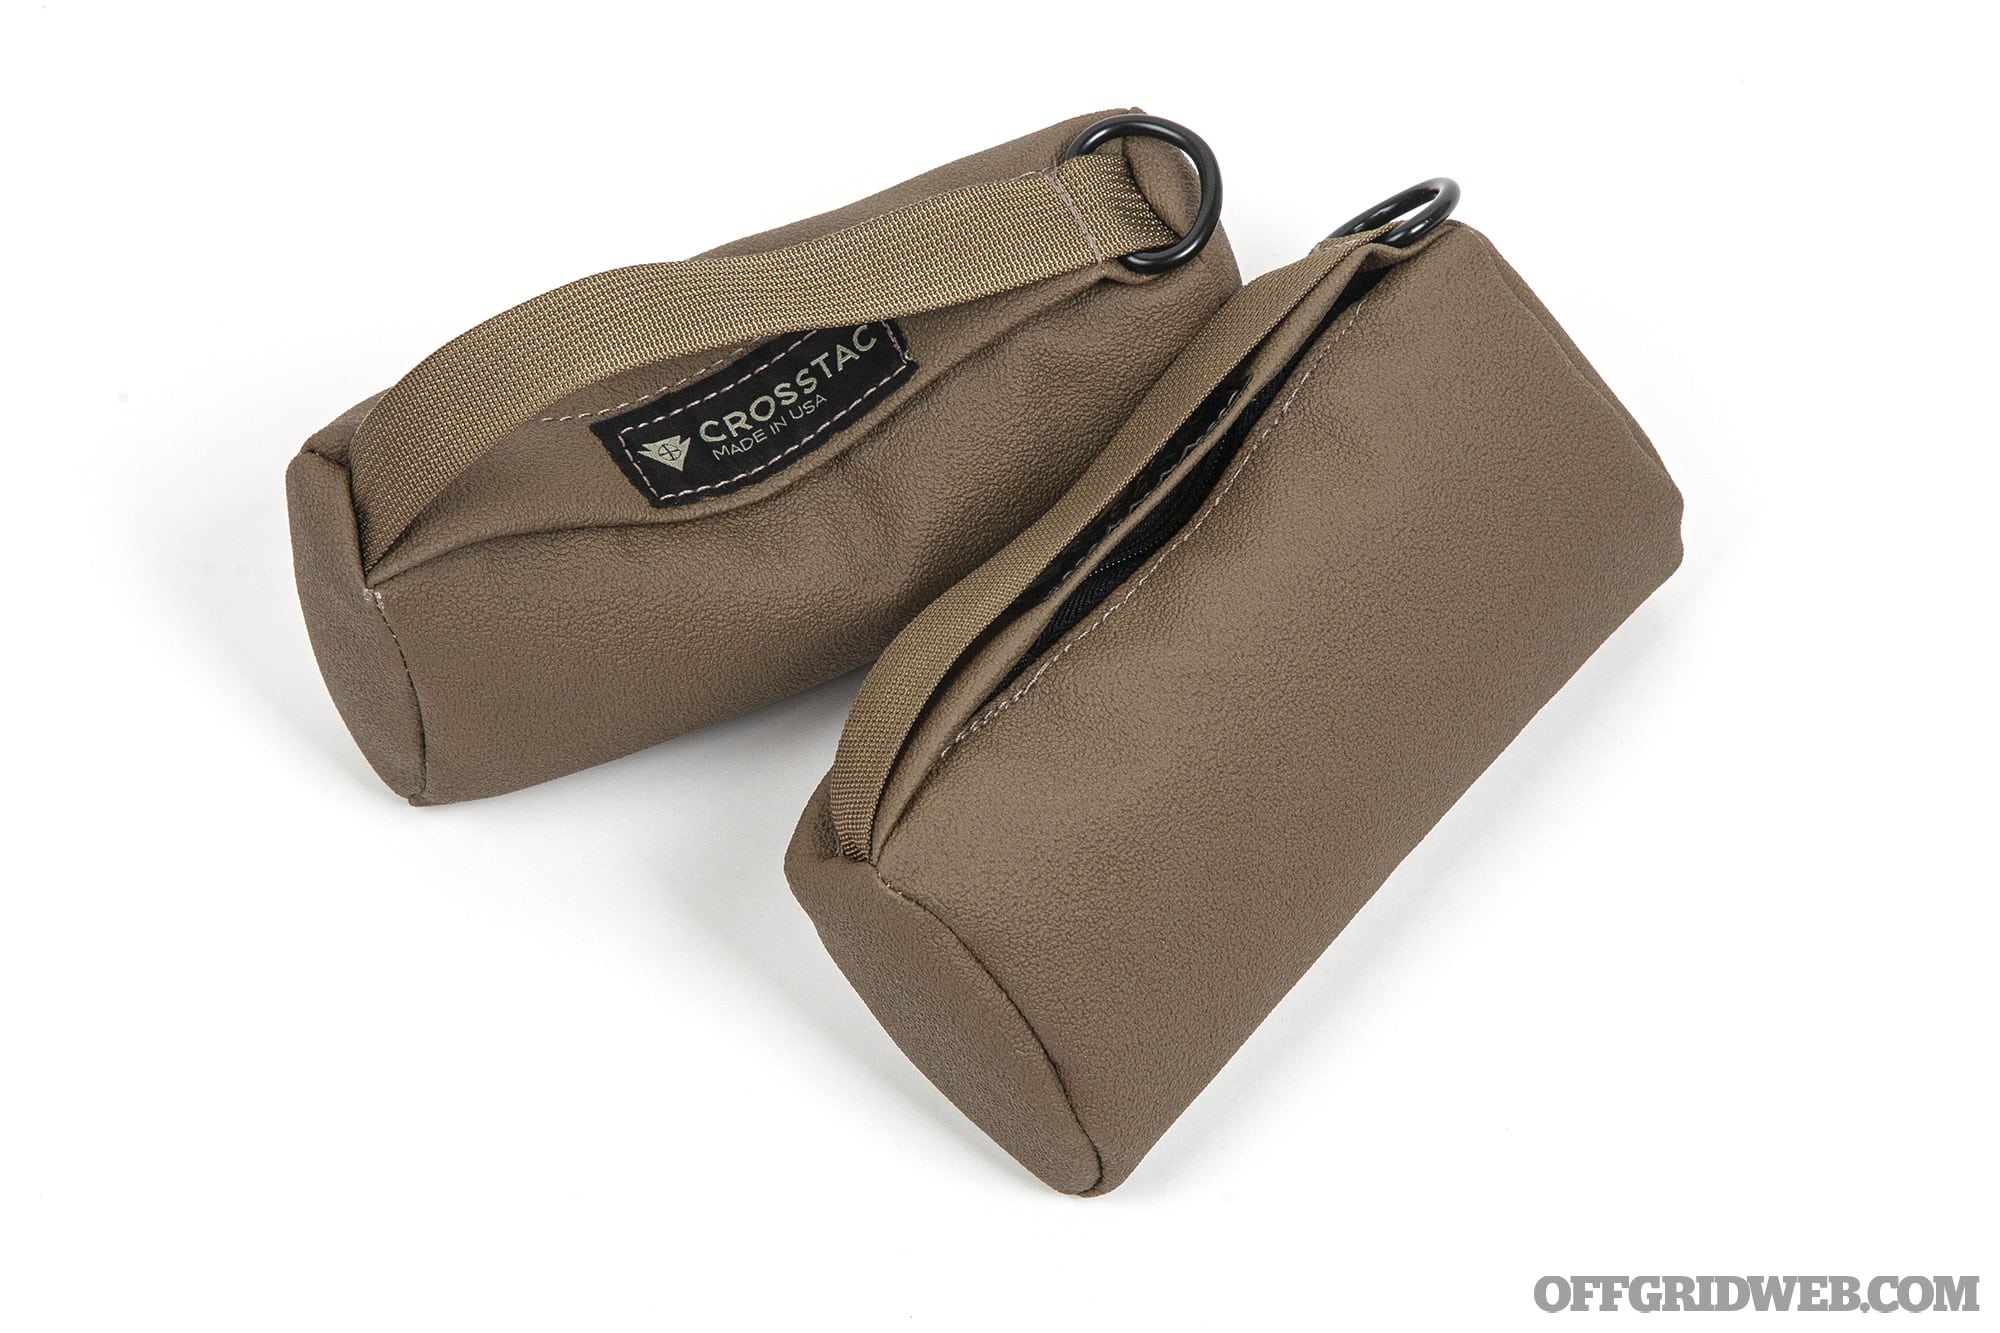
Above: I used bags from Crosstac during this course. They're constructed from a grippy material that helps maintain stable contact with my rifle.
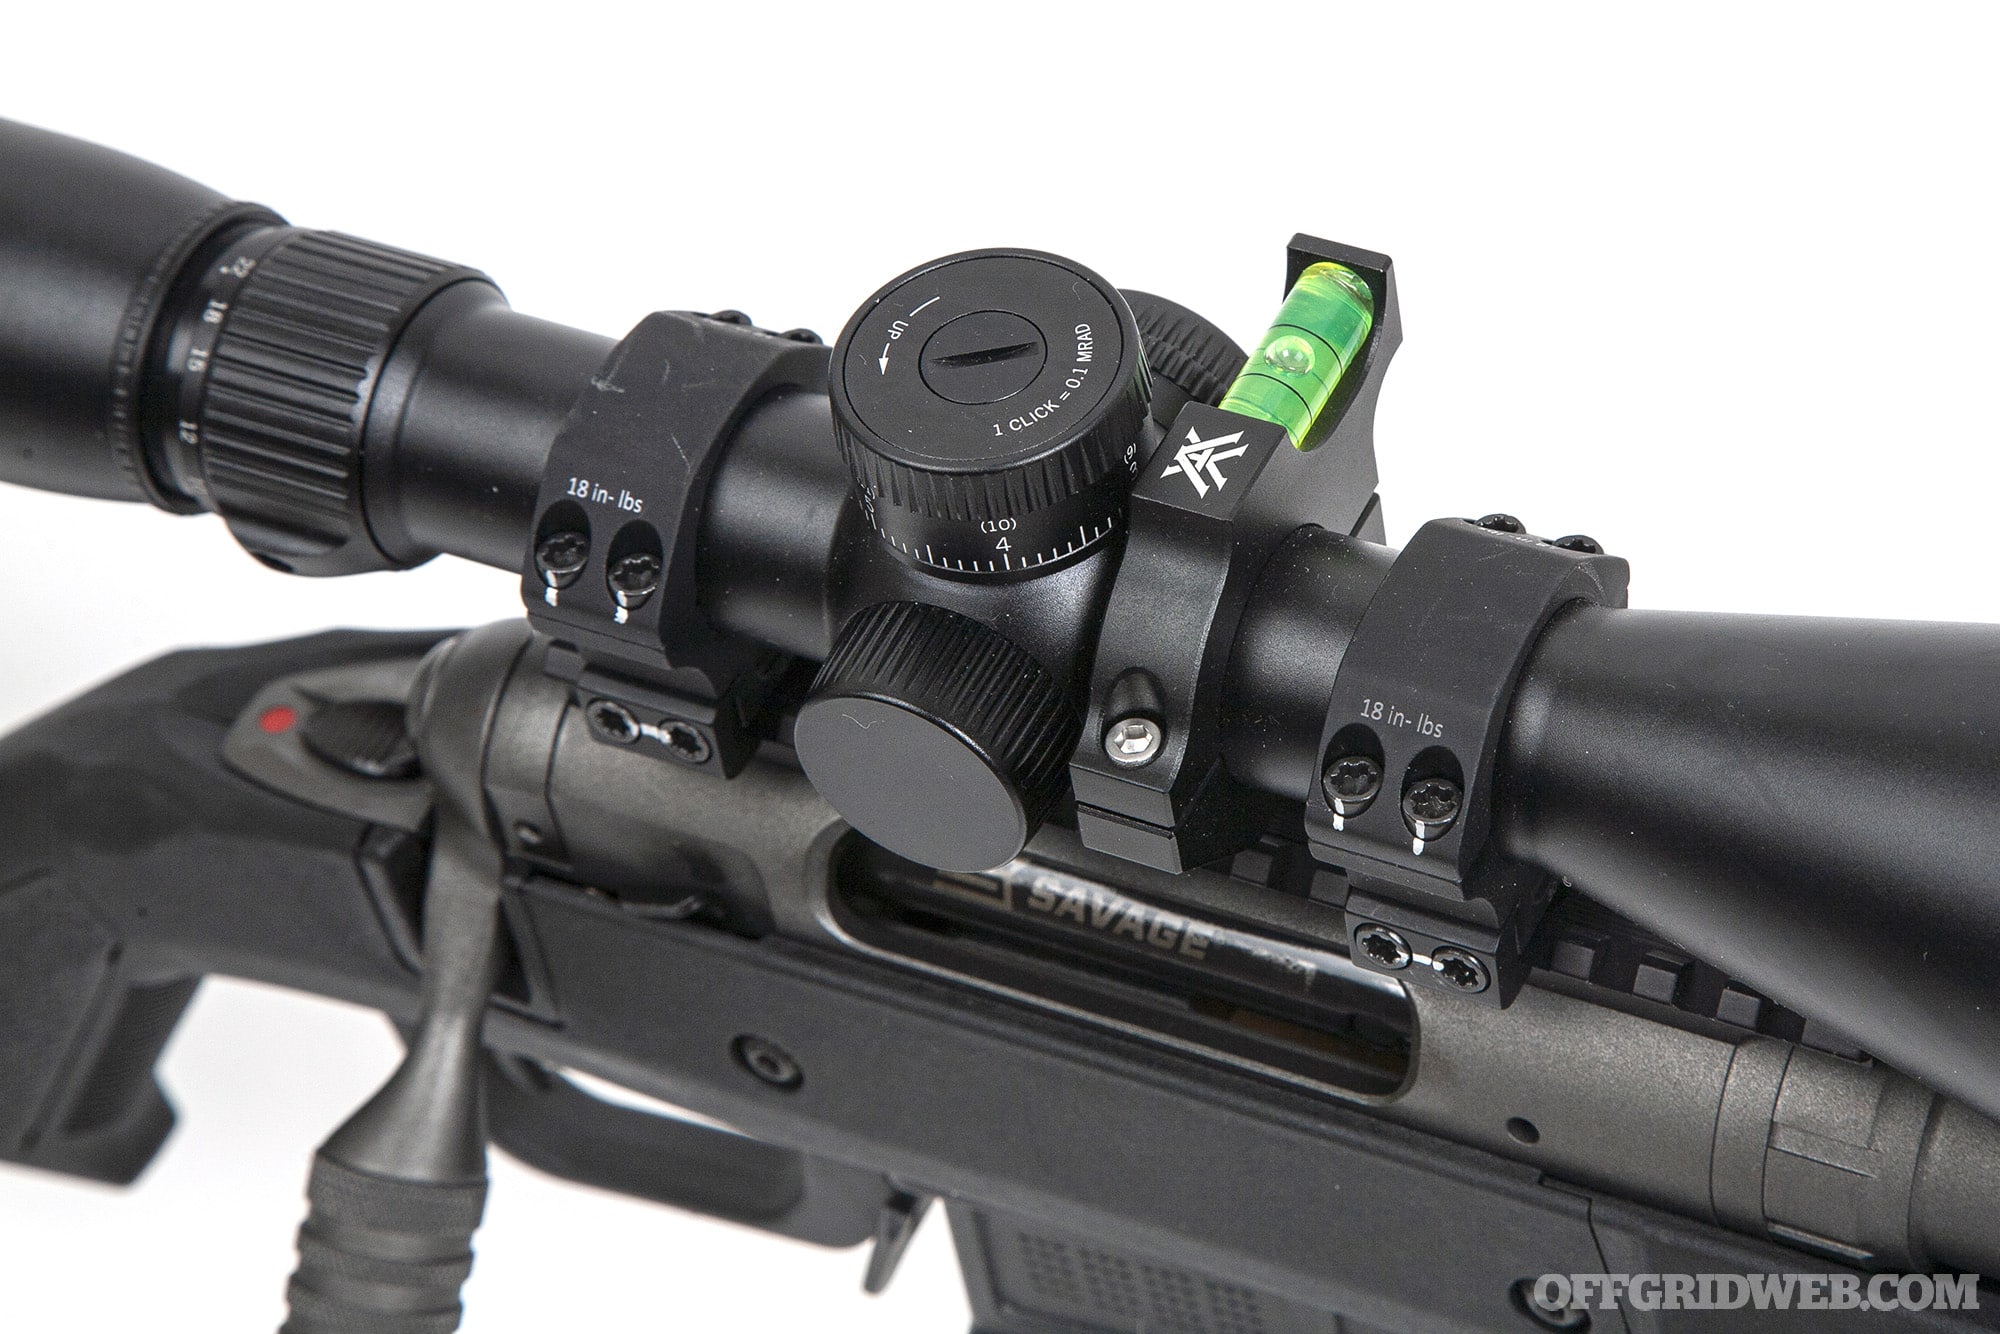
Optic
This is a very deep rabbit hole that could easily constitute its own article, but suffice to say you should choose a high-quality optic from a reputable brand — in many cases, a long range precision optic costs more than the rifle it's mounted on. When selecting an optic, here are some variables to consider:
- Magnification – In Knight's words, “magnification is not always your friend.” He recommends variable-power optics that cover the 15x magnification range — less than that, and you may not be able to see targets clearly at long distances; more than that, and you may have trouble finding a comfortable head position inside the eye box (more on that term later). Excessive magnification also leads to too much visual focus on the target, and not enough on reticle markings.
- First Focal Plane vs. Second Focal Plane – A FFP reticle increases in size with magnification, and maintains correct measurements at all magnification settings; an SFP reticle stays the same size, but its measurements are only correct at a predetermined magnification setting (usually full power).
- Parallax – Adjustable parallax is an important feature for optics with >10x magnification, since it allows you to bring the target into focus at a specific range and get precise impacts. Parallax is usually adjusted with a dial that's marked with distances from 100 or 150 yards to infinity.
- Eye box – The 3D space behind the optic where you can see a full sight picture; as magnification increases, the eye box gets harder to find.
- MIL (a.k.a. MRAD) vs. MOA – These are two reticle measurement systems, and are mostly a matter of personal preference; choose the system you're most comfortable with and stick with it.
- Reticle type – Although a basic MIL Dot reticle gives you the essential information you need, getting accurate hits at long range is easier with a “Christmas tree” reticle that includes a wider grid of markings below the crosshair.
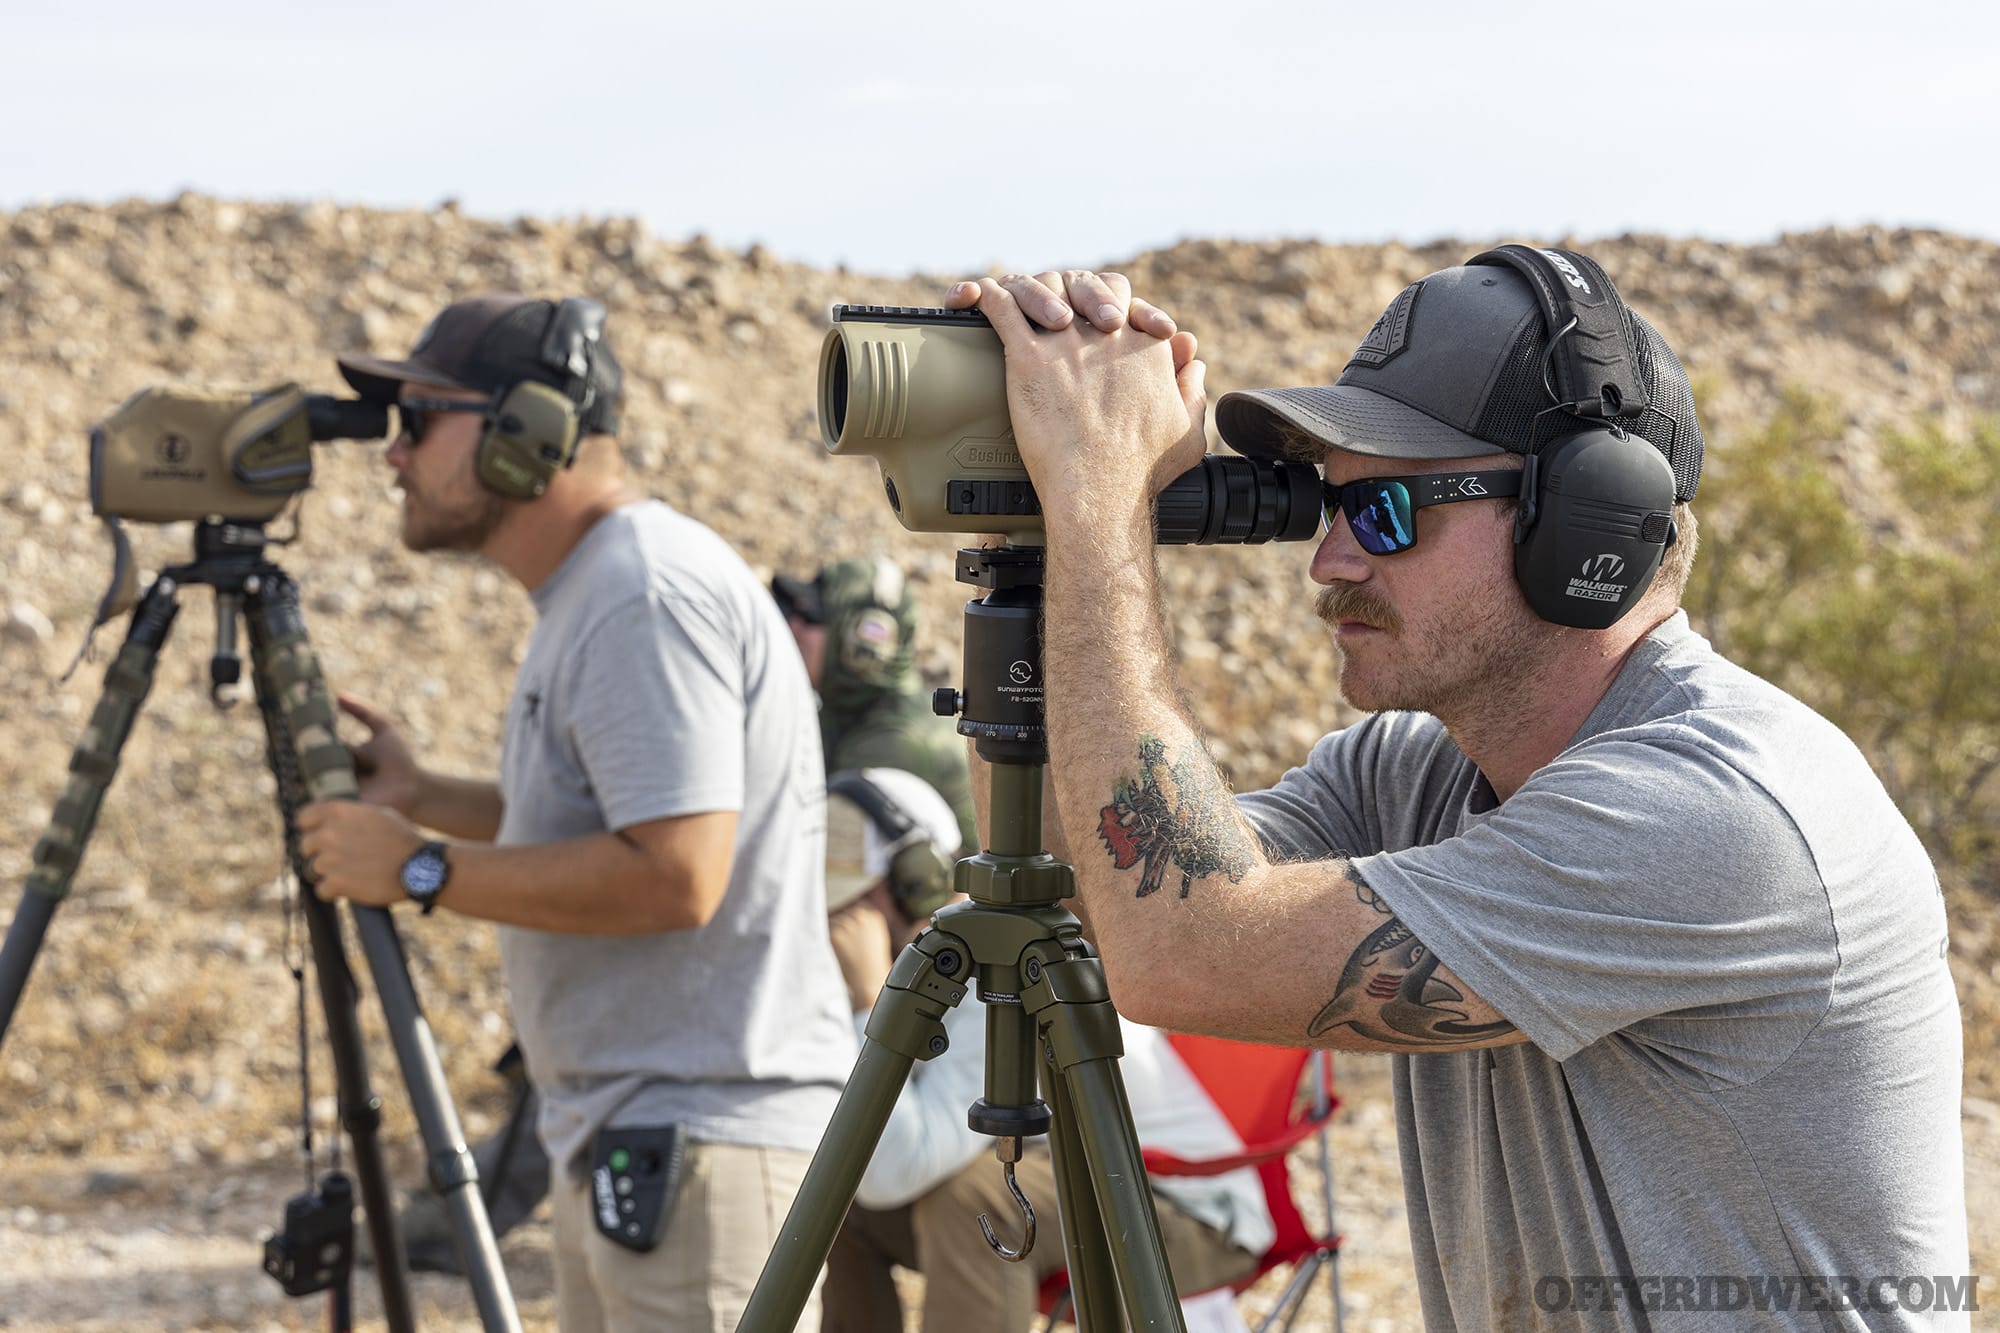
A spotting scope and/or laser rangefinder will also be extremely valuable tools for long range shooting.
Ammunition
Whether you're using off-the-shelf factory ammo or hand-loads, you should always use a chronograph to check average velocity and standard deviation (a measure of the variation between fastest and slowest rounds). Apex Training Solutions says a standard deviation of 15 or lower is good enough, but 10 or lower is preferred. Reaching a S.D. of 5 or less is possible but may require hand-loading. However, before you obsess too much over ammo variance, keep the following variable in mind…
The Shooter
Here's a hard truth: you are the weakest link in any long range shooting setup. Good shooting technique and stability are essential, because even a tiny fraction-of-an-inch deviation of the weapon's position can throw rounds several inches off target at 100 yards, or several feet off target at 1,000 yards.
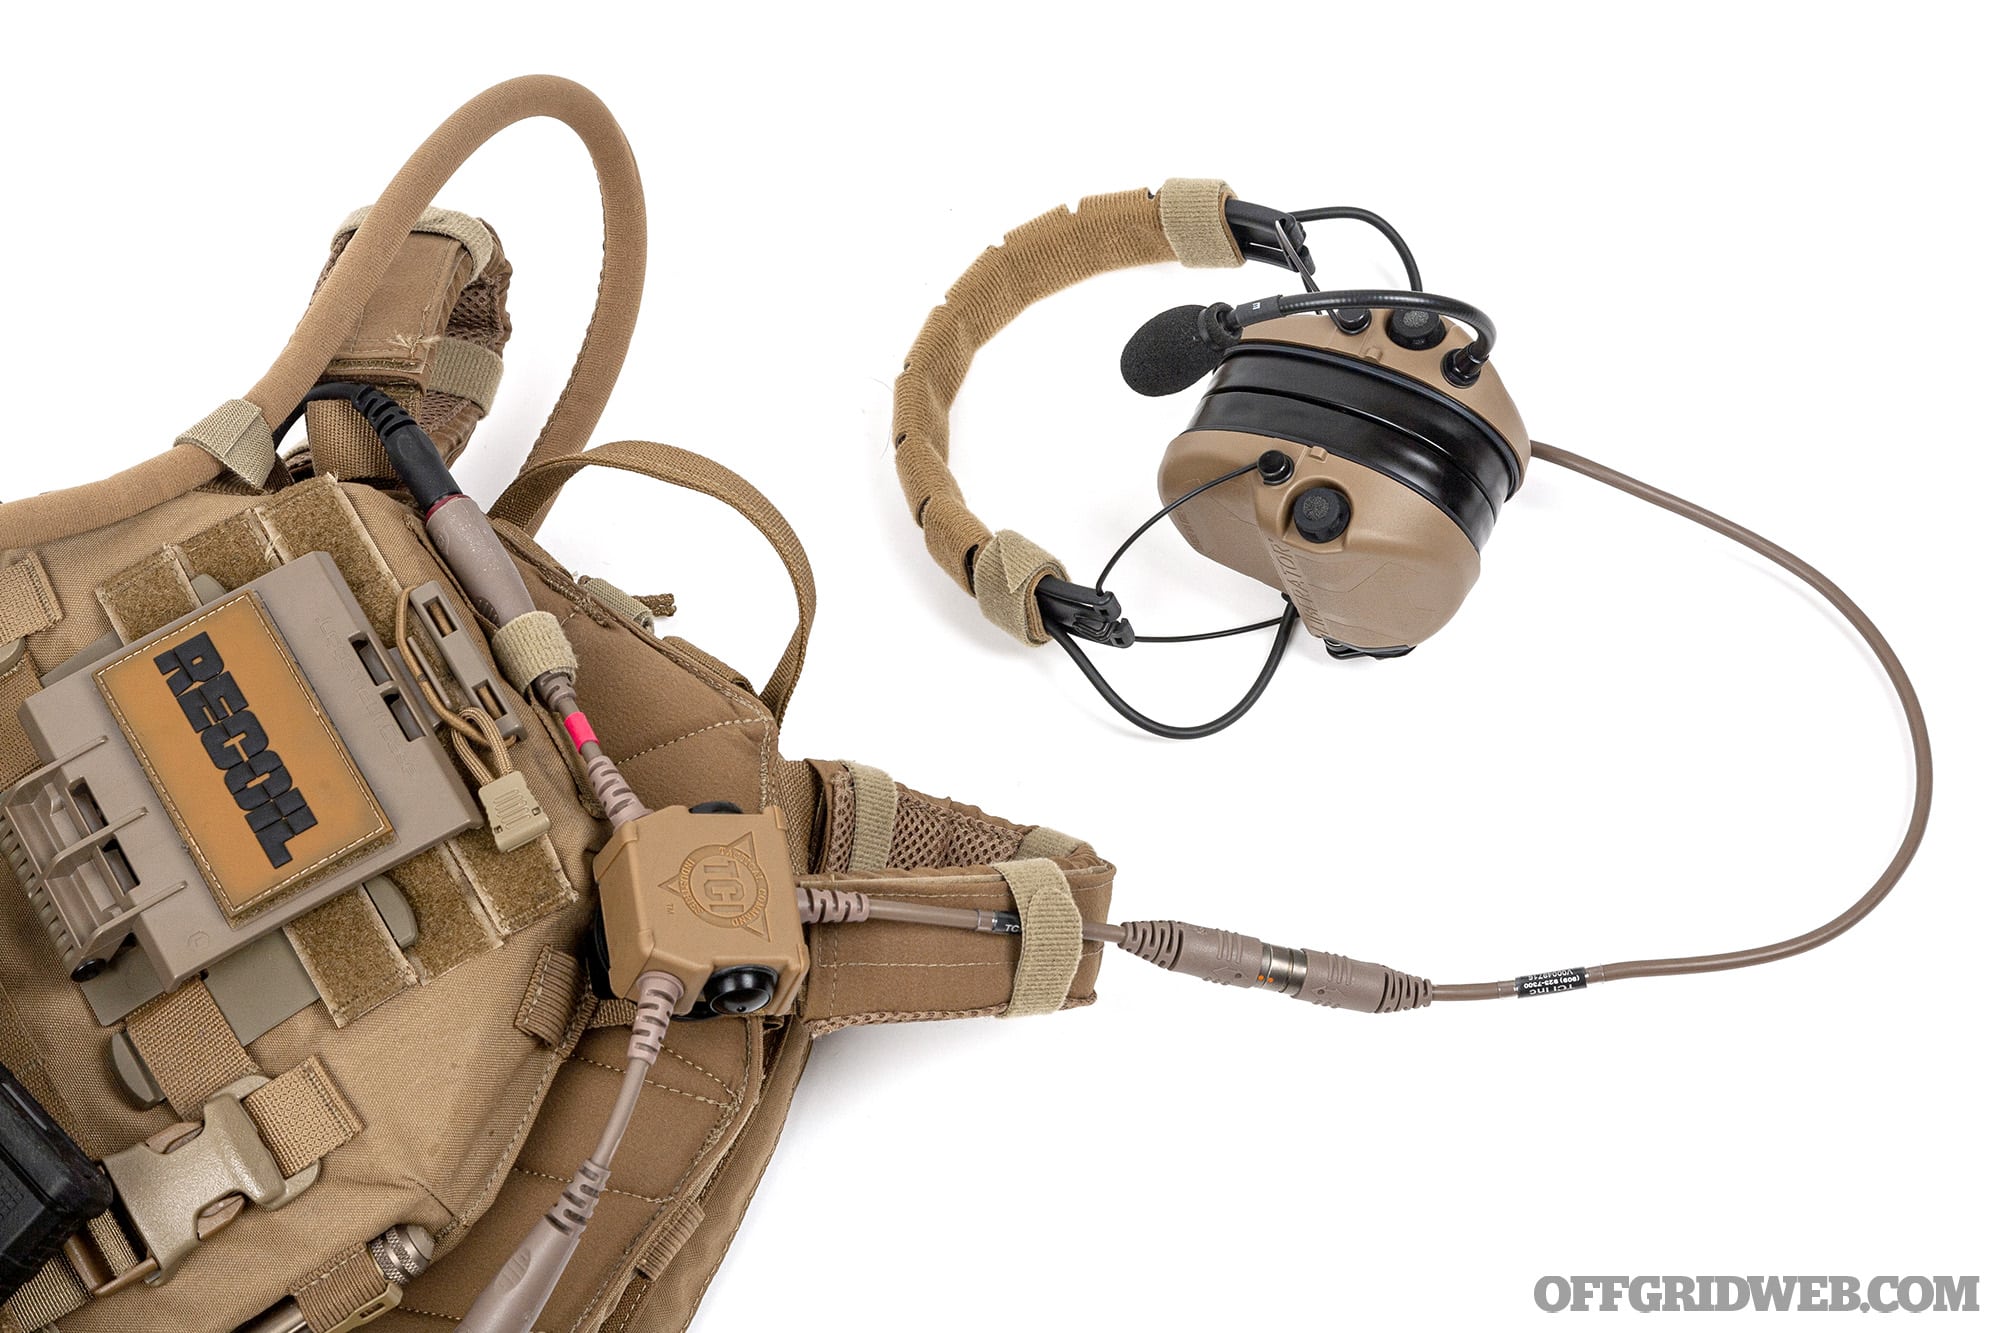
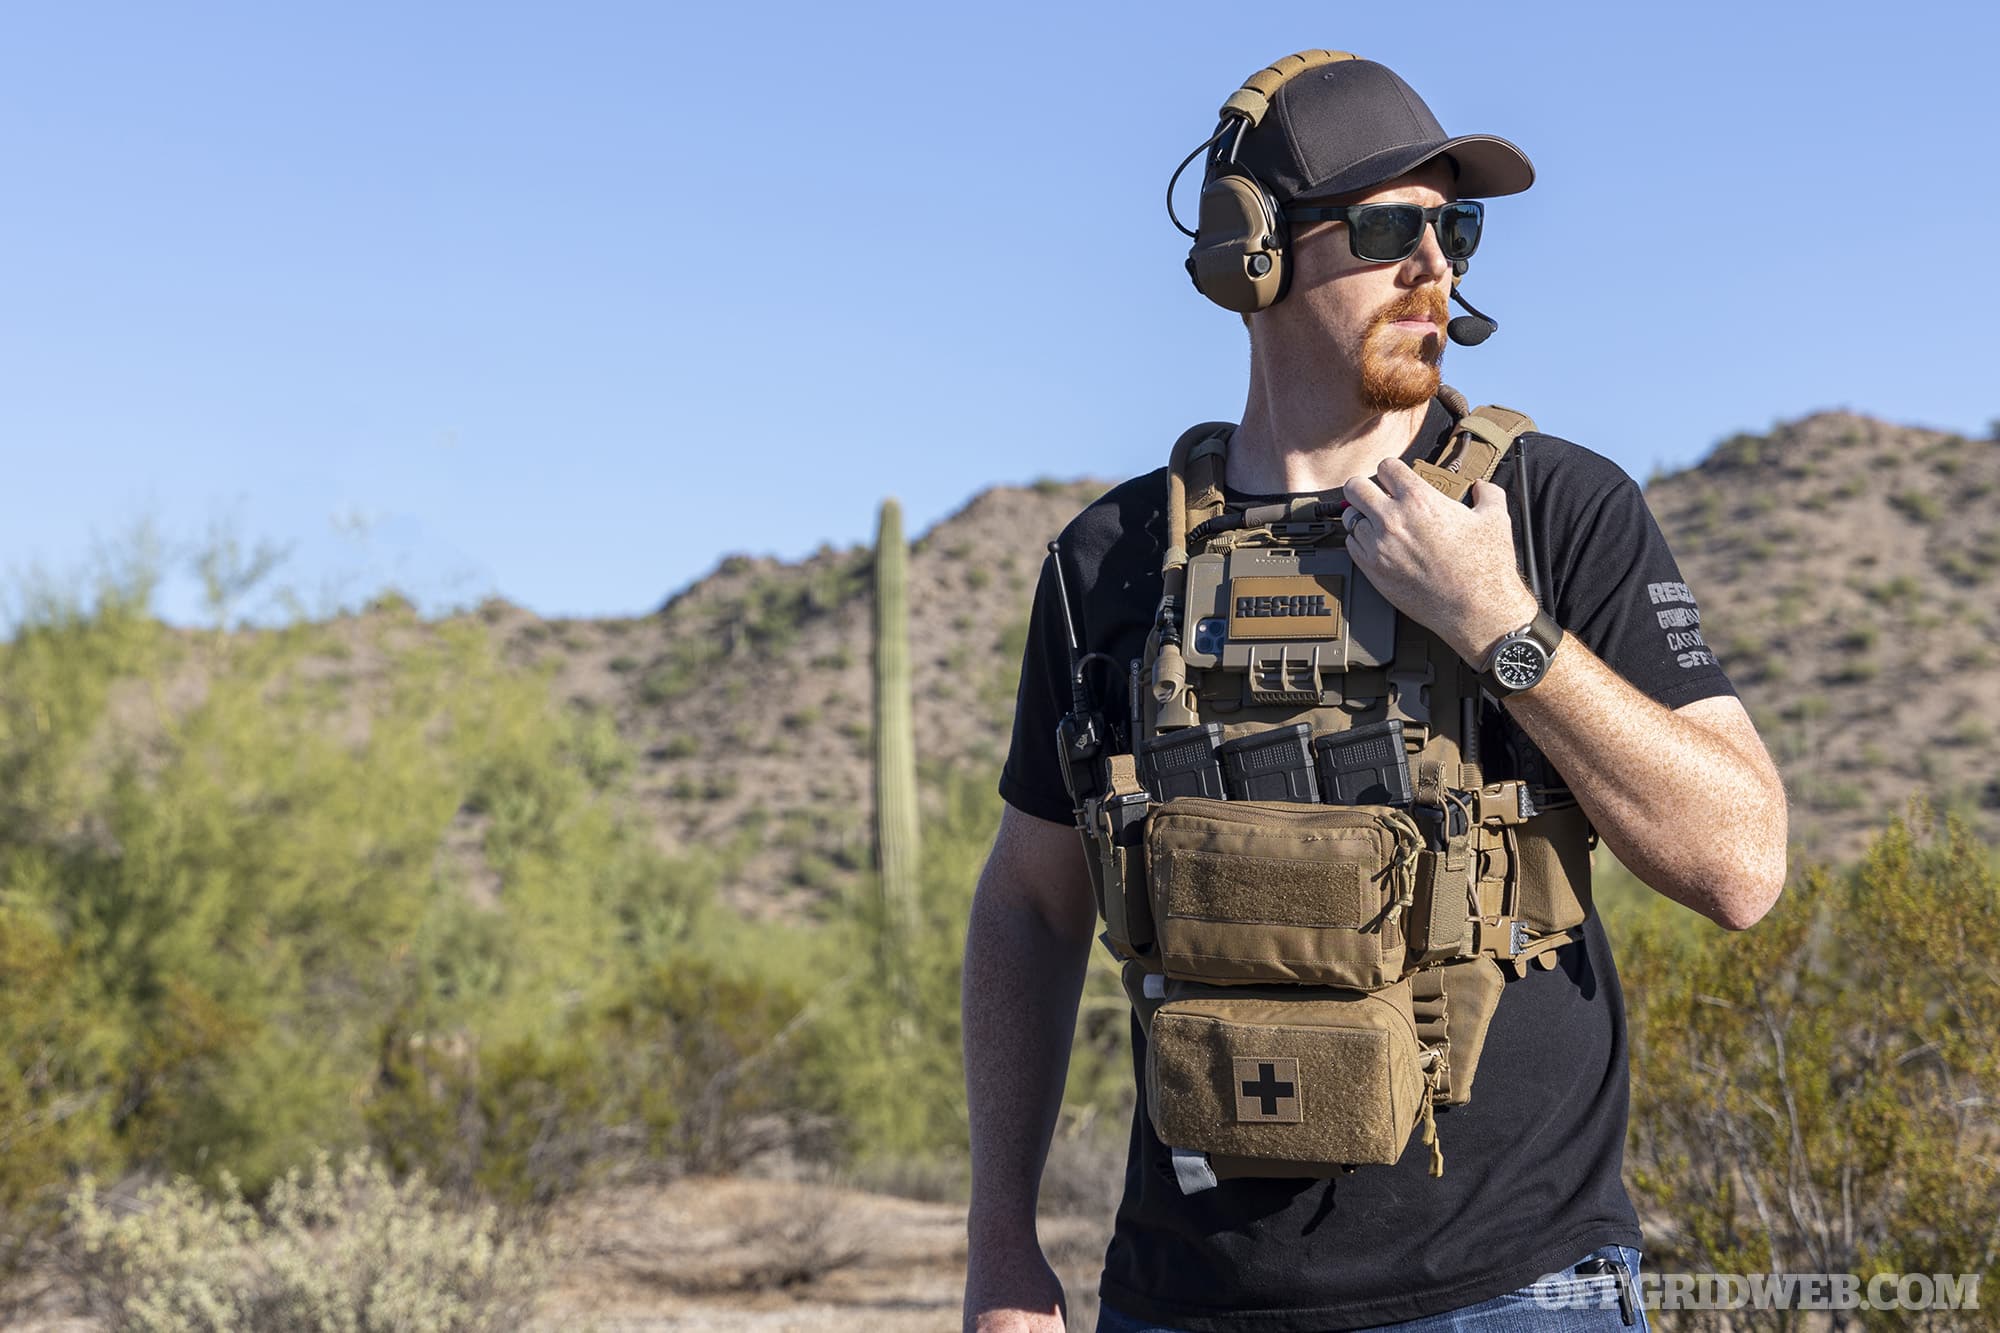
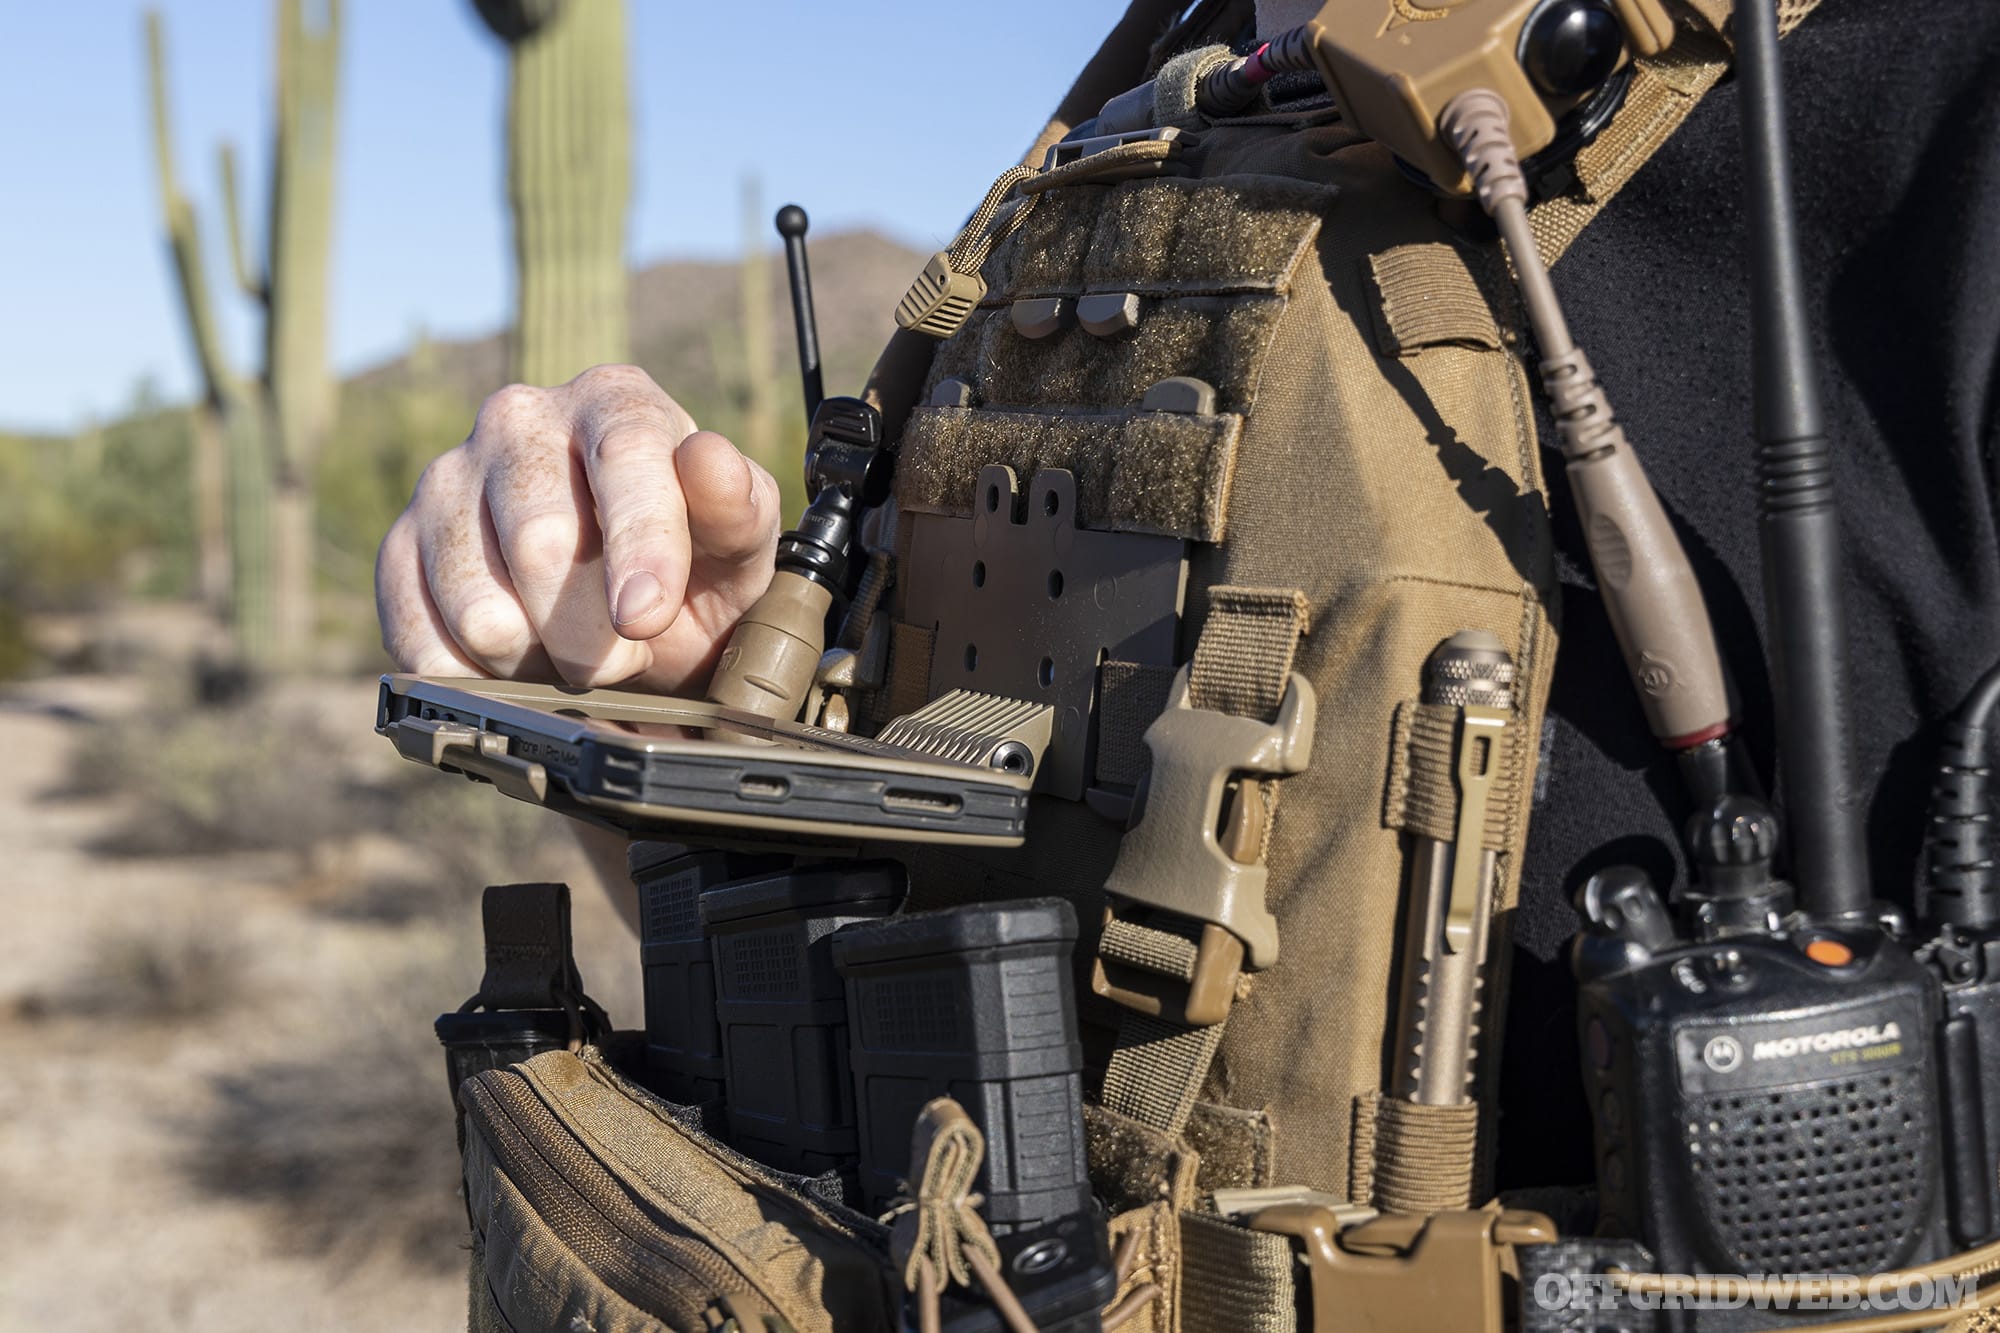
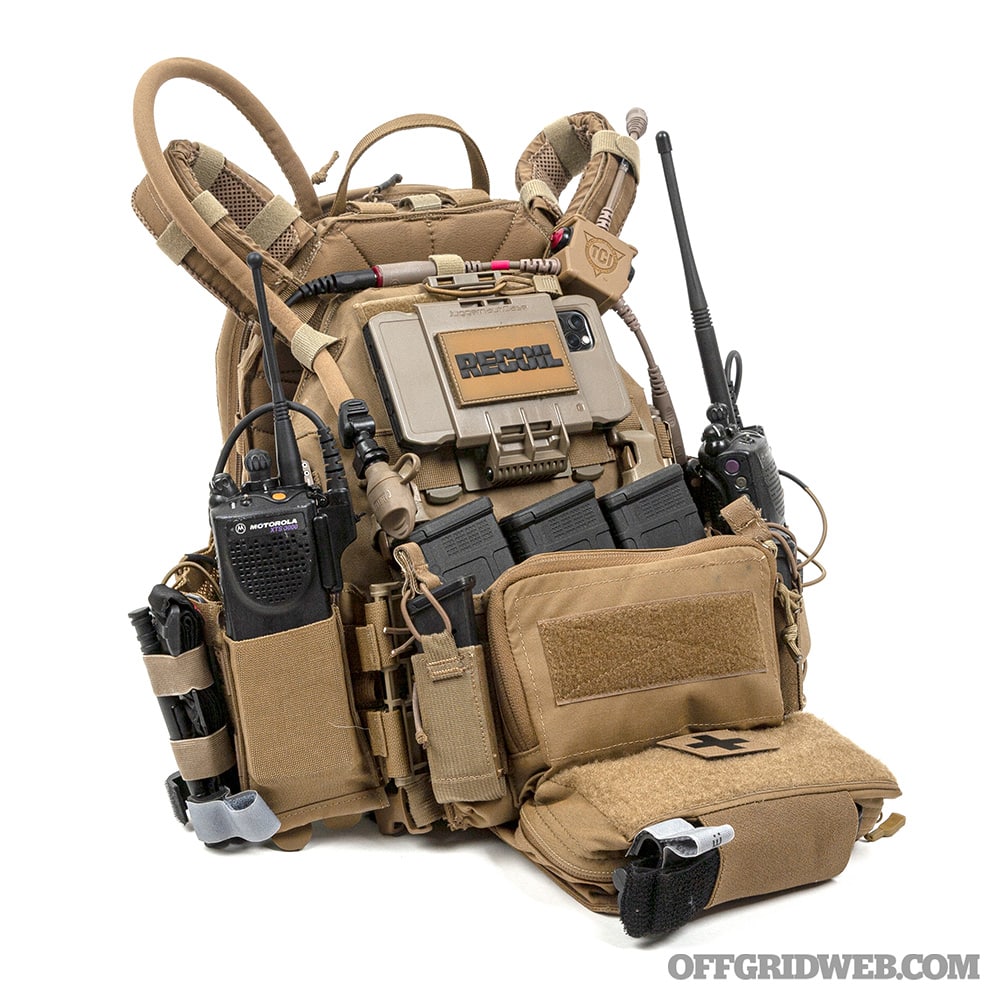
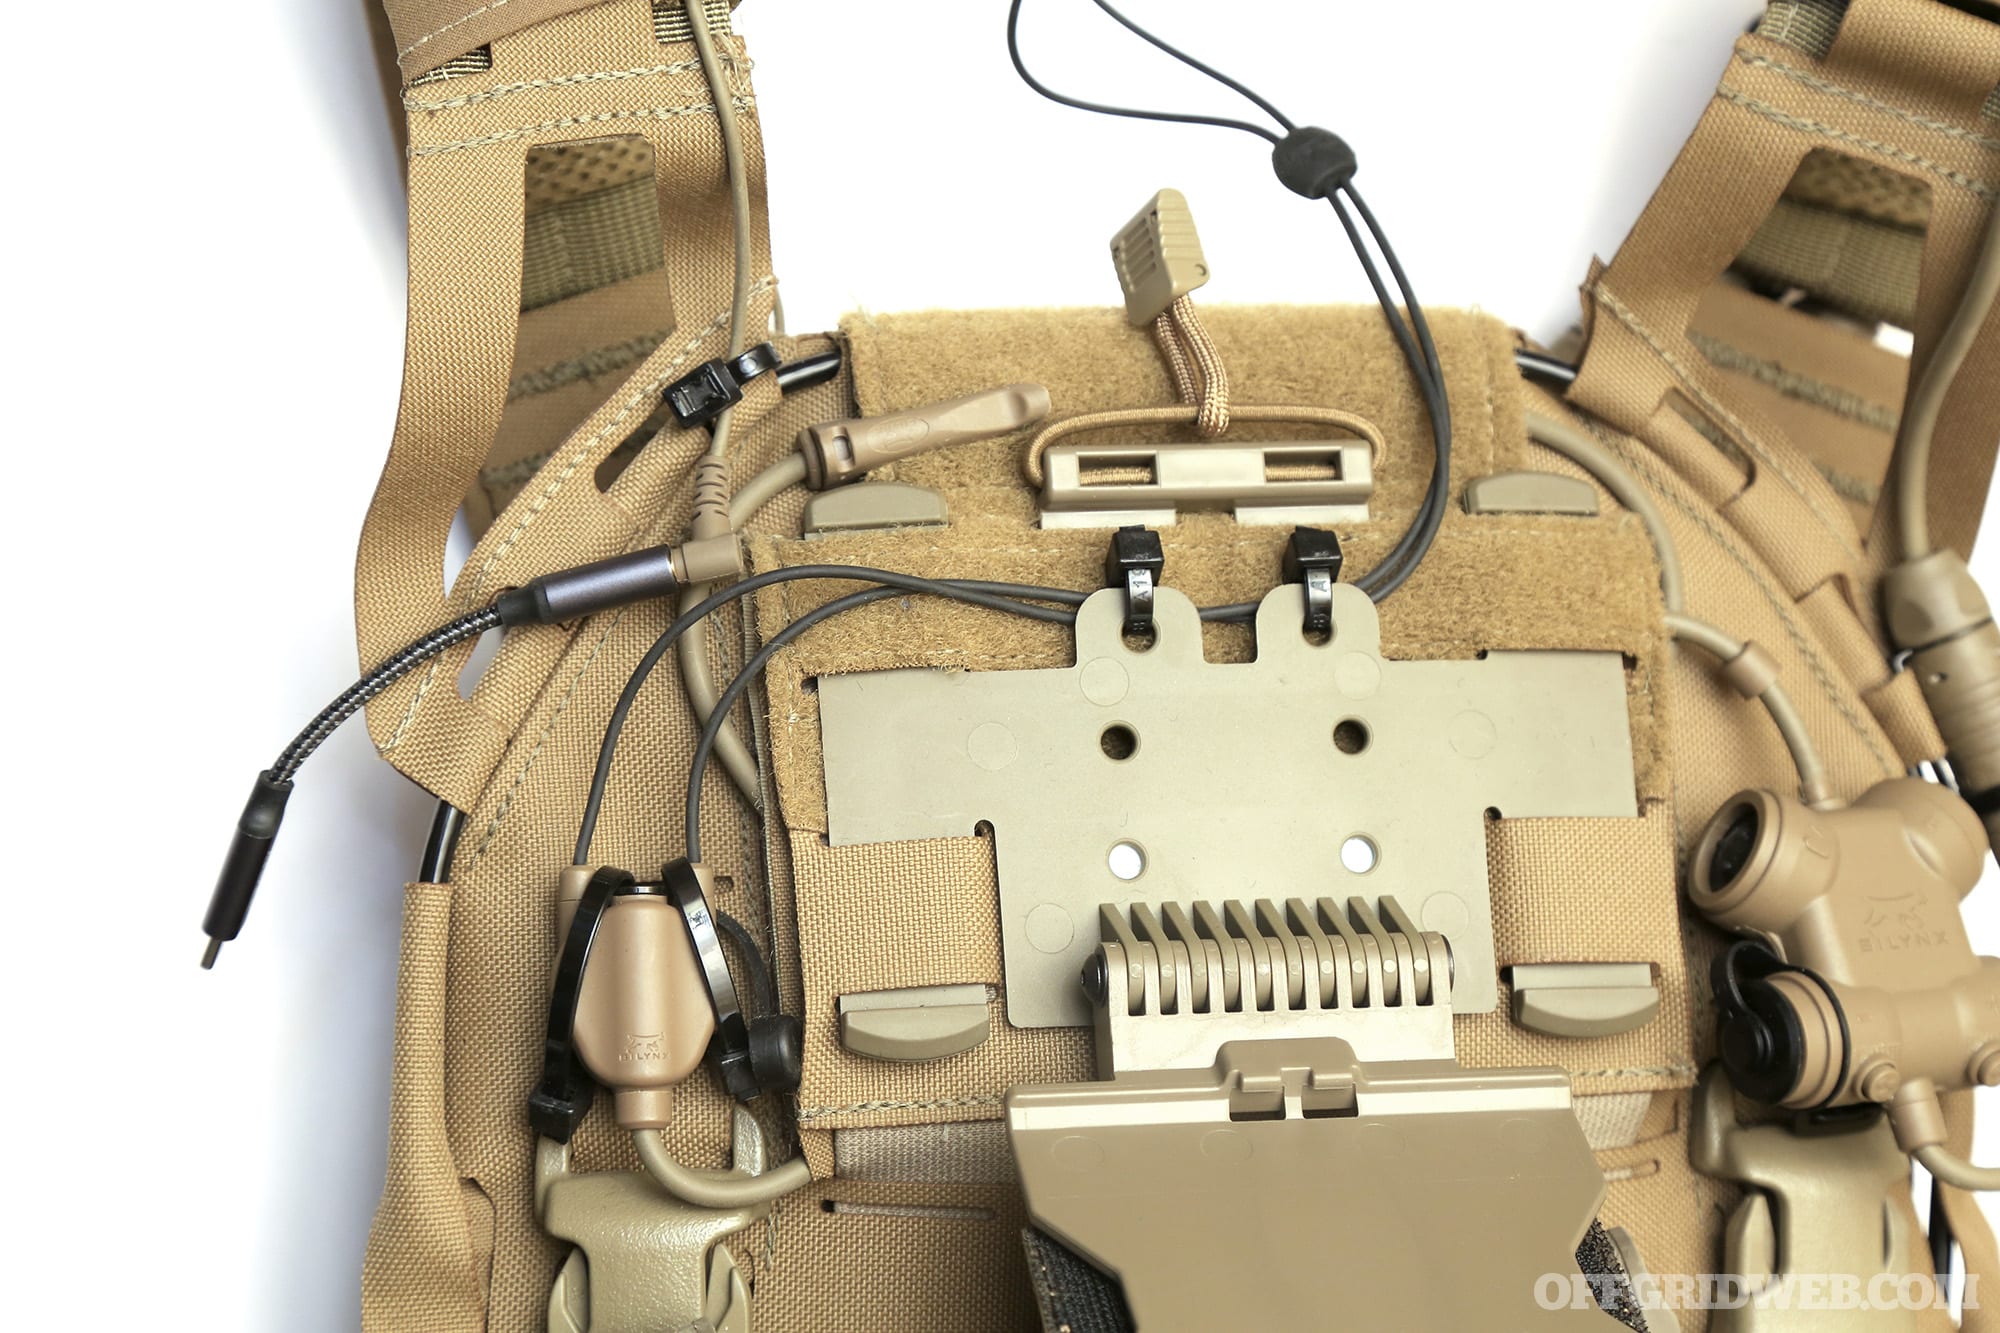
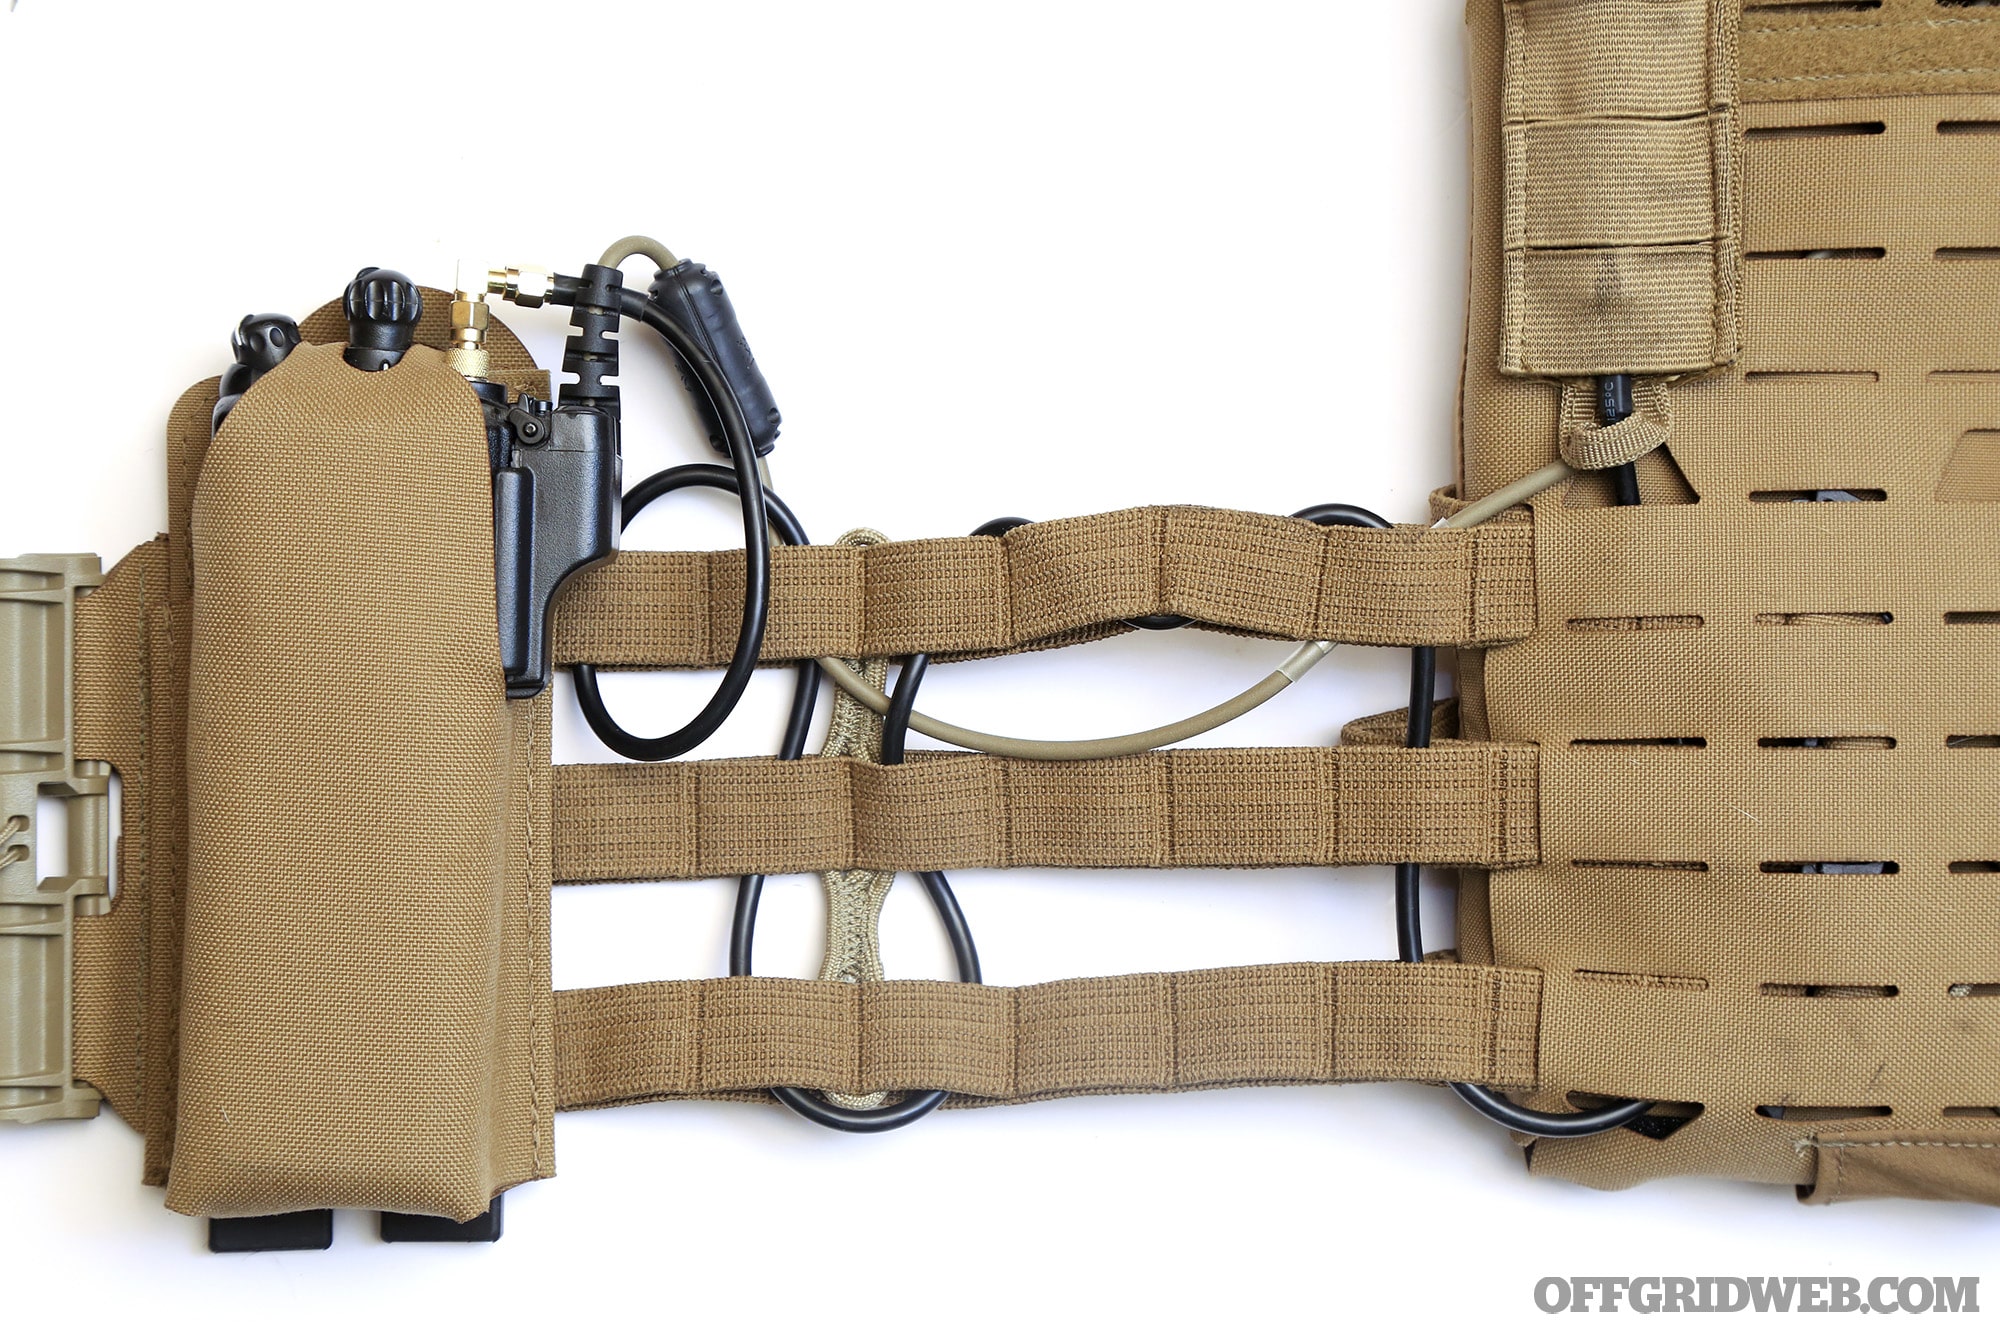
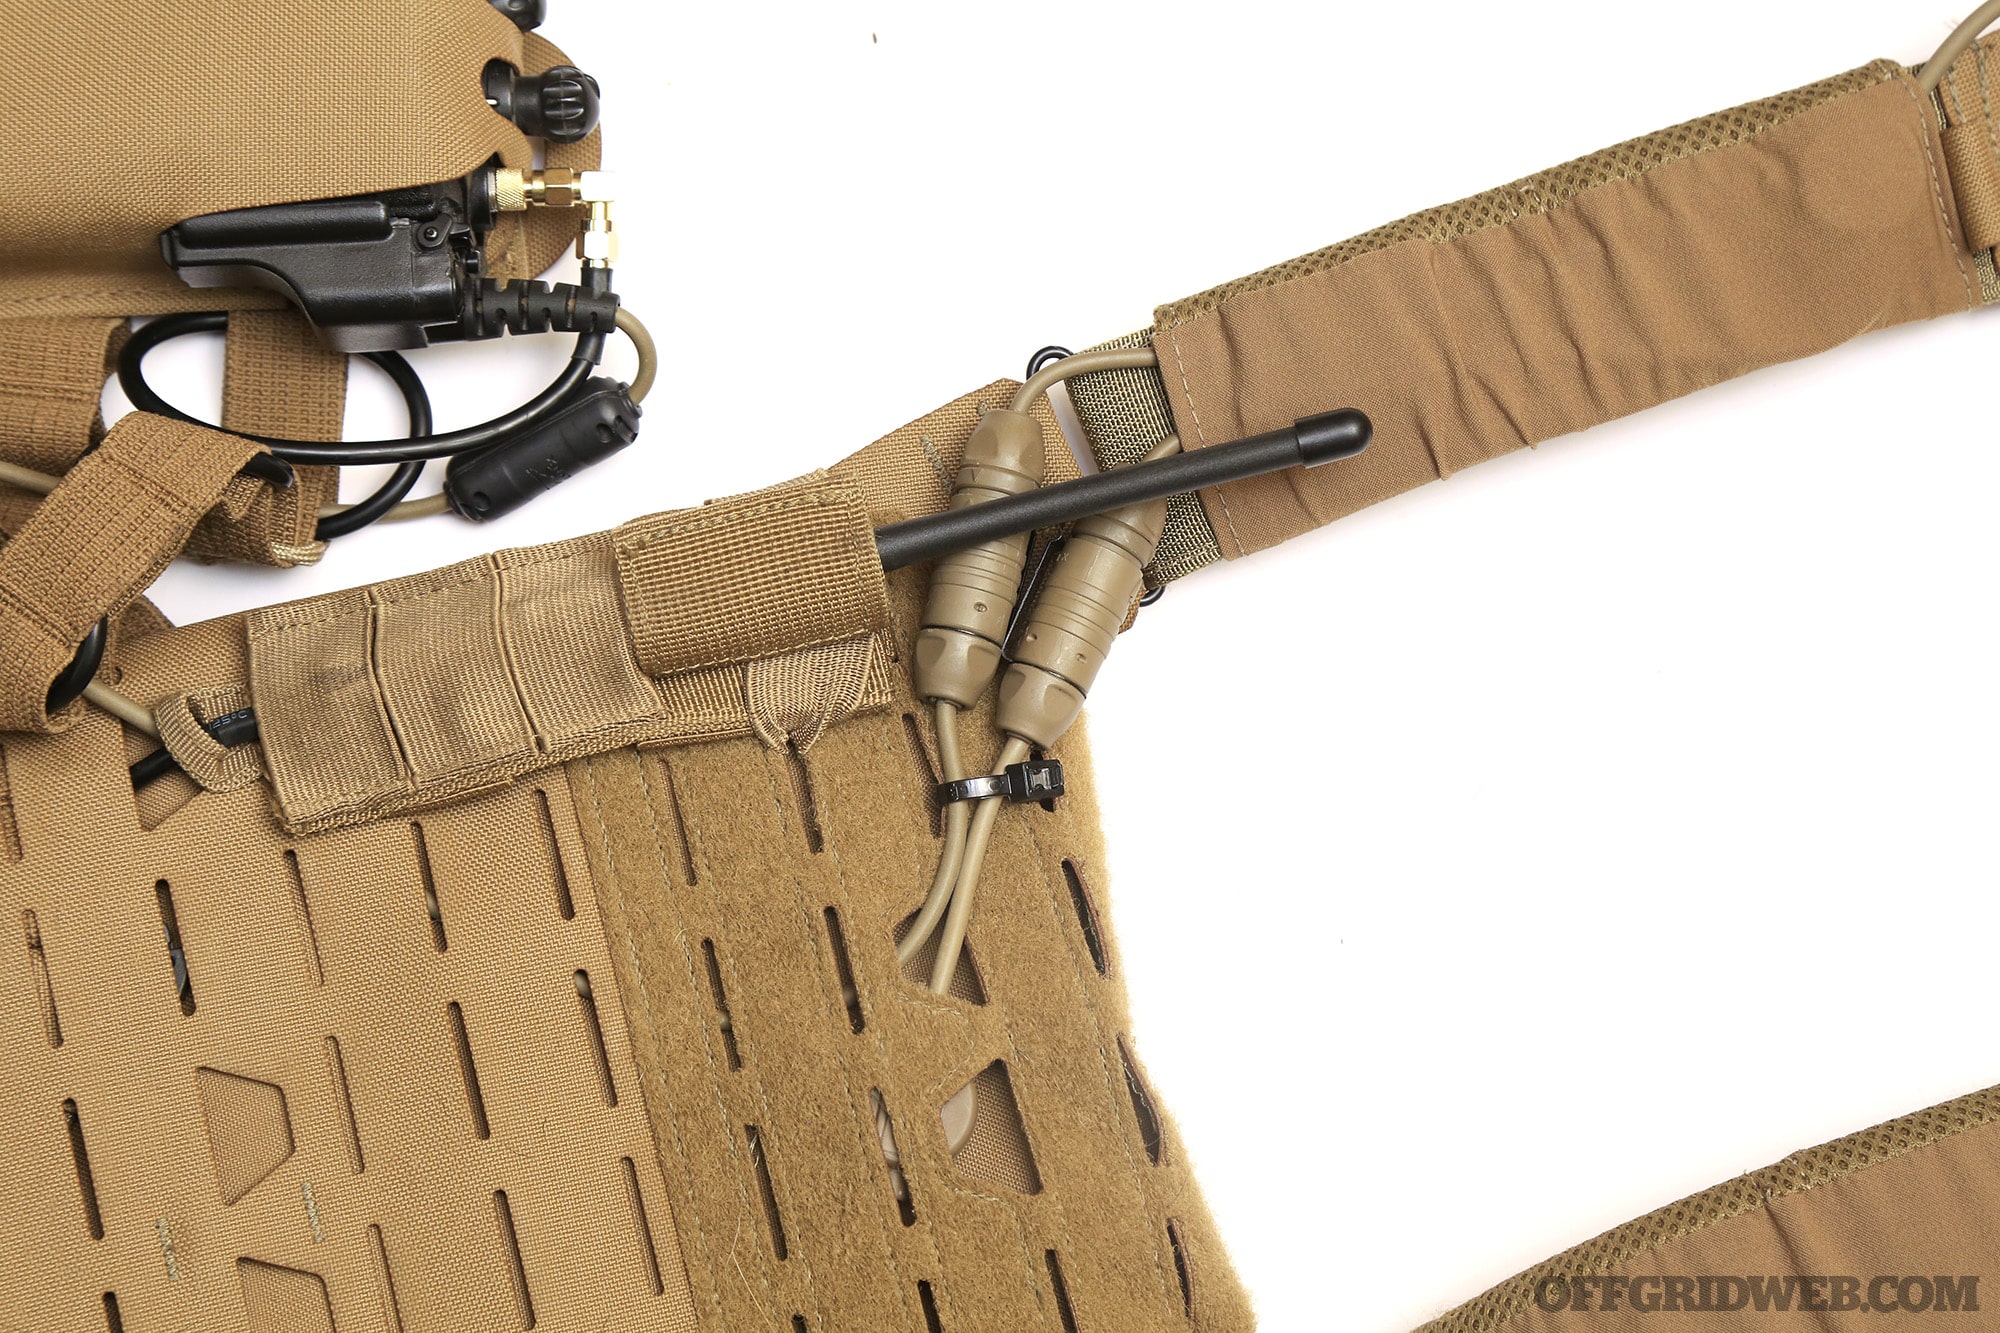
My Rifle & Supporting Gear

Here's an overview of the rifle and gear I brought to the Long Range 101 & 102 class:
Rifle
Savage 110 Magpul Hunter
Ammunition
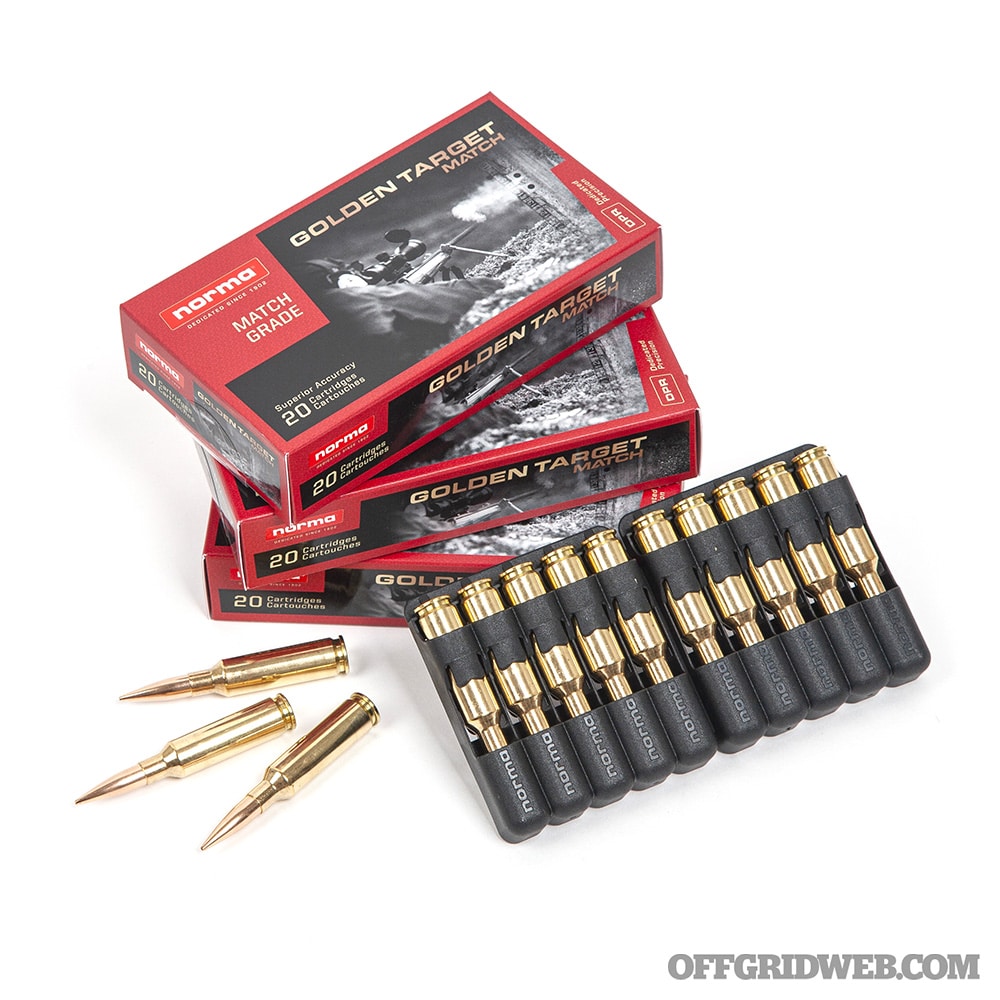
Norma Golden Target 6.5 Creedmoor 143gr
Suppressor
JK Armament 155 RCX
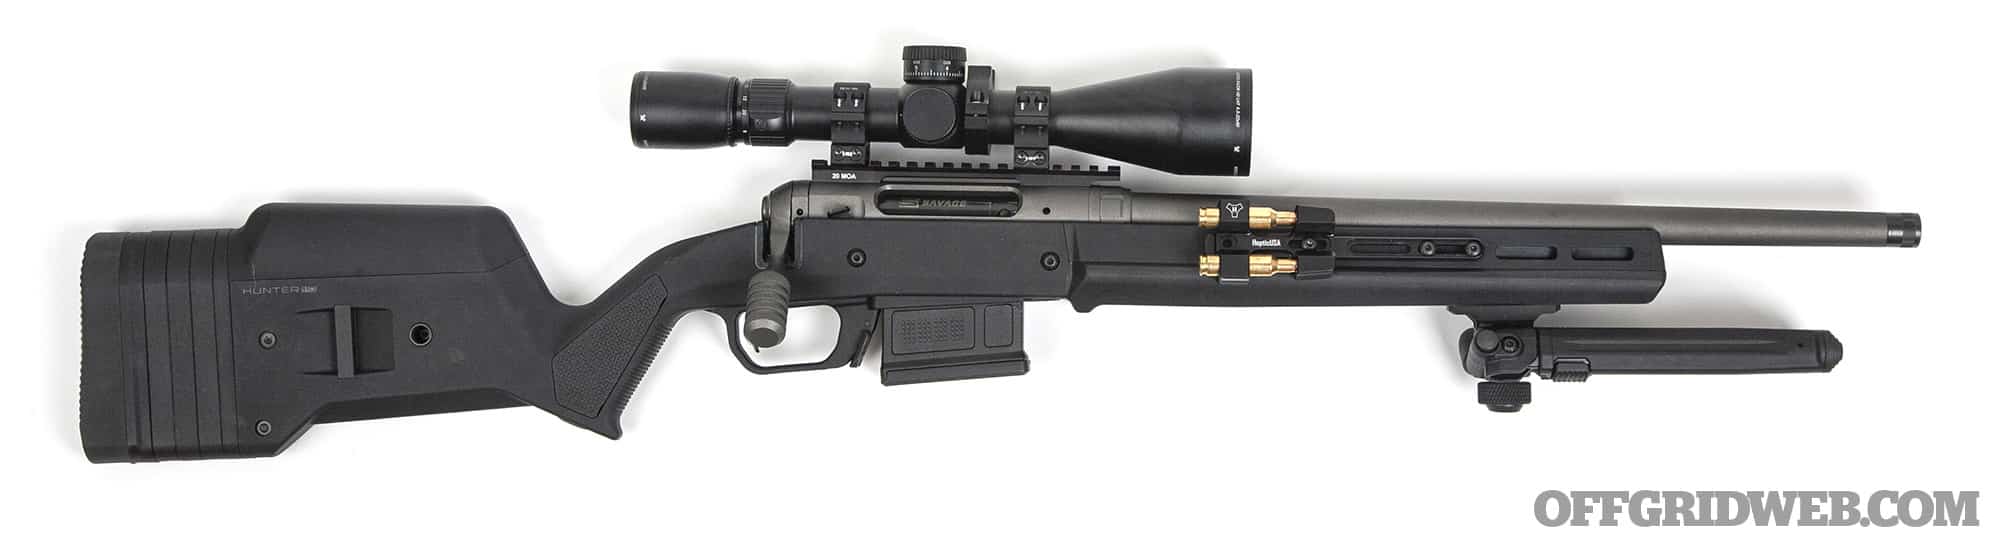
Optic
Vortex Razor HD LHT 4.5-22x50mm FFP with XLR-2 MRAD reticle
Optic Mount
Vortex Pro Series 30mm Scope Rings (Medium)
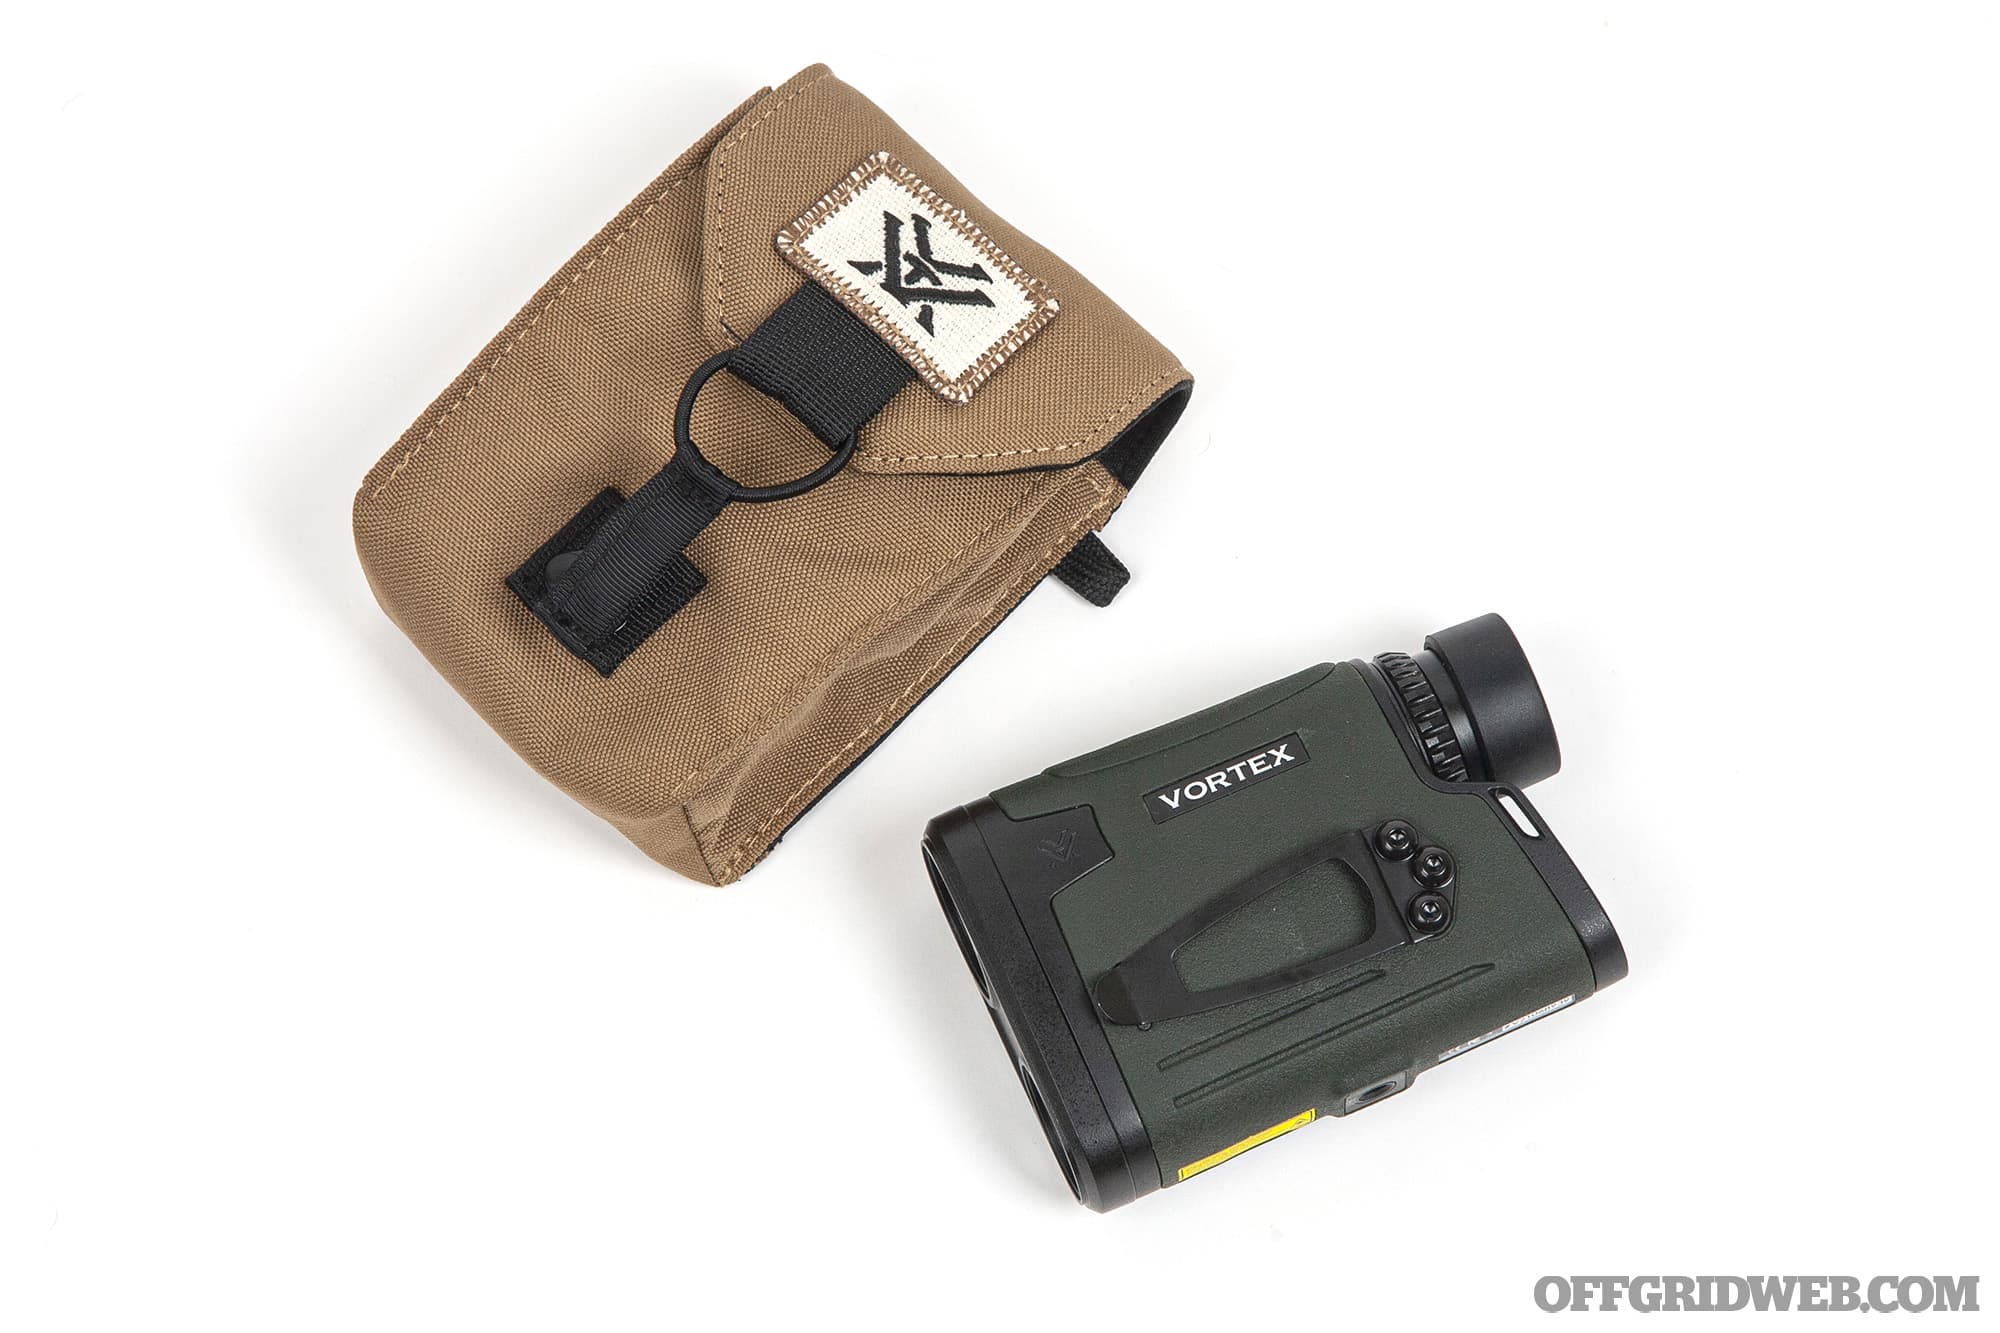
Laser Rangefinder
Vortex Viper HD 3000
Bipod
Magpul Bipod for M-LOK
Bags
Crosstac Ultralight Tactical Rear Squeeze Bag (8 inch, Grip material)
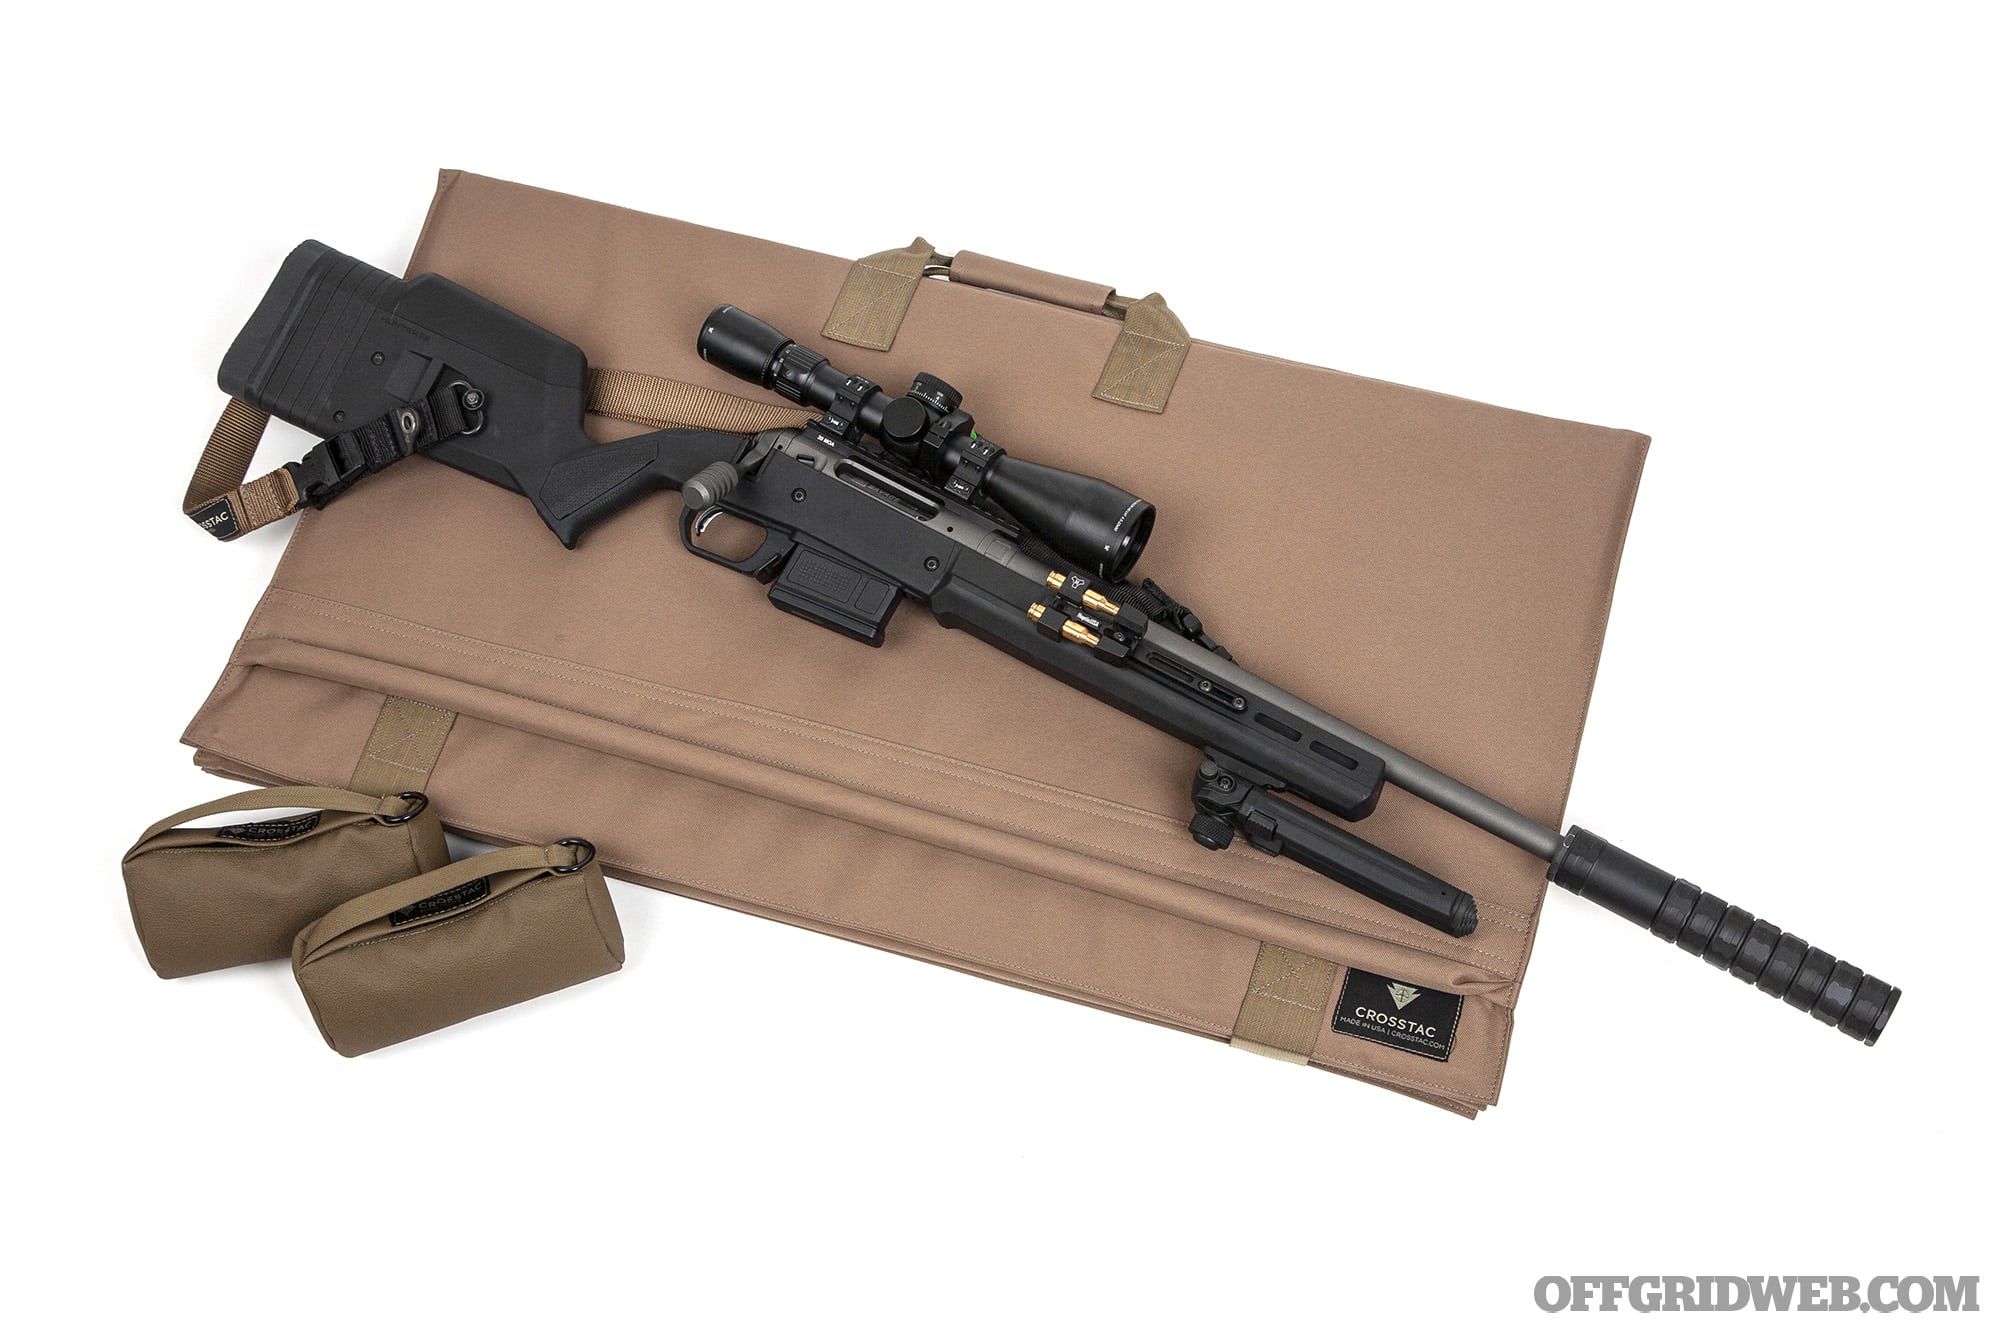
Shooting Mat
Crosstac Precision Long Range Shooting Mat

Tripod
Manfrotto carbon fiber camera tripod with SunwayFoto SM-76 saddle
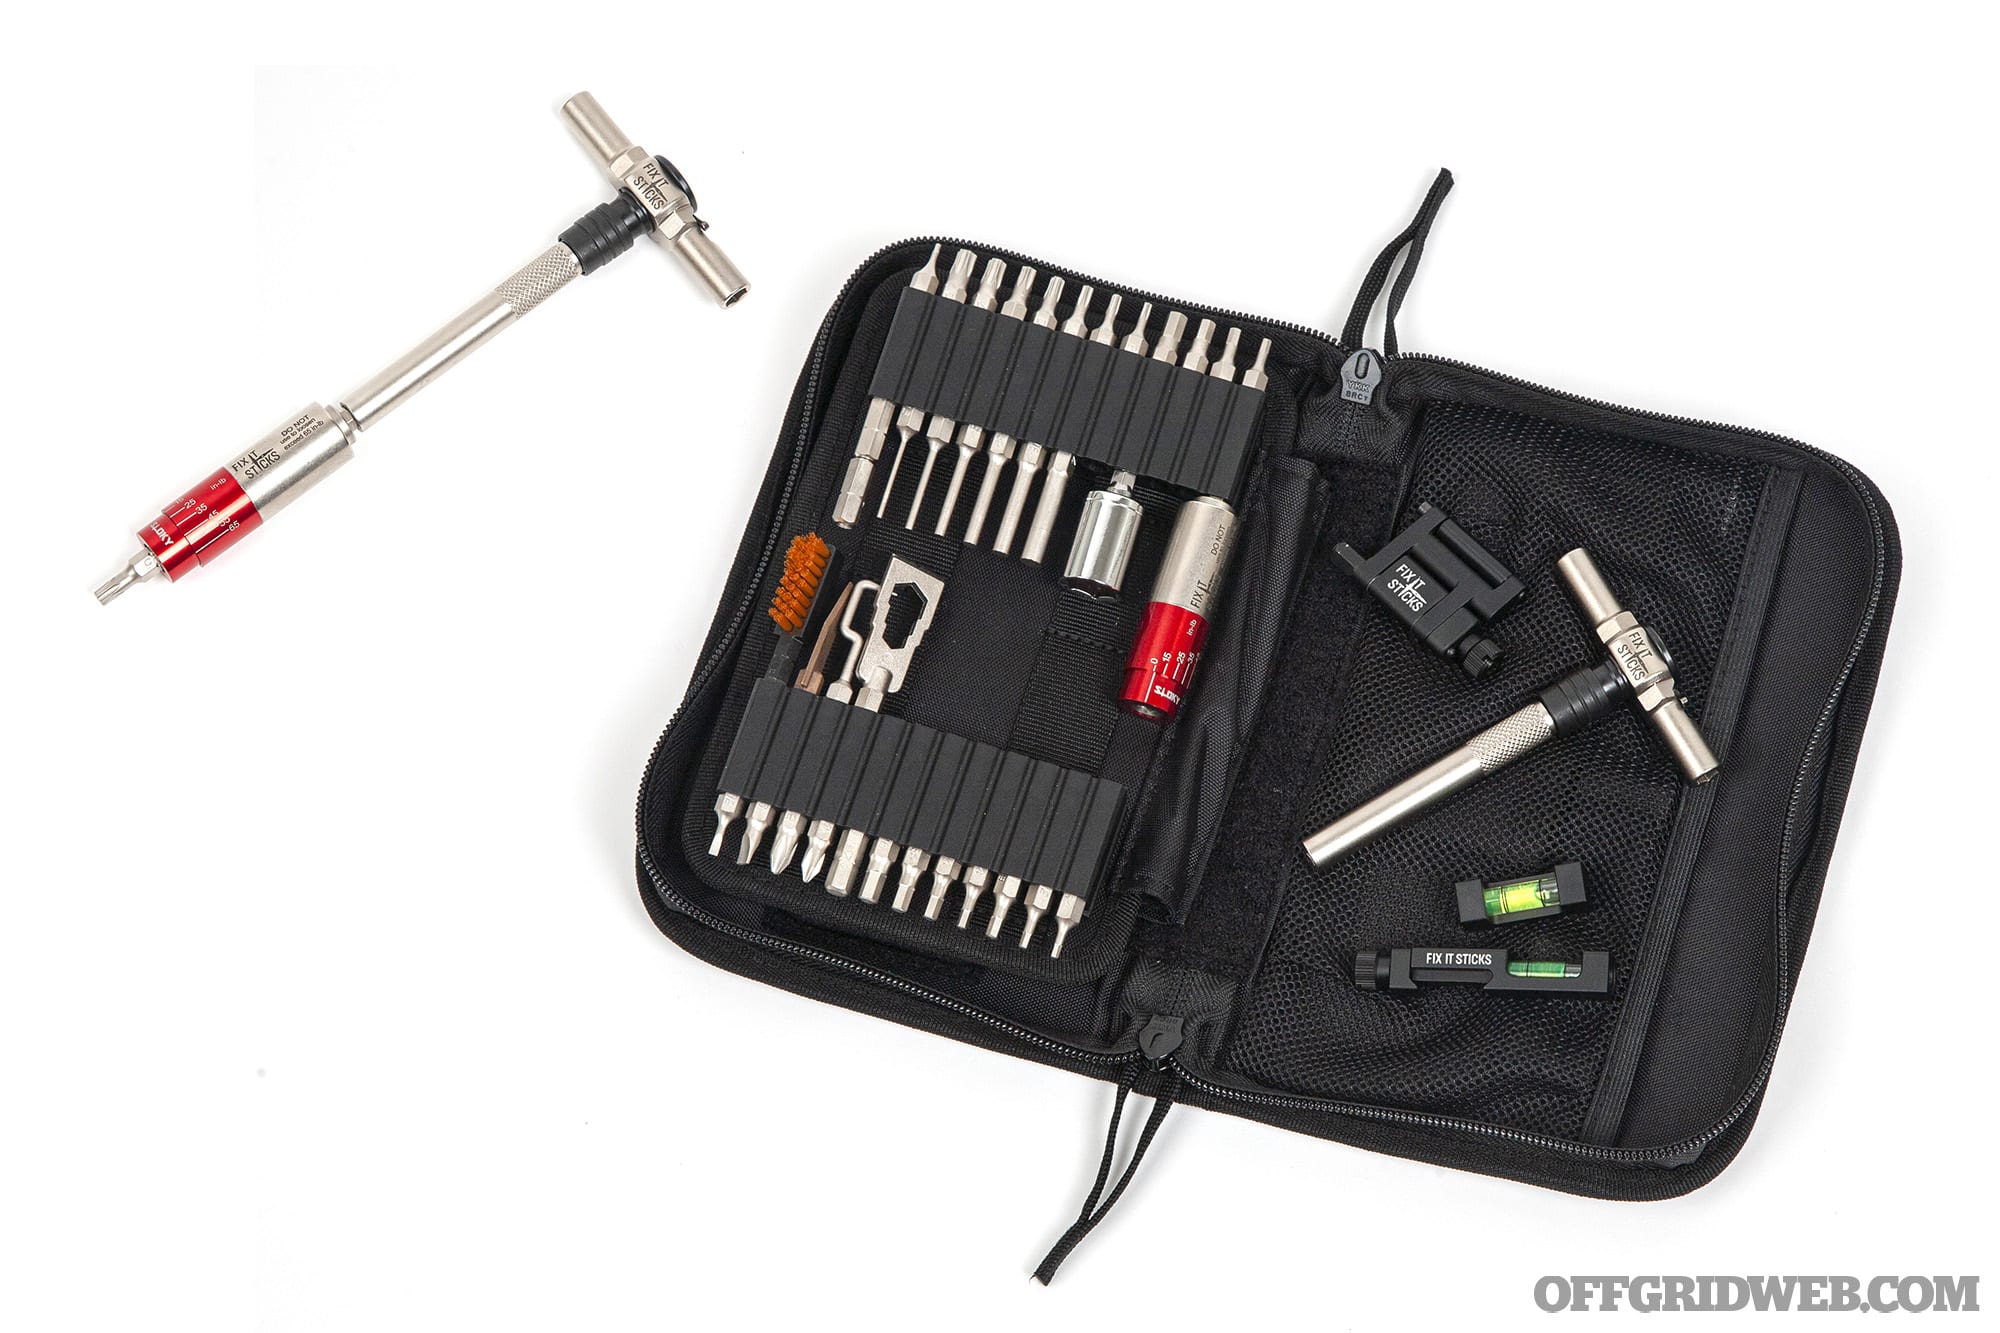
Tool Kit
Fix It Sticks Long Range Precision Kit with All-In-One Torque Driver

Accessories
Vortex 30mm Bubble Level
HopticUSA Quiver spare round carrier with BC Quiver extension
Crosstac Lockout Sling (QD)
Fundamentals of Long Range Shooting
There are a few common factors for all long range shooting positions:
- Rifle-to-body connection – The buttstock should be pressed securely against your collarbone (a solid foundation, unlike soft muscle tissue).
- Cheek weld – Your head should be stable against the rifle and positioned within the optic's eye box.
- Grip – Knight says this factor is much more important than most new shooters think. According to him, the number one mistake to avoid is wrapping your thumb around the grip like a carbine; the thumb moves slightly with the trigger finger, pulling the gun out of position. Keep your thumb along the top of your hand on the outside of the grip.
- Support hand position – The non-firing hand should be used to squeeze the rear support bag under the buttstock and fine-tune the rifle's elevation.
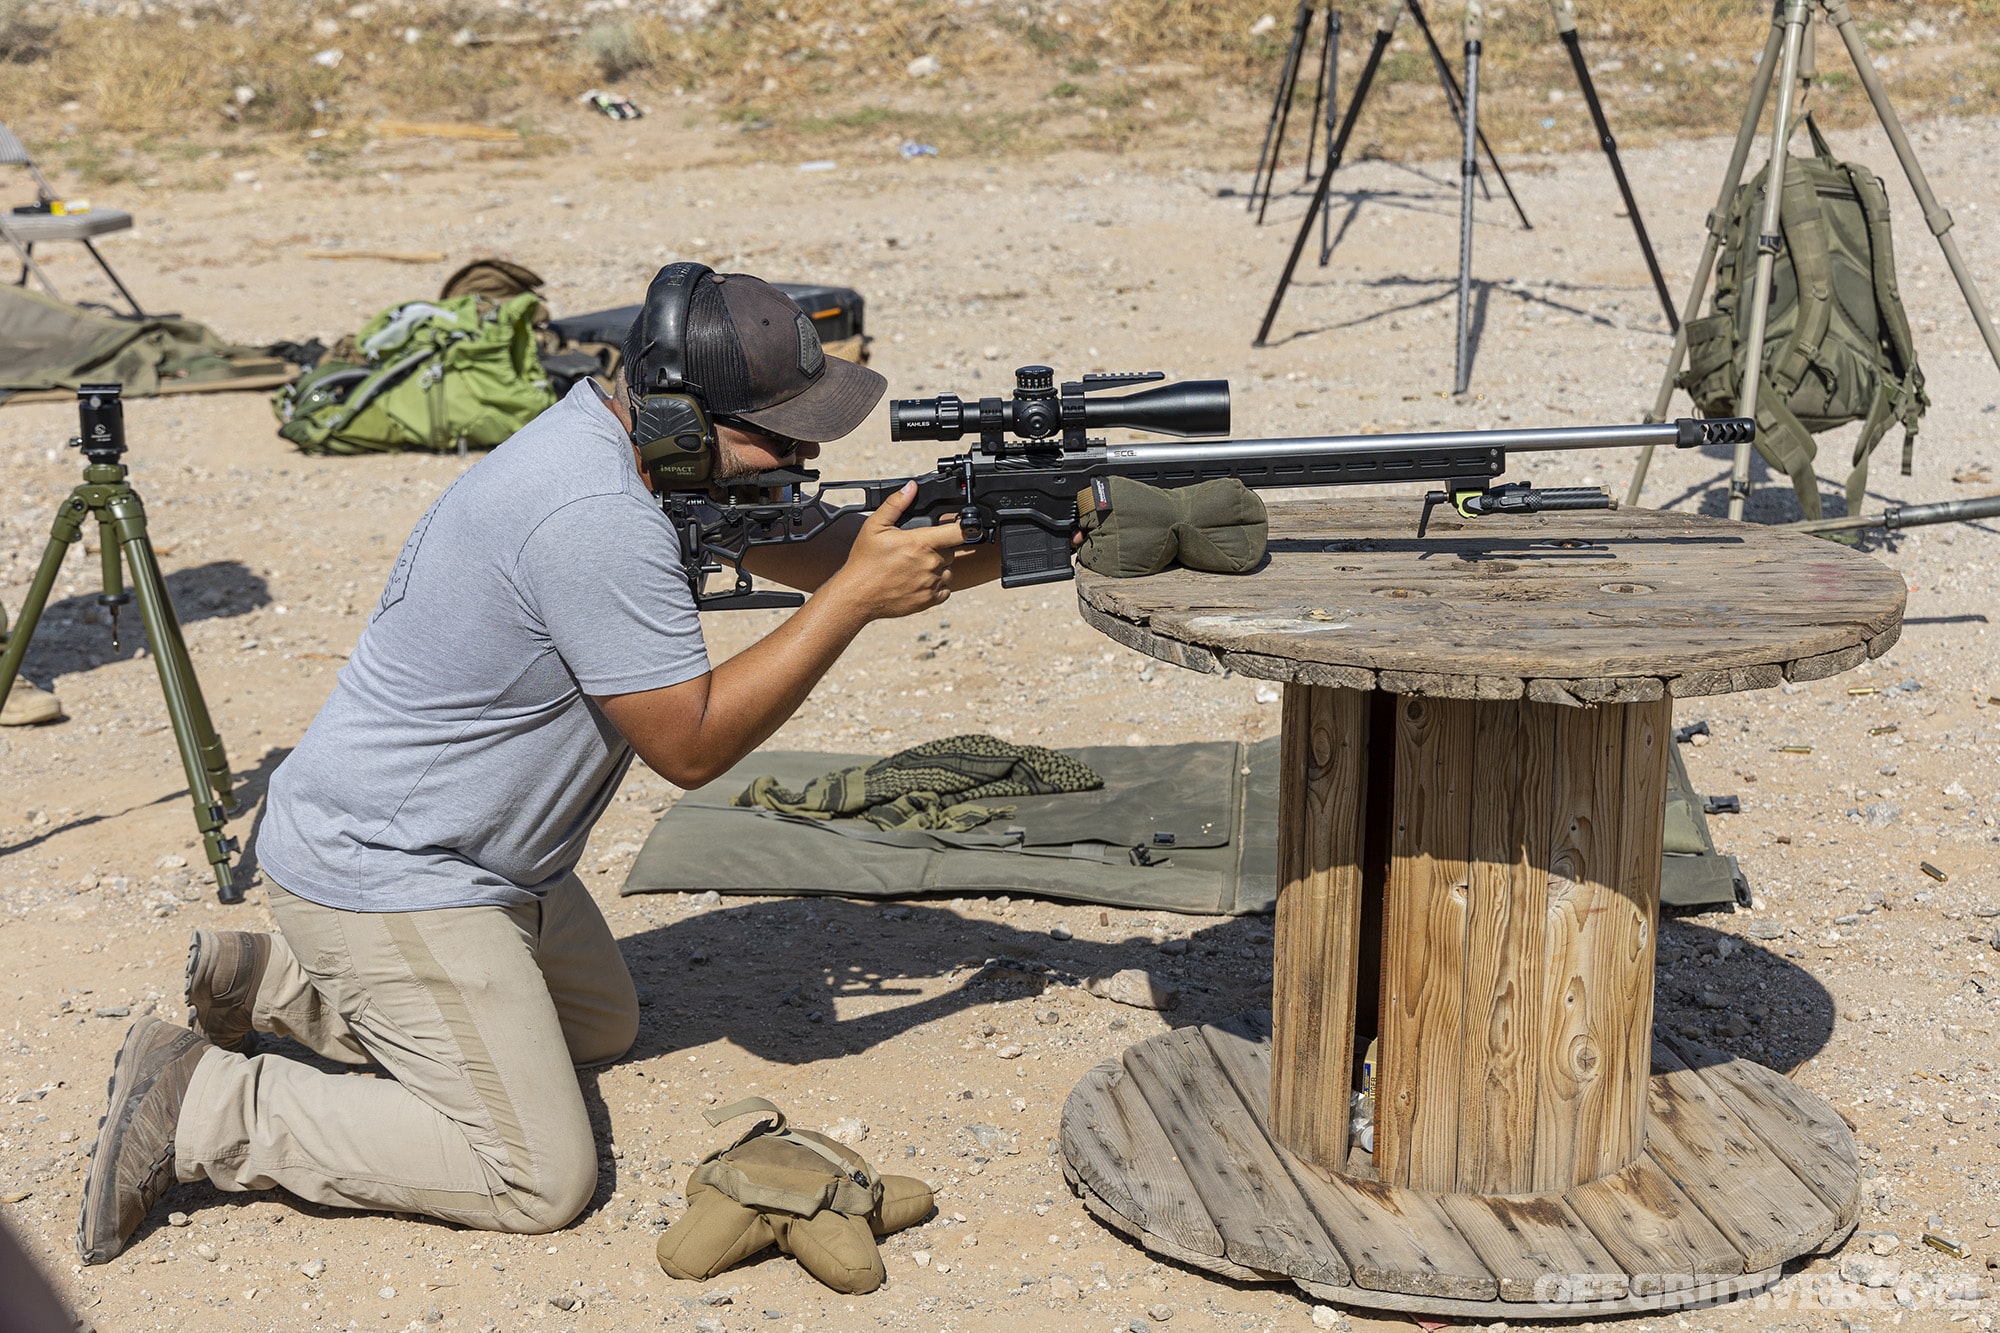
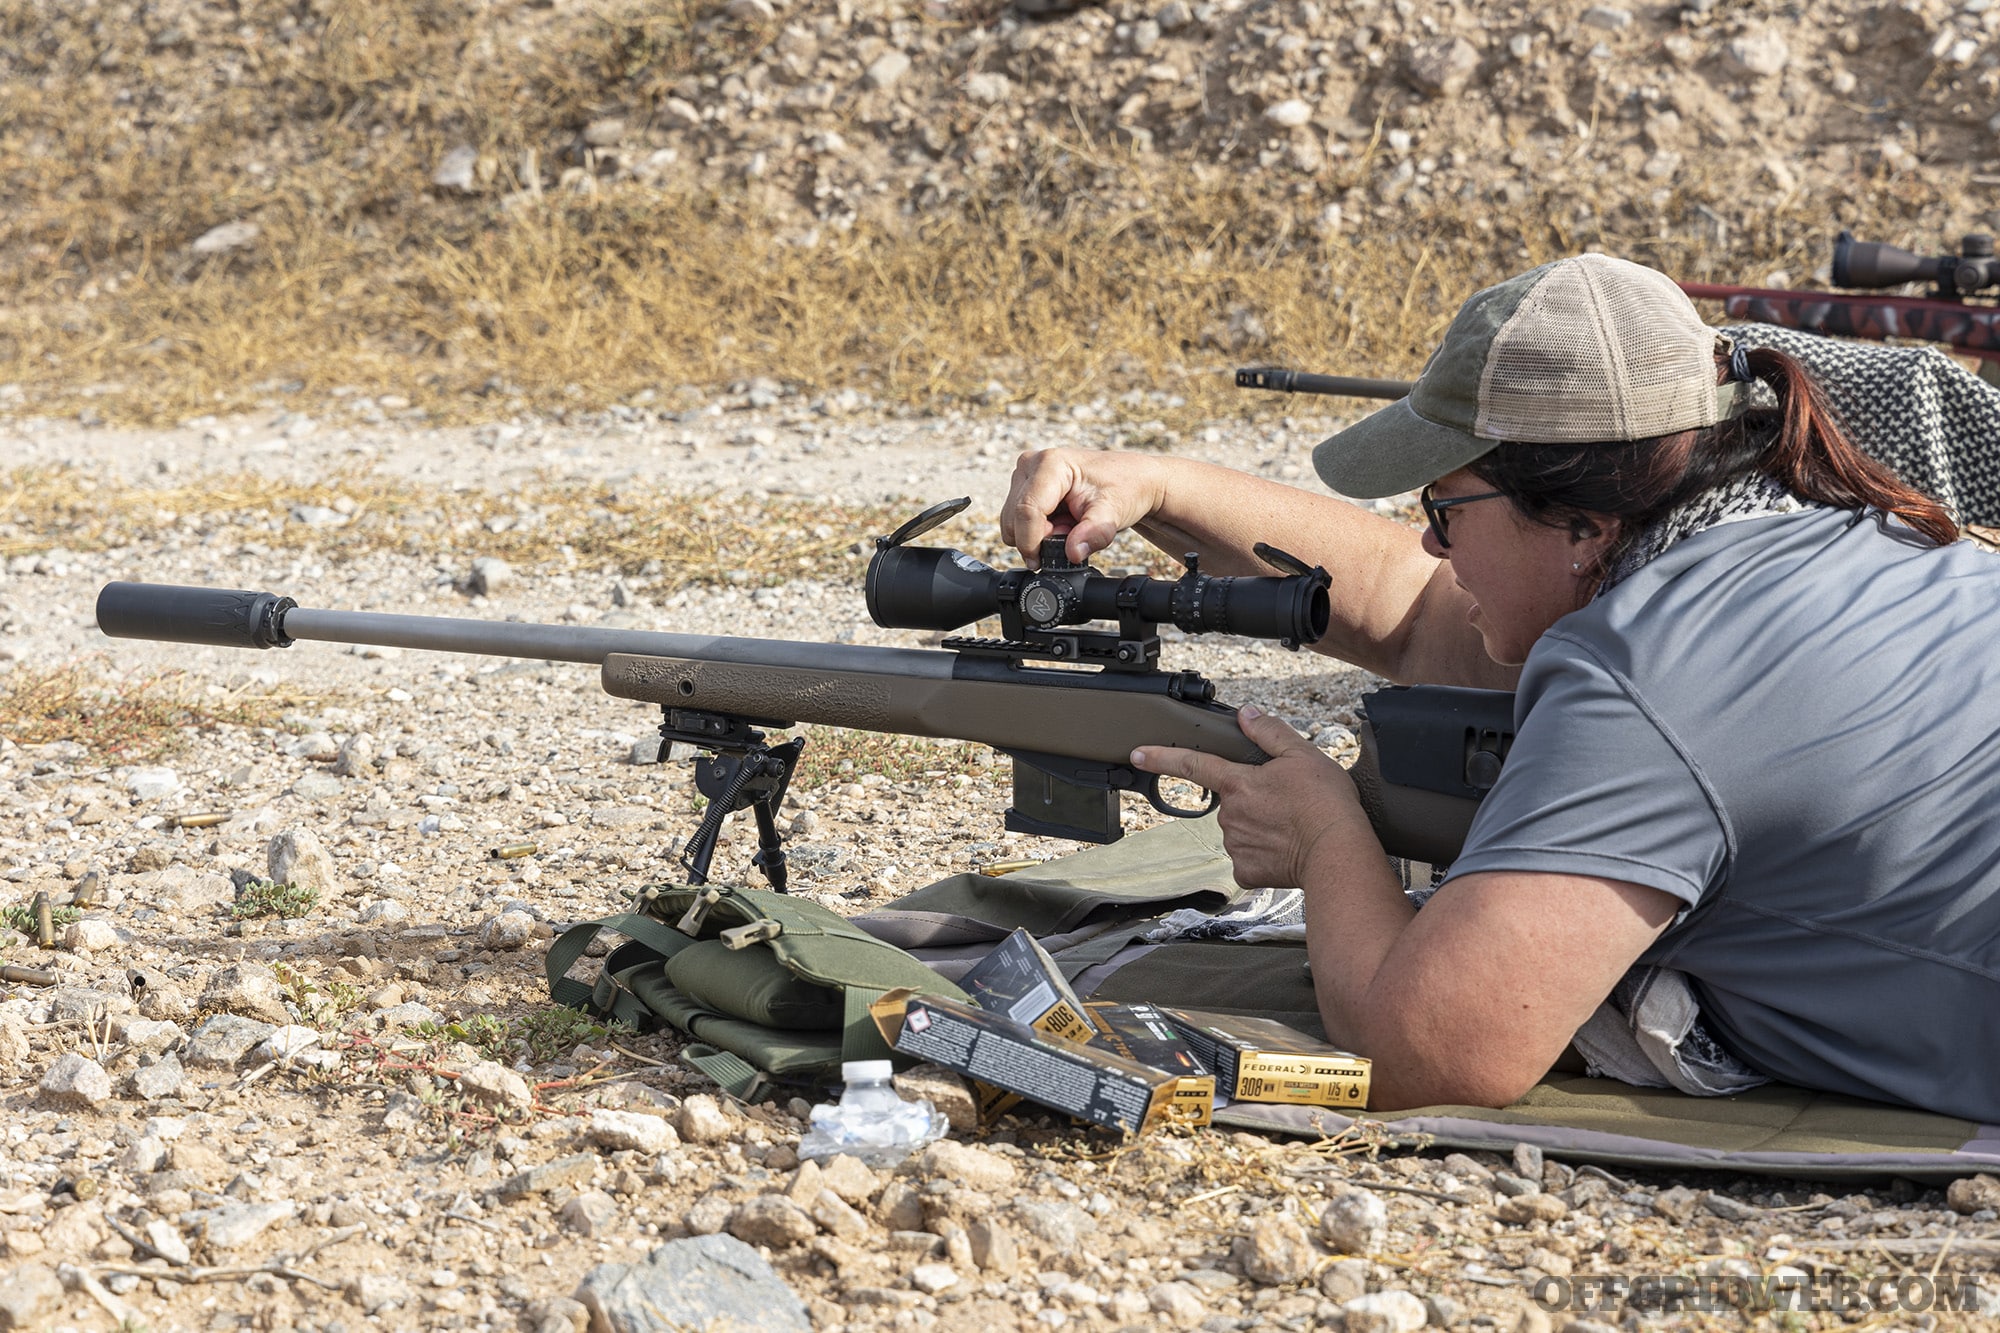
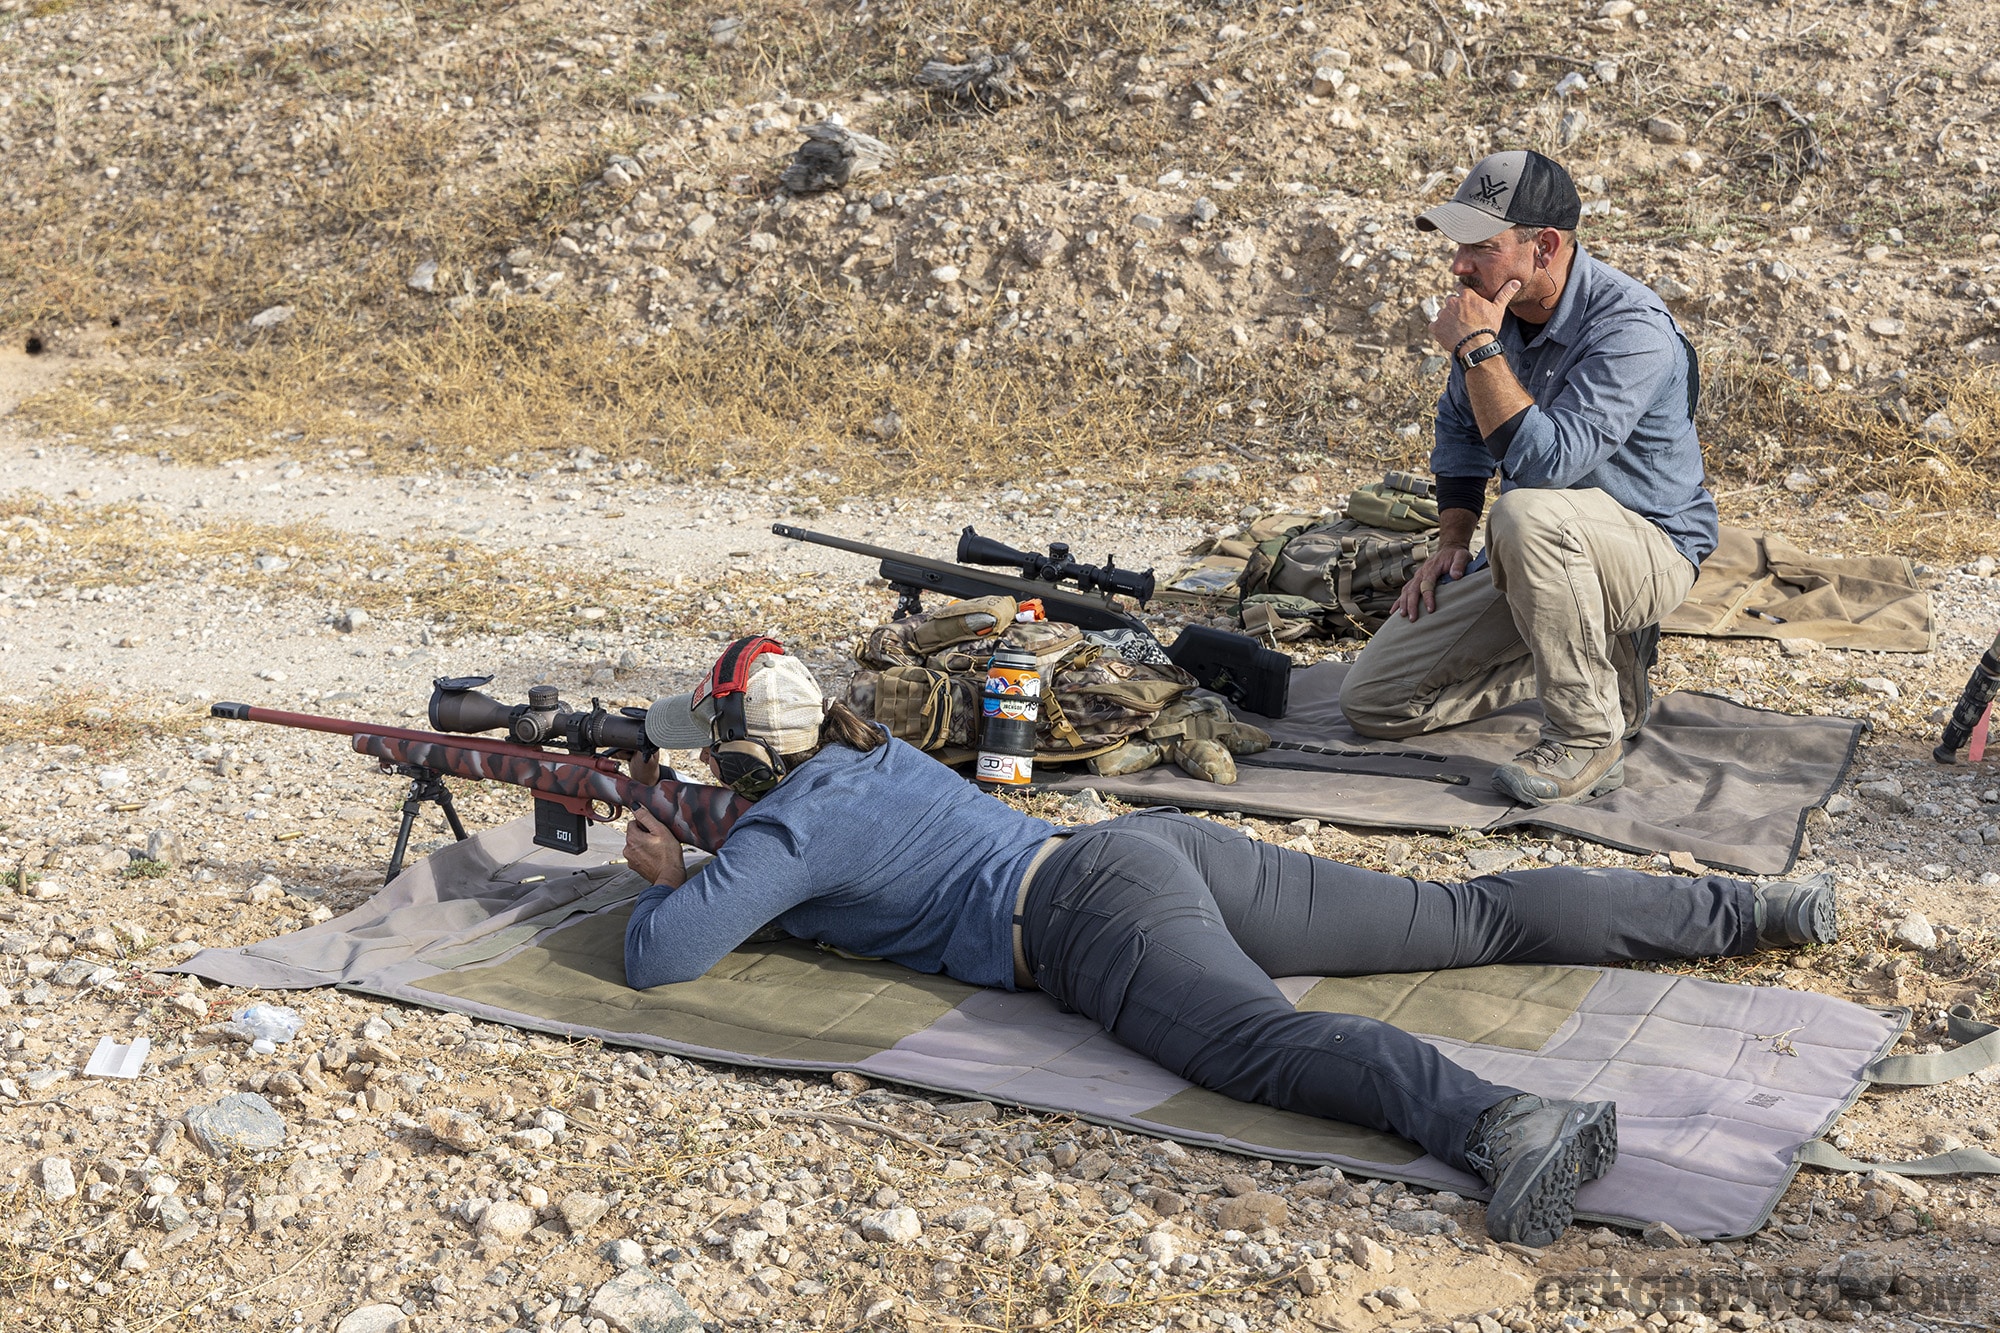
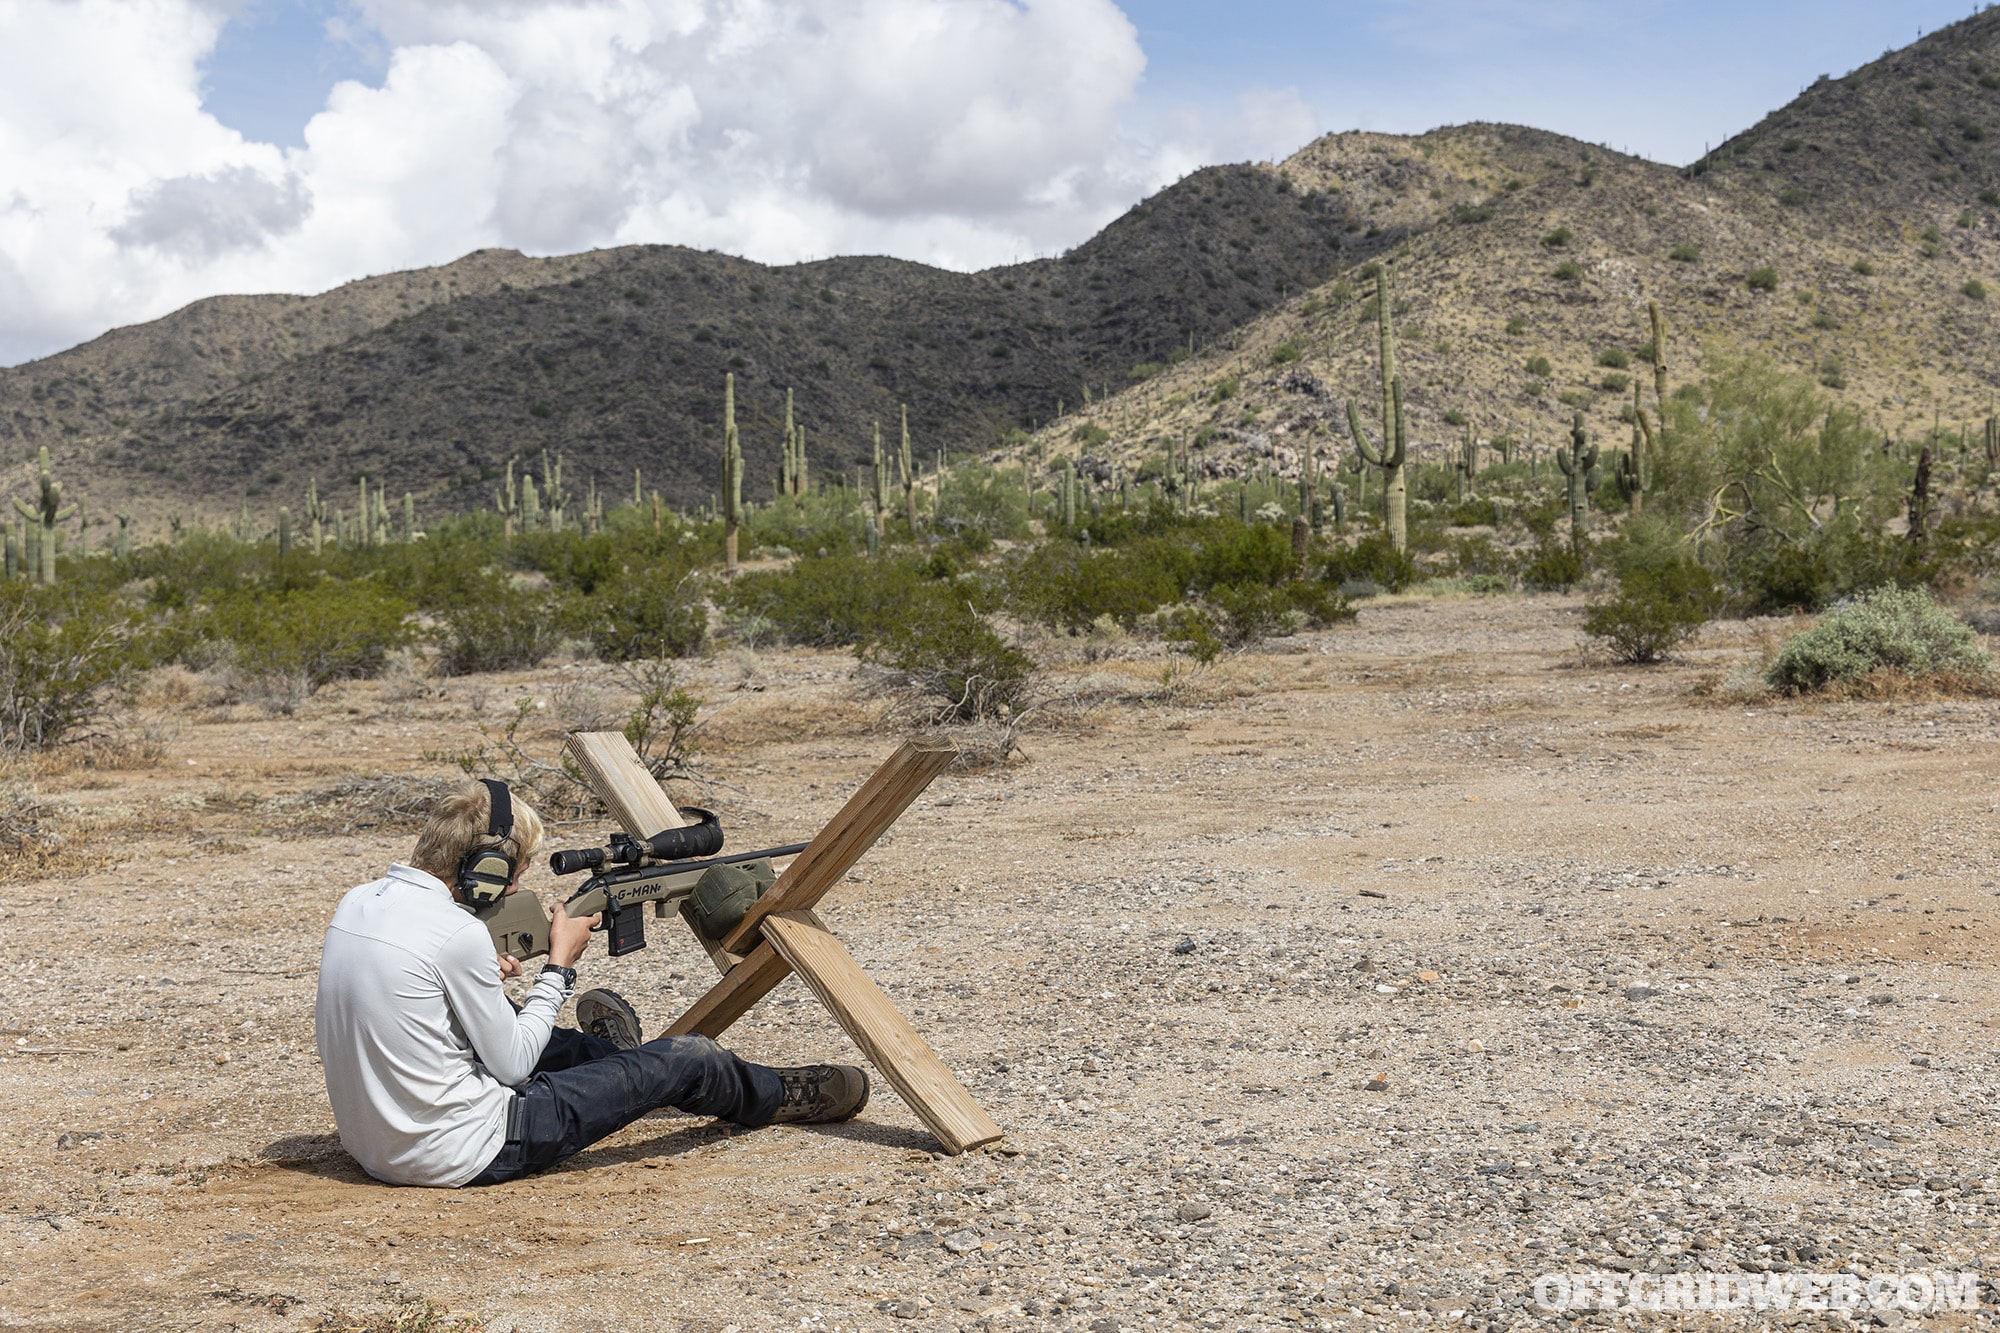
- Body position – Your body should be relaxed and comfortable, because this will lead to repeatable shooting. Tension leads to discomfort, shakes, and misses. From the prone, the rifle should be aligned with your spine; your chest should be off the ground, legs spread apart, and heels flat against the ground to maximize stability.
- Sight alignment – Your eye should be positioned behind the optic with a full sight picture and no noticeable scope shadow. Scope shadow on one side of the reticle will “push” the bullet's impact towards the opposite side of the reticle.
- Natural Point of Aim (NPA) – The point where your crosshairs come to rest between breaths. Identify this point once you're fully relaxed; don't try to force the reticle into position.
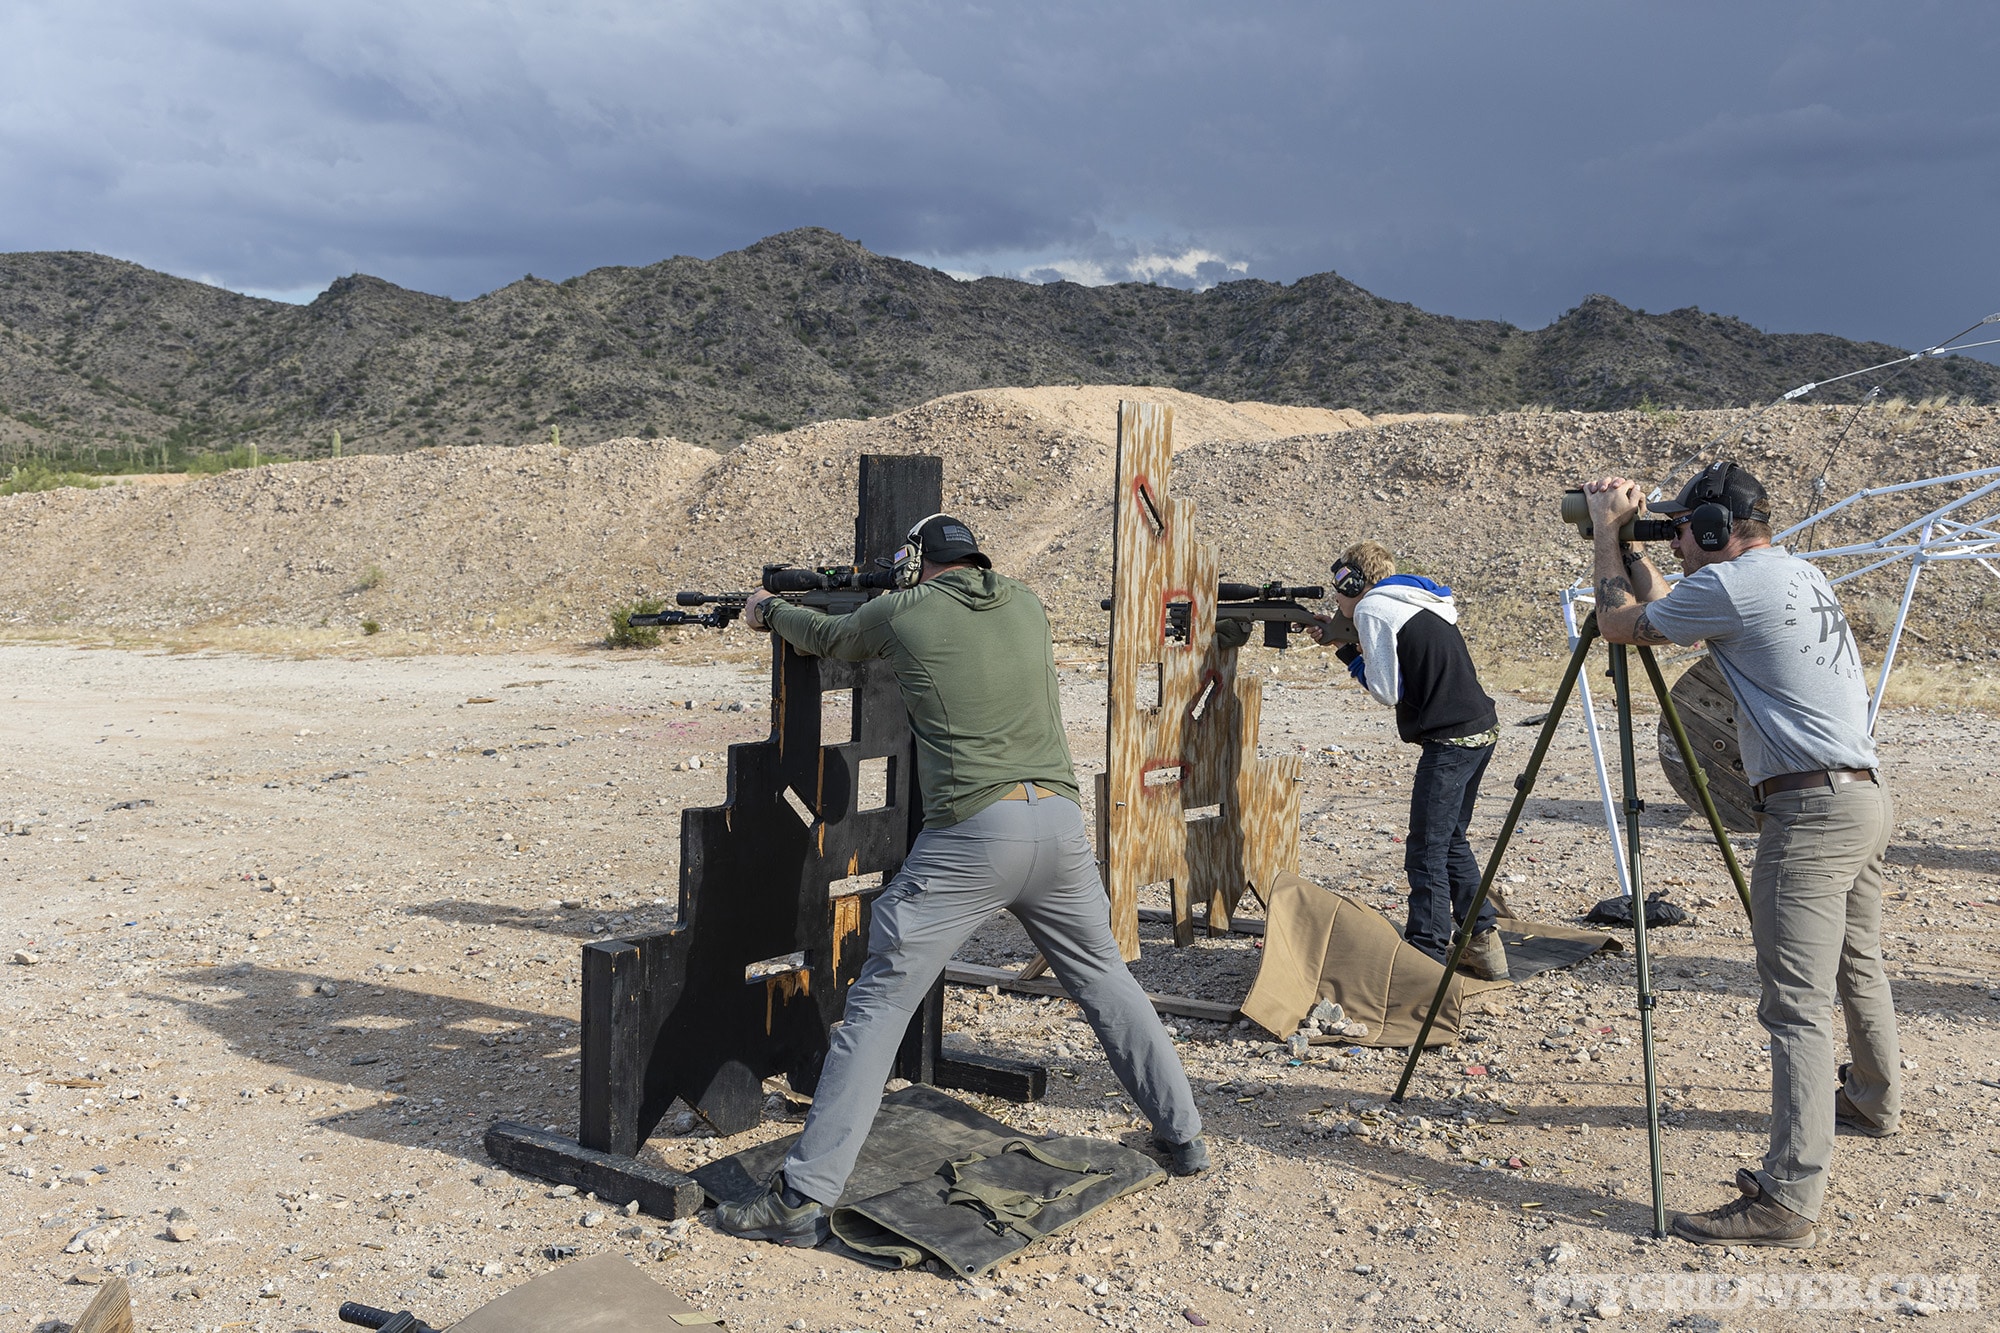
Above: Instructor Austin demonstrates a stable prone position. His chest is lifted slightly off the ground, and his spine is aligned with the rifle. His support hand controls elevation via the bag beneath the buttstock.
If at any point you need to move, adjust and rebuild your entire position. If you shift one of the elements above without adjusting the others, you can induce tension or instability.
Breath Control
Don't hold your breath! Knight says humans are better adapted to shooting at the “bottom” of a breath after an exhale, rather than straining to keep in air at the “top” of a breath. Inhale, exhale, find the natural point of aim, and repeat until you're ready to fire.
Trigger Control
Press the trigger straight to the rear and follow through, pinning it back until you see an impact. Many pistol and carbine shooters (myself included) will jump off the trigger quickly to find the “wall” and prepare for another shot, but this is a bad habit for long range shooting.
Apex Training Solutions uses the mental checklist BRS — breathe, reticle, squeeze. When you're ready to fire, remember to breathe out, confirm reticle position, and then squeeze the trigger.
Running the Bolt
Without changing your head position or body position at all, keep your dominant side elbow planted and move your shooting hand to the bolt handle to chamber a new round. With a smooth action, you'll only need your thumb and forefinger, so don't induce tension by making a fist or disturb the gun by slamming the bolt forward.
A Shooter's Checklist
Long range shooting is all about consistency, so make every step of the process deliberate. One way to do this is to form a mental checklist — or even a physical list on a notecard — that gives step-by-step instructions for shooting. For example:
- Buttstock position
- Cheek weld
- Body position
- Sight alignment
- Acquire target and check range
- Data and dial (check ballistic data, and dial the optic accordingly)
- Set parallax
- Check wind
- BRS (breathe, reticle, squeeze)
- Follow through
Ballistics: The Technical Stuff
This is yet another topic that could easily be broken off into a separate article or book, since it involves a lot of underlying math and physics. However, before you skip ahead, know that you only need a basic understanding of ballistics to get started with long range shooting.
Each bullet's drop is affected by two predominant factors — drag and gravity — as it flies through the air. Gravity is a constant, but drag varies based on a bullet's shape, which can be summarized by a number called ballistic coefficient (BC). Atmospheric conditions such as barometric pressure, temperature, and humidity also play a role; these atmospherics are combined into a single number called Density Altitude (DA). Unlike the actual altitude of your shooting range, the DA (measured in feet) can increase or decrease as temperature, pressure, and humidity change. DA often fluctuates thousands of feet throughout the day as cold morning frost dissipates into afternoon warmth.
The variables above, as well as what you know about your rifle (caliber, muzzle velocity, etc.) and the range to your target, are collectively known as deterministic factors. In other words, these are exact elements we can factor into a ballistic calculation before taking a shot, giving us an idea of the corrections we need to make to hit the target. Thankfully, there are many smartphone apps that can help us do these calculations in seconds — Apex Training Solutions recommends the free Hornady 4DOF ballistic calculator app. The calculation will tell you how many MILs or MOA you need to dial into your scope's elevation turret for each shot.
Above: During the second half of our class, a thunderstorm blew in, producing strong gusty winds and rapidly-changing environmental factors that had to be factored into our ballistic calculators.
Other non-deterministic factors — namely wind — fluctuate every few seconds and are therefore impractical to plug into an exact ballistic calculation. As Apex Training Solutions puts it, compensating for wind is usually one big-ass f**king guess (OBAFG), but it's still an educated guess you need to make. We can estimate the wind using clues such as movement of foliage, blowing dust, and disturbances in the mirage effect in the air. For example, if the mirage appears to be rising straight up from the ground, wind is likely less than 4 miles per hour; if it's moving parallel to the ground, it's 12 miles per hour or more. In addition to wind speed, wind direction also matters. Long range shooters determine wind through a “wind value” system: direct headwind is zero value, wind at a 45-degree angle is half value, and 90-degree wind is full value. So, an 8mph wind at a 45-degree angle would be treated like a 4mph wind.
To compensate for wind, you'll need to hold your crosshairs into the direction the wind is coming from. How much? That can be determined based on a chart from your ballistic app of choice, which will provide MIL or MOA wind holds in increments of a few miles per hour. Some calibers are more sensitive to wind than others; .308 might need to adjust for wind in 4mph increments, while 6.5 Creedmoor may only need 7mph increments (higher velocity projectiles are less affected by wind).
On the Range
We began the practical portion of the Apex Training Solutions class by dismounting each student's optic and confirming that it was mounted level. This is critical for long-range shooting — an optic that's a few degrees out of level may appear zeroed at 100 yards, but the bullet will seem to move laterally as it drops at further distances.
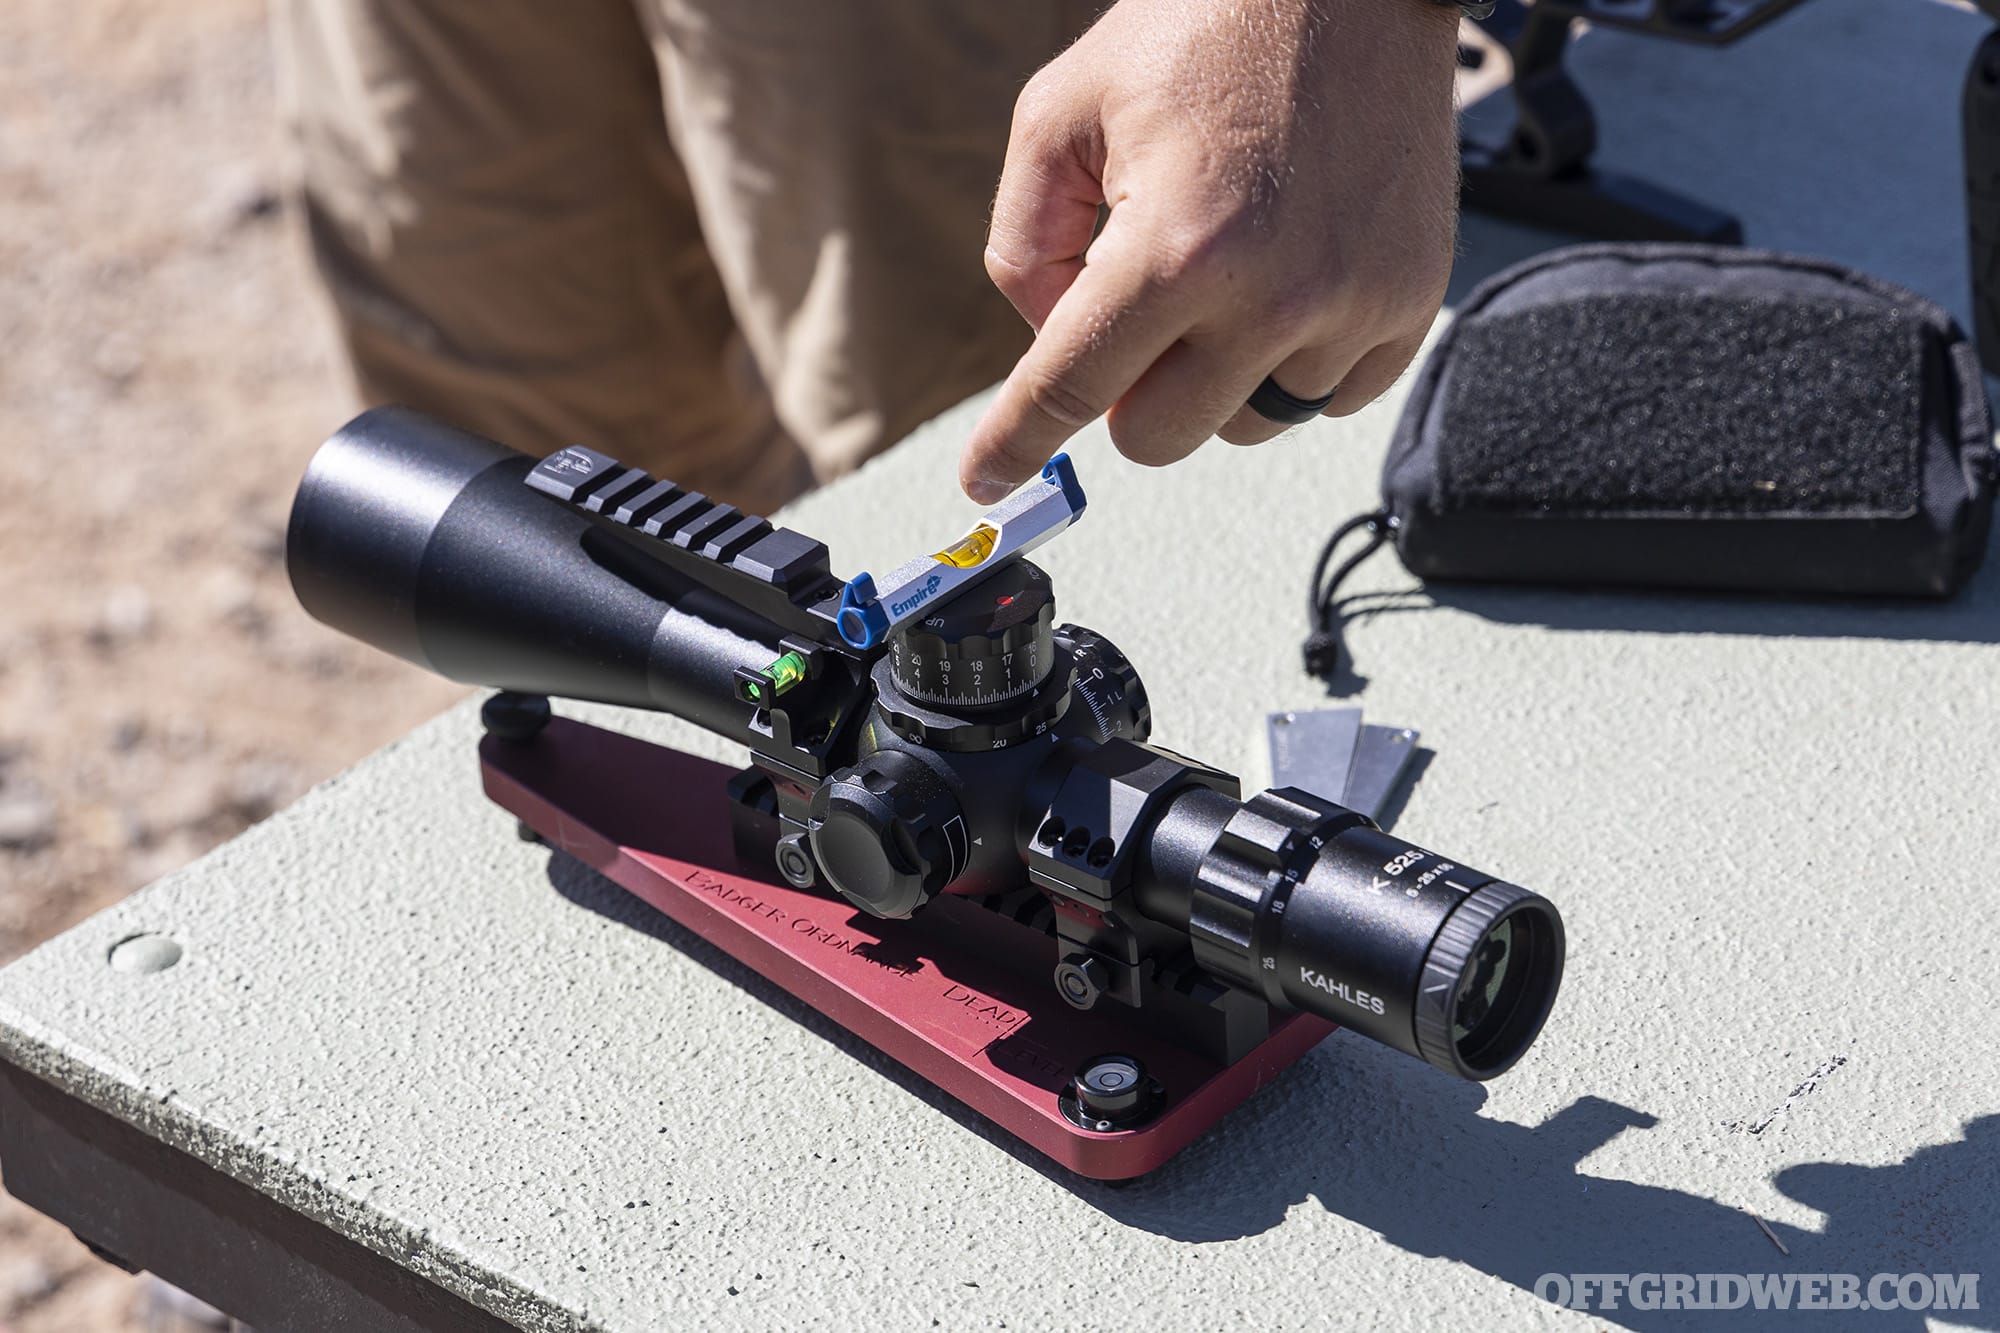
Once our optics were leveled, we secured them on our rifles and re-zeroed our guns from a stable prone position. Once zero was confirmed, we loosened and “floated” our optics' elevation and windage turret caps back to the zero setting. This ensures we can easily return to zero after dialing elevation or windage corrections in the future.
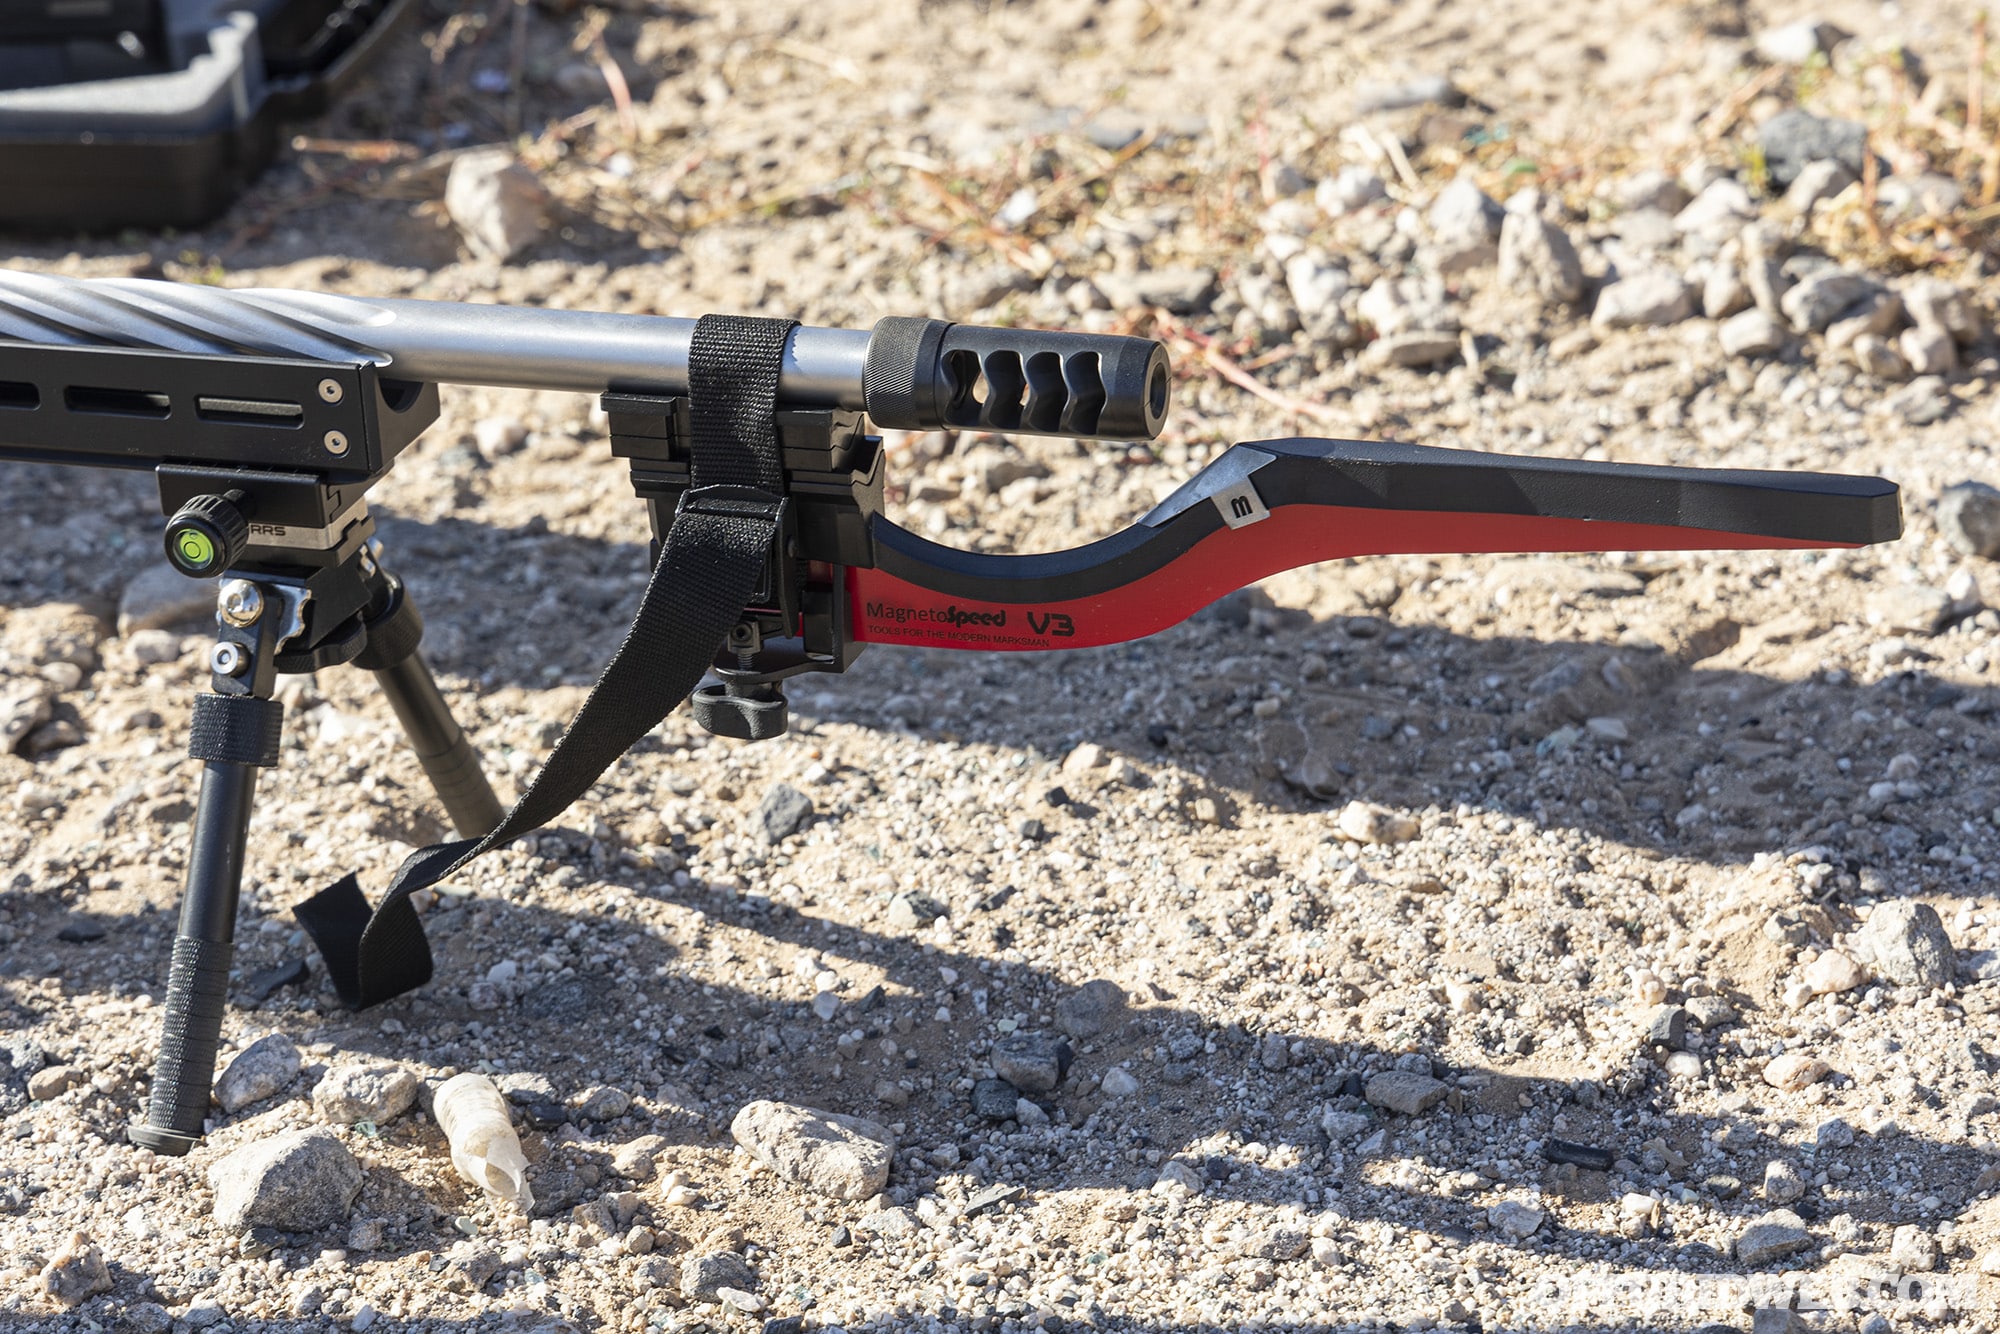
Each student also used a Magnetospeed device to chronograph 10 rounds of our chosen ammo through his or her rifle. My Savage 110 Magpul Hunter with JK Armament suppressor and Norma Golden Target 143-grain 6.5 Creedmoor ammo came in at an average of 2,550 feet per second. The 10-round standard deviation was 14.8 feet per second, which is just below the S.D. of 15 recommended by Apex instructors. It's worth noting that my rifle's 18-inch barrel resulted in noticeably lower muzzle velocity than the 2,723 fps quoted on the box, which was measured on a rifle with a 24-inch barrel. A longer barrel would have improved ballistic performance, but this comes at the expense of increased weight and reduced mobility.
Long Range 101 Drills
For the first drill, called “Build and Break,” each student started in a standing position. On the command, we moved to prone, mentally reviewed the shooter's checklist, and fired one shot. This was repeated 15 times to confirm the consistency of our fundamentals. Difficulty was gradually increased by adding time constraints to this process — 15 seconds, then 12, 10, 8, and finally 6 seconds from standing to one round on target. Unsurprisingly, many of us began dropping our fundamentals as we hurried to get behind our rifles. It served as a powerful reminder of the importance of consistency for every single shot.
We also practiced shooting without a support bag under the gun, proving that it's helpful, but not mandatory. We even tried finding our natural point of aim, closing our eyes, and breaking a shot to prove the importance of NPA. Despite being unable to see the paper target, all the other fundamentals allowed us to continue shooting tight groups.
The 101 portion of the Apex long range shooting class concluded with a final test involving 5 steel targets from 200 to 750 yards. If a shot on any target was missed, it could be re-engaged one time within a 10-second countdown. Based on the ballistic data I calculated for my Savage 110 rifle and Norma 6.5 Creedmoor ammunition, I made a quick list of how many MILs I needed to dial into the optic for each target — for example, 5.6 MIL elevation at 750 yards — and referenced this list before each shot. I ended up hitting the first four targets, but missed twice off the left edge of the last 750-yard target due to an incorrect wind estimate. This told me that my DOPE (data on previous engagements) was correct and my fundamentals were relatively solid, but I needed to be more cautious about wind estimates.
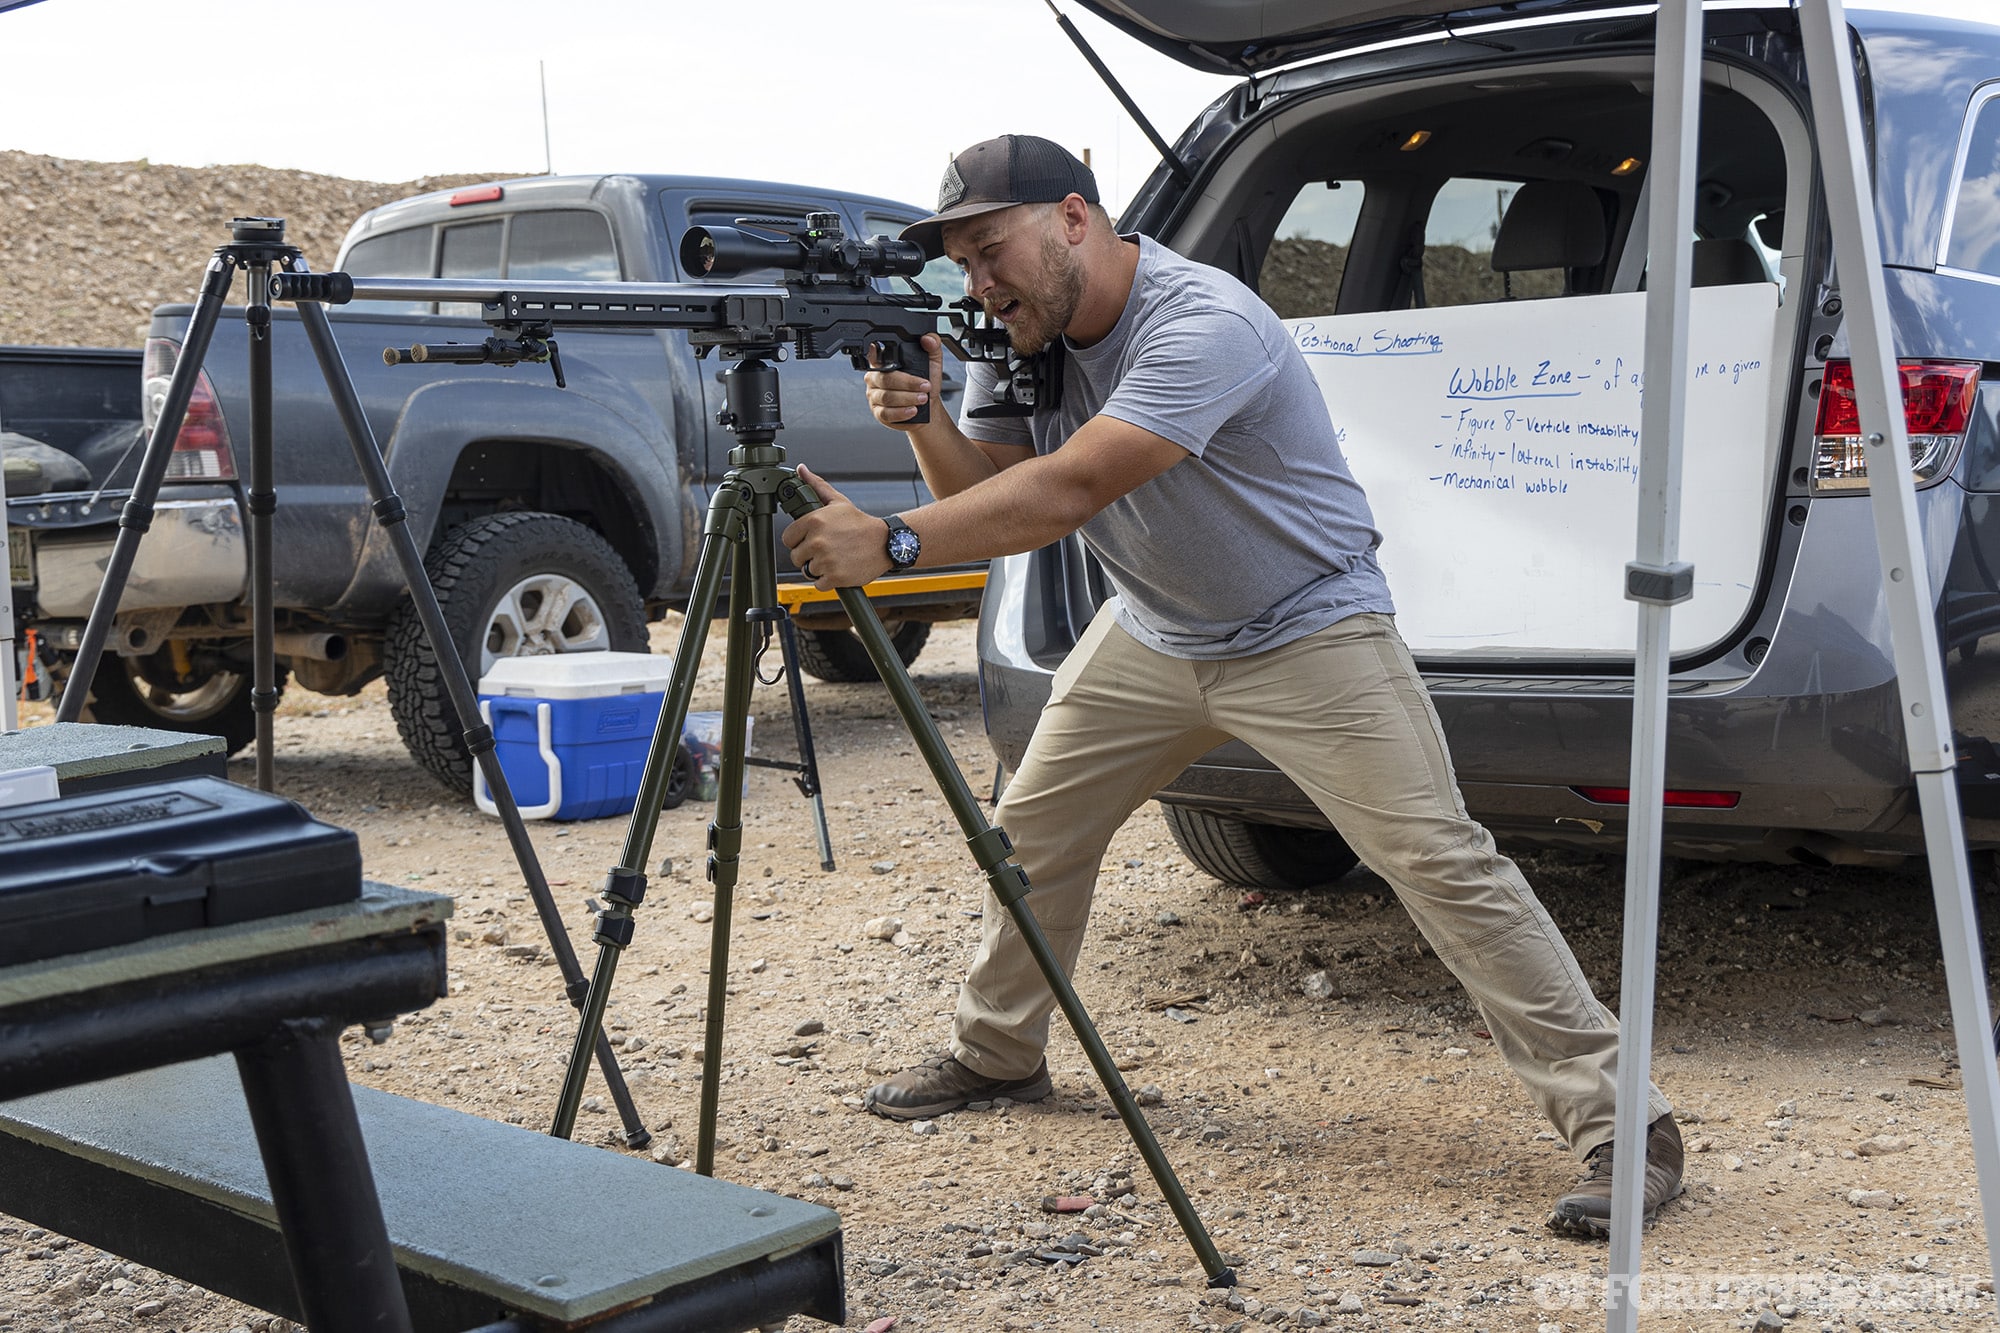
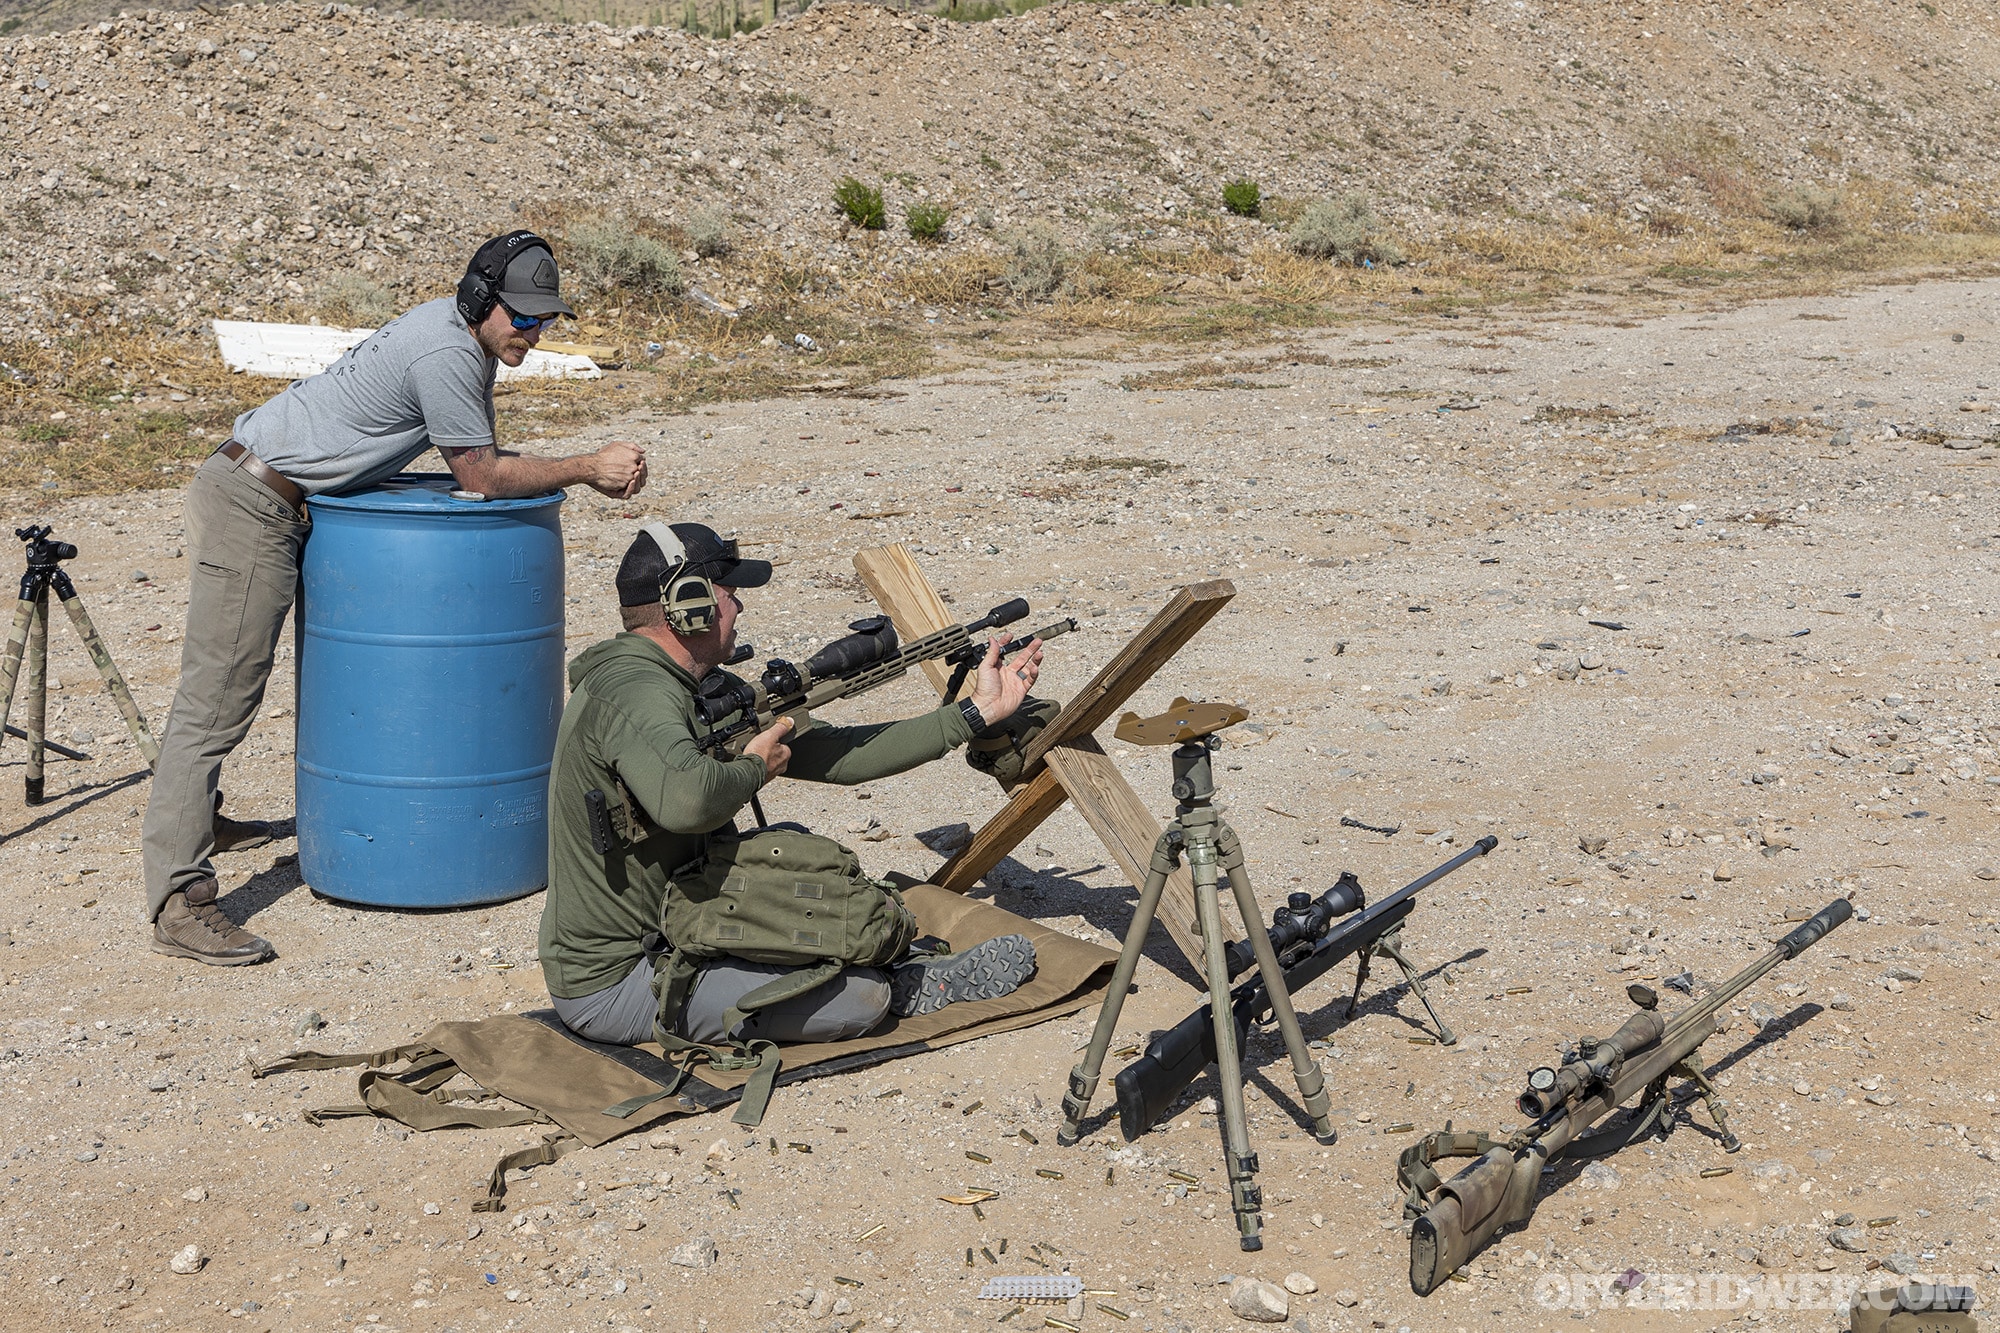
Above: Damian Knight demonstrates a tripod shooting position. By spreading his legs apart, he lowers his head to the rifle without bending at the waist and inducing muscle tension. The support hand is placed on the tripod, not on the rifle.
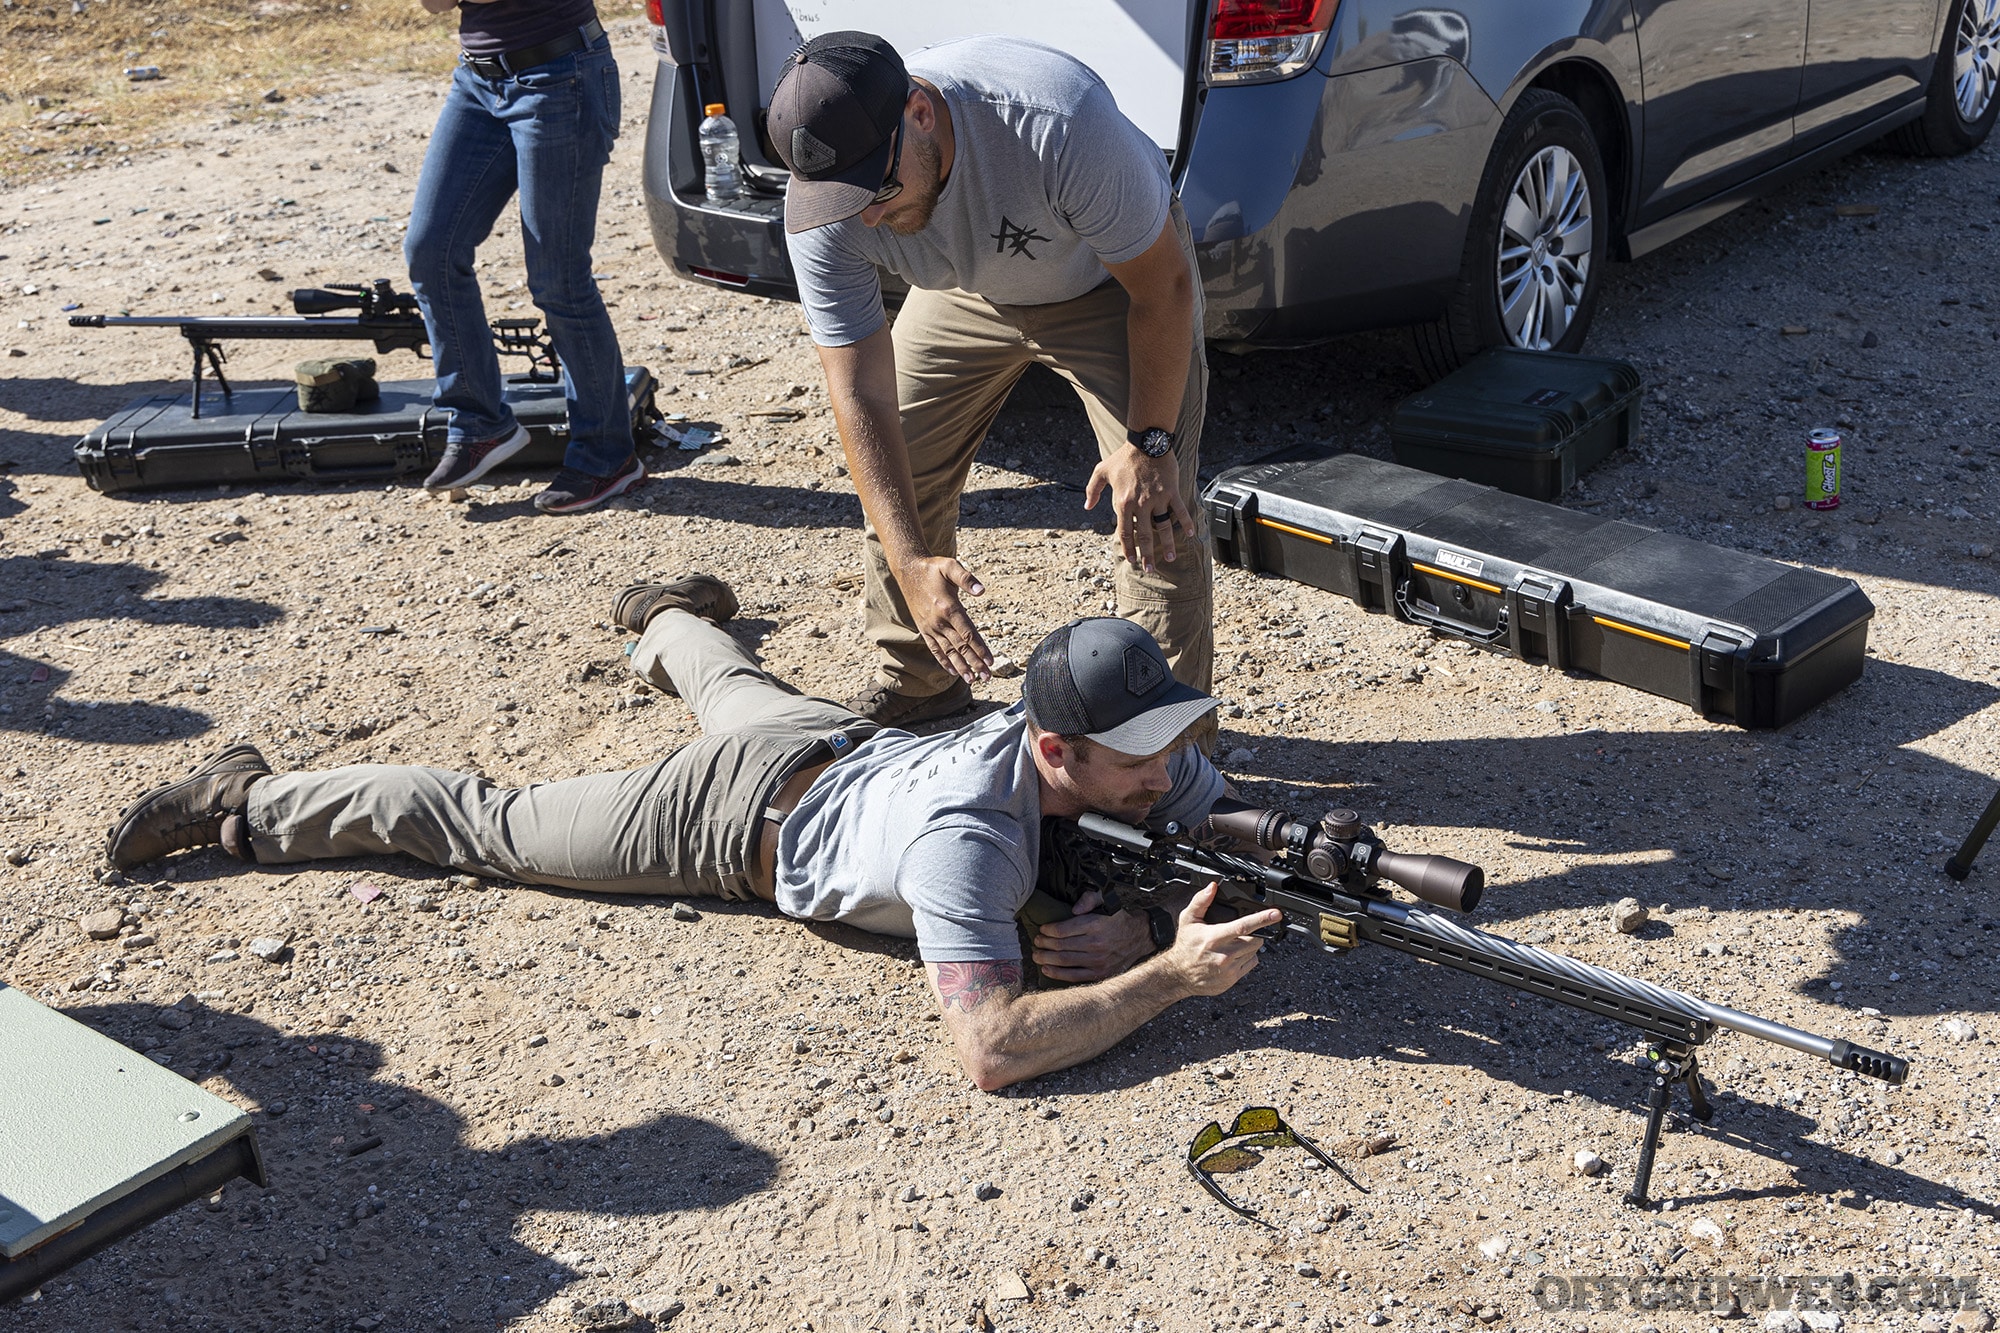
Long Range 102 Drills
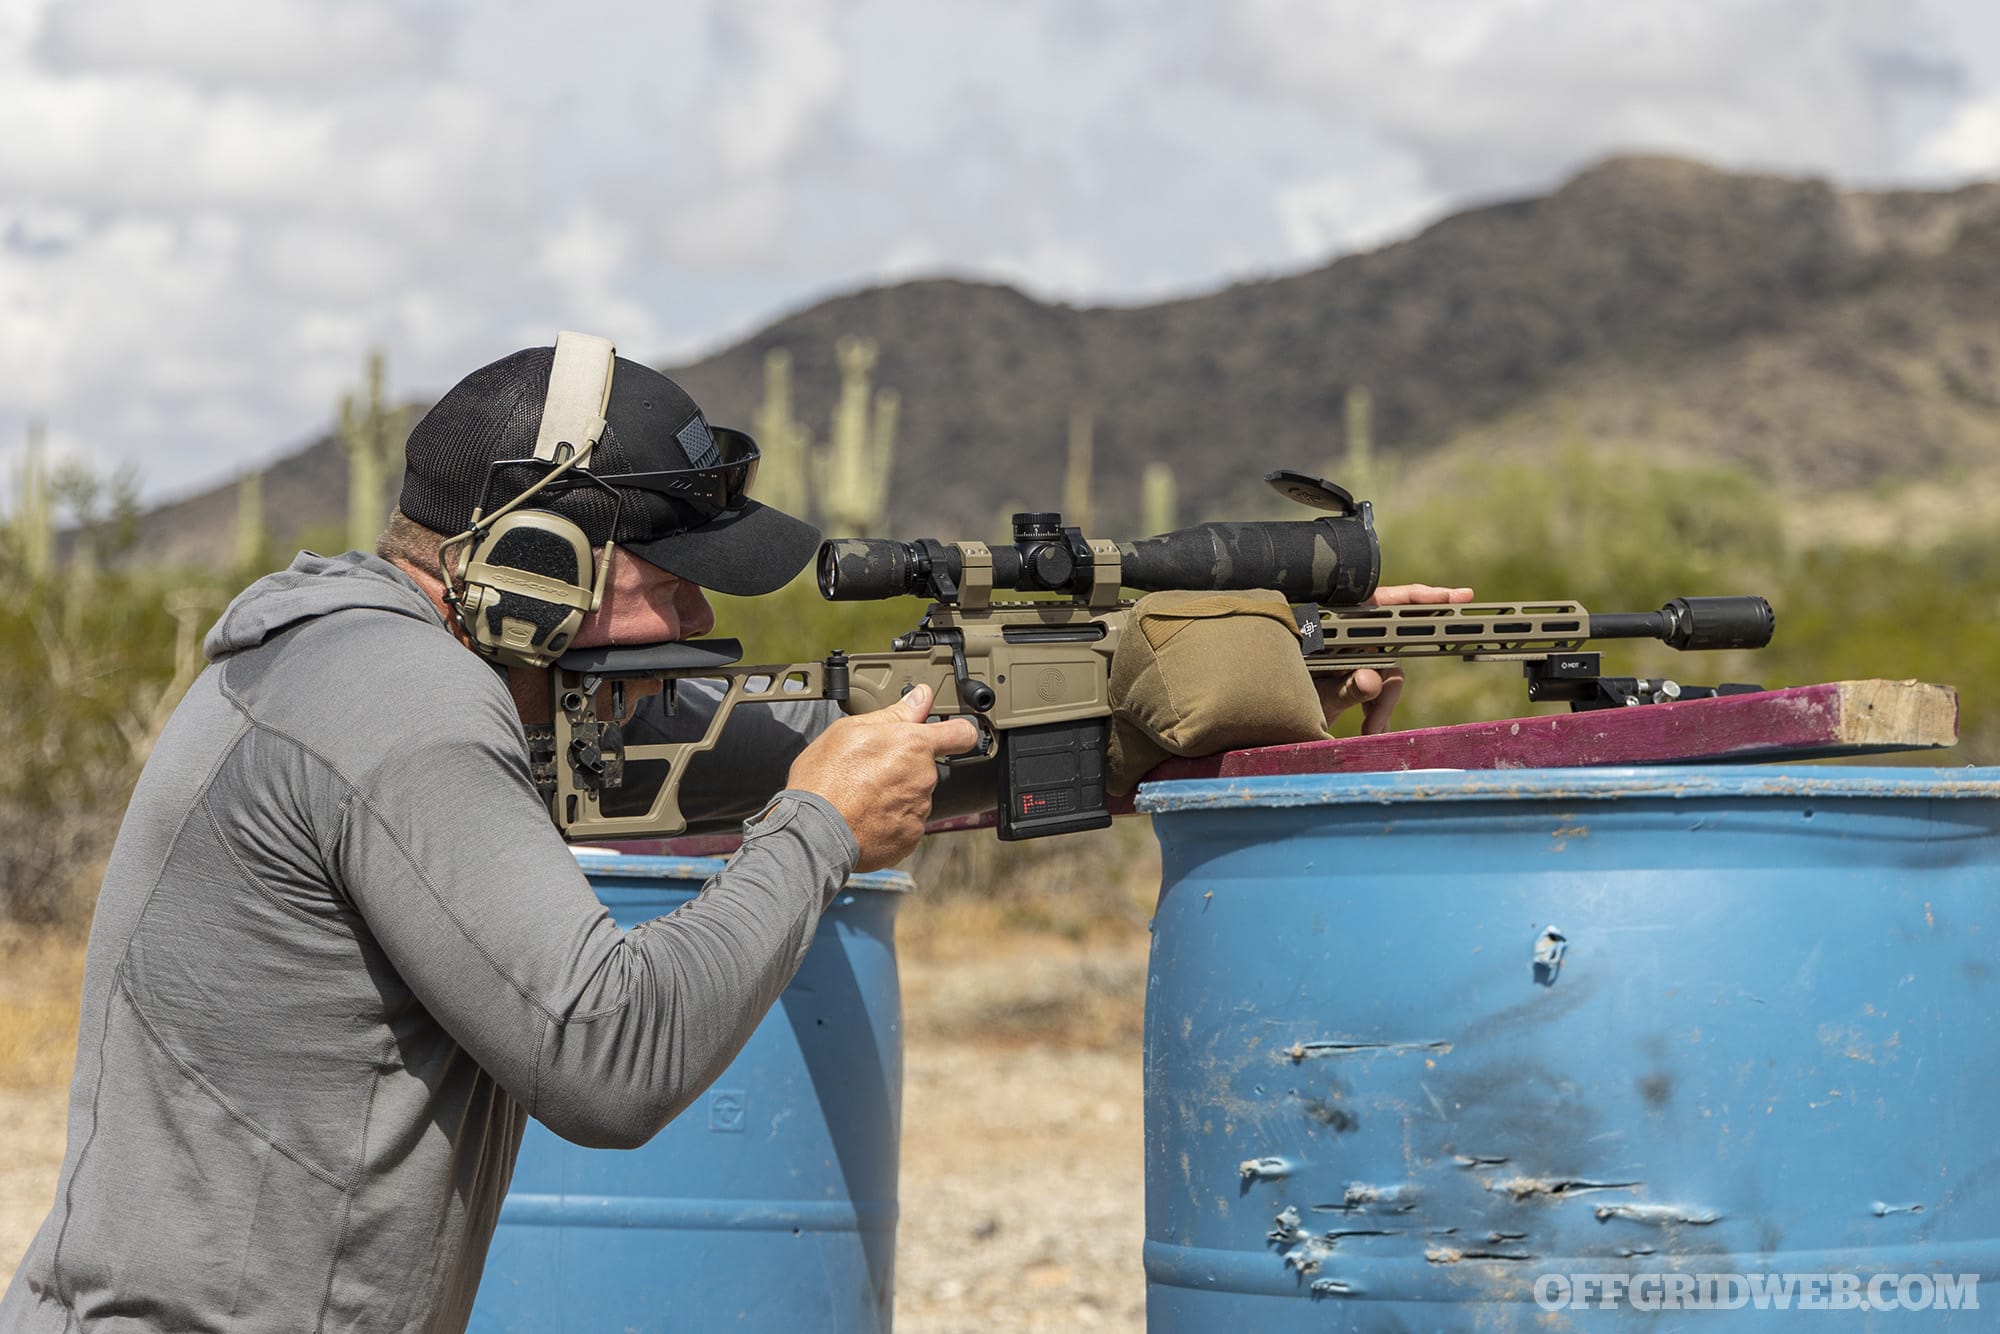
Unlike the first two days, which were spent almost entirely in the prone, the third and fourth days of the course focused on working from other positions. These included standing with rifle supported on a barrier or tripod, high kneeling (one knee up), low kneeling (both knees down), and sitting. We also worked with hard-on-hard (e.g. bipod on a barricade) and hard-on-soft (e.g. rifle on a shooting bag on a barricade) supports; the former tended to bounce and shift more between shots. Compared to prone, there was much more noticeable “wobble zone” as we breathed and the crosshair moved in a figure-eight pattern. The wobble can be reduced through good fundamentals and support, but not eliminated — we learned to accept it and time our shots as the crosshair passed over the target.
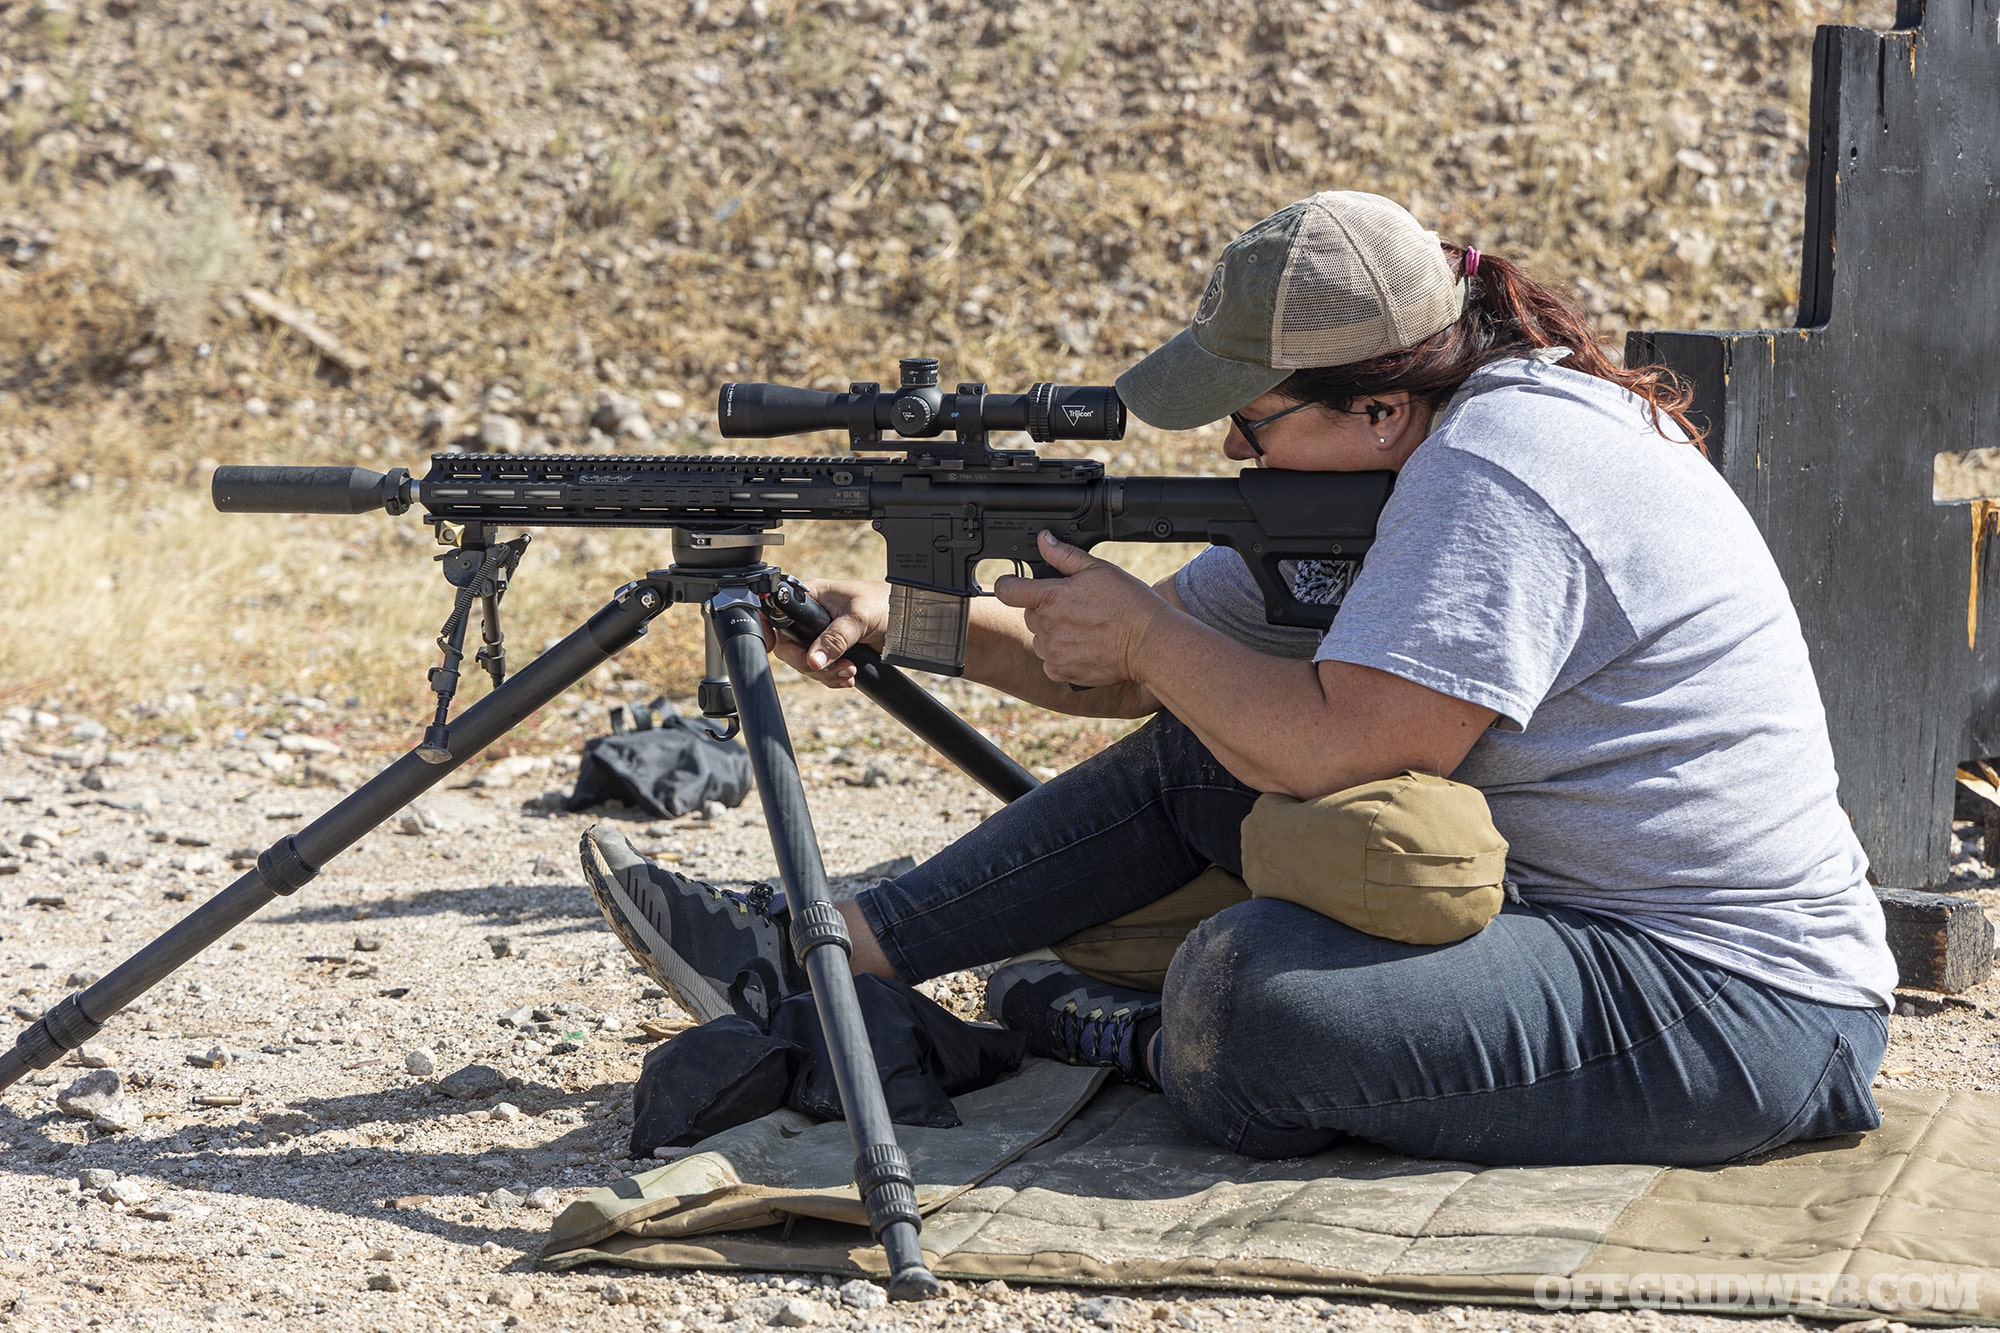
Above: In a seated position, it may be helpful to use a bag to fill the space between your elbow and leg. This offers more support.
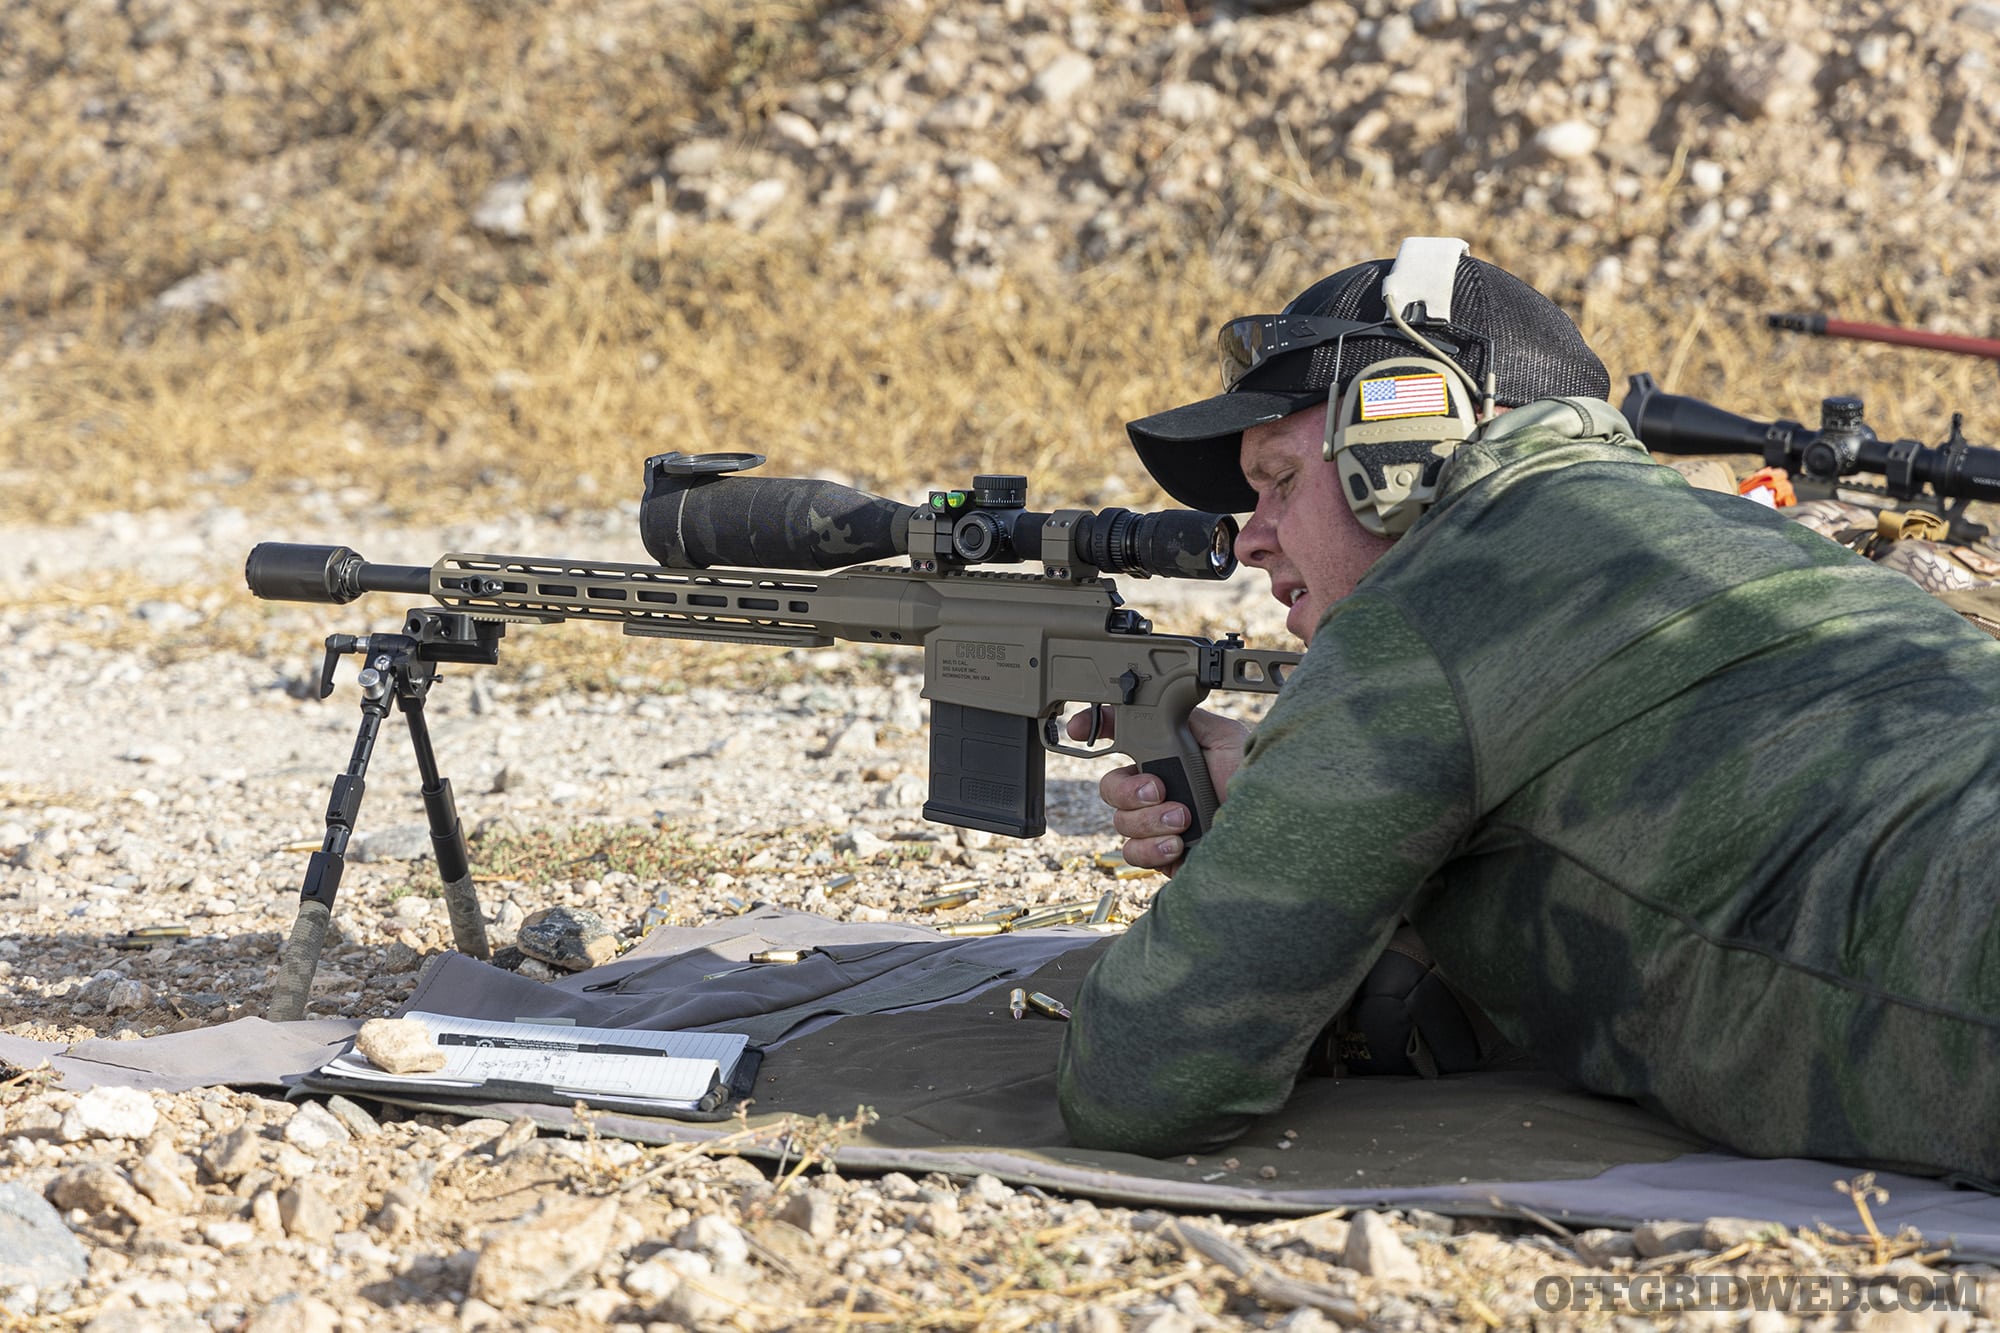
Drills began with standing shots at 100 yards, a stark reminder of how much our accuracy degraded without the stability of a prone position. We then experimented with the other positions and transitioning between them to increase stability for longer shots. I quickly learned that I'm more comfortable standing behind a tripod or sitting; kneeling caused discomfort and slight muscle tension that led me to miss more.
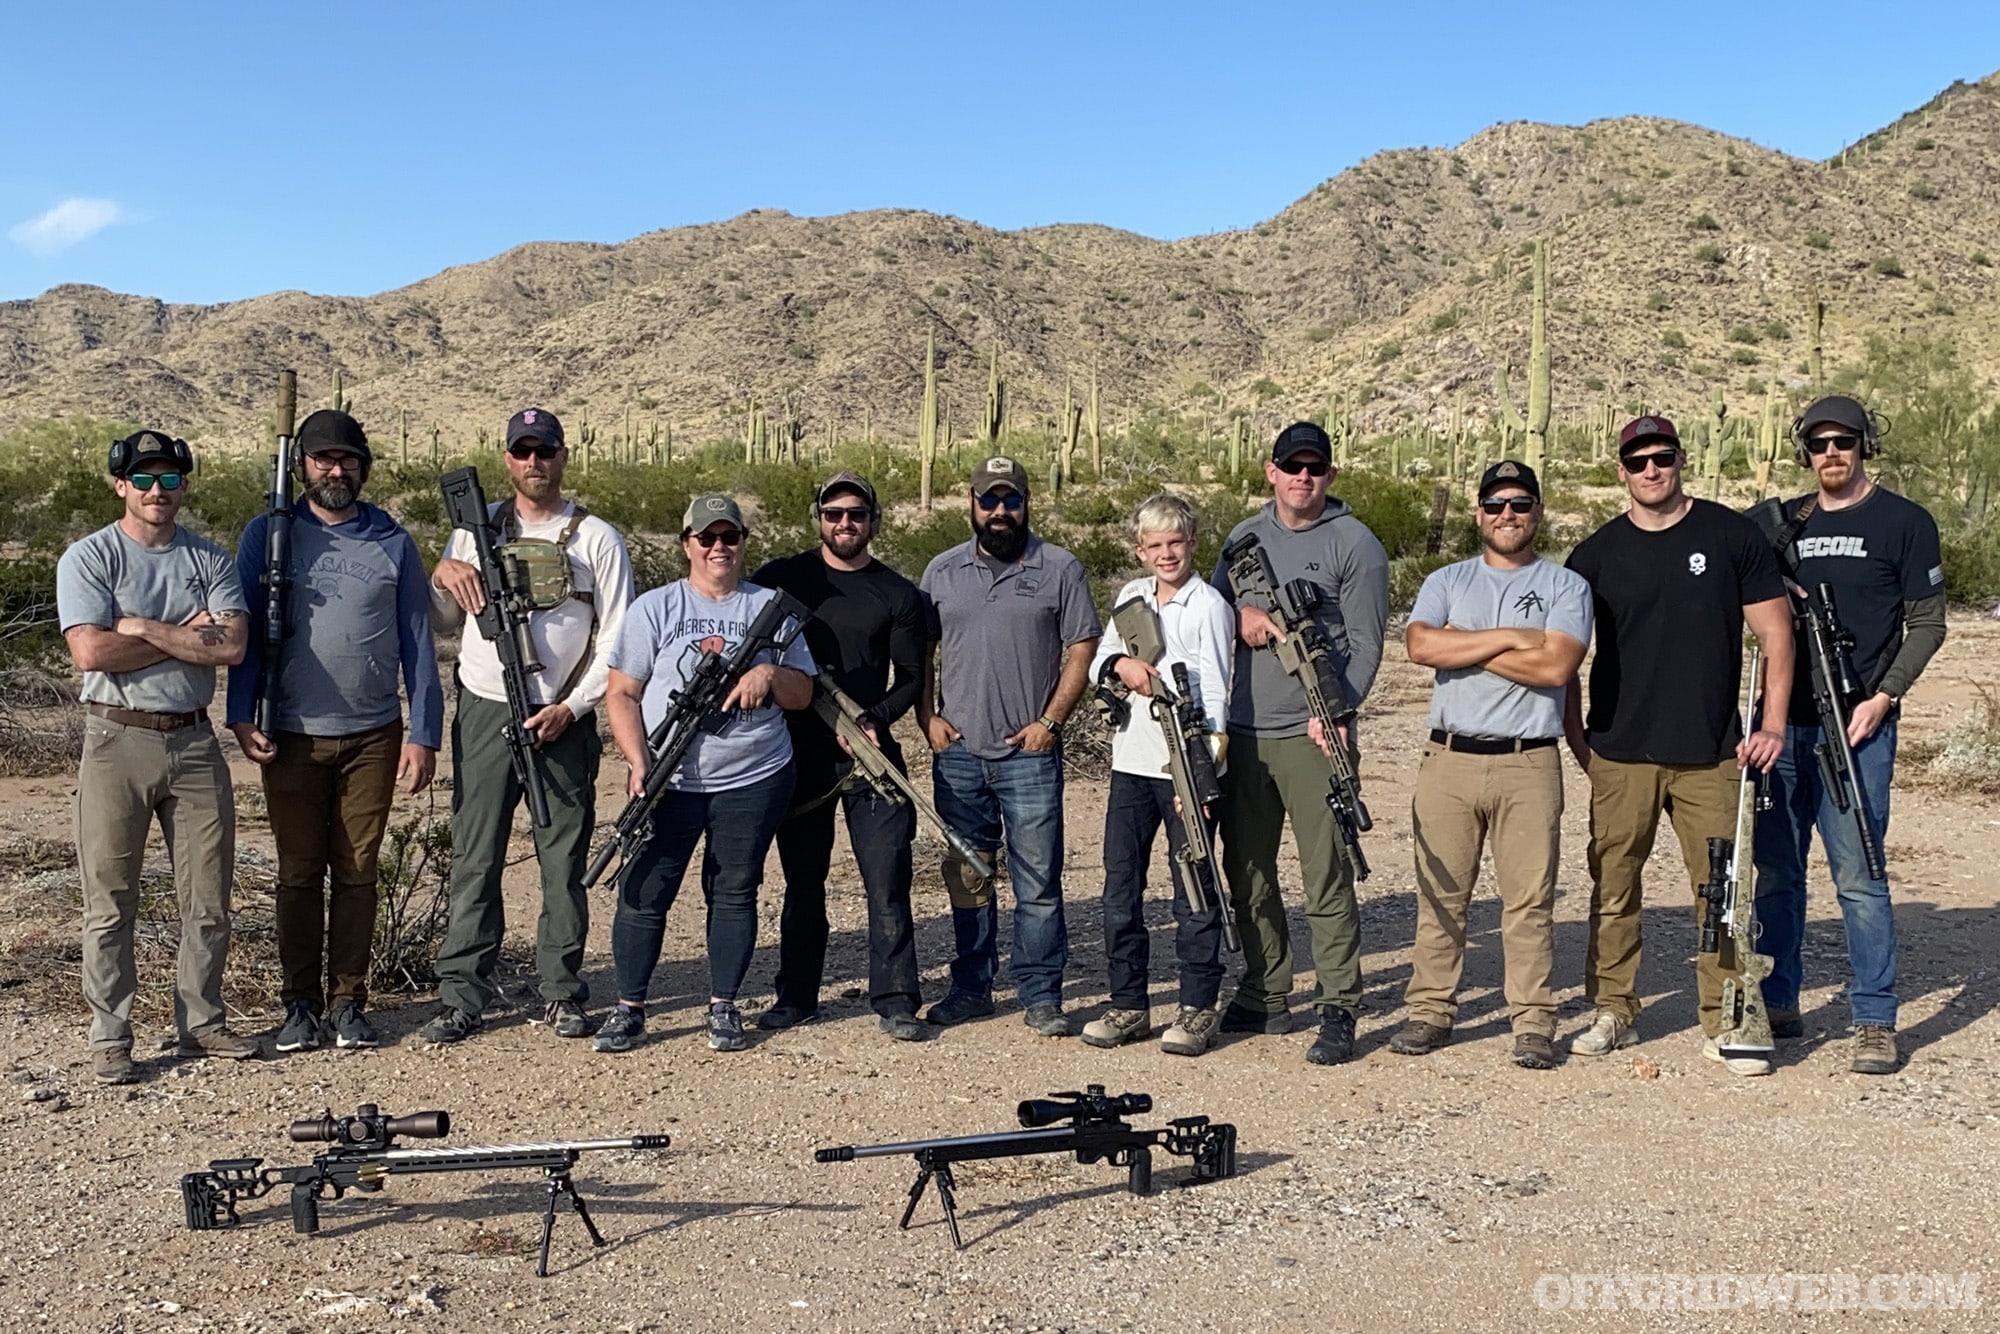
Above: Our class included a young shooter who quickly got the hang of long-range skills. Soon, he was ringing steel at distances the adults were struggling with.
On the final day of the class, we began incorporating competition-style stages with multiple shots from various positions. This positional complexity was layered on top of the challenge of maintaining fundamentals (don't forget your shooter's checklist!), dialing corrections into our optics, and holding for wind. Students traded off shooter and spotter duties, learning to communicate misses quickly and clearly. “You're low and slightly left” is not very helpful; “hold 0.2 MIL above right shoulder” is much more useful feedback. For quicker and less precise corrections, the clock method also worked well: “hold just off the edge of the target at 2:00.”
Our “final exam” combined all of the skills from the 101 and 102 portions of this four-day Apex Training Solutions class. It consisted of five targets, ranging from a full-size IPSC silhouette at 344 yards to an 8-inch round plate at 784 yards. We had a 4.5-minute time limit to hit each target once, with the same 10-second re-engagement window as before.
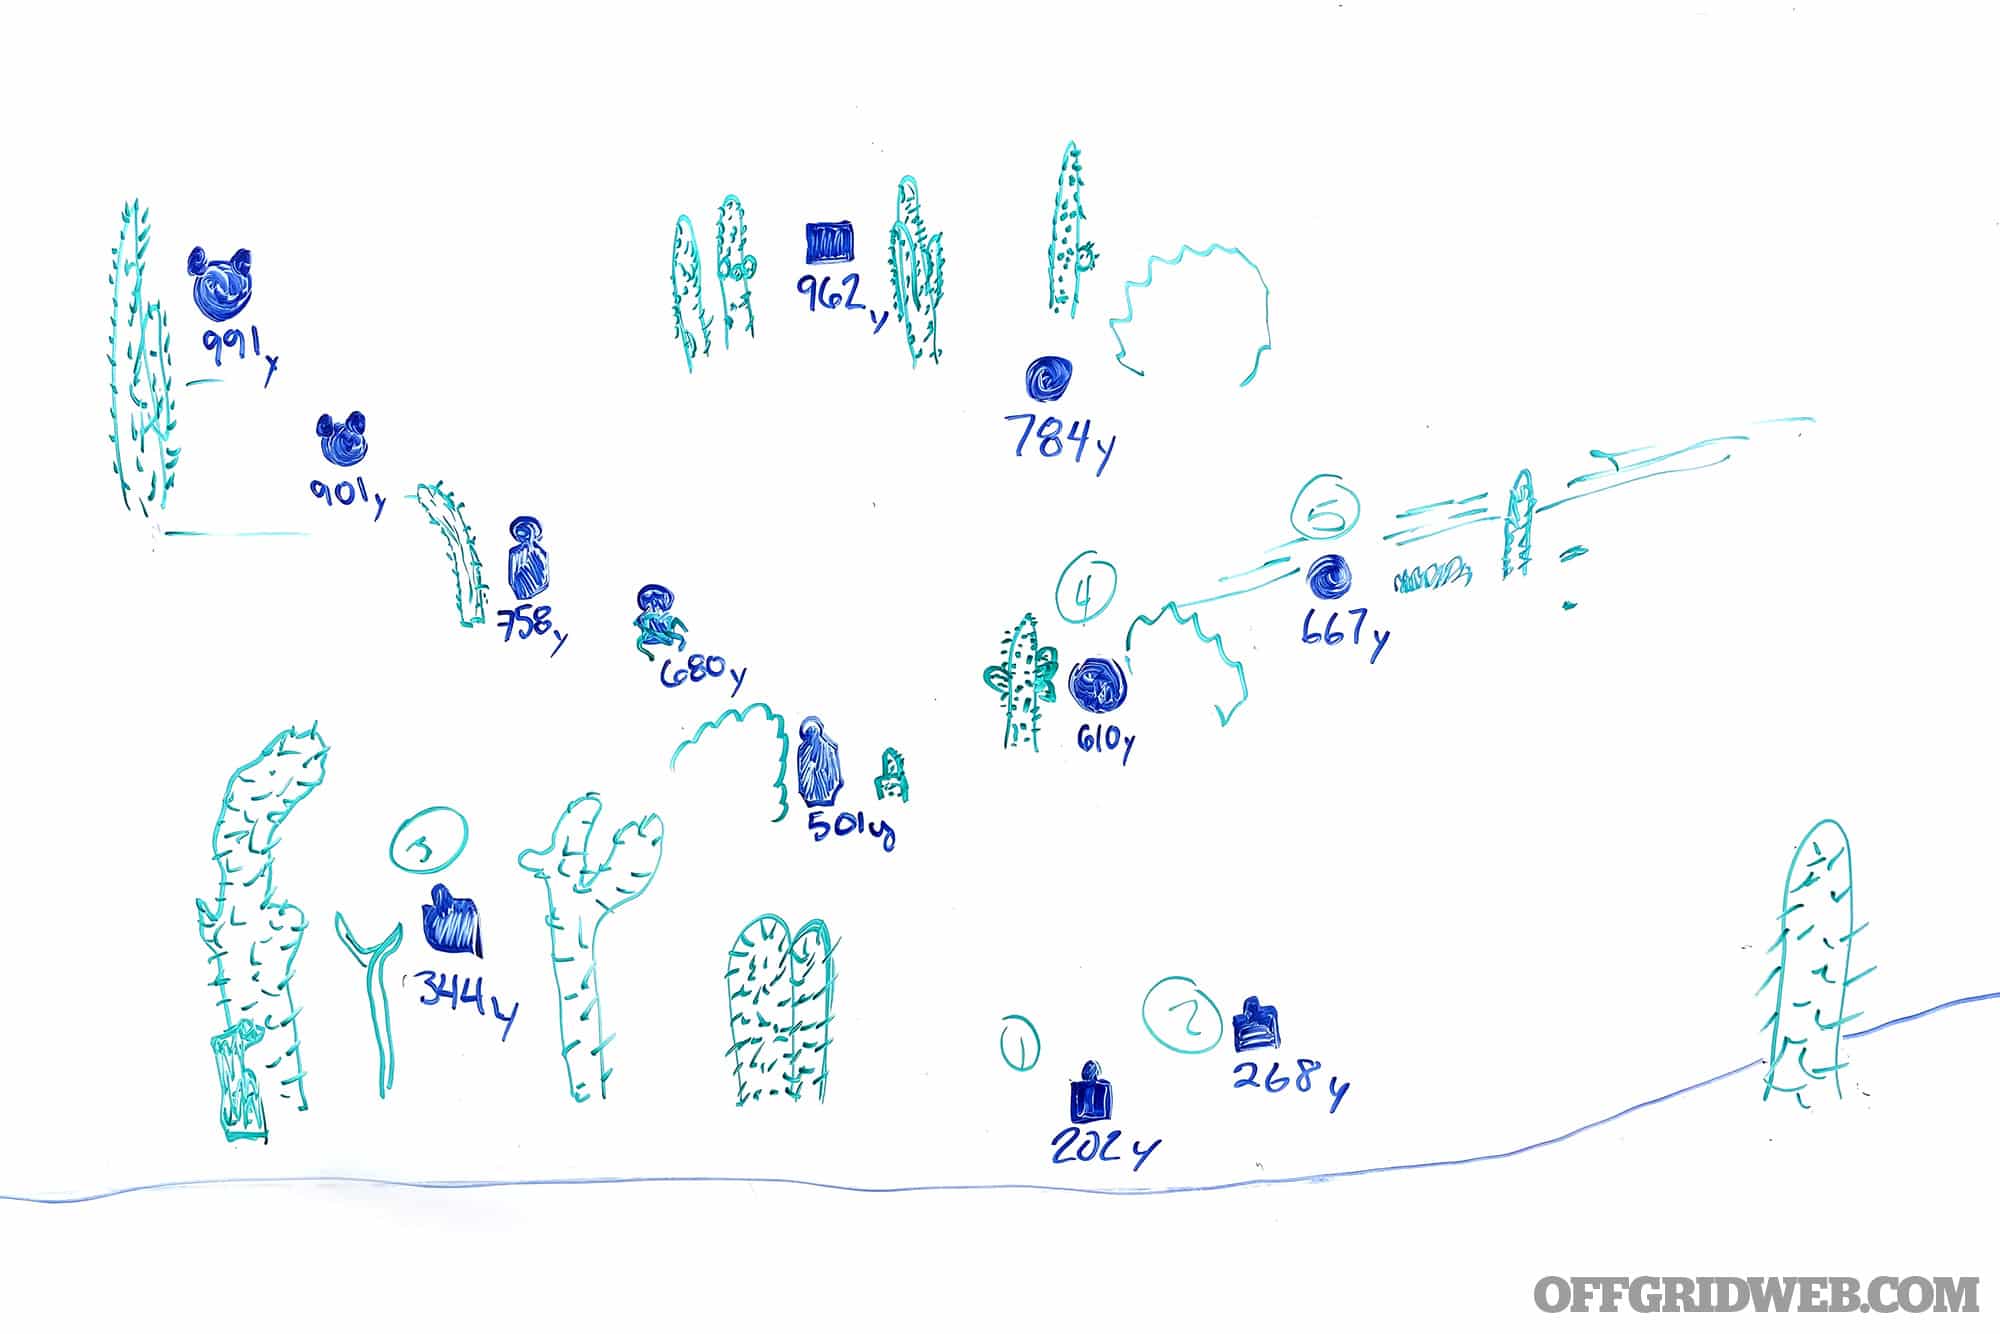
Above: An example range card drawn on a white board, illustrating target placement, shape, distance, and shooting order for one drill.
We sketched range cards with illustrations of each target shape and position, plus nearby landmarks (such as a tall cactus or tree) that could help us spot the targets. Some were partially obscured behind brush and difficult to locate, especially under the pressure of a time constraint. Our range cards also included MIL (or MOA) corrections to dial into our optics, corresponding to the range of each target. On top of all of this, we had to shoot each target from a different position — prone, sitting, low kneeling, high kneeling, and standing with a tripod.
Impact!
Coming into this class as a relative novice to the world of long range shooting, I learned a lot about its intricacies and challenges. It's certainly a different experience to shooting a carbine at intermediate range — even when you're chasing sub-1-inch groups at 100 yards, you're not having to consider any of the deterministic or non-deterministic ballistic factors. However, when you perfectly manage the variables and everything falls into place, it's incredibly satisfying to hear your spotter yell “impact!” a split second before the distant ringing of steel reaches your ears. I completely understand the allure of the long range shooting skill set. And, as I mentioned at the start of this article, it's a skill more shooters should pursue. When you can get consistent hits out to 1,000 yards, doing it at 100 yards will feel like child's play.
If you'd like to take a long range shooting class with Apex Training Solutions — whether it's their 101, 102, or the more advanced 103 curriculum — you can go to www.usapextrainingsolutions.com to check their course calendar.