In This Article
Survival skills are essential in uncertain times. Prepping ensures that you and your family can handle emergencies with confidence. This guide explores the fundamentals of prepping, urban survival, wilderness survival, and emergency preparedness. You'll discover practical advice, tools, and training to build your skills and readiness.
Q: But aren't Preppers Crazy?!
A: No!
Why: Sadly, the media has done a great job connecting the term “prepping” with those on the fringes who go over the top and make them look insane for doing so.
Disclaimer: Ask anyone who has taken a trip down the rabbit hole of survival and emergency preparedness “what is the best way to start prepping?”, and most likely you find the answer to be, “it depends.” The truth about prepping is: there is no single best way to do it!
Since no two people are experiencing the exact same life circumstances, we can not expect how we prepare for the unknown to be the same. If that sounds potentially overwhelming, do not despair, here are very similar places to start! When you boil prepping down to things that are necessary to live, what you arrive at is a handful of basics at which most people can start.
Start Prepping Here
| Step | Items | Resource Links |
| 1) Take Care of Yourself First! | – Physical Preps – Dental Preps – Mental Preps – Financial Preps | Fitness Basics Dental Hygiene Mental Health Hygiene Financial Education |
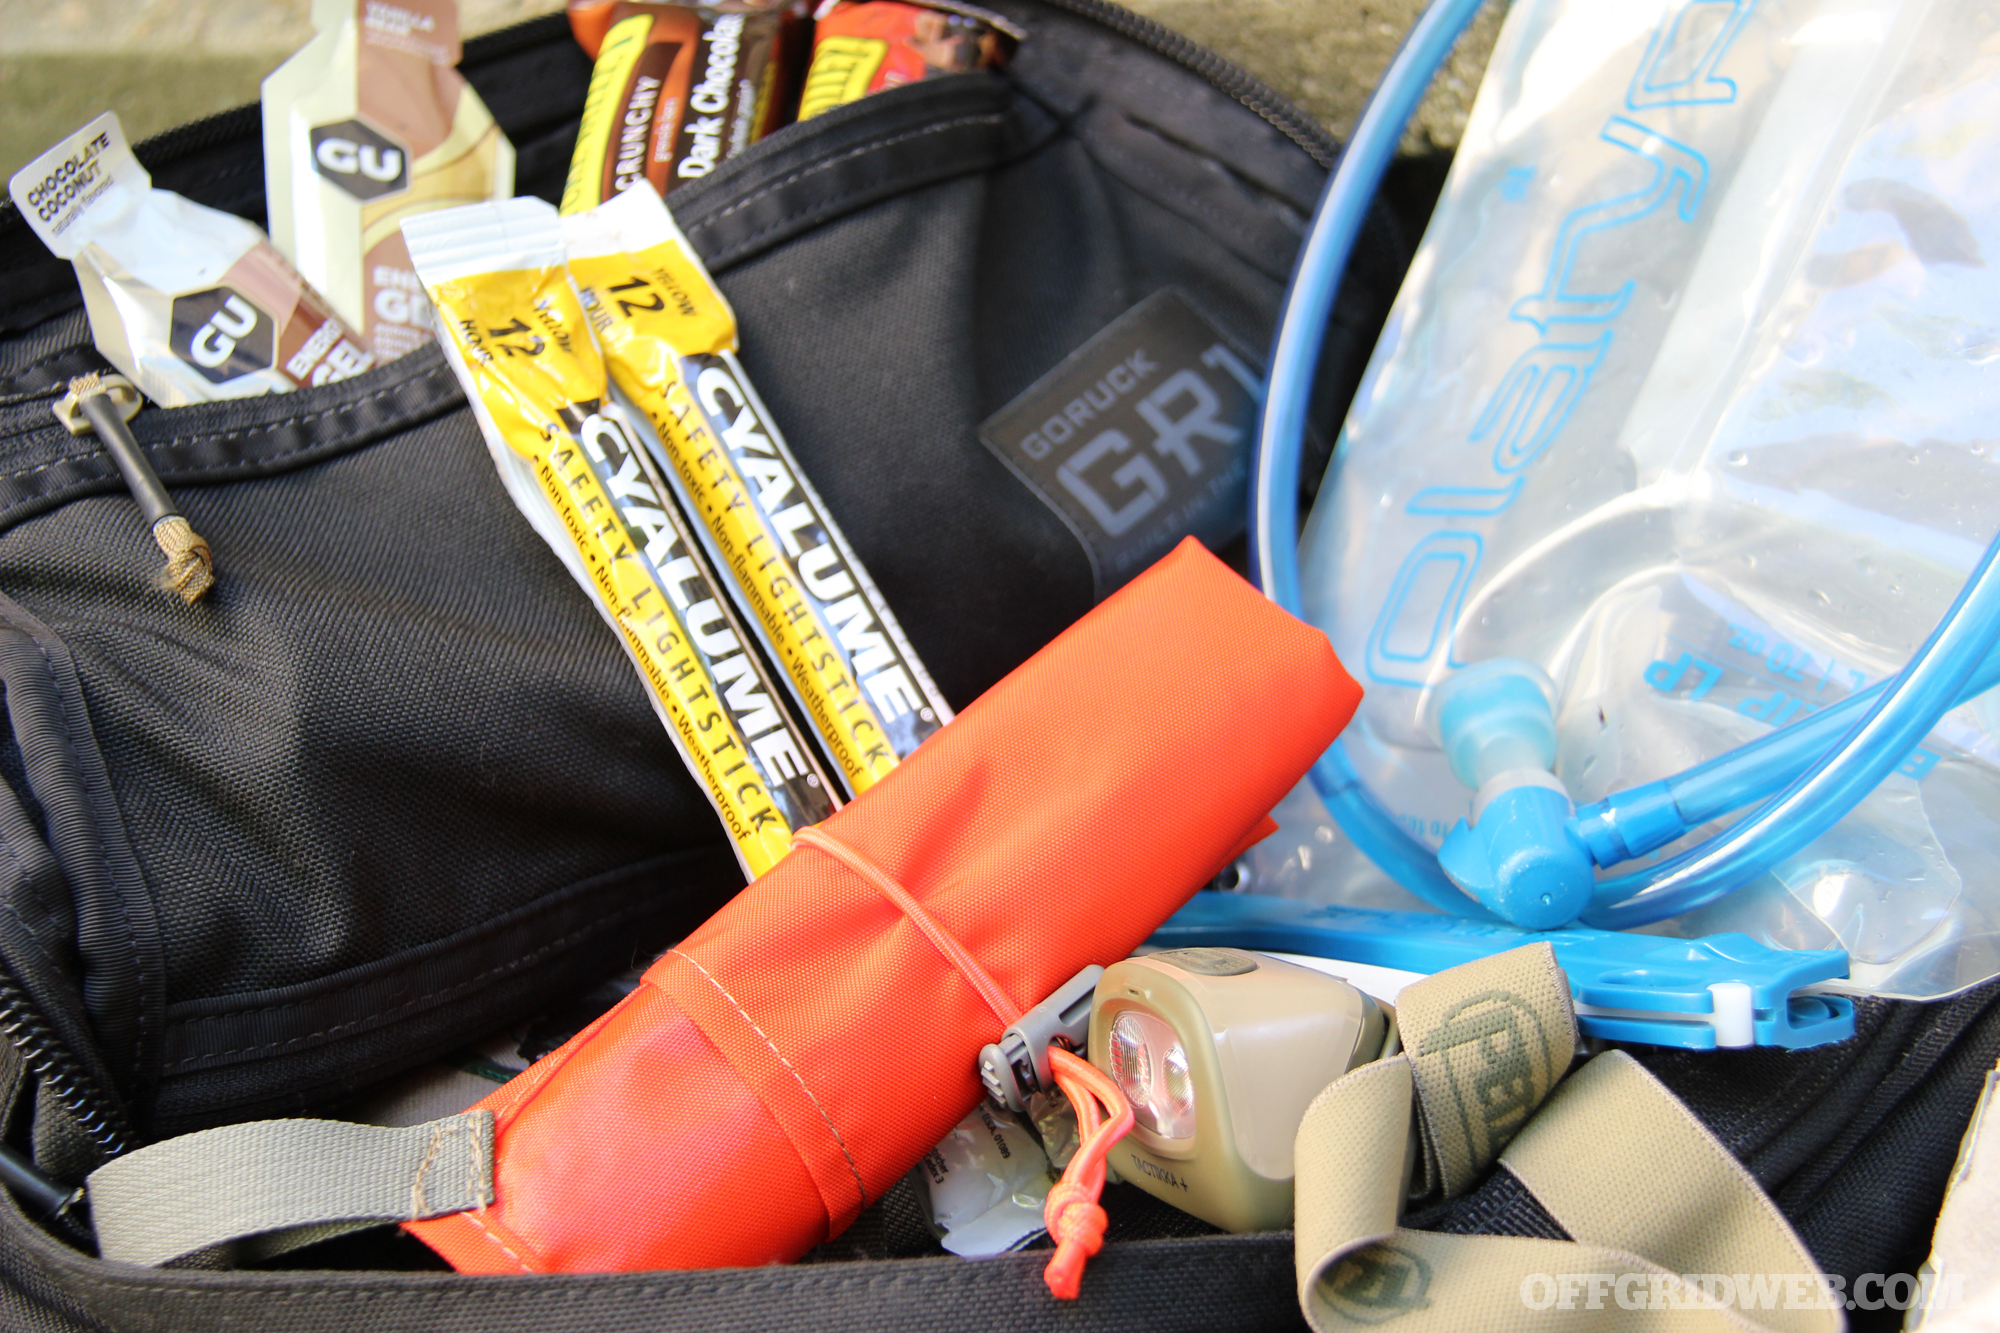
| 2) Create a Basic Emergency Kit | – Water (1 gallon per person per day) – Non-perishable food for 3 days – First aid kit – Flashlights with extra batteries – Multi-tool and duct tape – Emergency blankets | Bug Out Bag List of Essentials How to Plan and Pack Your Go Bag Ready.gov: Build a Kit Red Cross: Emergency Preparedness Kits |
| 3) Develop an Emergency Plan | – List emergency contacts – Identify evacuation routes – Set up meeting points – Use communication apps like Zello | Ready.gov: Make a Plan CDC: Prepare Your Health CDC: Making an Emergency Plan |
| 4) Learn Essential Survival Skills | – Fire-starting – Water purification – First aid and CPR – Navigation with compass and maps | The 10 S's of Fire Starting Minimum Water Boiling Time First Aid in the Field Raw Wilderness Navigation |
| 5) Stockpile Long-Term Supplies | – Freeze-dried foods – Water storage systems – Solar chargers – Self-defense tools | Nutrient Survival Grayl Solar Chargers Generators Self-Defense Tools |
| 6) Stay Informed | – Sign up for local alerts – Download weather apps – Join online prepper communities | Ready.gov National Weather Service BushcraftUSA |
To those who are new to prepping and need a quick start (or maybe you want a refresher), this section provides a concise guide to help you build your foundation. Follow these steps to begin preparing for emergencies effectively and efficiently.

- Take Care of Yourself First!
If everything was taken away from you in an instant, you'd be left with the physical state of your body, and the mental resilience of your mind. If you do not feel comfortable with this knowledge, it may indicate that you need to prioritize self-care before thinking about bug out bags and survival rifles.
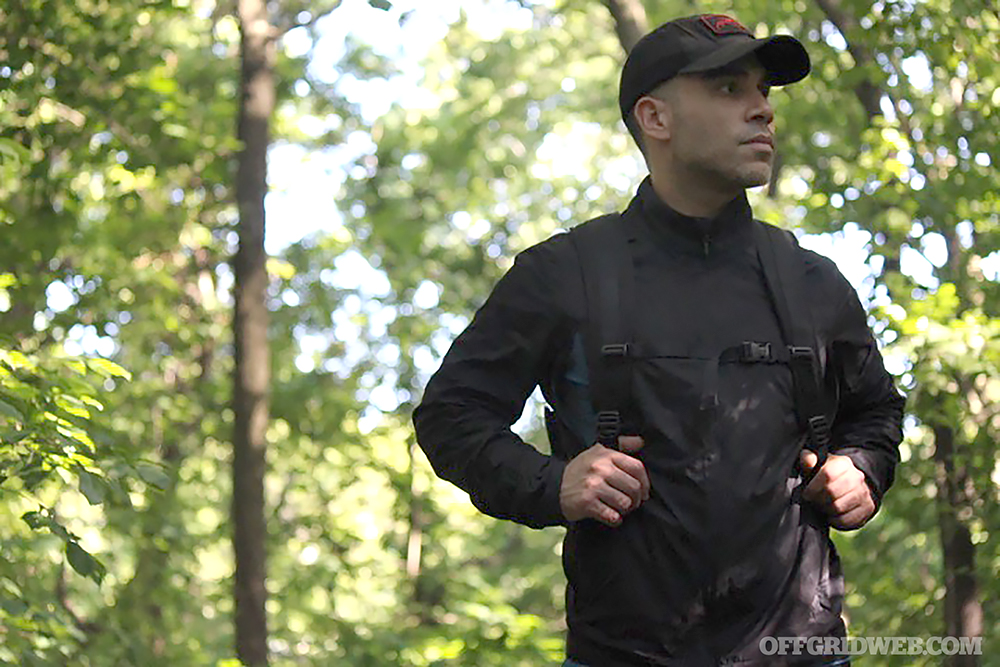
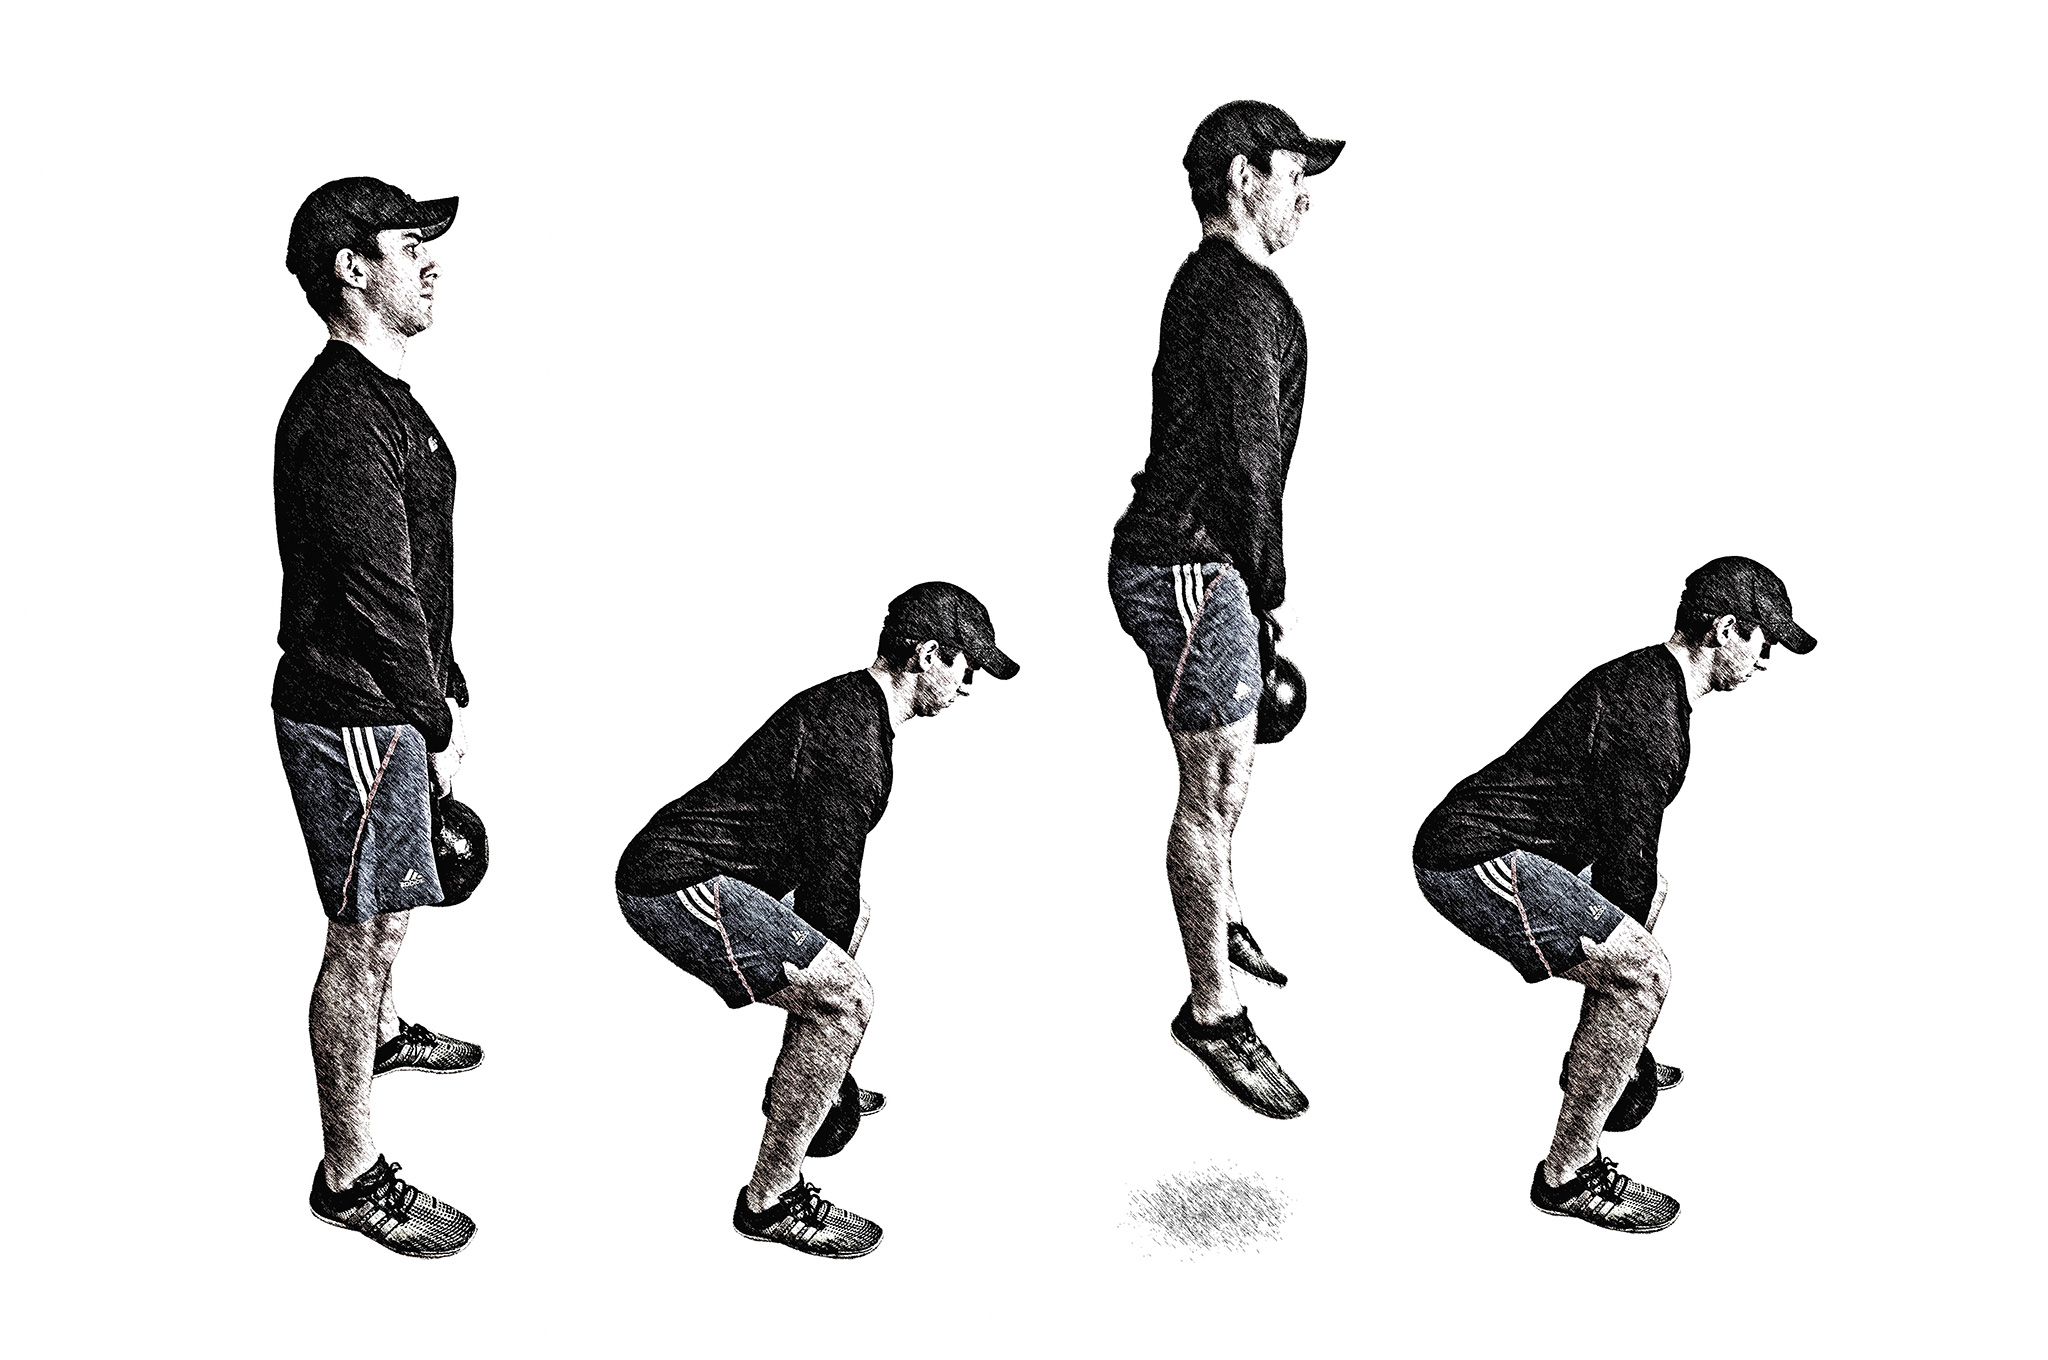
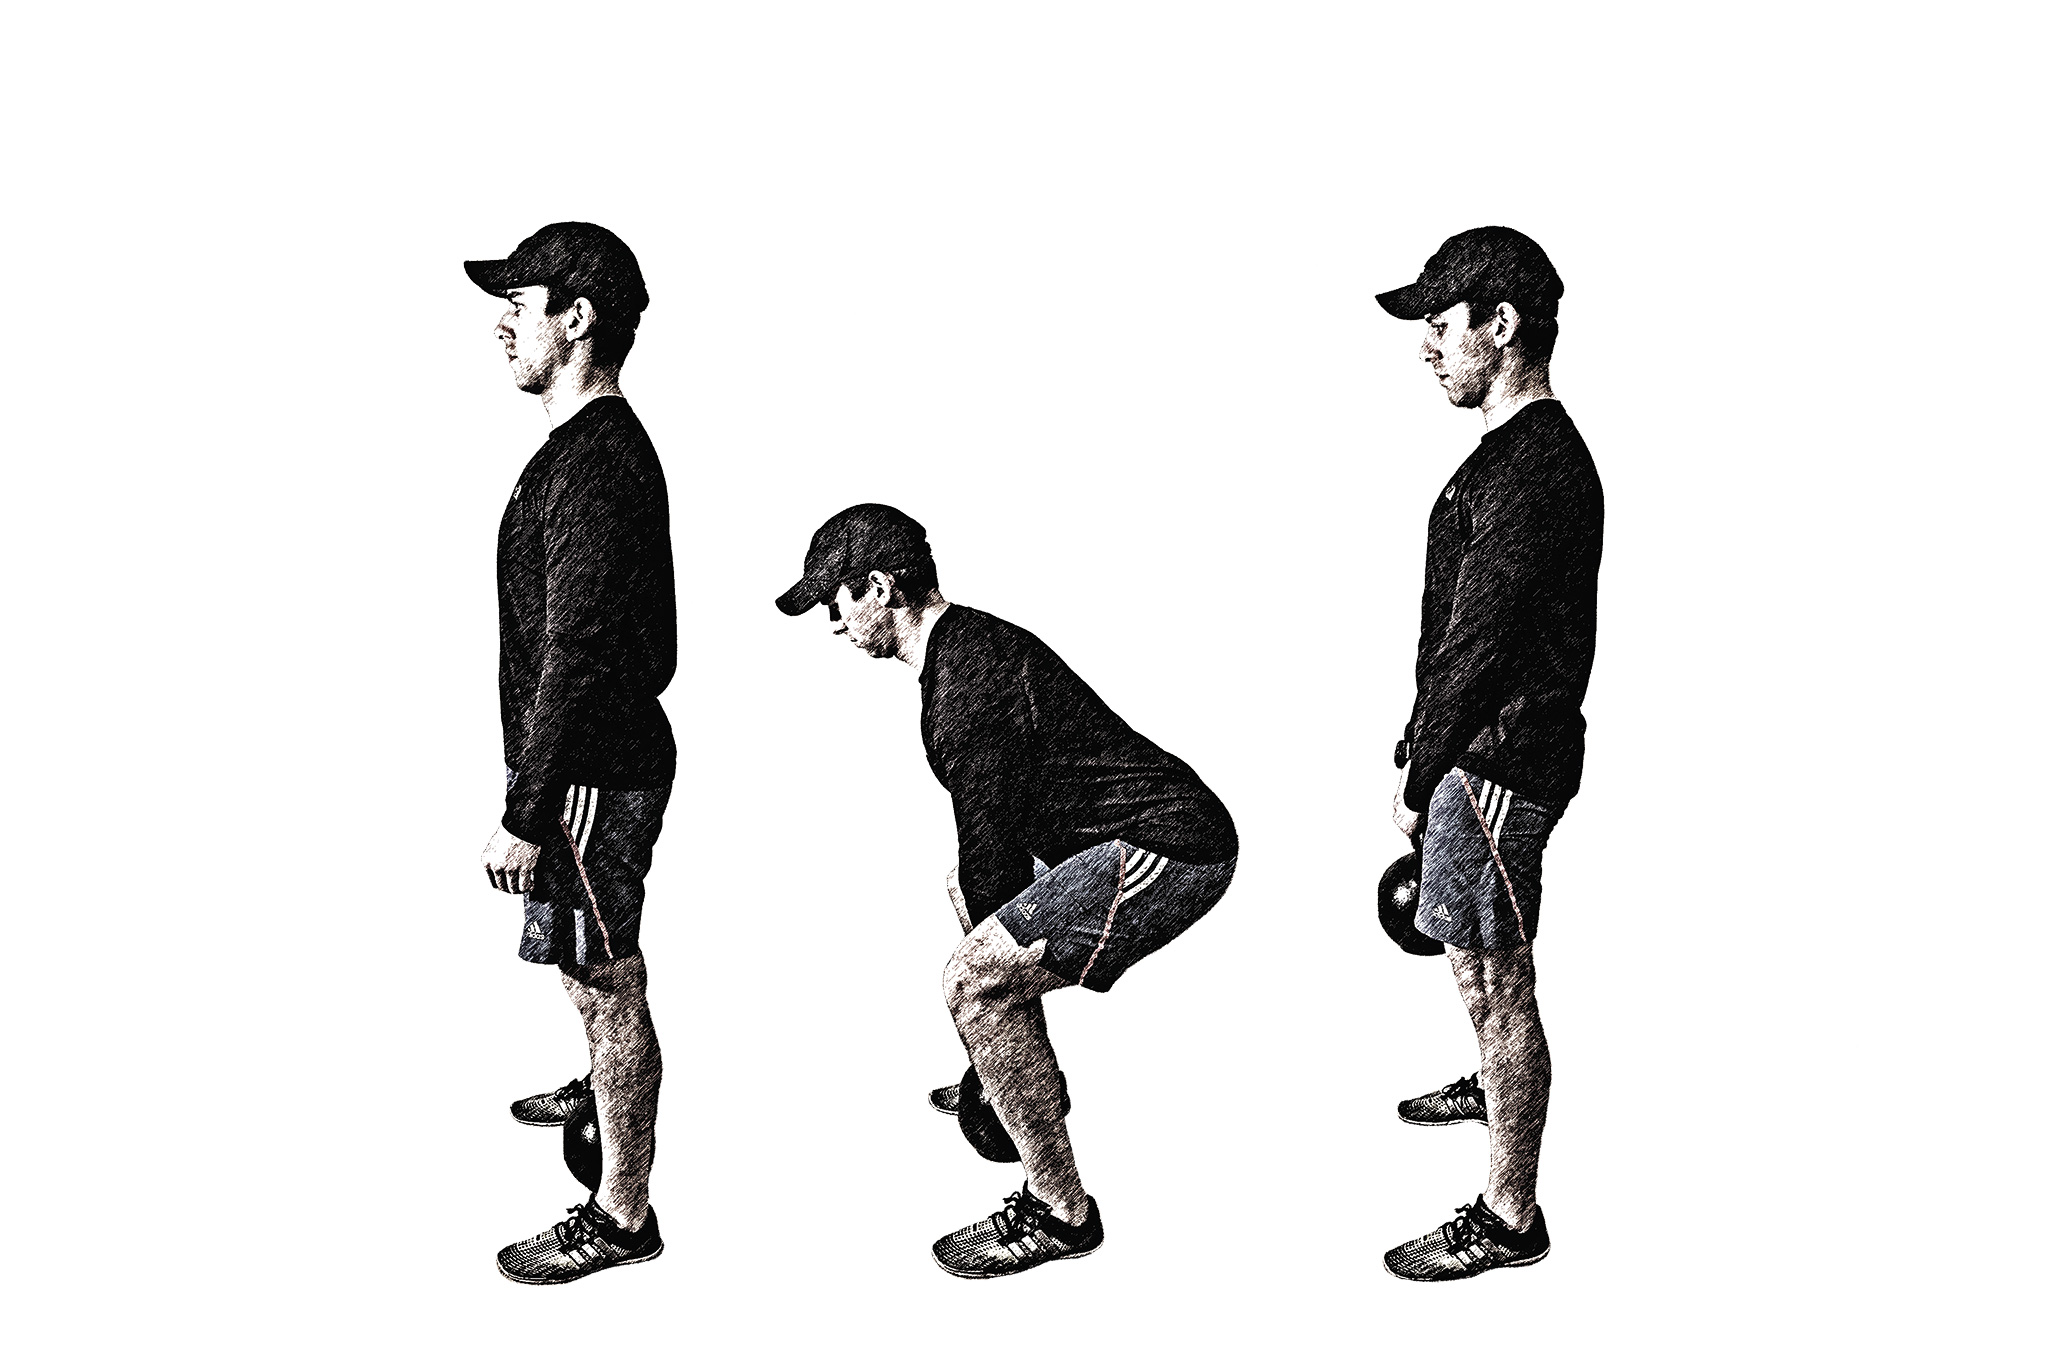
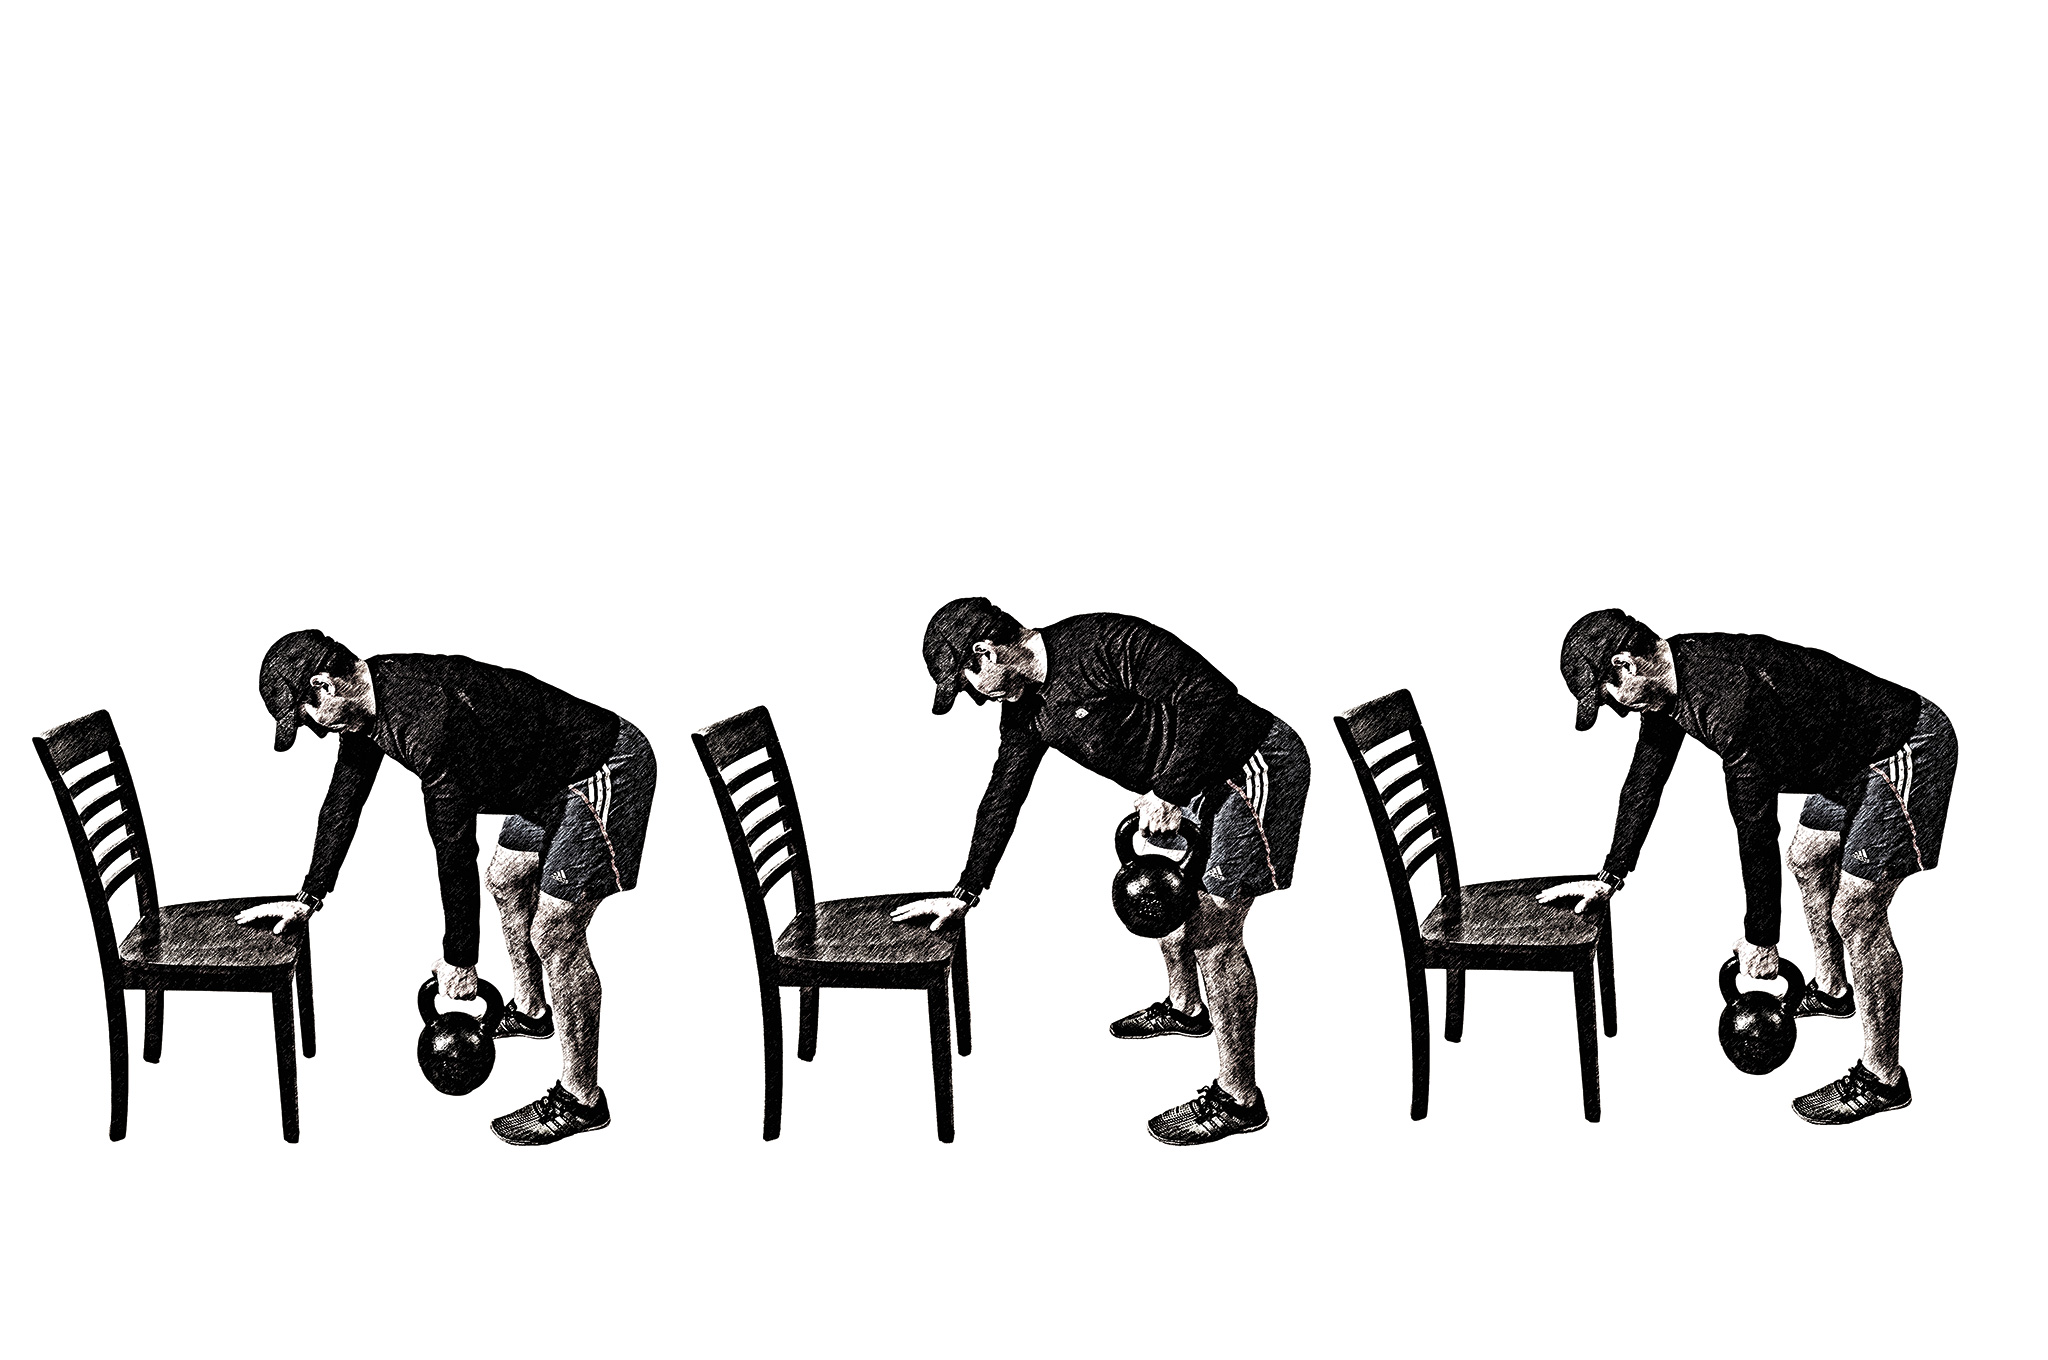
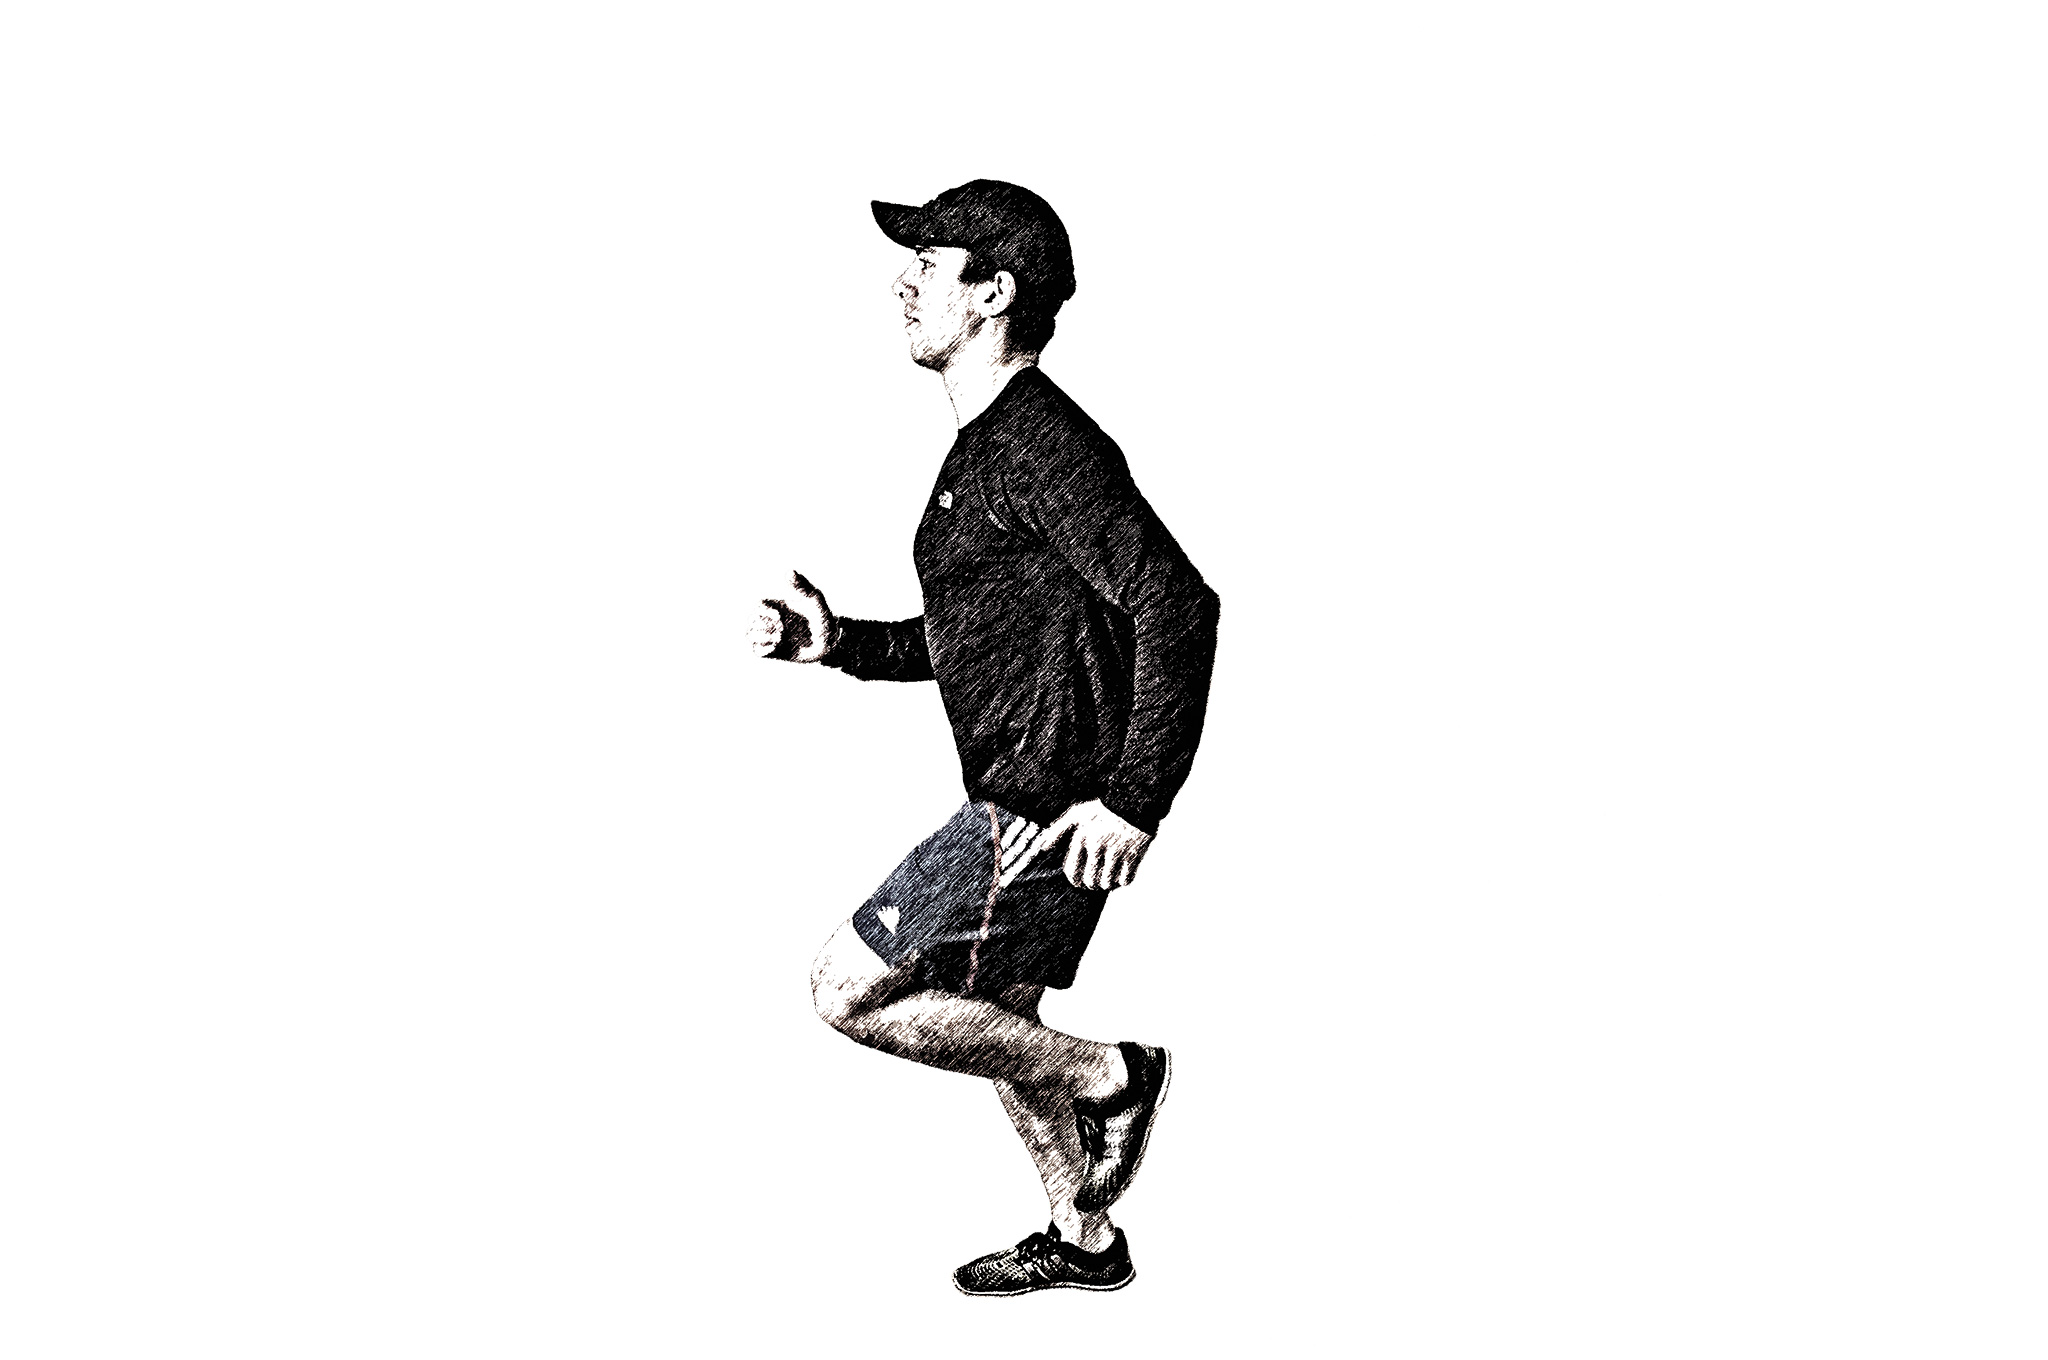
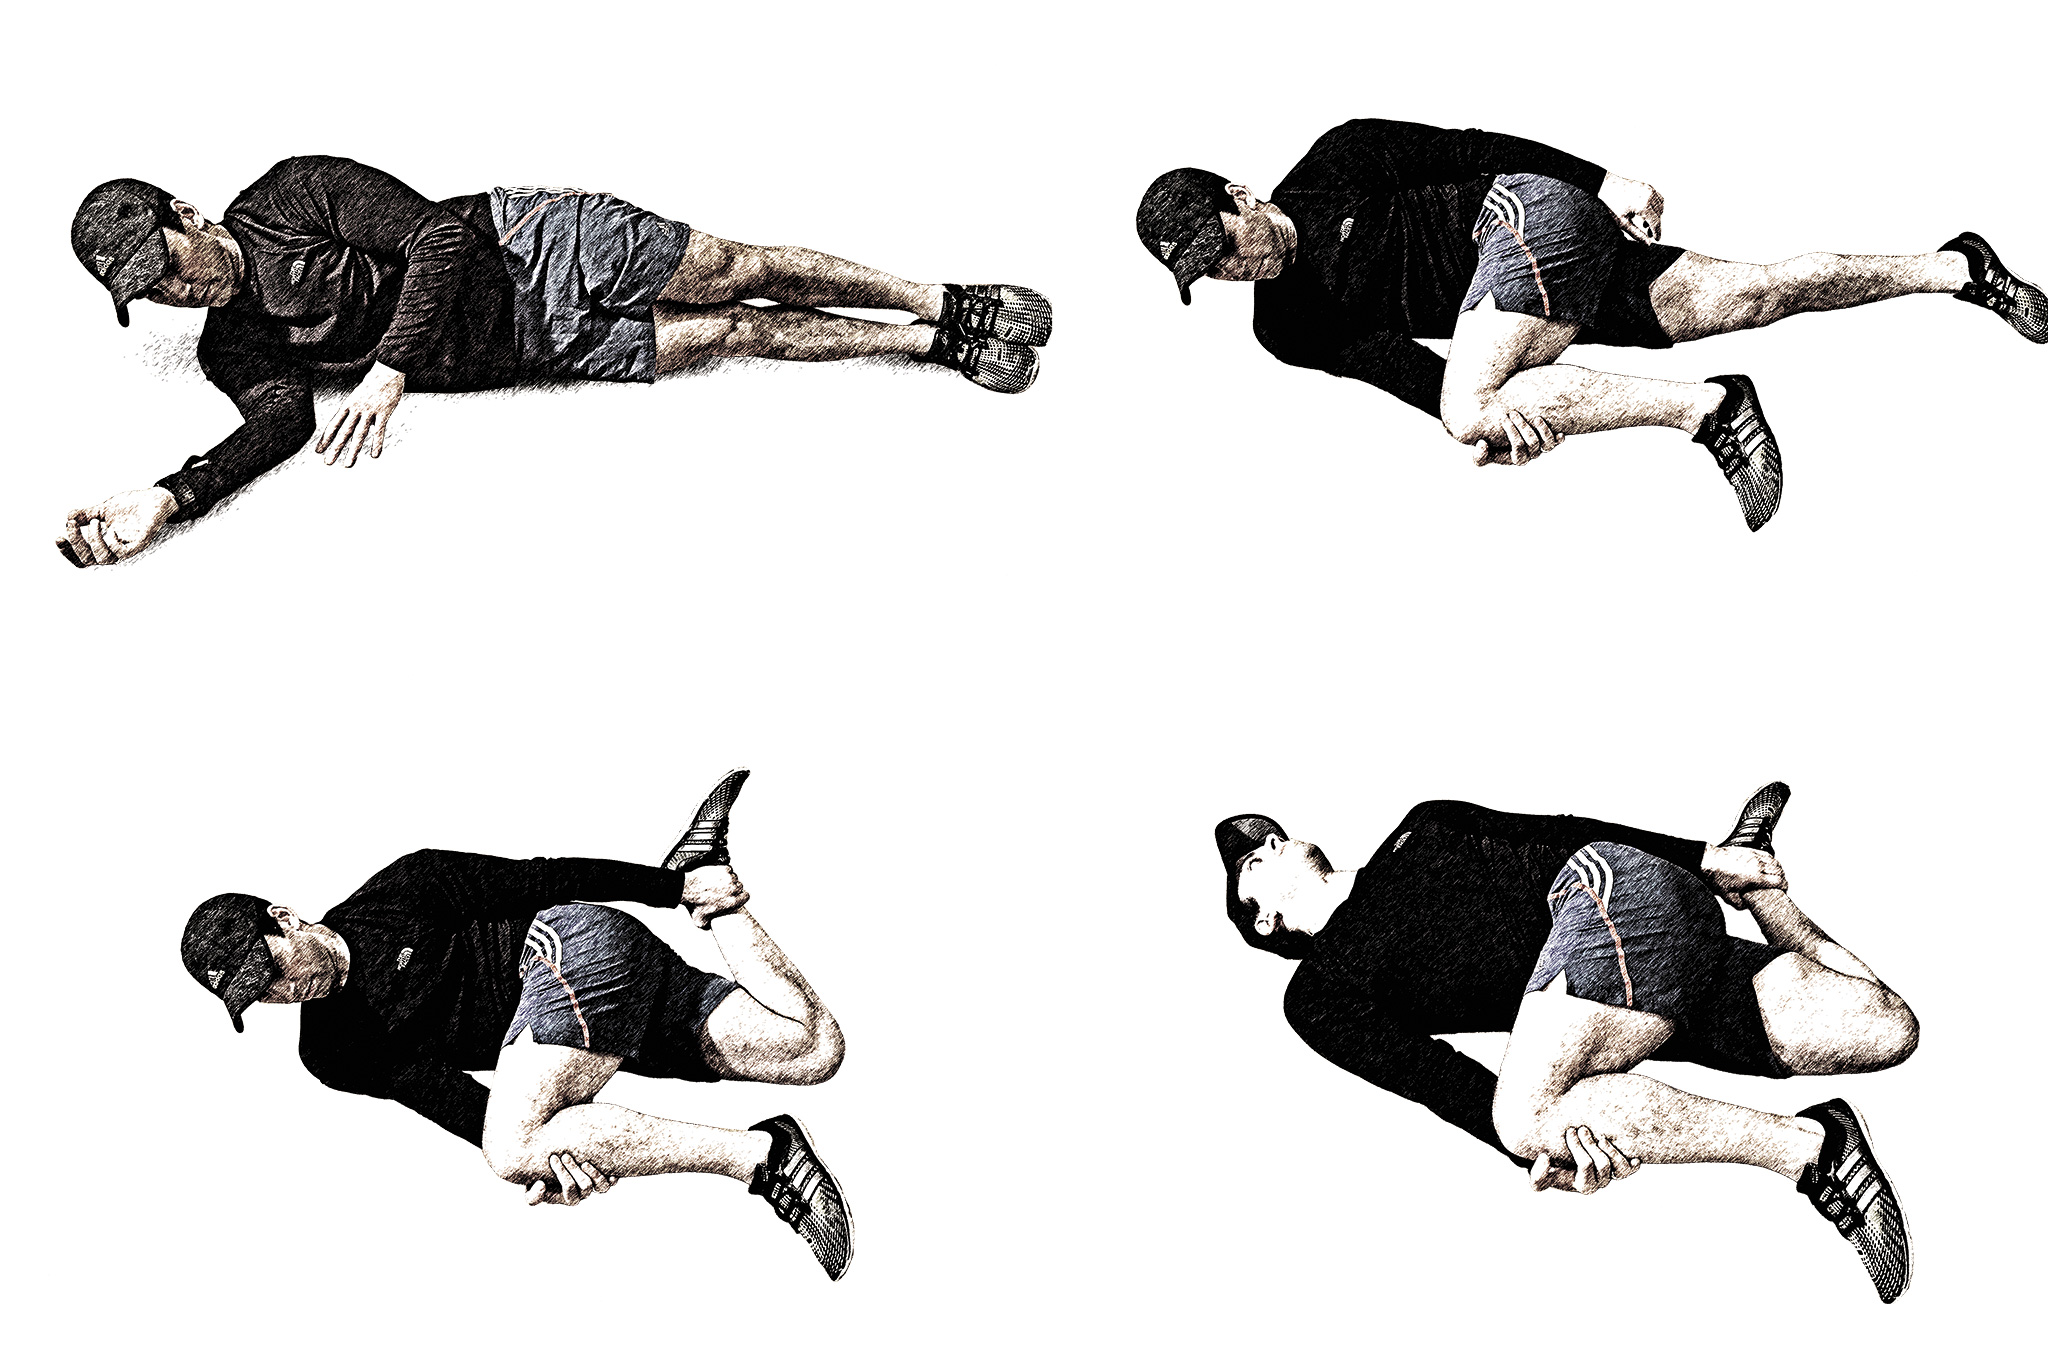
Physical Preps: Get a physical exam done by a doctor if you haven't recently had one. This is a crucial step since it will help identify if you are healthy enough for more rigorous training. It may even uncover any underlying health conditions you need to be aware of. Once you get the green light from the Doc, start training so you can physically handle adversities! Don't know where to start? Check out this intro to Fitness Basics from Mayo Clinic.
Dental Preps: We take this one for granted these days, but nothing gets in the way of daily activities like the agonizing pain of a toothache. See a dentist and get any problems taken care of so you don't have to worry about them later. Here is a helpful guide in case you might need a dental hygiene refresher.
Mental Preps: This is more important than anything else! Being able to carry a loved one to safety, or moving from point A to point B with all your gear without getting winded means nothing if you do not have the mental fortitude to do so. The will to live is a powerful thing, and has successfully guided people through the most horrific survival scenarios. If mental health is something you struggle with, work on building that resiliency, or get the help you need from a medical provider. There are a ton of resources out there on the subject, but this article from Stanford about Mental Health Hygiene might be a good place to start!
Financial Preps: Taking care of your finances is an essential aspect of survival preparation because it ensures you have the resources to handle emergencies, adapt to unforeseen circumstances, and invest in long-term resilience. Although it may seem overwhelming at first, Financial Education is easily self-taught and pays dividends (pun intended).
A solid financial foundation allows you to acquire necessary gear, build a well-stocked emergency fund, and secure insurance for potential risks. It also provides the flexibility to relocate or respond quickly to a crisis without being burdened by debt or financial instability.
By managing your money wisely, you gain peace of mind, reduce stress during emergencies, and empower yourself to focus on survival strategies rather than scrambling for resources when they’re most needed. - Create a Basic Emergency Kit
Making a basic emergency kit is a cornerstone of preparedness, providing the tools and supplies needed to respond to unexpected situations effectively. A well-stocked kit ensures you have access to essential items like water, food, first aid supplies, and communication tools when normal resources are disrupted.
Whether facing natural disasters, power outages, or sudden evacuations, an emergency kit gives you the ability to maintain safety and self-sufficiency for at least 72 hours. It also reduces stress during crises, allowing you to focus on critical decisions rather than scrambling to gather supplies.
A basic kit is not just a collection of items—it’s a proactive step toward protecting yourself and your loved ones when it matters most. Try to assemble the following items:- Water: At least one gallon per person per day for three days.
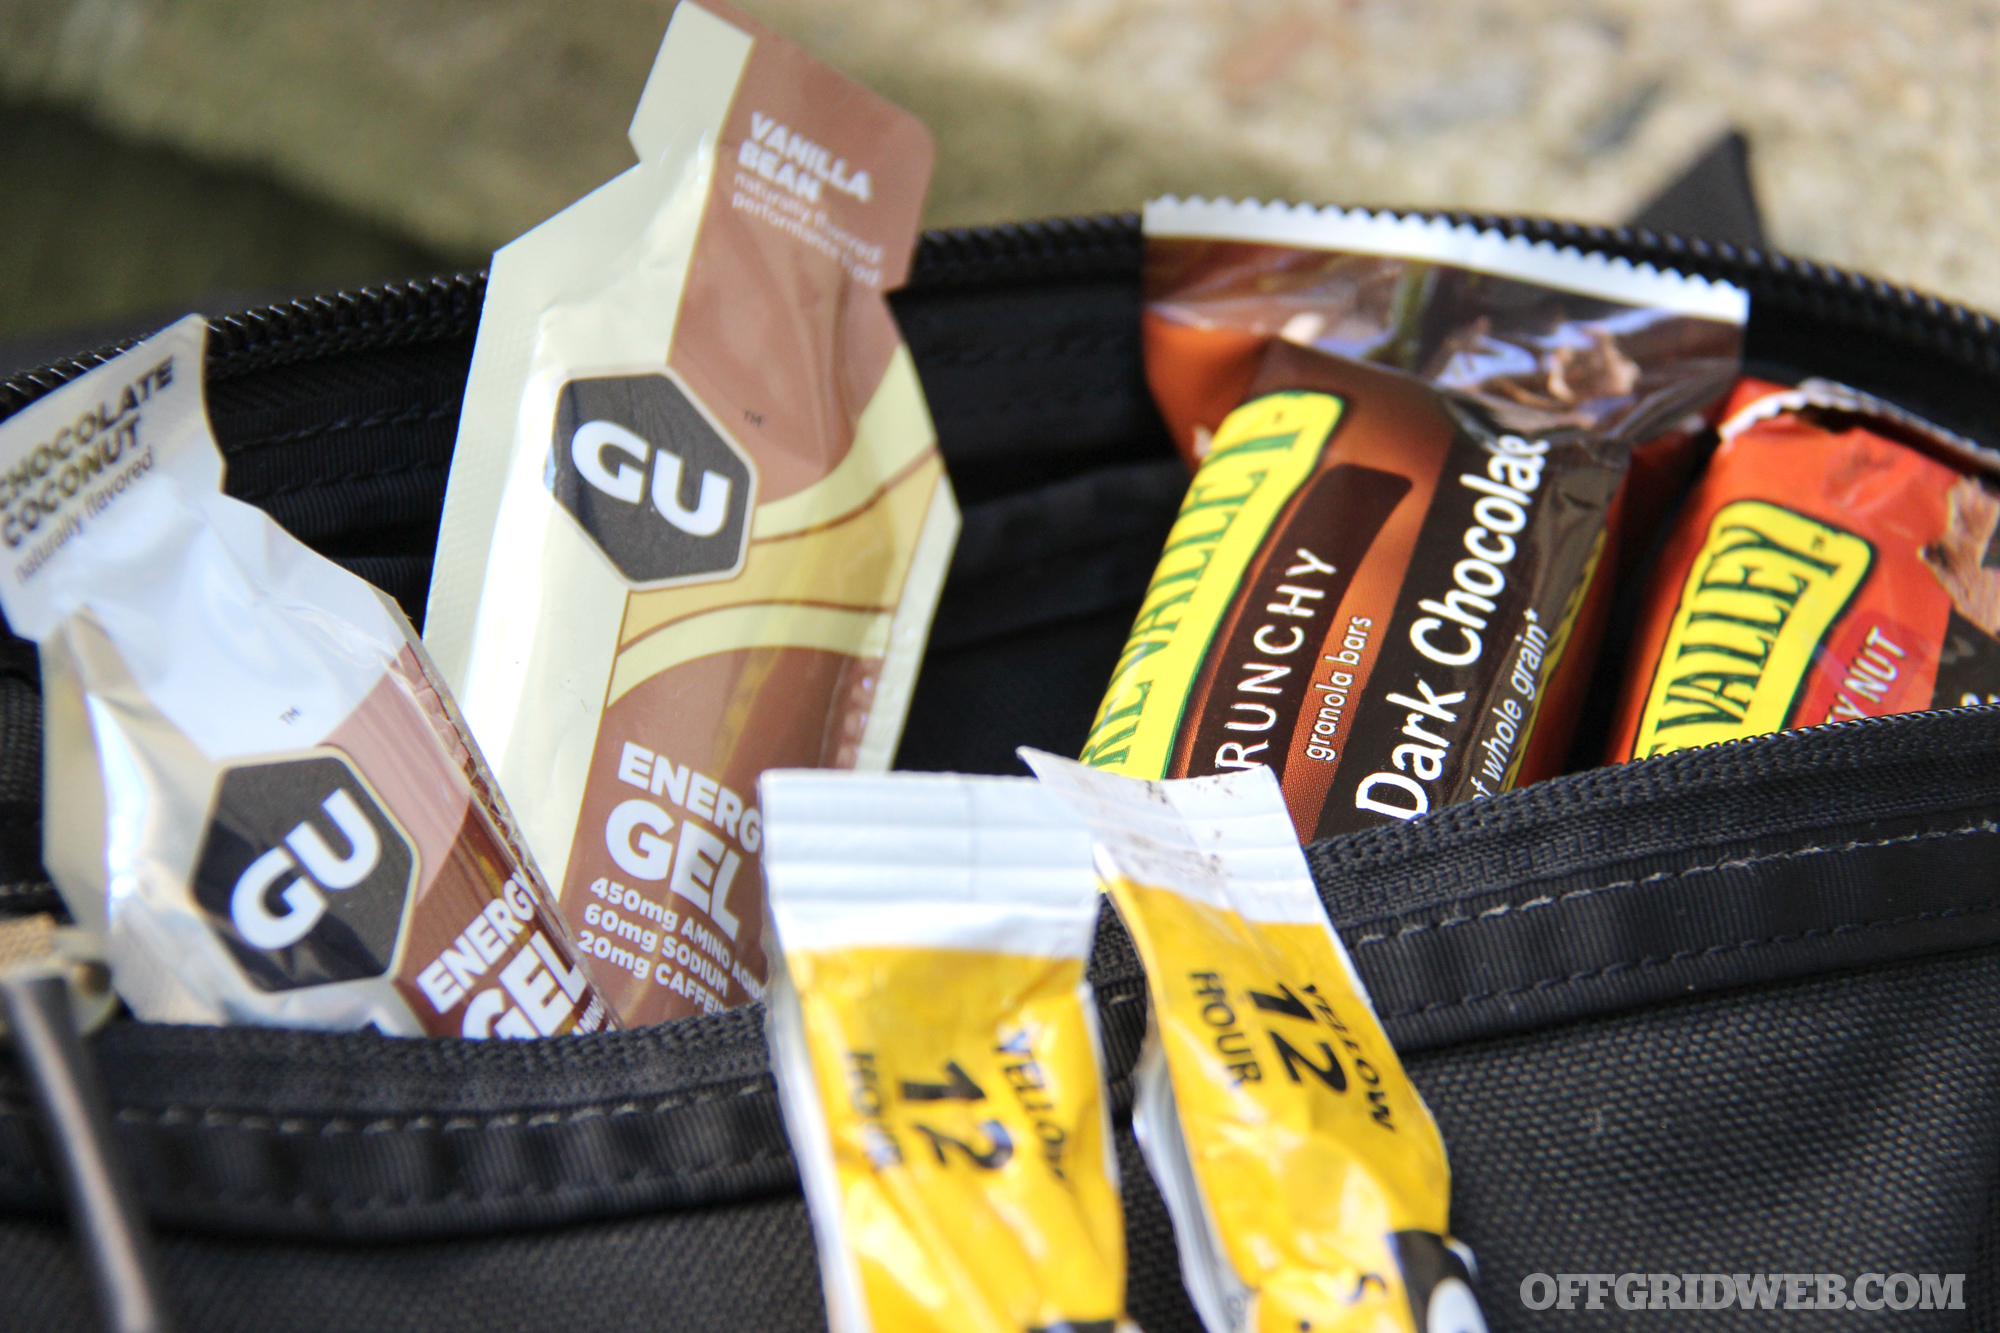
- Food: Non-perishable, easy to prepare meals for three days.
- First Aid: A comprehensive first aid kit with bandages, antiseptics, and medications.
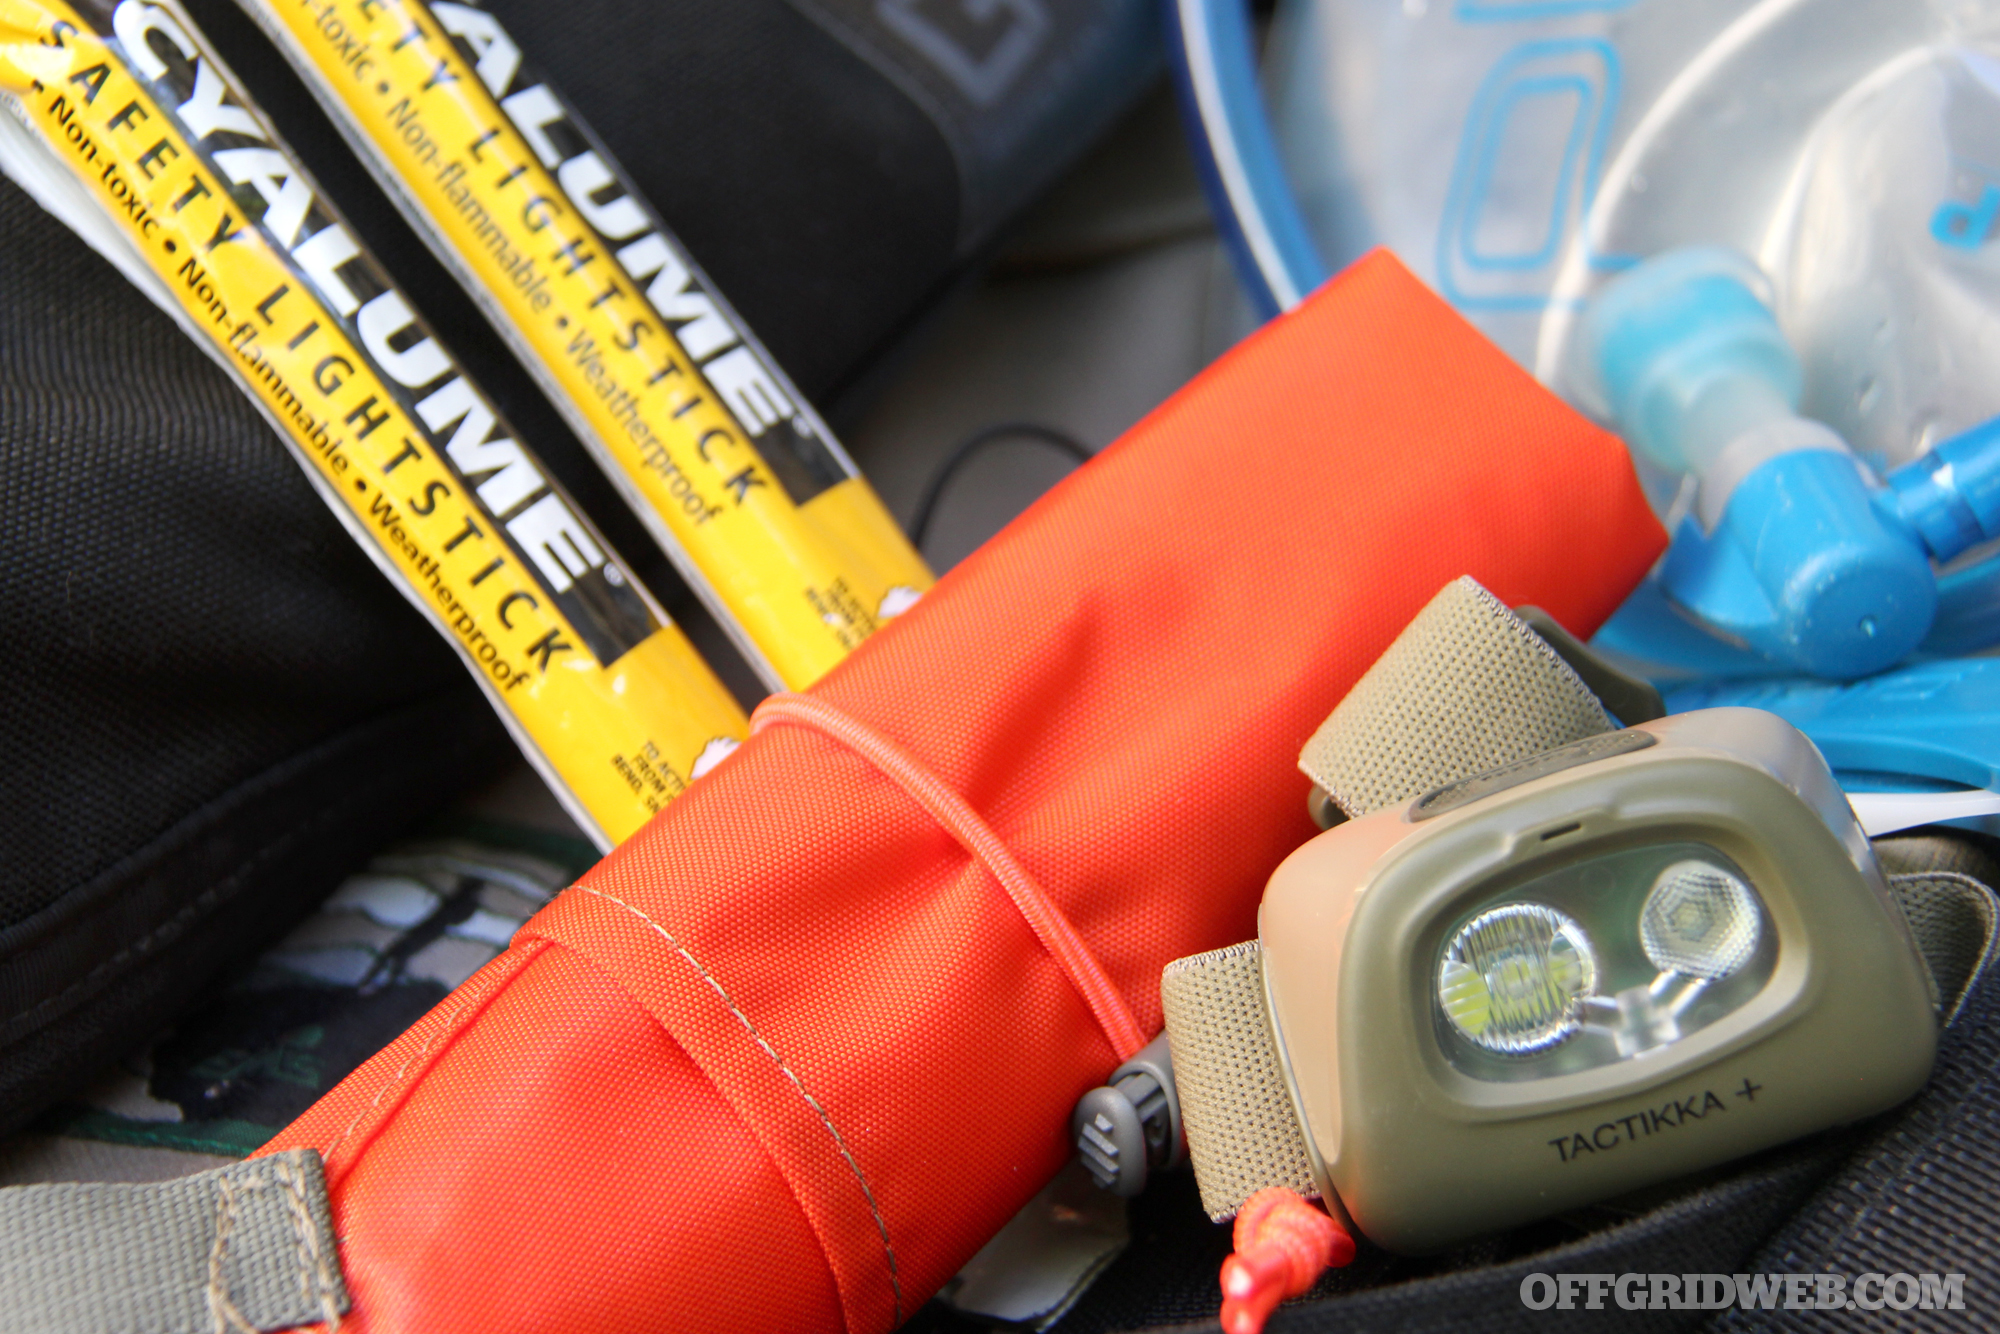
- Lighting: Flashlights with extra batteries or solar-powered options.
- Tools: Multi-tool, duct tape, and a whistle for signaling.
- Shelter: Emergency blankets or a lightweight tarp.
Helpful Resources:
- Develop an Emergency Plan
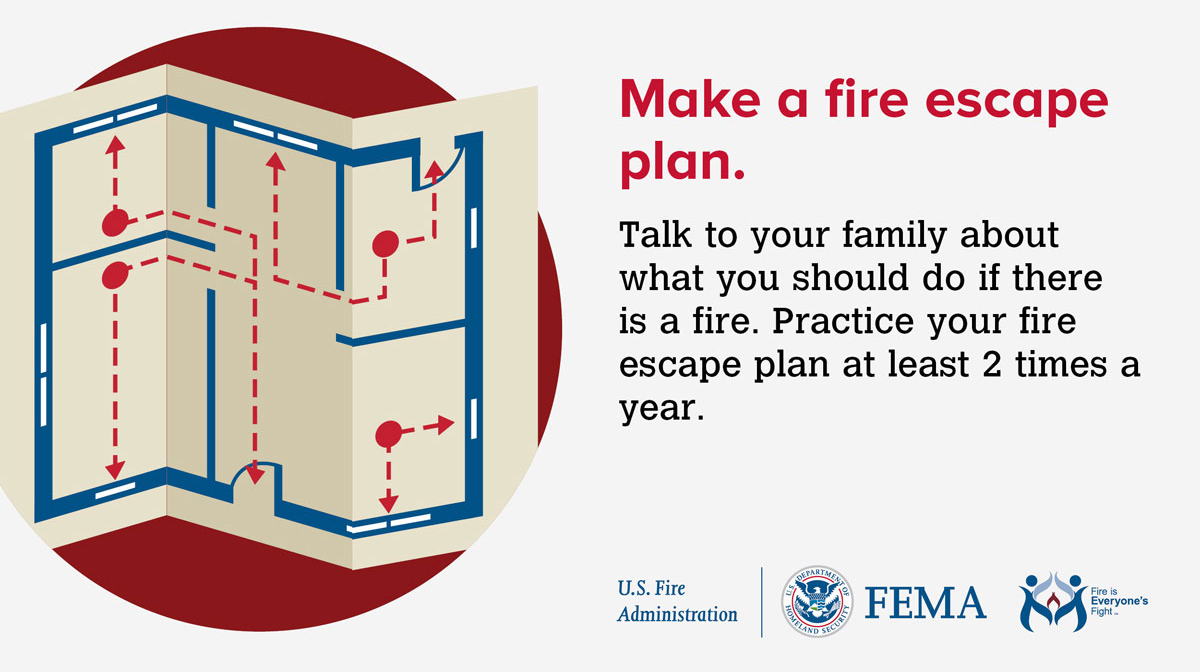
Developing an emergency plan is critical because it provides a clear roadmap for how to respond during a crisis, reducing panic and confusion when time is of the essence. A well-thought-out plan helps ensure that everyone in your household knows their roles, communication methods, and safe meeting points in case of separation.
It also prepares you to navigate specific challenges like evacuations, power outages, or medical emergencies. By identifying potential risks and creating actionable steps ahead of time, an emergency plan increases your ability to protect yourself and your loved ones, minimizes delays in decision-making, and boosts your overall resilience when faced with the unexpected. Some things to consider are:- Contact Information: List emergency contacts and share them with all family members.
- Evacuation Routes: Identify exits from your home and alternate routes in your area.
- Meeting Points: Set up two locations where everyone can regroup, one near your home and one farther away.
- Communication: Use text messages or apps like Zello for communication during outages.
Helpful Resources:
- Learn Essential Survival Skills
Developing practical survival abilities is vital because it equips you with the knowledge and confidence to adapt and thrive in challenging situations, even when resources are scarce or unavailable.
Skills like building a shelter, purifying water, starting a fire, and navigating without GPS can mean the difference between safety and danger in emergencies. Beyond physical survival, these abilities foster self-reliance and reduce dependence on external systems, empowering you to take control when systems fail.
These capabilities also enhance problem-solving and decision-making, helping you stay calm and focused in high-pressure scenarios. Investing time in gaining these skills is not just practical—it’s an investment in your ability to face the unexpected with resilience and capability. Some essential survival skills to learn are:- Fire-Starting: Practice using matches, lighters, and ferro rods.
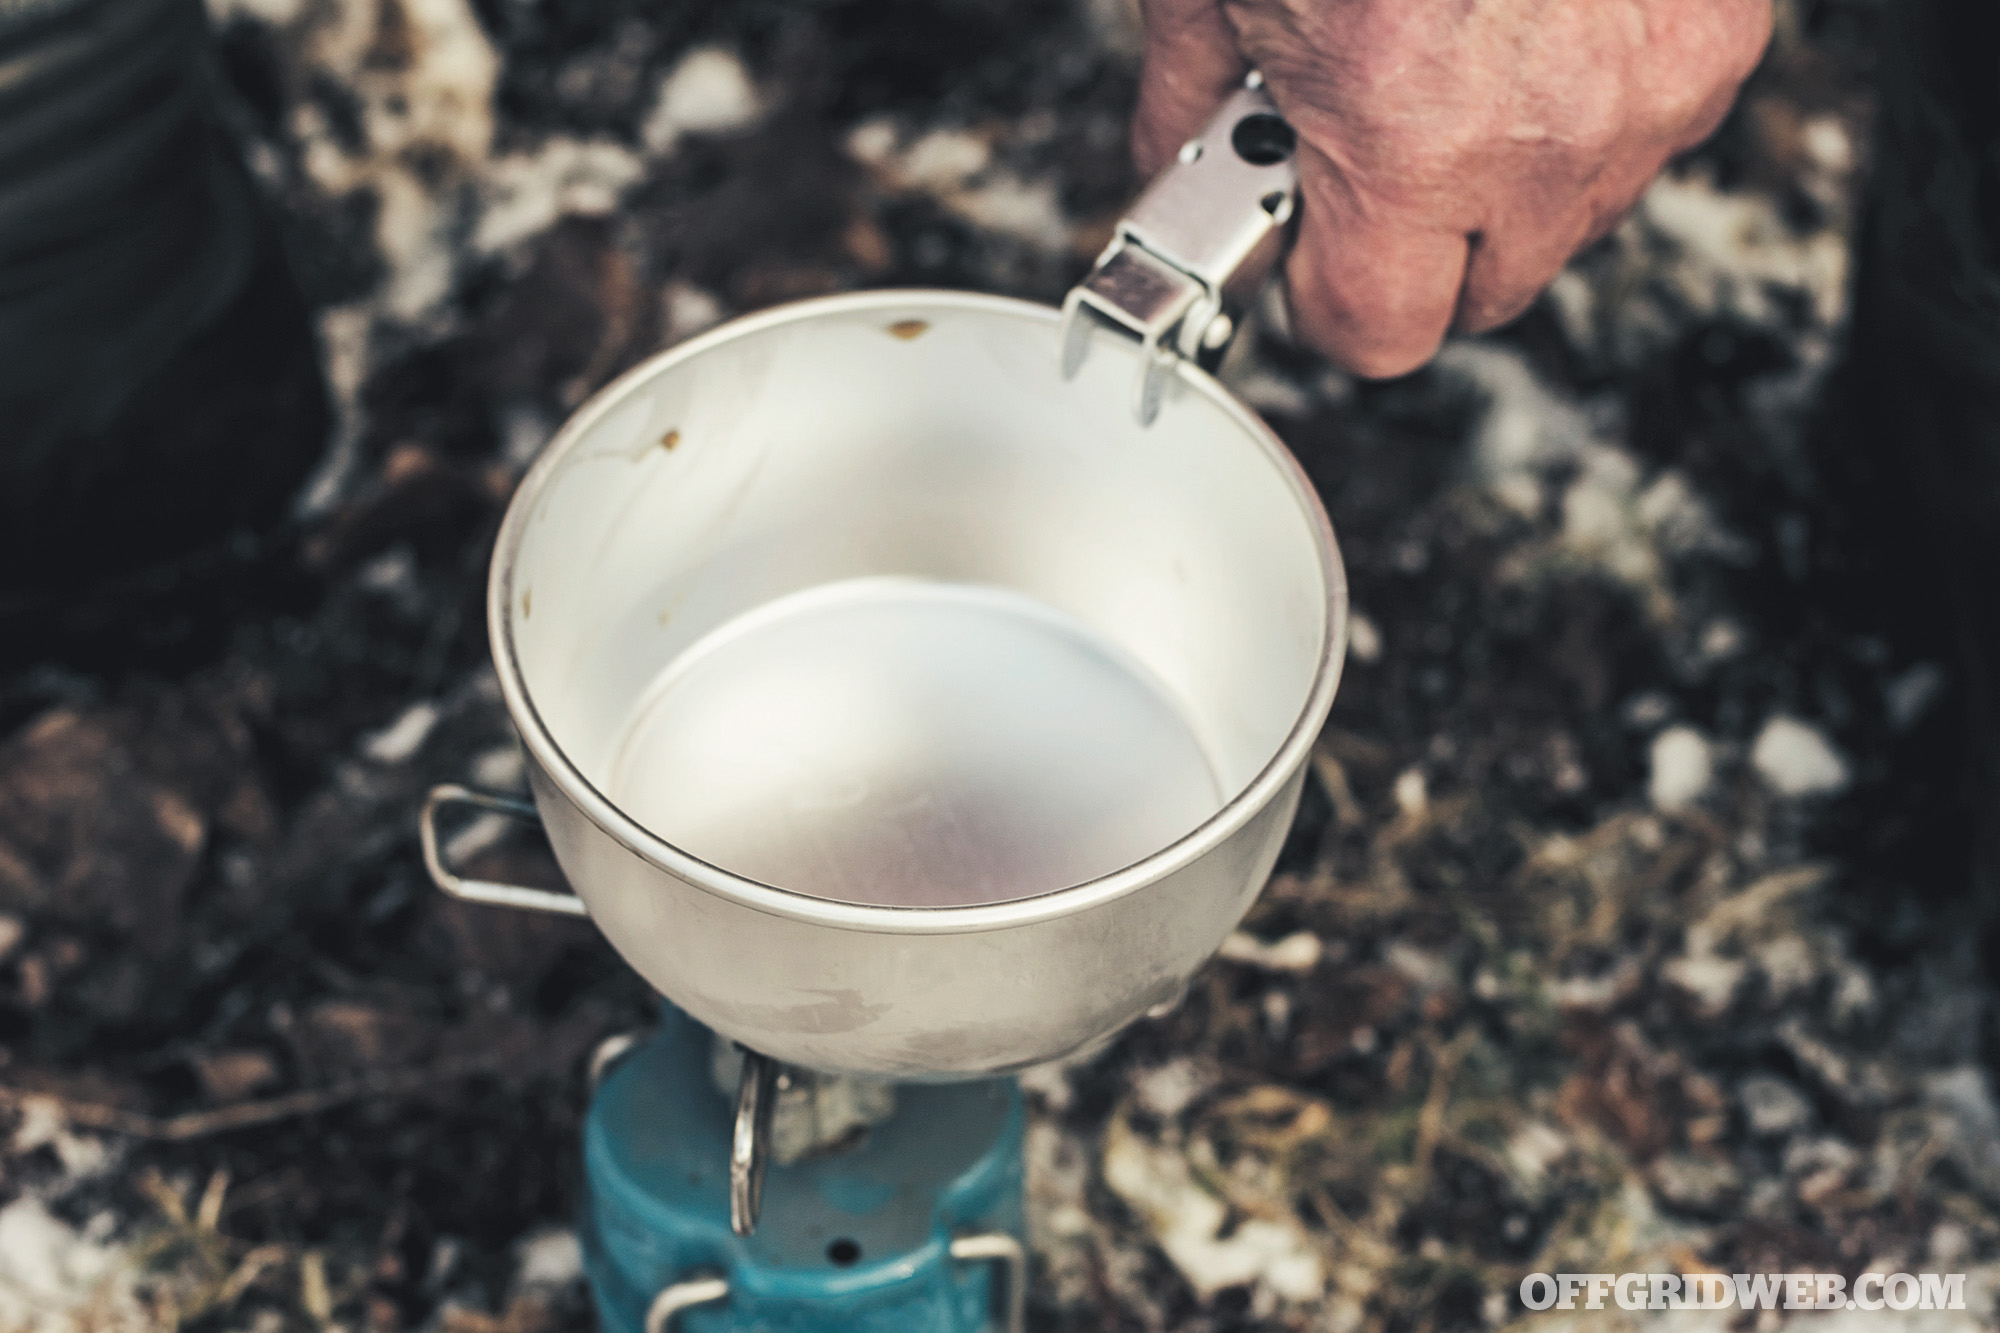
- Water Purification: Learn to use water filters, boiling, and purification tablets.
- First Aid: Take a basic first aid and CPR course.
- Navigation: Understand how to use a compass and read maps.
Helpful Resources
- Stockpile Long-Term Supplies
Building an appropriate stockpile of long-term supplies is crucial for maintaining self-sufficiency and resilience during extended emergencies or disruptions. A well-thought-out stockpile ensures access to essential items like non-perishable food, clean water, medical supplies, and hygiene products when normal supply chains are compromised.
It provides peace of mind, allowing you to focus on critical decisions without worrying about immediate necessities. Tailoring your stockpile to your household’s unique needs, including dietary restrictions or medical requirements, ensures that you are adequately prepared.
A carefully managed supply also reduces dependency on external assistance, giving you the flexibility to remain secure and comfortable, no matter how long a crisis lasts. Some important items to gather and store long-term are:- Food Storage: Invest in freeze-dried foods and MREs.
- Water Storage: Store larger containers of water or install a rainwater collection system.
- Energy Solutions: Have solar chargers, generators, or battery backups.
- Defense Tools: Consider self-defense training and tools that fit your local laws.
Helpful Resources
- Stay Informed
Knowledge is power in any emergency. Keep updated on threats and best practices.- News Alerts: Sign up for local emergency notifications.
- Weather Apps: Download apps like NOAA Weather Radar or AccuWeather.
- Online Communities: Join forums and groups like PrepperForums.net to exchange tips.
Helpful Resources:

What Is Prepping?
Prepping involves planning and preparing for potential emergencies. This includes gathering supplies, learning survival techniques, and creating strategies to overcome challenges. Prepping helps individuals become more self-reliant in scenarios like power outages, natural disasters, or supply chain disruptions.
Key Elements of Prepping
- Gear: Tools such as water filters, multi-tools, flashlights, and solar chargers are essential.
- Kits: Emergency kits should include food, water, first aid supplies, and tools.
- Training: Skills like first aid, fire-starting, and basic repairs enhance preparedness.
- Books and Guides: Resources provide instructions on survival techniques and planning.
- Plans: Prepping plans outline evacuation routes, communication methods, and resource management.
By addressing these elements, you can build a solid foundation for preparedness.

Emergency Preparedness
Emergency preparedness involves planning for large-scale disasters, such as hurricanes, earthquakes, or pandemics. It requires organization and attention to detail to reduce risks and ensure safety.
Emergency Kits
- 72-Hour Kits: Include food, water, clothing, and basic tools for three days.
- Vehicle Kits: Store jumper cables, flashlights, blankets, and a first aid kit in your car.
- Home Supplies: Stock non-perishable food, water, and backup power sources.
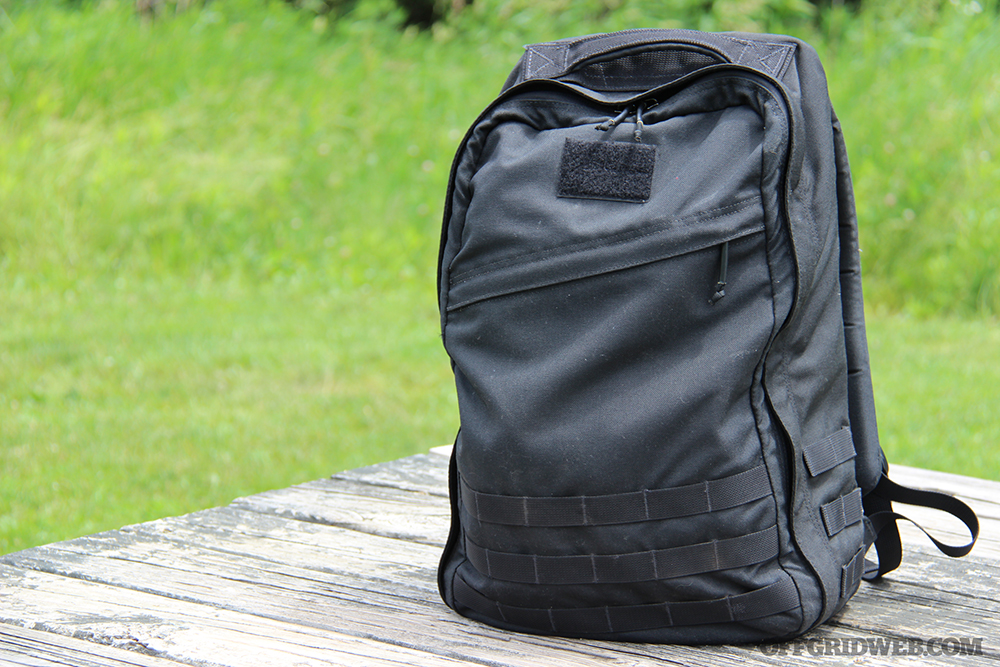
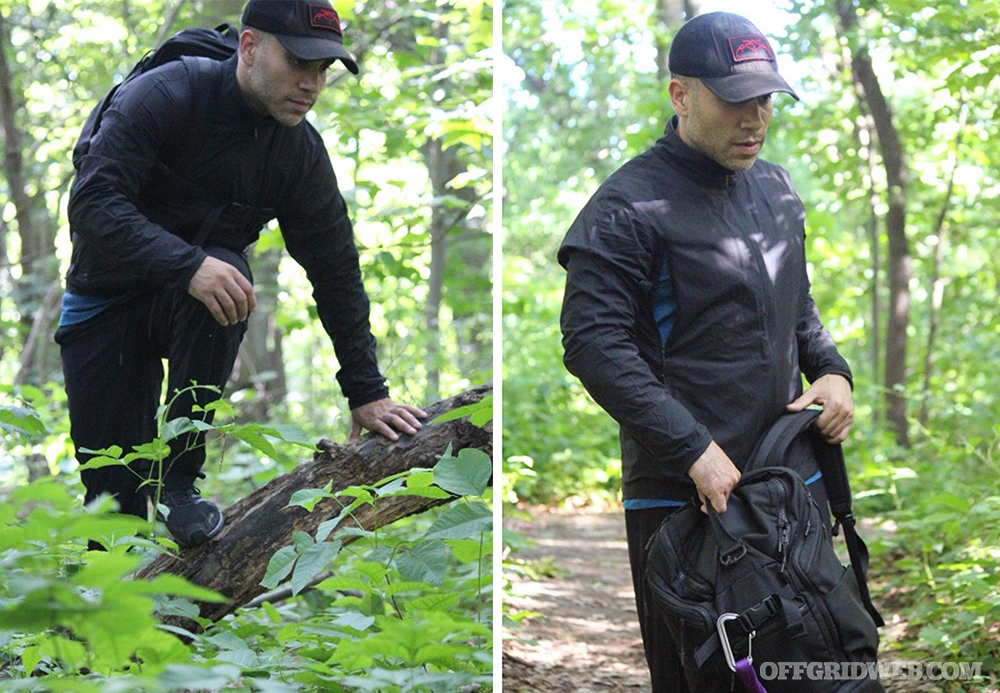
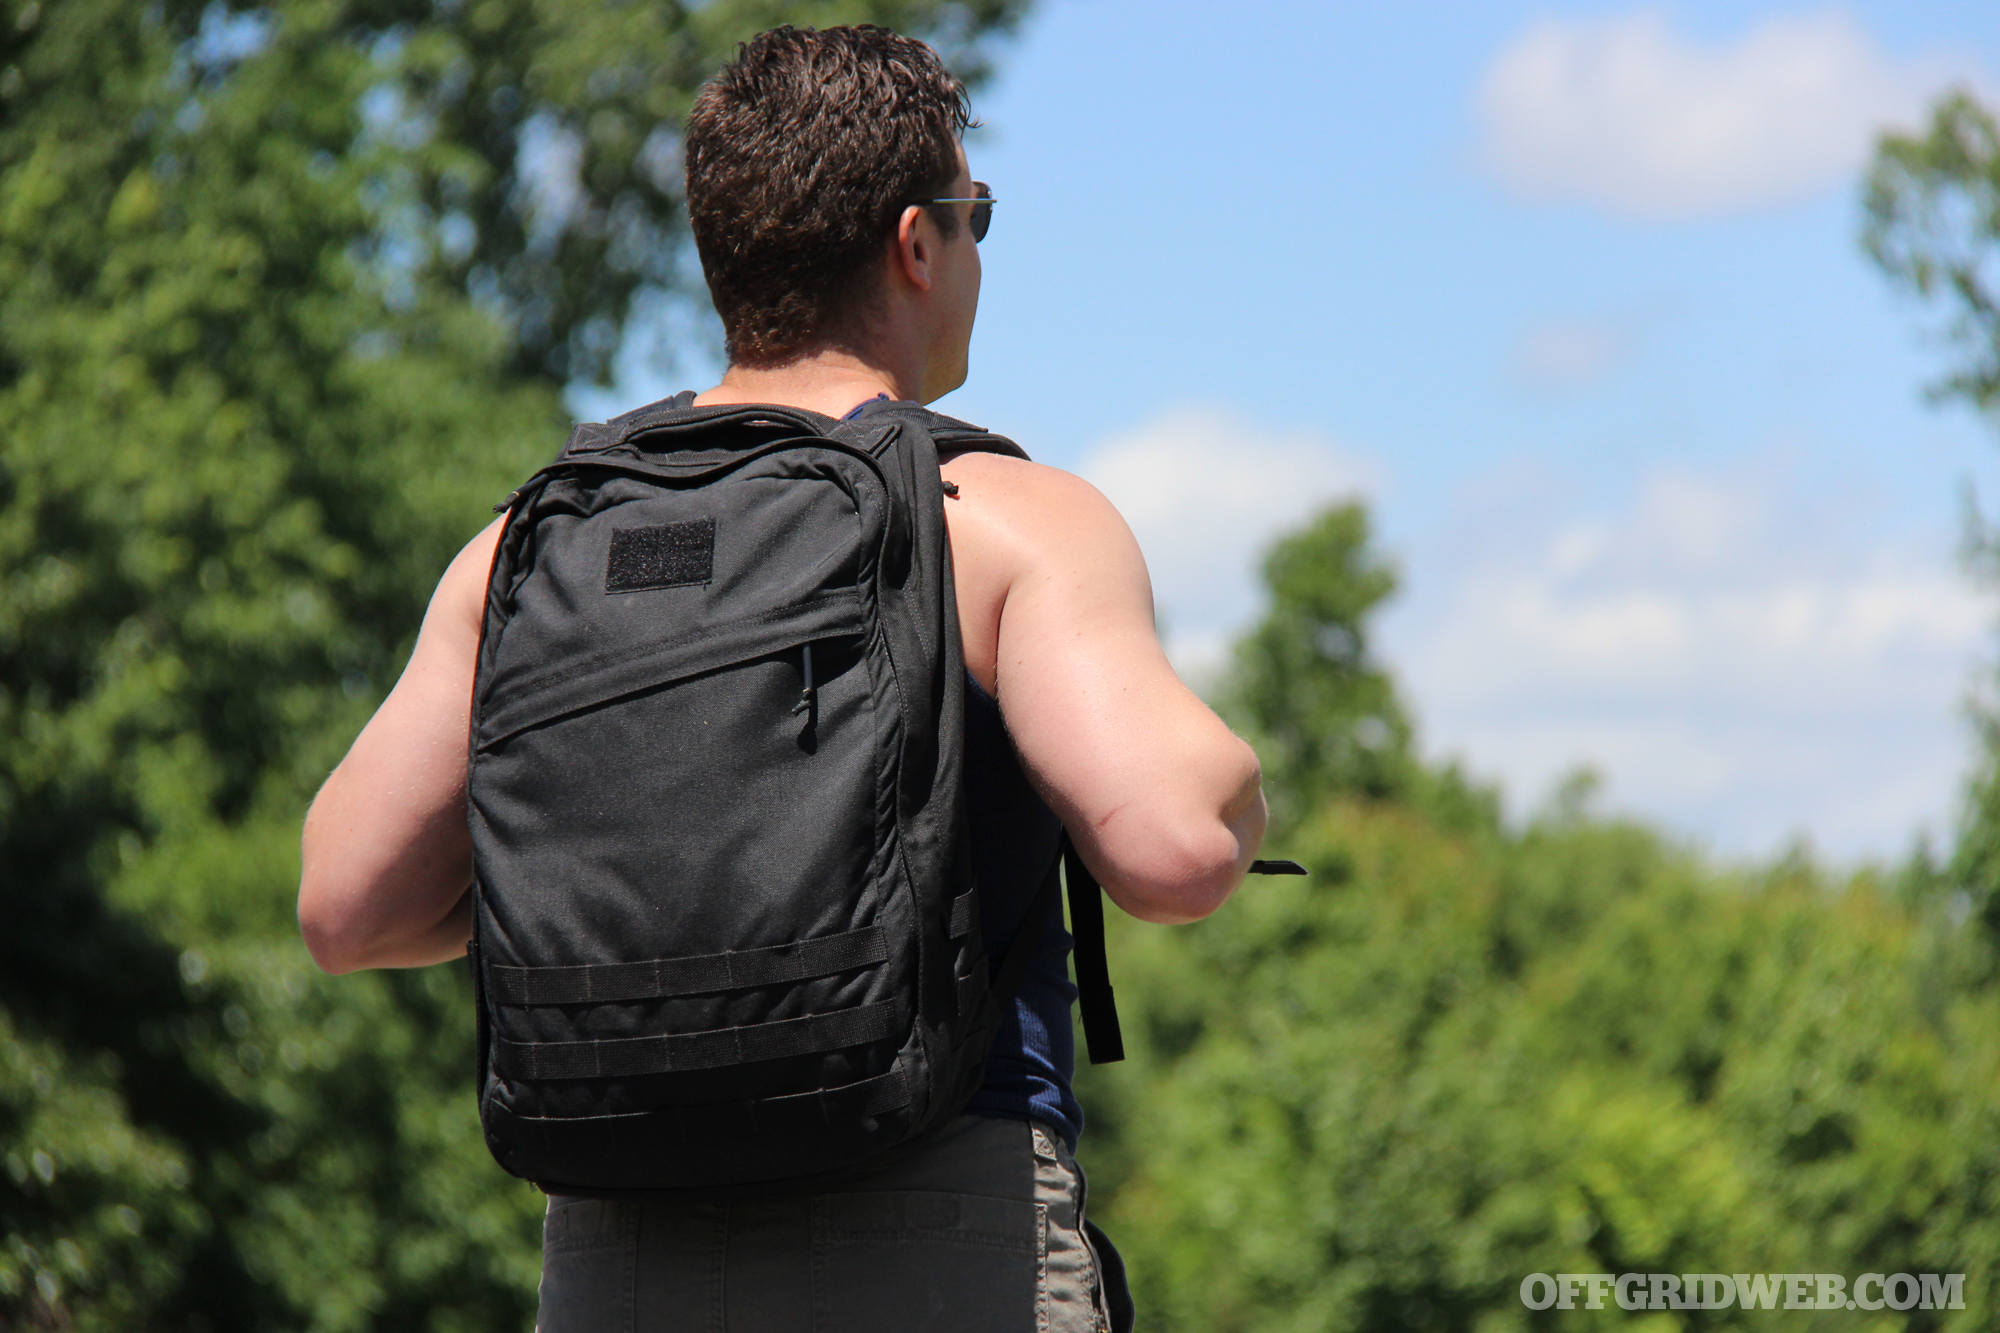
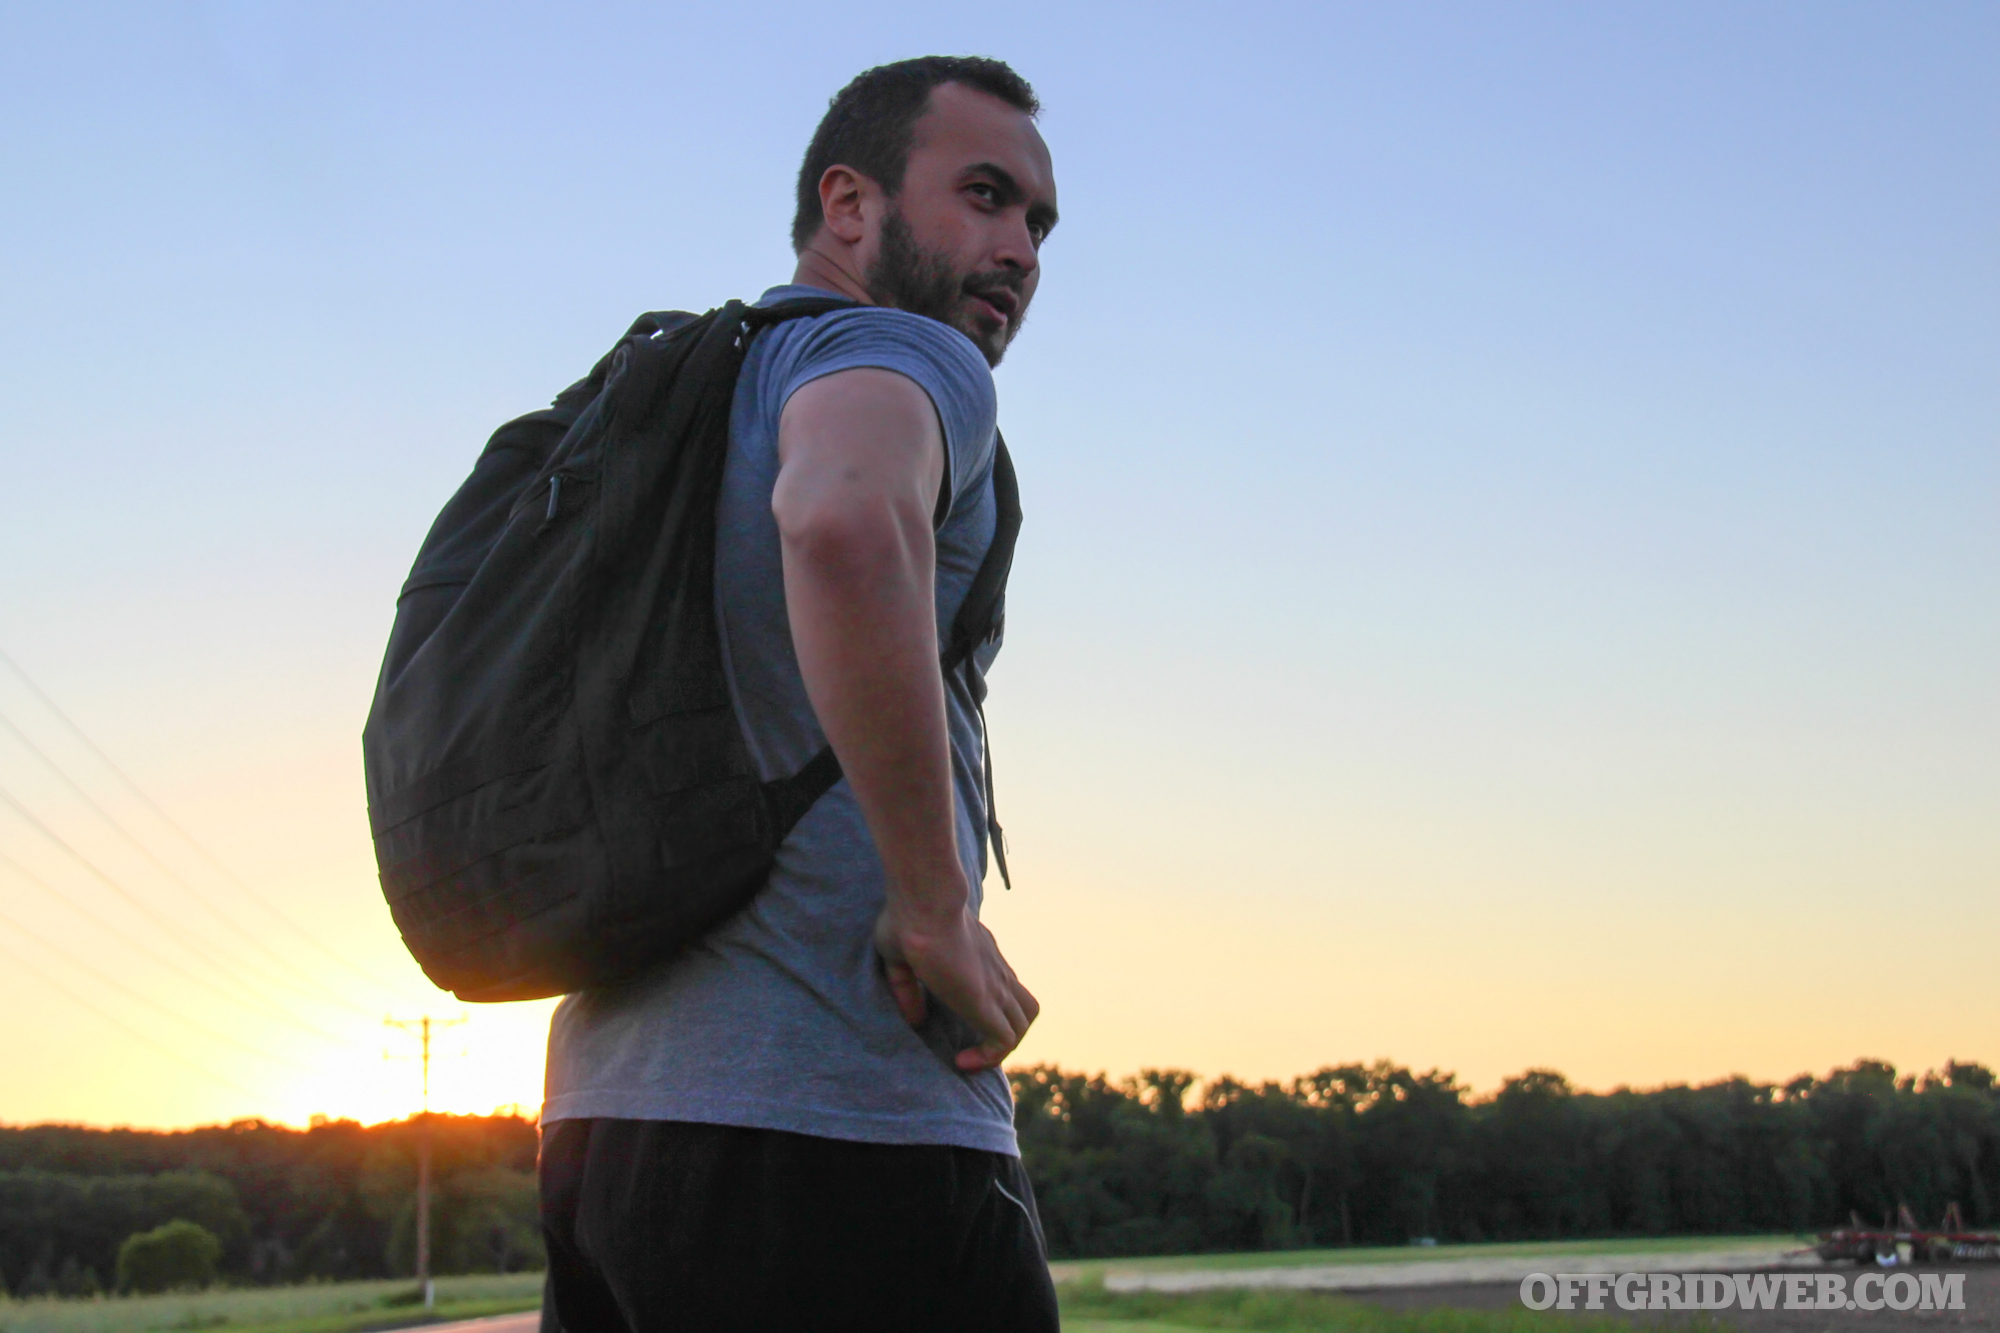
- Go Bags: Essential tools and equipment to sustain you in short term emergencies while on the go.
Planning for Disasters
- Evacuation Plans: Know escape routes and have transportation ready.
- Communication Plans: Establish ways to contact loved ones during outages.
- Community Involvement: Work with neighbors to coordinate resources and information.
Preparedness allows you to respond to crises with confidence and efficiency.

Urban Survival
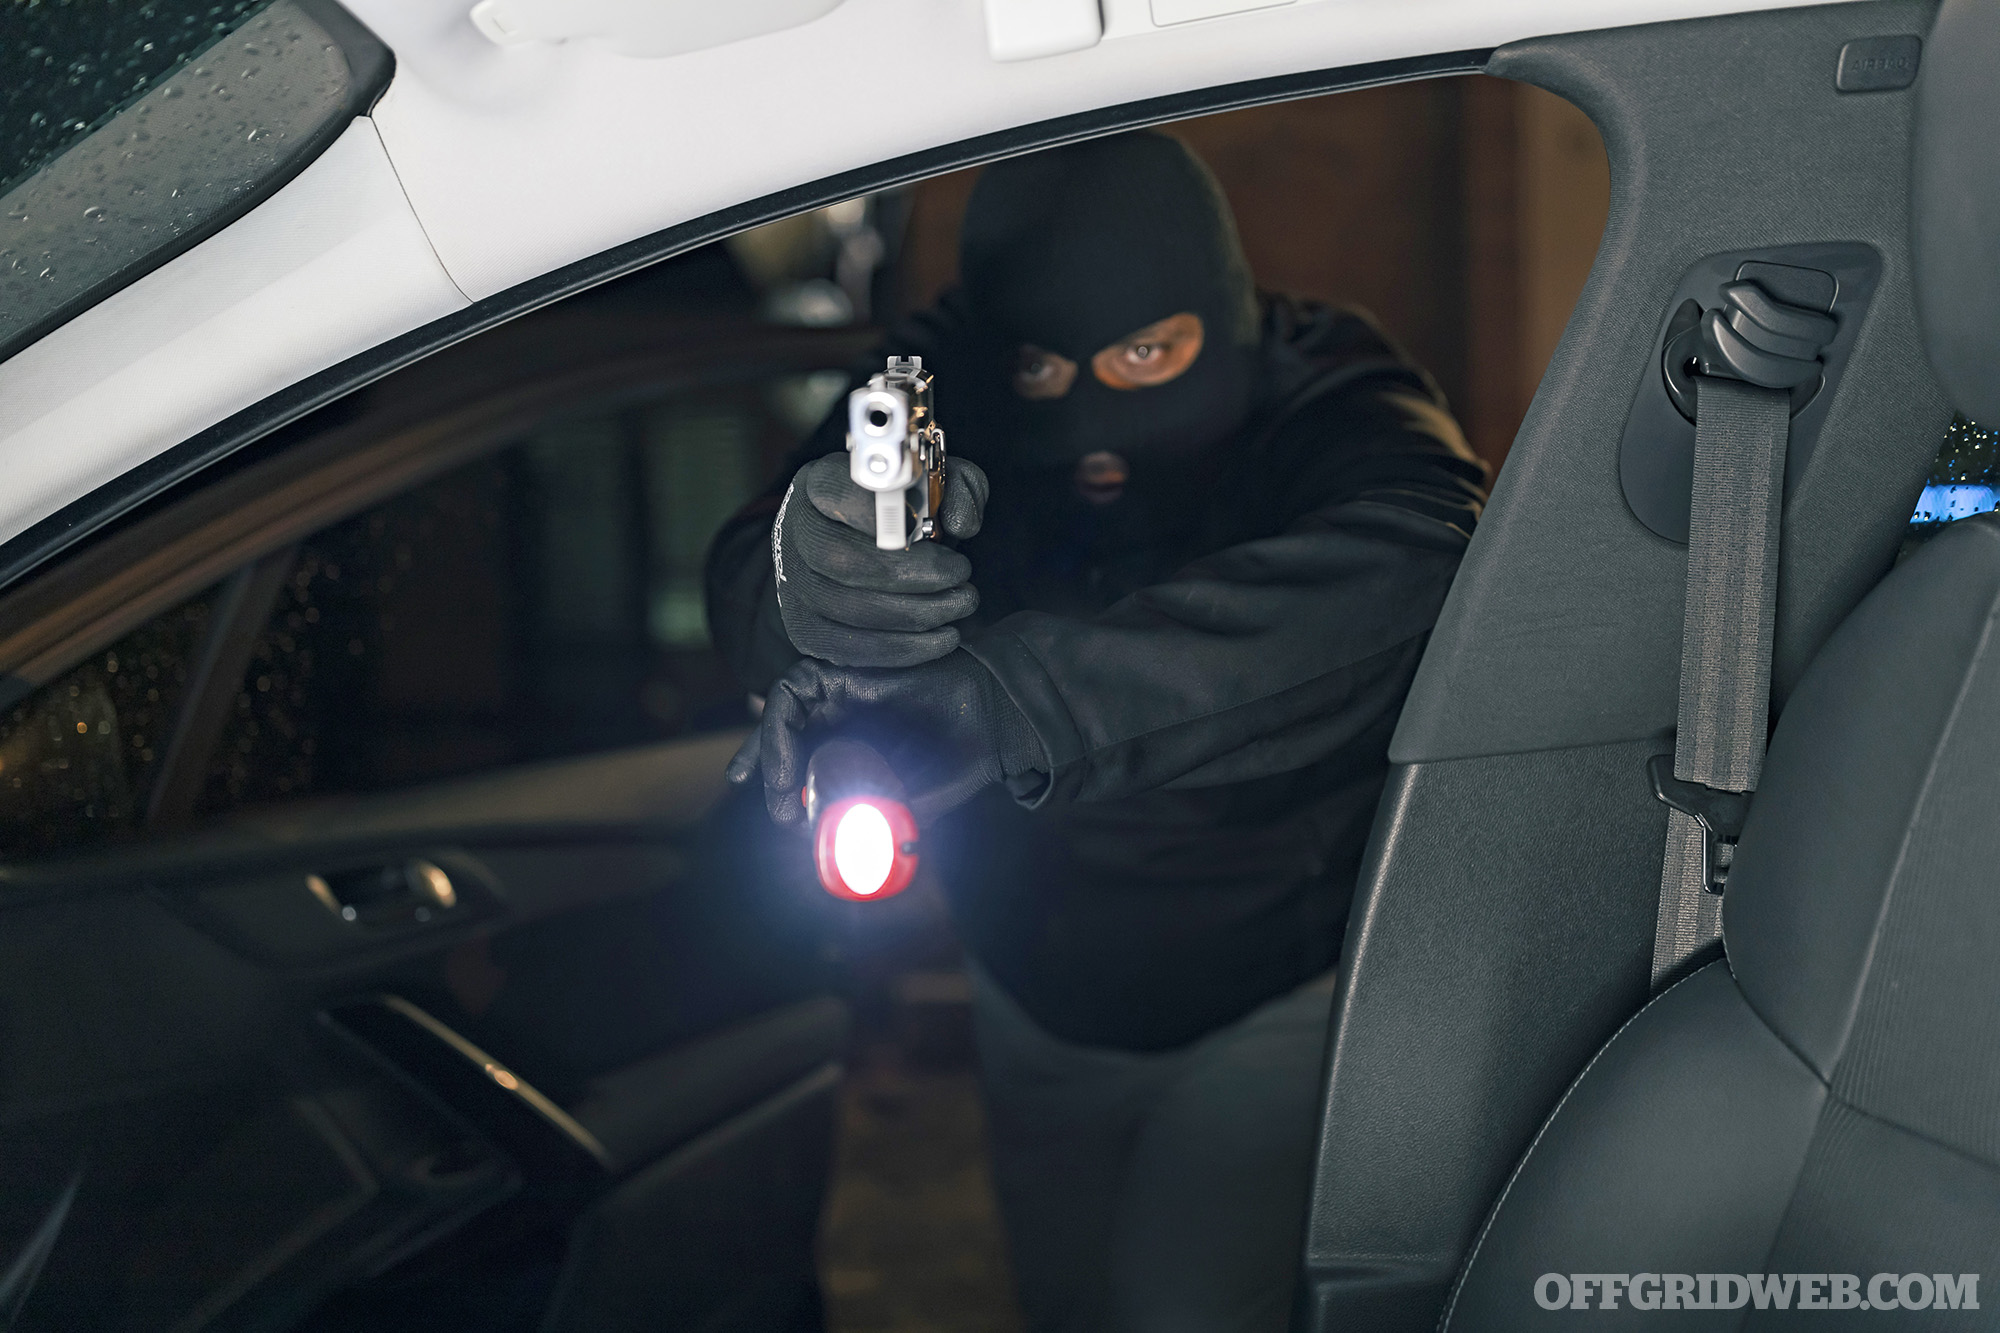
Urban survival focuses on navigating emergencies in densely populated areas. Challenges include limited resources, crowded spaces, and heightened security risks.
Tools for Urban Survival
- Compact Gear: Lightweight tools like folding knives, portable chargers, and multi-tools fit urban settings.
- Emergency Kits: Include items for mobility, such as a small first aid kit and water purification tablets.
- Self-Defense Tools: Non-lethal options like pepper spray or personal alarms provide added safety.
- Currency: Paper currency is still useable when electronic payment methods fail.
Essential Skills
- Situational Awareness: Recognize potential threats and act quickly.
- Evacuation Planning: Know safe routes out of the city and alternative meeting points.
- Communication: Have backup communication methods, such as two-way radios.
- Lock Picking: The Ability to bypass locks in a emergency.
- Knowledge of Local Customs: Understanding the mentality and beliefs of local people.
Urban survival requires adaptability and knowledge to protect yourself and others.

Wilderness Survival
Wilderness survival skills allow you to stay safe in natural environments. These skills are crucial for outdoor enthusiasts, hikers, and those seeking to be self-reliant in the wild.
Tools for Wilderness Survival
- Fire-Starting Kits: Include waterproof matches, lighters, and fire-starting materials.
- Navigation Tools: Carry a map, compass, or GPS device.
- Shelter Equipment: Lightweight tarps, sleeping bags, and rope are invaluable.
- First Aid and Emergency Medical Kits: Carrying essential equipment to treat injuries.
- Clothing and Footwear: Having the proper clothing and footwear for wilderness environment.
- Tools: Items such as knives, saws, and axes to help process and craft with natural materials.
- Signaling: Items that can be used to signal rescue personnel.
Survival Skills
- Finding Water: Learn to locate and purify water sources.
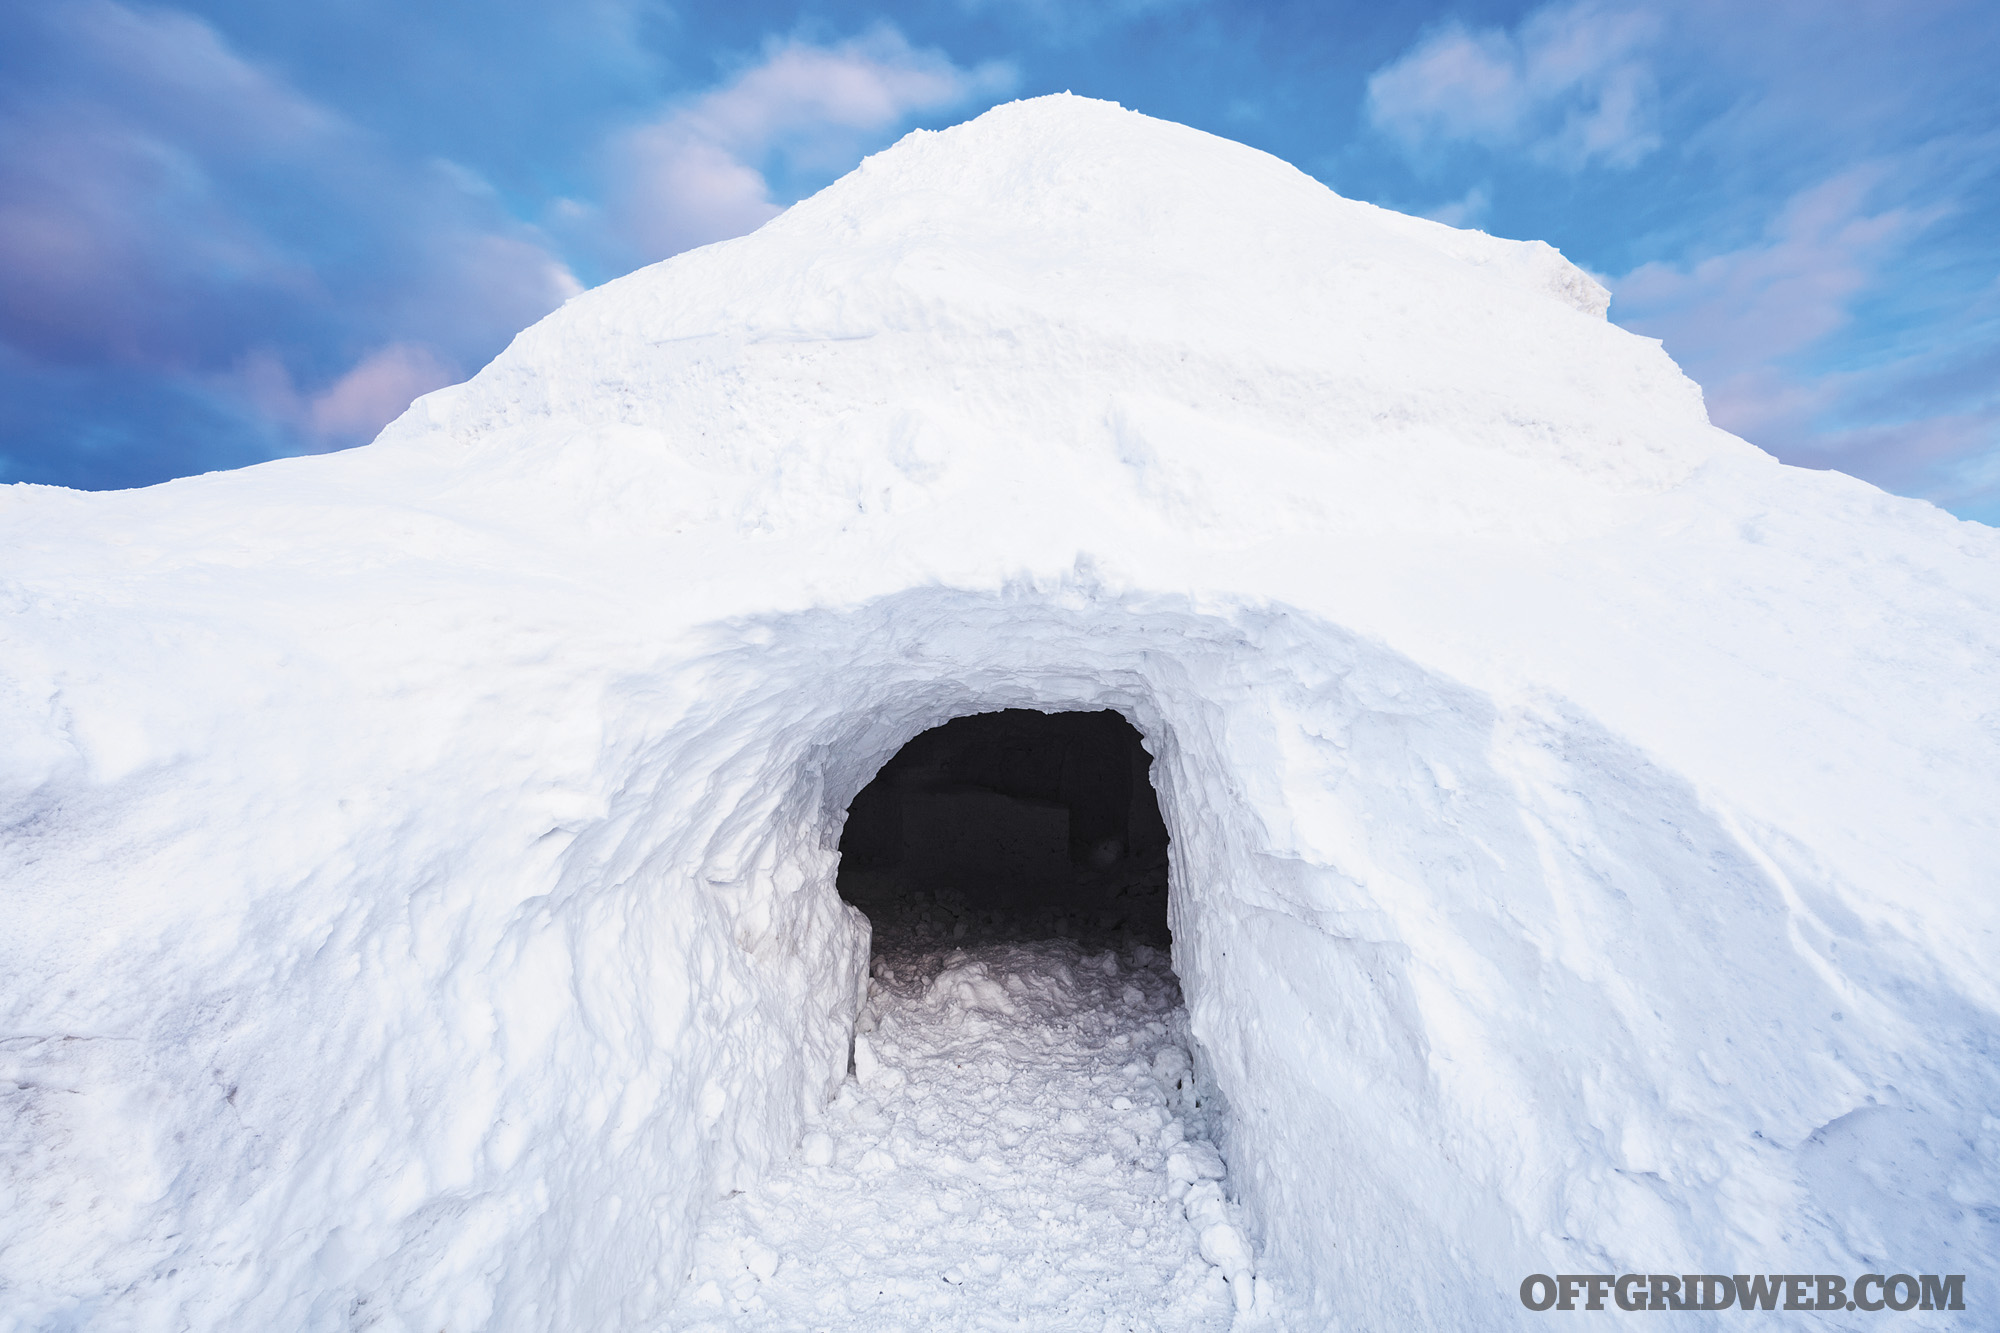
- Building Shelter: Use natural materials or portable gear to create a safe space.
- Identifying Edible Plants and Toxic: Know which plants are safe to eat and how to prepare them.
- Extreme Weather Survival: Knowing how to handle extreme temperatures and adverse weather.
- Wild Animal Threats: Identifying and avoiding potentially dangerous wildlife.
- Situational Awareness: Being able to access potential threats and identify valuable resources.
- Knowledge of the Environment: Knowing what terrain, hazards, and resources are in the area.
Wilderness survival emphasizes resourcefulness and the ability to use available materials effectively.

Expanding Your Knowledge
To deepen your expertise, consider the following resources:
- Courses: Enroll in survival training programs focused on urban or wilderness scenarios.
- Books and Guides: Study materials written by experts to refine your strategies.
- Events:
- Online Communities: Connect with other preppers to share tips and experiences.
Prepping is a continuous process of learning and adapting.

Seasonal Prepping and Survival Considerations
Most people do not live in areas where the weather and temperatures are uniform all year long. When looking at survival situations and how we can best prepare for them we must take into account seasonal temperatures and weather conditions.
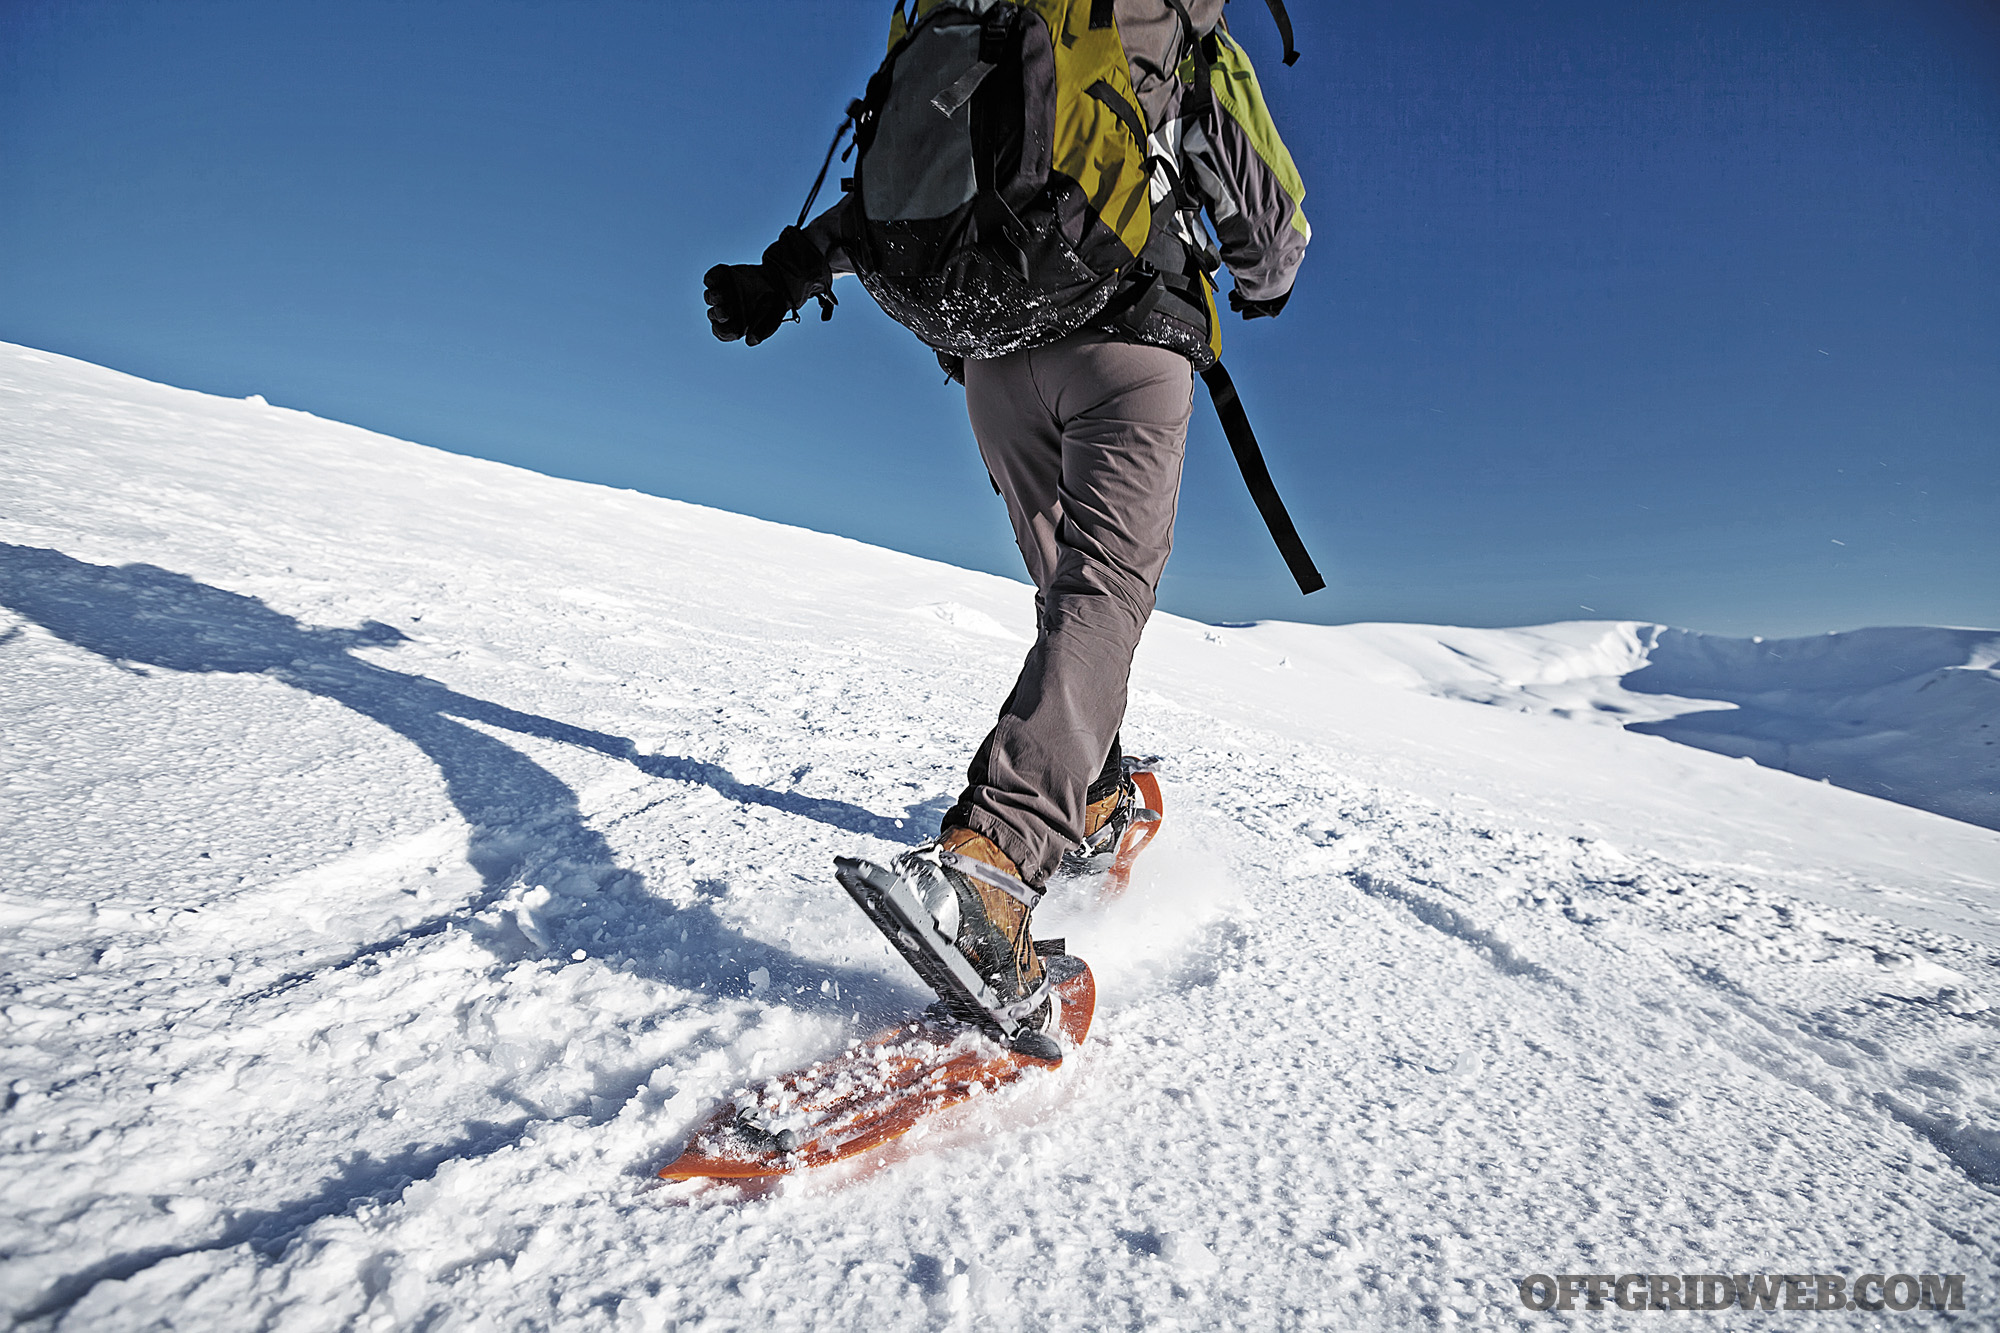
Cold Weather Prepping and Survival
Winter brings frigid temperatures, snow, ice, and high winds to many areas. Cold temperatures and extreme weather makes any survival situation much more challenging. Having the right gear and skills to prepare for these conditions is vital.
Cold Weather Hazards
- Hypothermia: Prolonged exposure to cold temperatures without adequate protection can cause hypothermia, a dangerous condition where the body loses heat faster than it can produce it.
- Frostnip: Early exposure to cold can cause frostnip, a mild form of frostbite that temporarily affects the skin without causing permanent damage.
- Frostbite: Prolonged exposure to freezing temperatures can cause frostbite, a condition where skin and underlying tissues freeze, leading to potential tissue damage.
- Chilblain: Repeated exposure to cold, damp conditions can cause chilblain, a condition where small blood vessels in the skin become inflamed, leading to redness, itching, and swelling.
- Immersion Foot: Prolonged exposure to cold, wet environments without proper drying can cause immersion foot, a condition that results in numbness, swelling, and tissue damage in the feet.
- Trench foot: Prolonged exposure to cold, wet conditions can cause trench foot, a serious condition where the feet lose circulation, leading to tissue damage and potential infection.
- Road Hazards: Poor or dangerous road conditions caused by snow, ice, and downed trees.
Cold Weather Survival Gear and Skills
- Winter Go Bag: A easy to carry bag with all you need to survive the cold for 24 hours.
- Winter Car Emergency Kit: A survival kit to keep you and your vehicle running in winter driving emergencies
- Identifying and Treating Hypothermia: The basics of identifying the stages of hypothermia and knowing how to prevent and treat the condition.
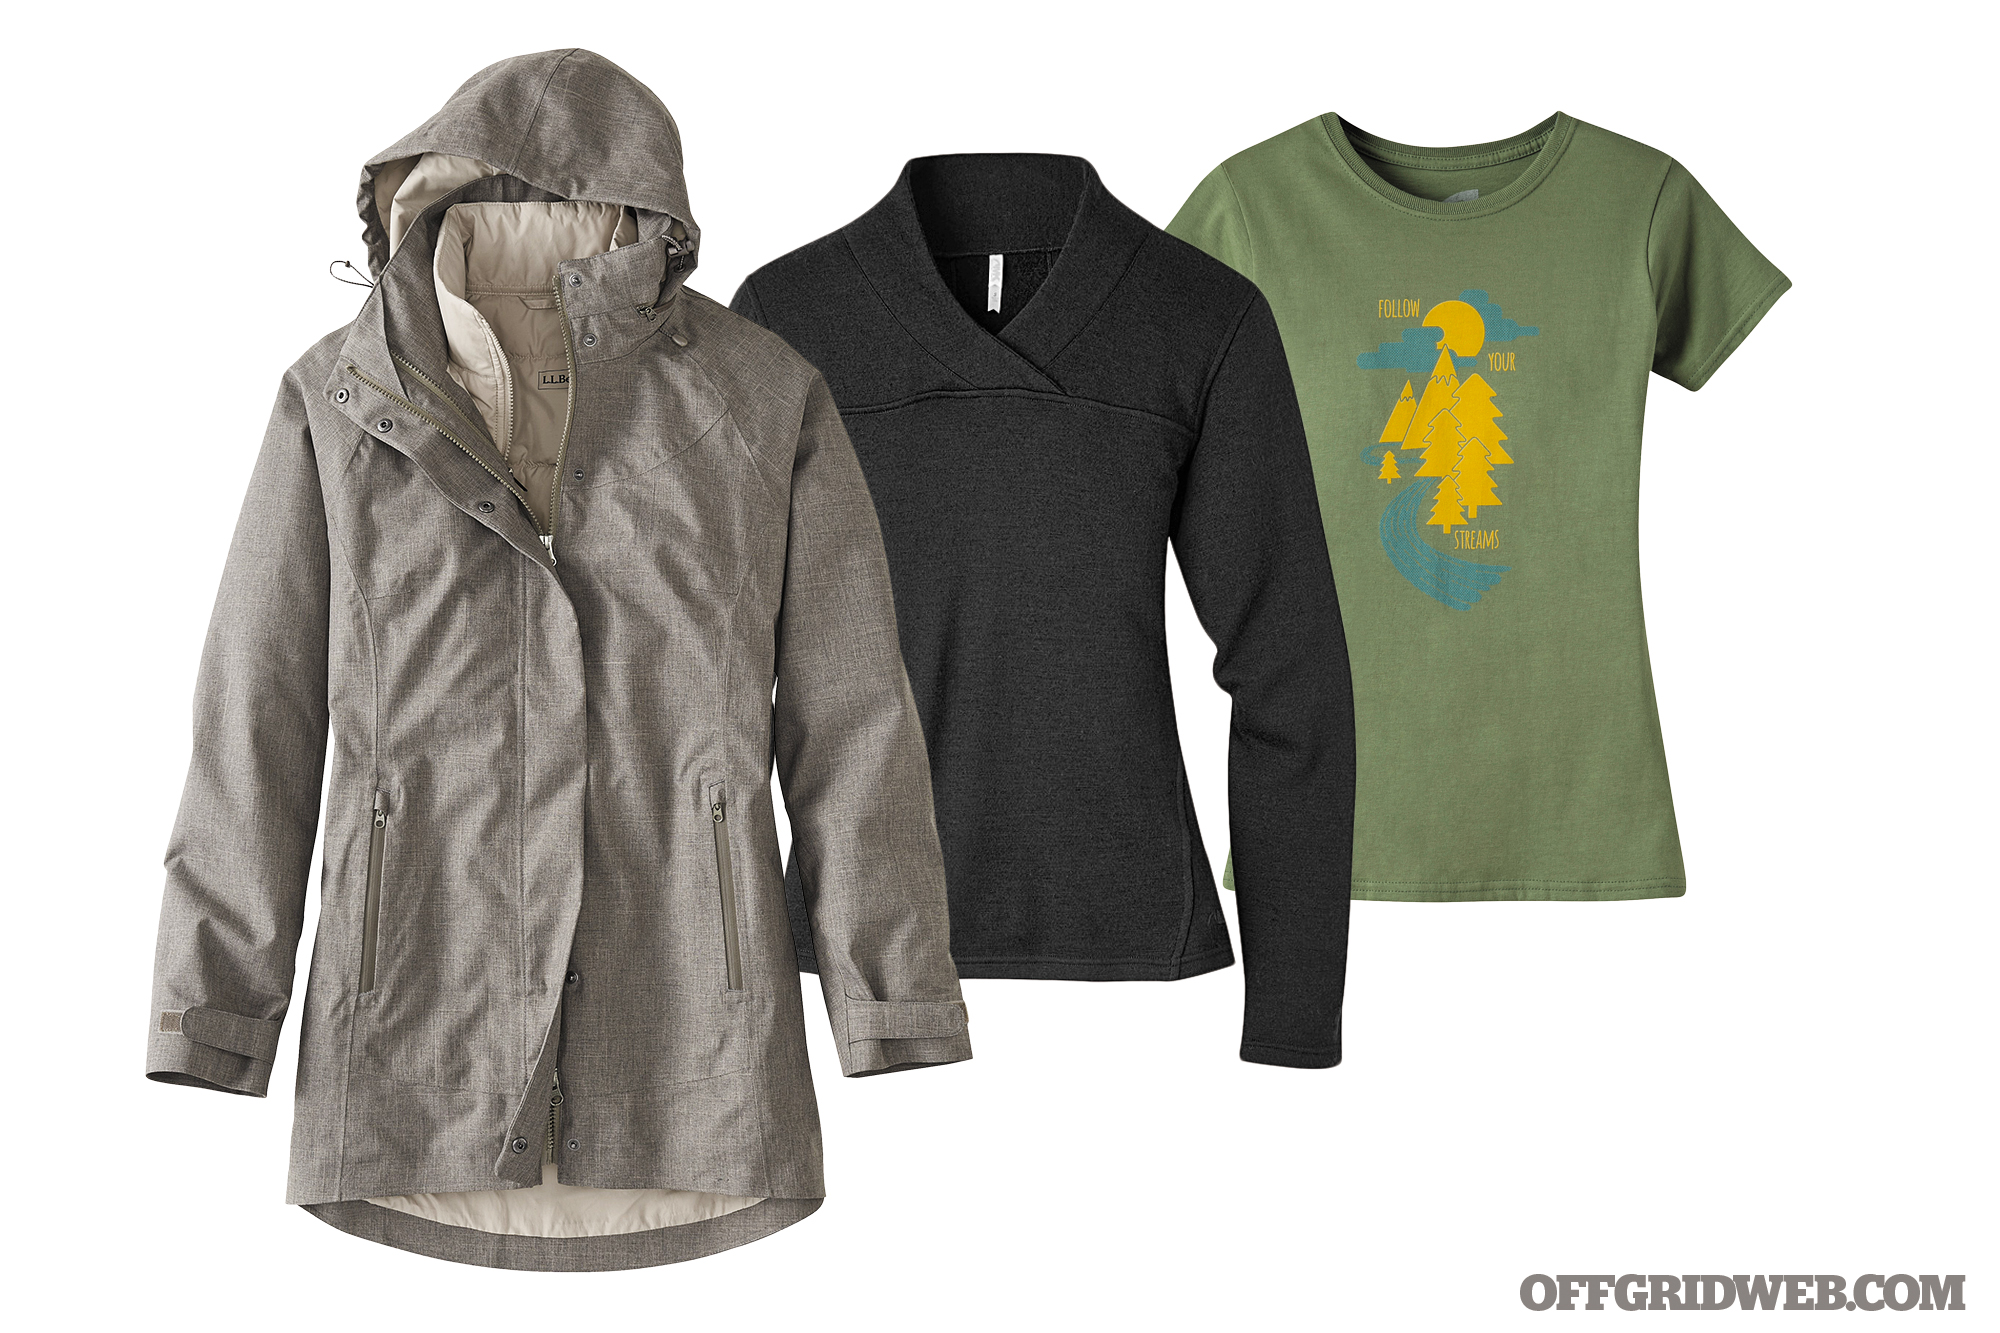
- Cold Weather Clothing and Outerwear: Having the proper clothing, outerwear, and footwear to protect you from the elements.

Hot Weather Prepping and Survival
Summer brings high heat in many areas. Some locations experience increased humidity while others may experience draught. In either case these conditions increase the strain on our bodies. Summer can also bring its fair share of extreme weather. Understanding the effect of heat on the human body and how to handle heat and weather emergencies will provide a leg up in survival situations occurring in the warmer months.
Hot Weather Hazards
- Dehydration: A lack of sufficient water intake or excessive fluid loss leads to dehydration, causing the body to struggle with normal functions like regulating temperature and maintaining energy.
- Hyperthermia: Prolonged exposure to high temperatures can cause hyperthermia, a condition where the body absorbs more heat than it can dissipate, leading to dangerously elevated body temperature.
- Heat Cramps: Muscle spasms caused by intense physical activity in hot conditions are known as heat cramps, often resulting from dehydration and electrolyte loss.
- Heat Exhaustion: Prolonged exposure to high temperatures combined with dehydration can lead to heat exhaustion, a condition characterized by heavy sweating, weakness, and dizziness.
- Heat Stroke: When the body's temperature regulation fails due to prolonged heat exposure, heat stroke occurs, causing a dangerously high body temperature that requires immediate medical attention.

FAQ
A: Prepping is a proactive approach to ensuring personal safety, well-being, and self-reliance in the face of emergencies, disasters, or unexpected disruptions. It involves gathering essential supplies, learning survival skills, and creating plans to handle situations that could threaten basic needs like food, water, shelter, and security. Prepping isn't about panic or paranoia—it's about being ready to face life's uncertainties with confidence and resilience. From natural disasters to power outages or economic hardships, preppers focus on minimizing risk and maximizing their ability to adapt to whatever comes their way.
A: Both terms refer to getting ready for future challenges, but there’s a subtle difference in how they’re used. “Preparing” is a broad term that applies to any kind of readiness—getting ready for a trip, a test, or an event. “Prepping” specifically refers to getting ready for emergencies, disasters, or survival situations. Prepping often involves long-term planning and stockpiling essential supplies like food, water, medical gear, and learning practical skills to handle worst-case scenarios. So while all prepping is a form of preparing, not all preparing is considered prepping. Think of prepping as preparing for the unexpected, with a focus on self-reliance and resilience.
A: In slang, “prepping” usually refers to getting ready for something specific—whether it’s a big event, an exam, or even a date. For example, someone might say, “I’m prepping for the weekend party” or “I’m prepping for finals.” It’s a casual way of saying you're preparing for an upcoming situation. In a more niche context, “prepping” in slang often refers to survivalists getting ready for doomsday scenarios, natural disasters, or societal collapse. It’s shorthand for a lifestyle focused on readiness and self-sufficiency.
A: Prepping and survival go hand in hand, but they aren’t exactly the same thing. Prepping focuses on getting ready before a disaster or emergency happens—stockpiling supplies, learning skills, and making plans to deal with anything from power outages to large-scale crises. Survival, on the other hand, is what happens during or after an emergency. It’s about using your knowledge, tools, and mindset to stay safe, secure essential resources like food and water, and make it through tough situations. Think of it this way: Prepping is what you do to get ready for the storm. Survival is what you do when you're in the thick of it. Both require self-reliance, adaptability, and a calm, practical approach to problem-solving.
Final Thoughts
Prepping is about more than collecting supplies. It’s about building the skills and confidence to handle emergencies effectively. Whether you focus on urban survival, wilderness skills, or emergency planning, the right tools and training can make all the difference. Start your journey today by creating a plan and assembling your gear. Your preparedness ensures safety and resilience for you and your loved ones.