In This Article
For those lucky enough to acquire a property with a thriving orchard, the benefits are obvious in the first year. What’s not immediately clear is all the decision-making and patience that were necessary in the beginning. There’s an old proverb: “The best time to plant a tree is 20 years ago. The second-best time is today.” That certainly applies to fruits. Once established, though, one can expect years of production. Blueberries, for instance, can produce for up to 50 years. Standard apples and pears can be productive for 35 to 45 years. Consider fruits a multigenerational investment.
In addition to being long-lived, fruits are versatile, both in terms of usage and storage capacity. Fruits can be eaten fresh or rendered into jams, jellies, juices, fruit leathers, cider, and wine. They can be frozen, canned, or dehydrated. Some late-season apple varieties like Arkansas Black, Stayman, Pink Lady, and Fuji can keep up to five months if stored in a cool and humid environment.
The Planning Phase
Regardless of which fruits make sense for your situation, some basic homework beforehand will ensure successful establishment. Site selection is important. Vegetable gardens are challenging on sloped terrain, but fruits and slopes are a great fit. Placing fruits on a high point of the landscape allows heavy, cold air to flow past the plants rather than settling right on top of them. Be mindful that south-facing slopes warm up quicker in the winter, which sounds like a positive, but it can also encourage earlier blooming and subsequent damage by late frosts.
Soil testing is always a good idea. Contact your local Cooperative Extension Service about their procedures and fees. Normally, soil testing costs will range from free to $10. The results will give you an indication not only of nutrient needs, but also the natural pH of your soil. A soil pH between 6 and 6.5 will be perfect for tree fruits, strawberries, grapes, and brambles, such as raspberries and blackberries. Blueberries need more acidity, so a pH of 4.5 to 5.2 should be the target. If your score is too low, it can be raised with limestone. If too high, adjustment with sulfur may be in order.

Above: Pawpaw is a native fruit reminiscent in flavor to a banana, but the mushy texture is a turnoff to some.
The number of fruit cultivars is overwhelming, but a good starting point would be to speak with neighbors. What fruits have done well for them? Universities in your state with an agricultural program will periodically publish variety trials for common fruits, and while the list isn’t exhaustive, it can at least provide insight into a handful of varieties that do well. As an example, search online for “Growing blueberries in [your state] .edu.” A lot of first-time fruit growers make the mistake of planting supermarket varieties they’ve enjoyed — think Honeycrisp apples or Bing cherries — even if those aren’t adapted to their region.
Propagation
A seed will contain genetic material from both parents, and as a result, the fruit produced by the offspring may be unrecognizable. Therefore, asexual propagation (cloning) is best. Grafting is a cheap and easy way to clone an apple or pear tree, and brambles can be easily propagated from cuttings or “tip-layering,” where the tips of trailing canes are covered with soil or mulch, resulting in new roots that can be cut from the mother plant. Strawberries produce “runners,” which can be transplanted to a new location.
If obtaining cuttings or other plant materials from friends and neighbors, be mindful of carrying plant diseases home. Did the person giving you these cuttings monitor and manage for disease problems? An argument can be made for only getting plants from reputable nurseries to avoid diseases, but neighbors have been sharing plants since the dawn of time. At least visually inspect those runners or cuttings to ensure they look healthy.

Above: Native bees can pollinate fruit crops more efficiently than honeybees can, in a lot of situations.
Pollination
We’ve learned a lot over the last decade about the value of native bees to the pollination of fruit crops. Studies in the Northeast have concluded that, even in the absence of honeybees, native species such as bumblebees, orchard mason bees and leafcutter bees can adequately pollinate commercial orchards. So, don’t let anybody tell you that you have to have honeybees for fruit production. Nonetheless, a colony or two of honeybees on your property provide insurance for those years when native bee populations dip. Another option is to build simple nesting structures for native bees, such as blocks of wood with predrilled holes for orchard mason bees.
Some fruits are self-pollinating. On the other hand, plums, apples, sweet cherries, pears, and blueberries need to have another variety nearby for cross-pollination. The two varieties should be compatible in terms of their bloom windows. Nursery catalogs will often list varieties that cross-pollinate, or you can find charts online with compatible cultivars.
Above: Pruning of fruit trees is something you should commit to every year.
Pruning
Yearly pruning of fruit trees, brambles, grapes, and blueberries will be necessary. To put it another way, it’ll be much easier to commit to pruning every year than to try to fix neglected plants a decade from now.
Pruning is a science and an art, and a lot of practice is needed to become proficient. It helps, though, to remember why you’re pruning. Pruning should focus first on removing diseased or damaged limbs or canes or unproductive wood. Then, the goal should be to open up the plants’ canopies enough for good airflow and sunlight penetration, which will mean drier foliage and therefore less opportunity for fungal invasions.
A final but important motivation for pruning is to shape the tree to support a maximum fruit load, favoring wide-angled connections between the limbs and trunk.
Pests
Most of the diseases that’ll impact fruits are fungal and include a long list of inflictions such as cedar-apple rust, black knot, black rot, brown rot, gray mold, anthracnose, and powdery mildew. The bacterial disease fireblight is a major problem with pears and apples. In addition, each region of the country is facing its own armies of both native and invasive insect pests, from plum curculio to spotted wing drosophila fly to cicada to spotted lanternfly.

Above: Aesthetically perfect tree fruit doesn’t just happen, and management of insect and disease pressures will need to be factored into your growing plan.
Approved products, insect presence, disease occurrence, and treatment windows will vary from region to region, so it’s wise to consult a spray schedule created specifically for your part of the world. Your local Extension office can provide that. These often include organic options for those leery of conventional chemical products.
Many diseases are carried from one season to the next in mummified fruit, so make it a habit to gather old fruit from your vines and trees in the fall and destroy it. Raking and removing leaves from beneath your plants is a good practice as well. When pruning, disinfect your tools with alcohol between plants.
Wildlife Damage
Bears, deer, beavers, rabbits, and other mammals can wreak havoc on fruit trees and bushes. Birds, too, can devour berries or peck holes in tree fruit. If wildlife populations are heavy near your property, electric fencing would be a good idea, especially when the plants are young and tender.
Voles are small rodents that’ll feed on the roots and bark of young trees. Hawks, owls, and snakes will eliminate some of your vole problems, but beyond that, habitat modification and traps can be useful.
Bird netting stretched over the plants before fruits ripen will ensure that your family — and not the birds — gets most of the harvest.
Apples and Pears
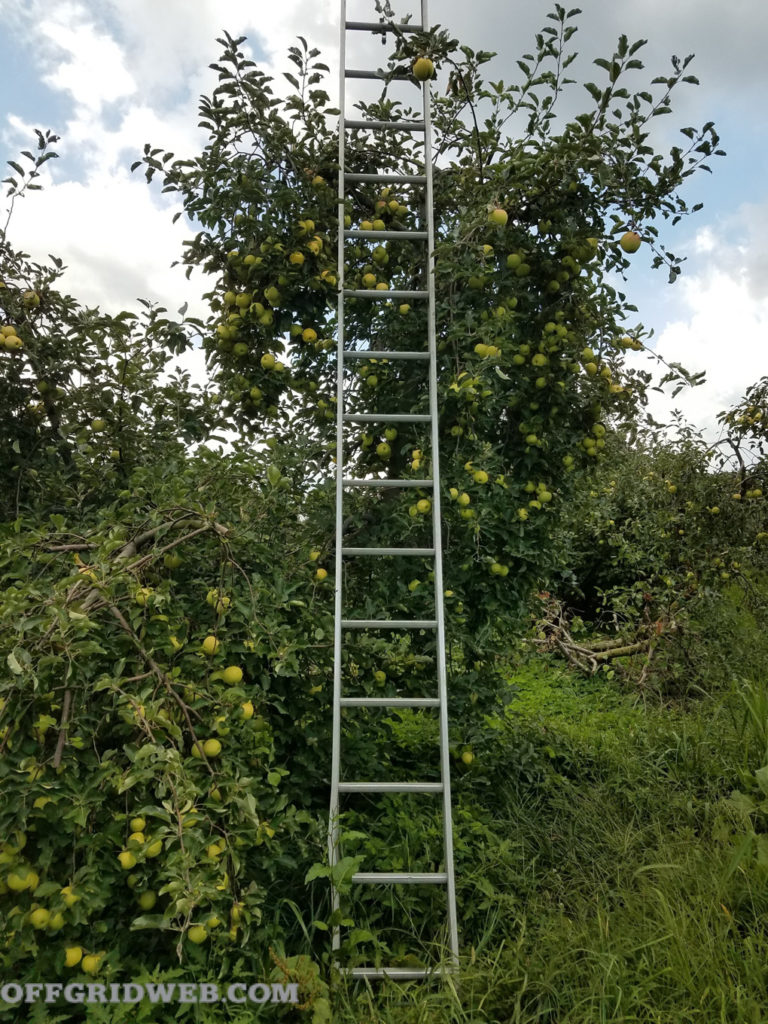
An orchard is a symbol of success for a ruralite, but even a couple of apple or pear trees can result in bushels of fruit.
Graftage is the best and most economical way to build an orchard with proven varieties. Two things are needed: rootstock and scionwood. Contact your local Cooperative Extension Service to see if they sell rootstock in the winter or order online from a nursery. The rootstock can impart certain characteristics to your trees, including disease resistance, anchorage, and/or a dwarfing or semi-dwarfing growth habit. Rootstock is often sold at $1 to $2, each.
Scionwood is collected from the desired trees during the dormant season. The best scionwood is from year-old
watersprouts that are roughly the diameter of your pinky. Don’t collect watersprouts at the base of the tree, as this is likely off the rootstock.
The grafting process is an easy skill to acquire. Farm- or horticulture-based organizations in your community may offer yearly grafting workshops, but if not, it’s a skill that can be picked up from online videos or a knowledgeable neighbor. The only tools you’ll need besides the scion and rootstock are a sharp knife and masking tape.
Standard-sized apple trees should be spaced 30 feet apart. The spacing should be 18 feet for semidwarf and 8 feet for dwarf trees. For pears, spacing for standard and dwarf varieties should be 25 feet or 12 feet, respectively.

Above: Cedar-apple rust is a fungus that produces galls in juniper species in the spring before moving into apple trees later in the season.
Commercial production (i.e., visually appealing fruits) of apples and pears requires considerable inputs, including a dozen or more sprays — organic or conventional — during the season. But if you’re not easily offended by ugly apples, you can skip some of those. Fly speck and sooty blotch, for instance, are two fungal diseases that look unattractive but don’t significantly impact the fruit’s usefulness.
Stone Fruit
Apricots, sweet cherries, and Japanese plums need warmer climates to thrive, whereas European plums, hybrid plums, and sour cherries are more winter hardy. Peaches prefer hot summers but also winter temperatures that fall below 45 degrees F. Again, it’ll be a matter of consulting neighbors as to what has worked for them and what hasn’t. Learn what USDA hardiness zone you live in, and use that as a preliminary guide when perusing nursery catalogs.
Unless you’re situated in that perfect range, your harvest may not happen every year. In the southern Appalachian Mountains, for example, peach trees have a heavy load two years out of five, but those who grow them consider it worth the wait.
While grafting can be done with stone fruits as with apples and pears, the more common propagation method is budding, done in late spring or early summer. With this method, a bud from the desired tree is inserted into the trunk bark of another.
Brambles
If low inputs and organic production are your goals, then raspberries, blackberries, blueberries, and strawberries are the way to go. They face disease and insect pressures as well, but they tend to require fewer chemical preventatives than do tree fruits and grapes.
If raspberries or blackberries are content with a site, they’ll quickly grow into a dense patch unless you take steps to prune and trellis them.
Blueberries
High-bush, low-bush, and rabbiteye are distinct types of blueberries grown in the U.S., and within each of those types are varieties that are distinguished by size, sweetness, fruiting window, and other factors. Again, your location’s climate will determine which type to choose, and there are likely cultivars that have been proven producers in your region.
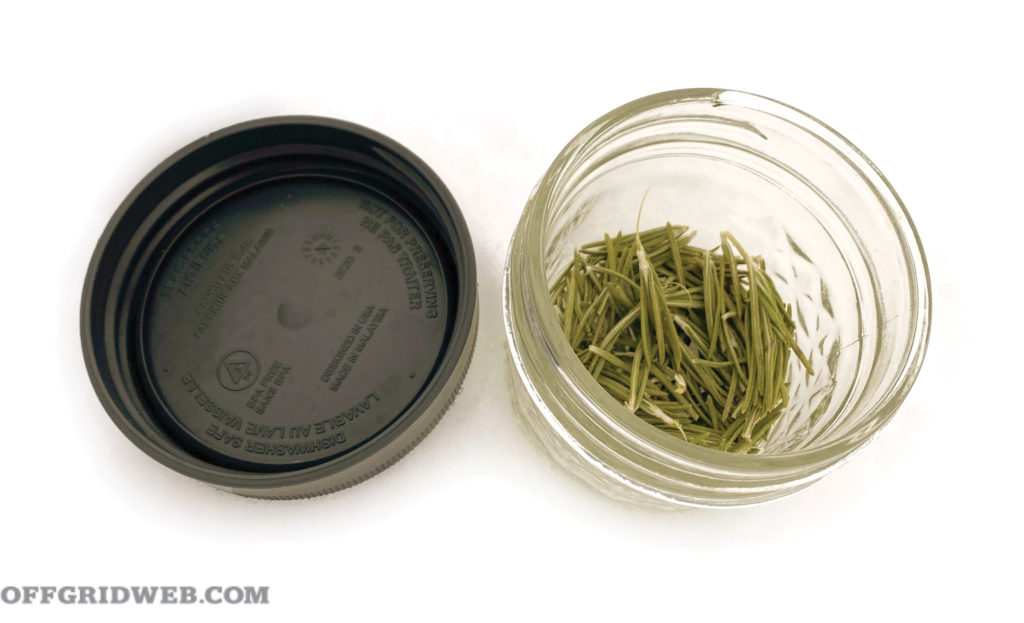
When planting blueberries, first ensure that you’re planting into a soil with the proper acidity of 4.5 to 5.2 pH. Amend each planting hole with a gallon of peat moss and mulch with pine needles or wood chips after planting.
Strawberries
Strawberries are classified as June-bearing, ever-bearing, or day-neutral. The first produces a heavier, more flavorful crop between May and July. The other types have a fruiting period that’s stretched out over a longer season, normally culminating in late summer or fall.
Strawberry blossoms should be pinched off the first year, so as to channel each plant’s energy toward root development. Growers should also plan to renovate their strawberries periodically, as unmanaged patches will tend to produce smaller and smaller berries over time.

Above: A well-planned and tended strawberry patch can provide you with gallons of sweet fruit well before summer arrives.
One approach to strawberry management is to have four planting areas. Once the first area is planted, the runners can be cut and transplanted into Plot 2. The runners from Plot 2 can be planted into Plot 3 the following year, and so on. In the fourth year, Plot 1 can be completely cleared and replanted.
Because weed management can be an ongoing challenge in strawberry production, many commercial producers treat their plants as annuals, planting into black plastic or other types of mulch in fall, harvesting the following spring and then starting all over again.
Grapes
As with apples and pears, grapes are prone to a long list of diseases and insect pressures and will need significant management to maximize the harvest. An age-old practice involves planting a few roses in the vineyard to serve as sentinels. They’ll often show symptoms of various fungal diseases or insect pressures in advance of the grapes.
 Above: The more humid your climate, the earlier you’ll need to manage for fungal diseases in grapes.
A major input with grapes will be some type of trellis or arbor system, which can range from simple cattle panels bent into a hoop to more elaborate systems.
Black rot is especially trying for aspiring vineyard owners, and one way it’s carried from one season to the next is in mummified fruits. Just like with other fruit diseases, it’s a good practice to remove old fruit from the vines as early as possible and destroy those.
While this all sounds daunting, the shotgun approach works for many. Plant whatever trees and bushes are on sale at your local garden center, give them a minimal amount of attention, and hope for the best. It’s not ideal, and you certainly won’t maximize production that way, but there have been many apples eaten from neglected trees and lots of cobblers made from haphazardly planted berries.
Other Possibilities
Lesser-known and under-appreciated fruits are worth considering. Gooseberries and currants, for instance, are options that can handle a bit more shade than other berries, and deer don’t mess with these much.
Fig is another one unpopular with deer, and there are varieties on the market hardy to Zone 6.
Then, there are native fruits perfectly adapted to your climate, from pawpaws to persimmons to prickly pear.
Fruits are a long-term investment for a property, but establishing berries or tree fruits will eventually pay off. No fruits are a plant-it-and-walk-away prospect, but if you’re willing to invest in learning and management today, the rewards will someday be sweet.
More on Survival Food and Preparation
- Nutrient Survival: A Fresh Take on Survival Food.
- Rugged, Homemade Survival Food.
- 10 Long-Lasting examples of Survival Food.
- Prickly Pear Cactus as Survival Food.
- In the North Woods? Here’s how Acorns and Black Walnuts can keep you alive.



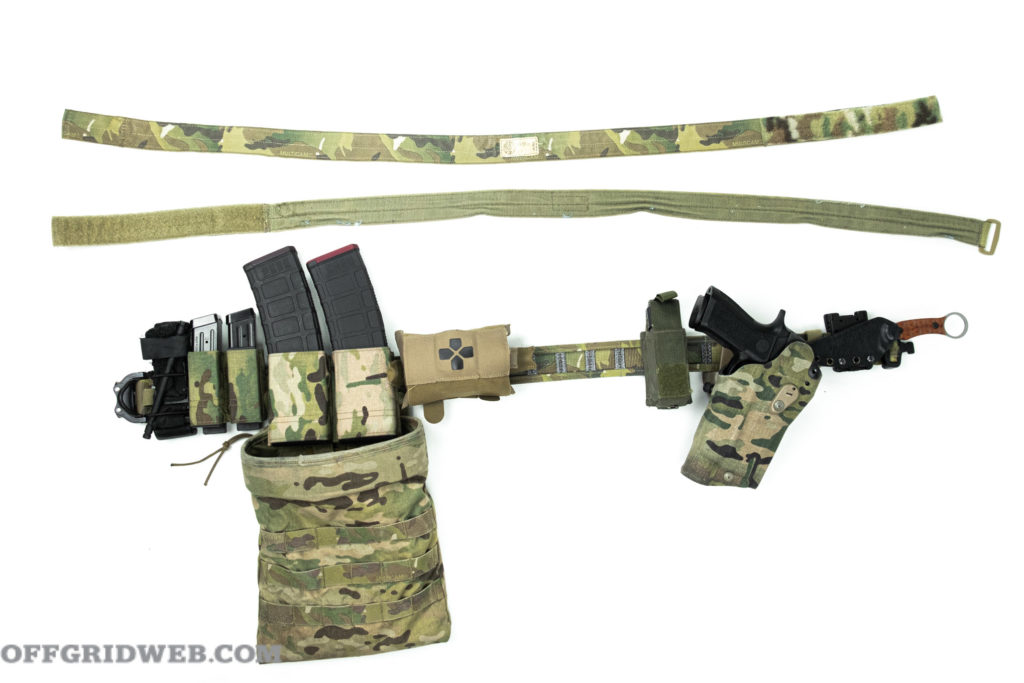

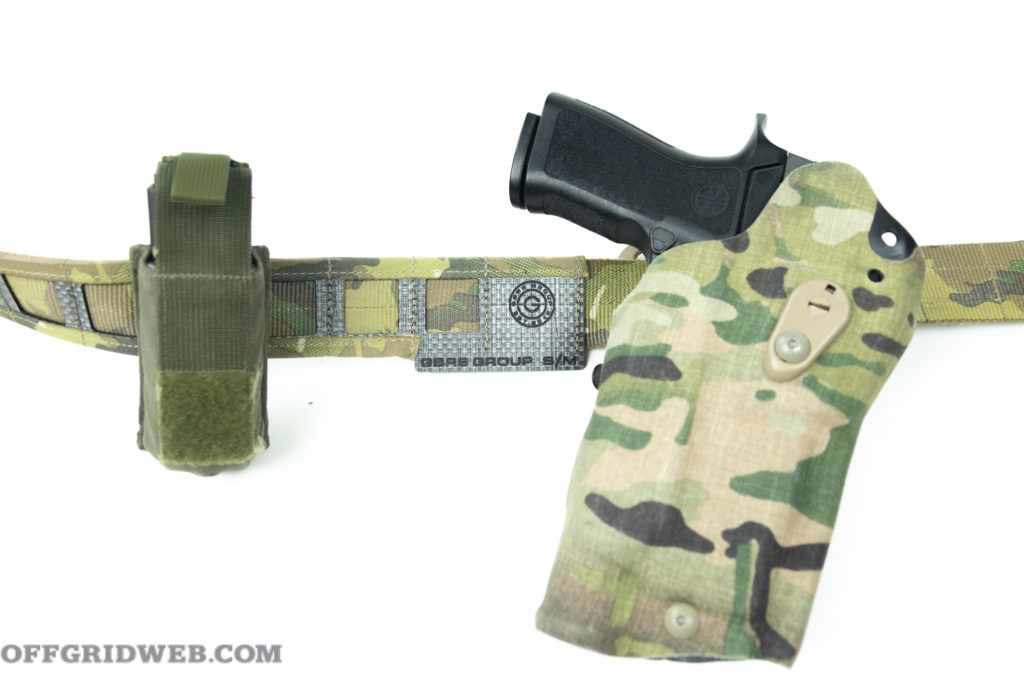


 Does the GBRS Group Assaulter Belt base layer make for a good EDC belt? Yes and no. Until a Black version is released, it comes in Multicam, which in some places it is viewed as a mere random fashion choice, in others, like Minneapolis, it’ll draw attention at the time of writing. Make no mistake, you’re not taking off your pants in a steamy, sexy slow-motion smooth maneuver, instead, it’s the tearing sound of hook and loop fastening. In regards to EDC gear, this is chastity belt secure, however. What’s attached is staying attached.







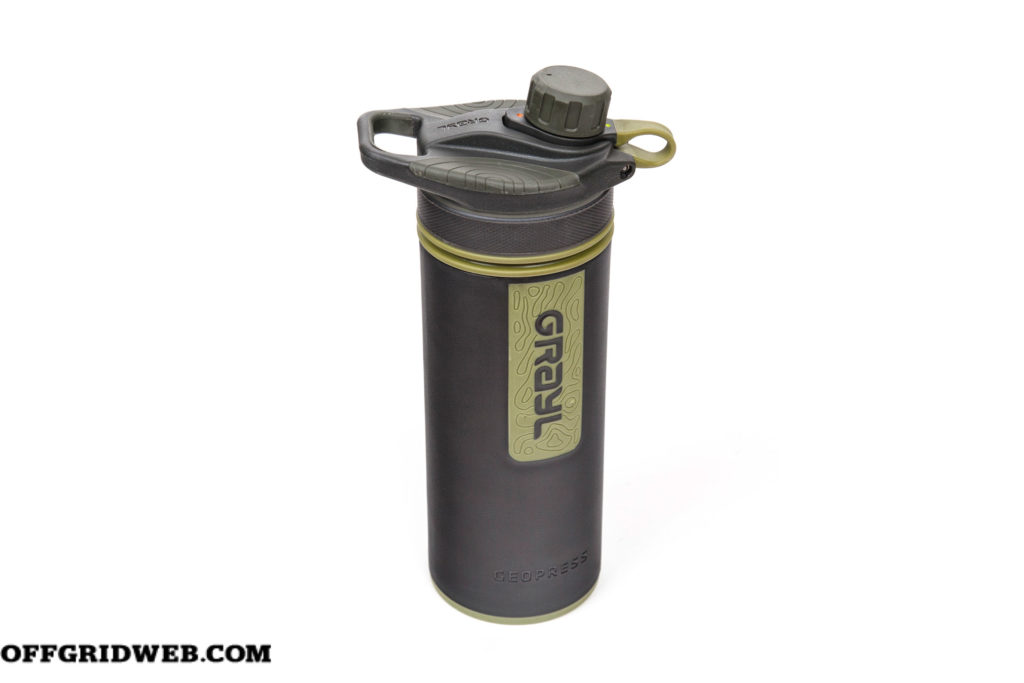
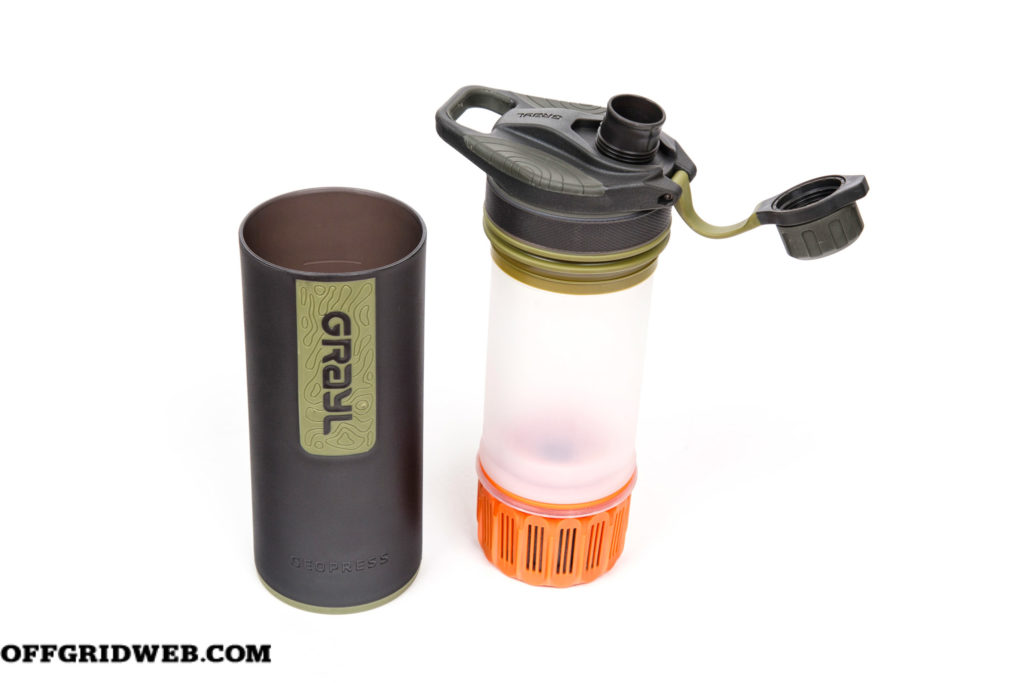
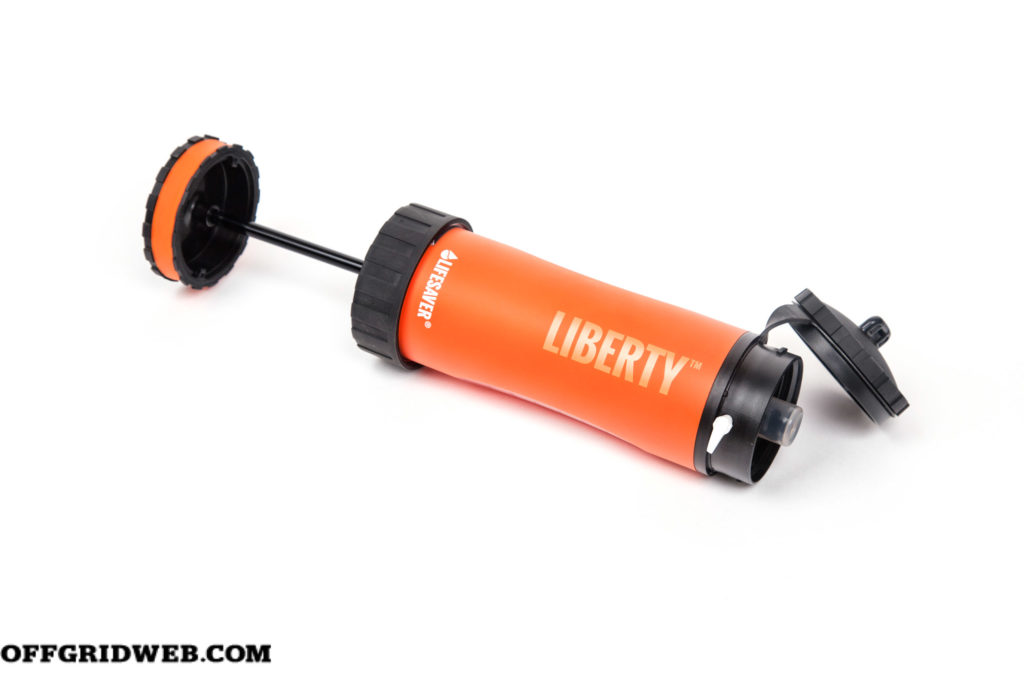
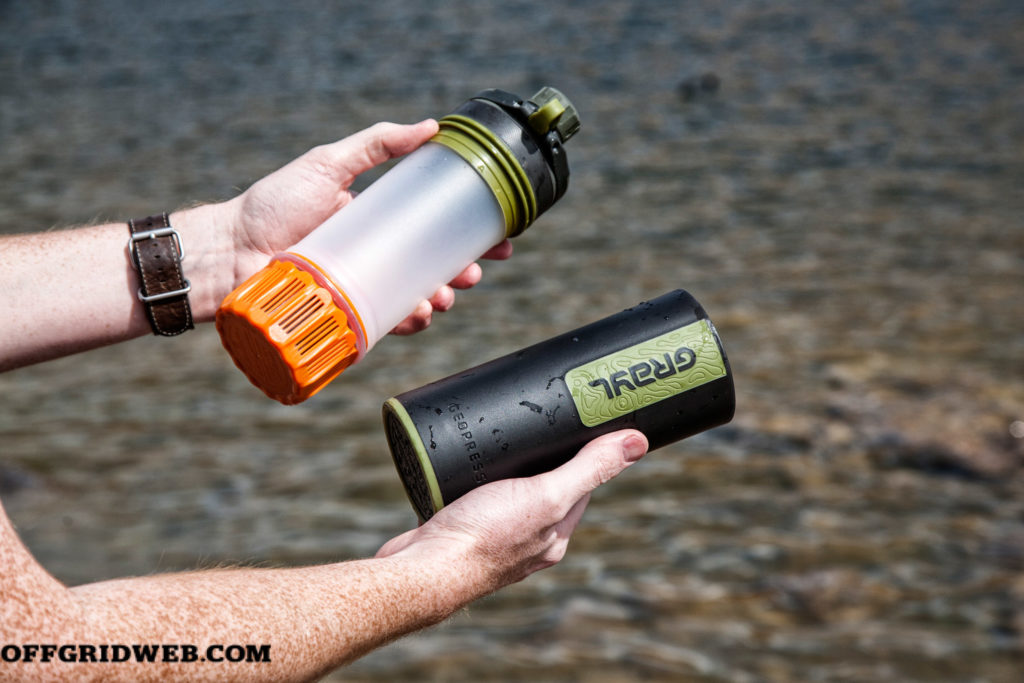 1. Pull apart to separate outer sleeve from the purifier.
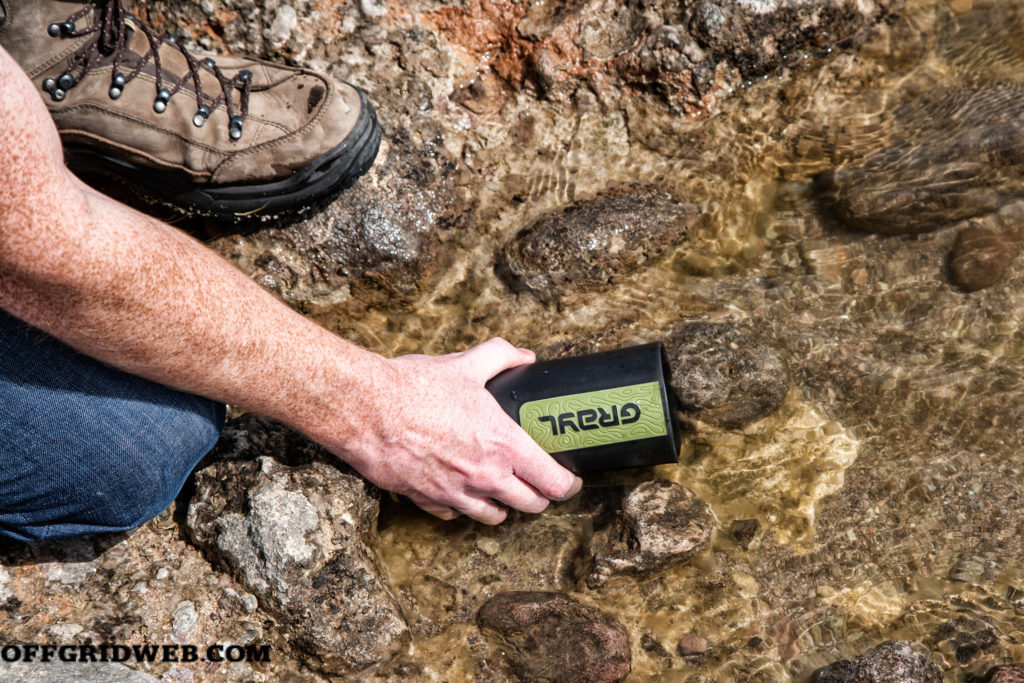 2. Fill sleeve with dirty water to the indicated maximum line.
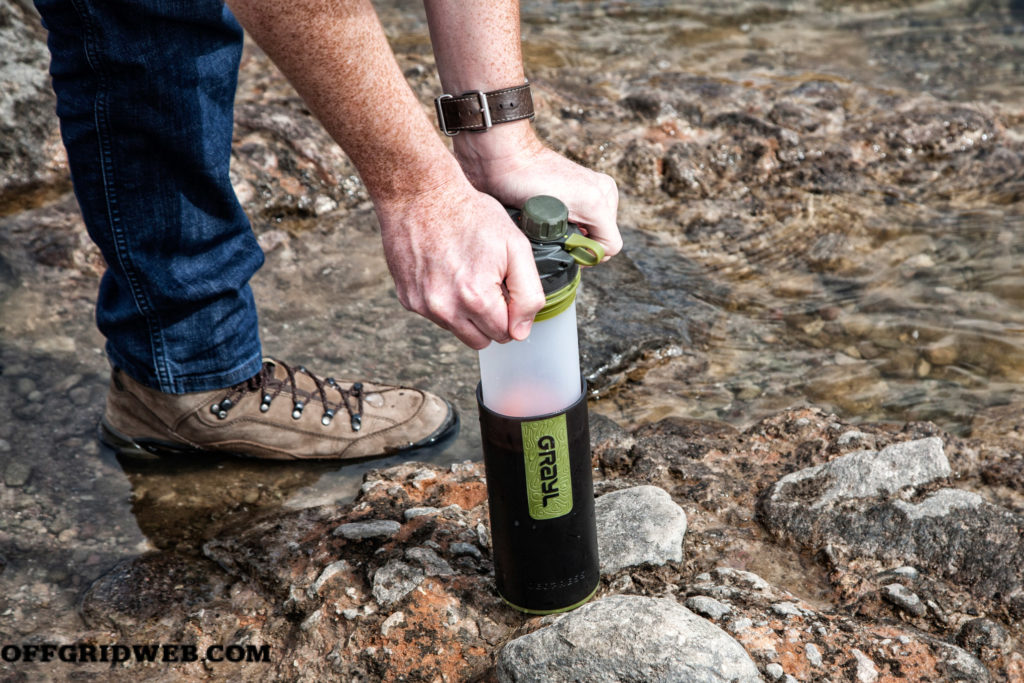 3. Loosen “Simplevent” spout cap by a half turn to allow air to escape. Then, press the purifier firmly into the sleeve, forcing water up through the purifier cartridge.
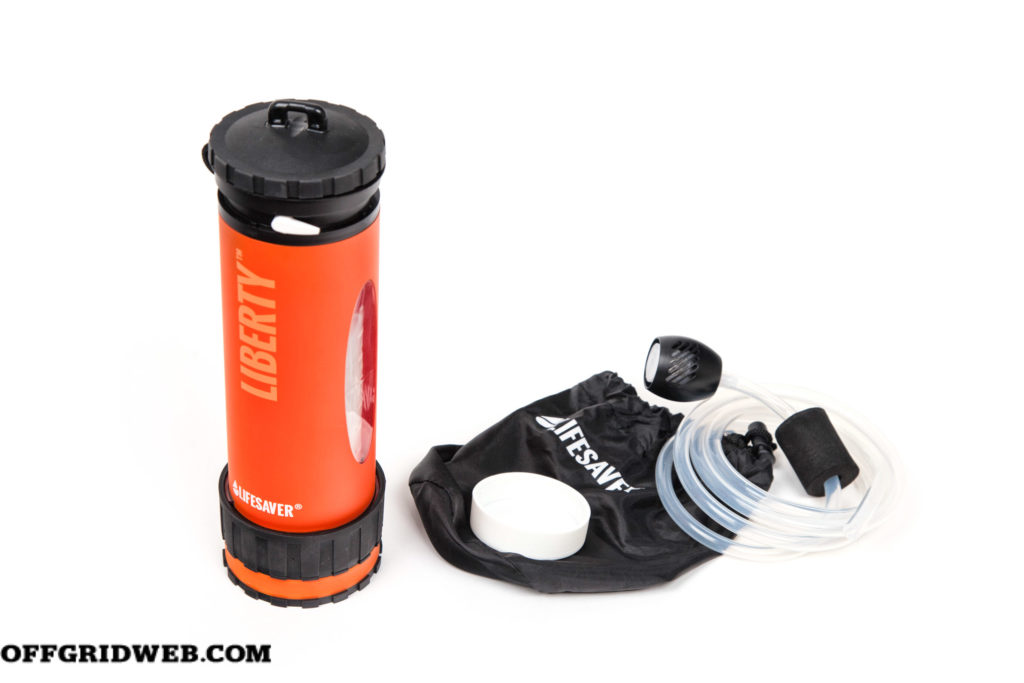
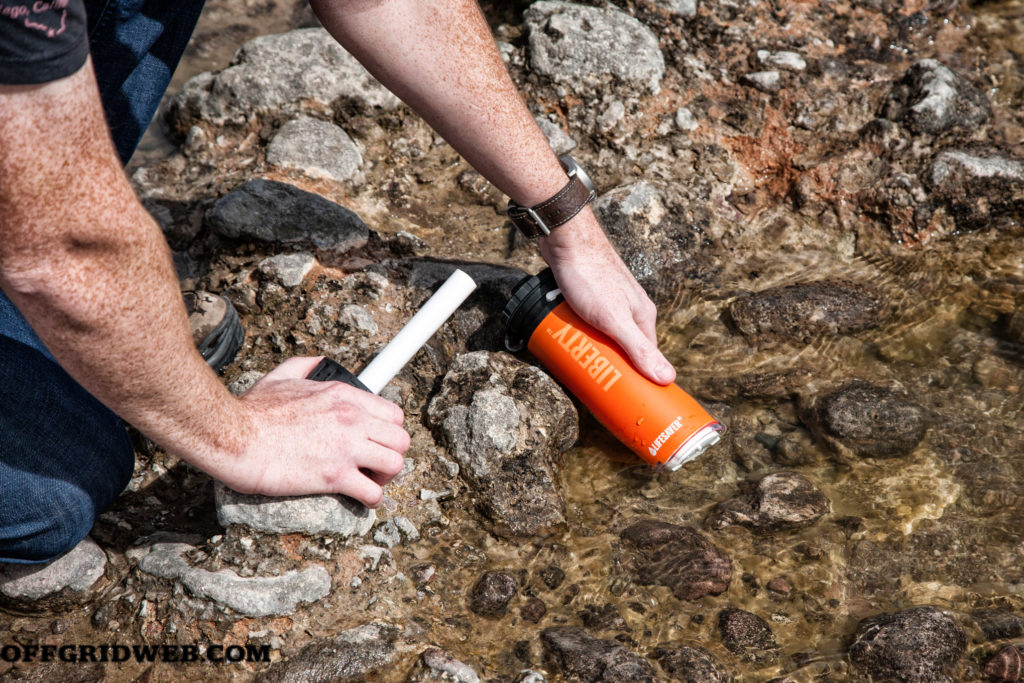 1. Unscrew base of purifier, and scoop dirty water into the reservoir.
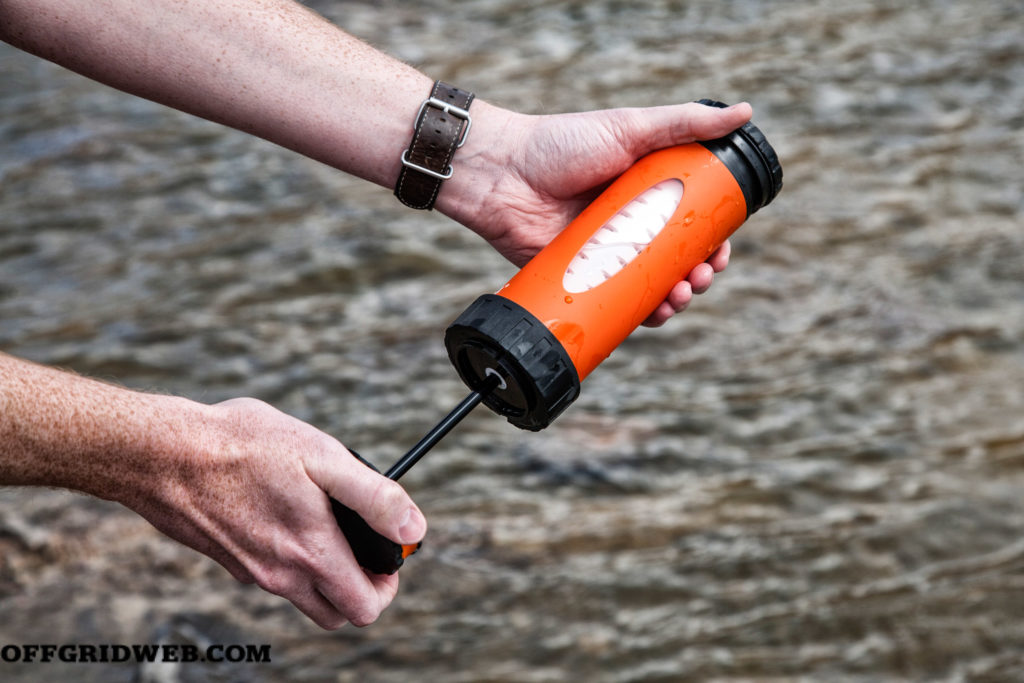 2. Tightly screw on base, then twist bottom cap a half turn to unlock pump handle. Pump three times.
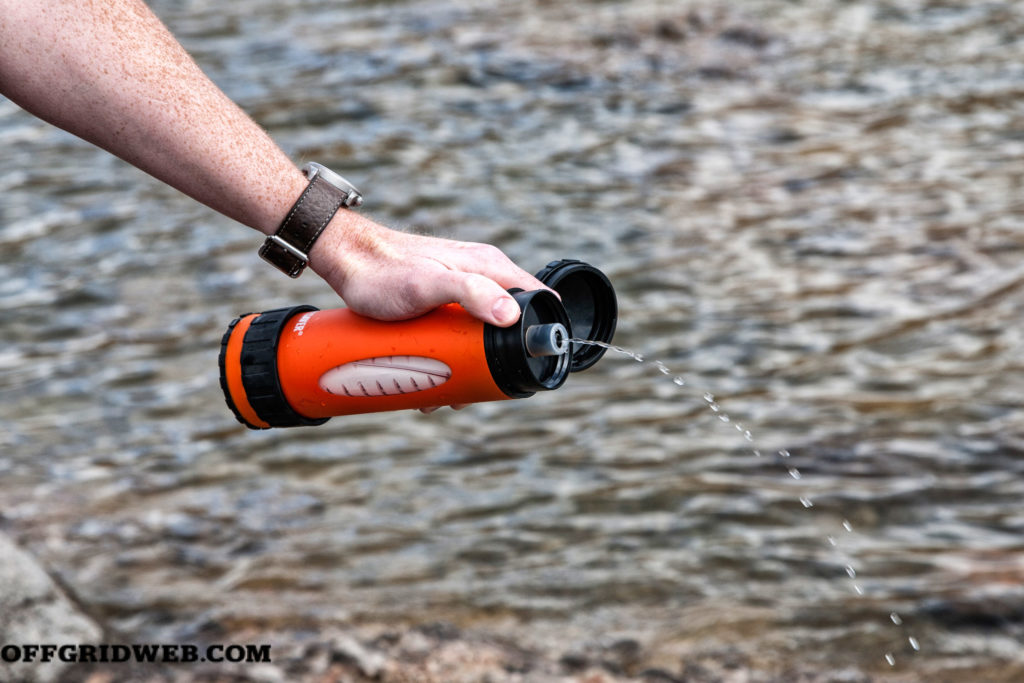 3. Unscrew top cap and rotate white flow valve 90 degrees to release pressurized water from nozzle. Continue pumping to maintain flow rate as needed.
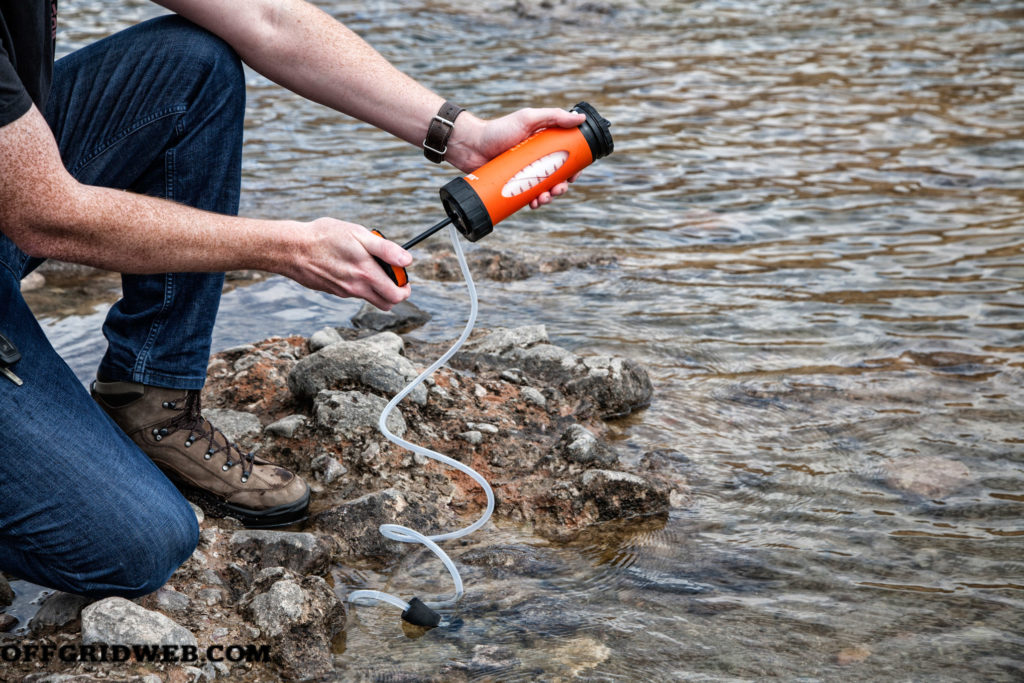 Attach scavenger hose to inlet on bottom cap. Place float in dirty water source. Open lid and water flow valve, then pump continuously to maintain flow rate.
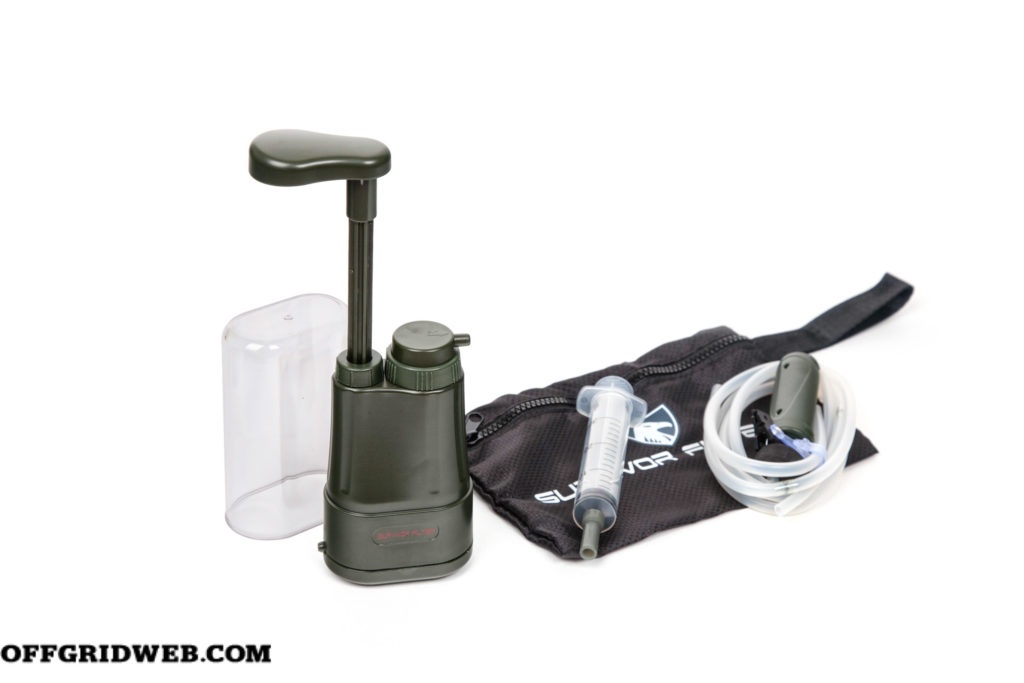
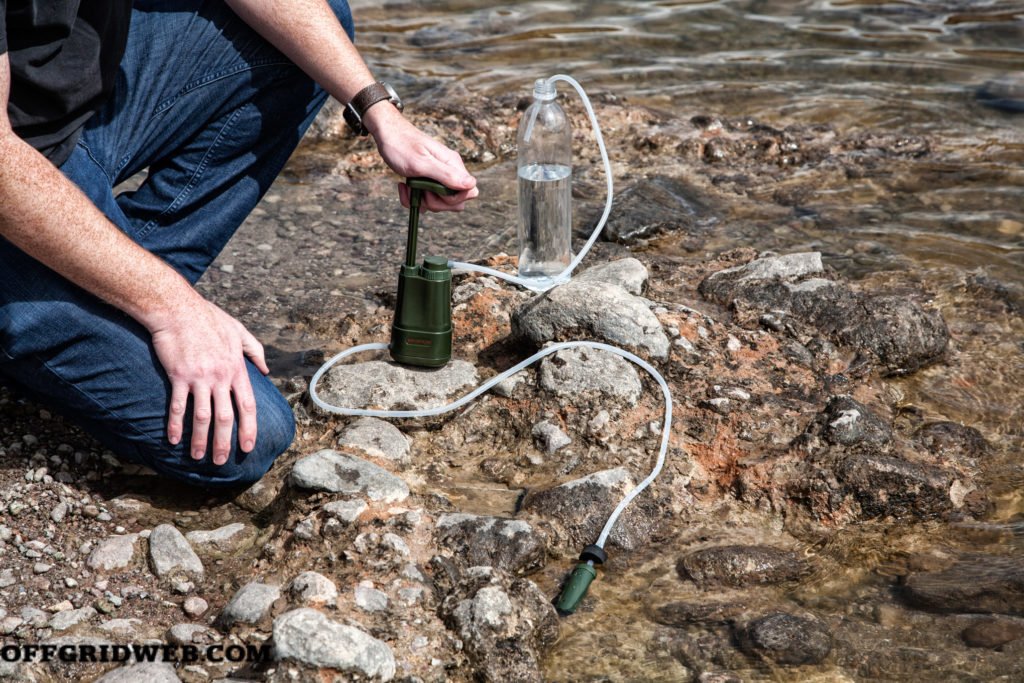 Connect inlet hose to lower nozzle, and place float in dirty water source. Remove clear plastic cap from unit and connect outlet hose to upper nozzle (marked “OUT”). Place end of outlet hose in the clear plastic cap, or a clean water reservoir of your choice, using the included clip to hold it in place if necessary. Pump handle to maintain flow rate.