I became interested in survival around the same time I became a parent. When you bring a baby into the world, your thought process instantly changes from “me, myself, and I” to “Holy crap, how do I keep this helpless child alive and well?!”
That led me on a path to take preparedness seriously. My emergency management and homeland security degree studies have given me a unique perspective to preparedness through various government initiatives, and my parenthood has given me the ability to take this information and translate it into kid-appropriate vernacular.
While a parent knows their child best and knows what will speak to them effectively, it’s helpful to find curricula, books, or movies that can aid in that conversation. It’s essential to convey an understanding of why we prepare and the difference between paranoia and preparedness.
What I look for in prepping-related books is the quality and breadth of information, as well as the author’s portrayal of preppers or survivalists. There are so many TV shows, books, and movies that portray survivalists or preppers as crazy people waiting for the sky to fall. I don’t want my children thinking that’s reality.
Finding decent survival books for adults is a challenge, much less ones for kids. Here we’re going to dive into 10 different books on survival. A few of them are geared toward kids, and the others are intended to teach survival practices to adults with families. I was pleasantly surprised with the manner in which many of these books spoke to family preparedness. Hopefully, our synopses will help you decide if purchasing one of these makes sense for you and your children.
Books for Children
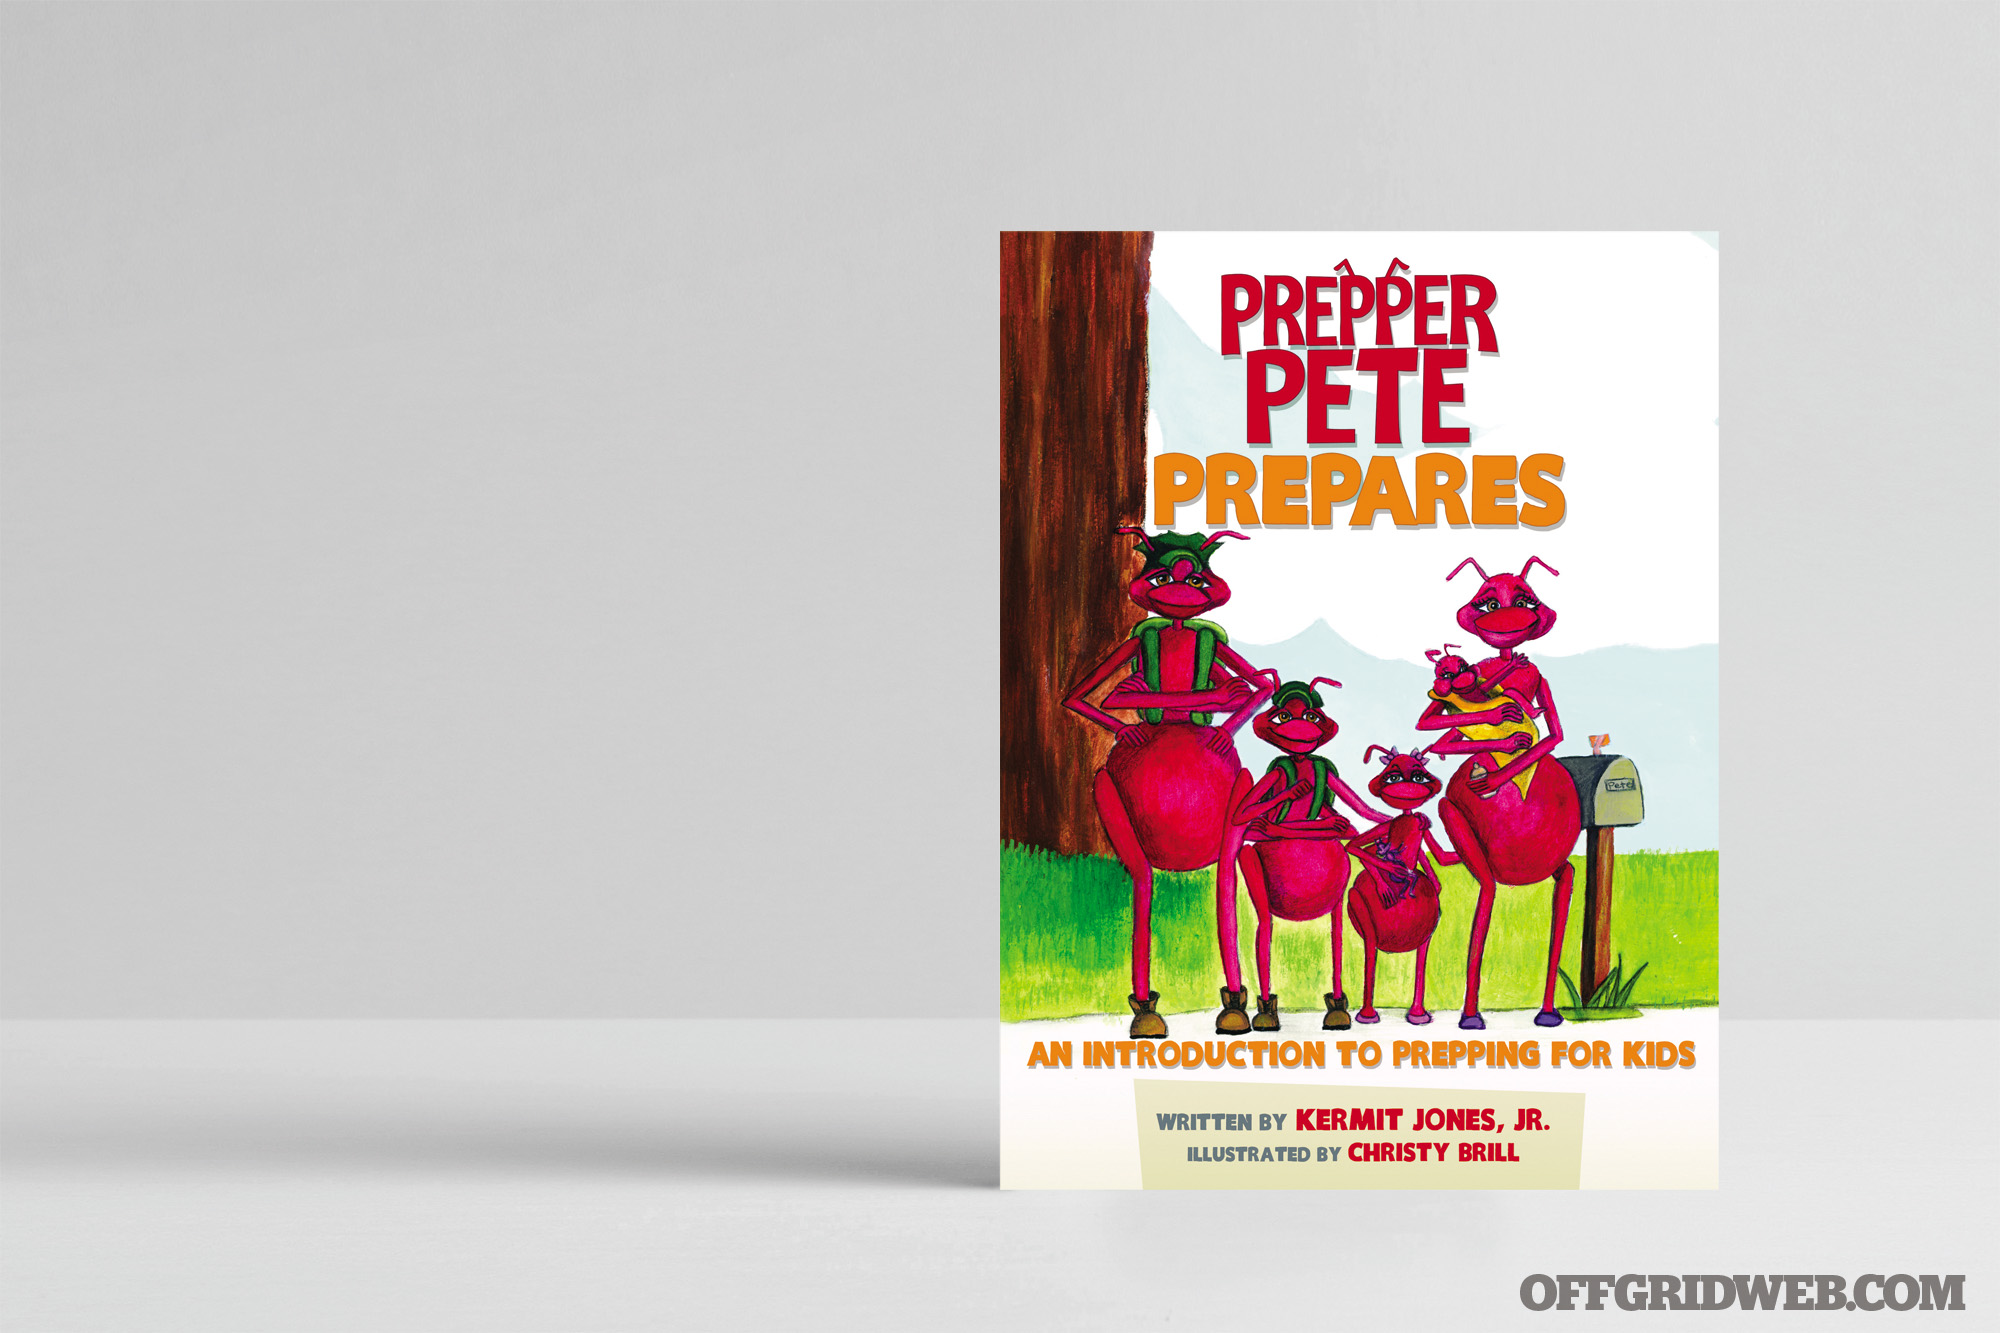
Prepper Pete Prepares: An Introduction to Prepping for Kids
Adult: ★★★★☆
Kids: ★★★★★
Author: Kermit Jones, Jr.
Price: $9 (Amazon)
Pages: 44
Publisher: Kamel Press
The Premise: This story follows Prepper Pete and his family as they prepare for the unknowns of the future. What we see is that Prepper Pete (portrayed visually by an ant) has many reasons to prepare. Pete walks through what prepping is and how to do it with consideration for a family.
The Specs: You can purchase this book from Kamel Press or via Amazon. It has 33 colorfully illustrated pages with a few more pages for grown-ups. It’s not currently available as an audiobook. Also available on Kindle.
The 411: This book was one of the kids’ favorites. We enjoyed how Prepper Pete has a family, and we get to see mama ant and the kids prepping with him. It makes prepping a family affair. This book also weaves in FEMA directives regarding having 72 hours of emergency supplies just in case. I felt this added some much-needed validity to the concepts presented in this book. We see Prepper Pete purchasing vital supplies such as food, water, tools, and even a generator as a family! We also see Prepper Pete building a storm shelter. The one aspect that was a challenge for me as a parent and for my kids is that this book tries to talk about solar flares, an EMP, and war. The kids that I read to didn’t have any idea what a solar flare or an EMP was, and it was difficult to explain that concept to their age level (boys and girls ages 3 to 10). Also, the concept of war on American soil was a little too scary of a topic to dive into for the younger ones.
Prepper Pete also talks about plagues, economic collapse, civil unrest, riots, and burglary. While the author did a great job keeping these concepts kid-friendly, they did garner questions that’ll take some thought for a parent to approach with their child. I thought it was very interesting that Prepper Pete keeps his prepping a secret. We enjoyed that concept on a personal level, because the whole world doesn’t need to know your business. This is a prime example of why.
I did like that Prepper Pete speaks to firearms training courses, paying off debt, and purchasing precious metals for barter after an apocalyptic event. Many adults I’ve come in contact with don’t have these concepts down, much less children. I thought this type of information was critical for the kids to understand.
One of the last pages says, “Our family does not have to be afraid, because we prepare!” I think it’s critical for us as parents to help our kids understand that there doesn’t have to be fear in prepping or survival. That fear can be eradicated by the proper, methodical, and logical prepping.
The Verdict: The kids gave this 5 out of 5 stars. They enjoyed all the concepts that were presented. I gave the book 4 out of 5. I’d love to see them explain those tough concepts and weave them into the story, but at the end of the day, that’s what parents are for.
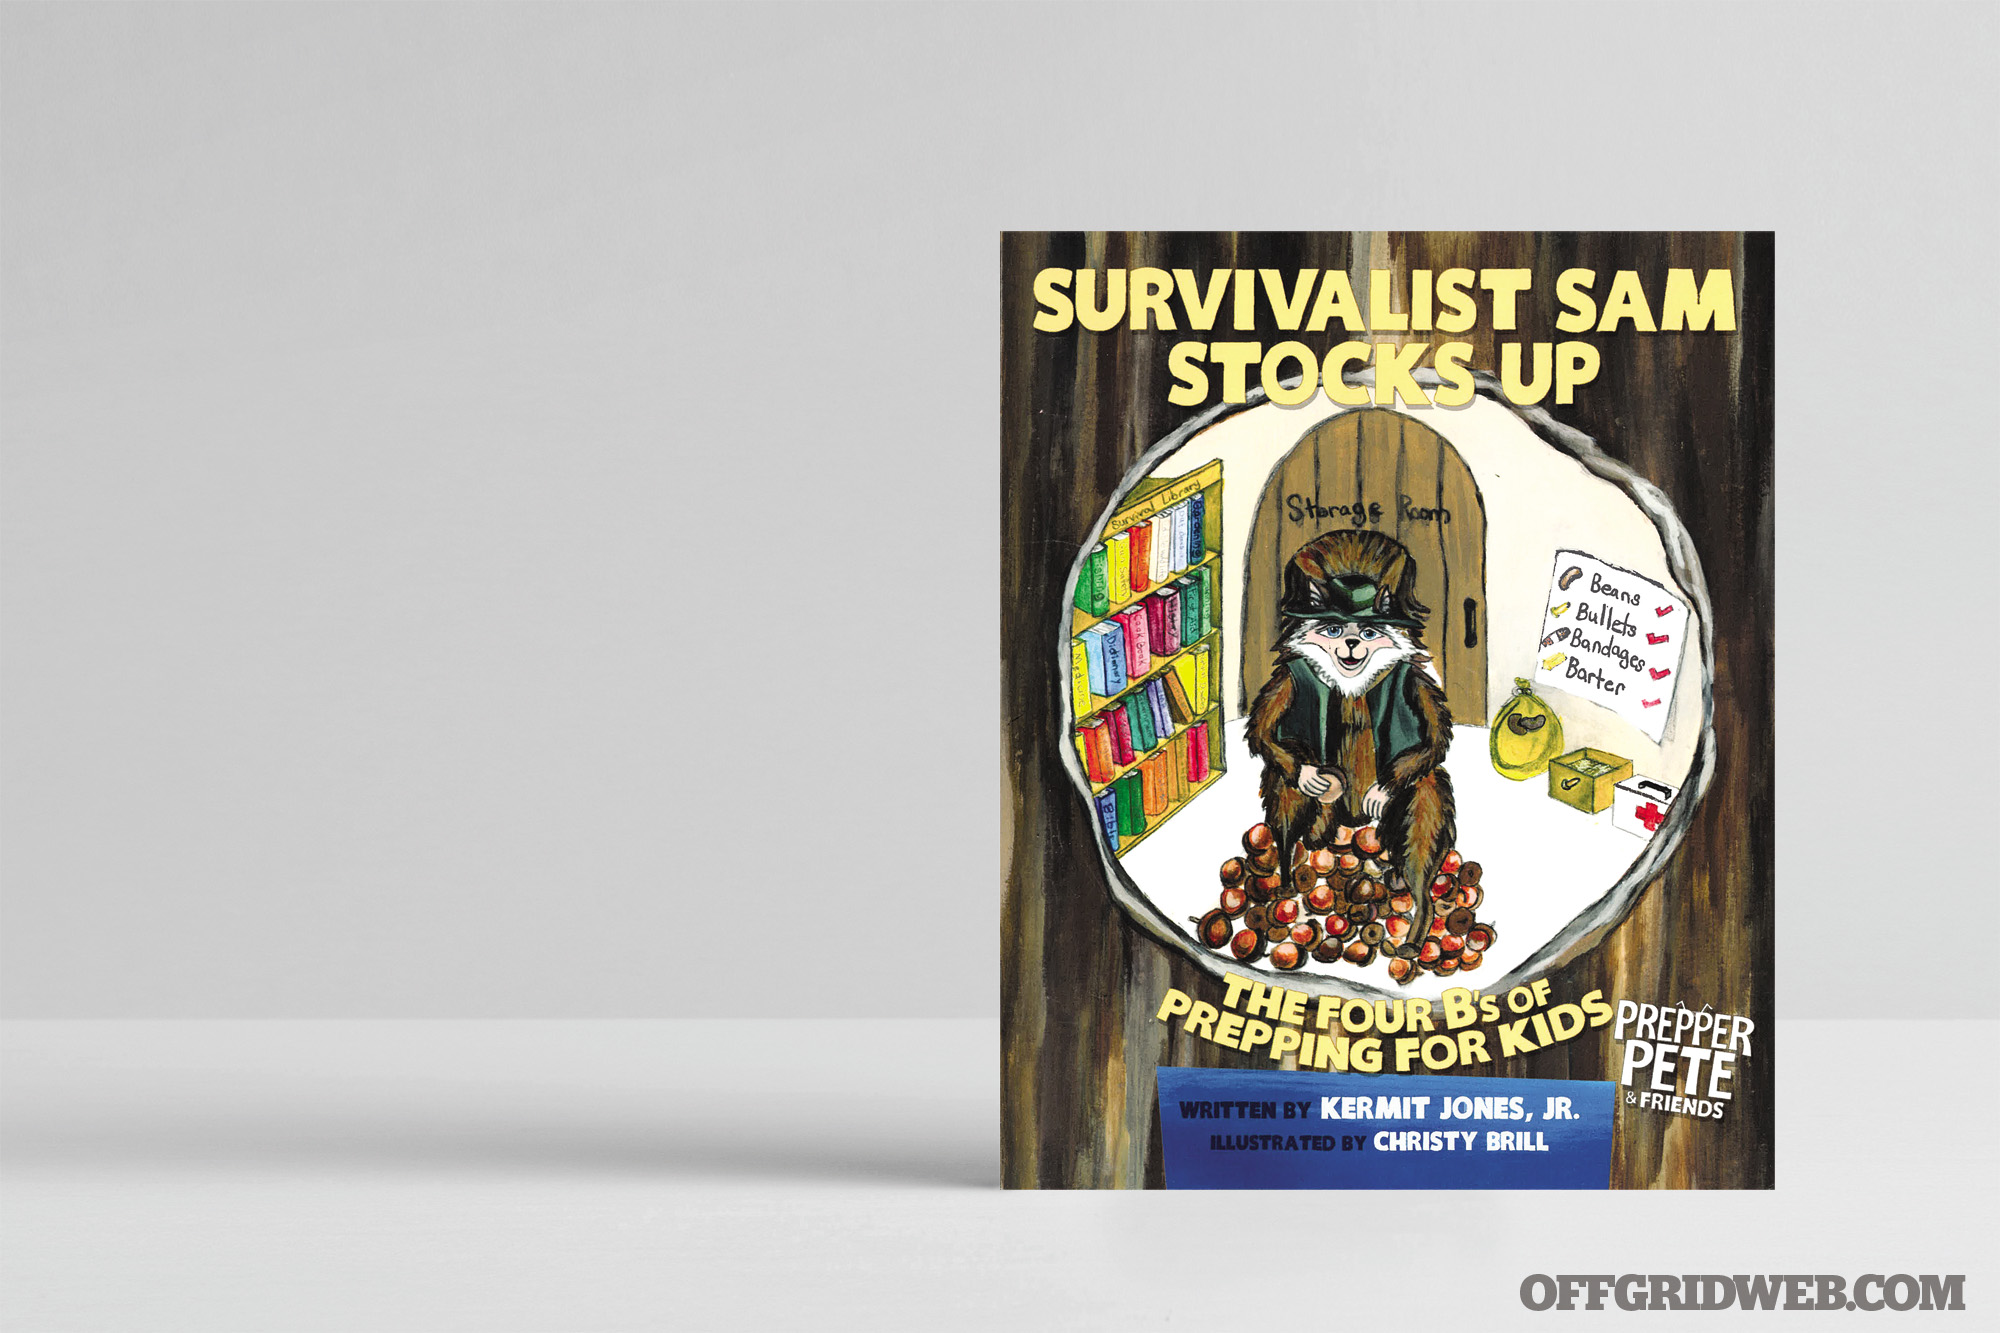
Survivalist Sam Stocks Up: The Four B’s of Prepping for Kids
Adult: ★★★☆☆
Kids: ★★★★☆
Author: Kermit Jones, Jr.
Price: $9 (Amazon)
Pages: 38
Publisher: Kamel Press
The Premise: This book follows a badger named Survivalist Sam. The story walks the reader through why Sam stocks up and what he stocks up on. He turns prepping and survival into an easy method of remembering the 4 B’s: Beans, Bullets, Bandages, and Barter. The story then walks through each of the B’s, what they are, and why they’re important.
The Specs: You can purchase this book from Kamel Press or via Amazon. Like the other offering by this author, it has 33 colorfully illustrated pages with a few more pages for grown-ups and isn’t currently available as an audiobook. Also available on Kindle.
The 411: All in all, the book was great. If you compare it to its parent book, Prepper Pete Prepares, it comes across a little intense. While the information was well laid-out and explained, the book made Survivalist Sam come across like a hermit and someone whose thought of as a crazy person by society. However, this book does a really good job at explaining why it’s important to gather books, become educated, and have a stockpile of supplies. We see Sam reload ammo, which is an important skill. We also see that Sam has his EMT certificate, which is also important, as he can administer medical aid to those around him.
I do like that this book focuses on the lack of fear needed when one prepares. The tagline in the back of the book is “Don’t scare…prepare.” I think that’s a really important point to instill in children — there doesn’t have to be fear associated with the unknowns of the future. When I was reading this book to my boys and their friends (both genders ranging from ages 3 to 10), they were all captivated. The book can be difficult to read for adults because there are many words that all start with the same letters, and some of the terminology is above most kids’ head at this age (ammunition, barter, etc.). Overall, they liked it.
The Verdict: I gave the book 3 out of 5 stars. The graphics are a bit cheesy, and it’s difficult to get the point across about the validity of the story when it has animals for main characters rather than people. The kids gave the book 4 out of 5 stars. The reason is that it explains things very well and lays out a template for survival and prepping; however, the terminology took some explaining.
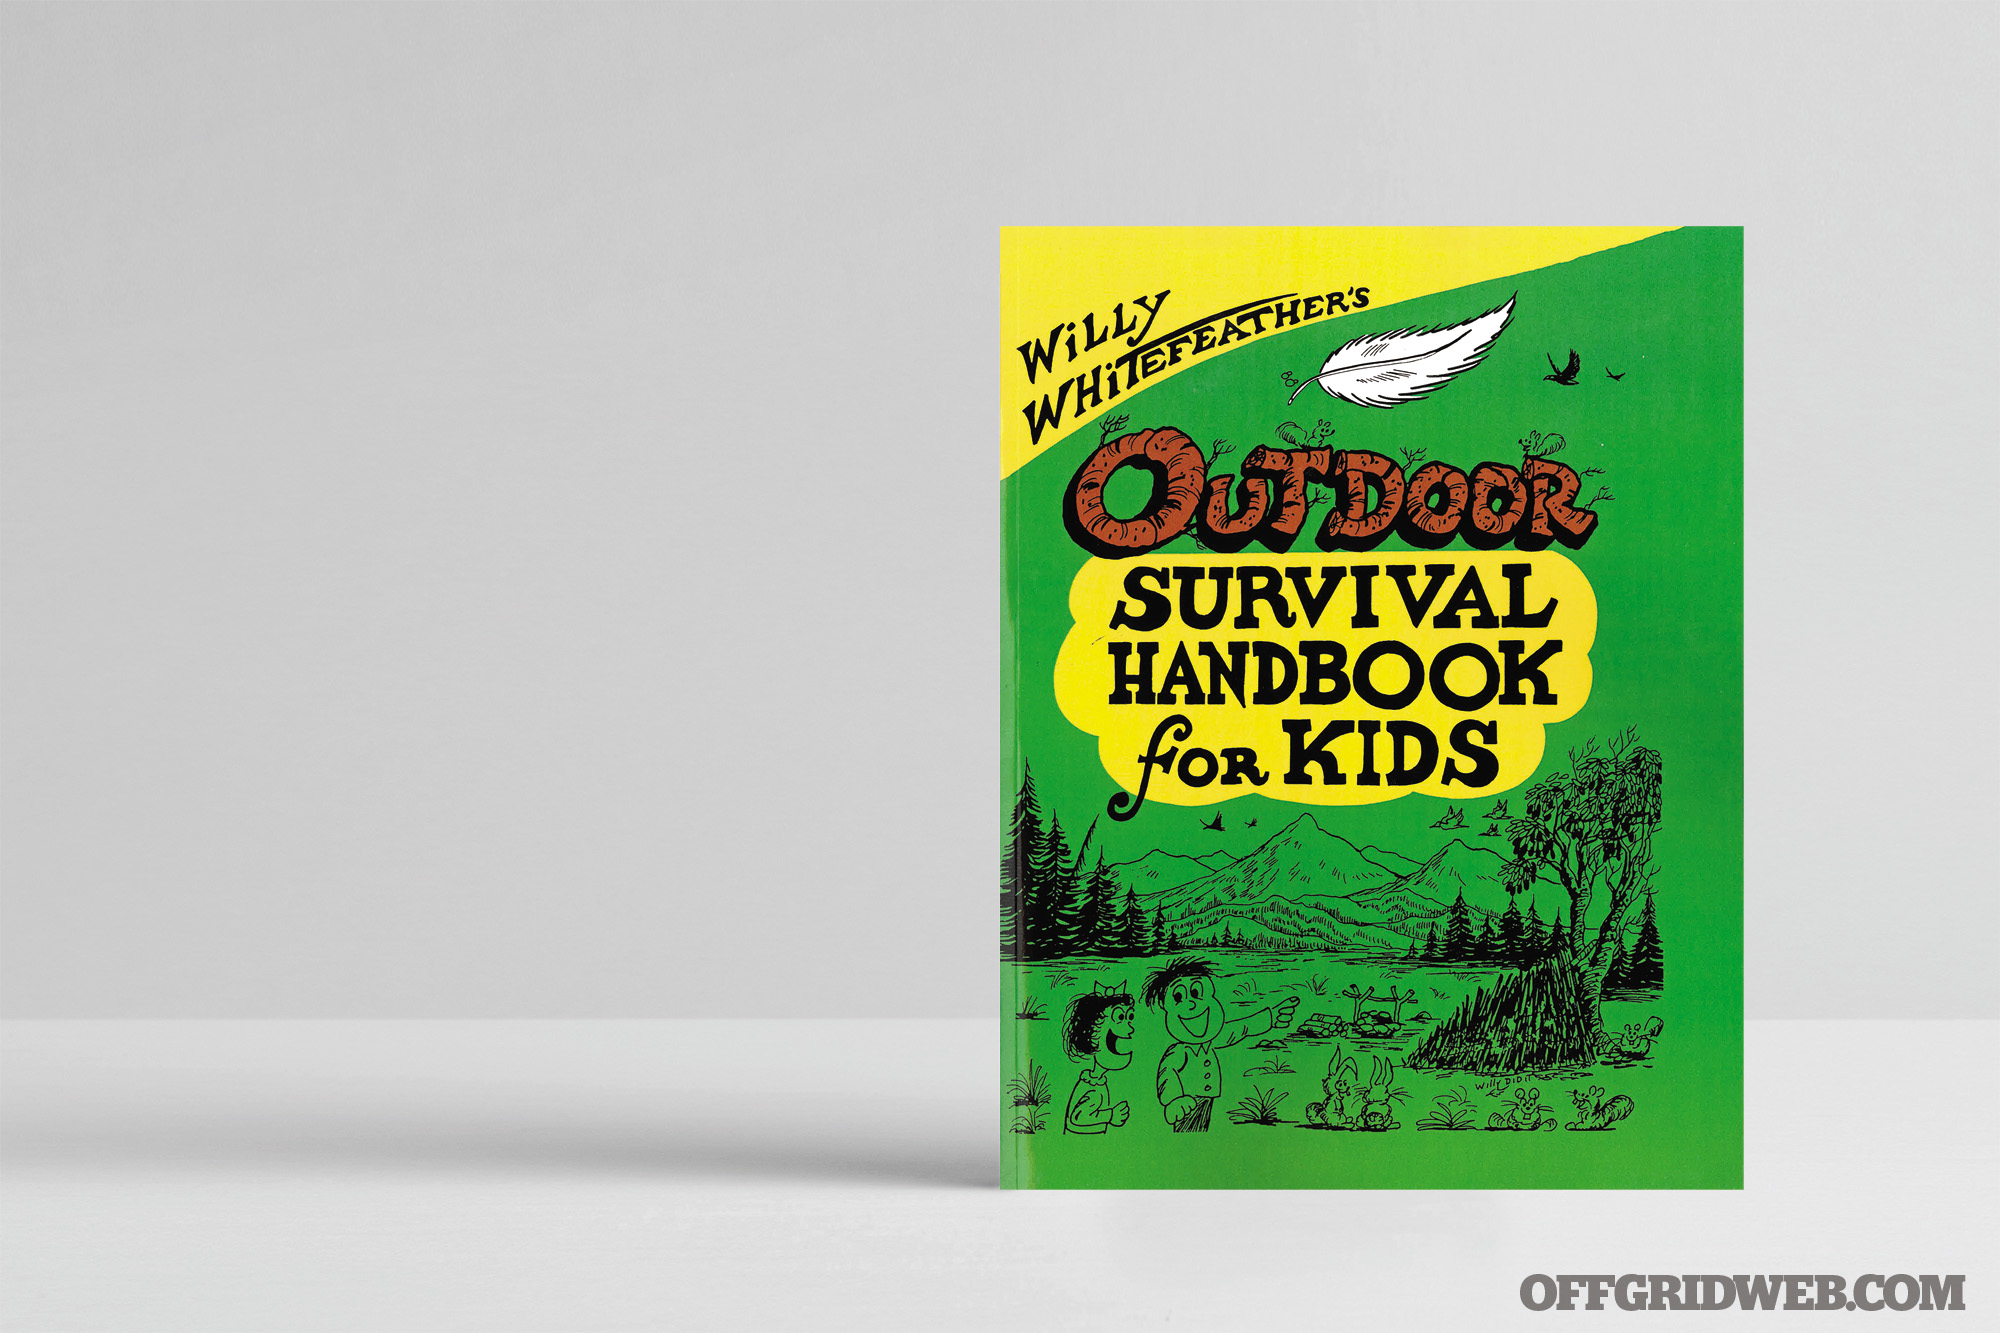
Outdoor Survival Handbook for Kids
Adult: ★☆☆☆☆
Kids: ★★☆☆☆
Author: Willy Whitefeather
Price: $13 (Amazon)
Pages: 104
Publisher: Roberts Rinehart
The Premise: This book follows two characters, Dooley and Tina, on an adventure outdoors. The story starts with Dooley and Tina wandering off from their parents and their campsite. Interwoven into the story are practical survival tips and techniques that Dooley and Tina use on their adventure to find their way back home. The storyline includes spending the night outdoors, how to make a shelter, how to find water, how to navigate your way if you get lost, dealing with bugs, filtering water, starting a fire, and a plethora of other survival tips. The tips and story are so intertwined that we get to see Dooley and Tina using all the techniques and why they’re important. By the end of the story, Dooley and Tina find their way back to their campsite and their parents by using their survival skills.
The Specs: It has 96 monochromatic pages of information. Not currently available in audiobook form, but can be purchased on Kindle and Nook.
The 411: This book was a challenge to get through. The categories are placed together very well, but the pages seem almost handwritten and use poor grammar to boot. The pages seem muddy with doodles and different handwriting/fonts to bring the story together. It’s difficult to keep your place on the page when reading because there are no natural paragraph breaks. Some of the information contained in this book is valid, such as starting a fire. The chapter on fire-starting walks through making a bow drill and tinder. However, the method for testing potentially poisonous berries and plants isn’t something I’d share with my children.
There were parts of the book that seemed a bit hokey. He tells the readers to essentially “speak it and it will be so.” There are times where it’s simply too hot or too cold and saying anything otherwise is just silly. The author also suggests asking the “spirits” for advice on how to get home. Again, not necessarily information that I’d give my children. Lastly, he tells children that moss only grows on the north side of trees to help them find the cardinal direction and ascertain which direction to go. As was covered in RECOIL OFFGRID Issue 20, this is a myth — moss doesn’t only grow on the north side of trees so it’s a misleading and potentially dangerous piece of advice.
The Verdict: I gave this book a 1 out of 5 stars, because it was too difficult to read. Frankly, it was boring to look at as well. It also had some harmful and outdated advice that I’d never share with my children. The kids gave this book a 2 out of 5 stars. They thought the story was cool and enjoyed the fishbowl perspective that we see Dooley and Tina operating in, but there’s no color to the pages, and it was incredibly difficult to read for them.
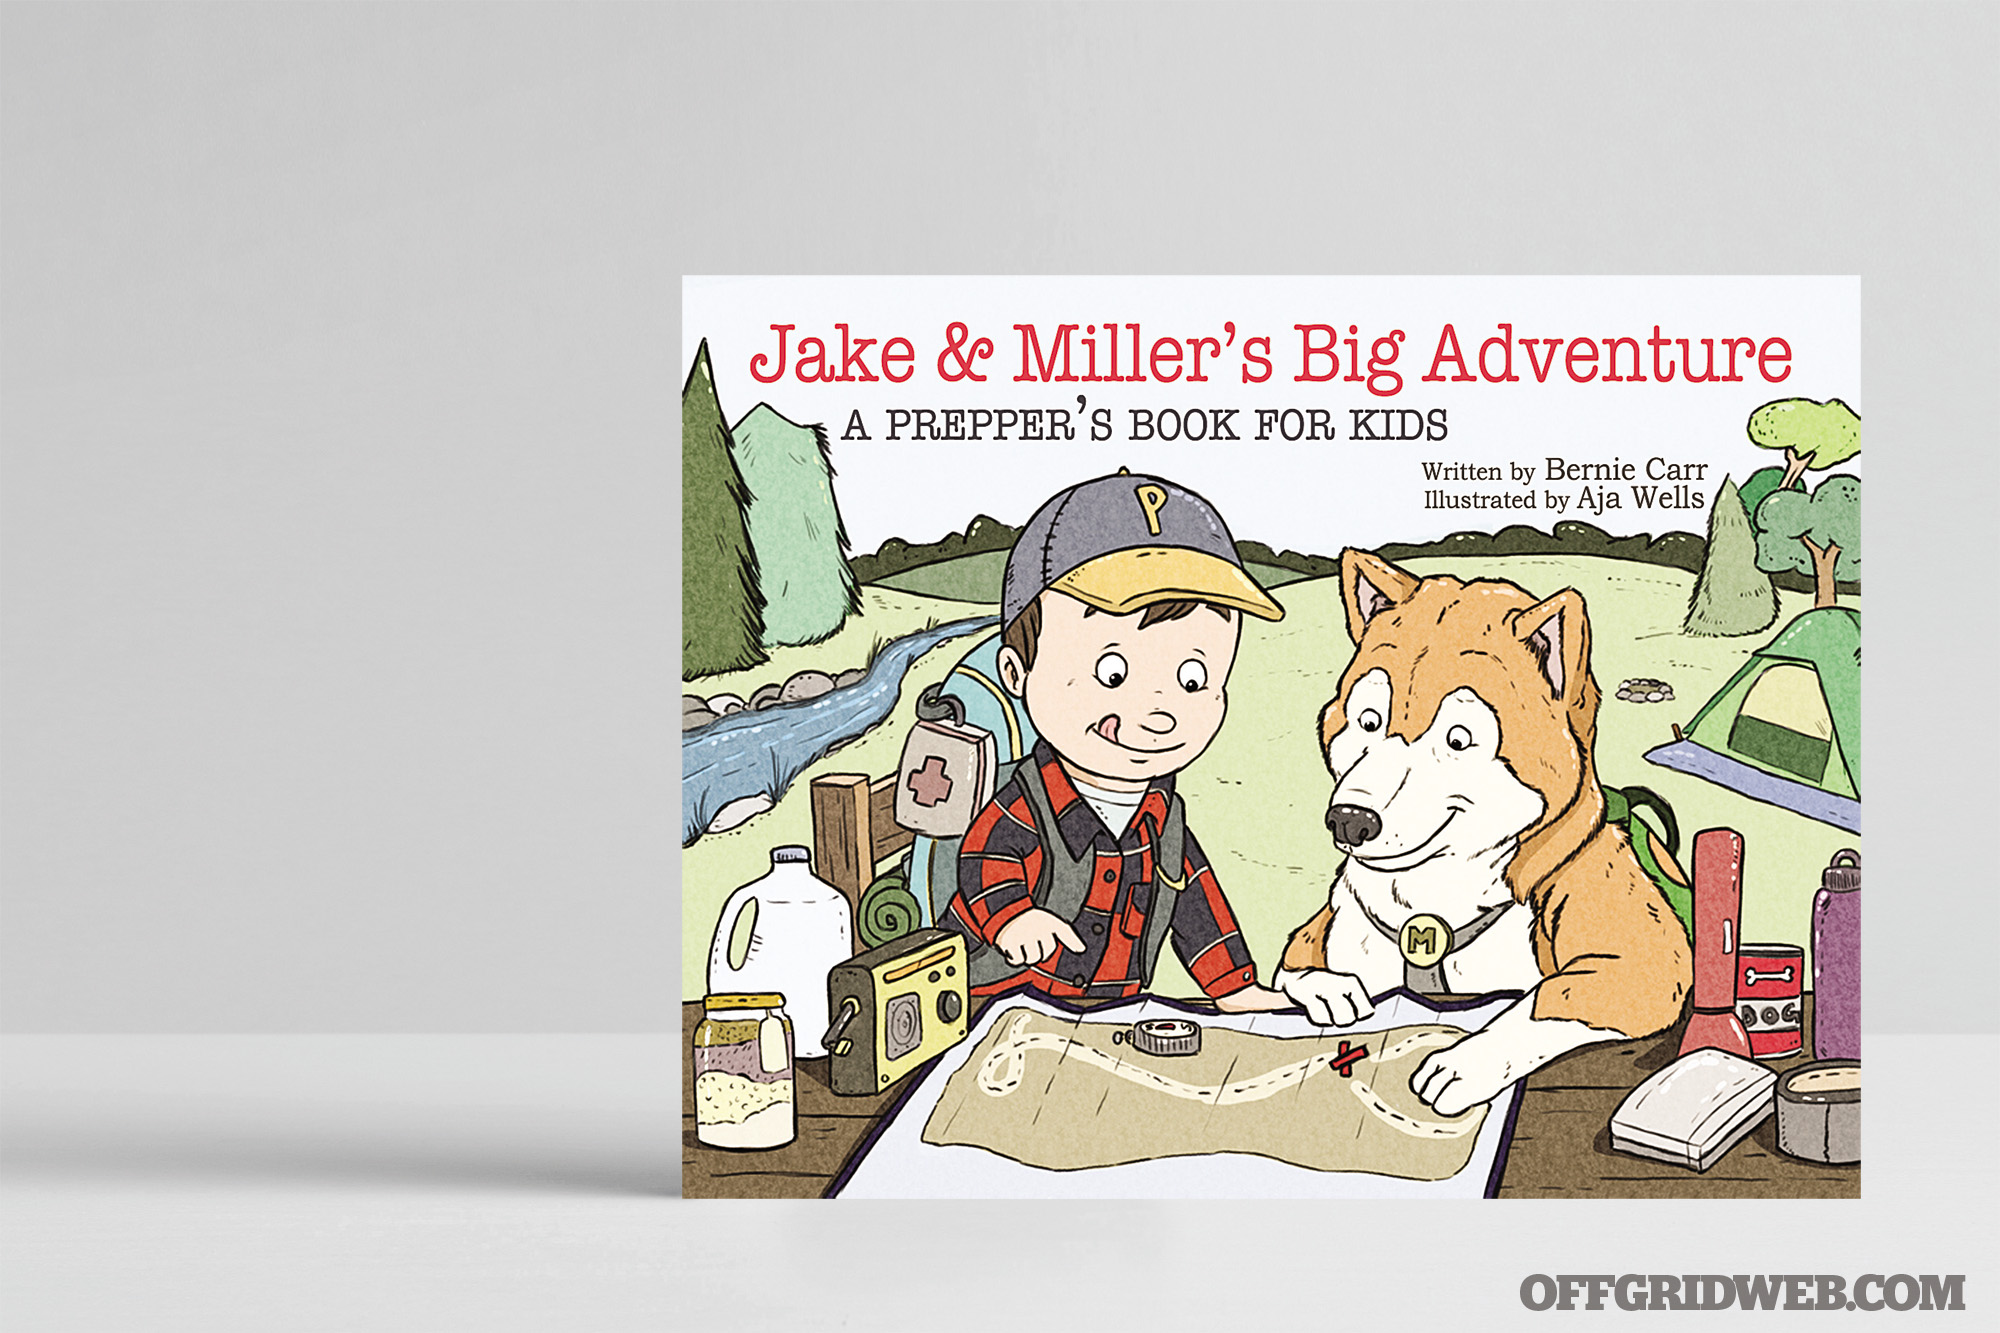
Jake & Miller’s Big Adventure
Adult: ★★★☆☆
Kids: ★★★★☆
Author: Bernie Carr
Price: $16 (Amazon)
Pages: 32
Publisher: Ulysses Press
The Premise: Jake & Miller’s Big Adventure follows a boy, Jake, and his trusty sidekick dog, Miller, on an adventure that’s rife with survival tips integrated into the story. Jake wakes Miller up to start prepping for the adventure that’ll take them all over the globe, through all types of survival situations from extreme cold, to extreme heat, to dense jungle. Miller is cautious of Jake’s idealistic plan of traveling the globe, but Jake explains why he’s preparing and that there’s an absence of fear when one prepares.
The Specs: This book is available on Amazon, Barnes & Noble, and Kindle, and 31 of its pages are beautifully illustrated.
The 411: This book was really cute and is perfectly geared toward children ages 4 to 6. The book is too wordy for those under 4 years of age and too childish for those over 6. The graphics in the book are adorable. They’re colorful, vivid, and explain the storyline very well. The survival content was very age-appropriate. It covered the basics of survival: warmth, water, shelter, medical, and food. The younger kids from my group loved it, but got a little bored with the content after a few pages. I felt the survival content was spot on for the ages it speaks to. It explains why it’s necessary to carry food, water and water purification supplies, and bandages. Also covered are some situations you may find yourself in where those supplies are necessary. The biggest takeaway the kids had from this book was that if you pack canned goods for survival, bring a can opener.
The Verdict: The group of kids gave this book 4 out of 5 stars. The older kids wished it had more information rather than storyline, but the younger kids loved practically everything about it. I gave the book 3 out of 5 stars because it’s very appropriate for the ages it targets, but isn’t really interesting for those outside the narrow age range.
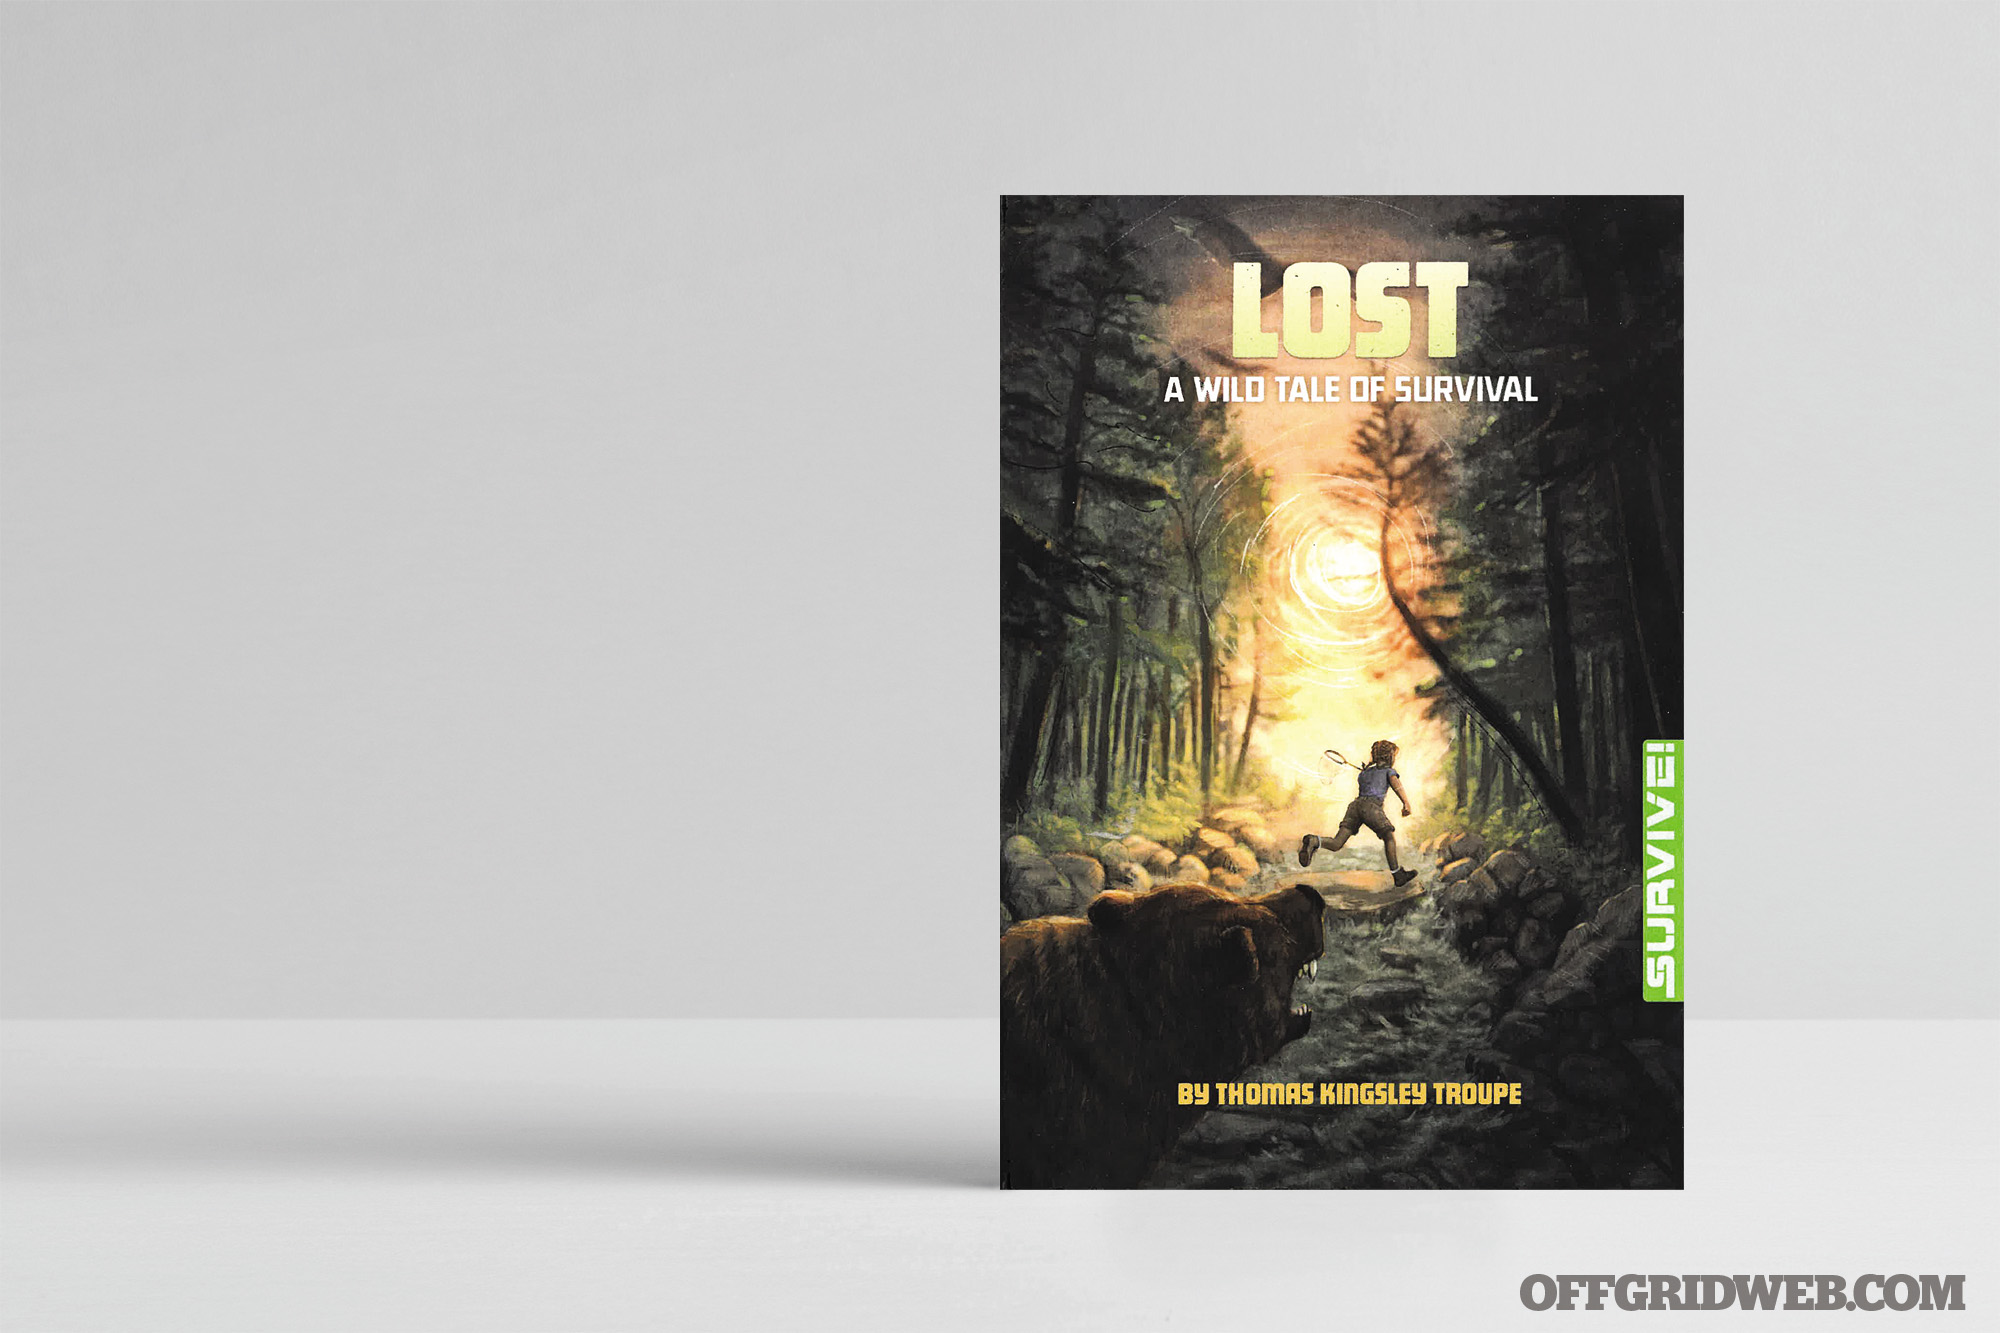
Lost: A Wild Tale of Survival
Adult: ★★★★☆
Kids: ★★★★☆
Author: Thomas Kingsley Troupe
Price: $6 (Amazon)
Pages: 56
Publisher: Stone Arch Books
The Premise: This book follows a girl named Kelly who is off to the woods to get bugs for a science project, gets distracted by a butterfly, then proceeds to get lost. A bear chases Kelly for her sandwich, which she willingly gives up to escape. We follow her as she attempts to find her way home by crossing a river and narrowly escaping the oncoming waterfall. The book uses common sense and age-appropriate concepts of survival with little to no gear.
The Specs: You can purchase this book on Amazon and Barnes & Noble; it’s only available in paperback.
The 411: The book is really short, so it’s the perfect setup for ages 9 to 13. My son is 9 and was able to read through the book in less than an hour. It’s an intense, action-packed story that left him wanting more. It has eight chapters that walk us through Kelly’s survival techniques and how she found her way back to the cabin she was visiting. In the back of the book is a section that covers what survival gear is important to have and why. There’s a glossary for terms that can be difficult for some readers. One of my favorite aspects of this book are the writing prompts and discussion questions found in the back of the book. The prompts and questions are great conversation-starters for parents and kids to discuss what Kelly could’ve done differently, what she did well, and how she could’ve used the survival equipment if she had it. We’ll definitely be looking into Troupe’s other books, as this was a huge hit.
The Verdict: The kids gave this book 4 out of 5 stars. They liked the action/adventure aspects of the book and that the bear was chasing them for PB&J. I gave the book 4 out of 5 stars also. It was great for older kids. The kids under the age range found it a little boring, as it’s a chapter book with black-and-white pictures.
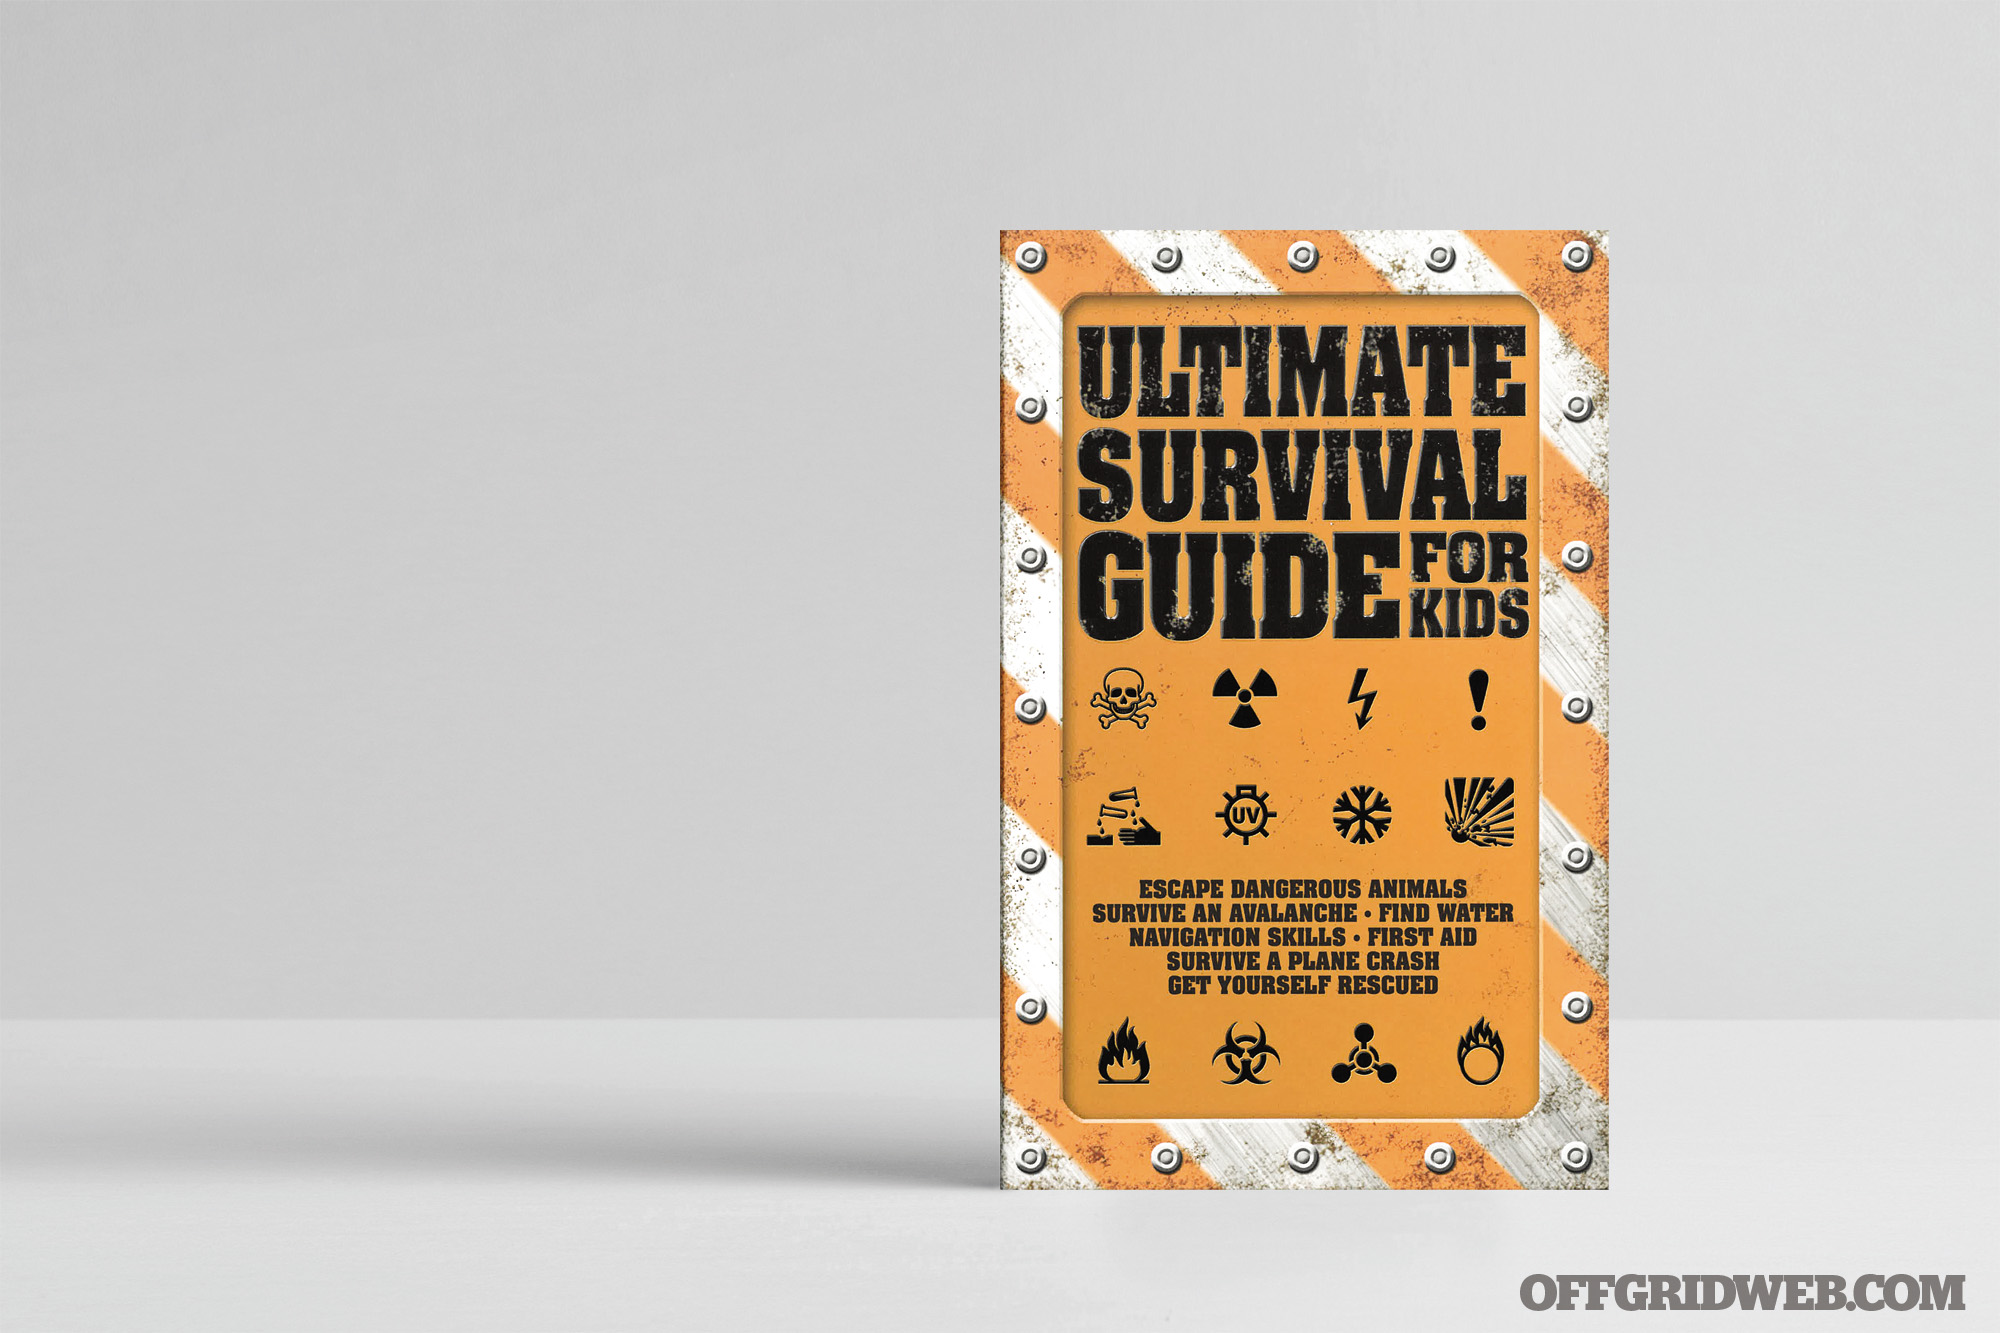
Ultimate Survival Guide for Kids
Adult: ★★★★★
Kids: ★★★★★
Author: Rob Colson
Price: $10 (Amazon)
Pages: 96
Publisher: Firefly Books
The Premise: This book covers every survival situation one could think of. From spider bites to getting lost in the woods, avalanches, tornadoes, and crocodiles, it covers a wide variety. This book gives quick, concise advice to kids for 24 different survival or emergent situations. The book is broken down into four sections that consist of animal dangers, natural dangers, human hazards, and basic (kid-friendly) survival skills. This book is very adequately geared toward 10- to 13-year-old children, but is also a great guide for adults who are new to the survival world.
The colorful pages grab the reader’s attention really well. There are many colorful insets on the pages that give tips and fun and interesting facts about each section. The margin notes are also a beneficial touch of critical yet interesting information. This book isn’t structured like a regular chapter book. It’s interesting to read through once, but seems best-served to be stashed in a bug-out bag for reference during a critical situation.
The Specs: This book is only available in paperback and can be purchased from Amazon or Barnes & Noble.
The 411: The book is structured into four sections. This aids in the ease of finding necessary information quickly. In reading this book by myself and again with the kids, I felt enamored with all the fascinating features it has. The facts are practical, but they still have the kid-friendly “cool or gross” factor that this age group of kids loves. Many of the kids I read this book to were under the recommended age, but they all loved reading through it. The younger ones were attracted to the vibrant pictures, and the older ones thought the information was practical and interesting.
This book covers many different survival situations that may not all be a danger in the reader’s area, but it encompasses a wide variety of disasters to prepare for. One tip that we learned through reading this is that a mere 25 inches of flood water can carry away a vehicle. The flood chapter walks through the best method to lay sandbags, the importance of keeping non-perishable food stocked, and filling up sinks and bathtubs with water so you can have uncontaminated drinking water (assuming those surfaces are clean). This is a great book that I’ll keep on hand for gifts to kiddos in the future.
The Verdict: The kids and I gave the book 5 out of 5 stars. We loved reading each section and learning fun, interesting facts about common (and not-so-common) survival situations.
Books for Families
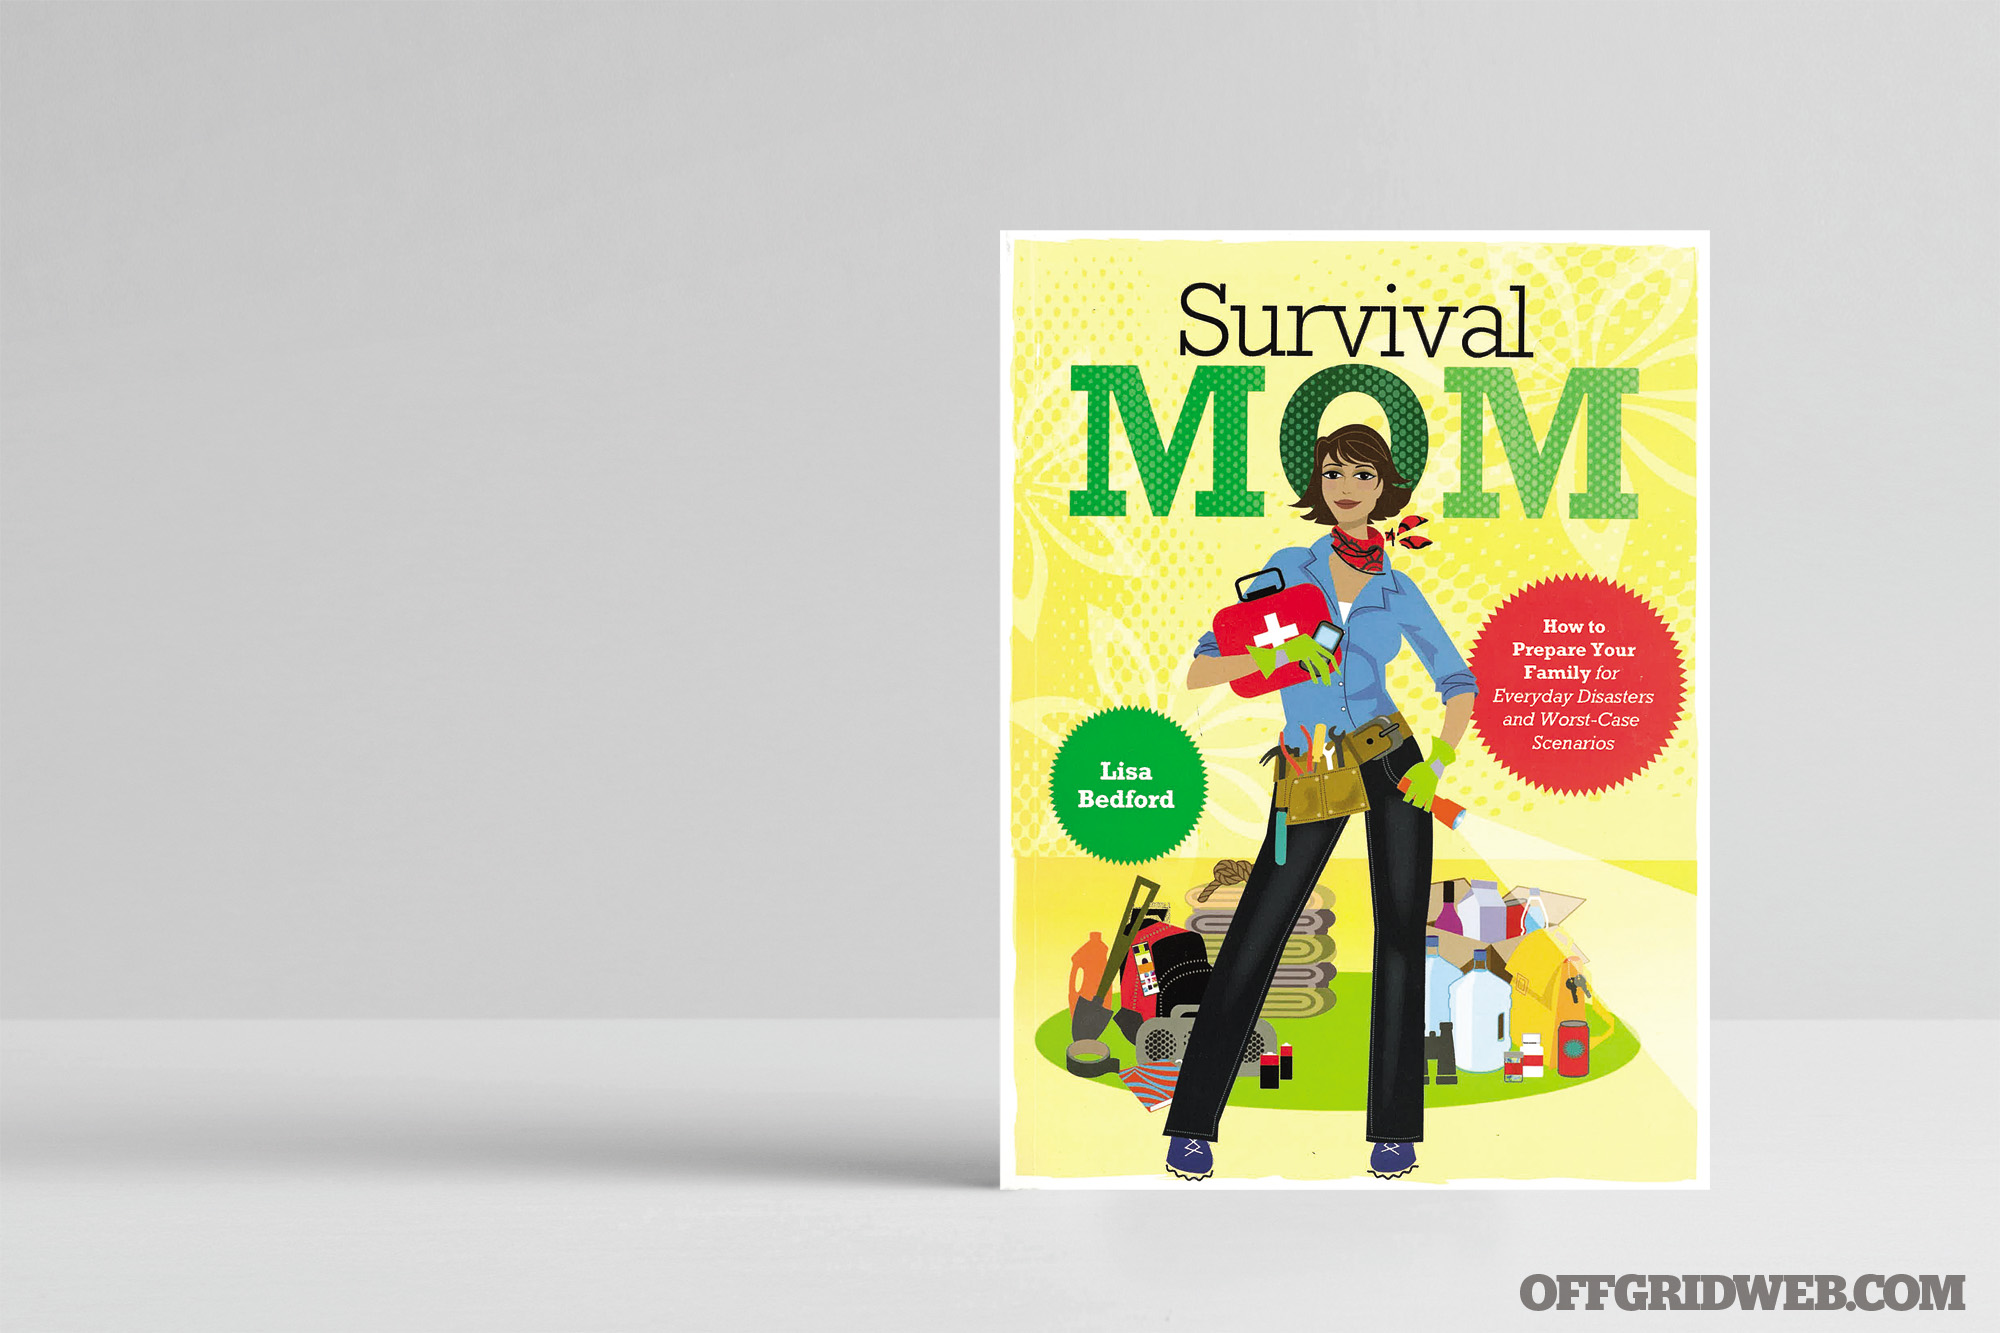
Survival Mom
Adult: ★★★★★
Author: Lisa Bedford
Price: $14 (Amazon)
Pages: 323
Publisher: Harper Collins
The Premise: This book is entirely geared toward parents and families and is frankly indispensable, which is exactly what sets this book apart from many others. Parents who read this book don’t have to search for practical applications for themselves and their small children, as it’s already there. The author touches on some key factors such as preparing being the key to overcoming fear — something many parents deal with when thinking of TEOTWAWKI. Lisa goes into great detail on topics such as water, basic sanitation outside of a restroom environment, and the ins and outs of food storage.
The author expounds further on the financial aspect of prepping. The pre-disaster financial tips are something that I’ve not seen many authors, columnists, or bloggers cover the way she does. There are many tips and facts about getting out of debt and how to budget for survival supplies. This book has numerous charts, graphs, and checklists that make it painless for those new to prepping. There are also dozens of prepping tips and tricks that us seasoned preppers can also use.
The Specs: While not yet available in audiobook form, it’s available via Kindle and Nook.
The 411: The author includes several checklists and templates in this book that make it critical to have as part of your pre-, mid-, and post-disaster repertoire. One of the biggest things I learned from this book was from her financial chapter on gold and silver purchasing for bartering after a crisis event. This was a topic that I hadn’t had a chance to study much yet, and she broke it down in plain English, but gave a very detailed synopsis on the pros and cons of precious metals and how to barter. This book covers nearly every aspect of disasters and preparing — there’s not one thing I’d add or take away from this book.
The author even goes as far as pointing out that children will need special one-on-one time with their parents during a crisis event. Not many books cover the emotional needs of the family at all; the author does this amazingly well. She also speaks to the need for a community. Prepping and bugging out don’t have to be lonesome events. She discusses partnering with friends and family to make a more resilient group of people, and even includes a recommended reading list, recipes, and a plethora of tips to help you in your preparedness journey, regardless of where you are.
The Verdict: I gave this book 5 out of 5 stars. Lisa Bedford covers it all.
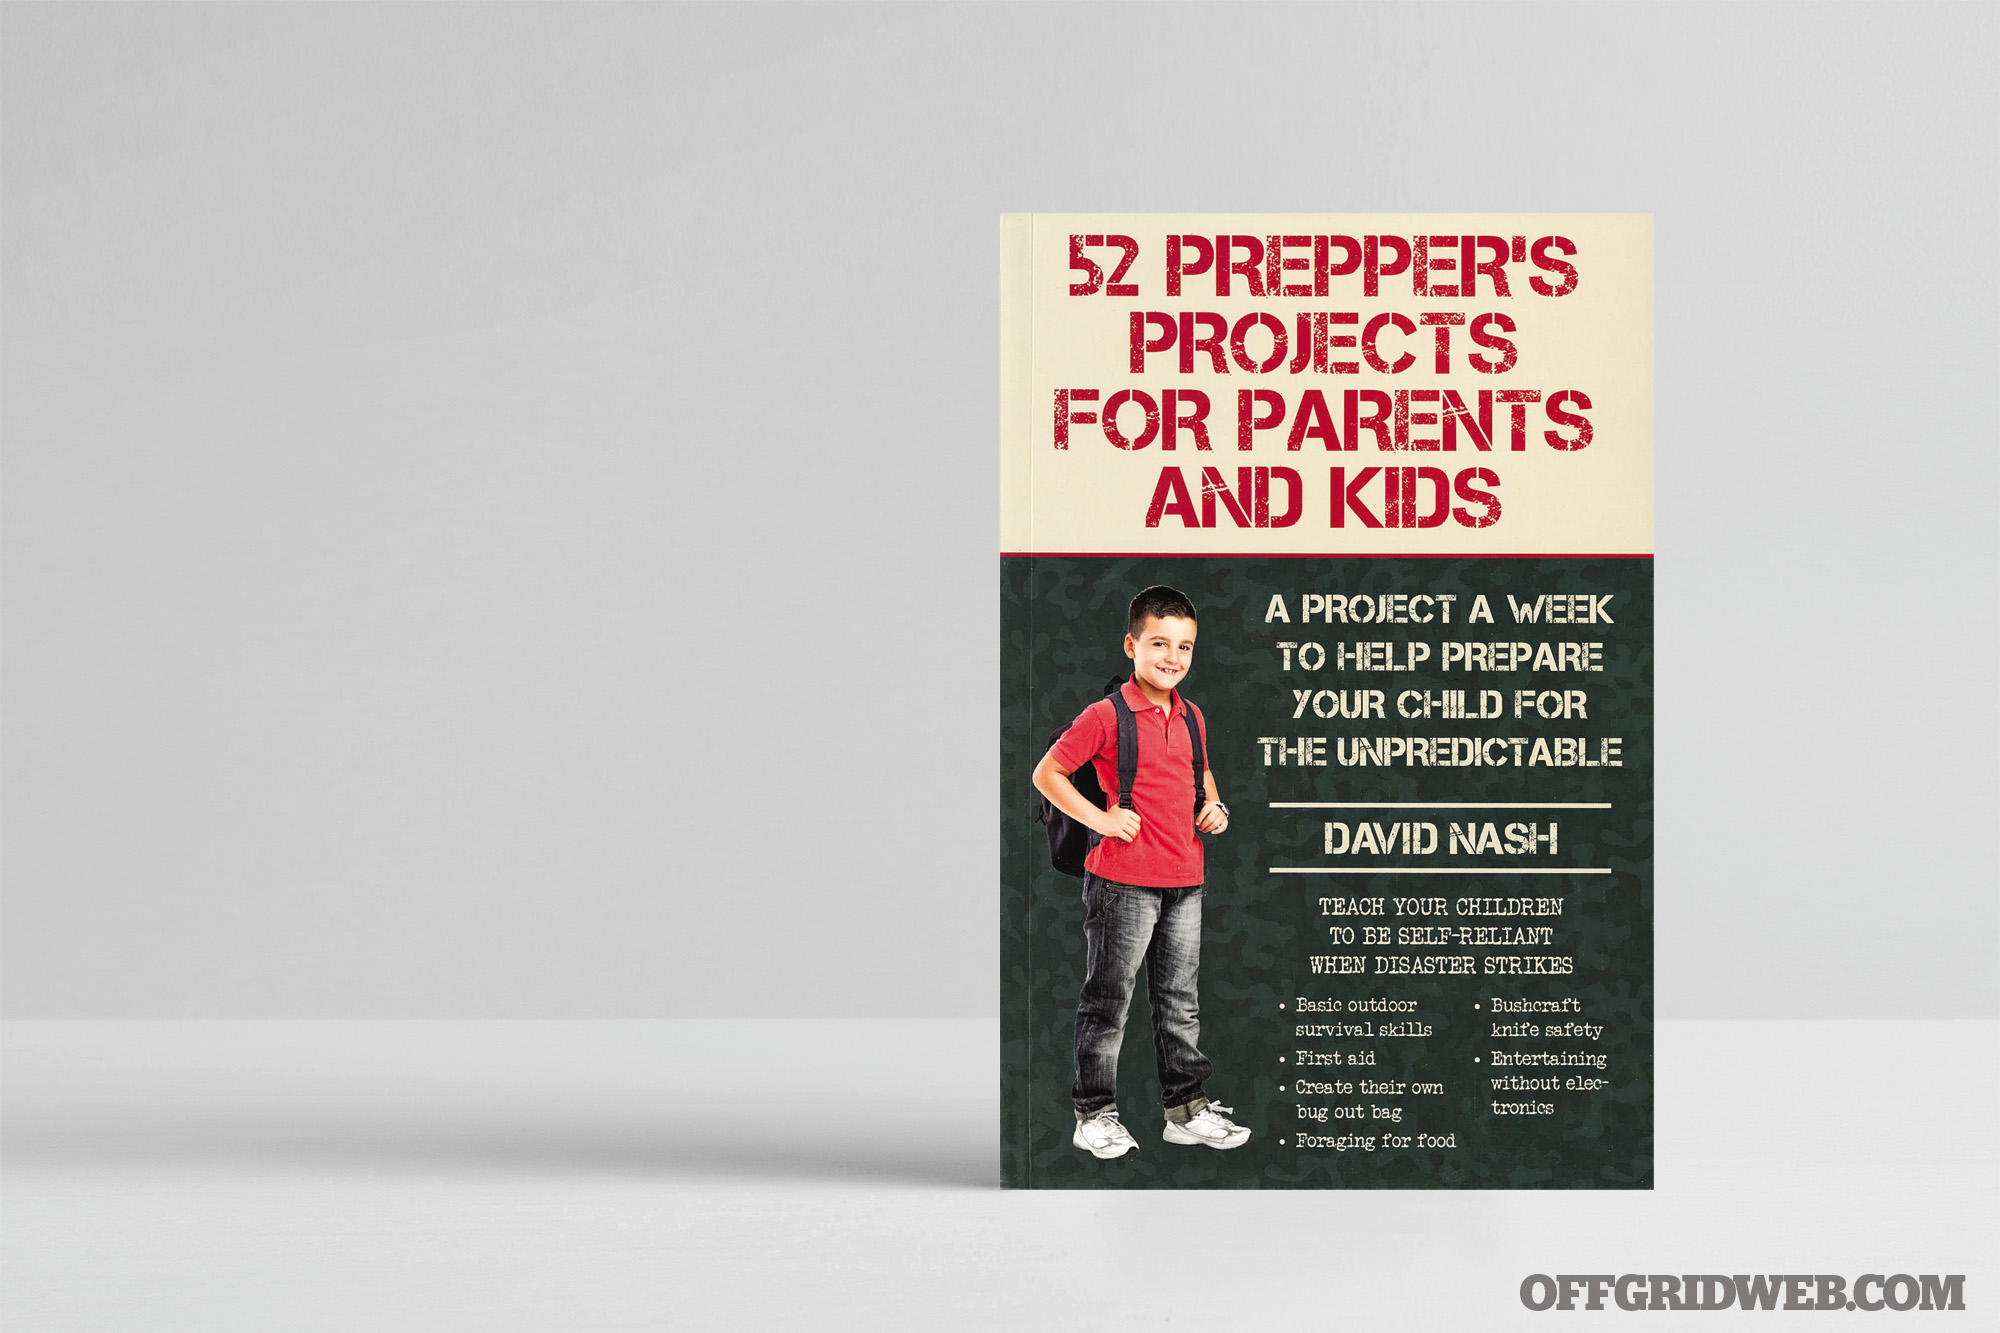
52 Prepper’s Projects for Parents and Kids
Adult: ★★★☆☆
Author: David Nash
Price: $12 (Amazon)
Pages: 232
Publisher: Skyhorse
The Premise: This compilation of projects is a great way to involve the kids in your prepping. The purpose of this book is to involve children in the methods of preparing for a disaster and teaching them self-sufficiency and self-reliance in a fun, educational way. This book lays out 52 projects that’ll let the child have a front-row seat, with plenty of involvement, in what prepping looks like, on their level. Some of the projects included are apple pancakes, hardtack crackers, rain barrels, homemade fire starters, and pie iron pizzas.
The Specs: This book isn’t available as an audiobook, but can be purchased for Nook and Kindle.
The 411: This book is broken down into 52 projects that seem unrelated to prepping, but the author does a great job at circling back around to the practical side of prepping and the projects prepping applications. Unfortunately, some of the projects are a bit of a stretch for a prepping application. One particular lesson on making wire baskets out of chicken wire and coat hangers was said to be a great geometry starter. However, I question the relevance of geometry for children in a TEOTWAWKI scenario. The soda bottle anti-drip cooler project is another questionable example. These particular projects are fun, but the prepping applications seem a bit farfetched. For the most part, the projects are engaging, which is always needed and wanted during family time.
Some of the more helpful projects are the rain-barrel collection project and the mini survival kit builder project. Both of these include a clear picture of their prepping applications and talking points. This book is geared toward parents to use with their children. I enjoyed the family time we got from going through the projects together. Many of them were very relevant to the preparedness applications we’d want to instill in our children.
The Verdict: I gave this book 3 out of 5 stars. Some of the projects weren’t necessarily relevant to survival and preparedness, but we had a great time working through them regardless.
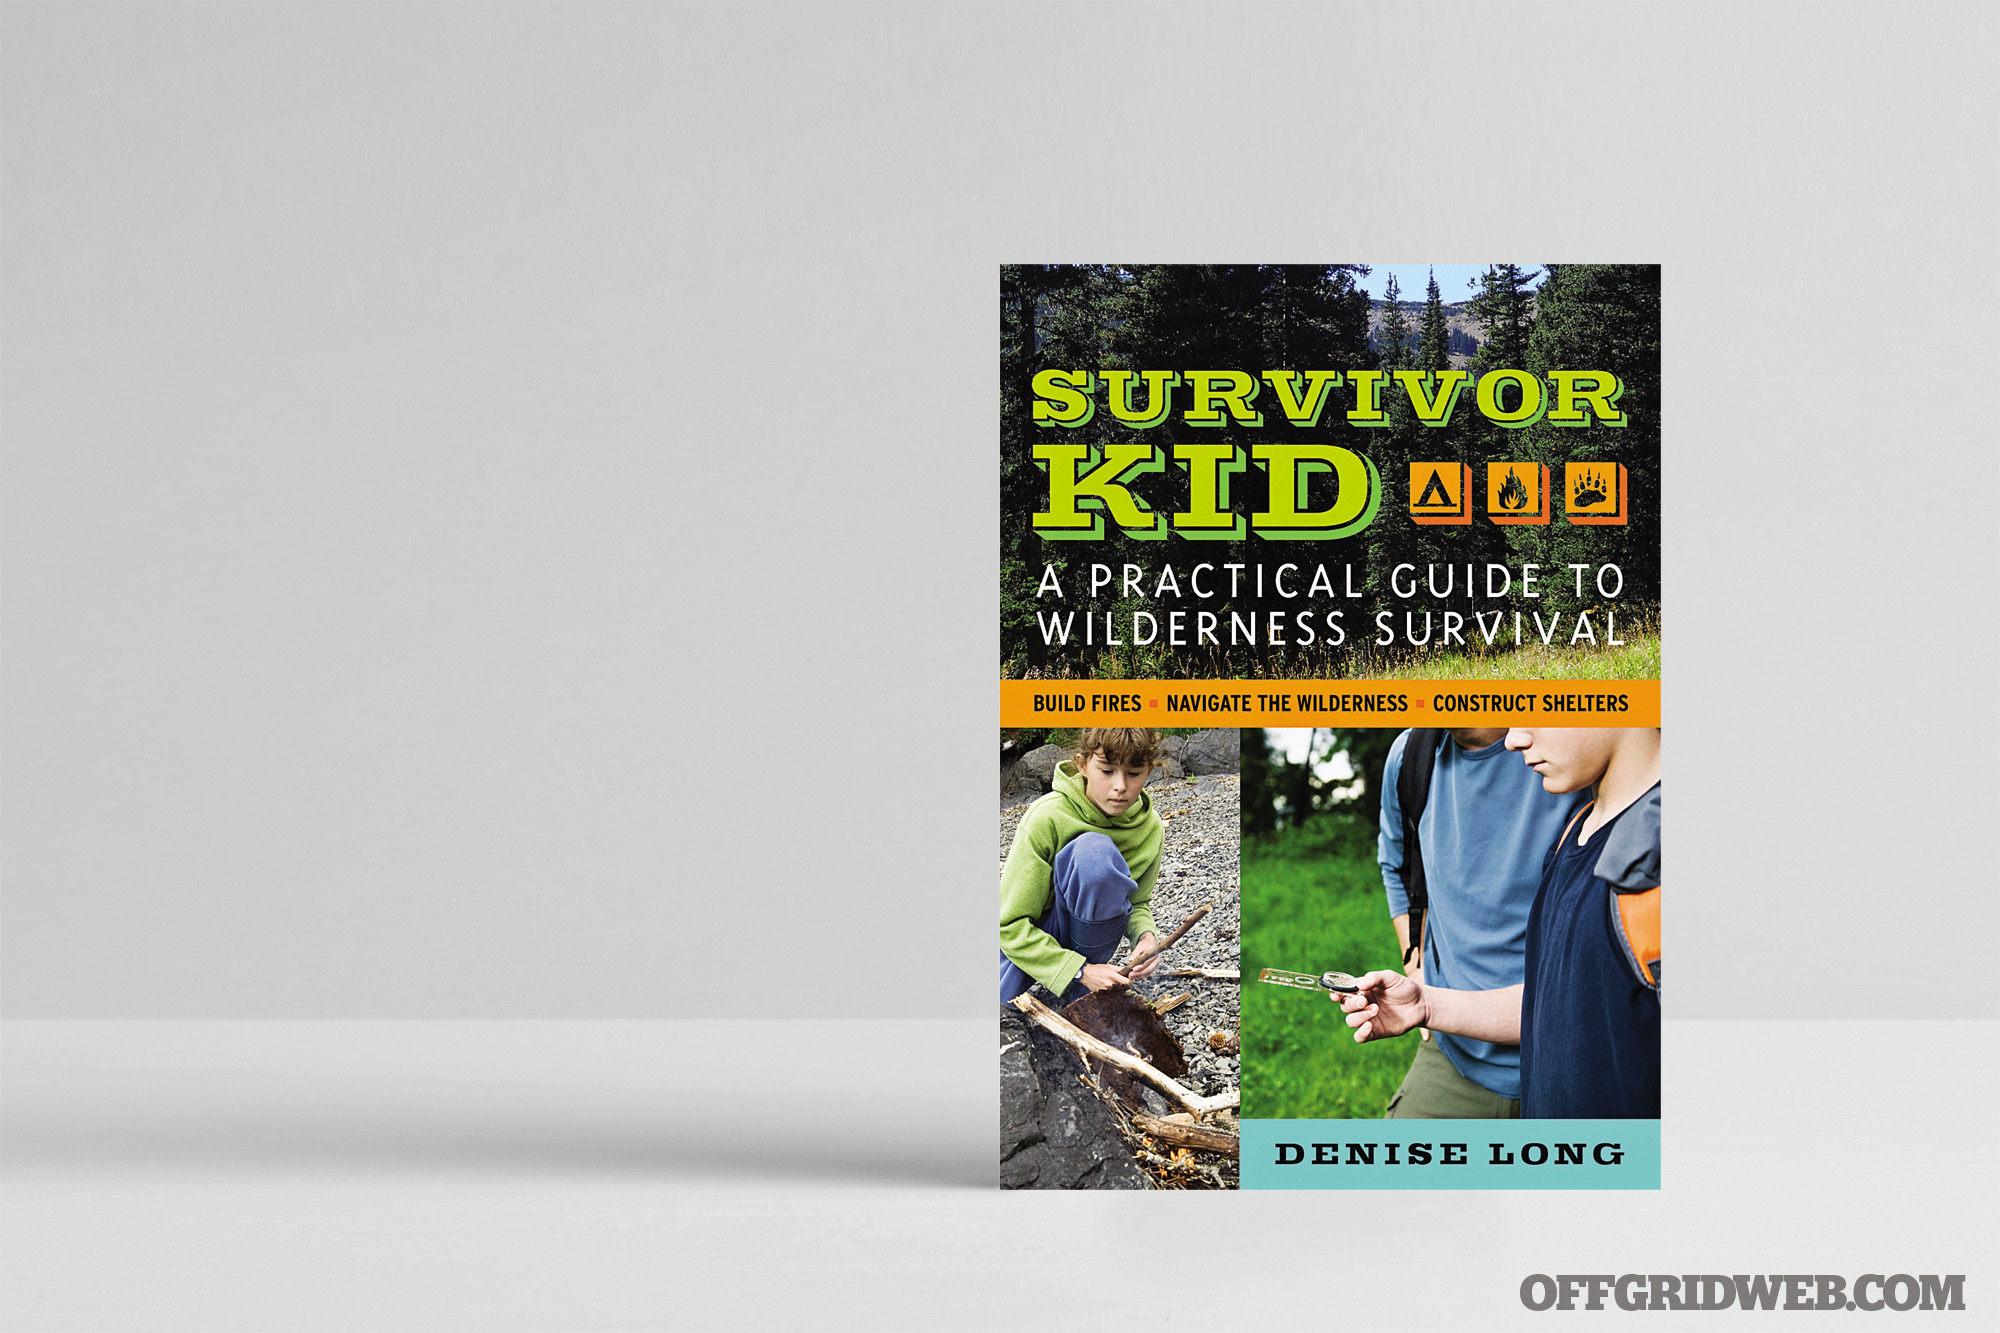
Survivor Kid: A Practical Guide to Wilderness Survival
Adult: ★★★★☆
Kids: ★★★☆☆
Author: Denise Long
Price: $9 (Amazon)
Pages: 240
Publisher: Chicago Review Press
The Premise: This resource is geared toward children 9 and up, and walks through basic to moderate survival concepts. It’s not so much a “sit and read” type of book, but rather a guide that you’d throw in a backpack before a camping or hiking trip. It walks through all types of shelter building, signaling, medical tips, bugs and animals, water, and all the standard survival concepts. It’s well-written for the age group in that it’s presented to with simple, easy-to-understand instructions on how to give aid, start a fire safely, pack a survival kit, and much more.
The Specs: Available on Kindle and Nook.
The 411: This book is split into 12 different chapters that breaks down each topic with incredible depth. I felt that the majority of the info was applicable and well-written. From a practical standpoint, I thought the author did a good job of explaining what animals people might run into during a hike or camping trip. The author also provided good information about how to avoid the animals, some characteristics, and what they’re indicative of.
My 9-year-old son loved this book. He read it through a few times, and the content led to many conversations about how to properly obtain water in a safe, clean manner. I was thrilled that the author covered the medical section as thoroughly as she did. Many kids’ books skimp on the medical information, but this resource provided clear instructions on cuts, scrapes, burns, CPR, and even checking for a pulse. It was a little dramatic in a few spots, which might induce a few eye rolls from parents, but since the book is geared toward kids, it was good for capturing their attention.
The Verdict: I gave this book 4 out of 5 stars. It was very thorough and well-written. The kids gave it 3 out of 5 stars, because there aren’t many pictures and it’s a bit monochromatic even for the age group that the book is geared toward.
Urban Preppers With Kids, Pets & Parents: Disaster Survival for the Family
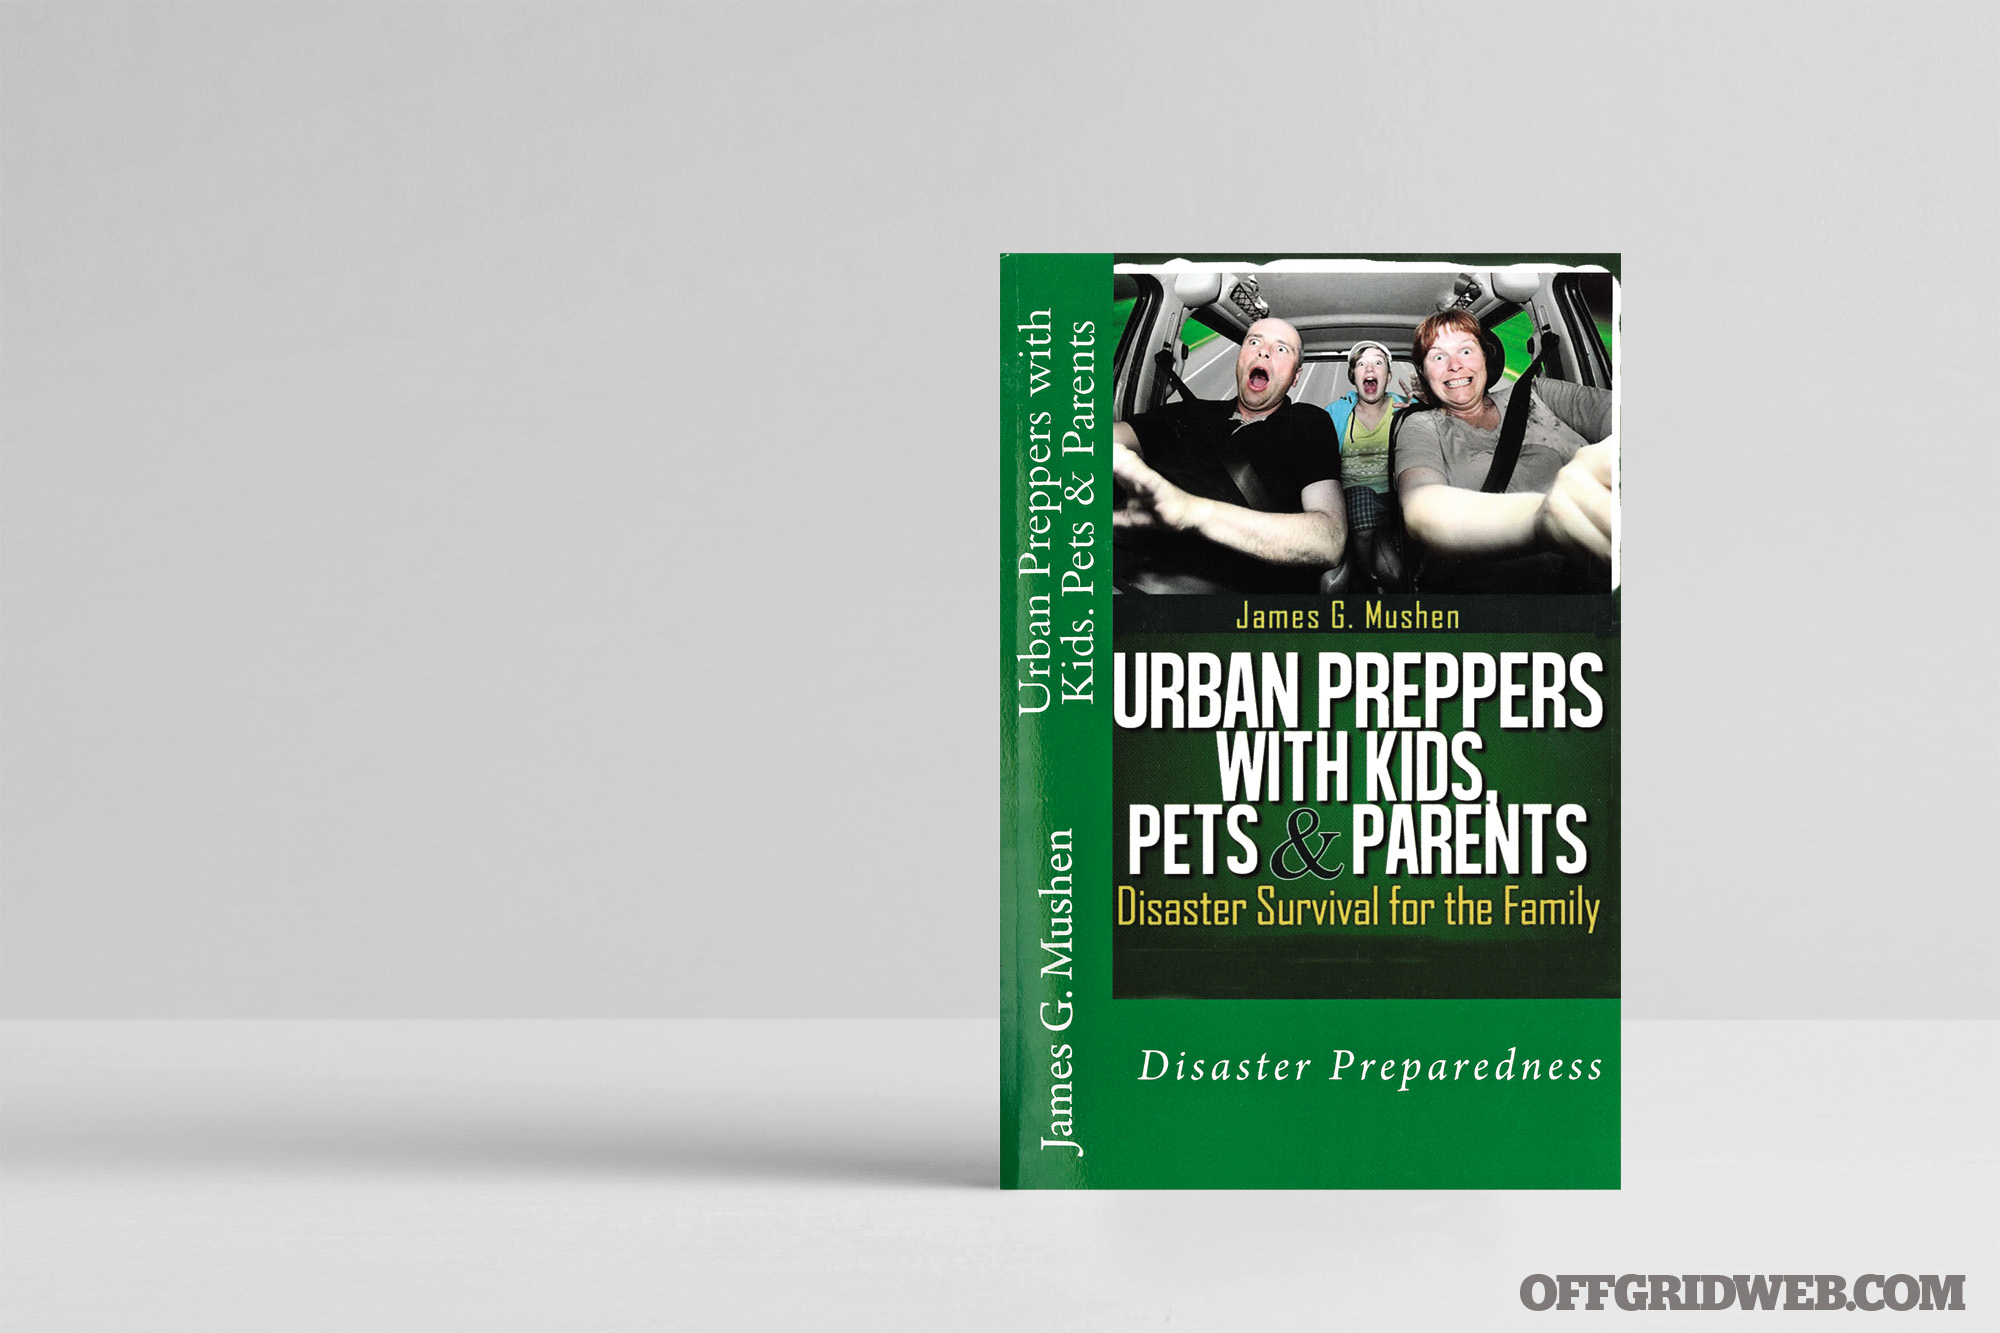
Adult: ★★☆☆☆
Author: James G. Mushen
Price: $40 (Amazon)
Pages: 490
Publisher: CreateSpace Publishing
The Premise: The practical survival information covered in this resource is well-presented and walks through anything from power outages, water filters, types of long-term food, personal protection, shelter-building, and other essential survival concepts and skills. The purpose of this book seems to be centered around educating members of the general public with children and pets on the need for survival and preparation in an urban setting.
The Specs: This book is available as an audiobook, and also on Kindle and Nook.
The 411: I must admit that if I saw this book on a bookstore shelf, I’d laugh incredulously and walk right past it. The cover art is a bit ridiculous. Perhaps that was intended, but it looks like a selfie that was snapped with a potato. I do appreciate that this book is both geared toward the whole family and urban-focused. That’s a rare find.
However, the first chunk of this book deals with America as it was under former President Obama’s administration. Some things have changed under President Trump’s first term. I feel that this book is fueled by fear-mongering about the FEMA camps that the author believes we’ll all be herded into in the future. I found the author’s stereotypes of preppers or survivalists to be a little off-putting. While I’m not generally offended by other people’s opinions, it just seems a little uncouth and unprofessional to use blanket statements like “survivalists are paramilitary, gun-loving G.I. Joes.” That’s a false reading on the majority of preppers and survivalists out there.
While the author states he’s not a “paranoid nut job,” I wonder if he’s trying to divert attention away from the fact that he might actually be closer to that than he’d like to admit. I also find it a bit of a turnoff that he uses Bible verses to back up his survivalist principles, and not always in the most correct context. If you’re going to use the Bible as a reason to prep, at least study the entire section for contextual reasons to ensure accuracy. But I digress — this book has a lot of information that’s prudent to the times. Regardless of the current level of government instability, we mustn’t look at the federal government as a cause of or solution to all our problems. That’s not its job.
The Verdict: I gave this book 2 out of 5 stars. There are nuggets of wisdom in it that are truly helpful, but digging through the rest of the content to find them, frankly, isn’t worth it. Besides, the positive reviews in the front of the book seem hokey and possibly fake, since the website www.survivalstory.org isn’t a presently active site, and the mentioned YouTube channel is no longer active either.