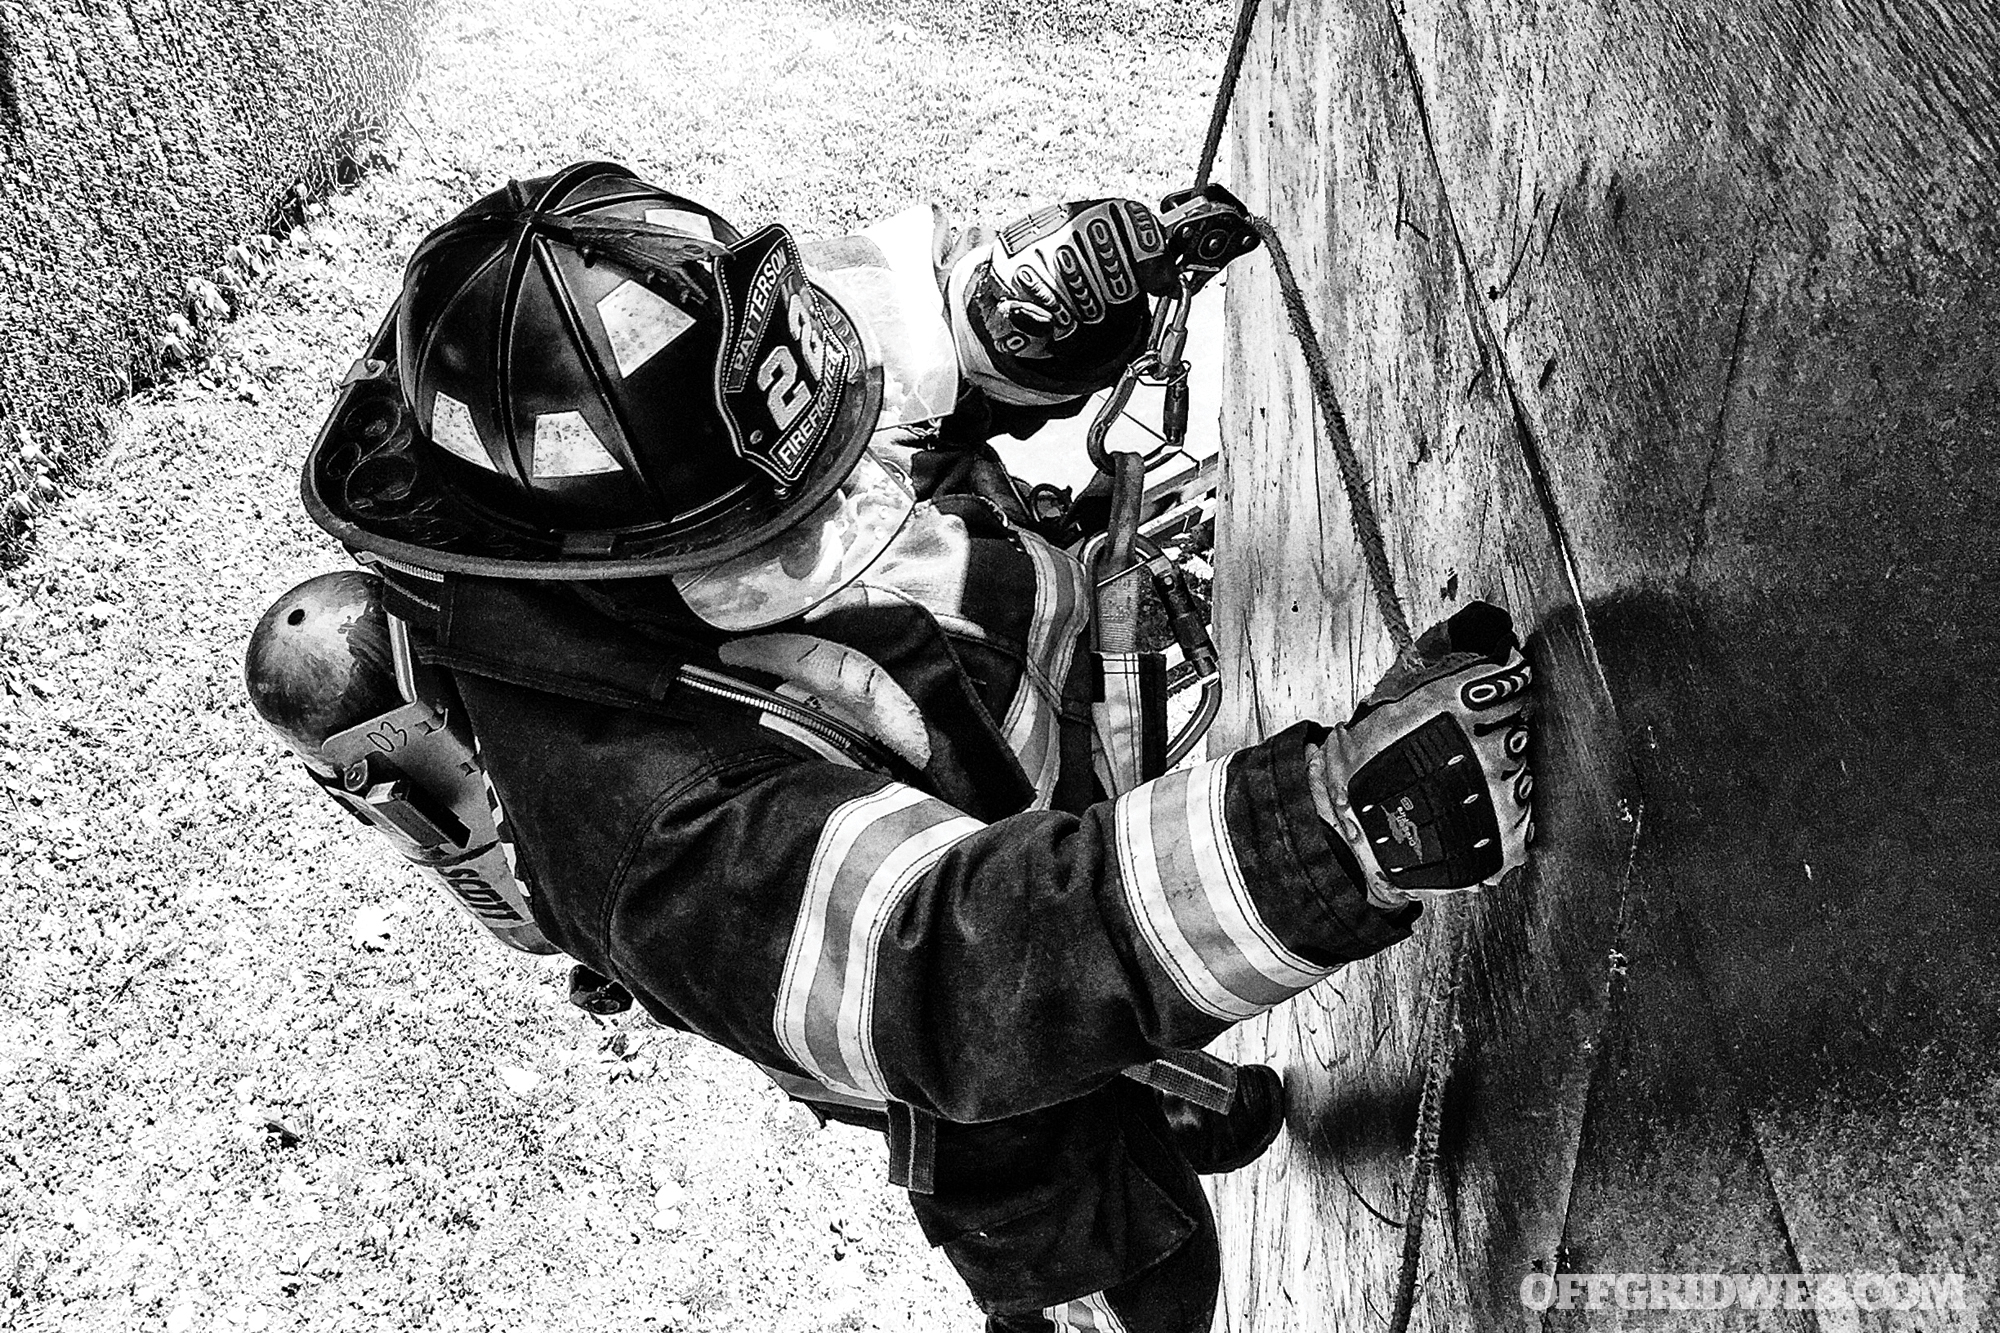
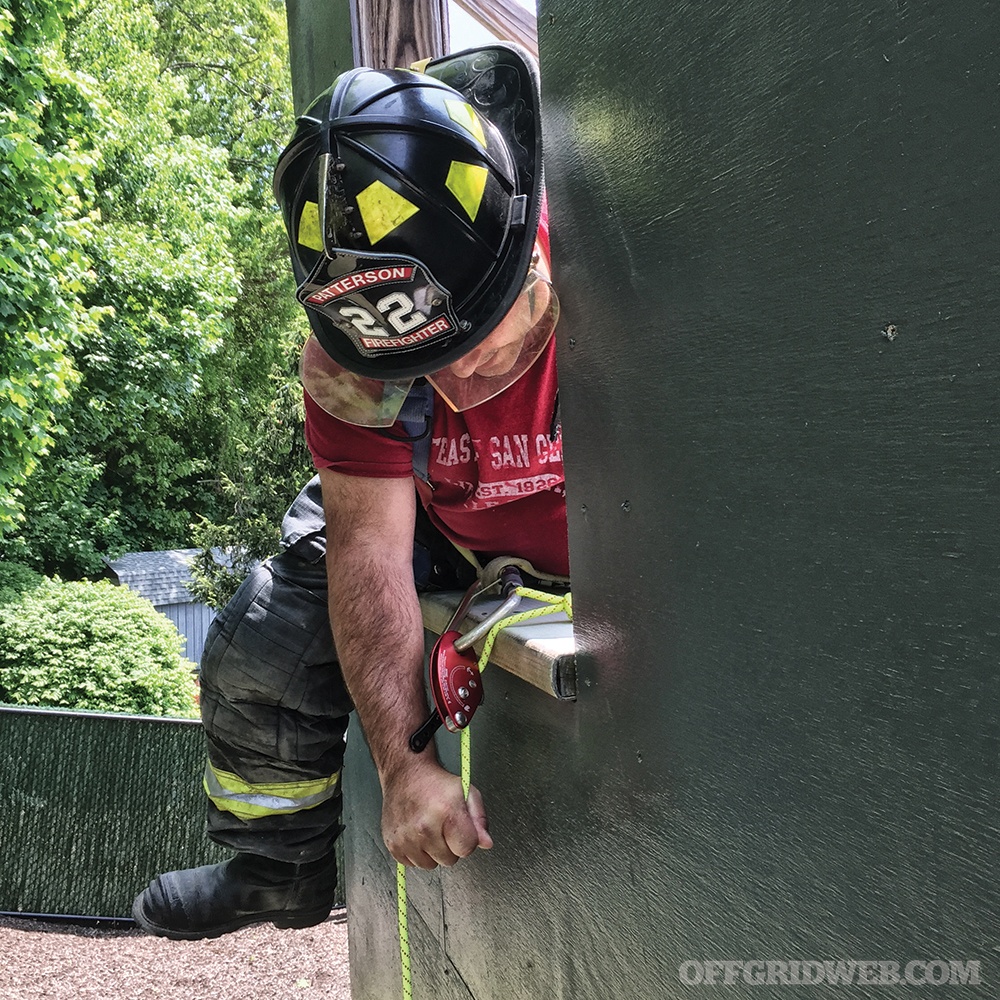
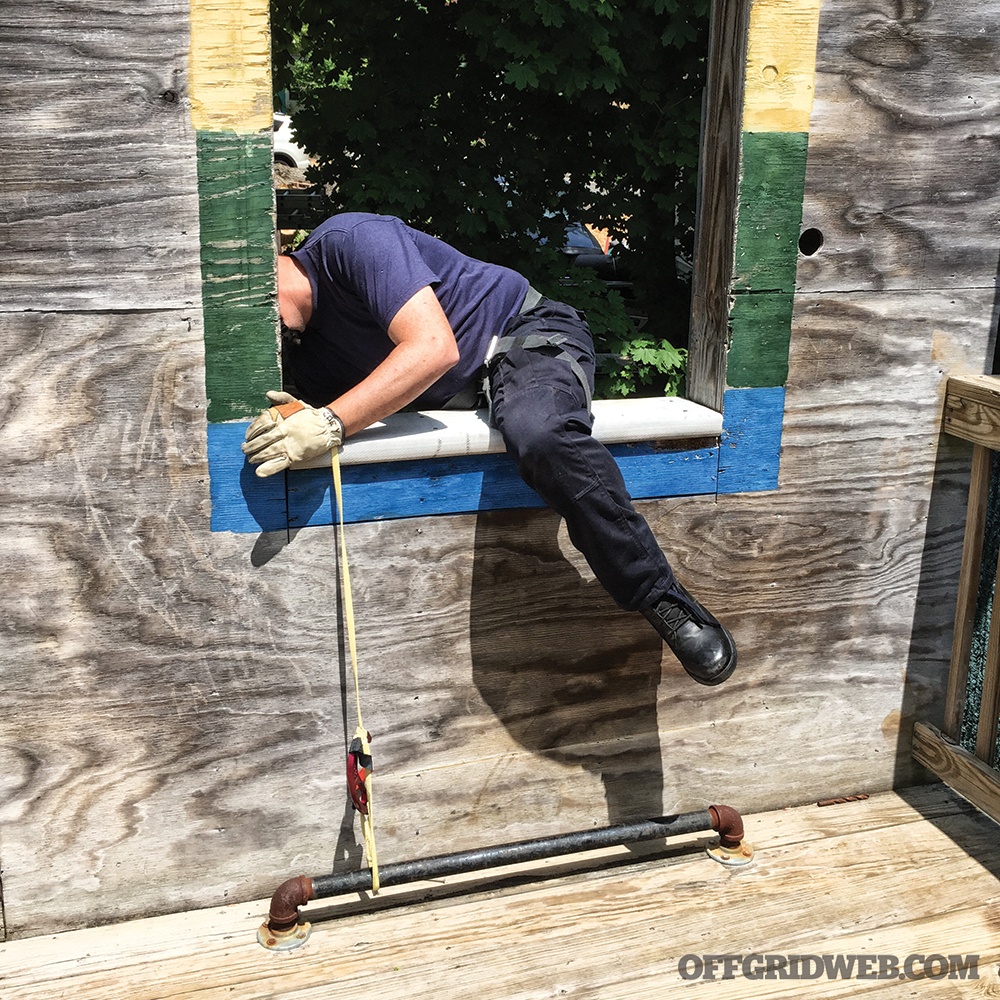
In your overall plan for preparedness, you may not have considered getting out of an elevated area. However, height, like most other environmental factors, doesn’t discriminate. If there’s no other viable option, you may need to descend a tall building or structure, whether you’re hunting on an elevated platform or just at home or work. Though the differences seem great, the principles and most of the equipment are very similar. Putting aside experience level and environment, bail-out systems can be easily added to your personal preparedness plan.
The environments in which we live and our individual experiences differ greatly, giving us widely varied ideas of the potential threats we anticipate in our lives. Consequently, we’ll each have different measures to achieve what we deem to be a safe level of preparedness. Since there isn’t a “one size fits all” approach to any plan, including this one, your first step should be to identify the gap between your current capabilities and where you’d like to be to feel comfortable in your perceived “worst-case scenario.”
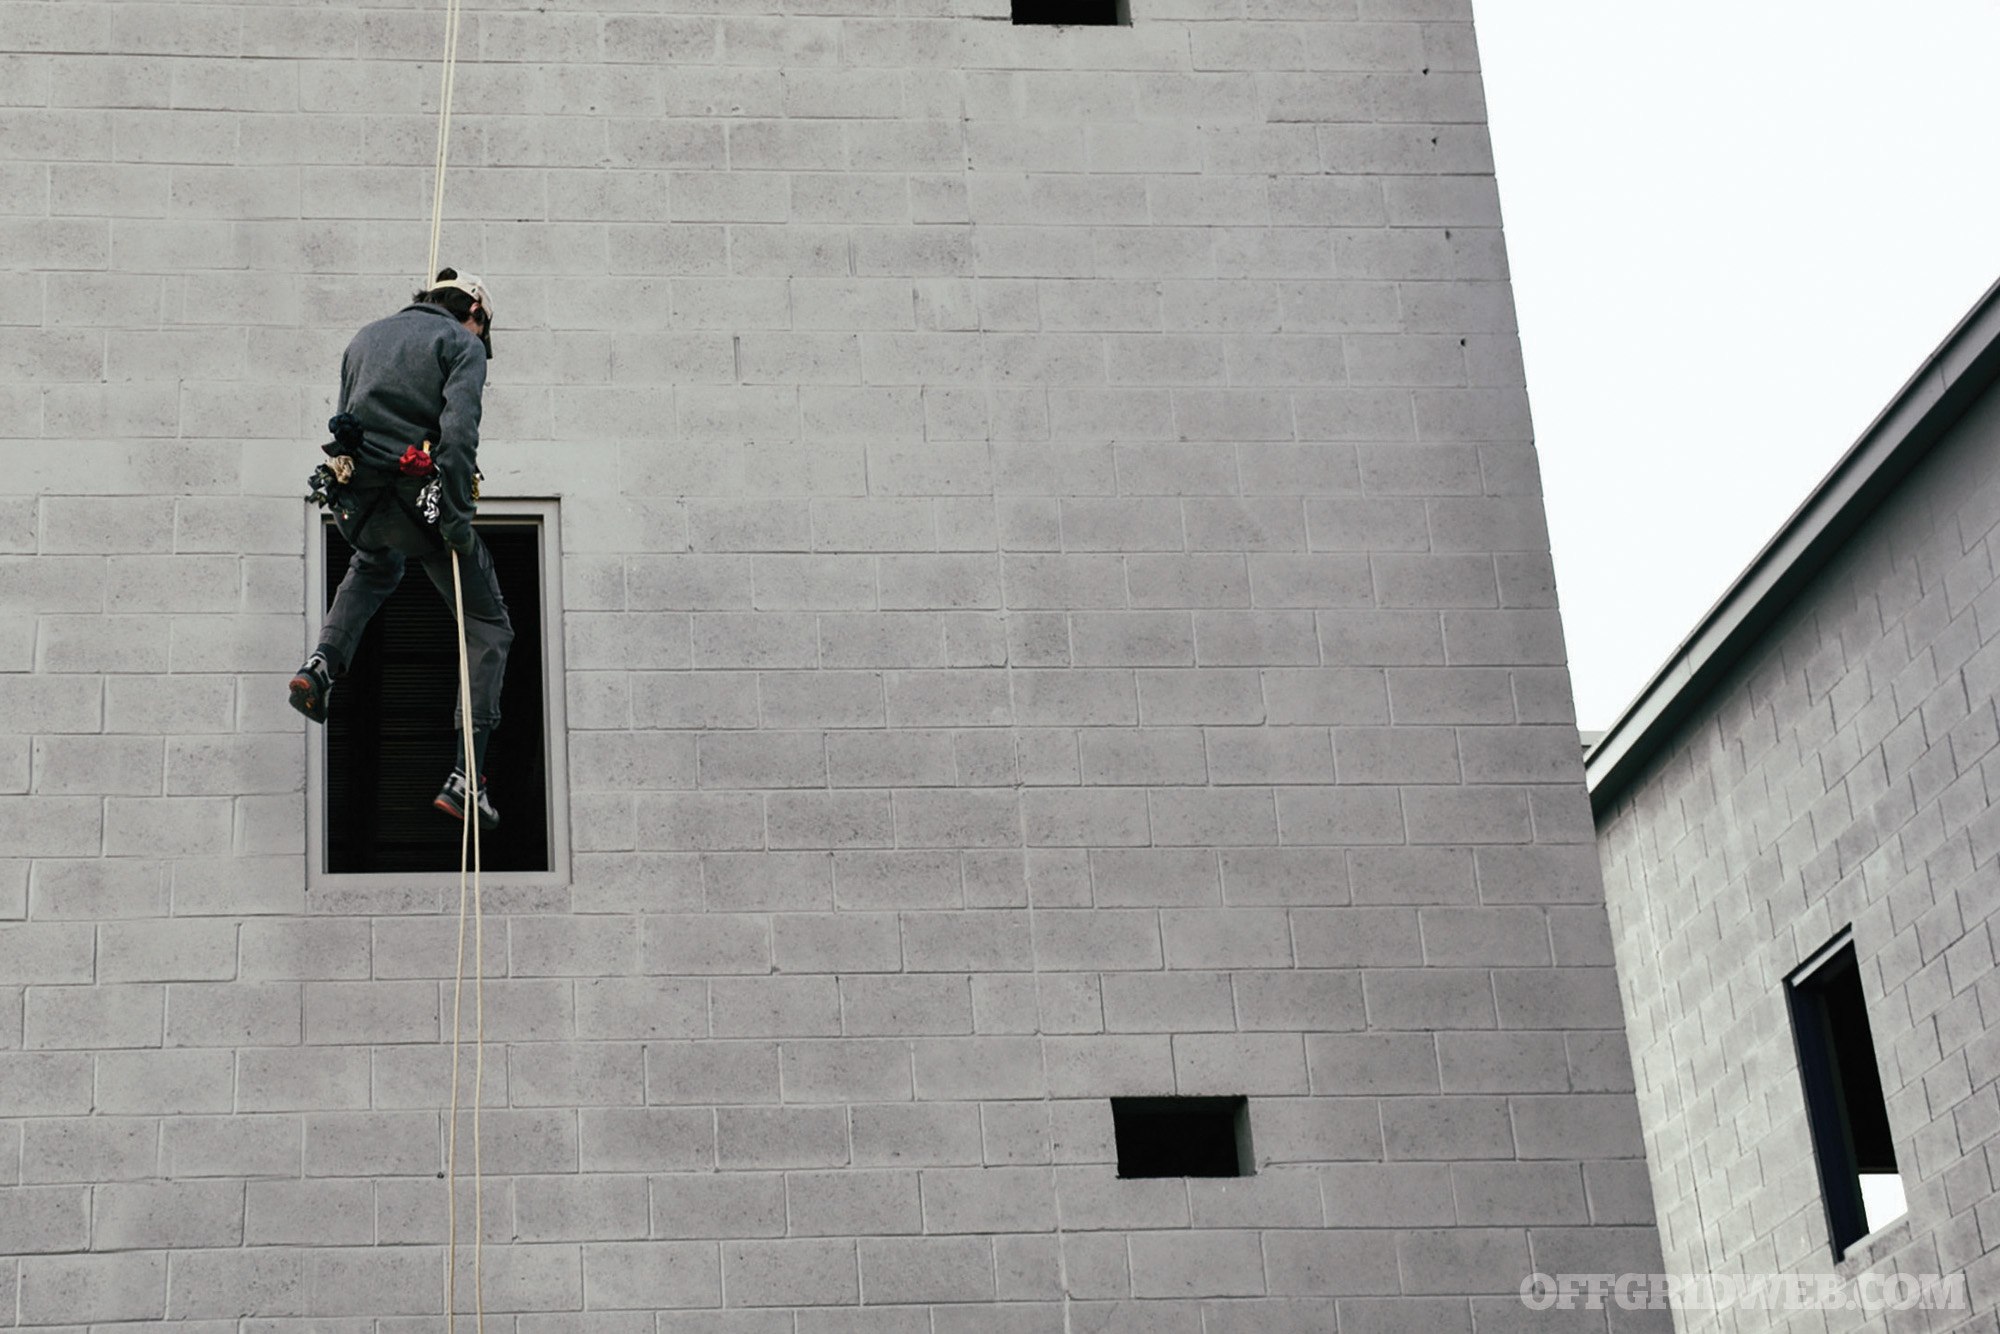
Most of us have already adopted things like wilderness survival kits, first-aid kits, and concealed carry weapons, as logical and effective methods to manage risk. What types of risk are those items managing? Physical threats, massive trauma, protection against environmental factors. A bail-out kit also helps manage environmental factors by enabling you to rapidly evacuate a structure at height (such as a multistory building or high-angle terrain).
Let’s look at commercially available kits to see how they’re put together and why that should matter to you. The most popular kits have been developed based on the needs of the groups who use them most frequently to manage the potential risk in their operating environments — primarily fire departments and military units. Most bail-out kits currently available were designed for scenarios that probably don’t match what you might encounter as an average civilian preparing for an extremely bad day.
To find equipment that works best for you, let’s look at the kits themselves, the components and terminology, and the data backing the equipment.
Important Terminology
The main components of a bail-out kit include: rope, a descent control device, a harness, an anchor building capability, and a mode of transportation (i.e., bag or carrying case of some sort). Here’s some terminology that’s important to understand:
Minimum Break Strength (MBS) describes the force it takes to break an item; for instance, a carabiner may have an MBS of around 24 kilonewtons (kN). On that note …
One kilonewton is roughly 224.8 pounds of force. You can use these numbers to determine the “weakest link” of your bail-out kit. In most kit, this will be the rope; however, always keep in mind the strength of what you attach your rope to. If you’re in a building that’s on fire or contains a fire, your anchor is the most likely component to be compromised, making the physical object you’ve made your anchor out of the weakest link.
Bail-Out Kits
When going through these kits, keep a few things in mind. Who is this kit made for? Why was this kit made? Under what conditions is it designed to operate? Use these criteria when considering a premade bail-out kit for your specific application. There has never been a kit specifically designed for you, but it’s possible to find a premade kit that suffices.
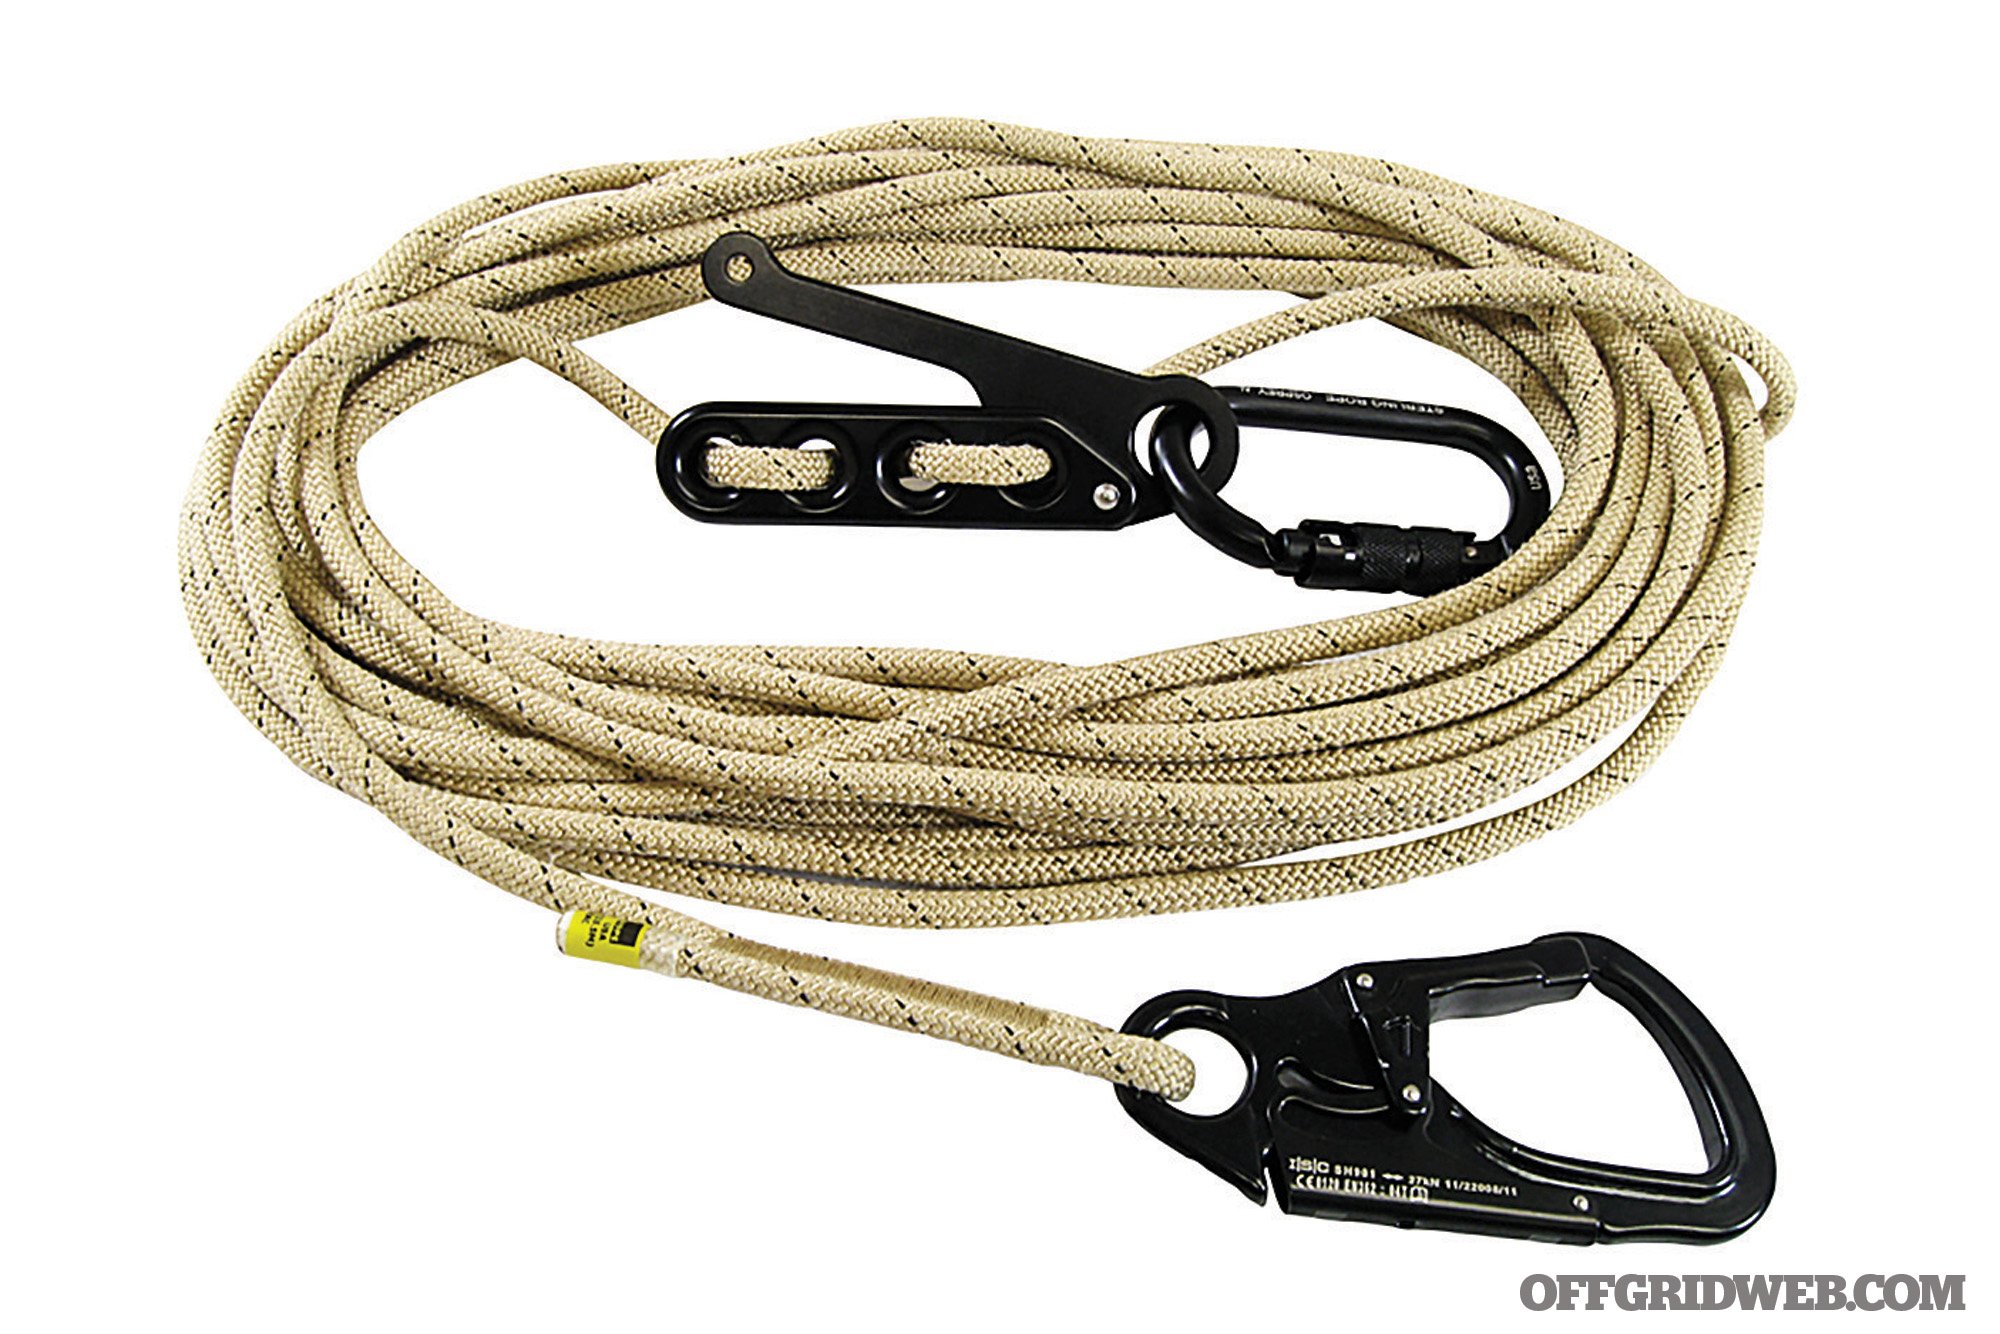
Sterling Rope Company F4 Tactical Response System
Weight
3.1 pounds
Price
$422
URL
cascade-rescue.com/f4-tactical-response-system/
Contents
- 1x Sterling F4
- 1x Osprey Carabiner
- 1x 50-foot SafeTech Escape Rope, 7.5mm
- 1x Double-action Snaphook
Notes: This kit utilizes a 50-foot 7.5mm aramid rope with an autolocking descent device. While its audience is primarily the tactical (LEO/military) side, it’s not limited to tactical settings. It has a double-action snaphook, a very easy-to-use and fast-locking carabiner. The 7.5mm aramid rope is slight overkill for a “one-time use” civilian application. As you’re about to see, you can go down to a 6mm aramid rope and still have an MBS of 21kN, which is pretty good. The 7.5mm gives you that added material for abrasion resistance and durability. If you’re using it in outdoor terrain, where there might be sharp rock edges, then this might be the right answer. But for urban environments when you have more control over what surfaces your rope comes in contact with, a 6mm will suffice.
Petzl EXO AP Hook
Weight
3.2 pounds
Price
$500
URL
www.petzl.com/US/en/Professional/Descenders/EXO-AP-HOOK
Contents
- 1x Hook anchor hook
- 1x Self-braking system with antigenic function
- 1x 15m aramid fiber static rope, 7.5mm
- 1x Am’D connector with CAPTIV positioning bar
- 1x Fire-resistant carry bag
Notes: There are a few versions of this kit with slightly different contents. This is the firefighter version with a hook; the tactical package includes a double-action snaphook, similar to the one in the F4 Tactical Response kit. It’s difficult for me to justify carrying a bail-out kit with a hook as the anchor. While it’s incredibly easy to hook a doorframe or the side of a window, it’s just as easy to find an anchor that you can put a piece of webbing or a runner around. See if it works for you and, if not, you can always order it without a hook.
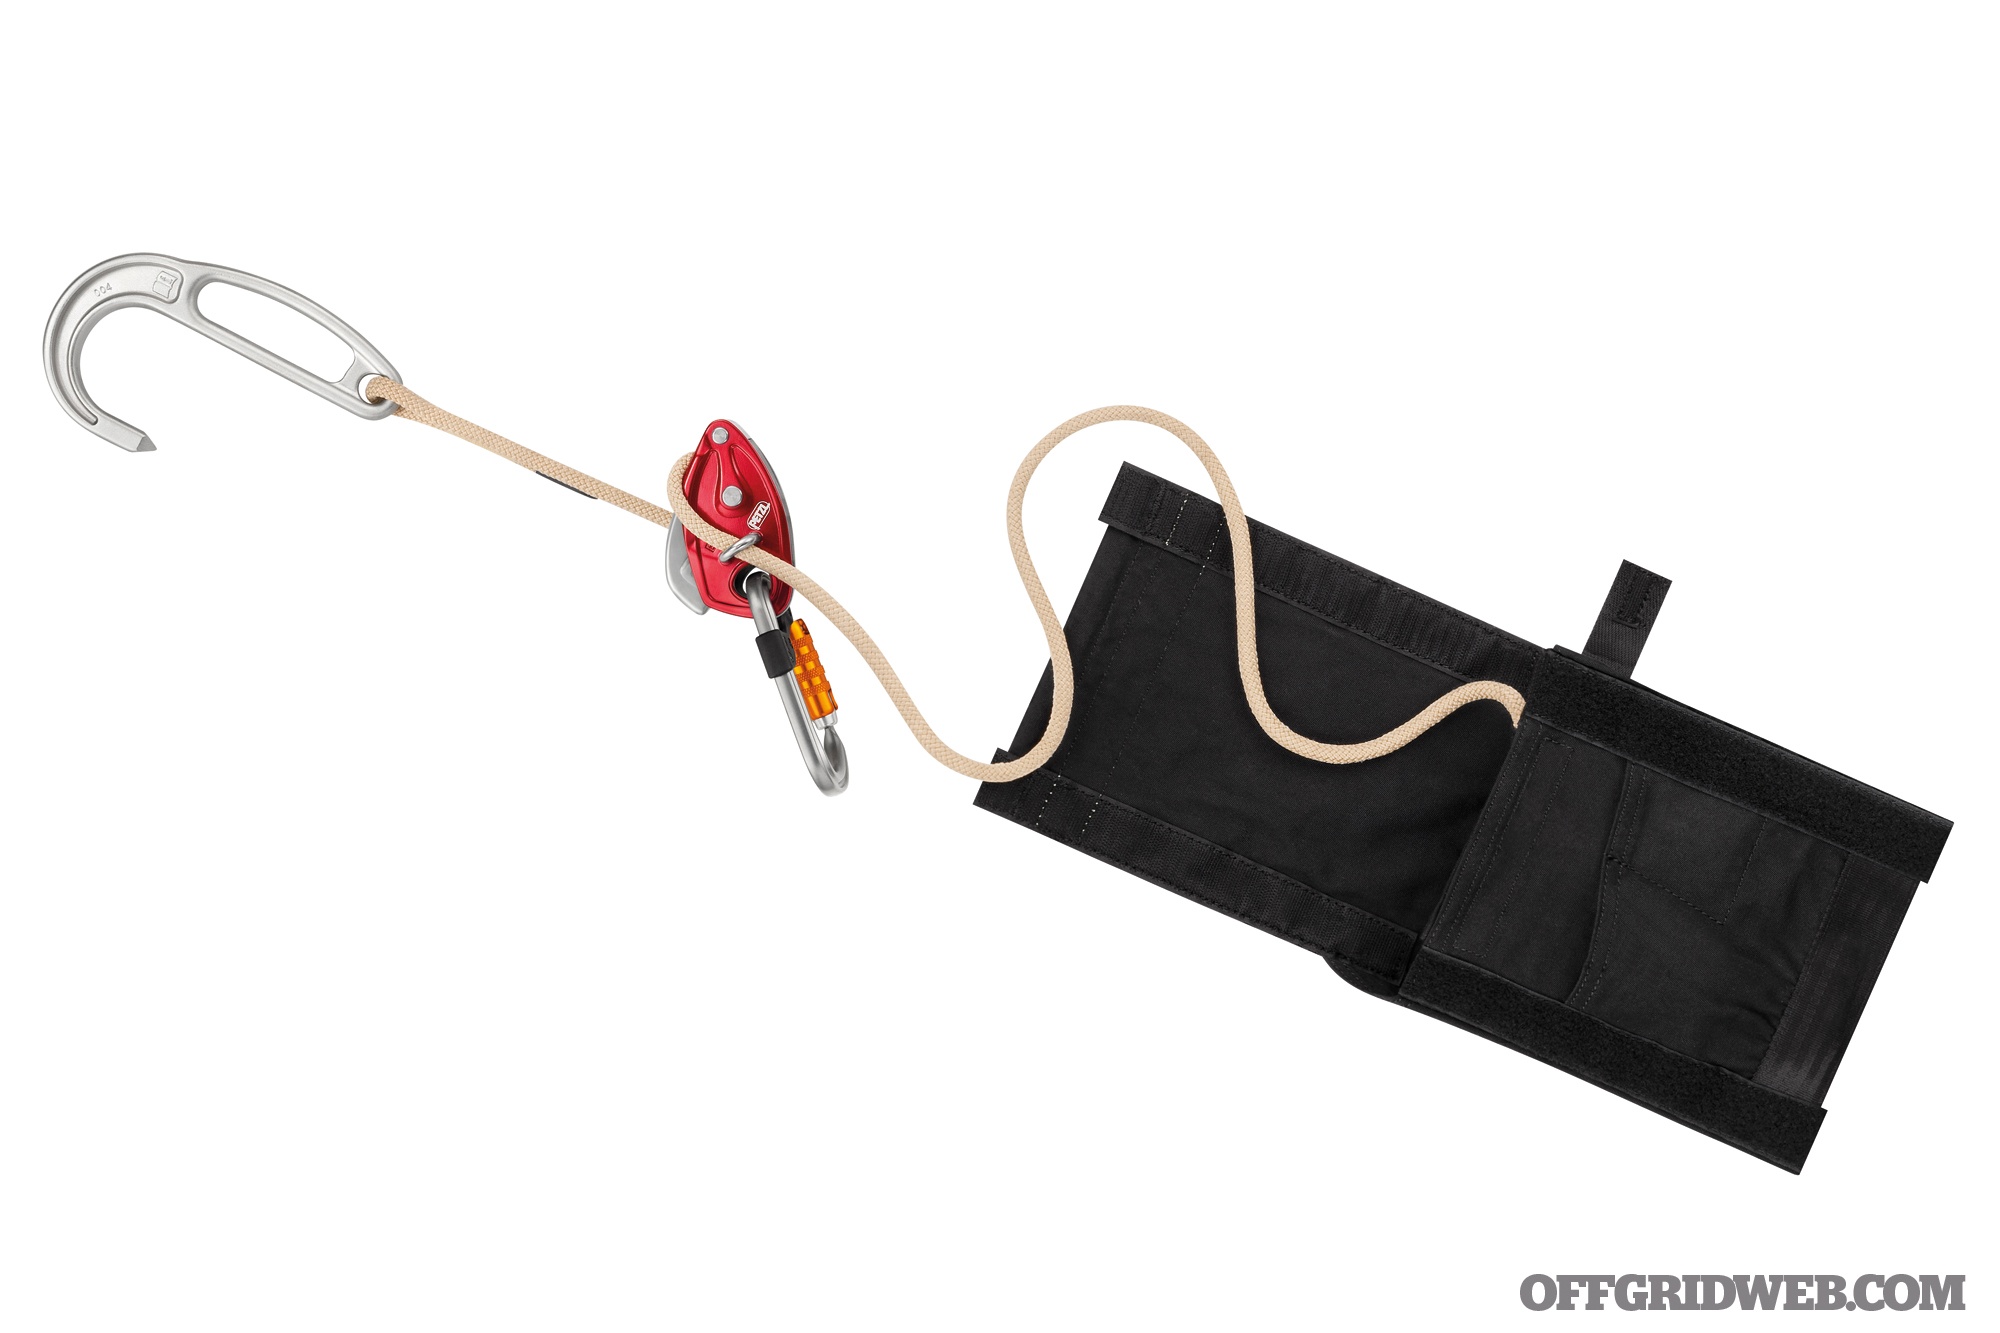
CMC Escape Artist System (Web)
Weight
2.6 pounds
Price
$550
URL
www.cmcpro.com/equipment/escape-artist-system-web/
Contents
- 1x 50-foot fire escape web
- 1x Escape Artist
- 1x Flash.2 Escape Anchor
- 1x Nomex Fire Escape Bag
Notes: What makes this kit unique is the 50 feet of aramid fire escape web. The “rope” is really like a thick webbing. It’s 11mm wide, around 4mm thick, and has an MBS of 13.5kN. It comes with a hook and a descent device called the “Escape Artist,” an auto-locking device like the F4 and F3. The Escape Artist works on both the fire escape web and 7.5mm ropes, so it’s slightly larger in size and more comparable to the F4. Though a completely different design, both the Escape Artist and the F4 have the same type of squeeze-activated release for rappelling.
After going through some of these kits, you probably saw some features that apply to you. This is because these kits tend to have some universal features intended to make them look more appealing. However, you might have noticed that the majority of these kits don’t include a harness. That’s because the target audience of these kits typically already have a harness of some type. Firefighters have their belts, as so do military and law enforcement. You could plan on wearing a Class One harness every time you carry a bail-out kit if you want, but that’s a hell of fashion statement to make with your daily wardrobe. So you may find that a pre-packaged bail-out kit needs to be supplemented with components that better suit your intended application.
Kit Components
The trick to setting up the ideal-for-you bail-out kit is to avoid limiting yourself to the discipline or practice that a given product originated from. I personally lean toward products that were designed for the alpine/mountaineering community, because my performance parameters for equipment is rooted in these practices. Whether you’re rappelling because there’s a fire in your building or because you’re bailing from a climb because of bad weather, it’s still rappelling. So figure out what you really need and become an educated consumer.
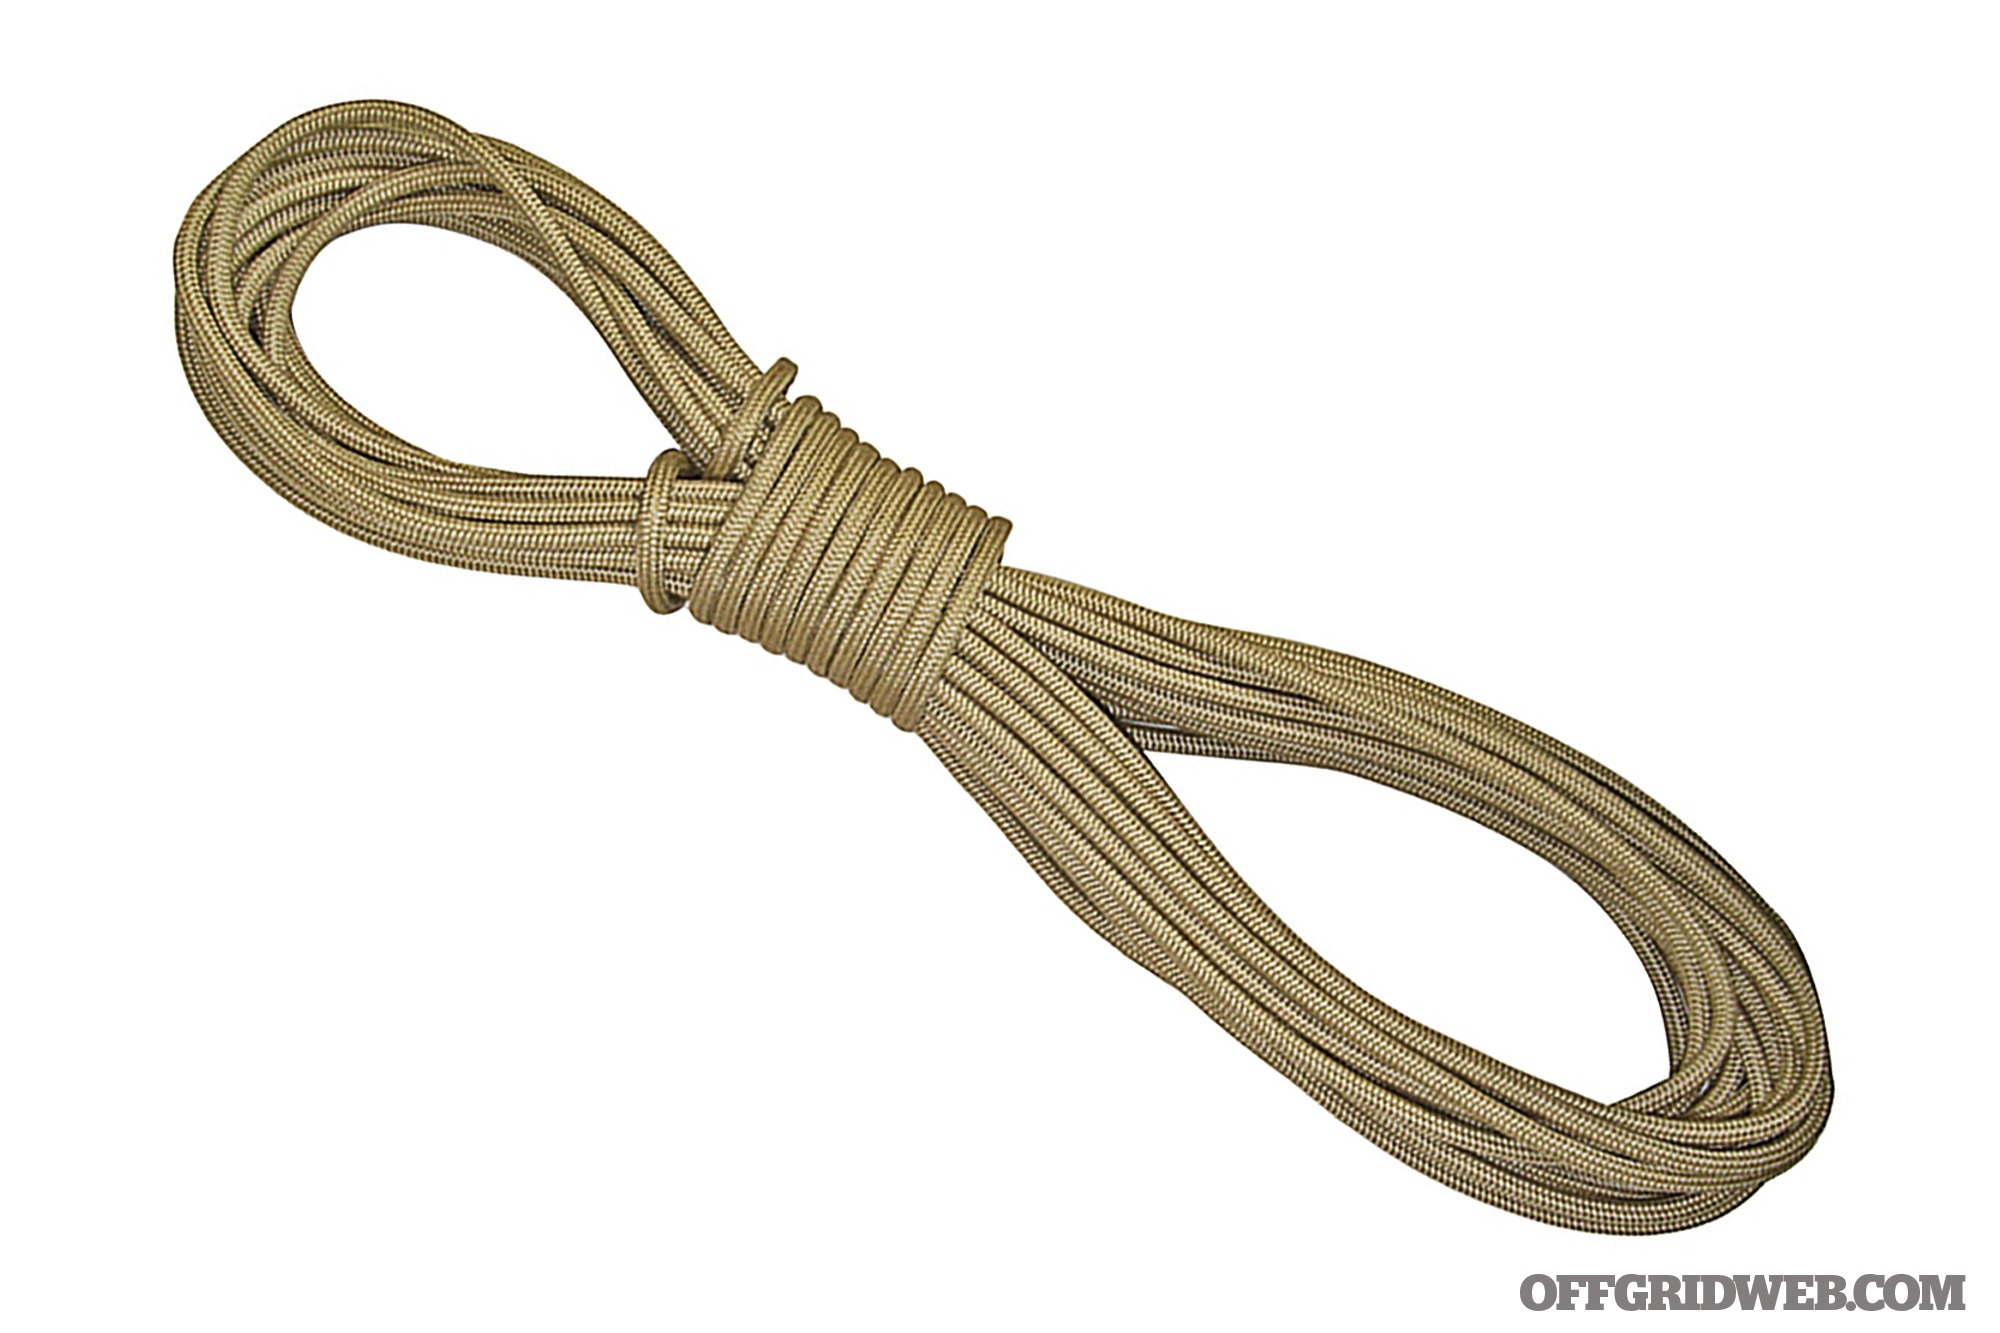
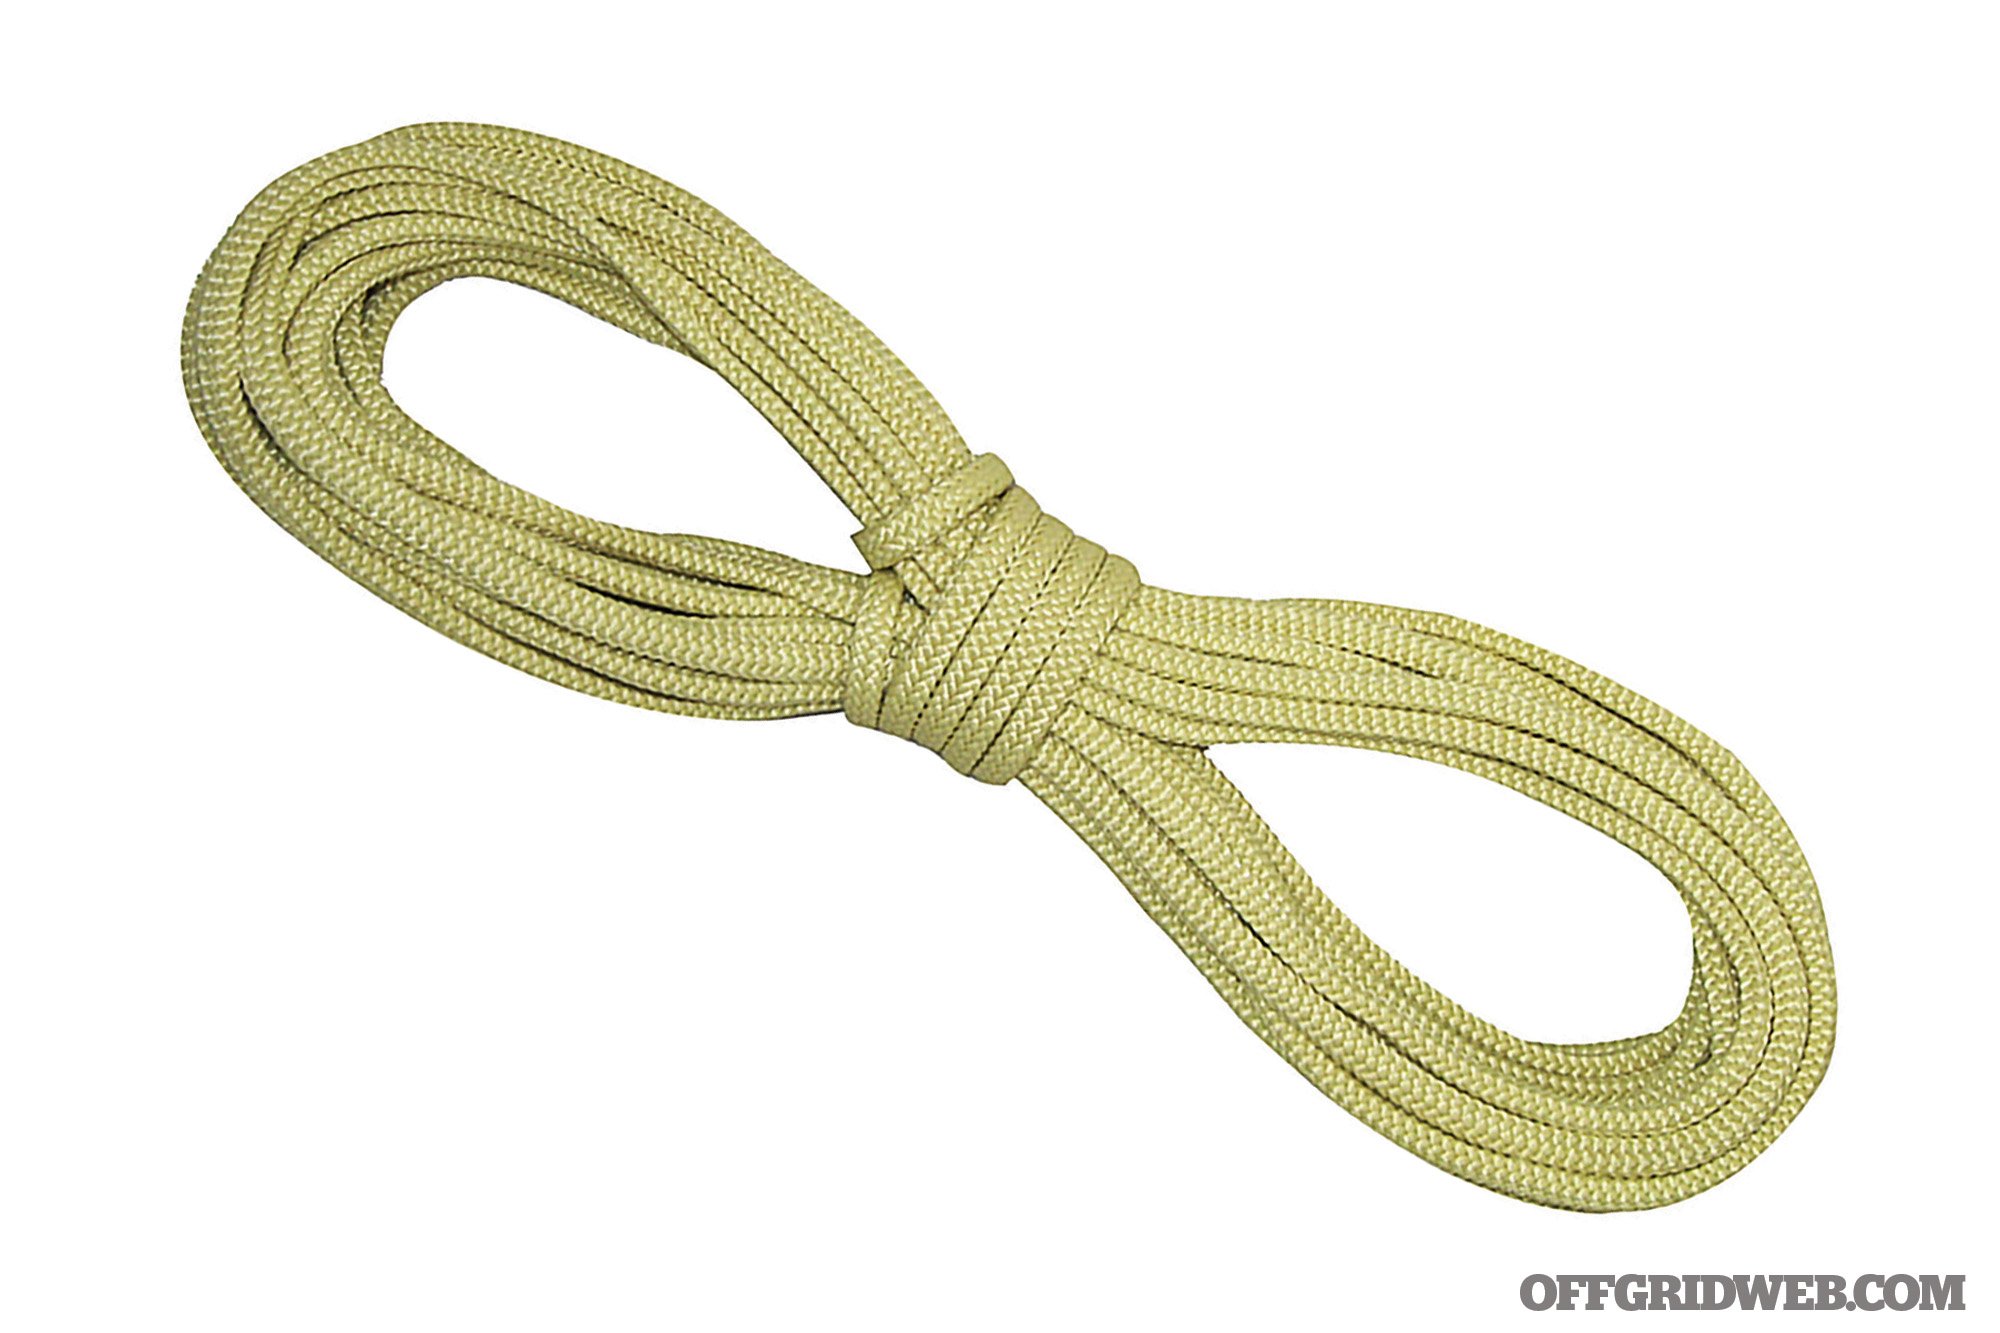
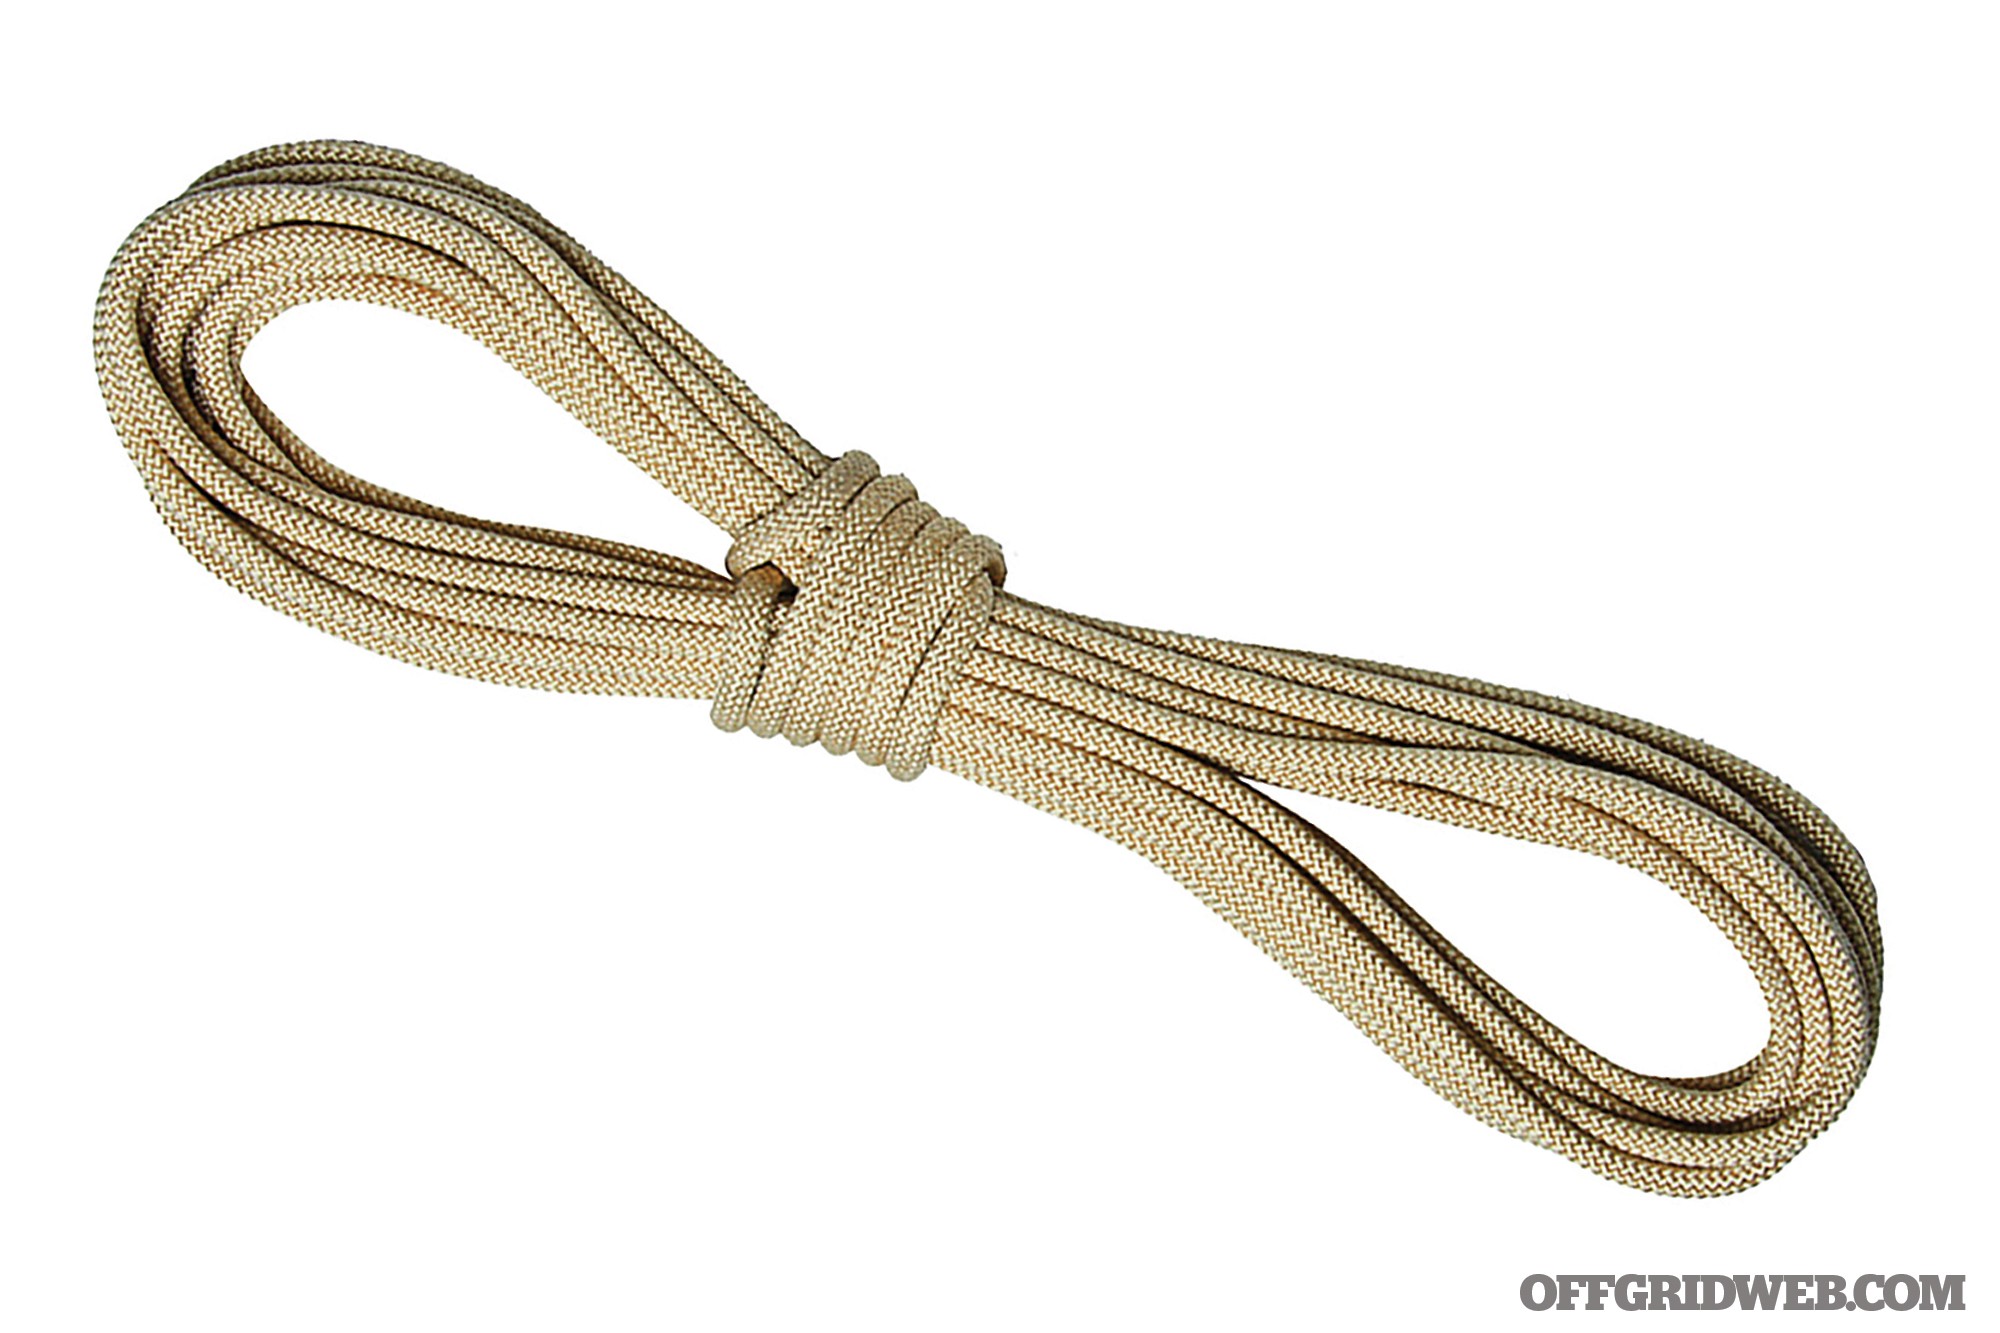
Rope
First things first — a rope. Many firefighters and military personnel use a rope constructed of aramid fibers due to its heat resistance and extended durability. Some of the more popular aramid fibers include Kevlar, Technora, and Twaron. Their performance parameters tend to be beneficial in almost all other applications of use, including for a civilian in an emergency bail out. The more durable the rope, the smaller it can be. The more heat resistant it is, the longer you can use it, and under more circumstances.
There are also many variables to a rope that change its behavior in use, but most of that would only be recognized over time. Most people who carry a bail-out kit will likely only use it once in an emergency and then buy another one. The length of your rope is 100-percent dependent on the height of the buildings you’re most likely to come across. I usually run with a 75-foot rope, more than enough to cover the buildings I typically run into. Most would probably be fine with a 40- or 50-foot section. Each building is slightly different, but a good rule of thumb is that each story is roughly 10 to 12 feet, with an 8-foot maintenance floor every 10 (depending on the building code). That being said, let’s look at some options to fill out our bail-out kit.
Sterling Xtec
Weight
0.4 pounds / 50 feet
MBS
21kN
Diameter
6mm
Core/Sheath
Technora/Technora
Price
$80 / 50 feet
URL
sterlingrope.com/store/work/cordage/high-tenacity-cords/6mm-xtec
Notes: Sterling Xtec is a 6mm aramid rope with a double braid construction, meaning that the core of the rope is braided as well as the sheath. That gives the rope better handling and added durability.
Sterling RIT 900
Weight
0.9 pounds / 50 feet
MBS
18.4kN
Diameter
6.8mm
Core/Sheath
None/Twaron
Price
$65 / 50 feet
URL
sterlingrope.com/store/work/ropes/search-rescue/search-ropes/rit-900
Notes: Sterling RIT 900 is a very unique rope in that it lacks a core, because its primary use in the fire service is as a search line. It has to bend around tight corners and fit underneath doors. This rope is also made from aramid fibers, so it’s still very strong and resistant to heat and abrasion.
Sterling Firetech2
Weight
1.5 pounds / 50 feet
MBS
25.5kN
Diameter
7.5mm
Core/Sheath
Technora/Technora
Price
$127 / 50 feet
URL
https://sterlingrope.com/store/work/ropes/search-rescue/escape-ropes/firetech2
Notes: Sterling Firetech2 is an incredible rope, if you want to size up to a 7.5mm. It handles great and works well with the Sterling F4 device.
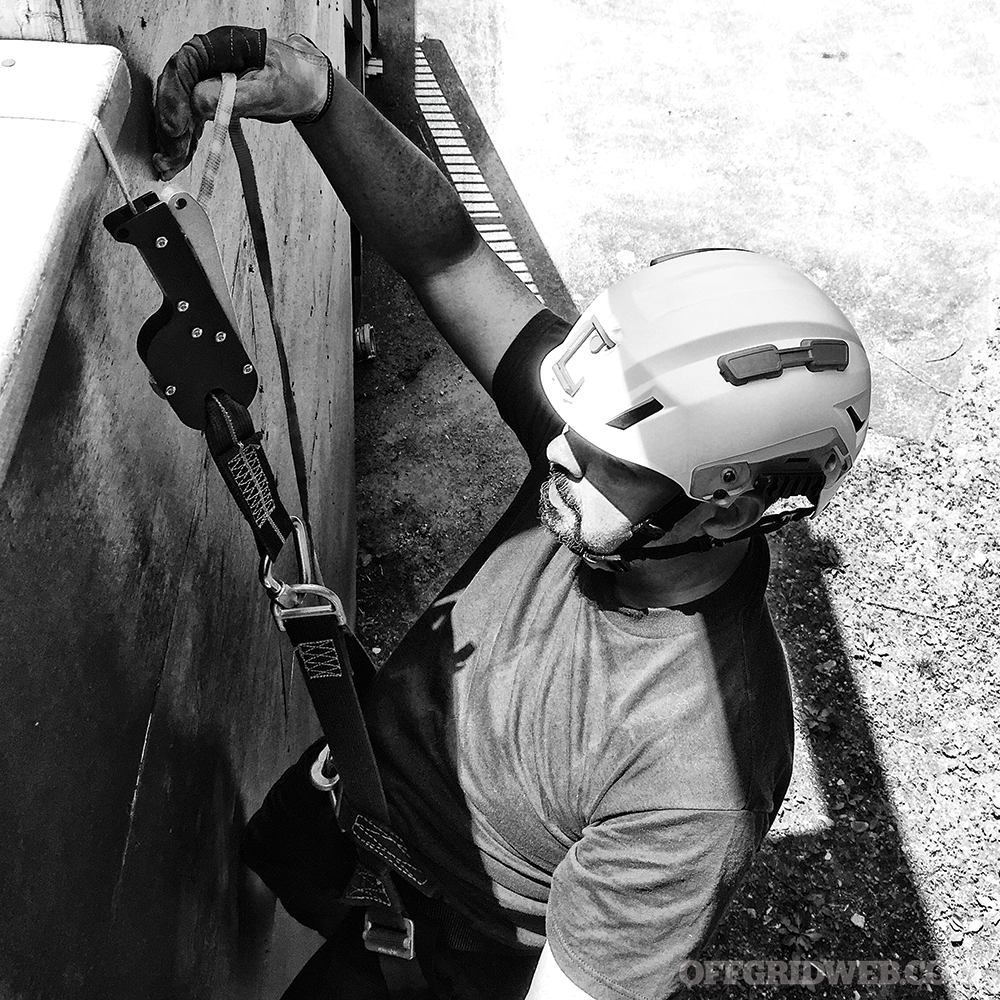
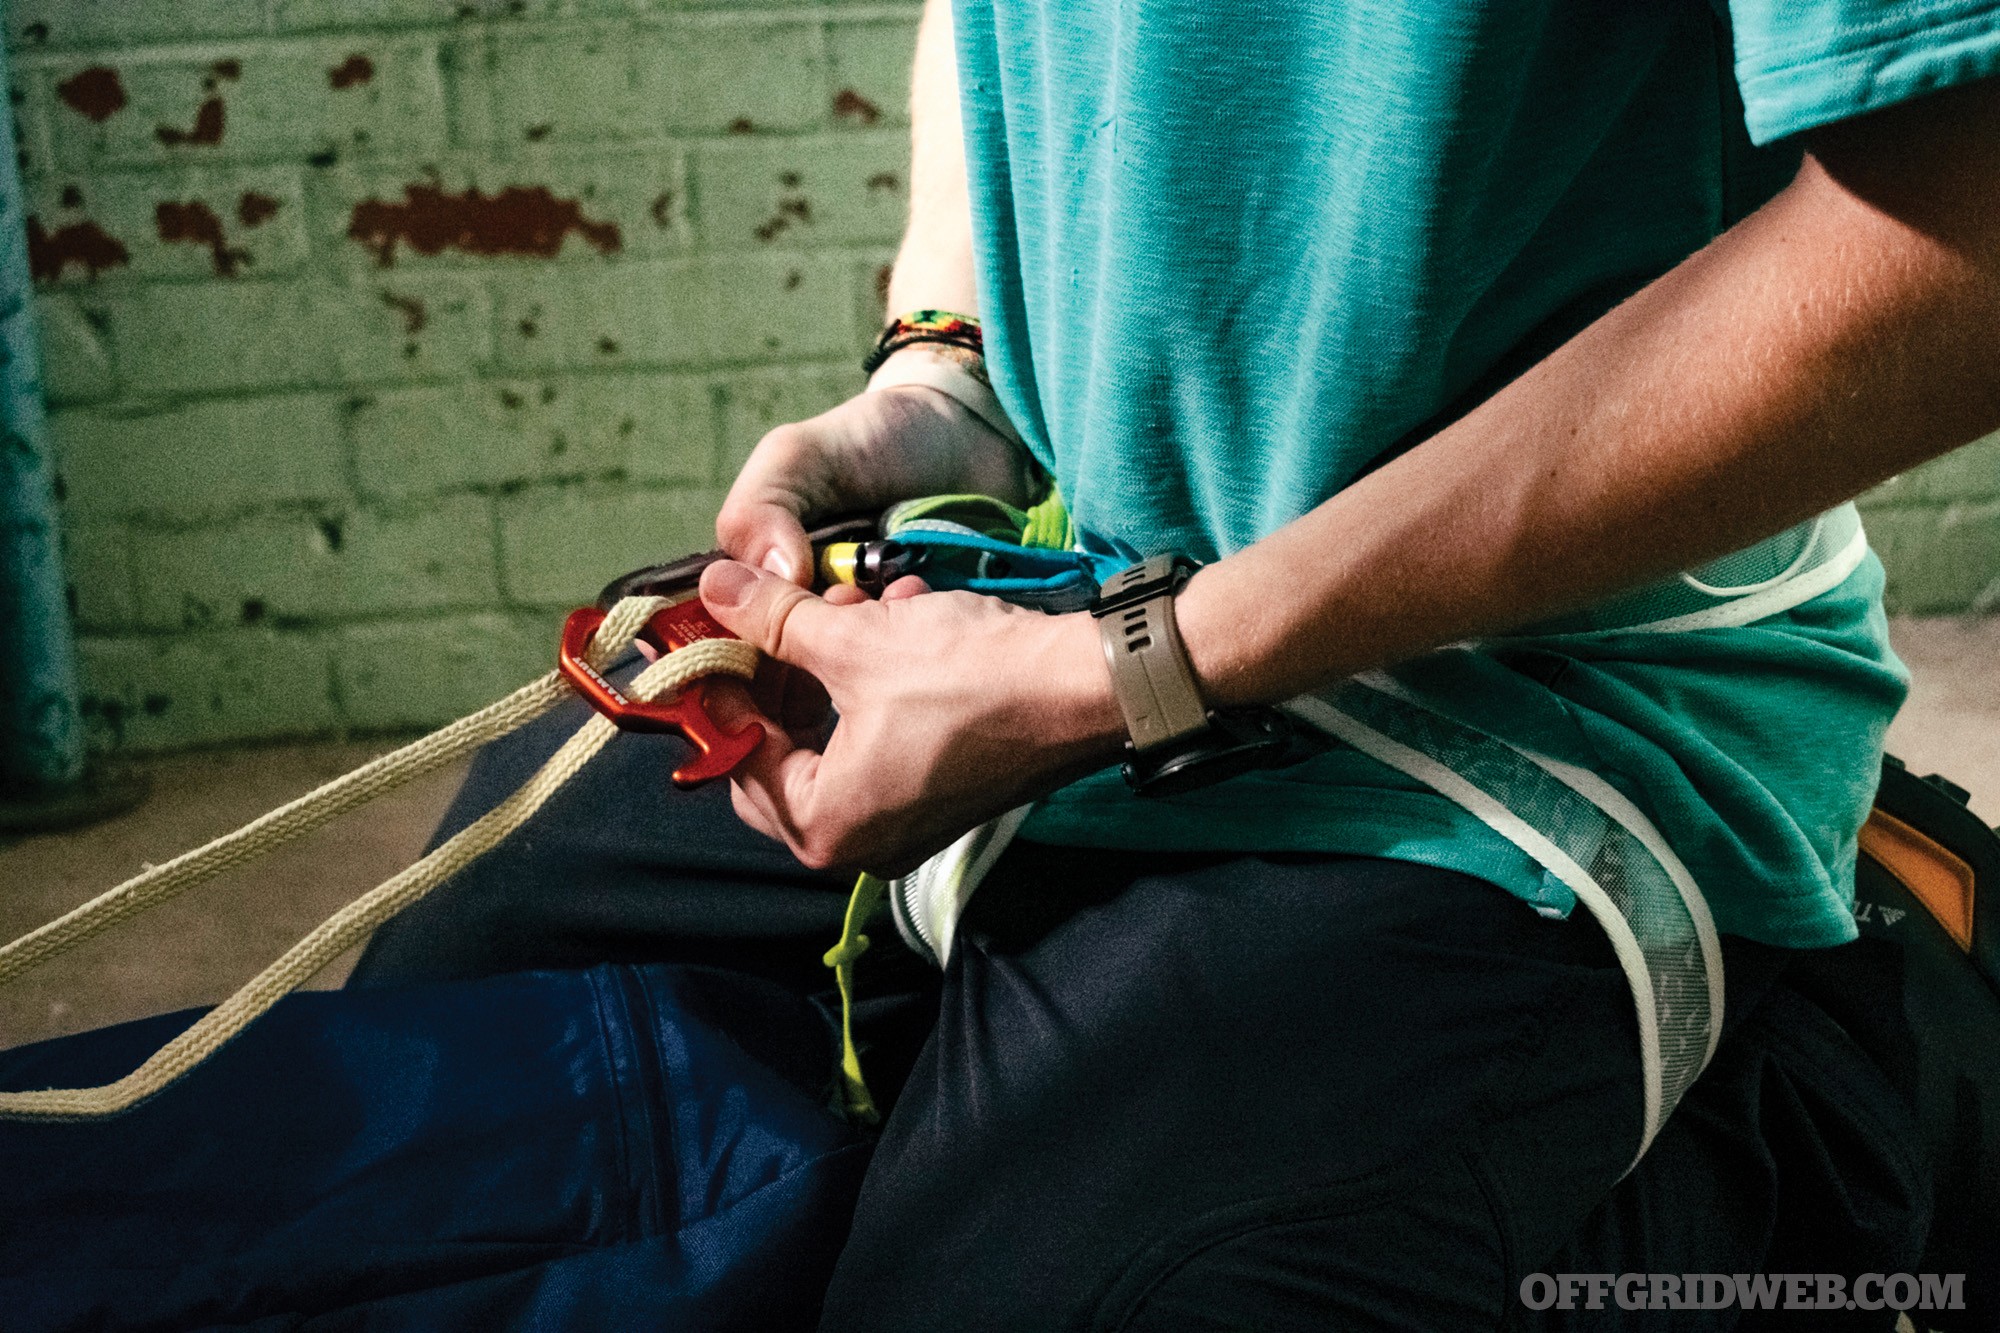
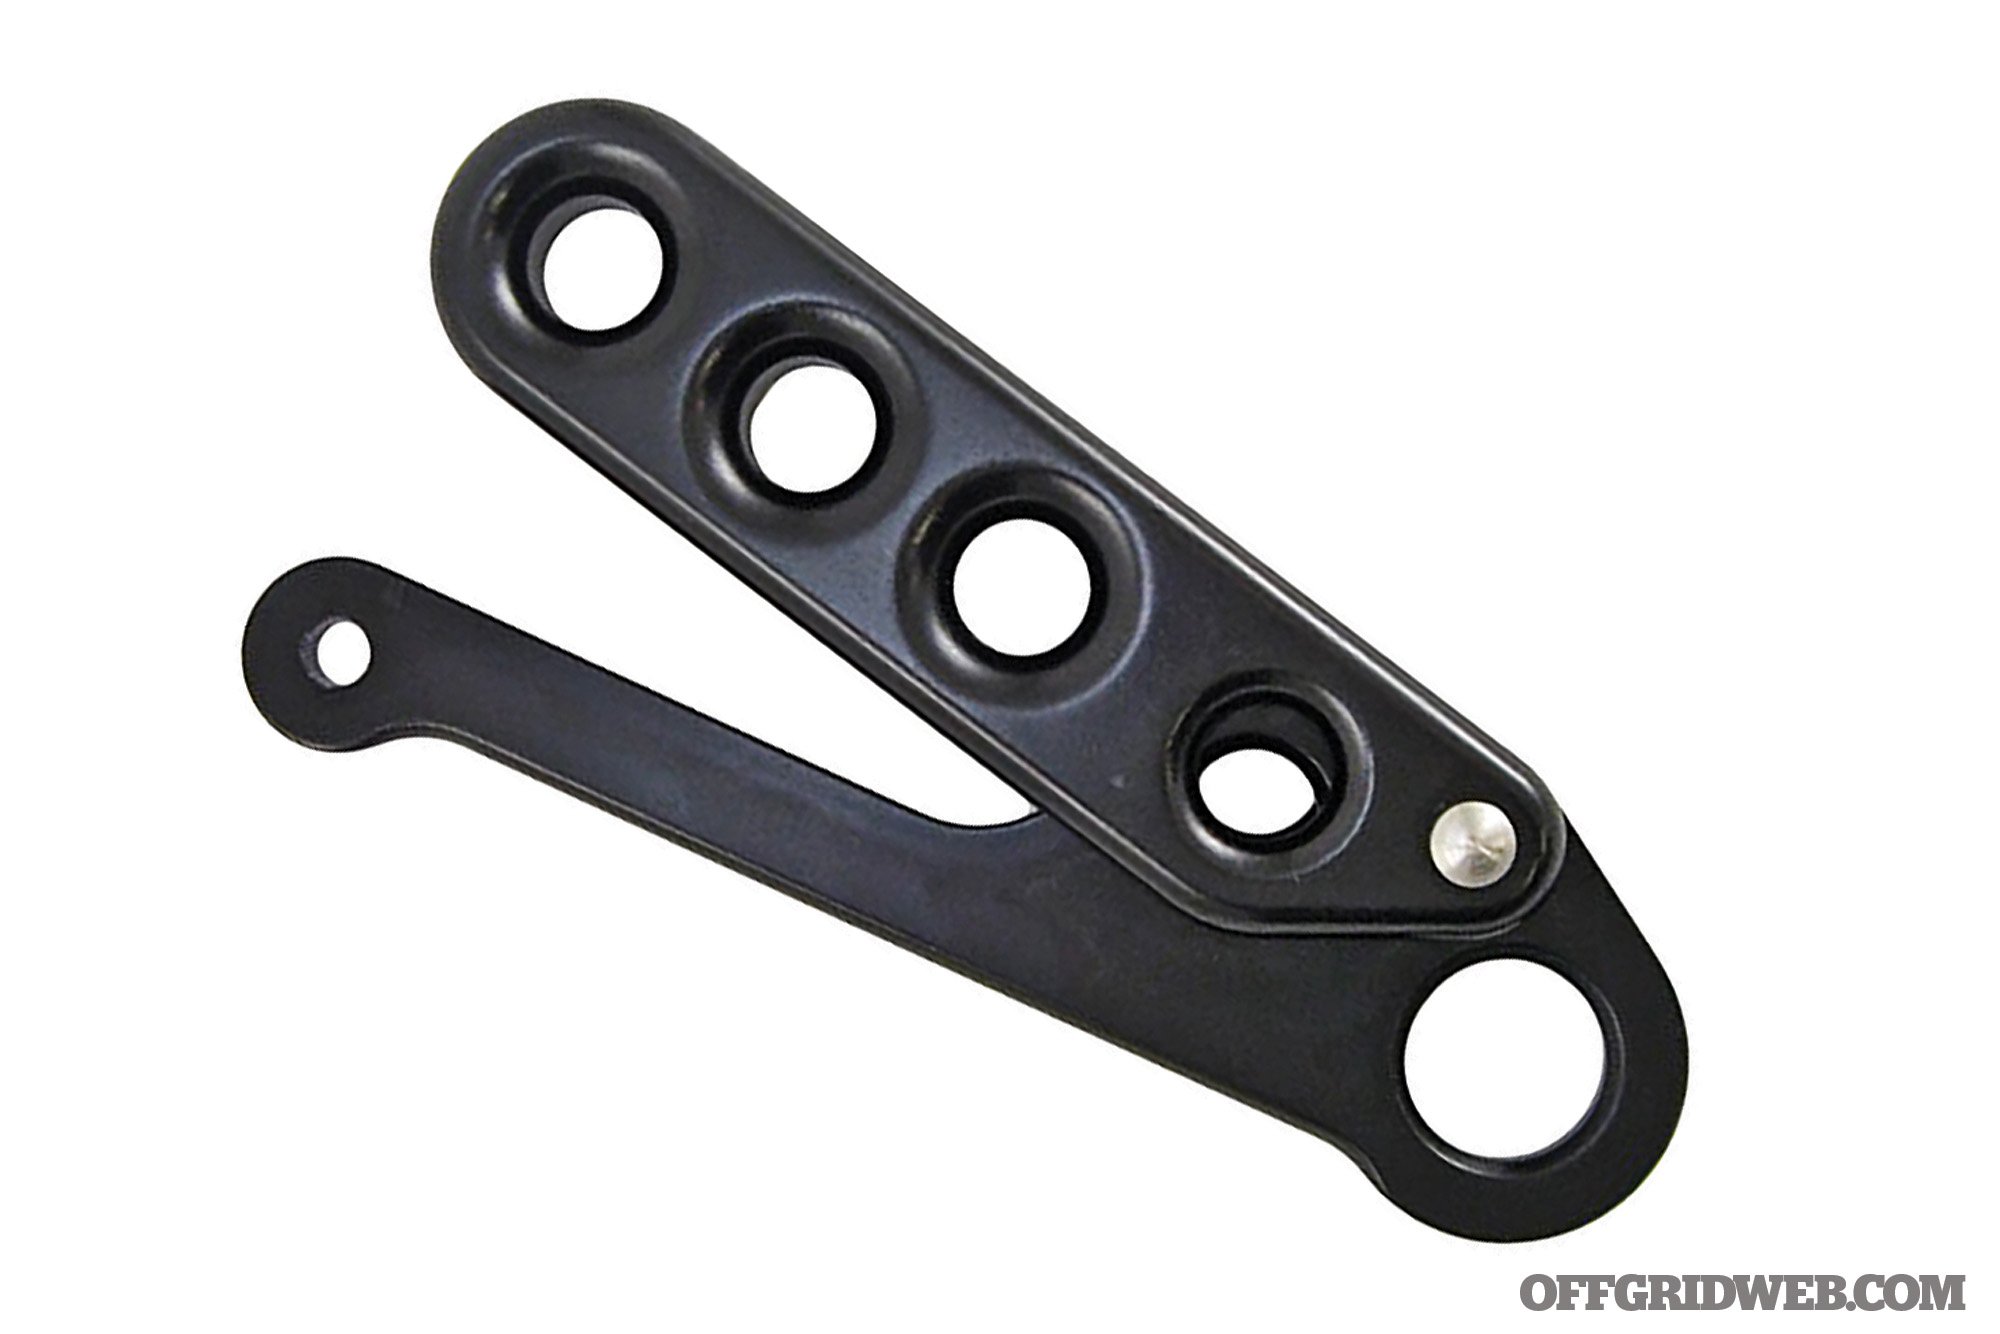
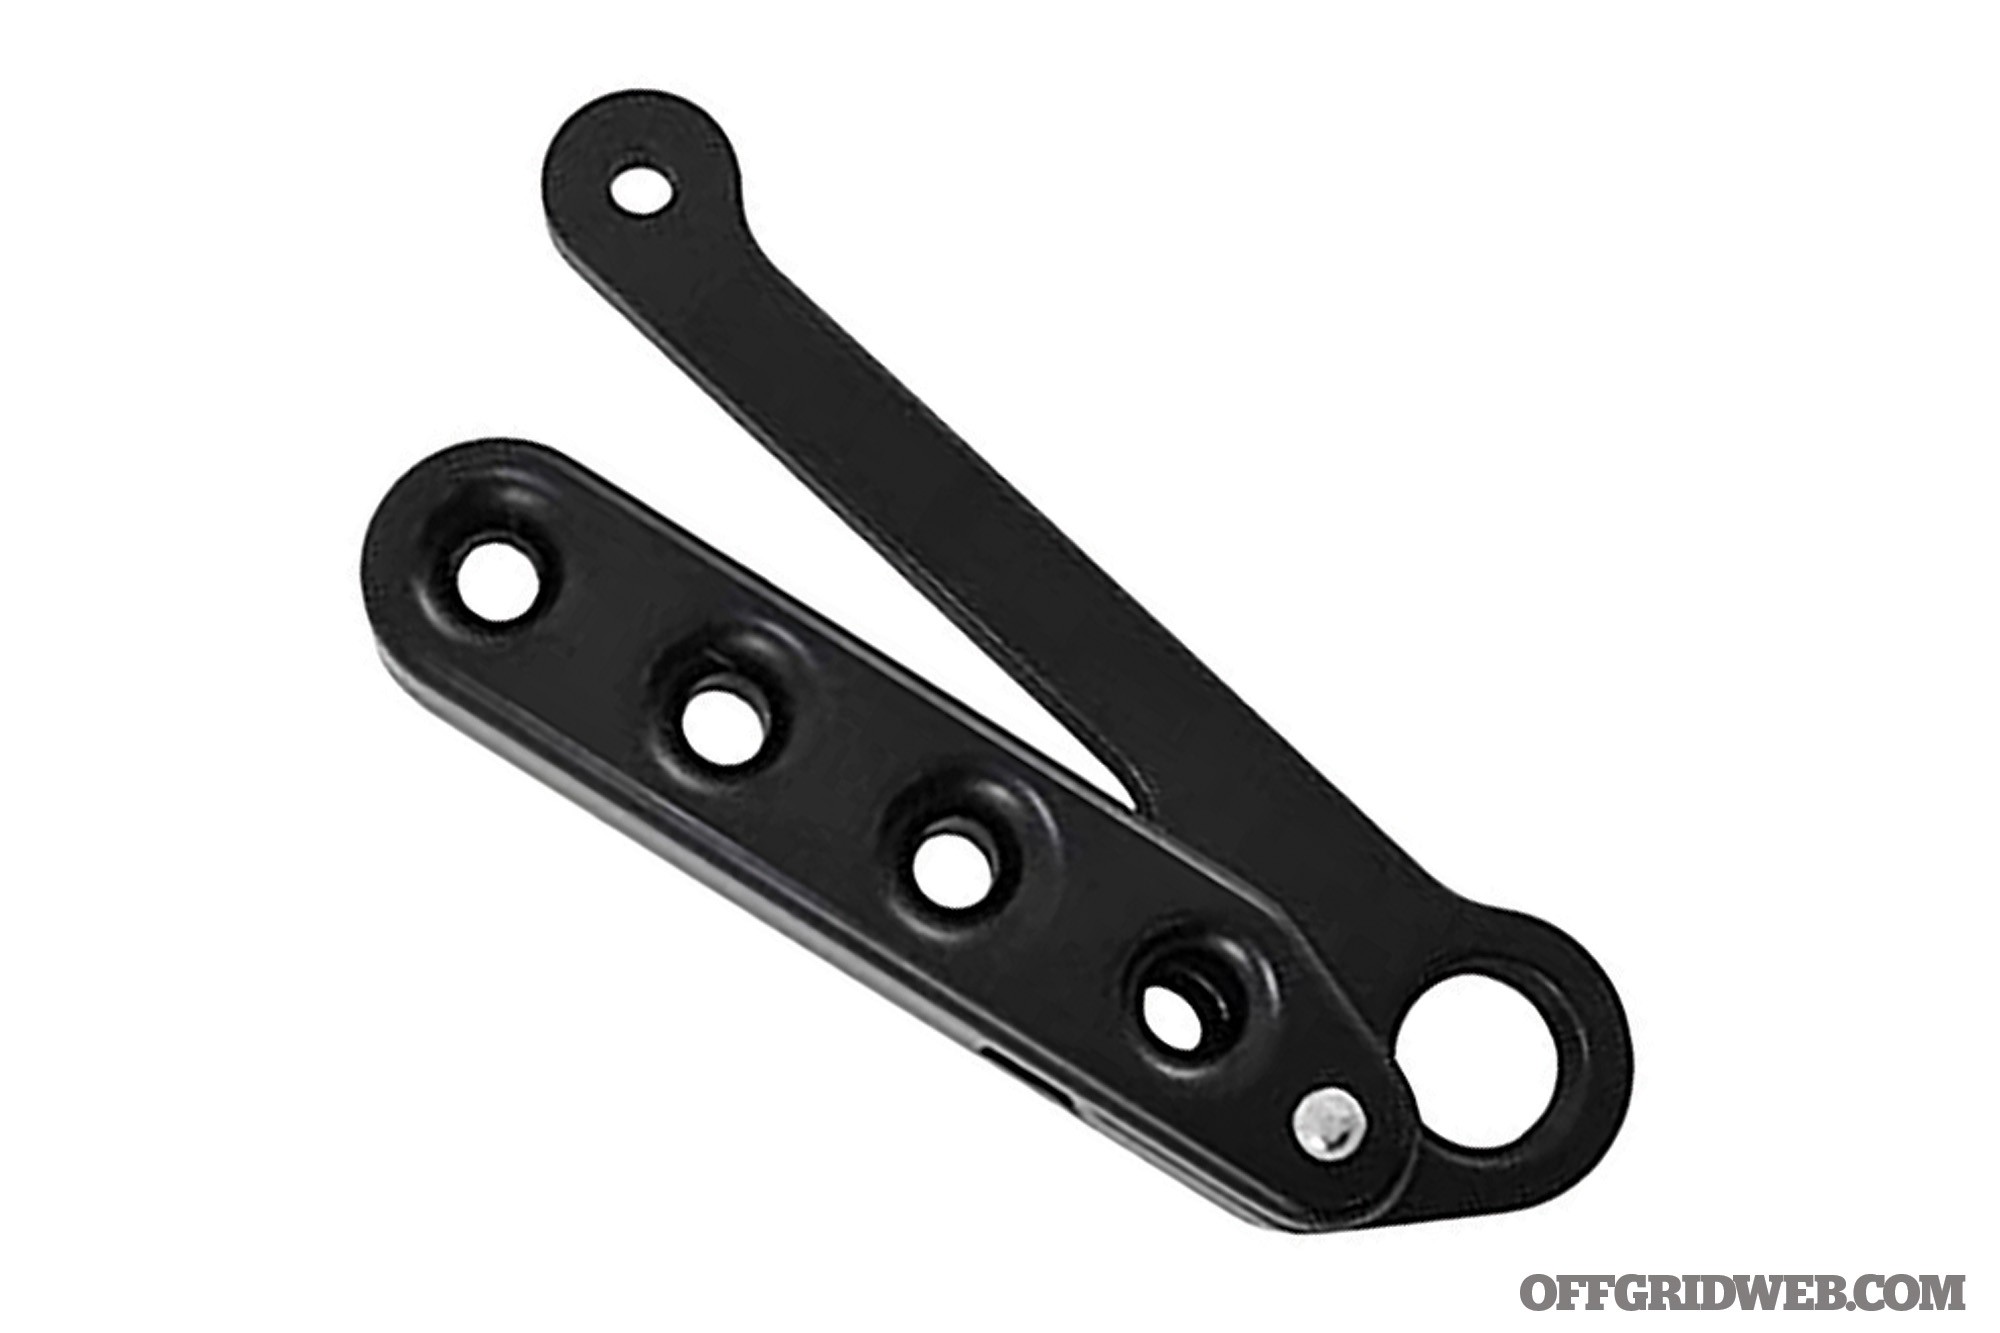
Descent Control Device

Choosing a decent control device is typically the most dependent on personal preference when assembling a bail-out kit, so you should have an idea of what you might want in a device to rappel with. You don’t need a background in rappelling, but a general understanding of it will be very helpful. I categorize them into auto-locking and manual-braking devices.
An auto-locking device is designed to automatically stop you from moving if you lose control of the rope. For less experienced people, or people who have to use both hands for something in the middle of a rappel, it works pretty well. However, during the rappel you’ll have to use both hands to safely operate the device. The military sees value in the ability to use both hands to operate something in the middle of a rappel, while firefighters like the extra layer of security in operating the device.
Manual braking devices are typically more adaptive in different environments, less specific to the rope they’re being used with, and less complicated to operate when you gain competency in rappelling. They don’t provide that added layer of security of “catching” you if you fall, and it’ll be slightly more difficult to use both hands for something in the middle of a rappel. However, during the rappel, it’ll be easier to work around objects (such as air conditioning units, balconies, and so forth) because of its versatility in not needing two hands to operate the devices.
Mammut NanoEight
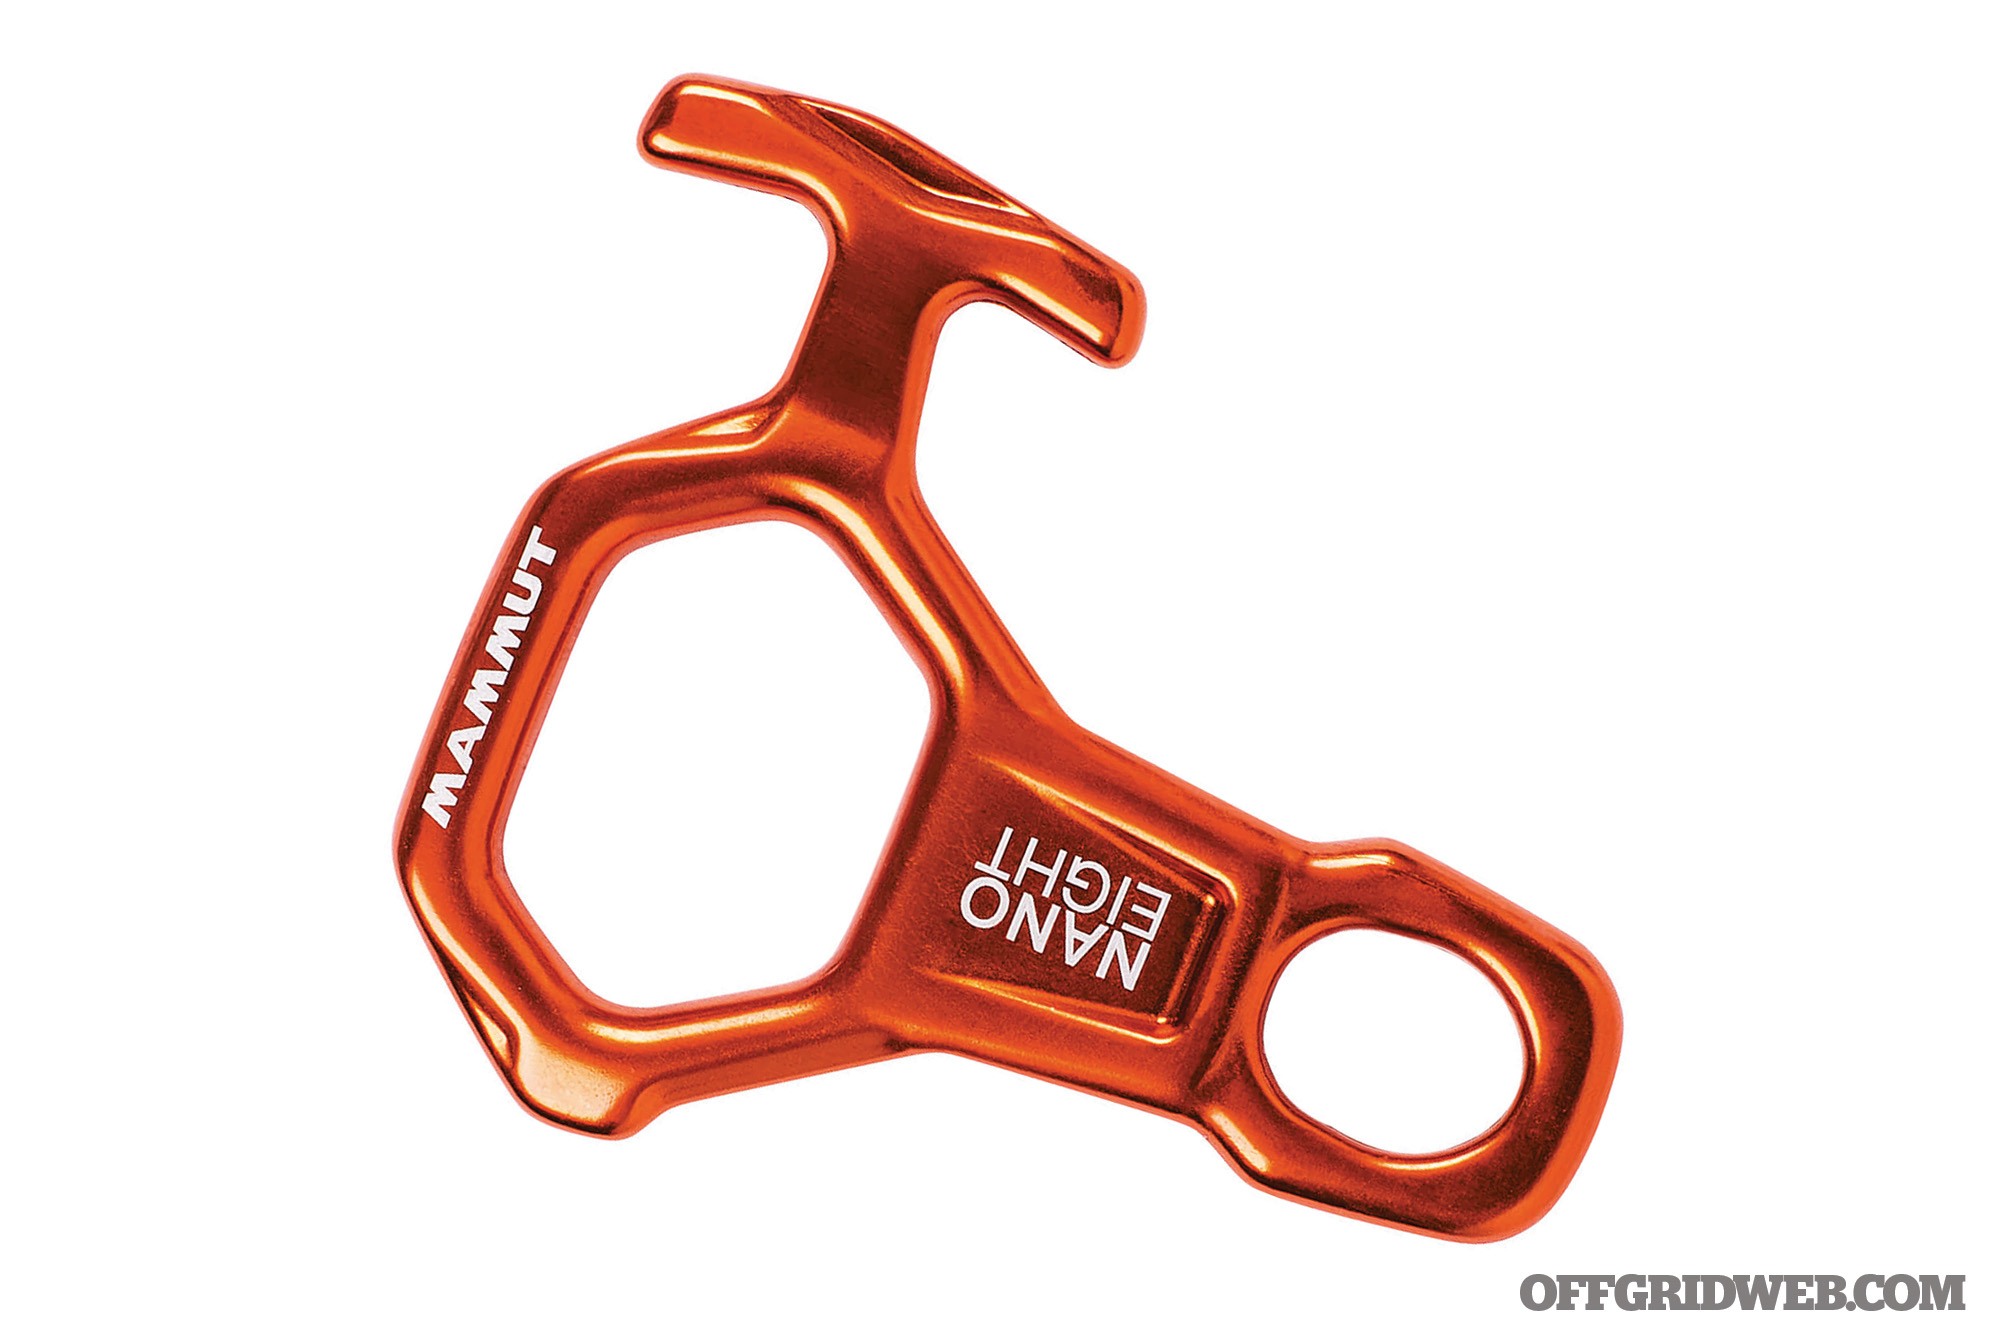
Weight
44g
MBS
16kN
Diameter Range
6-7.5mm
Price
$14.95
URL
www.mammut.com/us/en/p/2210-01810-2016/nano-8/
Notes: The Mammut NanoEight is a very lightweight rappel device that follows the traditional “eight plate design,” though it’s designed to work on low diameter ropes. The “wing” on the side of the device provides greater control over your rate of speed during the rappel.
Sterling F4
Weight
6.4 ounces
MBS
13.5kN
Diameter Range
7.5mm
Price
$100
URL
sterlingrope.com/store/work/hardware/descent-control-rigging/f4-device
Notes: The Sterling F4 Device is an auto-locking device. It’s very intuitive to operate the squeeze-activated release, so training on this device should be fairly quick and easy.
Sterling F3
Weight
4.8 ounces
MBS
3035
Diameter Range
6mm
Price
$77
URL
rwrope.com/climbing-safety-gear/ascenders-descenders/sterling-f3-descent-device/
Notes: The Sterling F3 Device is the little brother (or sister) of the F4. It’s simply scaled down, intended for smaller diameter ropes. It also has the added safety feature of a “panic brake” — if the rappeler over-activates the device and squeezes too hard, it’ll stop the rope from moving through the device.
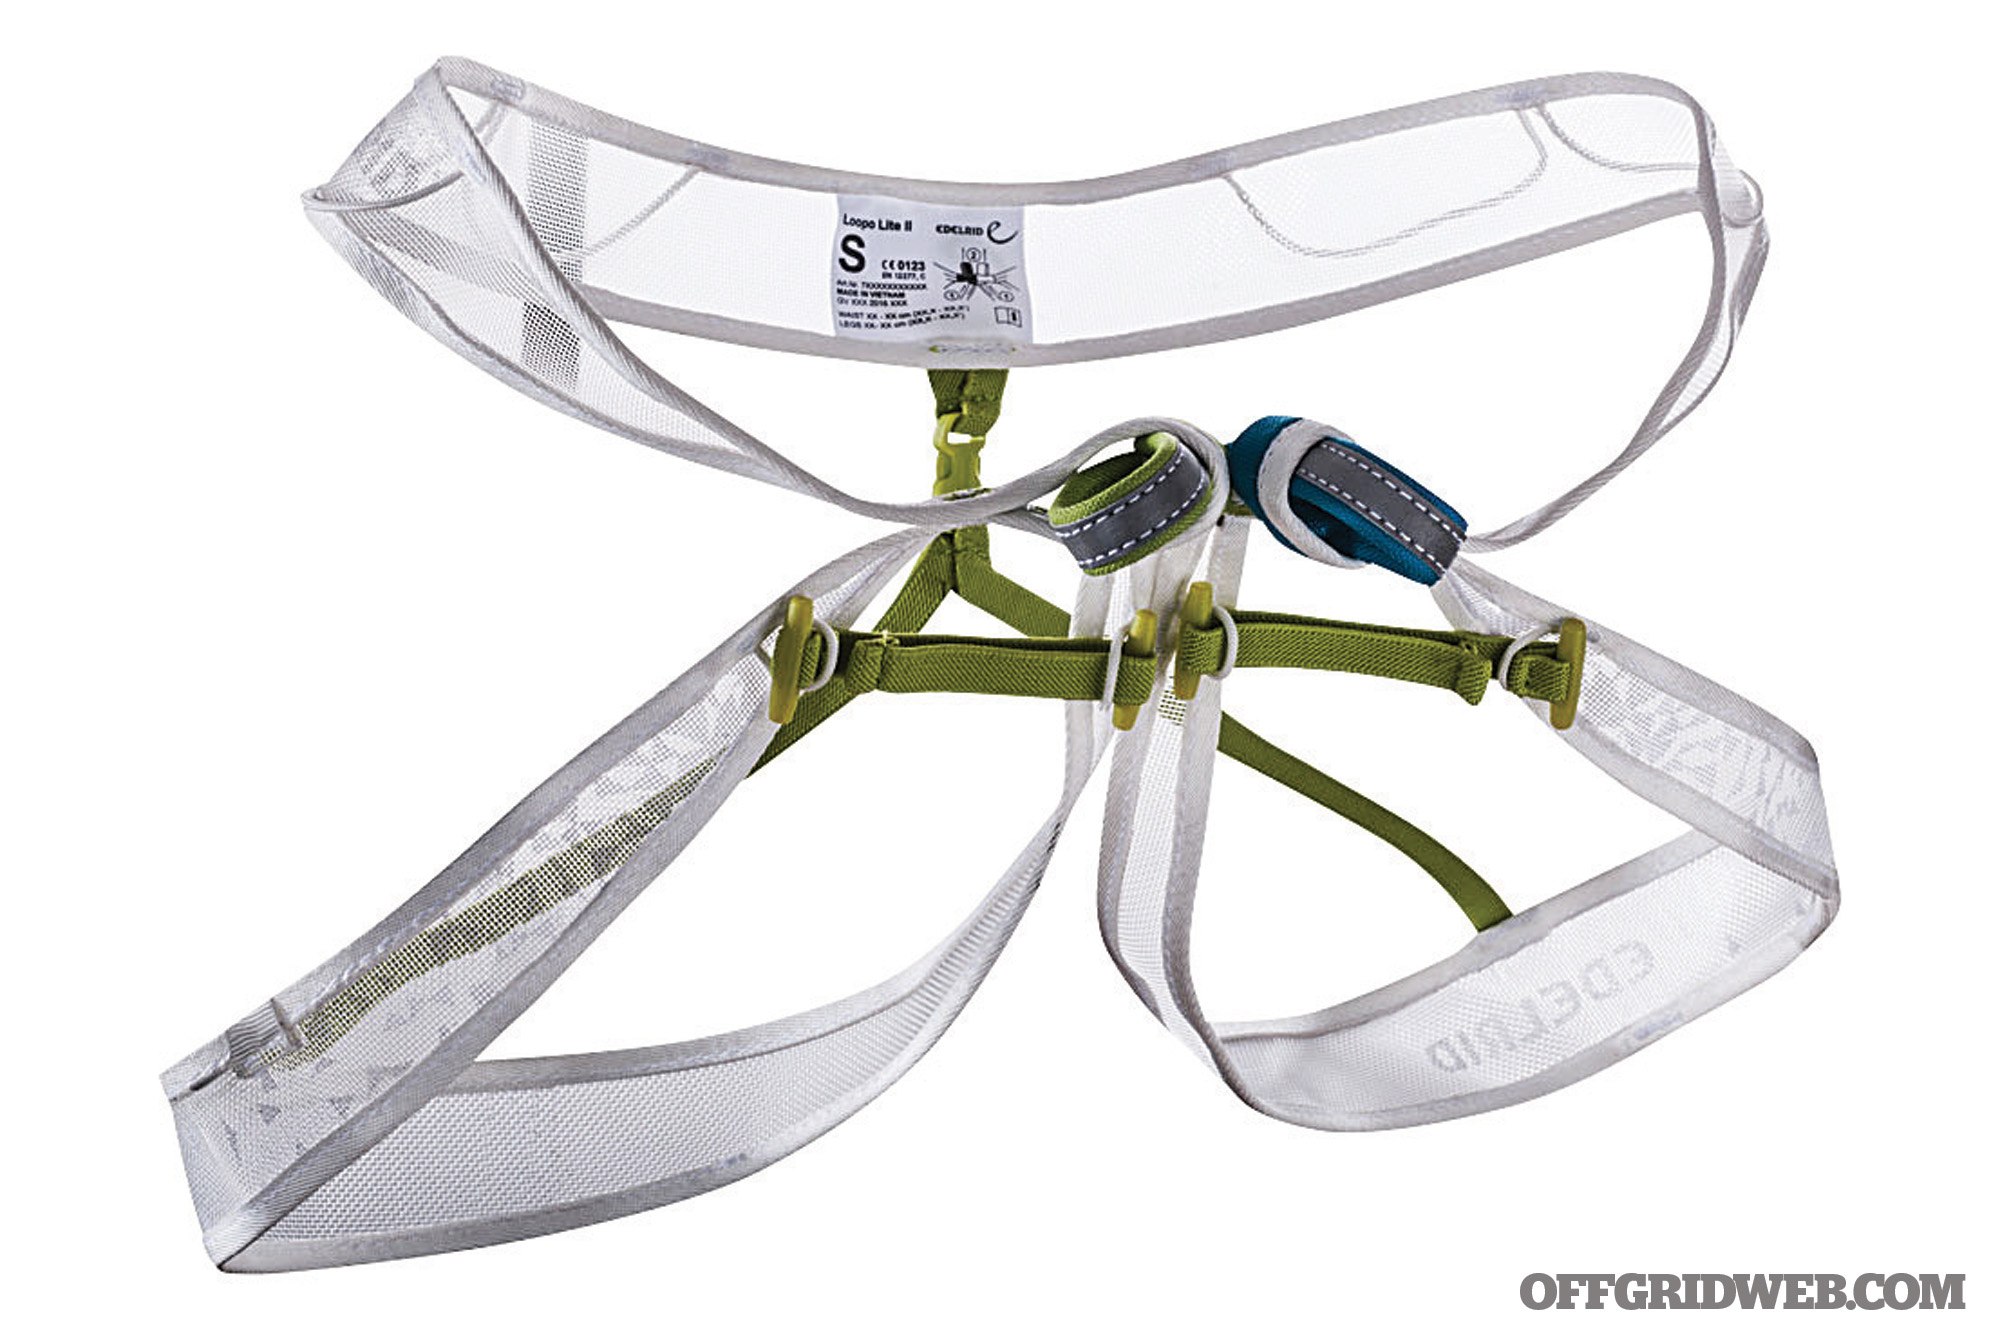
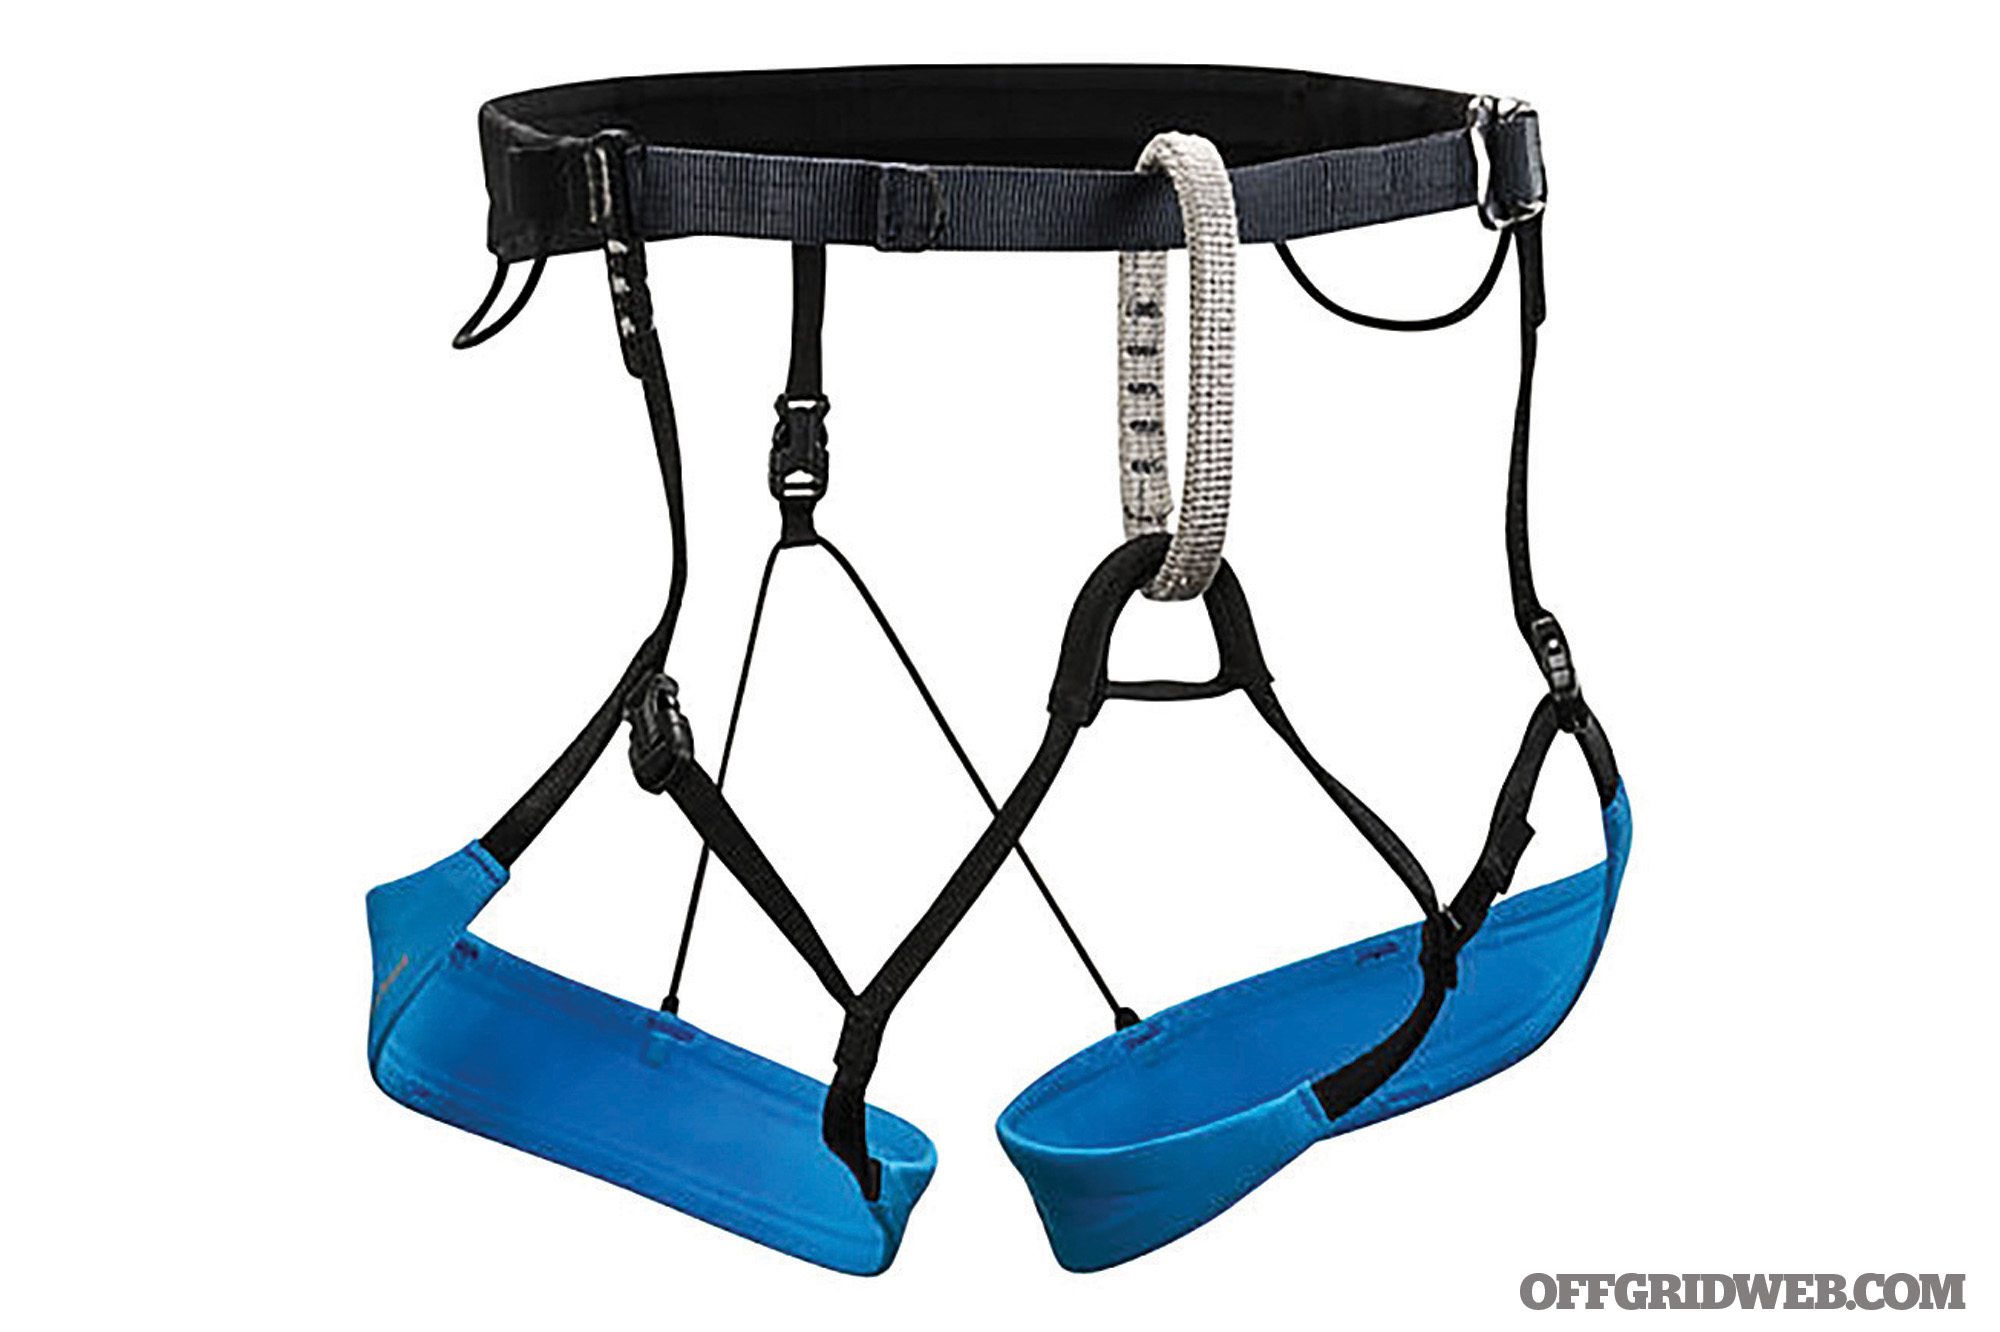
Harness
Harnesses come in all shapes and sizes, typically matching the audience the company intended to market it to. There are two main types of harnesses: A Class One is essentially a weight-rated belt, and a Class Two is commonly associated with climbers —a weight-rated belt with corresponding leg loops to distribute the load.
There are also Class Three harnesses, but those are full-body harnesses used more for construction work or technical rescue, so we won’t go into them here. Emergency belts, or “last resort belts” rated as a Class One harness, have become a popular alternative to a traditional harness, which is awesome if that’s what you feel comfortable with. Due to the extent of research driving the outdoor sports industries, I’ve grown to like a lot of the “alpine” style harnesses, so we’ll focus on those the most.
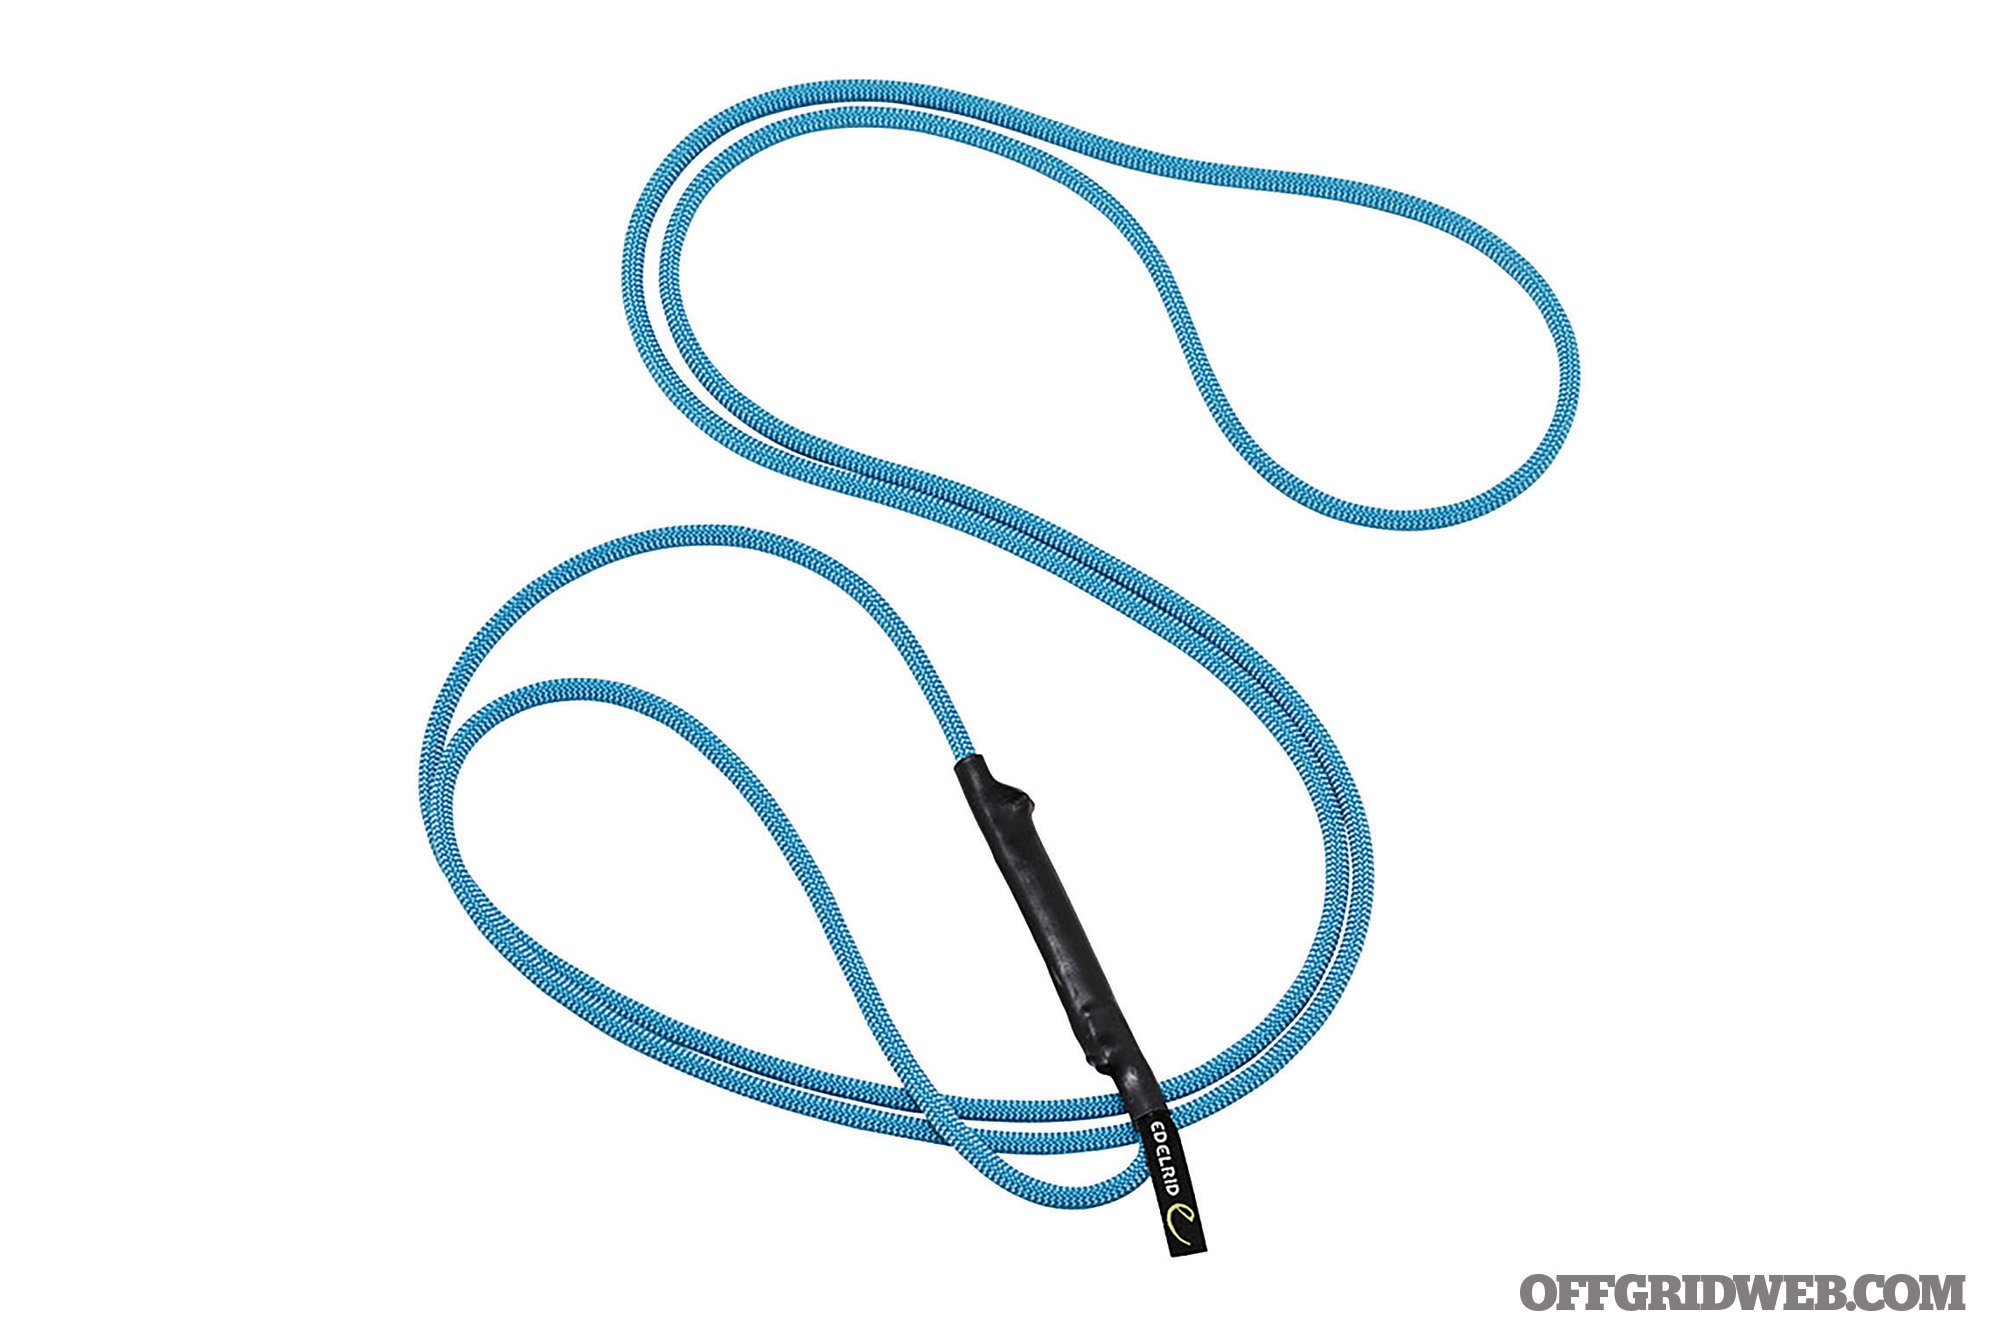
Edelrid Loopo Lite
Weight
2.82 ounces
Price
$80
URL
www.edelrid.com/us/sports/sit-harnesses/loopo-lite.html
Notes: The Edelrid Loopo Lite harness is one of the lightest harnesses currently available; surprisingly, its construction doesn’t compromise comfort or the ease of putting it on. It also has reflective tie-in loops, so it’s easy to identify in low-light conditions and under stress. There are four gear loops (two on each side), so you can keep additional gear close at hand.
Black Diamond Couloir Harness
Weight
7.5 ounces
Price
$65
URL
www.blackdiamondequipment.com/en_US/climbing-harnesses/couloir-BD651084_cfg.html
Notes: The Black Diamond Couloir harness is also a very lightweight harness, providing more durability than most due to the construction of the waist strap and leg loops. It has speed buckle adjustments so it’s easy to take on and off, as well as two gear loops (one on each side) to clip on additional equipment.
Petzl Altitude

Weight
5.3 ounces
Price
$80
URL
www.petzl.com/US/en/Sport/Harnesses/ALTITUDE
Notes: If the Couloir and Loopo Lite had a baby, it’d be the Petzl Altitude harness. It’s an ultra-lightweight design with Petzl’s Wireframe technology to improve comfortability and durability. A few differences include gear loops turned 90 degrees, so they don’t interfere as much with a backpack’s waist strap, as well as a quick adjusting, easy-to-operate buckle.
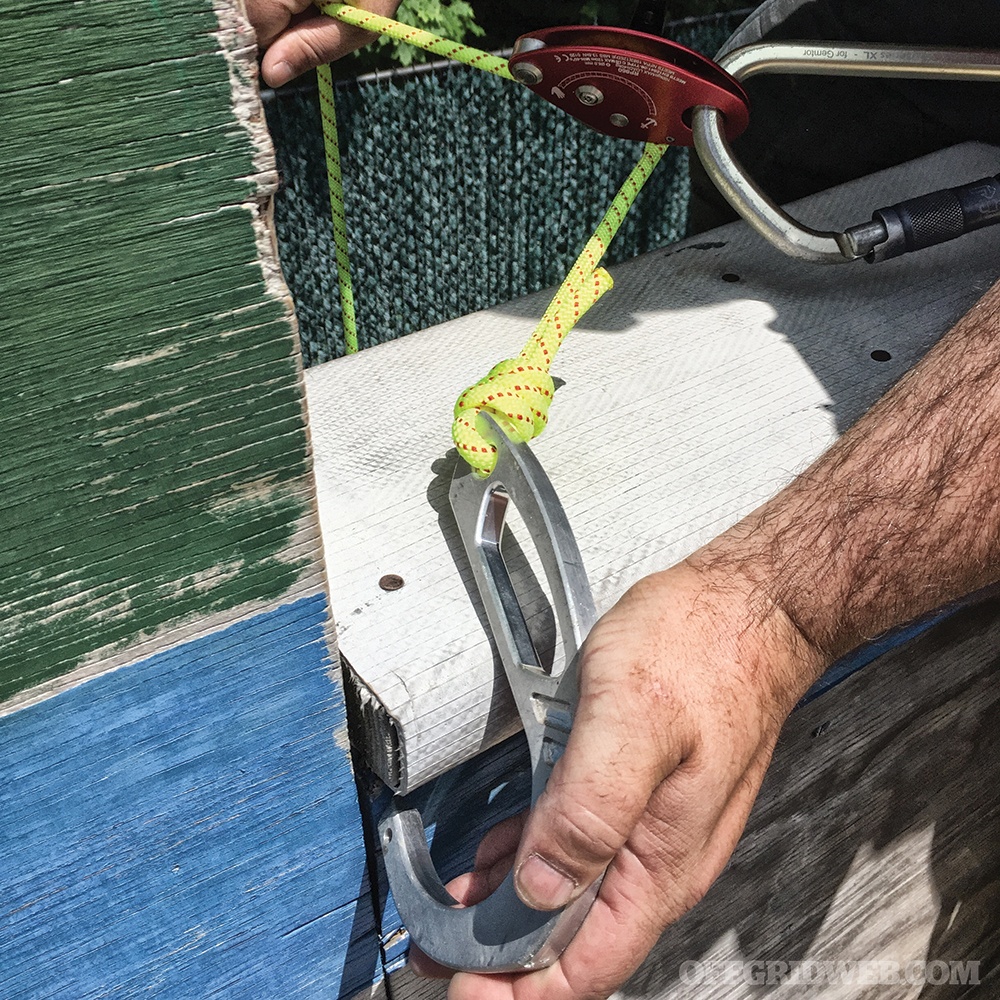
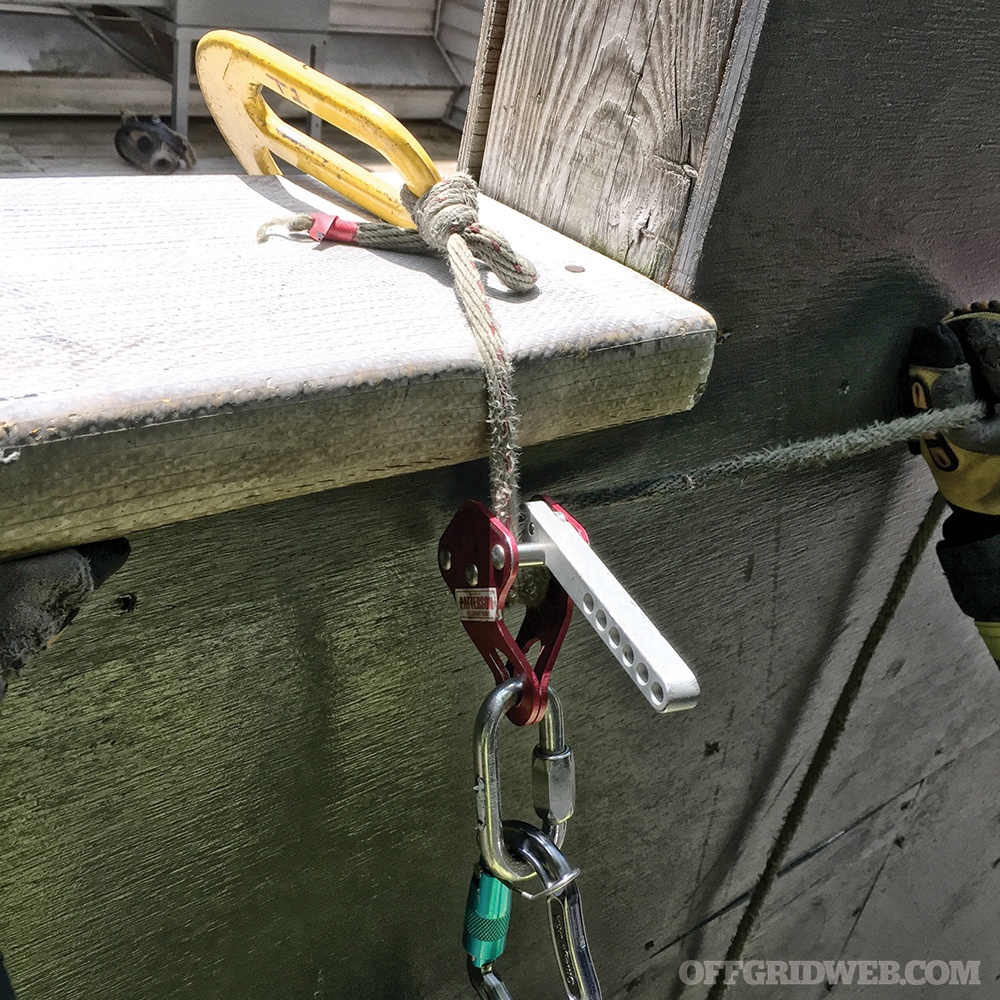
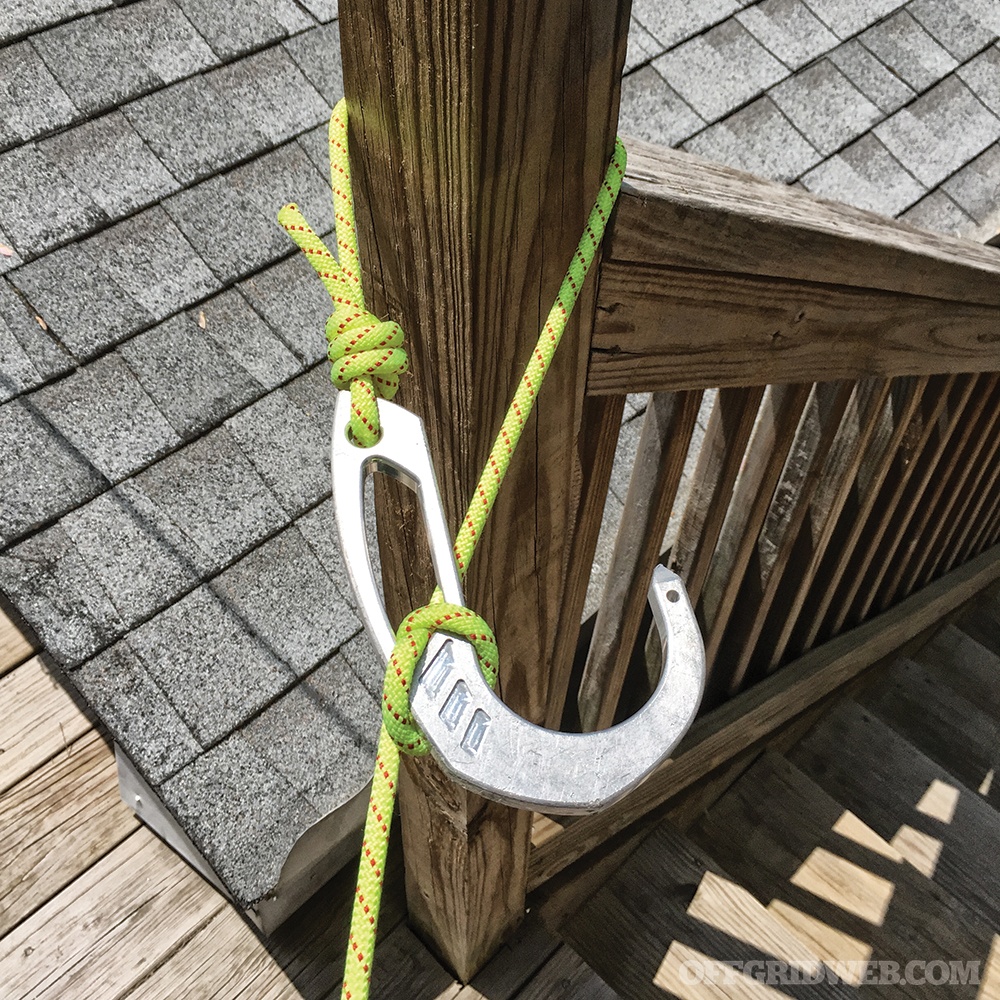
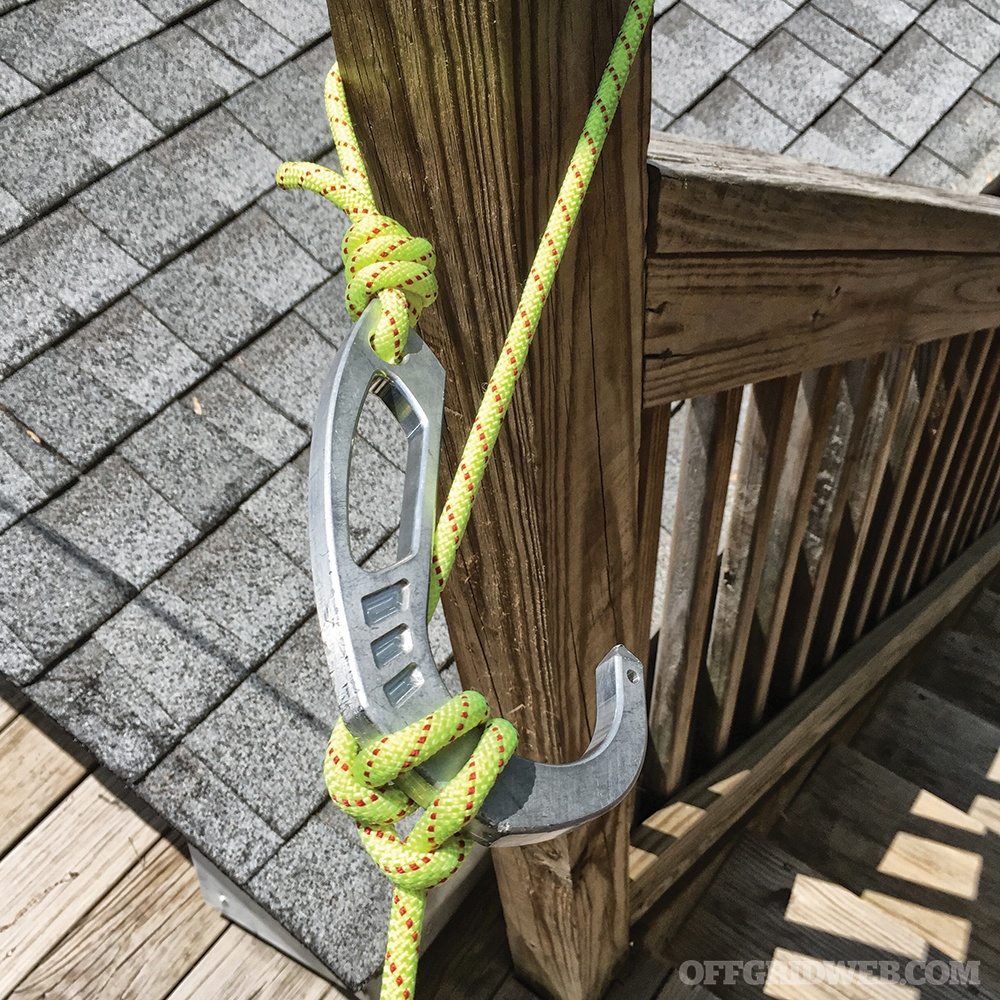
Anchor
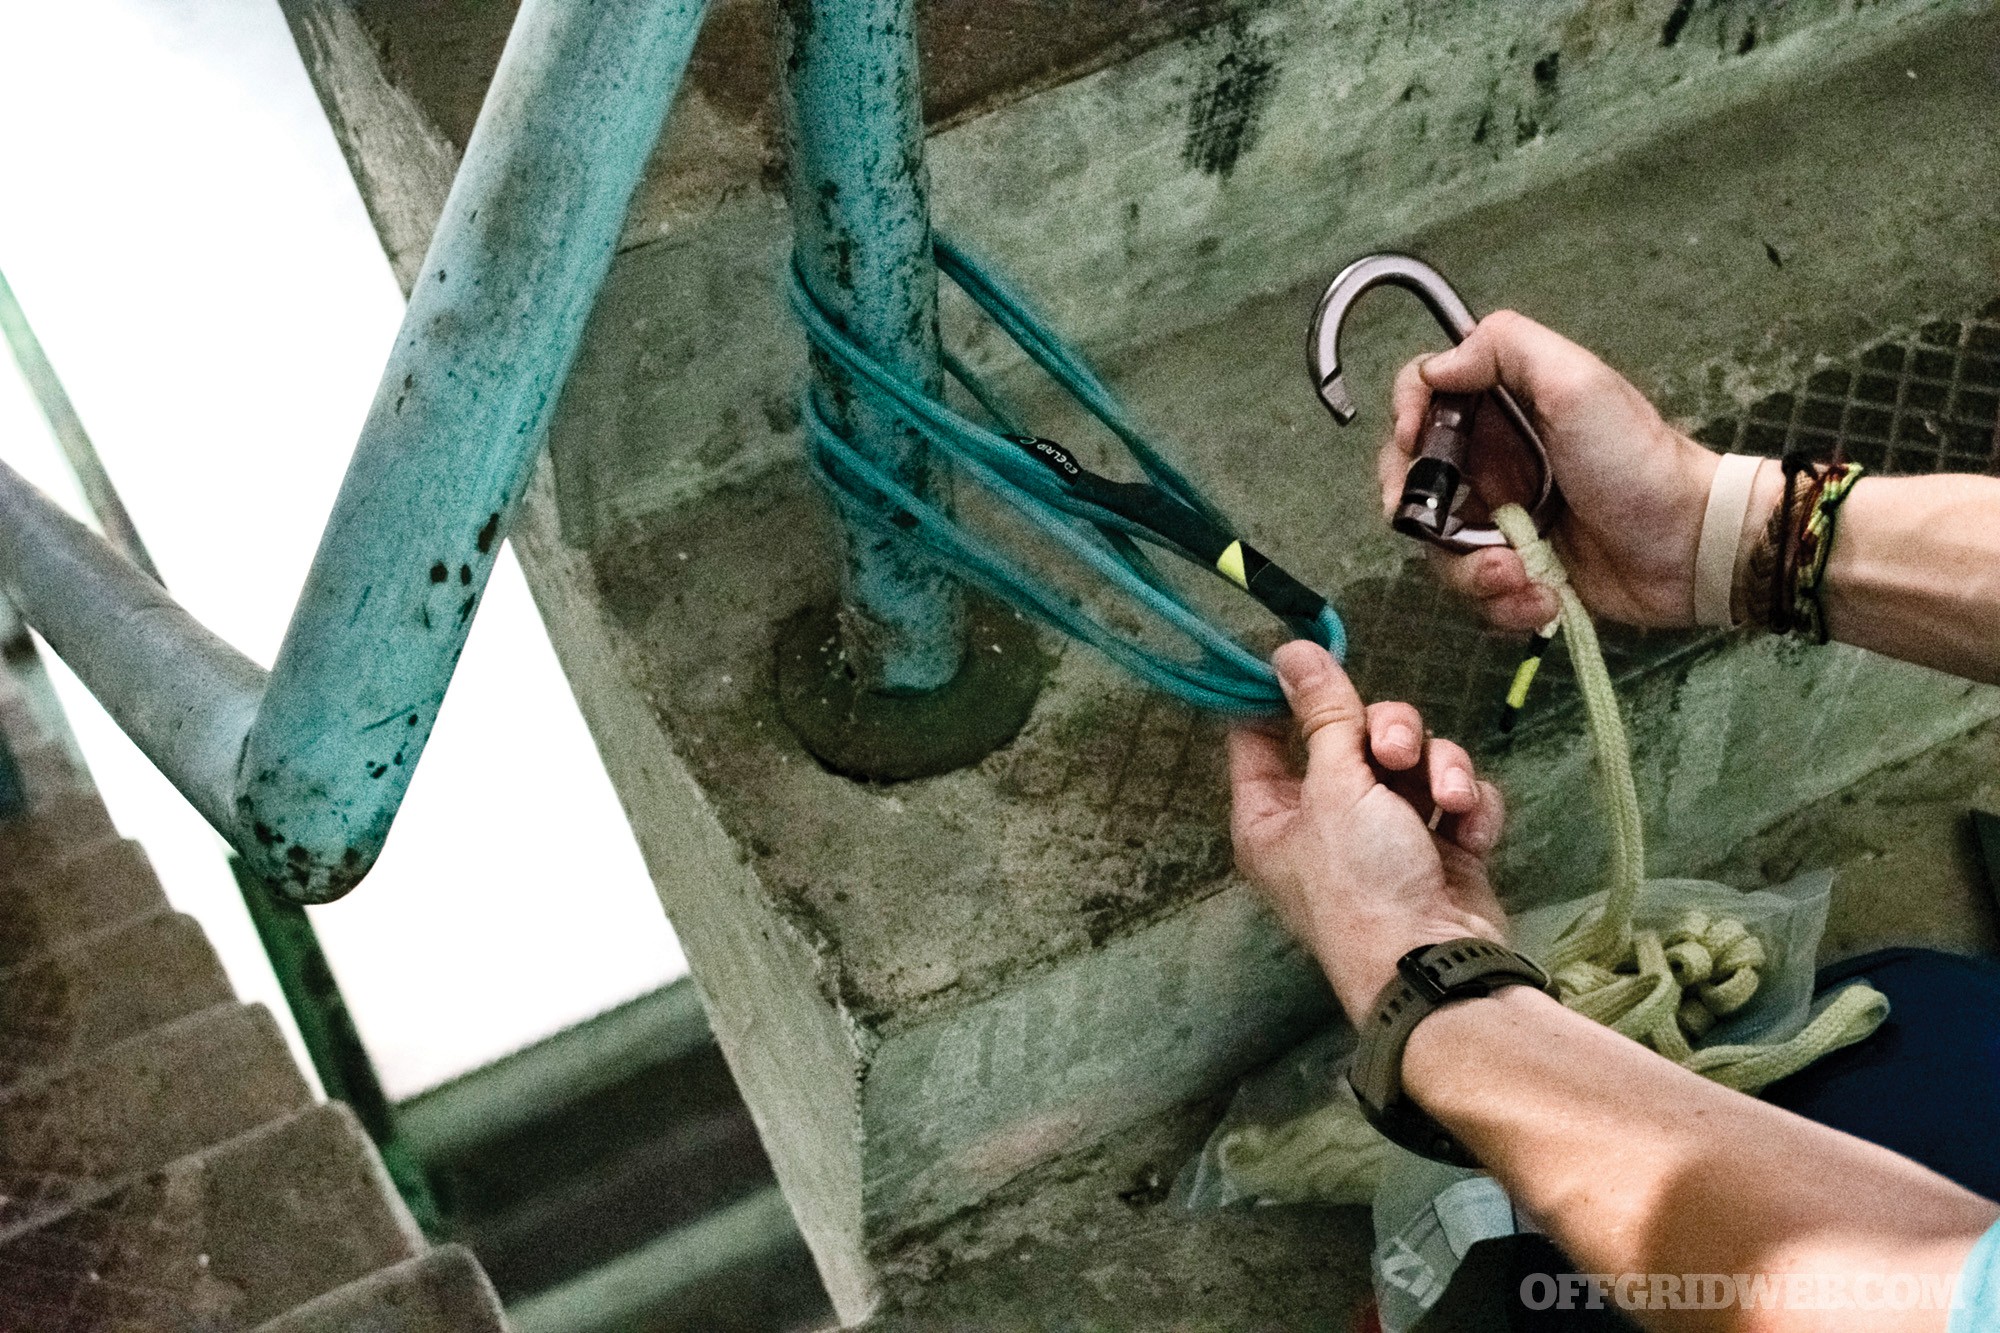
A lot of people overthink anchor systems, probably because they’re often viewed as the most important part of the bail-out system. This is true in the sense that you couldn’t have a bail-out system without one, but your rope, harness, and descent control device are equally important. An anchor is also very easy to improvise with just your rope — you can simply wrap your rope around an object and tie it to itself. You don’t even need another piece of equipment; however, a dedicated anchor can be used for multiple purposes.
For example, if you decide to use a piece of webbing as an anchor, it can also be used as a harness (on yourself or someone else), or even repair a broken backpack strap if needed. Another advantage is you’ll preserve your rope’s full length for the actual distance of the rappel. For instance, if you use 10 feet of rope to build an anchor, that’s 10 feet less that you can rappel. There are also smaller, lightweight options like 120cm (48 inches) slings, common in climbing and mountaineering.
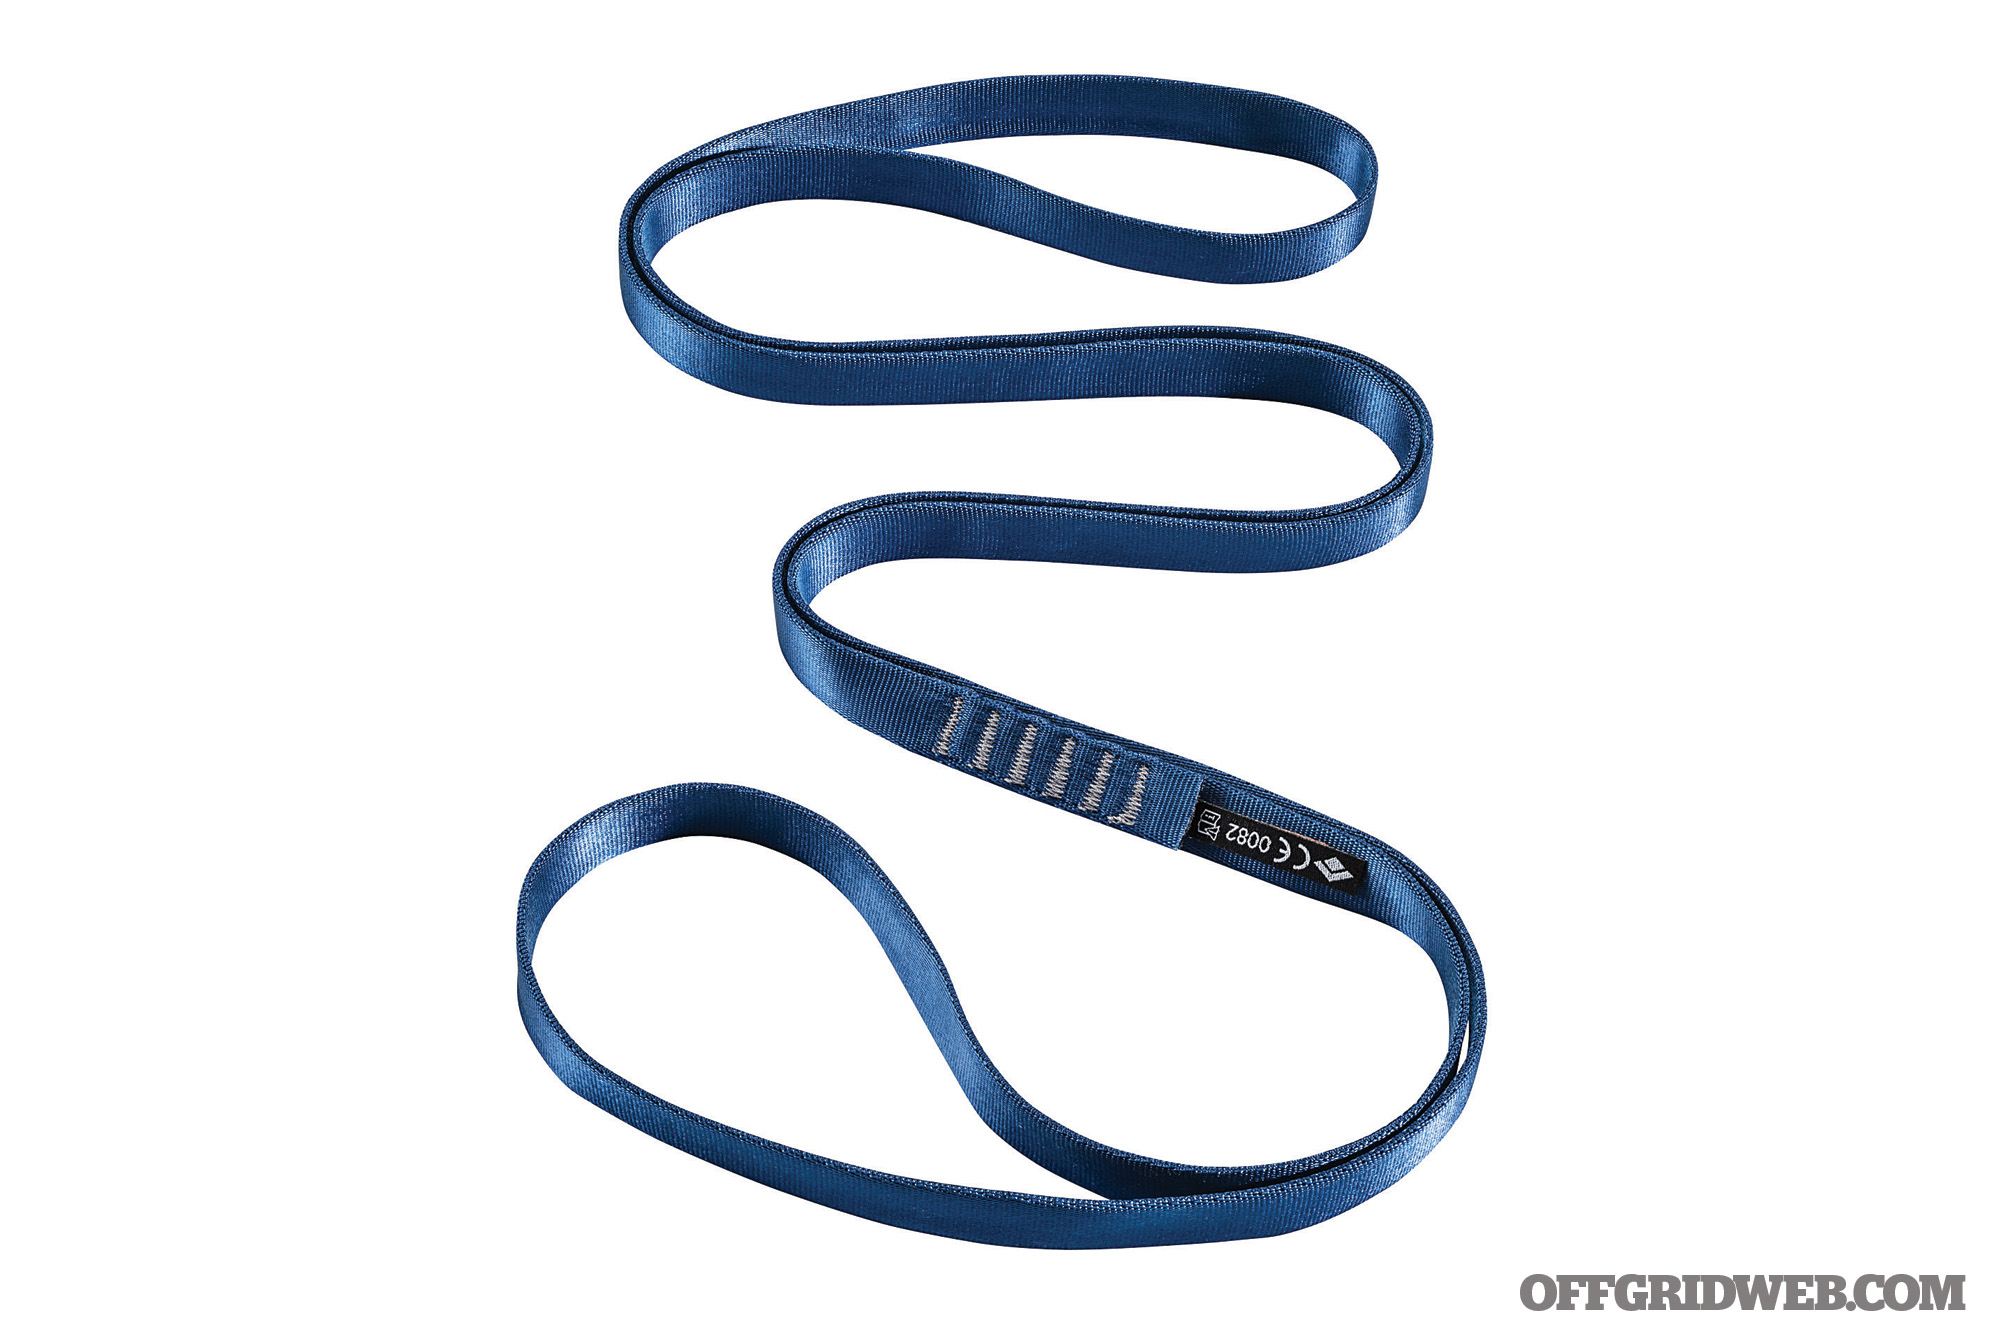
Edelrid Aramid Core Sling, 120cm
Weight
1.79 ounces
MBS
23kN
PRICE
$25
URL
www.edelrid.de/en/sports/runner/aramid-cord-sling-6mm.html
Notes: The Aramid Core Sling is one of the most durable slings I’ve ever used. It has a polyamide sheath with an aramid core, giving it a perfect combination of strength and abrasion resistance. It does tend to be fairly stiff when brand new and sometimes it gets in the way. Either way, once you’ve used it a couple times, it handles great.
Black Diamond 18mm Nylon Runner, 120cm
Weight
2.3 ounces
MBS
22kN
Price
$9
URL
www.blackdiamondequipment.com/en/18-mm-nylon-runner-BD380025_cfg.html
Notes: I typically use the 18mm Nylon Runner for general use, when I don’t quite need the abrasion resistance of the Aramid Core Sling but still want the ease of a 120cm sling.
Method of Carry
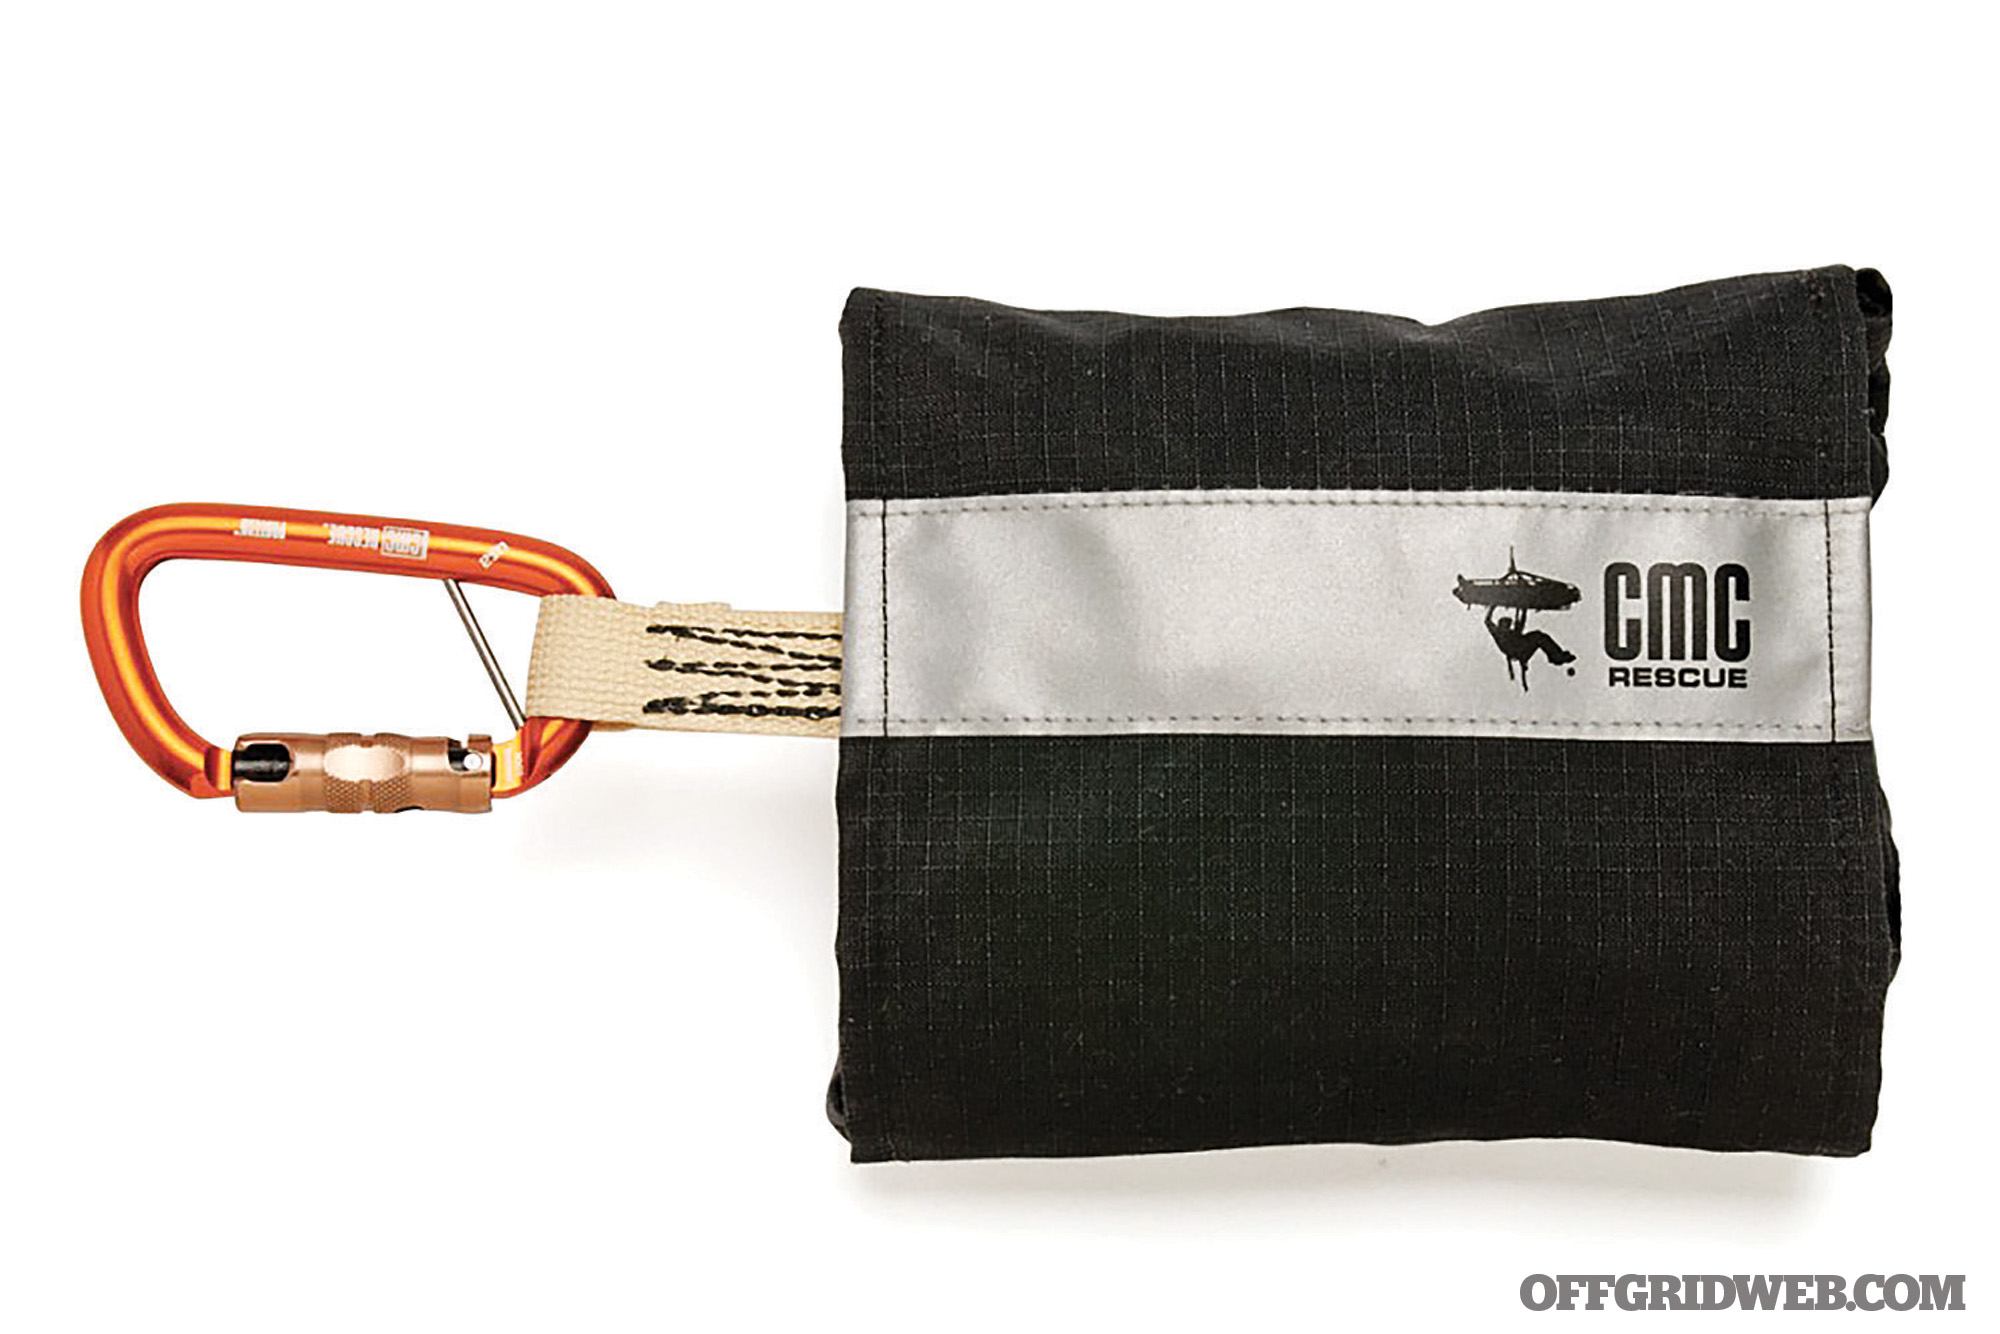
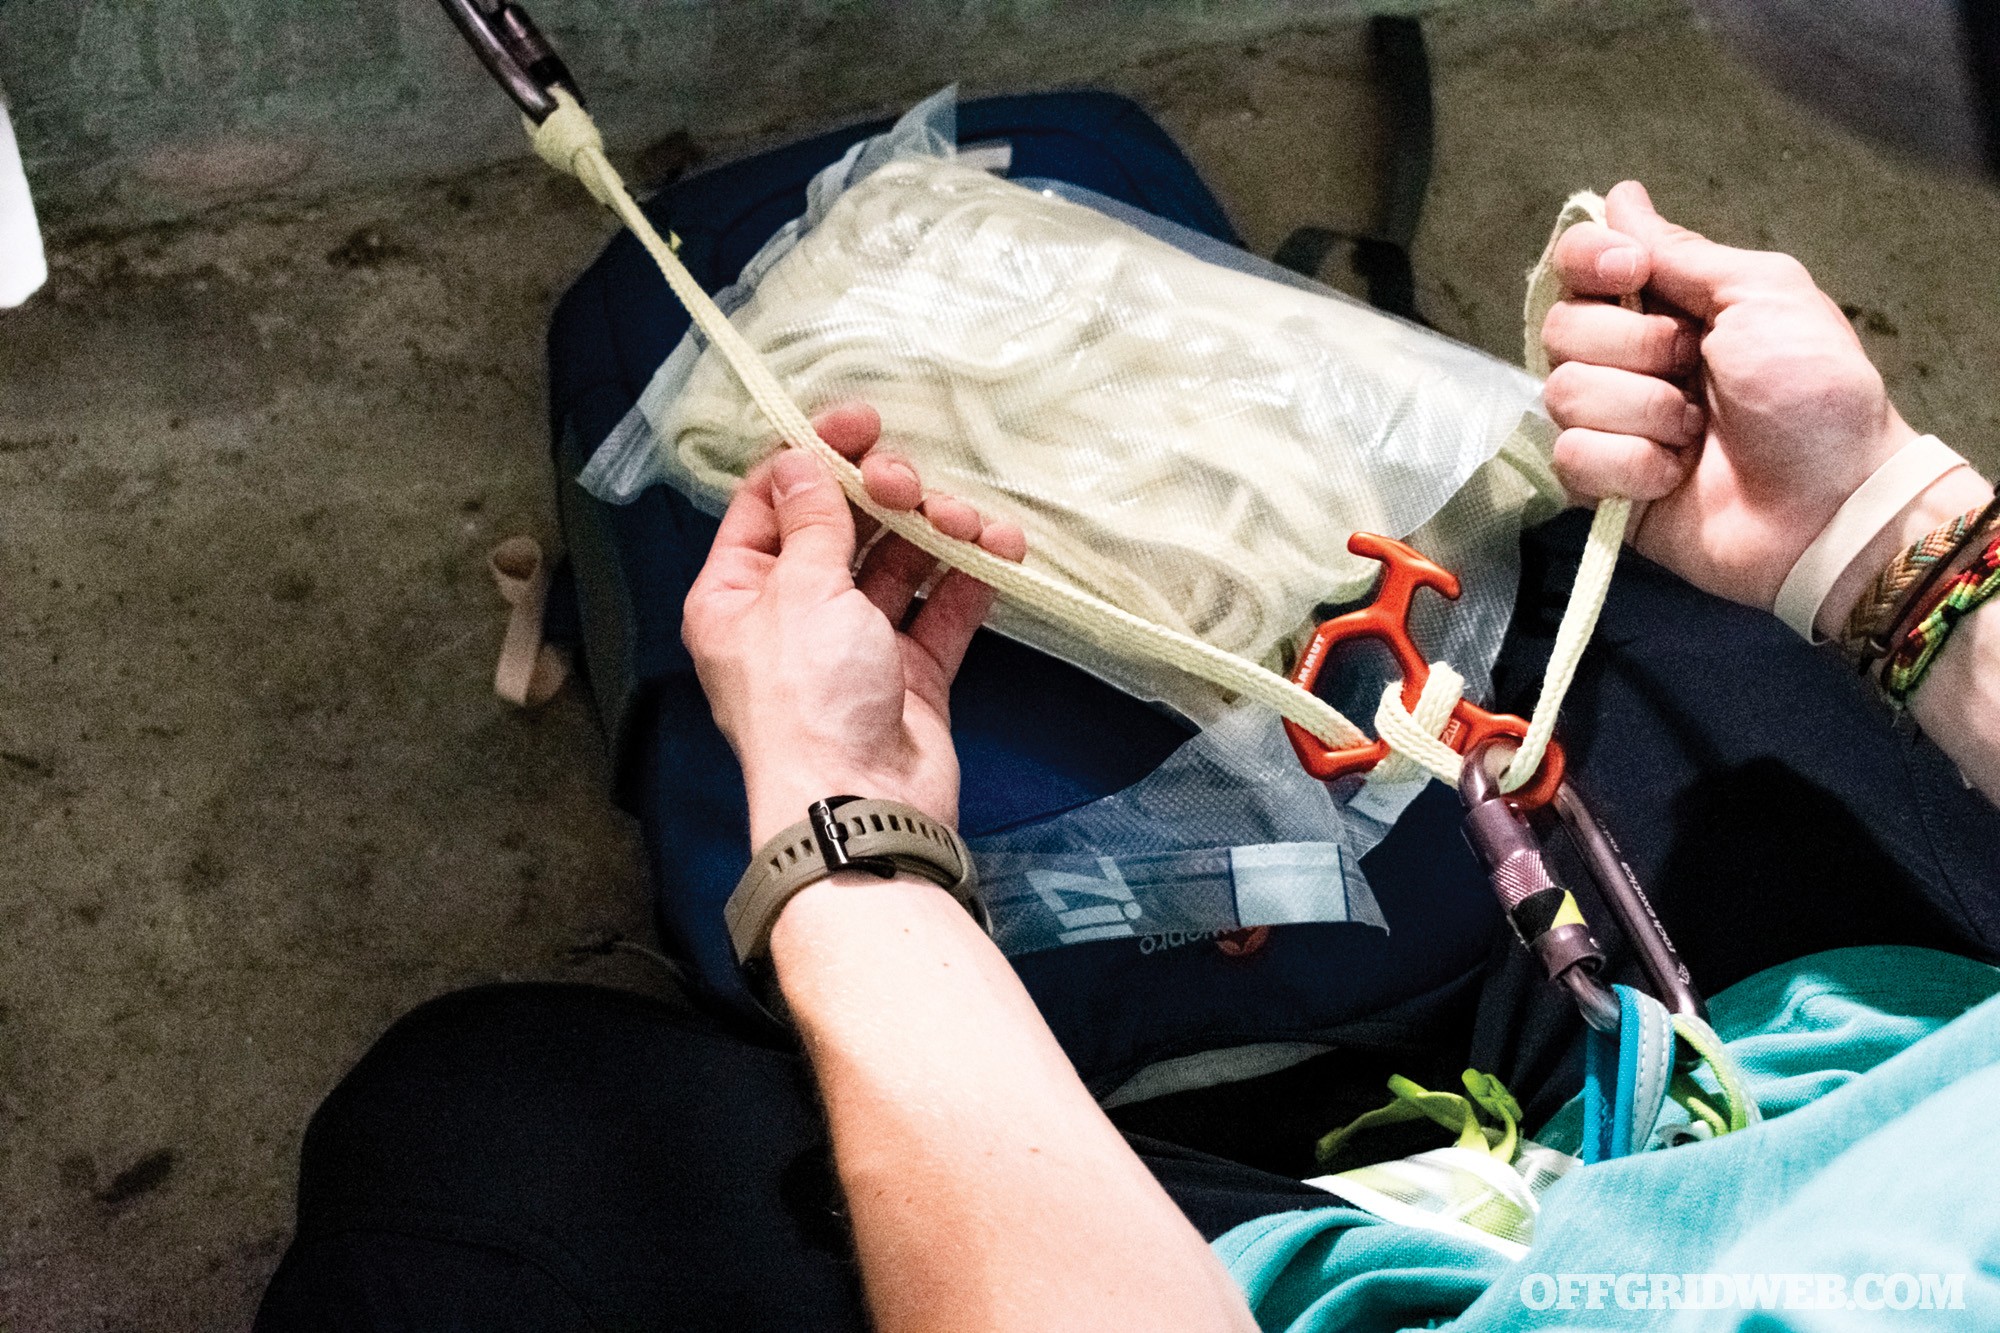
This is probably the most important aspect to a bail-out kit for the civilian population because, let’s be honest, if it’s not easy to carry, you won’t actually carry it. Transporting a bail-out kit heavily depends on what you typically carry every day. For those who carry a backpack, it’s pretty easy. When size and weight are an issue, such as if you usually roll with a messenger bag or a briefcase type of bag, a vacuum-sealed version with more specific equipment requirements might have to do.
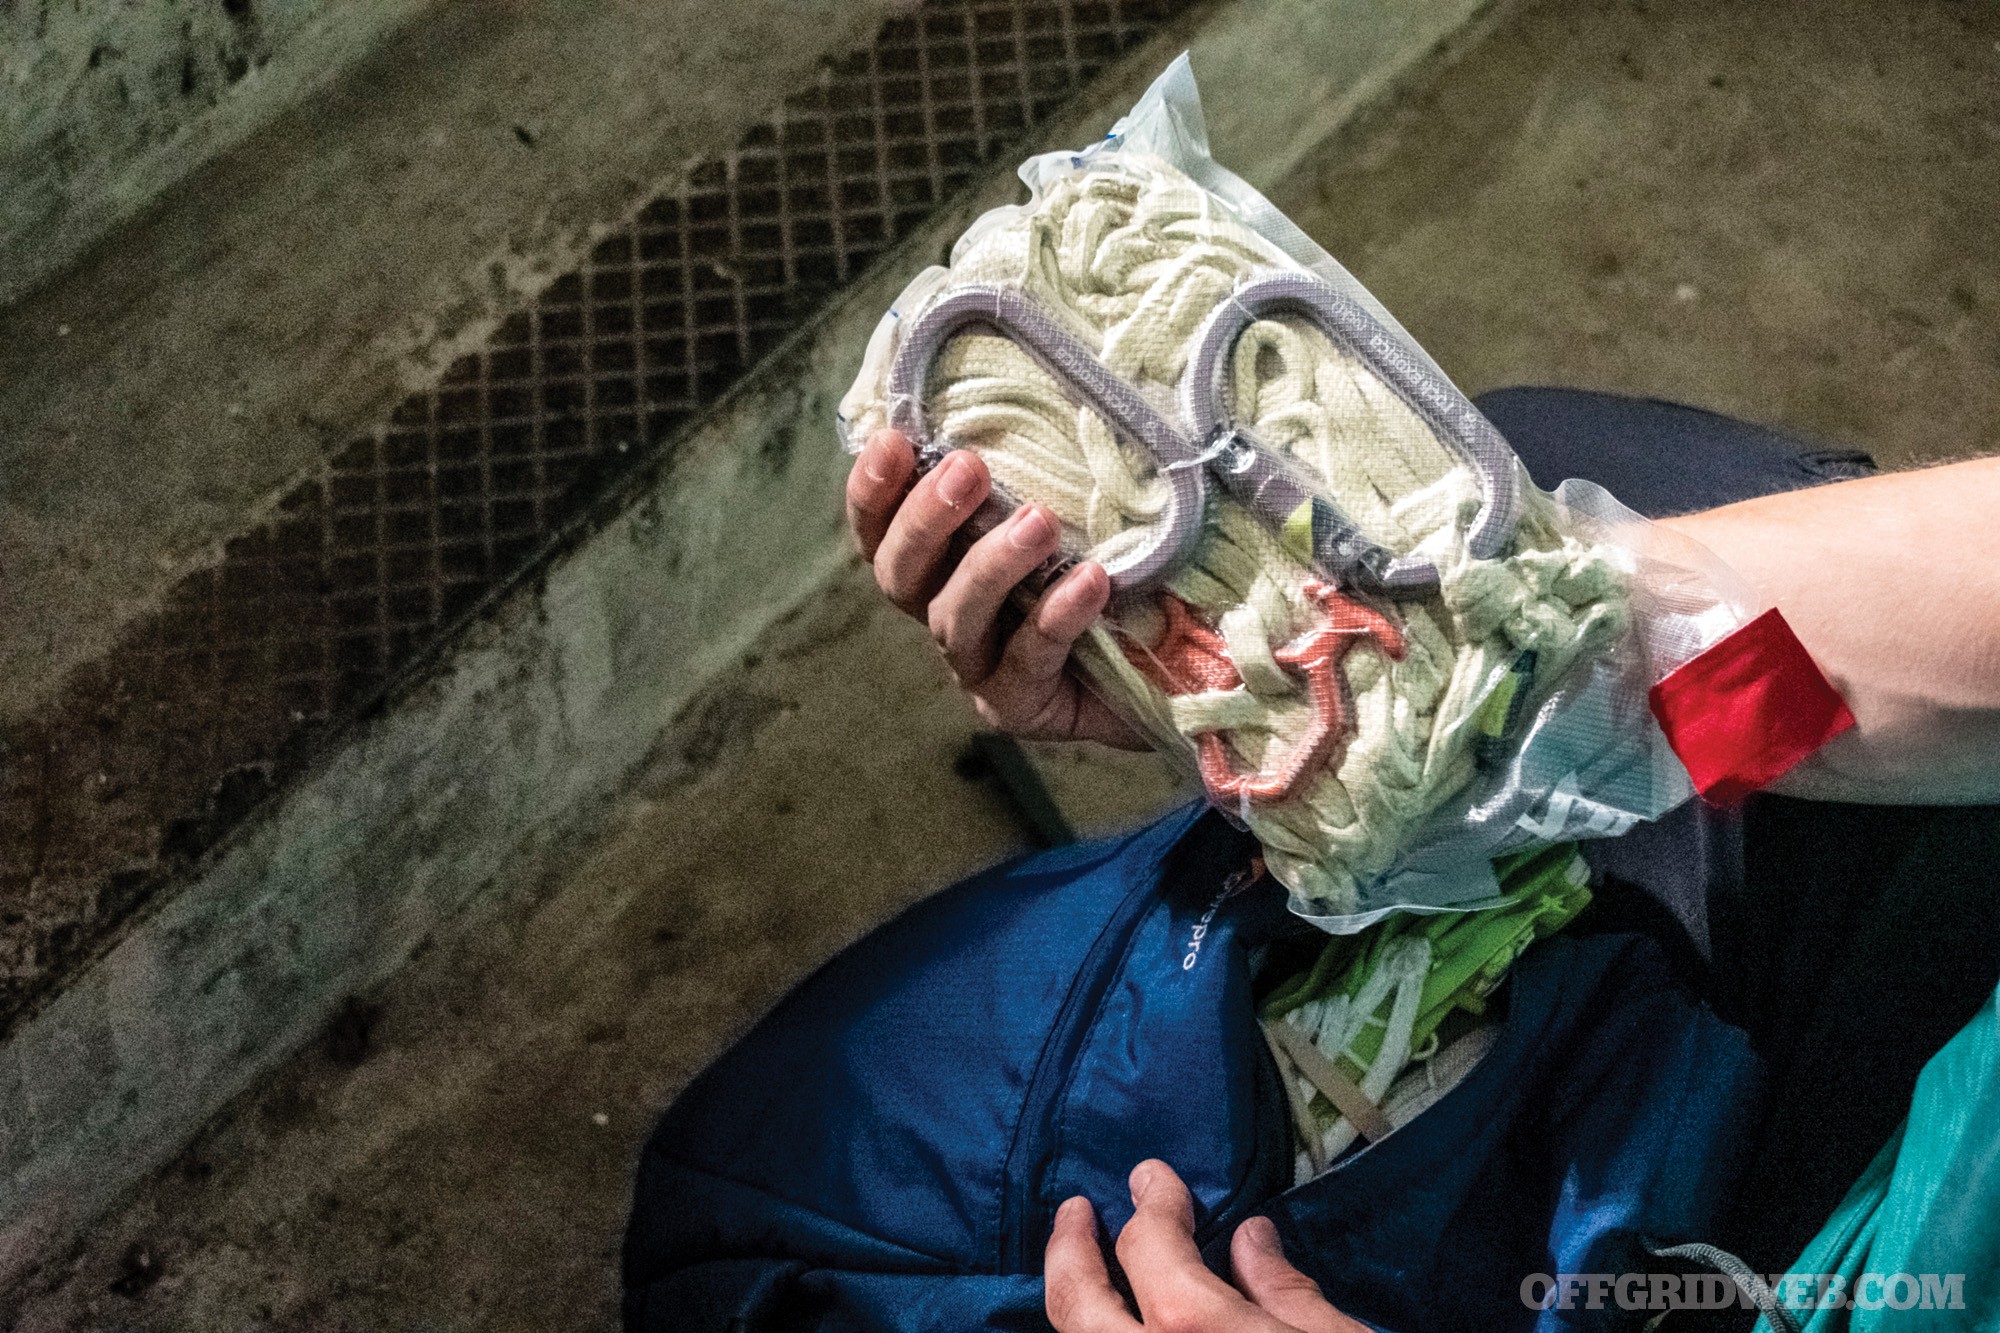
You also have to consider how easily and quickly you can access and utilize is the kit. For most applications in the civilian environment, a bail-out will be used in case of emergency and then left on scene, still hanging from the building. In that case, a “one and done” type of packaging like a vacuum-sealed bag works and is even preferable over a reusable bag due to space savings and ease of transportation. Any of the kits listed earlier can be removed from their bags and packed in any of the options below, once you know what you need.
Vacuum Sealed
Contents
- 1x 75-foot Sterling RIT 900
- 2x Rock Exotica RockO, Autolocking Carabiners
- 1x Mammut NanoEight
- 1x Edelrid Aramid Core Sling, 120cm
- 1x Edelrid Loopo Lite
Notes: I personally use this method the most because of its space savings and ease of use. When using this method, I’m not worried about repacking my bail-out kit as I’ll use it and leave it. The main advantage is the versatility of the various shapes and sizes that you can form the kit. If you have an open spot in a backpack or messenger bag, you can make a kit specifically to fit the available space.
IFAK Bags
Contents
- 1x 50-foot Sterling Xtec
- 1x Rock Exotica RockO, Autolocking Carabiner
- 1x Rock Exotica Pirate, Autolocking Carabiner
- 1x Sterling F3
- 1x Edelrid Aramid Core Sling, 120cm
- 1x Edelrid Loopo Lite
Notes: This is easy to pack and still has some of the features of the vacuum-sealed option, such as the ease of carry and use. Individual First Aid Kit (IFAK) bags typically have some type of organizational aspect to them already, making it easier to pack and layout a small bail-out kit.
Stuff Sack
Contents
- 1x 50-foot Sterling RIT 900
- 1x Rock Exotica RockO, Autolocking Carabiner
- 1x Rock Exotica Pirate, Autolocking Carabiner
- 1x Black Diamond 18mm Nylon Runner
- 1x Edelrid Loopo Lite
Notes: Stuff sacks are pretty much the easy button for bail-out kits — if all else fails, shove it in a bag. Some key considerations when looking for a bag to stuff and stuffing it with stuff: I typically look for a wide opening, preferably without hook and loop, which sticks to the rope when you pack it and causes frustration. When packing the bag, remember that you want the contents to deploy smoothly, without knotting up or tangling. Properly flake out your rope before packing it, and then pack using small compact bights of rope.
Conclusion
Whatever combination of components you decide to put together or if you choose a pre-made kit to carry, the most important thing is your understanding of your gear and techniques. Like all things, you need training to become proficient, so the better you know your equipment, the better you can utilize it to the extent of its abilities.
About the Author
David McKay is an instructor at Element Rescue, where he specializes in teaching and developing improvised and dynamic vertical mobility techniques. This includes identifying specific problems within the response of search-and-rescue, law enforcement, and military organizations. Element Rescue is a training and strategic problem-solving company that focuses on improving system efficiency when it’s needed the most. David also works as a Research and Development Lab tech at Tactical Medical Solutions, where he works on user experience design as well as the manufacturing of various products. Tactical Medical Solutions is a developer and manufacturer of pre-hospital medical gear made for both the civilian and tactical environment.