In This Article
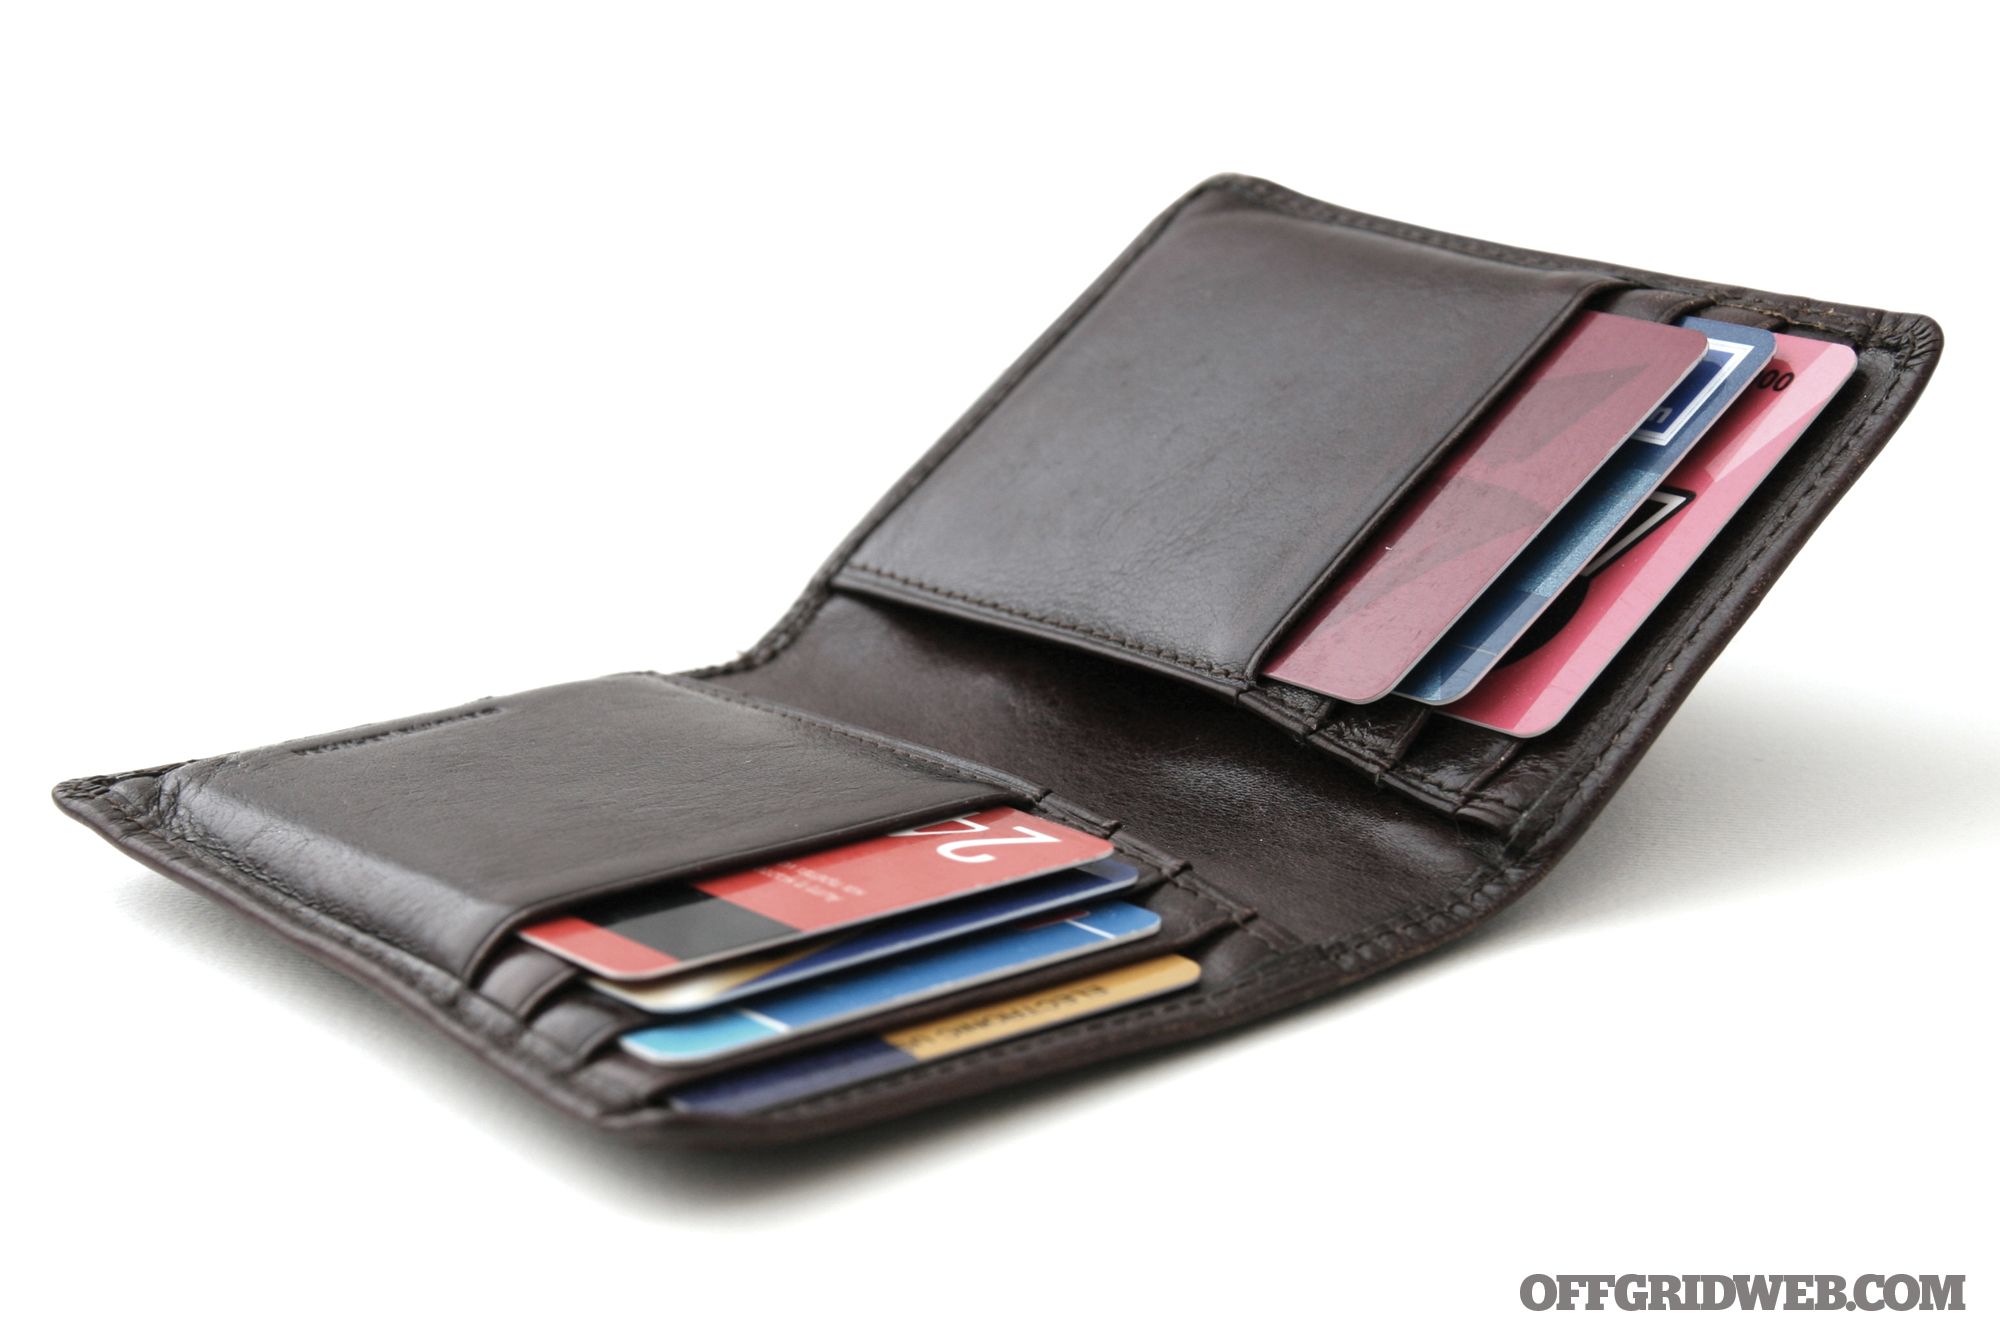
Every-day carry (EDC) gear is a subject we've discussed at length on many occasions — we even dedicated our recurring Pocket Preps column to this topic. Your EDC could be as simple as a wallet, cell phone, and keys, or it might contain numerous other tools and self-defense weapons.
However, most of these items are found in our waistband or pockets — there's also a case to be made for “Tier 2” EDC gear that's carried off-body in a bag or pack that goes everywhere you do. This gear is less comprehensive than a full get-home bag, but more so than what's usually found in a pocket dump.
In the following article, Cody Martin of Option Gray explains the value of a secondary EDC kit. We've shared the post in its entirety with his permission. For more of his articles, check out OptionGray.com.
In Part 1 of this series, we discussed the basics of building a Primary EDC kit, which is the gear you carry on your person, like a pocket knife, flashlight, phone, and wallet. We also provided a few gear combinations to help get your mind working in terms of how to pair items together. In this post, we are going to move beyond what you carry on you and focus on your Secondary EDC.
What is a “Secondary EDC?”
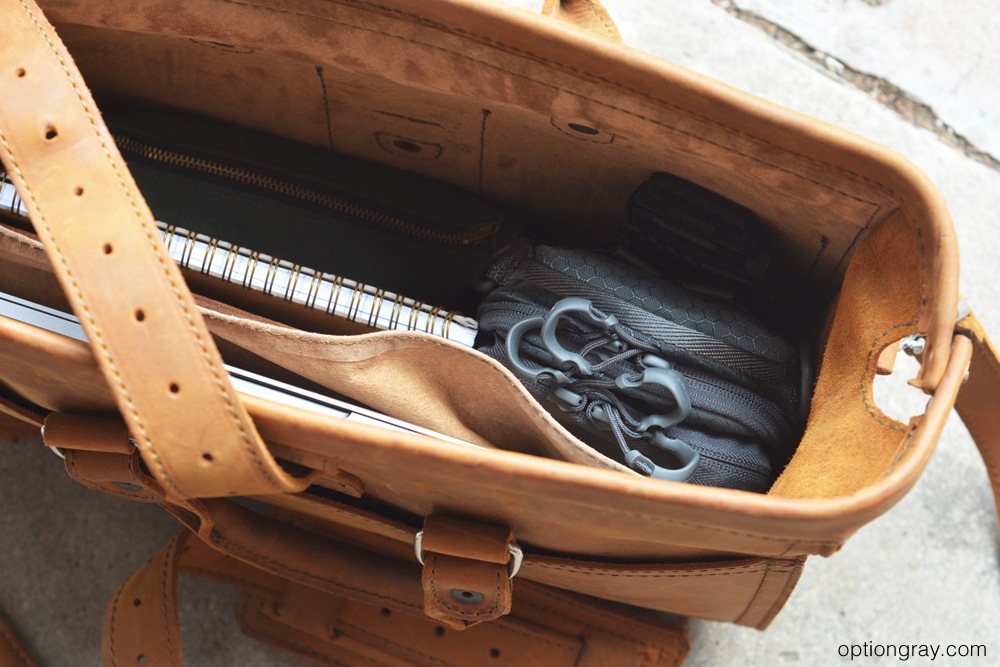
As a refresher of what we covered in The Three Tiers of Everyday Carry, your Secondary EDC is gear that is carried in a separate bag or container but is still with you as you go about day-to-day life. It can be carried in a backpack, briefcase, organizer, purse or a multitude of other methods. It is meant to supplement your Primary EDC in a way that expands your ability to handle a variety of things that may pop up during your day.
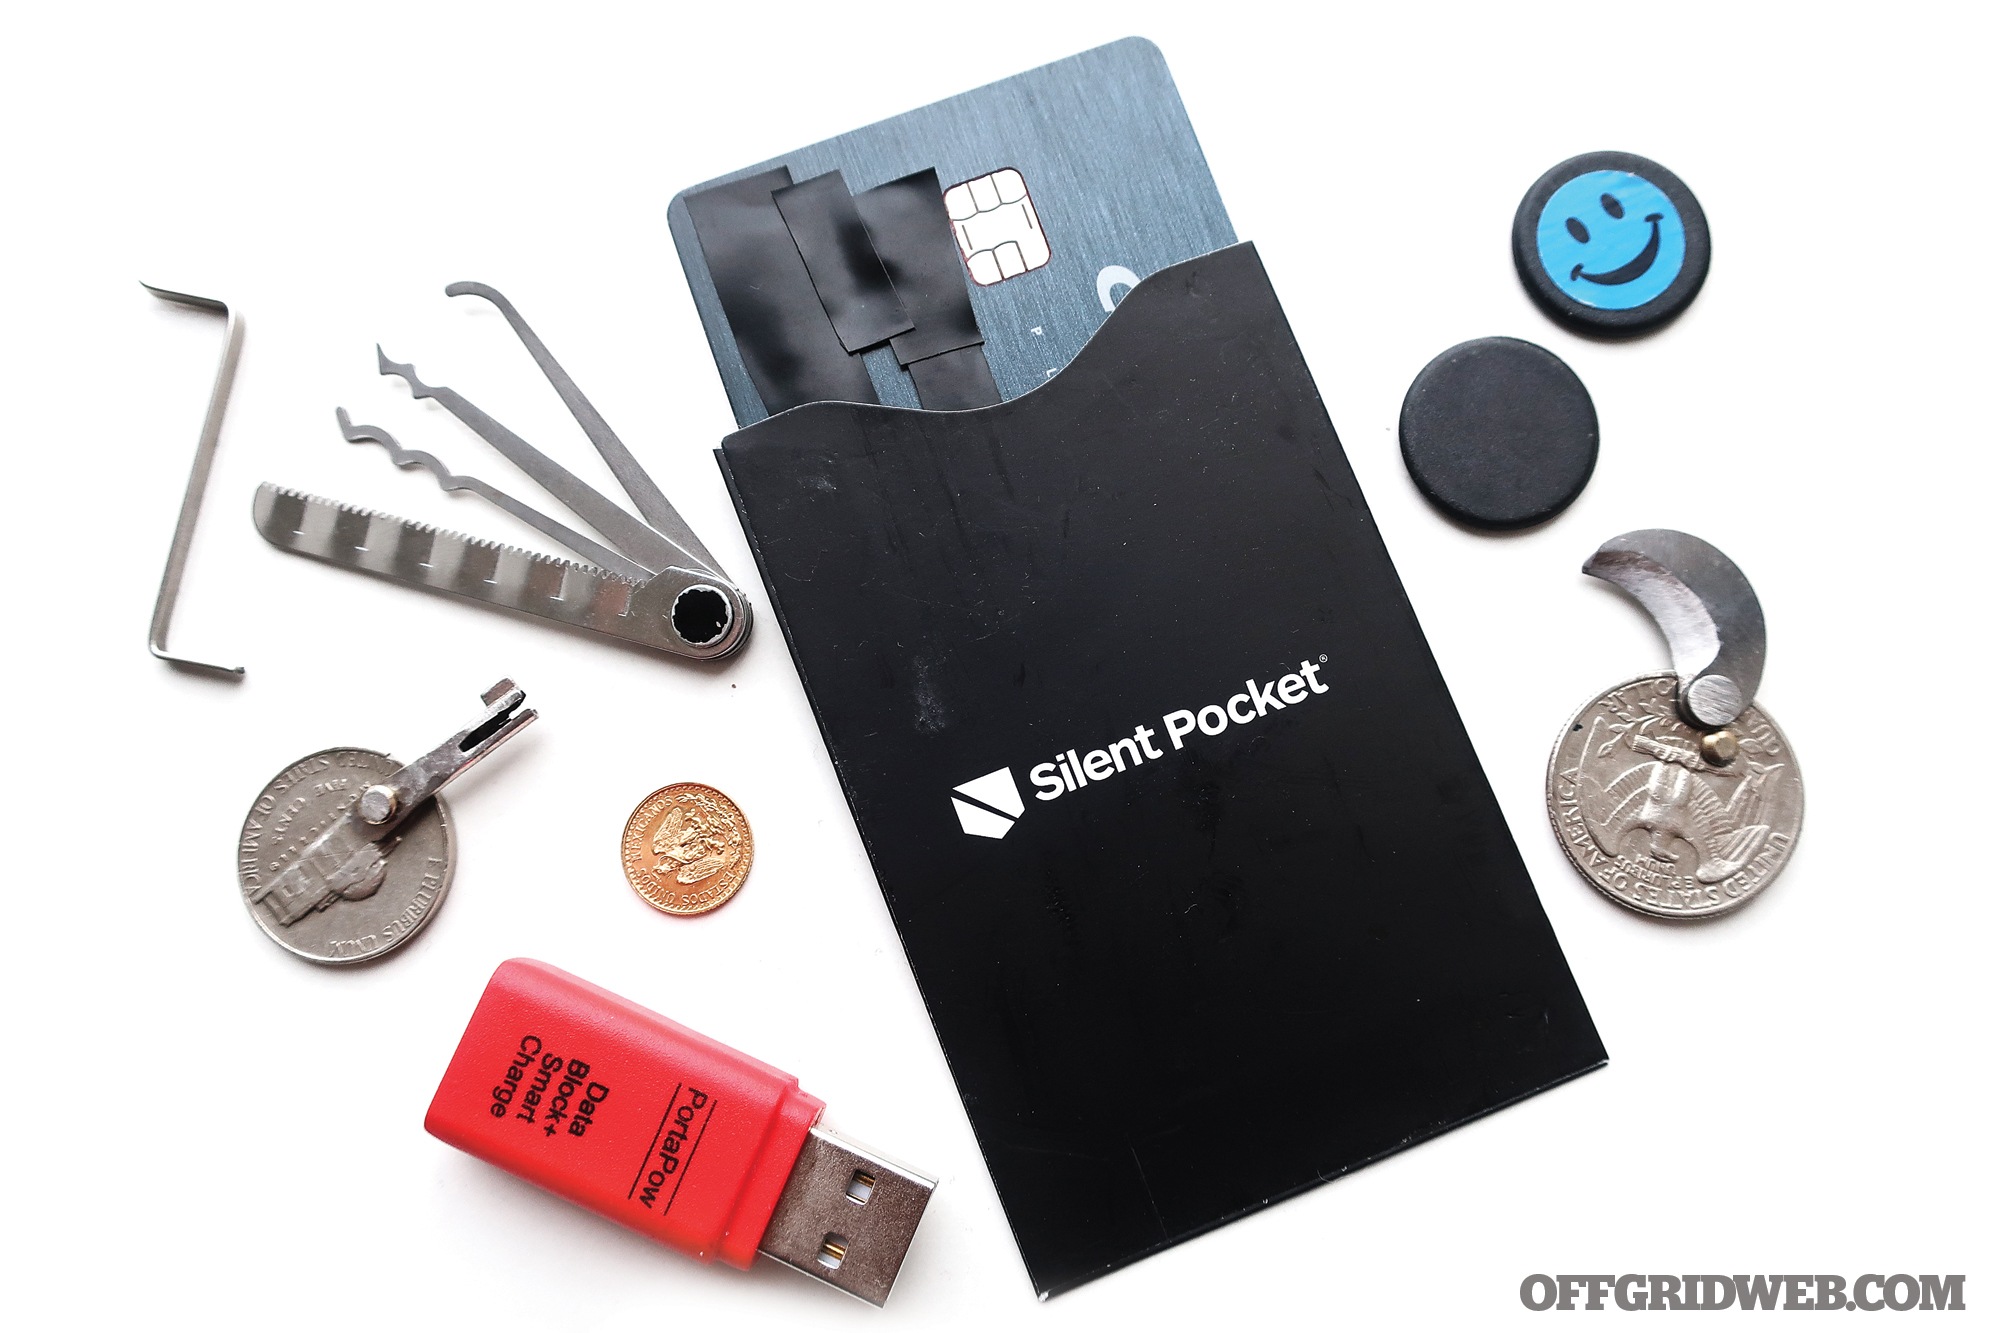
A Secondary EDC provides us the opportunity to expand our medical capabilities, carry additional tools, possibly spare ammo, basic survival gear, emergency food and extra cash to list a few.
Secondary EDC Items
With that in mind, let’s take a look at a few “categories” of gear you may want to consider for your Secondary EDC Kit.
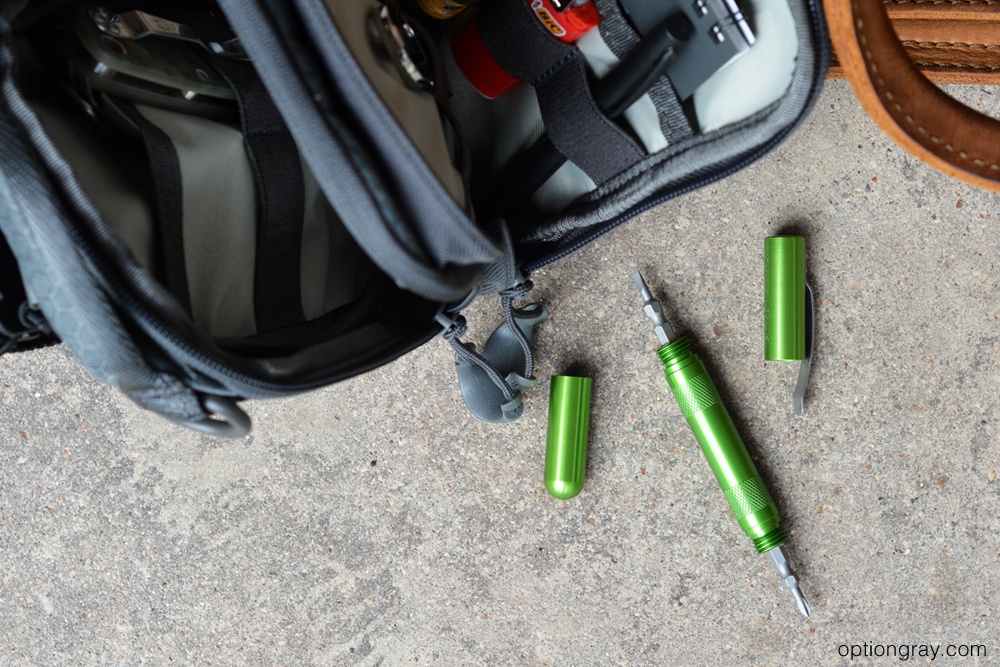
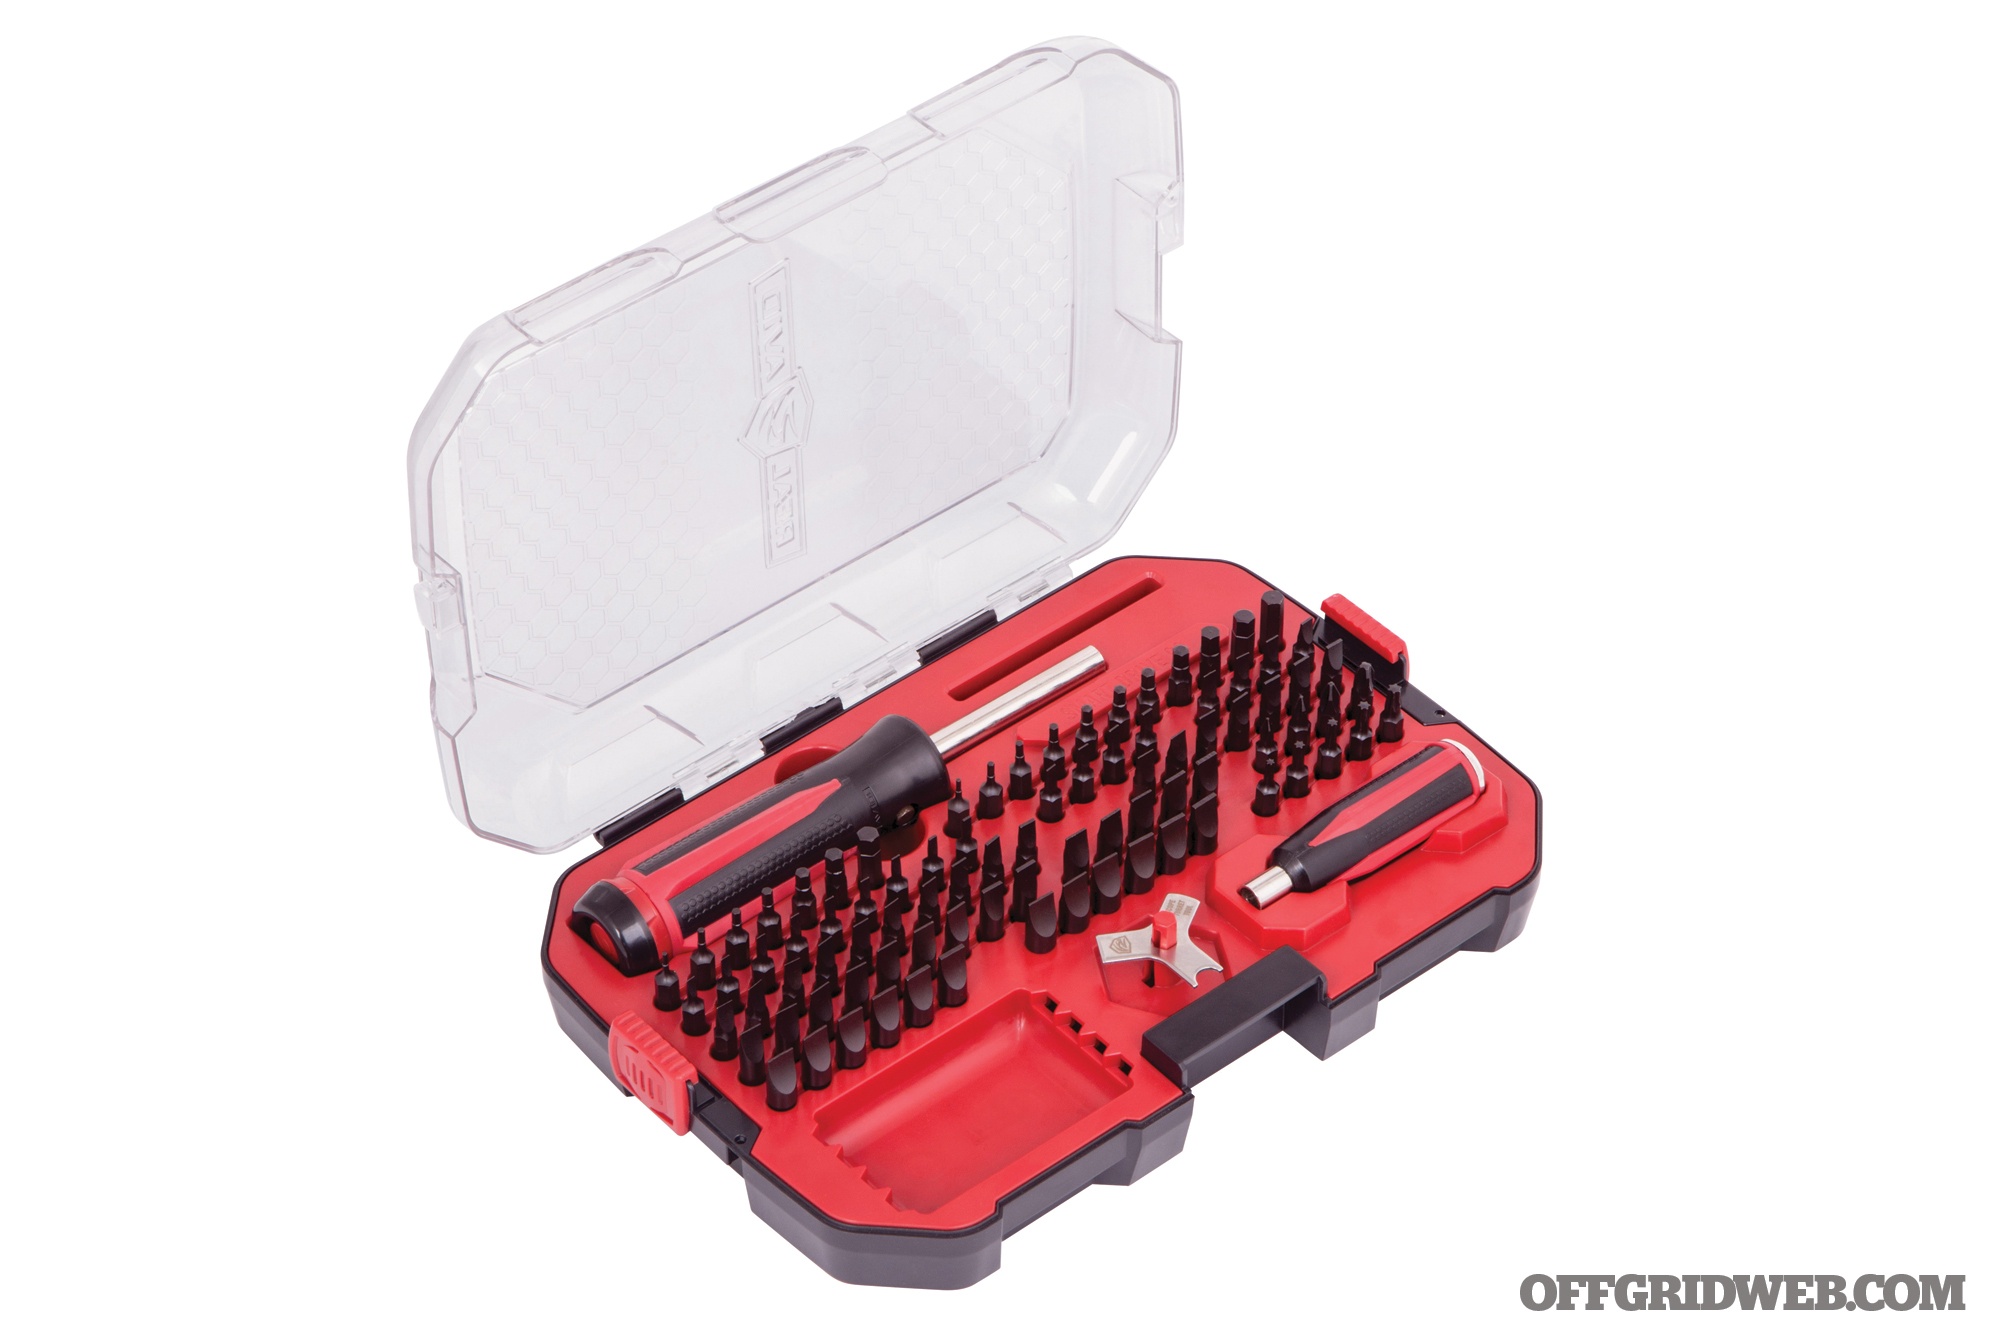
Pictured: CountyComm 1×4 Pocket Screwdriver
Multi-tool
Multi-tools should have their place in every EDC. No matter what style you choose, make sure it serves your needs for what you may or may not be doing. Here are a few types:
- Multi-use multi-tool
- Leatherman-style
- Swiss Army-style
- One-piece multi-tool (OPMT)
- Prybar
Personal preference in this category can range from a true multi-tool to any other solution. What is great about a multi-tool is that it can be used in a ton of different scenarios and is compact in terms of capabilities. Other types of multi-tools such as a prybar have their uses, but they can tend to be more specific or limited by their very nature. Pick the one that compliments you the best.
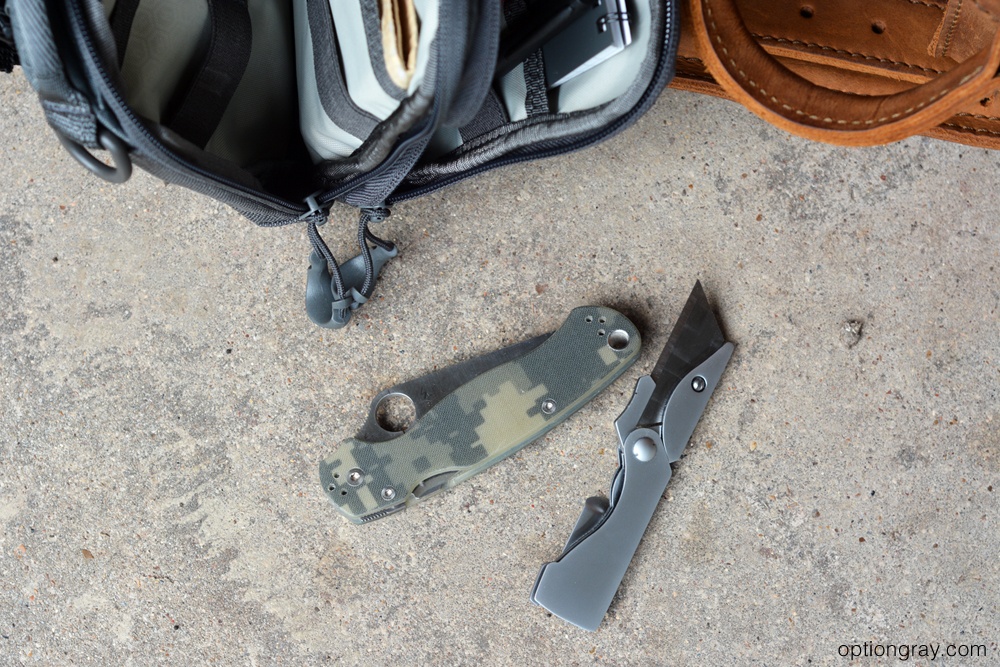
Pictured: Spyderco Para Military and Gerber EAB
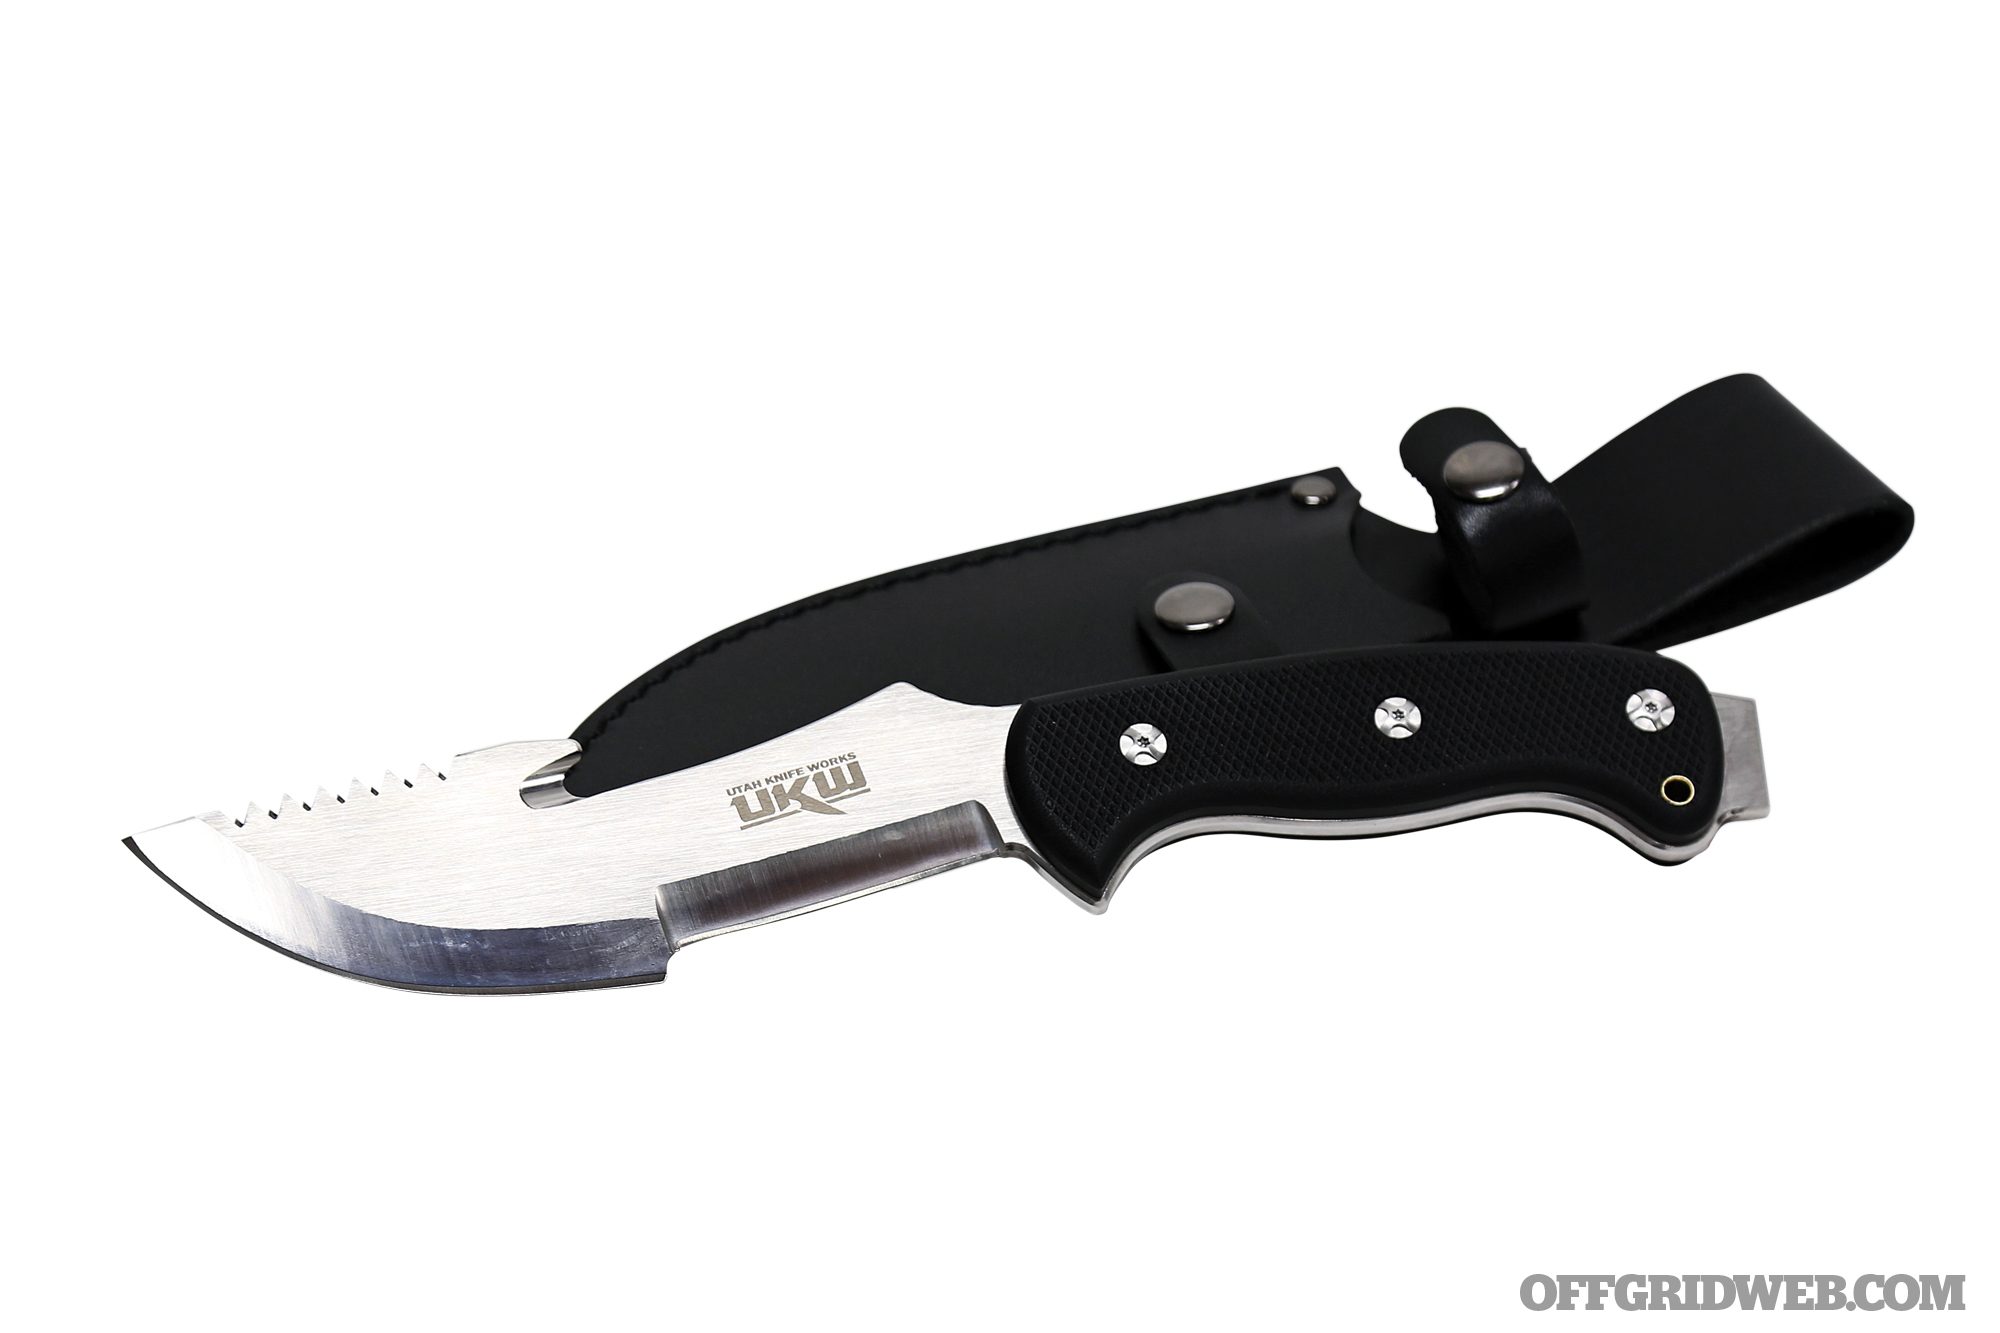
Knife
What can we say? A good knife is one of those things that someone shouldn’t be without.
But, what’s better than one good knife? Two good knives. Why?
- You carry a small folder for your Primary EDC and want to carry something bigger, for tougher jobs
- Your primary blade is for self-defense and you want another blade for “work”
- You want a second knife available if you lose or misplace your primary blade
- You want a beater knife available for cutting open boxes or scraping work
- Or maybe, you just like knives …
No matter what your reason, your Secondary EDC is a great way to carry that extra blade. When you are adding another knife, take a minute to see how it compliments what you are already carrying. It’s all about expanding capabilities. Consider your need for a:
- Larger folder
- Fixed blade
- Bushcraft style knife
A knife is one of the most used tools in a Primary EDC kit, and having one in your Secondary EDC is always a good idea.

Pictured: Bic Mini and EXOTAC nanoSPARK
Fire-starter
This is another one of those items you never need until you need it. Are you going to use your fire-starter every day? Probably not. It all depends on what you do, where you live, etc. But, with compact, lightweight designs, it doesn’t make any sense to not have one. A fire-starter can be the difference in life or death if that rare scenario strikes.
There are many different options available:
- Plastic lighter: There are many steps to fire making: 1) spark –> 2) ember –> 3) full flame. A Bic Lighter jumps you all the way to Step 3. But, it does add mechanical functions to starting a fire, which can always fail. Plastic lighters don't work well in colder temperatures, as butane stops vaporizing and remains a liquid (at about 40F/4C)
- Refillable lighter: With many great options, such as the EXOTAC titanLIGHT or MARATAC, you can refill them and also keep the flint water-tight. This helps prevent evaporation, but just like a plastic lighter, the mechanical nature of the lighter leads to failure points
- Ferro rod: When struck, a ferro rod can spark as hot as 3000-5000 degrees Fahrenheit, which can ignite a dry pile of tinder quickly. It works even after being submerged in water but takes some practice to learn how to use it consistently. It also takes two hands.
- Sparker: A sparker is like a lighter, but with no fuel. So although it removes the worry about not having fuel or it evaporating, it does carry the same mechanical concerns as a lighter
- Matches: Kitchen matches, stormproof matches, strike anywhere matches, the freebie cardboard matches you pick up at the bar … there are many different kinds of matches you can carry. Matches are a great idea, especially with new technology allowing them to be almost impossible to extinguish, like with the UCO Titan Stormproof matches. You still need to store them in a dry place, so a match case is always a good idea.
- Tinder: Emergency tinder is invaluable, especially in bad weather
Fire is one of man's most basic needs. A fire-starter allows you to never be caught without it.
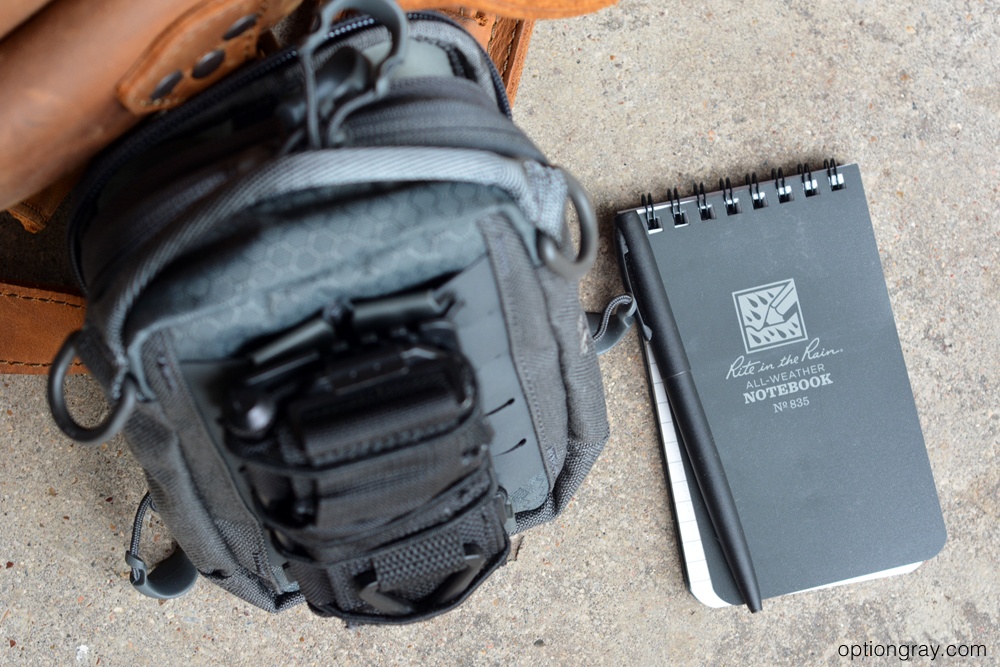
Pictured: Rite in the Rain spiral-top pocket notebook and clicker pen
Notebook with emergency contact information
Make sure you never have to rely on the battery of your smartphone. You may be able to get to a phone, but the “art” of memorizing phone numbers is a thing of the past. Check out our previous article on this very topic. Very few people can recite the numbers of all the important people in their lives. Do yourself a favor and keep a good notebook on hand with any emergency numbers you may need.
For paper, consider:
- Regular, plain-paper
- All-weather paper
- Spiral top
- Stapled spine
- Larger notebook for taking additional notes, journaling, etc.
For a writing utensil, consider:
- Lightweight plastic pen
- Screw top tactical pen
- Small and compact pen (e.g. Fisher Space Pen)
- Pencil
The ability to write something down is critical, especially when the digital world. Especially if you don't carry a pen and paper in your Primary EDC, having it in your Secondary EDC kit is critical.
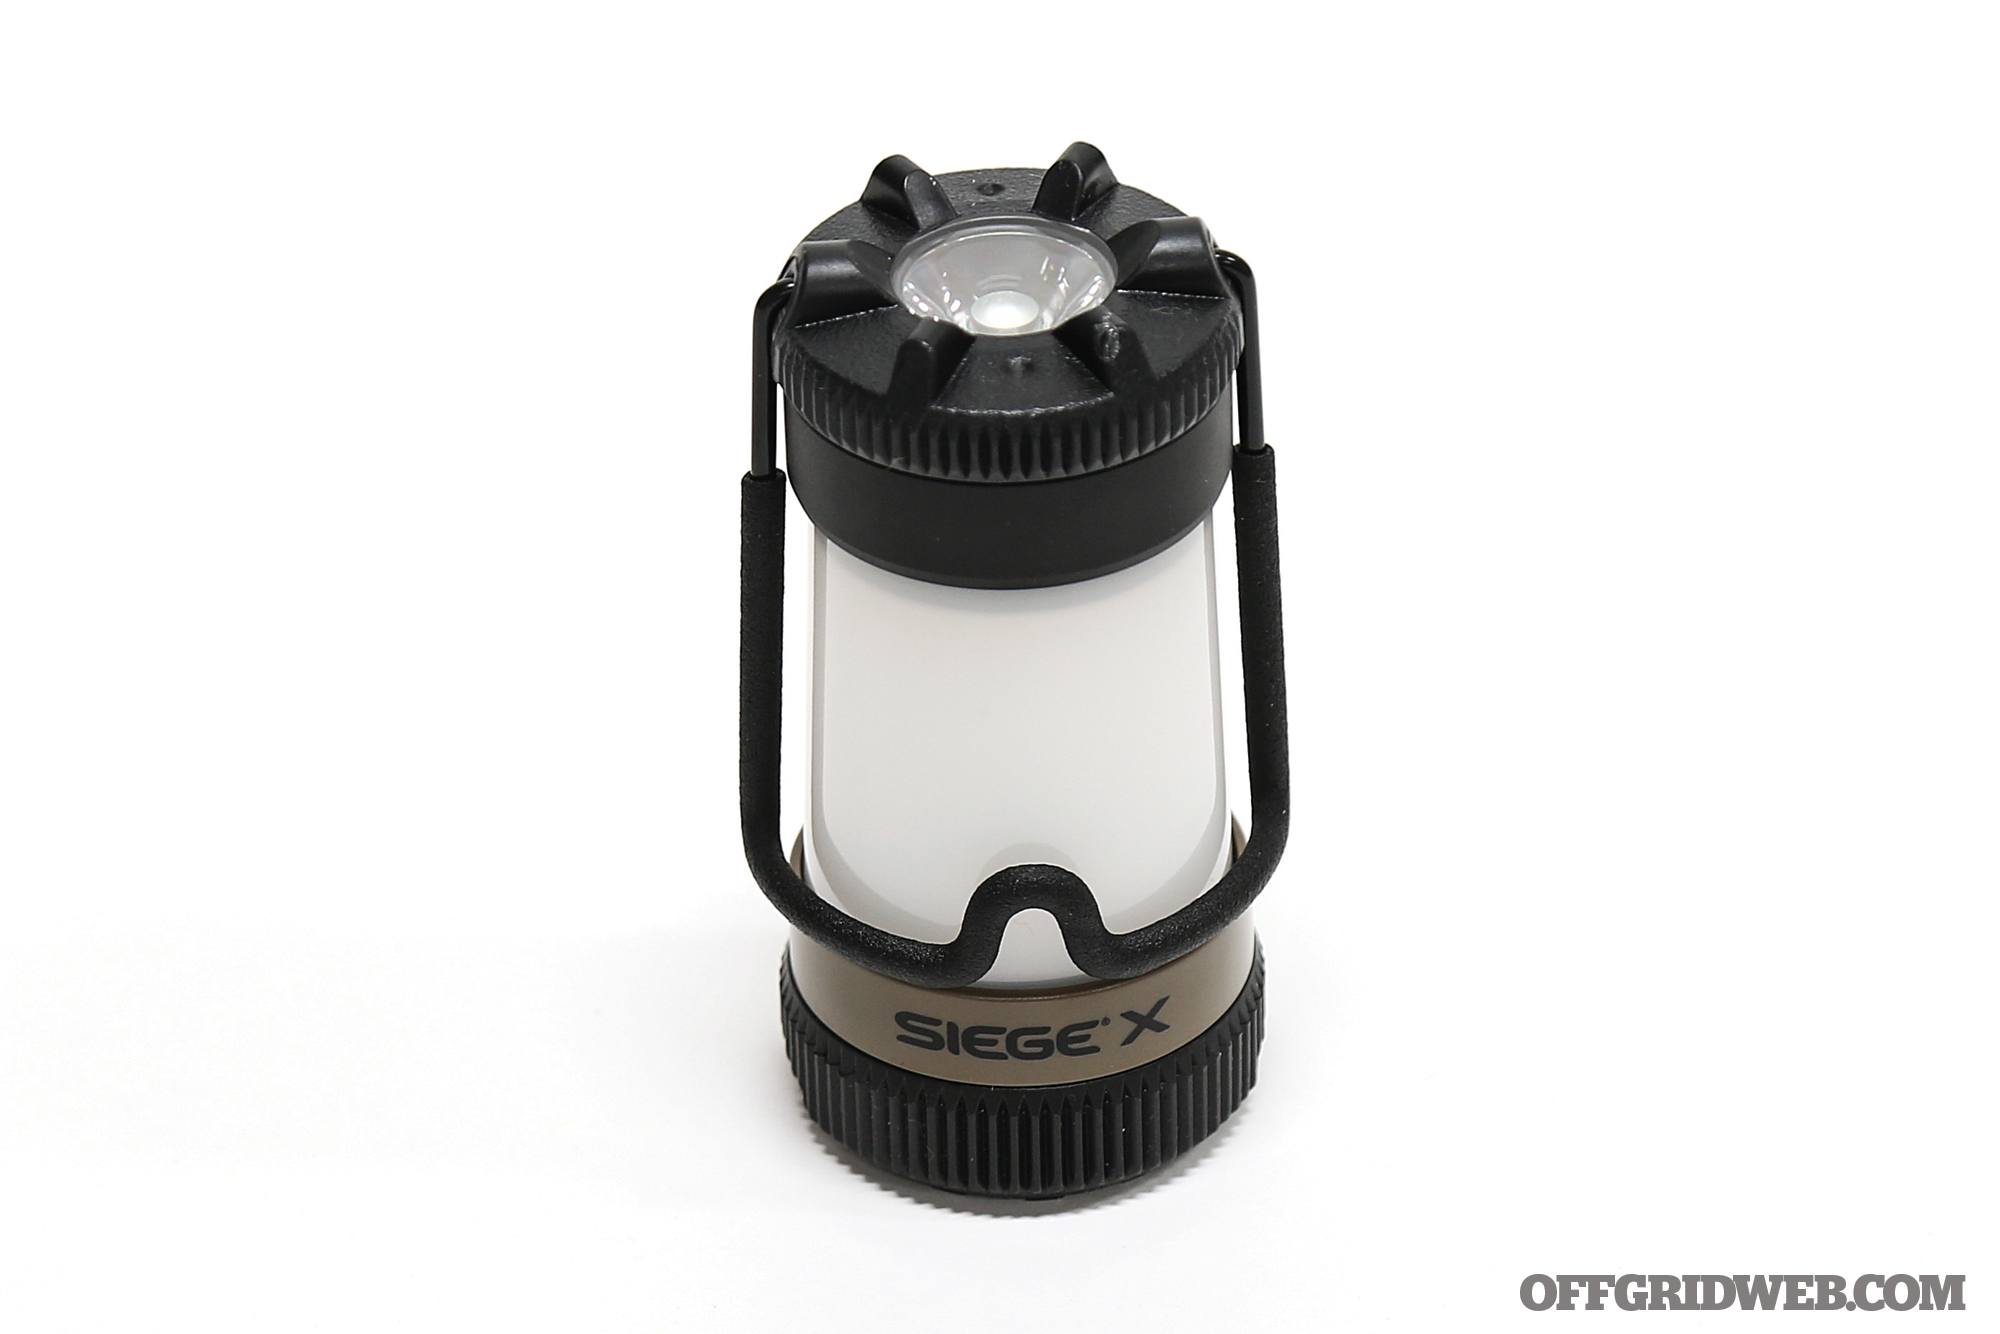
Flashlight
You never need one until you need one, which can be pretty often, believe it or not. Besides being able to hand everyday tasks such as finding your keys, etc., they can also be used as a form of self-defense. Interested in how to use a flashlight for self-defense? Check out this article for the basics.
When looking for the right flashlight for your Secondary EDC, consider:
- Size: How big do you need? What do you need to compliment your Primary EDC?
- Purpose: Where are you going? What do you plan to do? Is there a different purpose you may need a flashlight for?
- Battery life: For long-term storage of a flashlight in a Secondary EDC kit, consider keeping extra batteries on-hand or consider a flashlight that can be easily charged in your car, if you find yourself on-the-go.
Pictured: PHLster Flatpack tourniquet carrier with SOF-TT W
Medical
One of the most overlooked categories of everyday carry, if not the most overlooked, is medical. From simple scrapes, cuts, headaches and upset stomach to something as major as significant hemorrhage, why not be prepared? With the addition of very little weight, you can improve or potentially save a life.
Gear to consider adding to your Secondary EDC:
- Tourniquet
- Expanded First Aid Kit: Cuts, burns, stings, medical, and other day-to-day first aid can easily be tackled with a simple first aid kit
- Dental floss
- Tweezers: Bee stings, splinters, or doing any detail work
Whether you're putting a band-aid on your child's cut or saving someone's life after a horrific car accident, take the time to take an intentional approach to carry medical equipment.
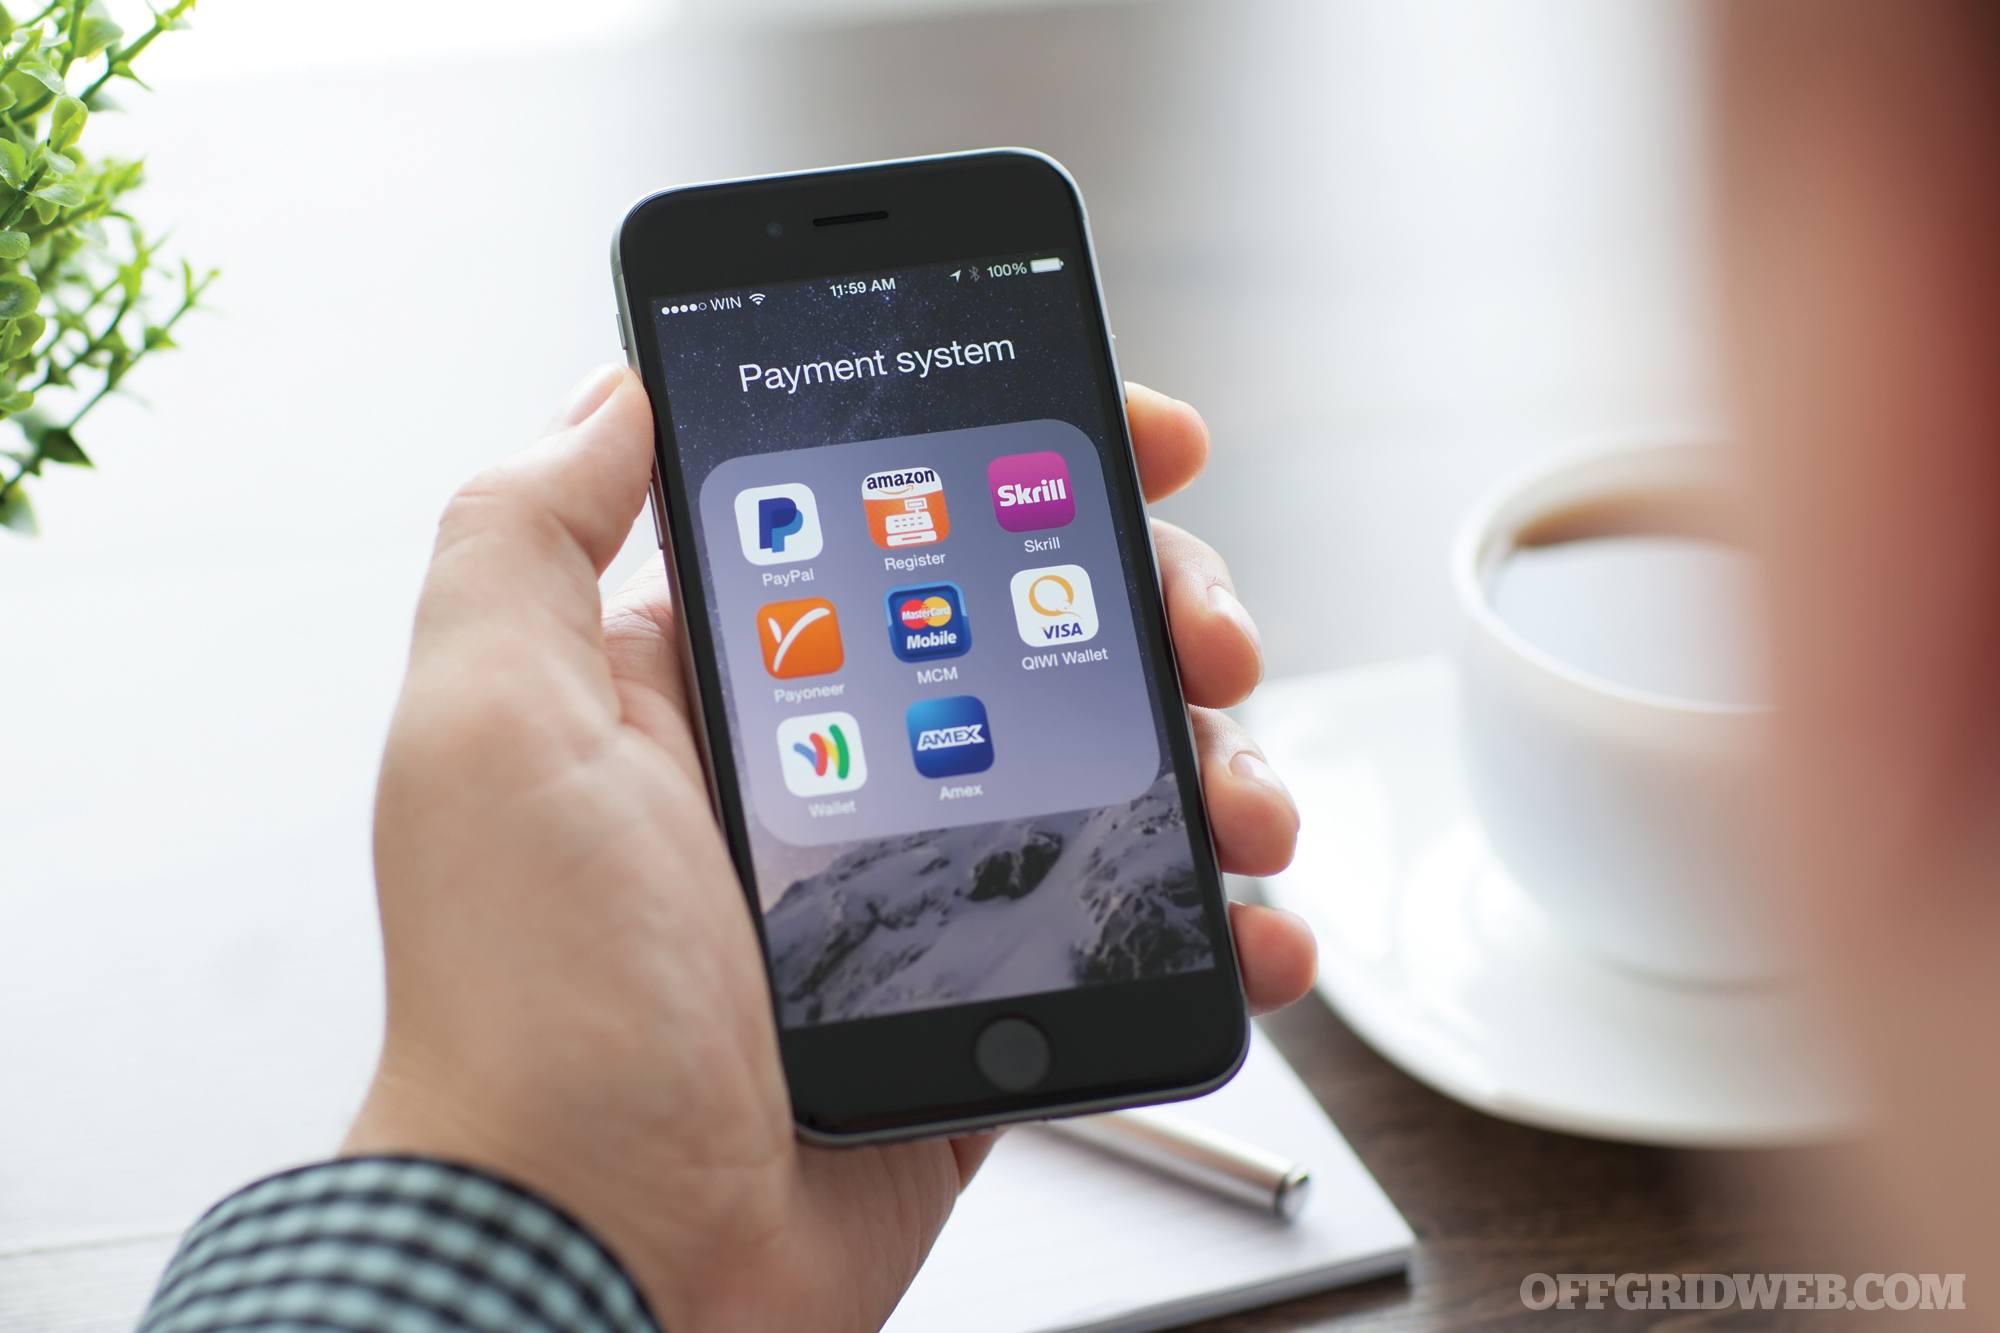
Charging cables
As much time as society spends on their electronic devices, charging cables have almost become mandatory. Make sure you have what you need to keep your gear up and running.
Especially if you rely on any electronic devices for communication (almost everyone does), don't count on getting access to a power source. During an emergency or crisis, you are not going to have the luxury of finding an open plug and then waiting for your phone to charge. Charging cables for laptops, work equipment, diabetes supplies, or other medical supplies you rely on is critical.
Having a backup USB power bank can save you if you're unexpected stranded or away from a power source.
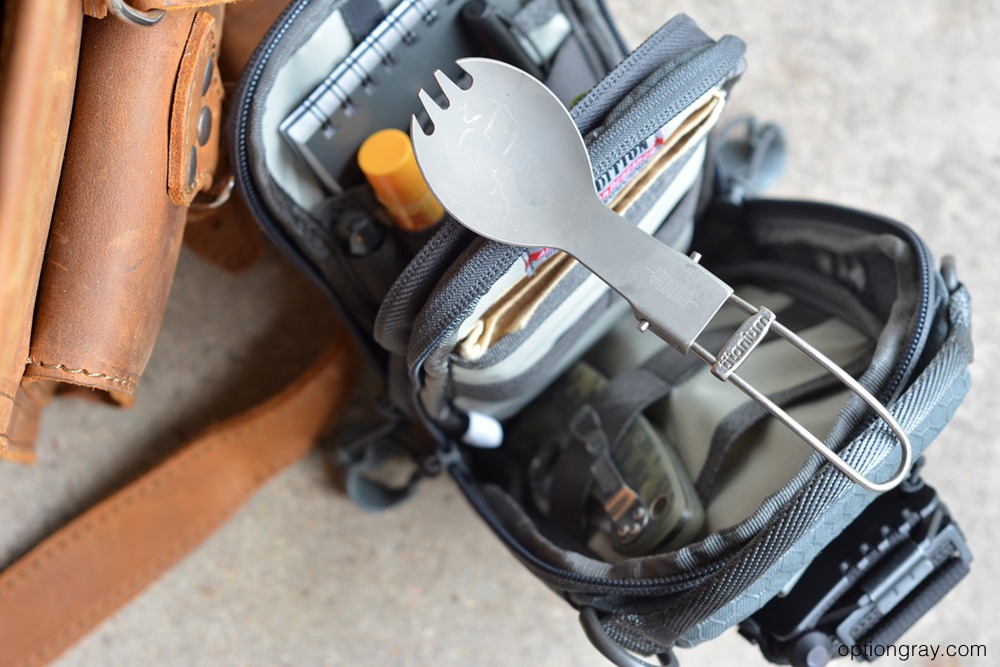
Pictured: Vargo titanium folding spork
Spork or other eating utensil
We've talked at length before about why you should consider a titanium folding spork as part of your EDC. They are lightweight, durable, TSA-friendly, compact, and utilitarian.
If a spork isn't your thing, consider another eating utensil. There are countless options, including plastic, titanium, even foldable models. The ability to eat is a critical human need. Make sure you have the gear to make that happen without going caveman.
Additional items
The best part of a well-thought, intentional Secondary EDC is that it is unique to you, your work, where you're going, where you're traveling to, etc.
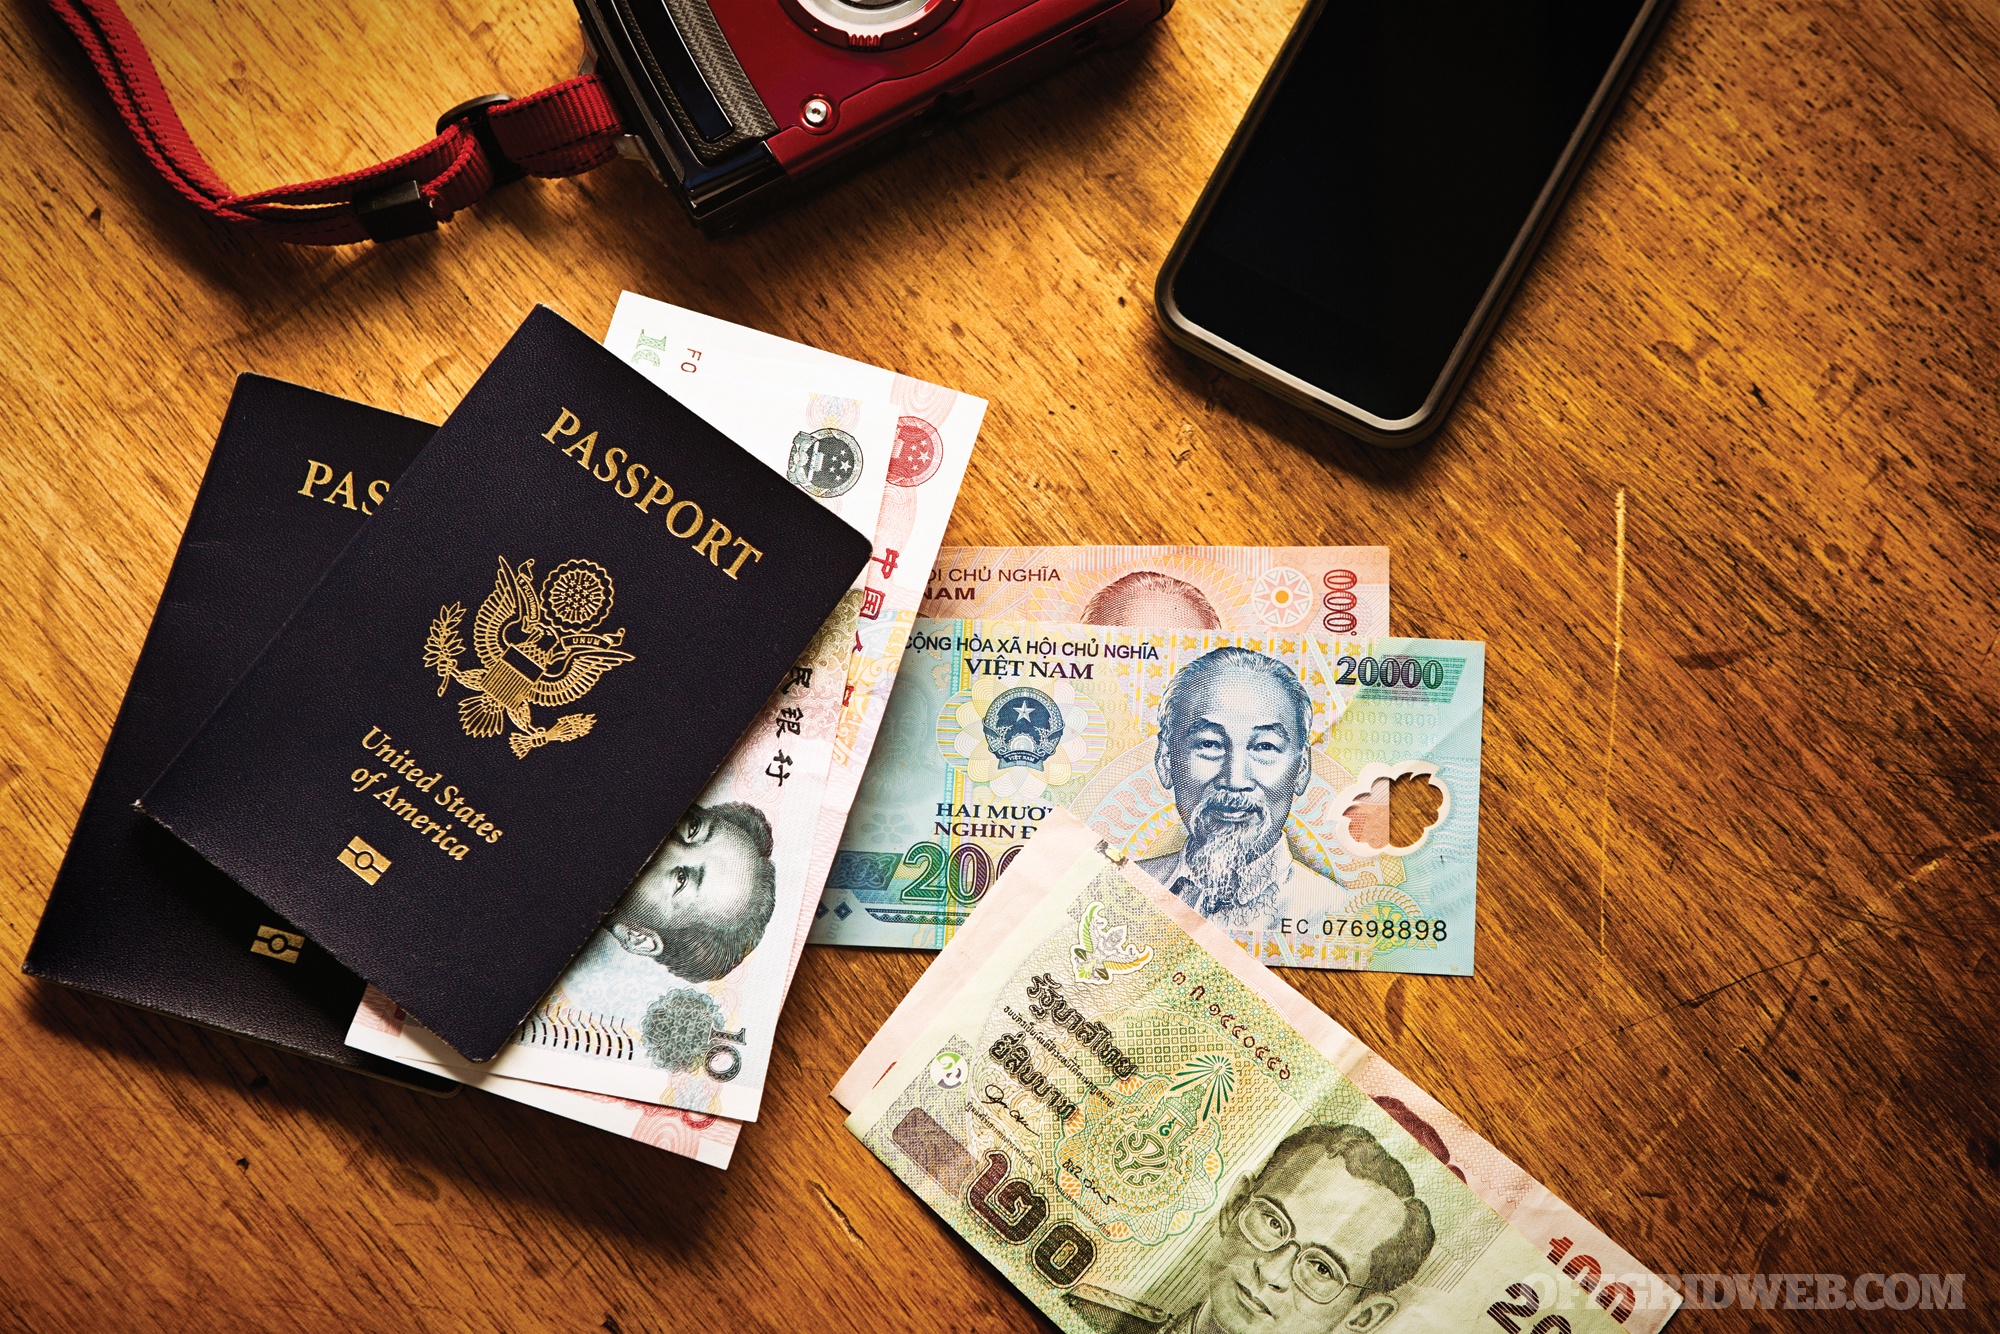
If you work in healthcare, consider adding back-ups of hygiene and work gear. If you travel a lot, consider adding additional TSA-friendly gear that allows you to function if you are without your luggage. If you commute via public transportation, consider adding gear that can help you get home safely in case of an accident, terrorist attack, etc.
Ideas include:
- Whistle
- Tweezers
- Mirror
- Snacks
- Space Blanket
- Paracord
- Lip balm
- Superglue
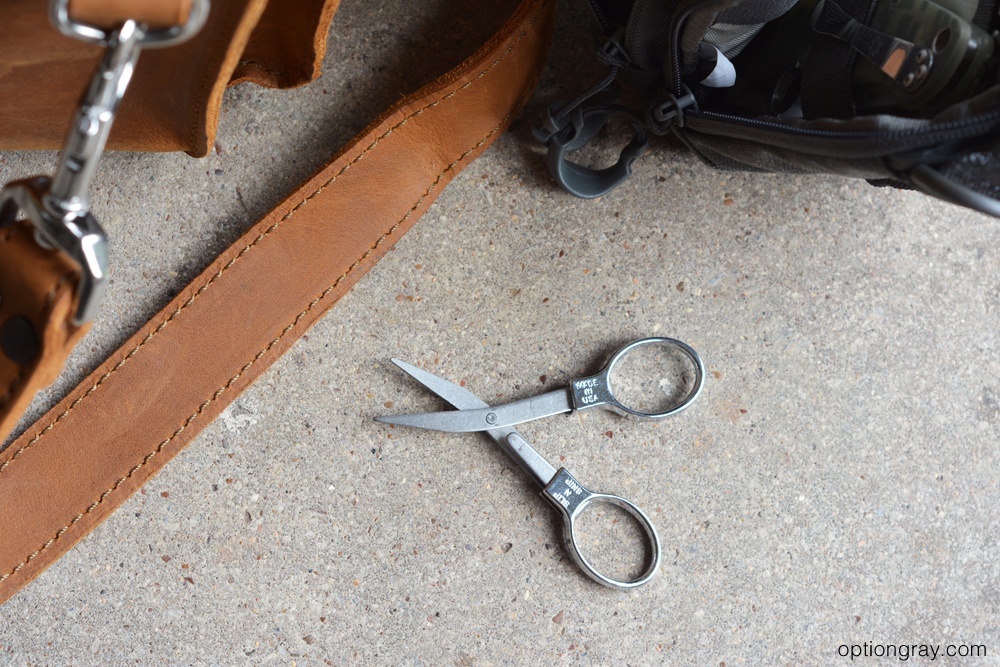
- Scissors
- Spare batteries
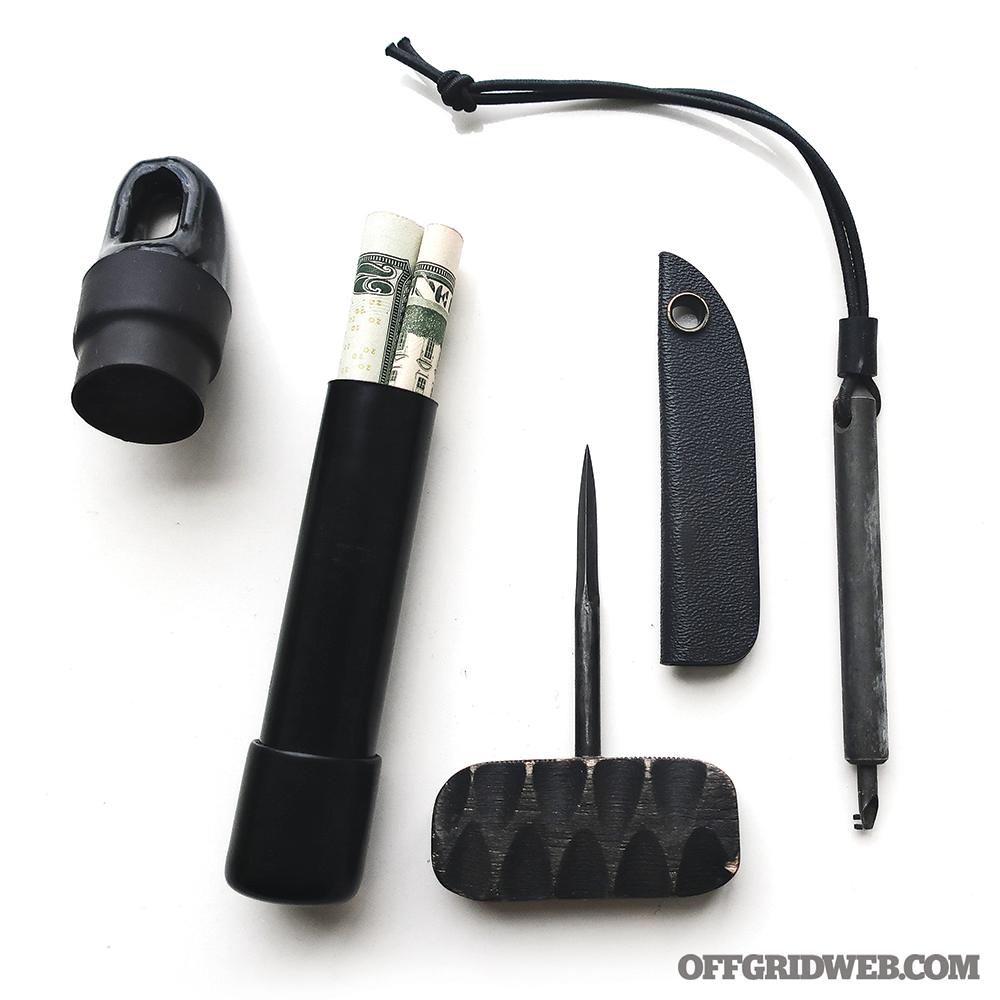
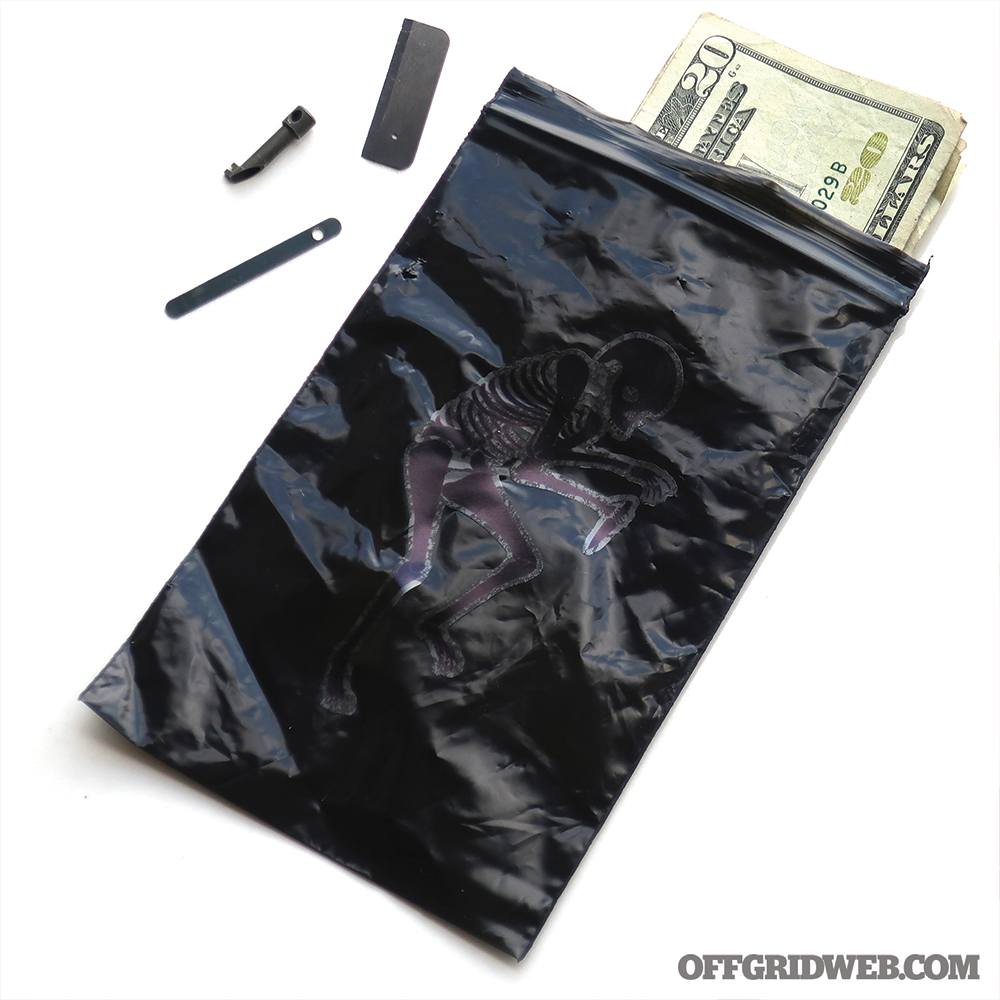
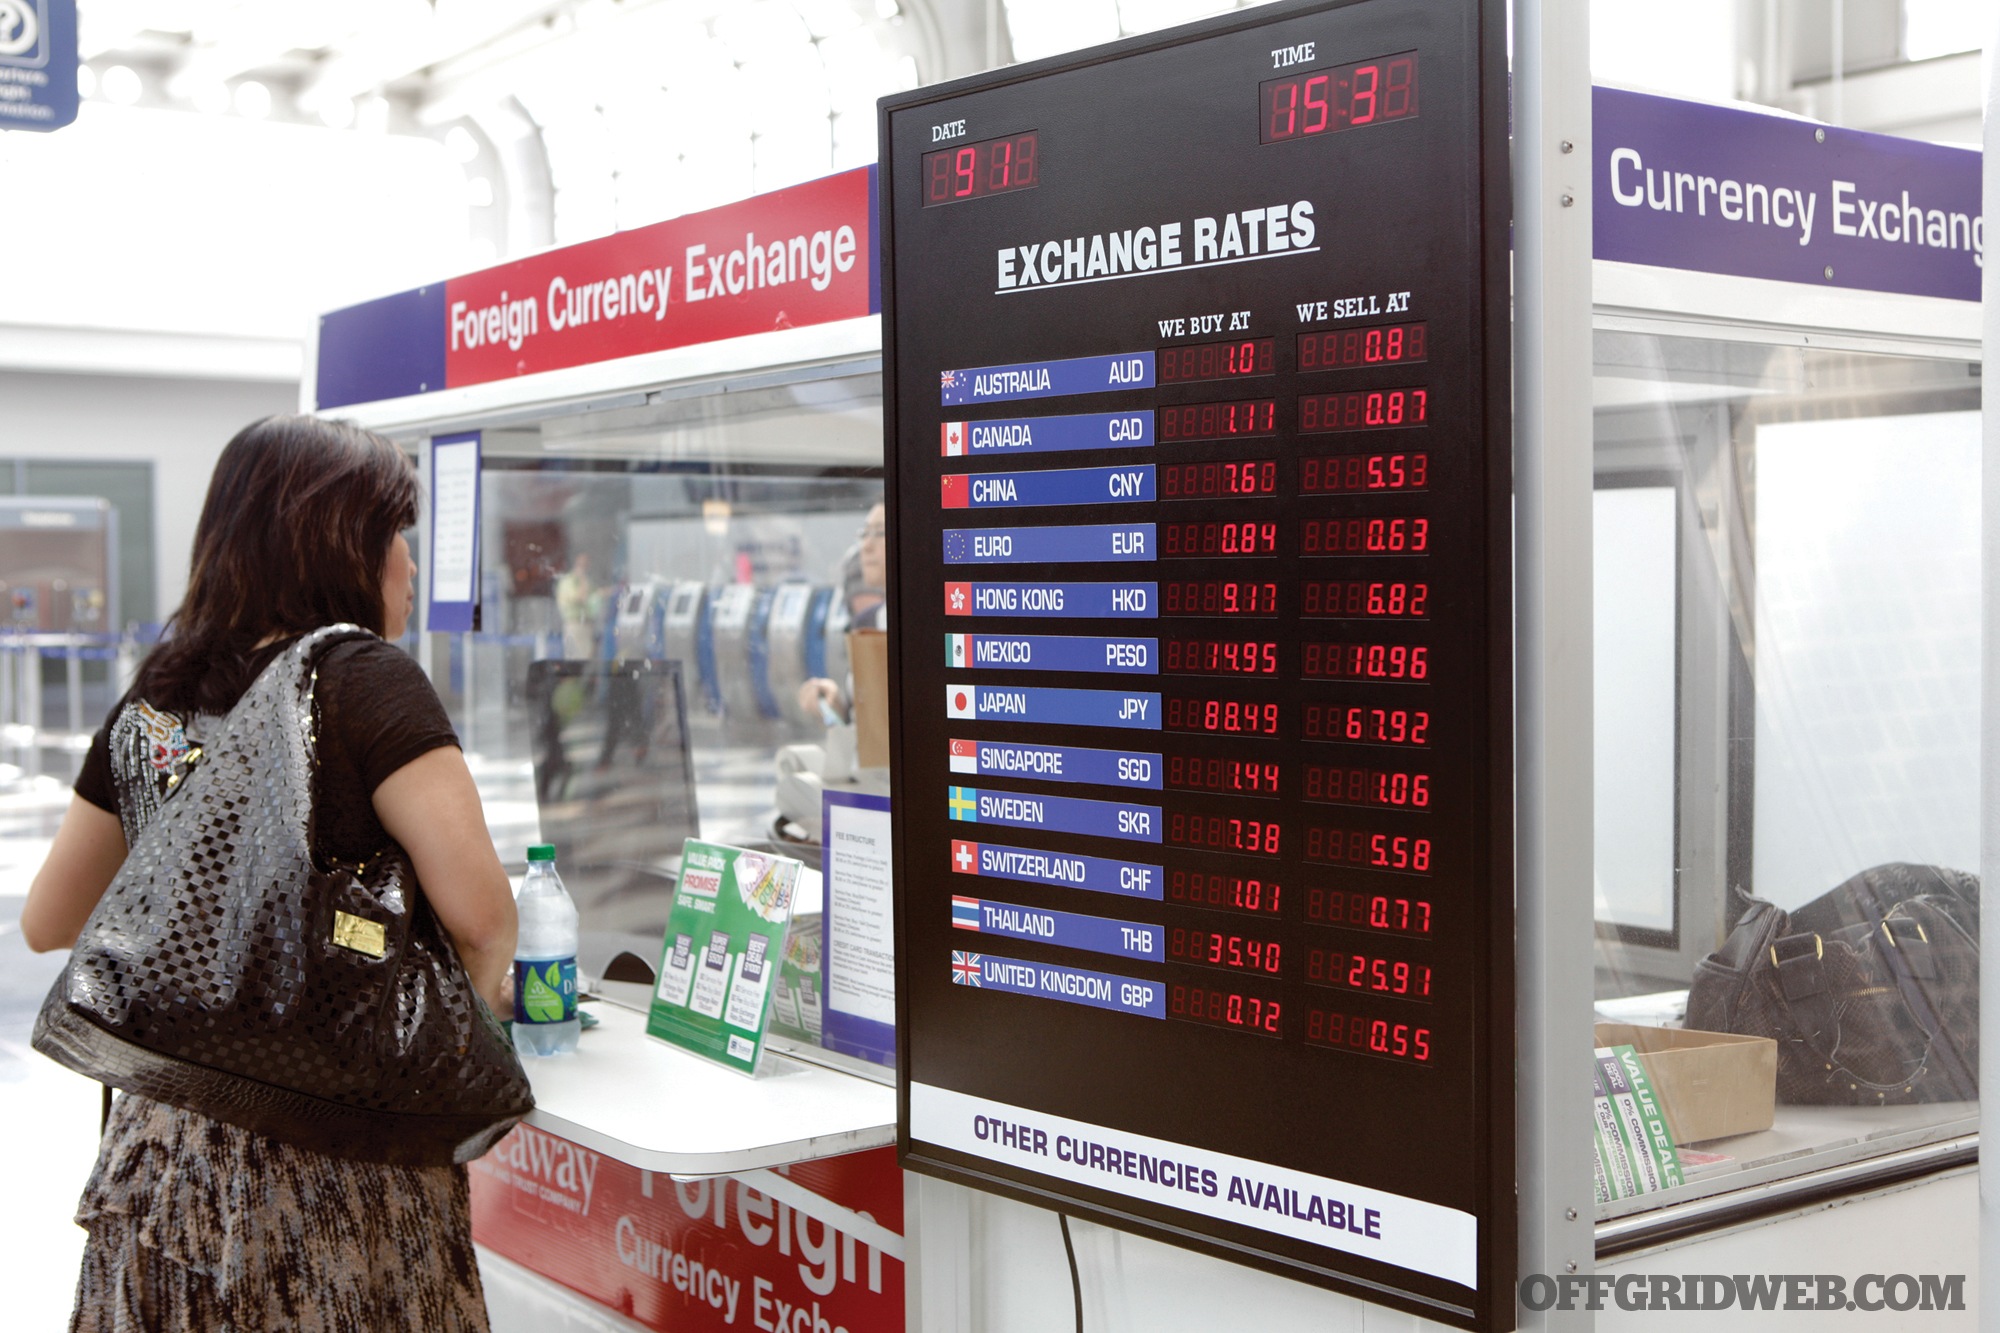
- Cash
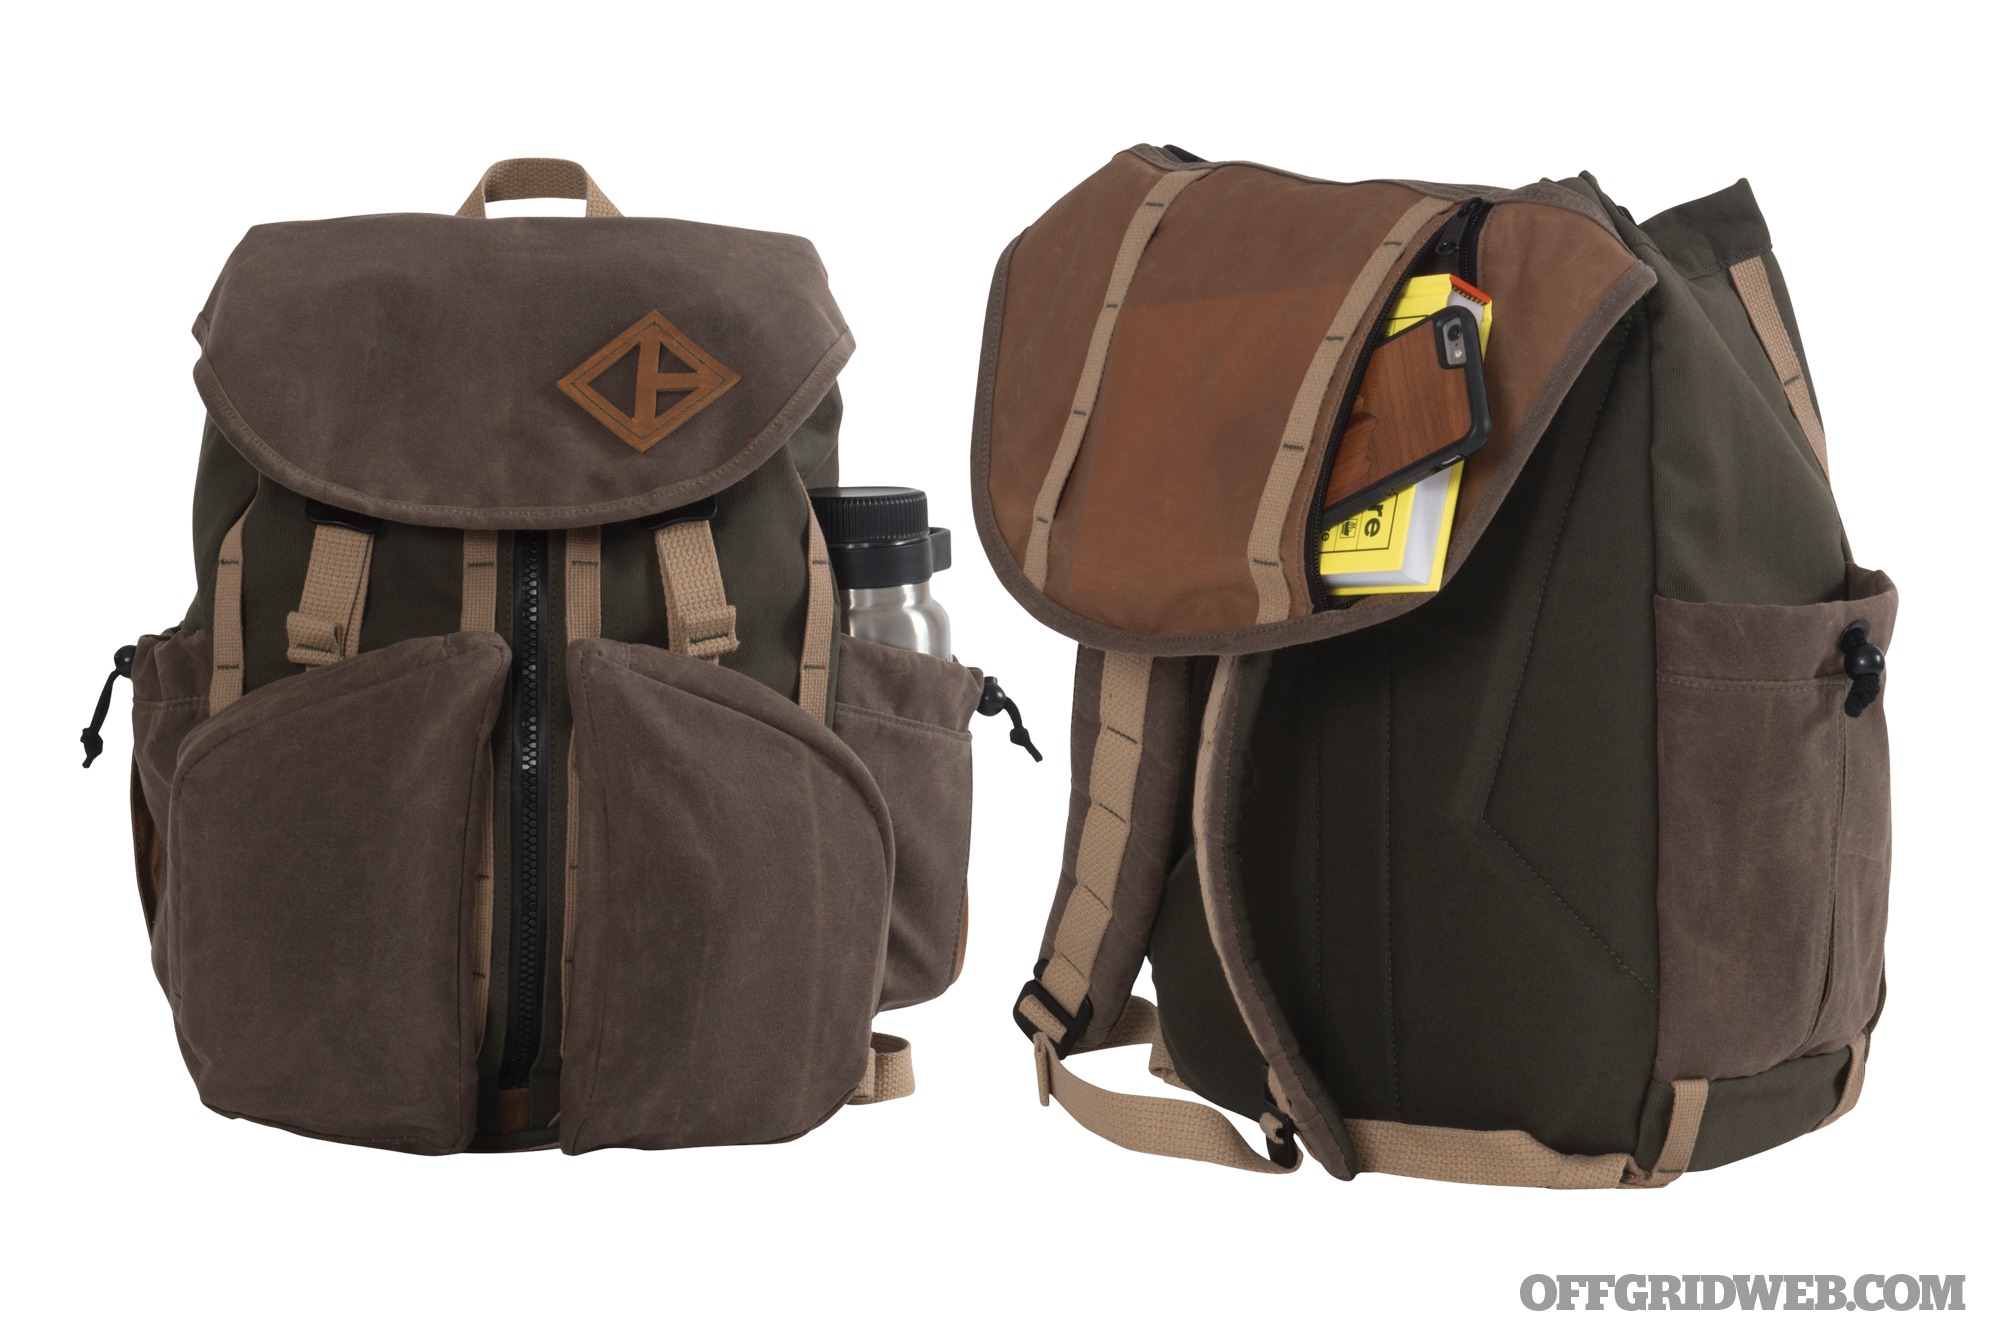
Carrying case
Now, how are you going to carry these items? Well, it depends on which ones you choose to carry as well as what fits into your environment.
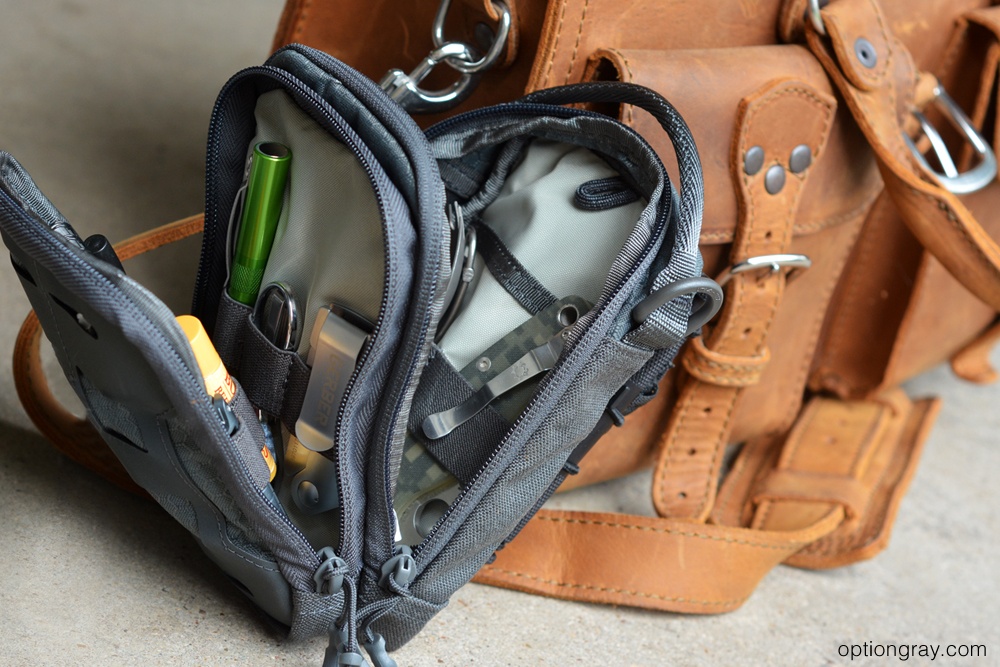
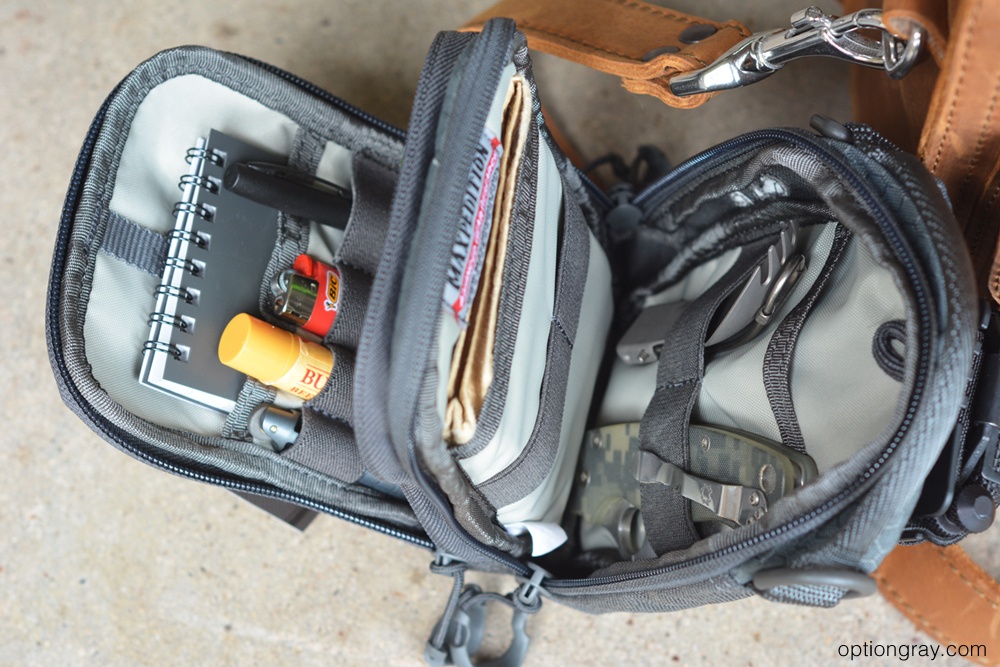
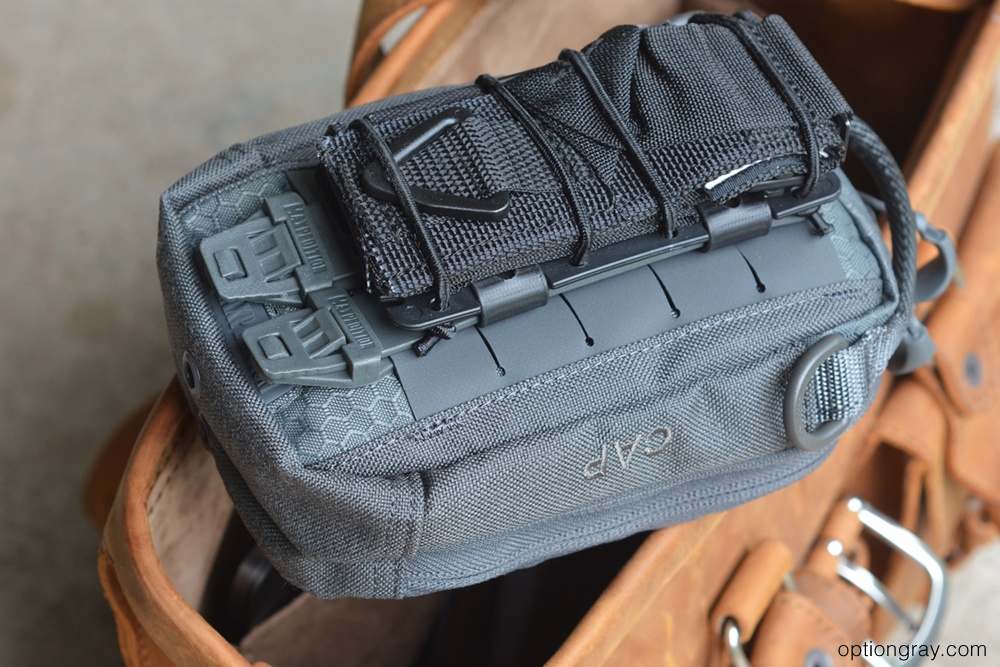
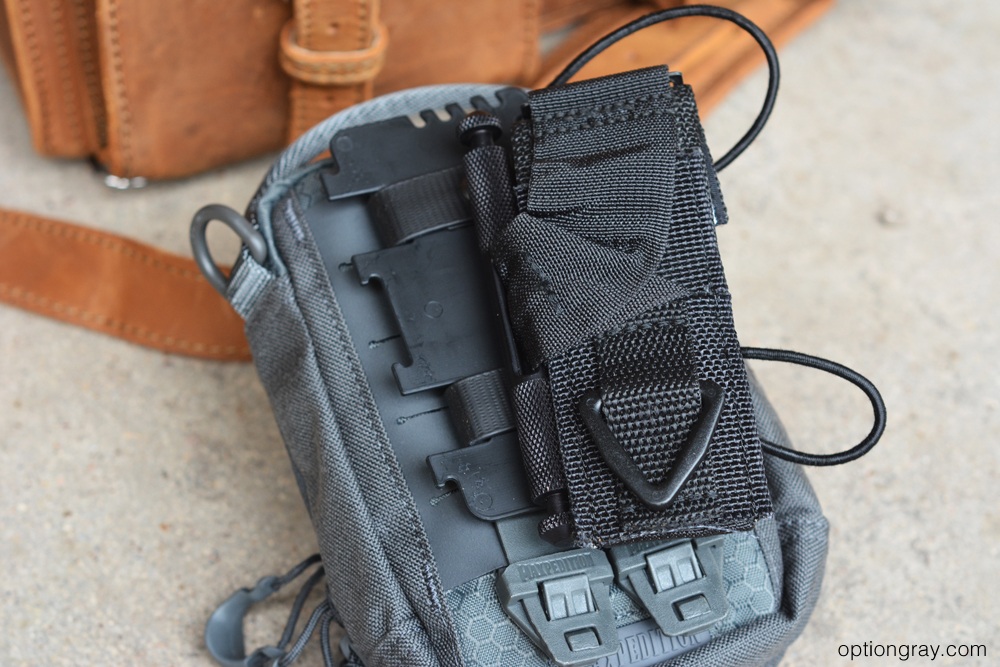
Pictured: Maxpedition CAP admin pouch
Organizers are an easy way for a person to keep their gear organized and accessible. There are a number of benefits of EDC organizers, but here are just a few:
- Gear is accessible
- Gear is organized
- Can be grabbed and easily taken with you in an emergency
- Compact
- Can serve many different uses in addition to EDC items
- Easily fits into most briefcases, purses, backpacks
Conclusion
As with most things in the everyday carry world, any EDC kit is very subjective and highly debatable. What I’ve offered are just a few areas for consideration and is by no means a definitive list. You should tailor your kit to your individual needs, what you are doing, where you are going, etc.
Also, keep in mind, you are building on what you are already carrying with you in term of your Primary EDC. Don't be afraid to duplicate “categories” of items. Redundancy is not a bad thing as long as you think it through. Gear that serves multiple purposes is also highly recommended.