In This Article
Photos by Mike Weaver
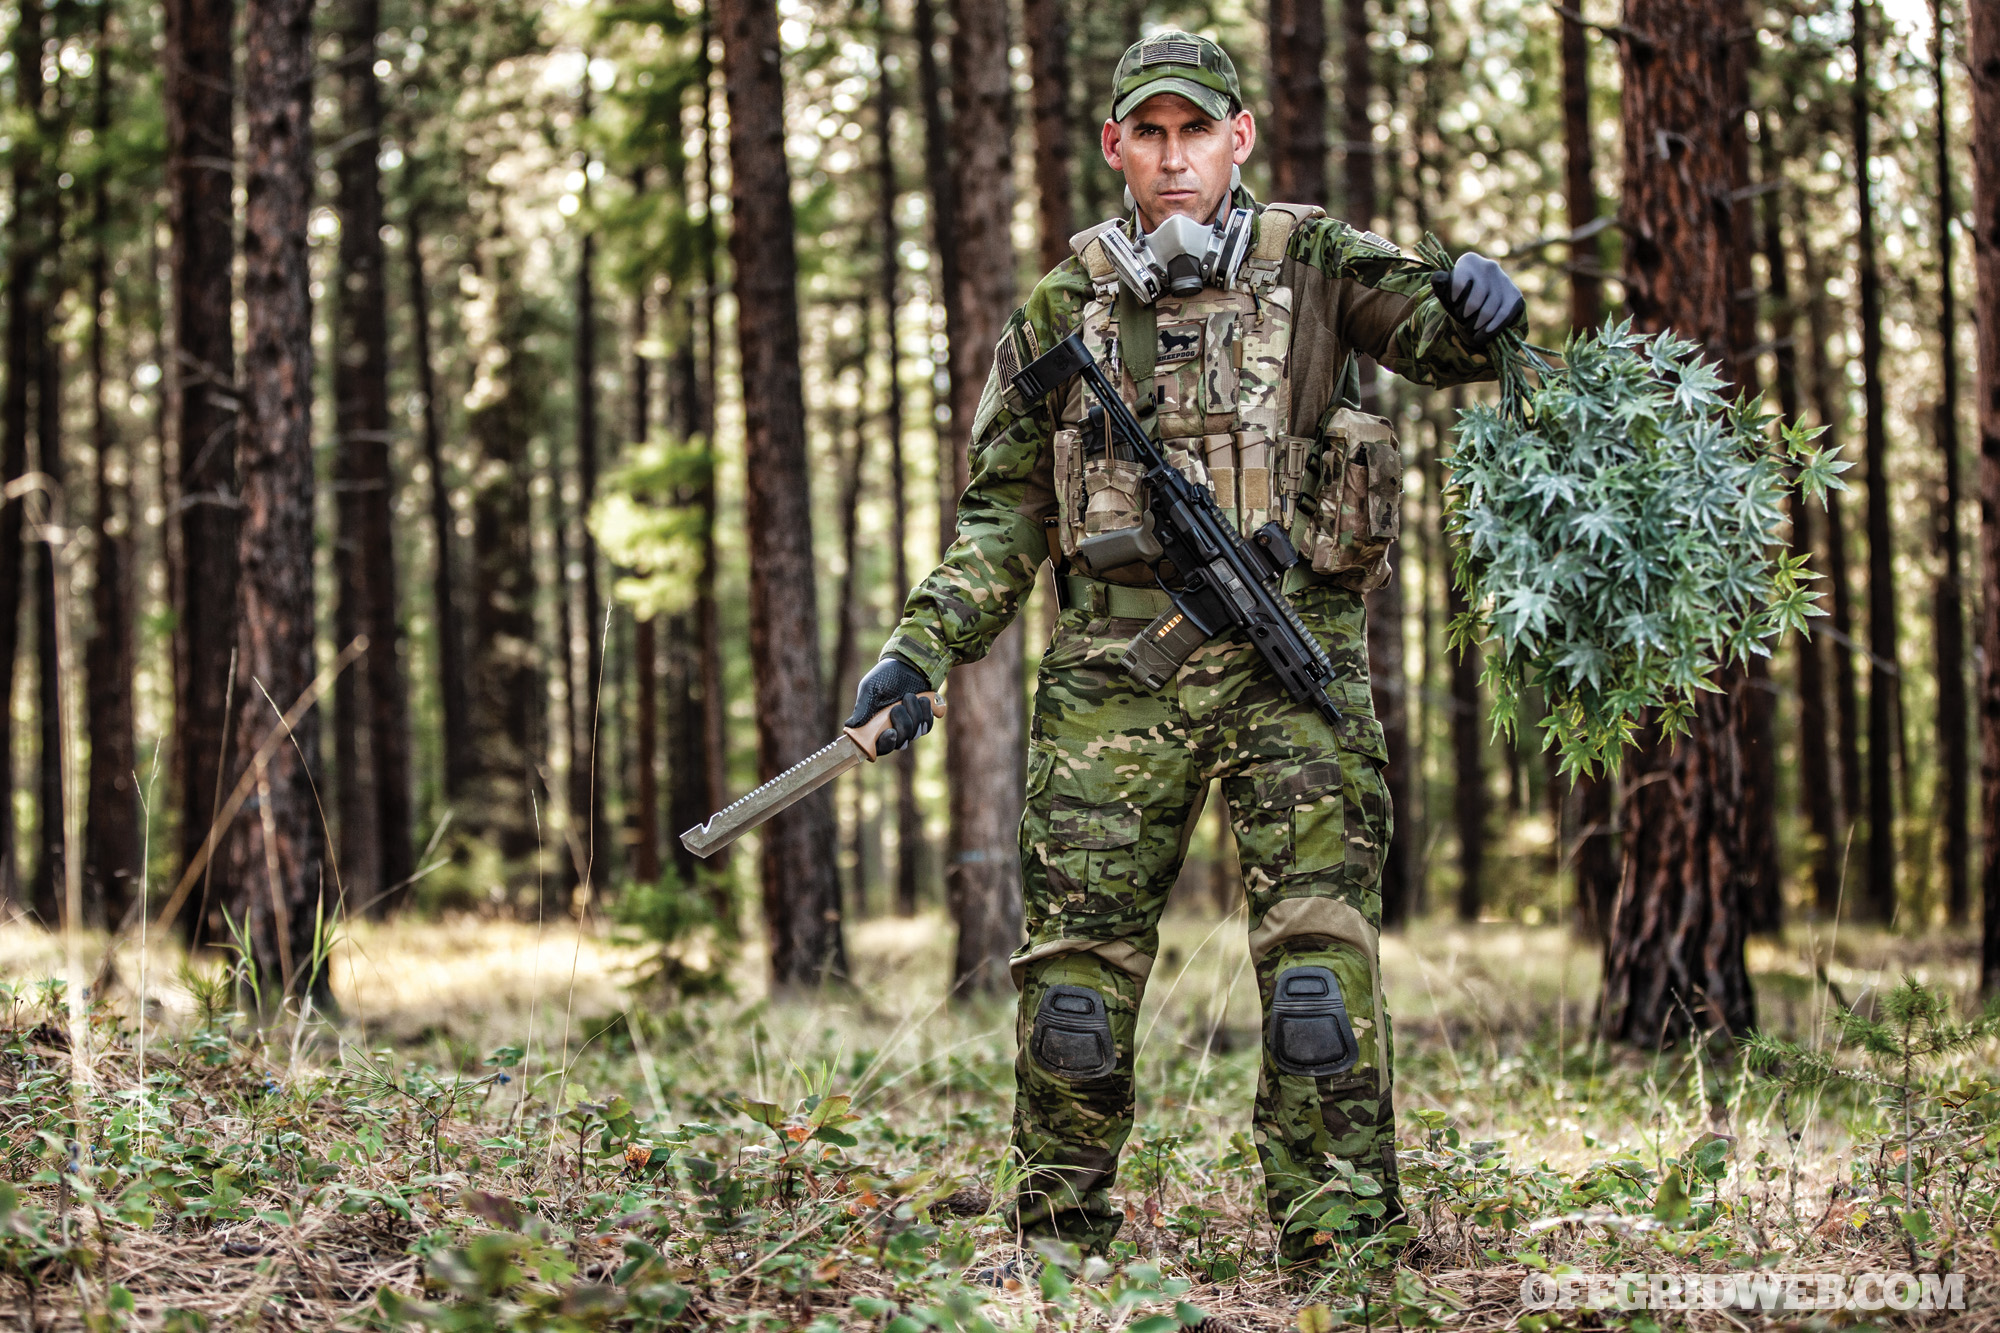
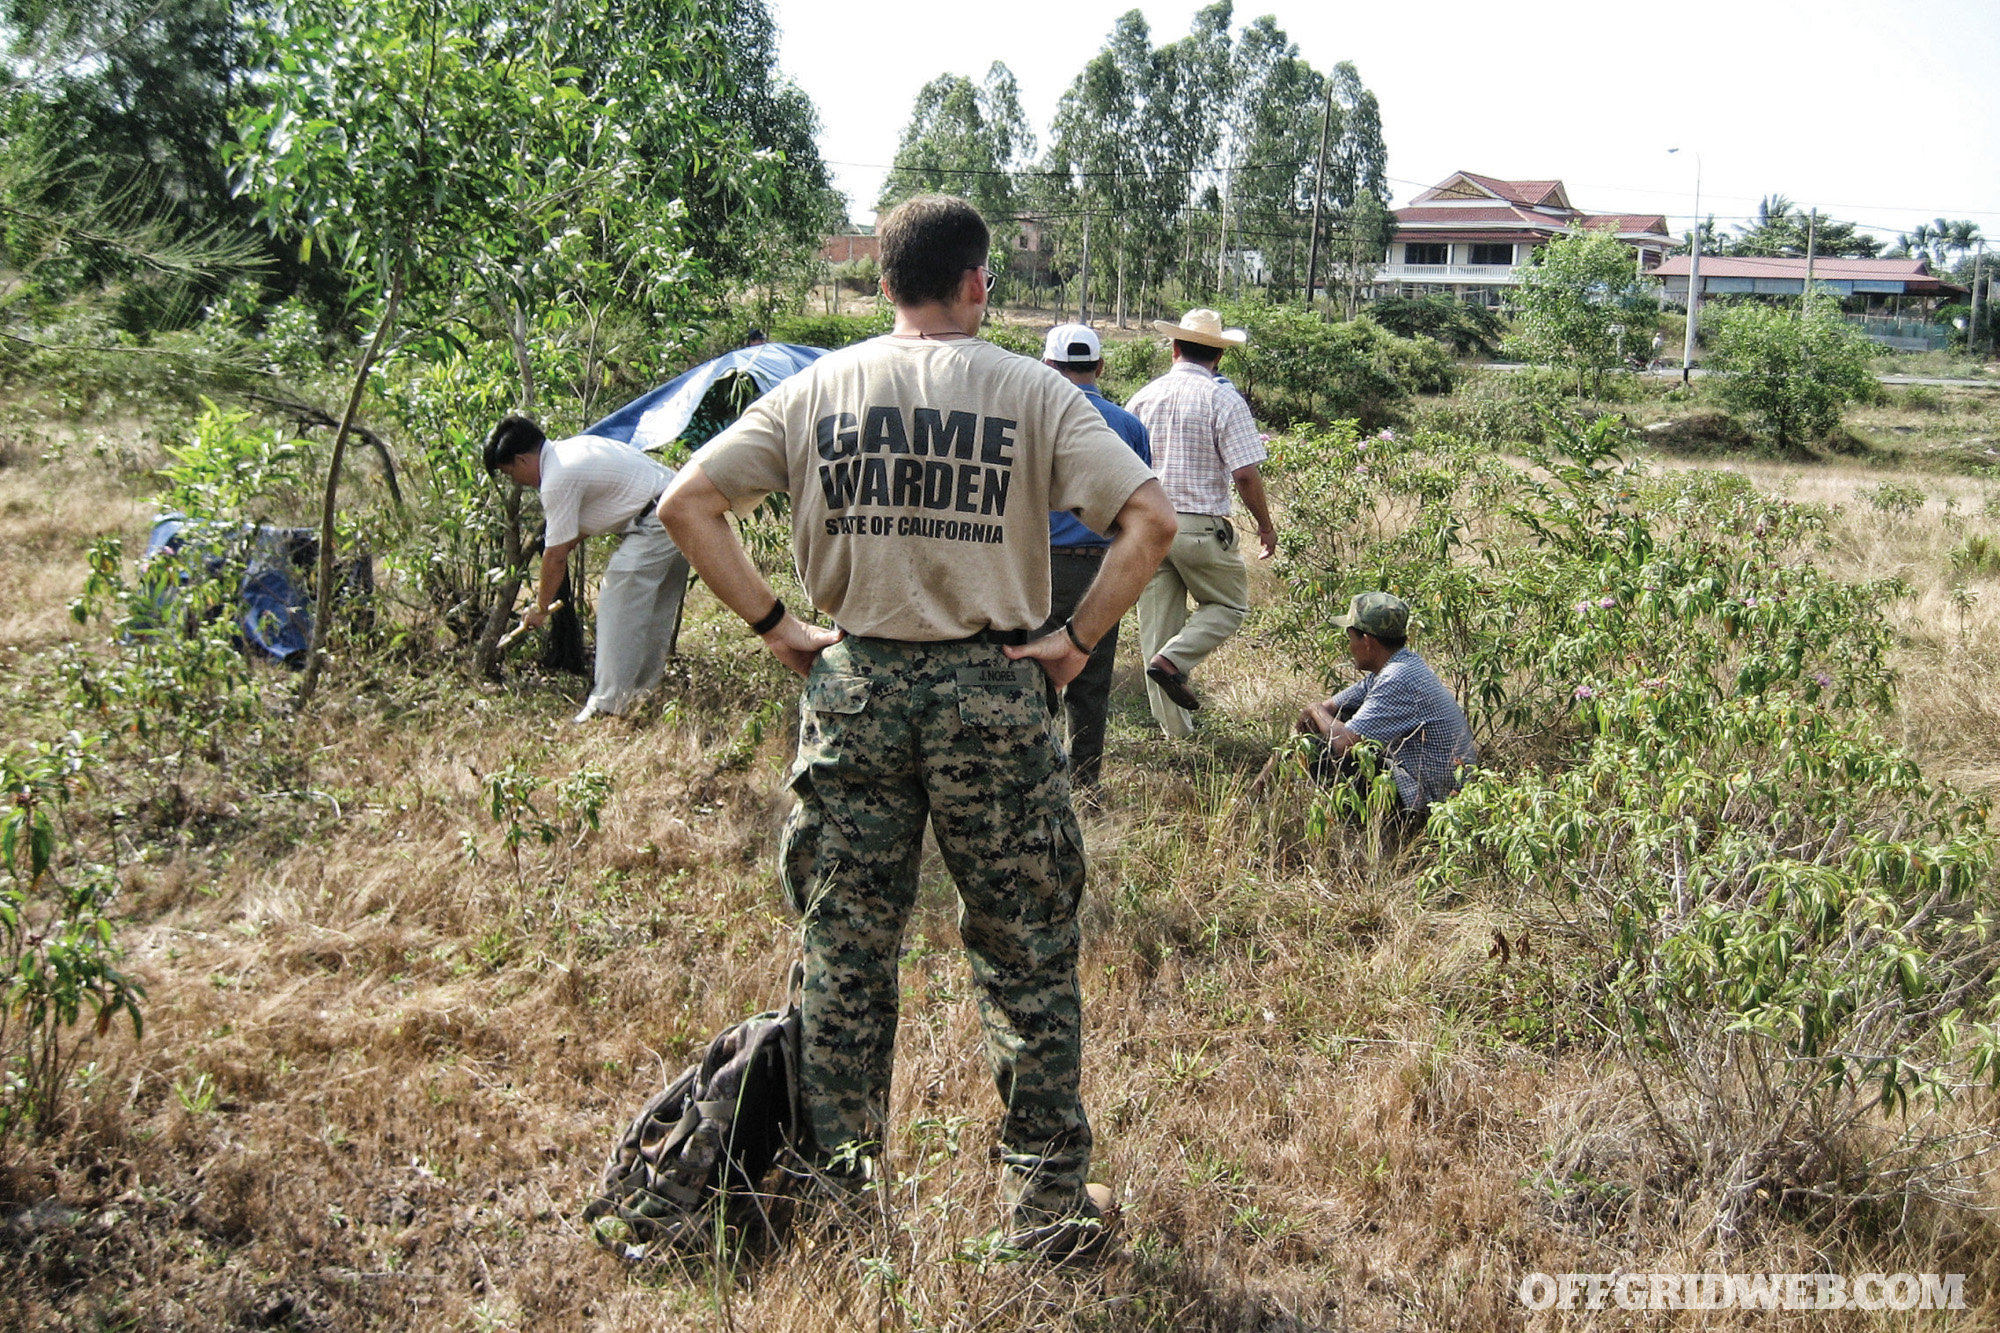
There’s a huge misconception that game wardens are nothing more than glorified park rangers. Spend a few minutes talking to Lt. John Nores, and you’ll quickly realize nothing could be further from the truth. During his service with California Department of Fish and Wildlife (CDFW), he was on the front lines of illegal grow sites embedded in our national parks and forests that not only seek to avoid government regulation, but do so at the cost of our precious resources. Stream diversions, highly toxic banned pesticides, and anti-personnel boobytraps were just a smattering of the devastation Nores encountered during his 28-year tenure.
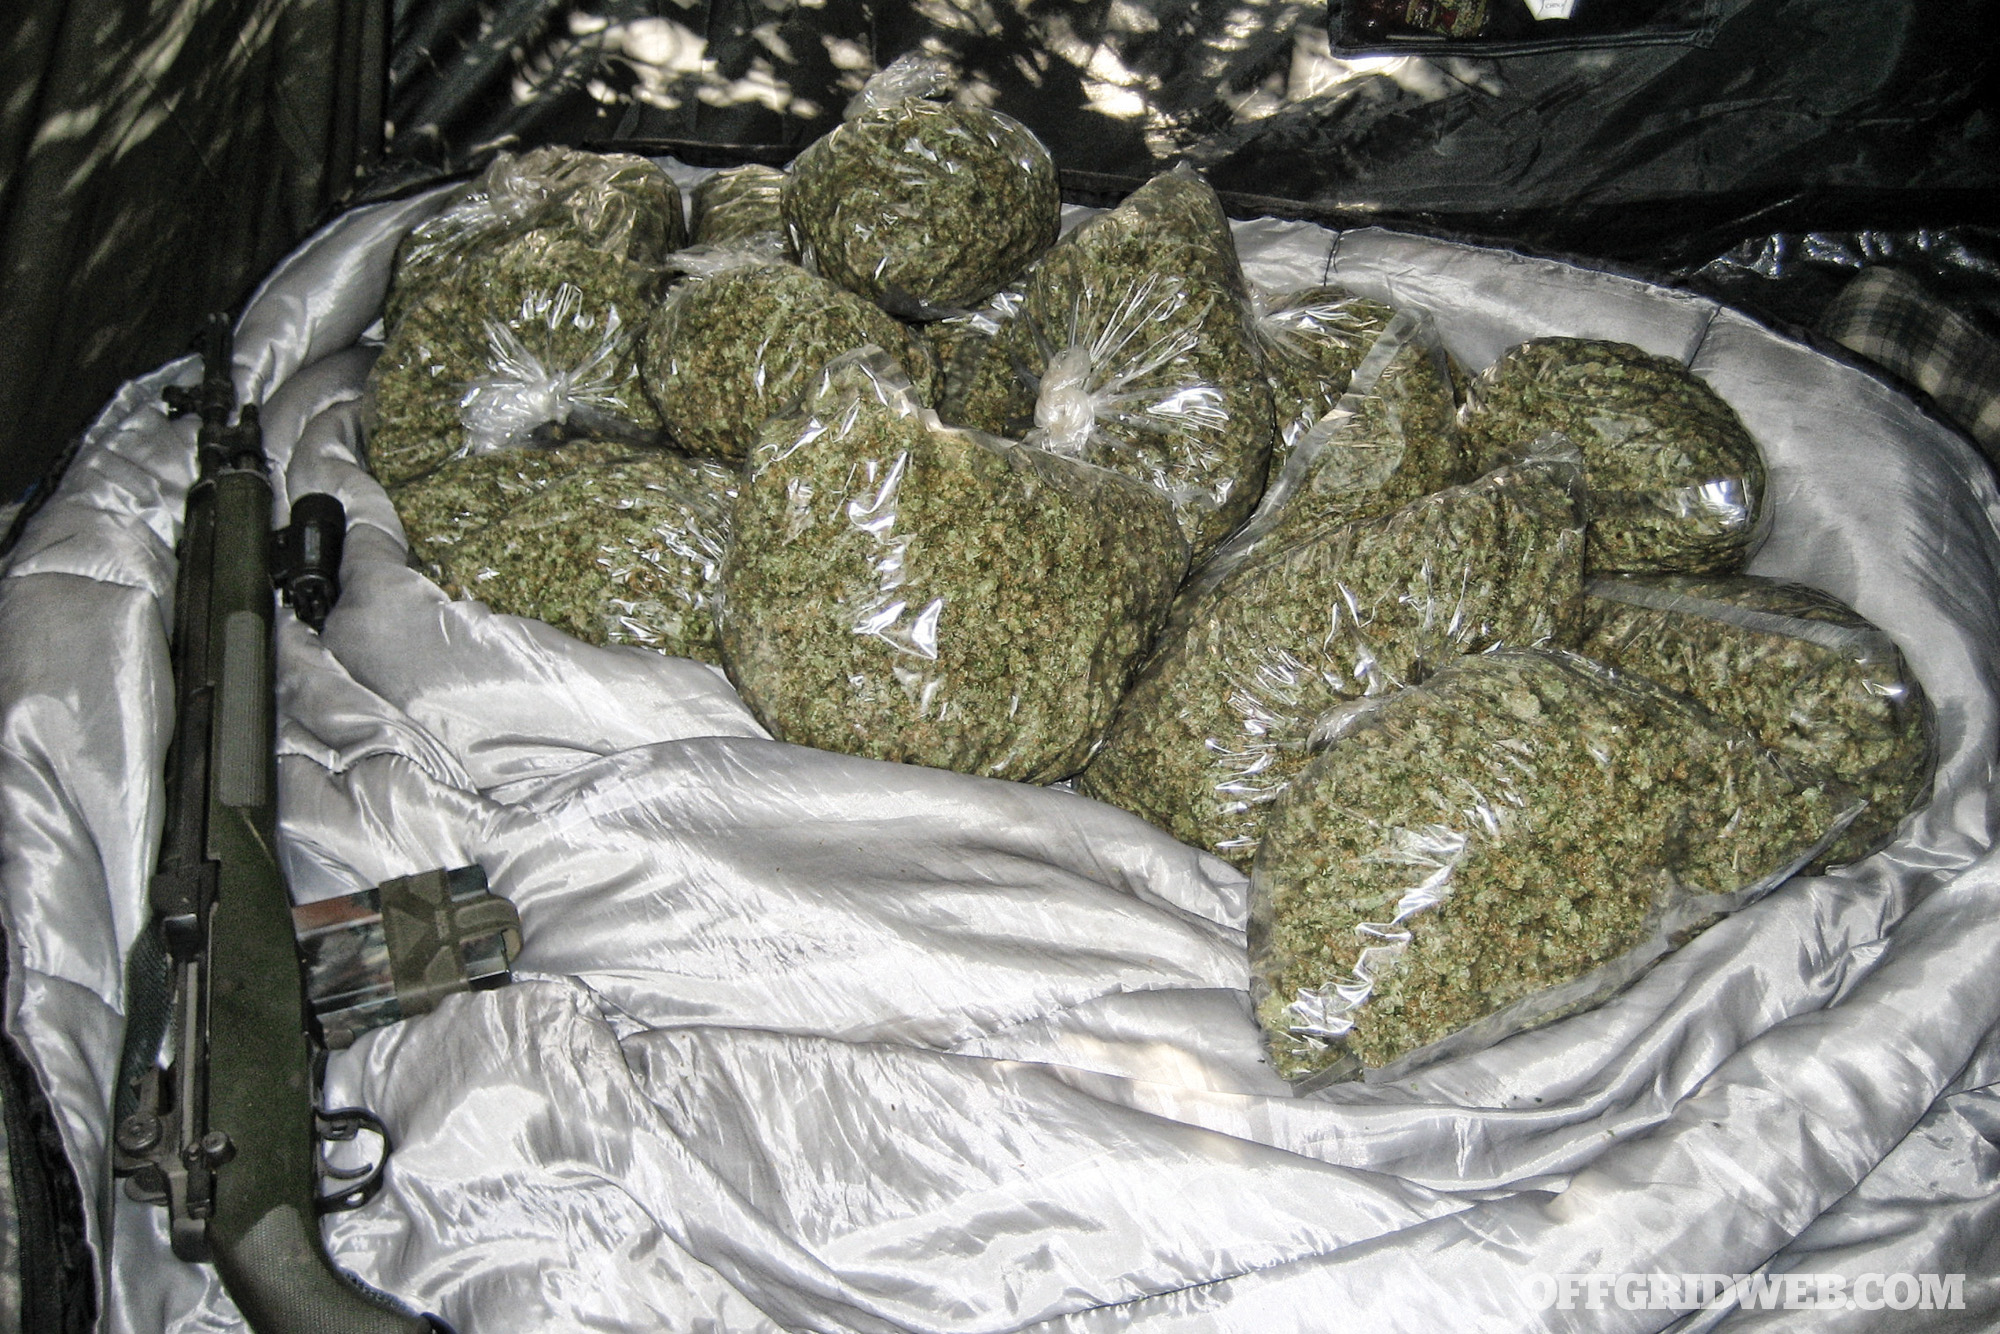
When people think of California’s illegal marijuana trade, images might come to mind of the recent series Murder Mountain or cops serving a warrant at some tract home rigged up with a greenhouse hidden in a garage — but there’s a much larger war going on that’s hidden in plain sight and rapidly escalating. The environmental impact and danger to nearby residents gets little, if any, mass media coverage. On August 5, 2005, Nores and his colleagues came under fire while preparing to raid an illegal marijuana grow operation in the densely wooded hills of California’s prestigious Silicon Valley. Nores’ partner sustained life-threatening injuries after taking a bullet through both legs from a cartel member’s AK-47.
Although the 2005 bust netted a large seizure of drugs and his partner survived, it gave everyone involved just an inkling of the cartel’s willingness to engage in violence and ecological degradation to make a few bucks. It also led to a recalibration of how to handle this ongoing problem, with the formation of the CDFW’s first dedicated Marijuana Enforcement Team (MET) aimed at targeting trespass grow sites throughout the west. After Nores shared his firsthand knowledge of this conflict with us, we walked away with a sobering realization that it’s not happening in some far-off land. It’s entrenched in locations only miles from major cities, where average citizens may inadvertently stumble upon a drug trafficking operation that could cost them their lives.
John Nores Interview
RECOIL OFFGRID: What made you want to go to work for California Department of Fish and Wildlife?
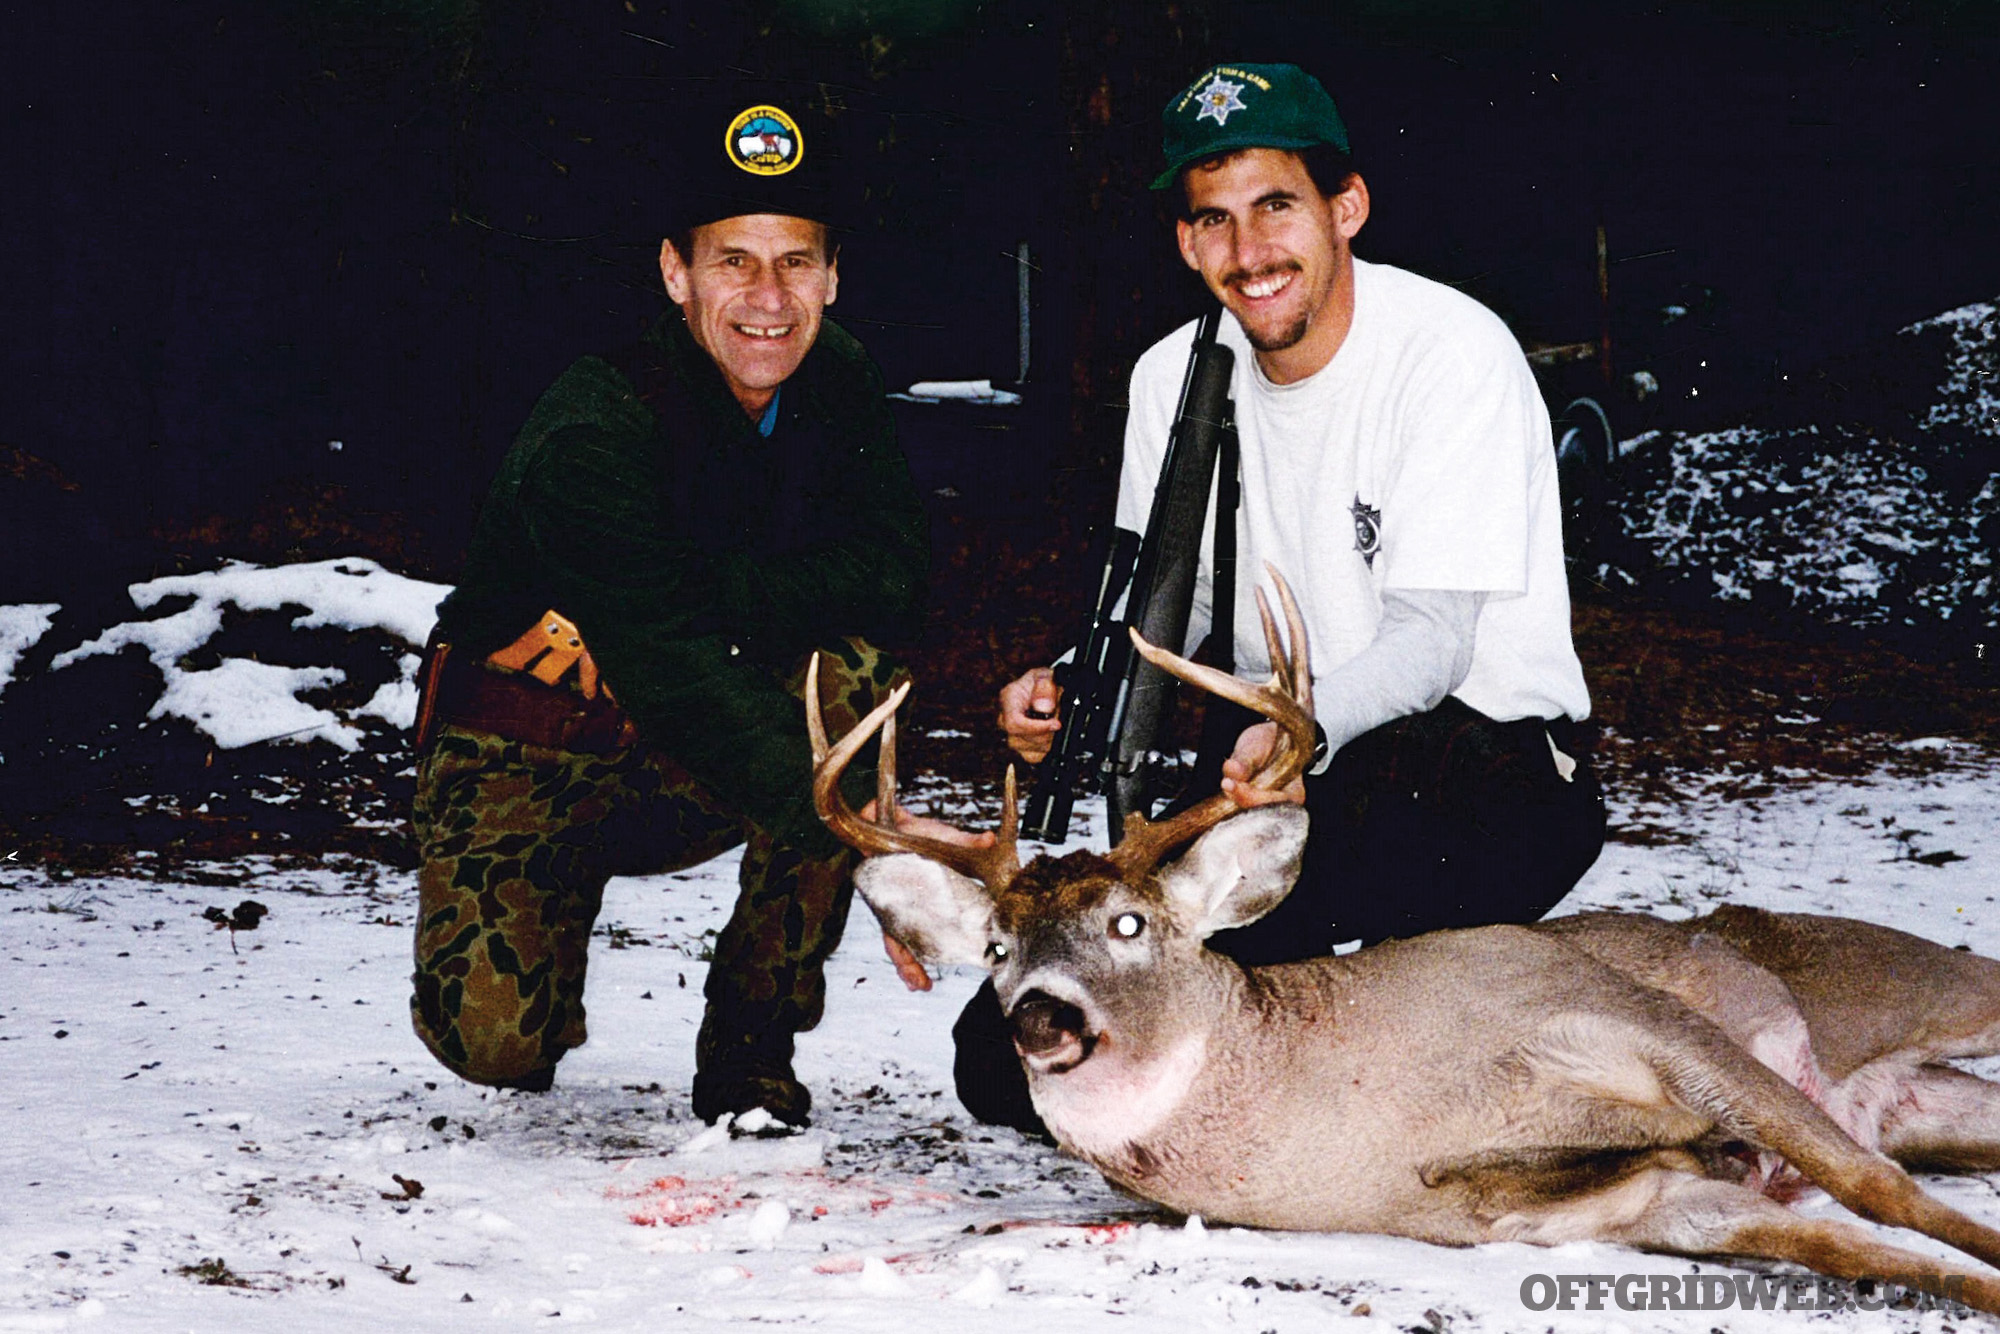
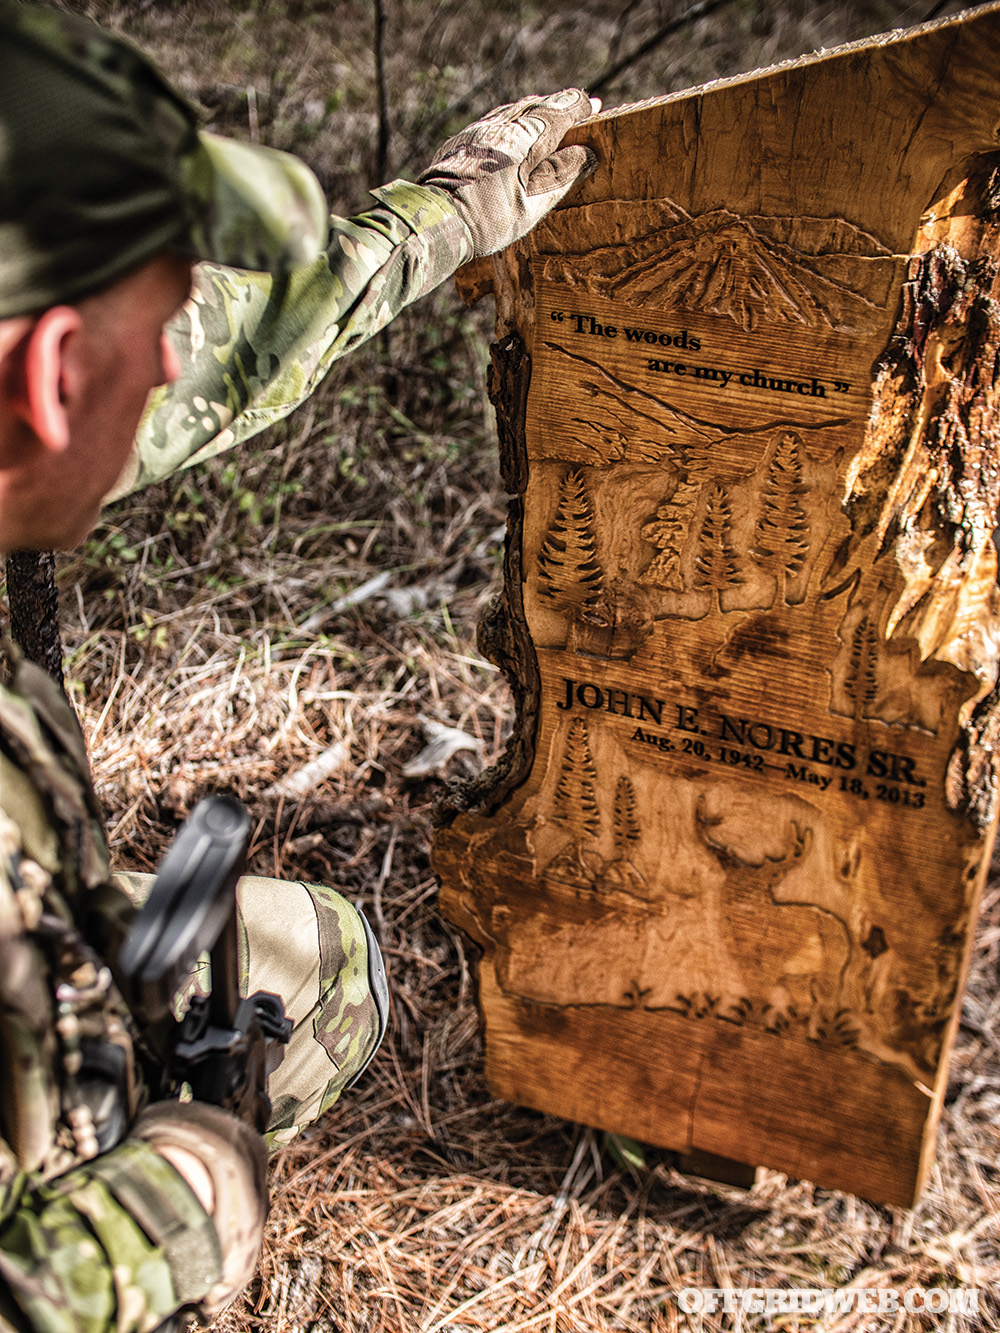
John Nores: It really started with my grandfather’s influence. He was a Navy diesel mechanic and engineer on one of the cruisers in Pearl Harbor and survived that. Before he deployed, he and his high school buddies discovered Montana, and it blew their mind. When he got out of the service, he bought some property up there to make it a homestead for the family and anyone else who wanted to come. My dad, who has since passed away, got that whole service mentality, conservation, hunting, and shooting from him; really all my aunts and uncles did, and that trickled down through the generations. I was shooting trap and skeet at 9 years old; I passed the hunter’s safety course at 9 with dad’s help. My dad was a champion trap and skeet shooter and hunted everything from waterfowl to big game, so he was my hero.
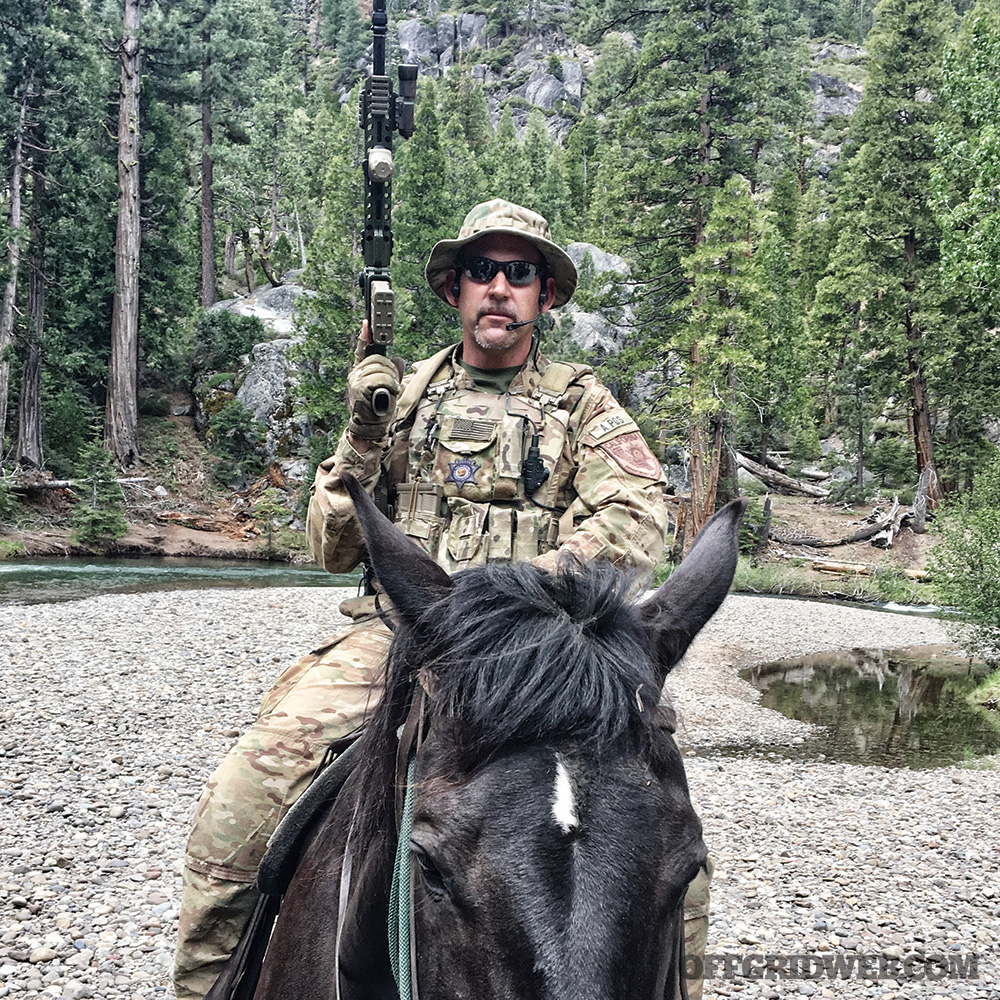
I grew up in a rural part of south Silicon Valley in a little town called San Martin. When I was in college at San Jose State University in 1986, I wasn’t really feeling passionate about the civil engineering courses I was pursuing, but on winter break that first semester, my childhood friend and I took a pack horse and went on a 75-mile loop through Henry Coe State Park, which is 105,000 acres of epic wildlands. We took off on a Friday night in a downpour and hiked 13 miles through the night, getting soaked.
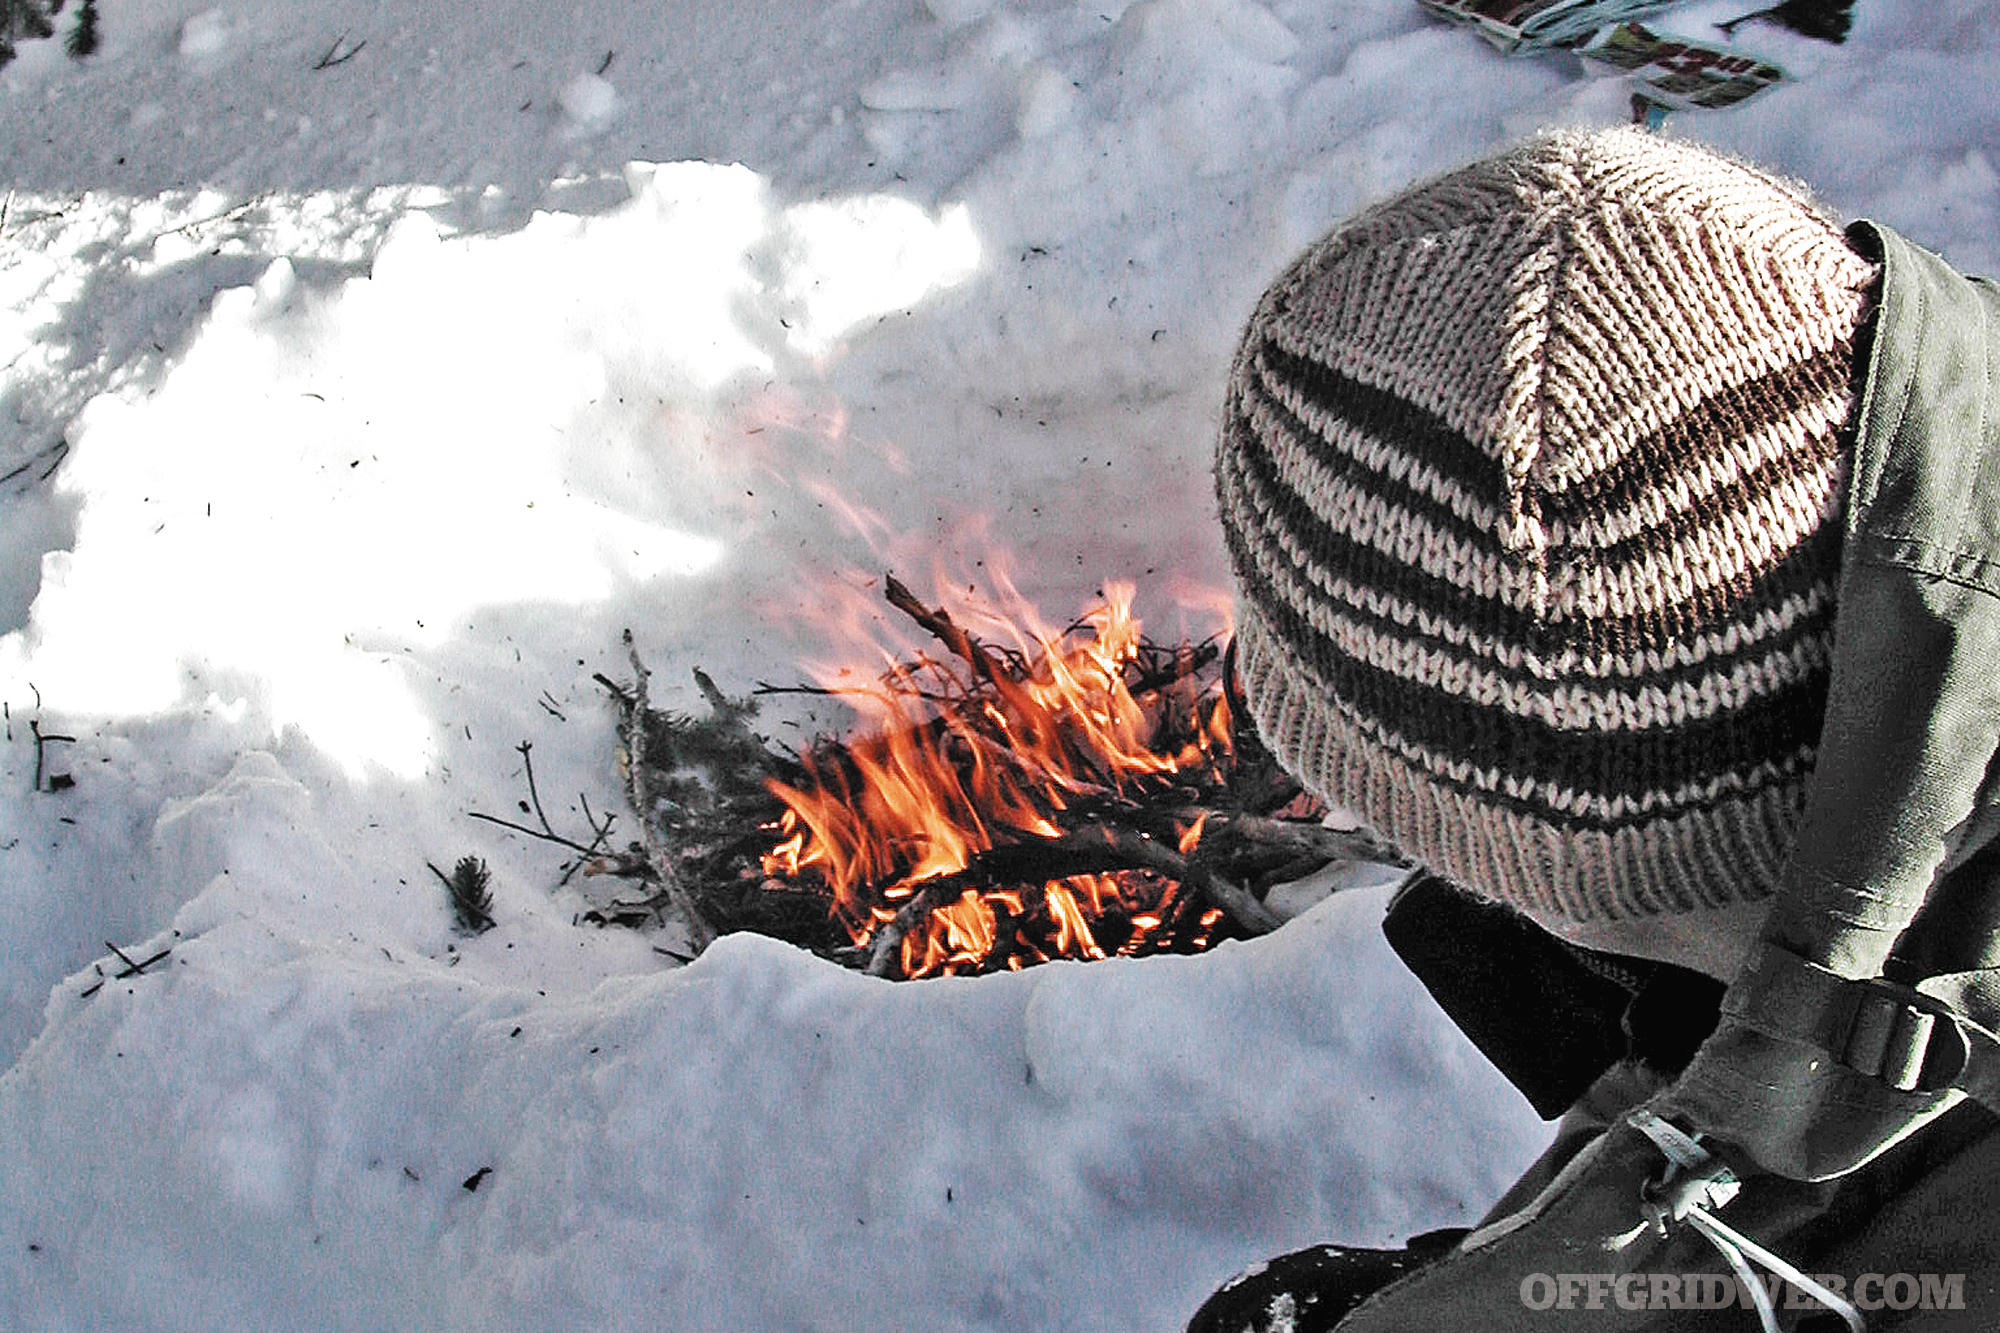
The next morning, we got this fire going because we were trying to dry off, and there was no one else around because no one was dumb enough to go there in the middle of winter [laughs]. Then, here comes this green 4×4 just winding down this really steep trail to get to us, and it was a game warden who thought we might be deer poaching. After he realized we weren’t a threat, I kept him there for two hours asking questions. He said it was an amazing career. I was like on fire and really inspired by that. As soon as I got home, I went back to school and talked to a criminal justice program advisor, told him my predicament — and it was perfect because San Jose State has one of the best criminal justice schools in the country.
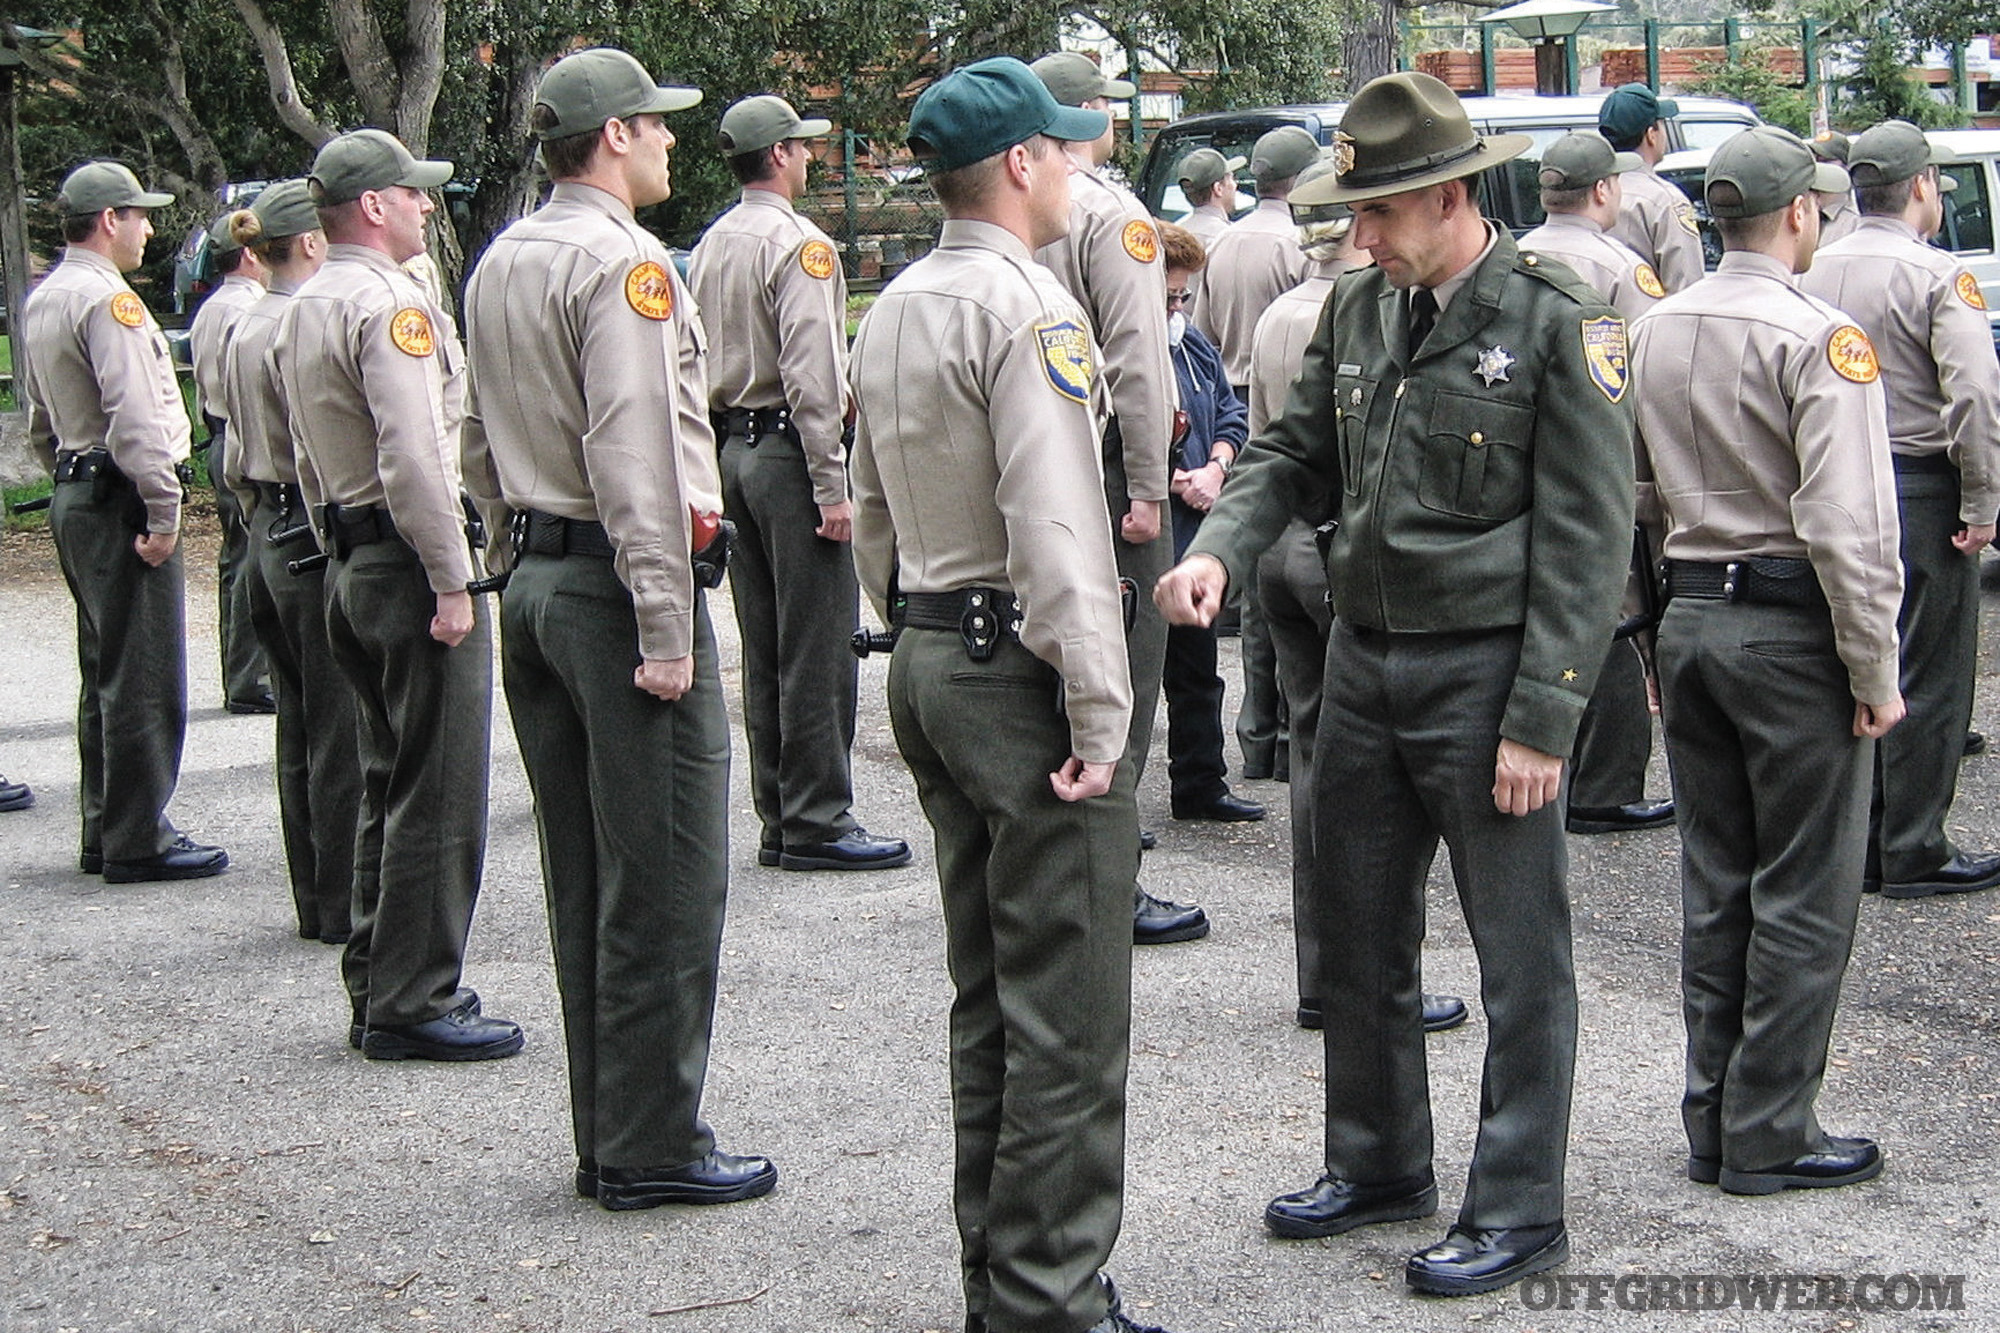
I changed my major, targeting the profession, and that was it. In ’92, they had slots for four civilians who scored high enough that weren’t military veterans or other law enforcement officers to lateral over, and I got into the academy at Napa College. I was in working on my master’s and got halfway through that and put it on hold temporarily to take that opportunity. I passed everything and then off to the races, and that was almost 30 years ago.
What’s your advice to people looking to enter that line of work?
JN: Know what the job really entails. Joe Rogan said this before I went on his show, and everybody says this. When they think of a game warden, they think of someone driving around in a truck checking a fishing or hunting license, looking for illegal fish, and telling hunter education stories — things like that. Understand that it’s a very challenging law enforcement profession now. You deal with a lot of violent people periodically. Now, granted, 90-plus percent of everyone you deal with are people you really want to see. They’re lawful firearms users being stewards of the environment. It’s that 1 or 2 percent you run into who might be heavily armed and dangerous, so you need to treat it like any other law enforcement officer, because you might be by yourself with backup two to three hours away.
I recommend that people not only go through the hiring process, but talk to a recruiting officer in any state they want to be in. I’m getting a lot of inquiries from across the country right now as a result of all the podcasts, book tours, and things we’ve been doing. It’s been really cool, but don’t just start the application online. Look at the state you want to apply in, talk to somebody in the recruiting office, and get a few ride-alongs with game wardens in the particular state or area you want to work to see what they do, because the job is so much more diverse than people think.
It’s gotten more challenging in the last 20 years. There’s the cartel/foreign invasion/marijuana/poison issue that I kind of specialized in, but there’s also the wildlife trafficking and ivory trade coming in from all over the world. Now there’s wildlife trafficking teams fighting that fight within a Fish and Game agency that was mandated under the Obama administration — and rightfully so to make sure every state had teams doing that if they didn’t. Those are just a few different things that only came up in the last few years that weren’t around when I started.
Tell me about the books you’ve written.
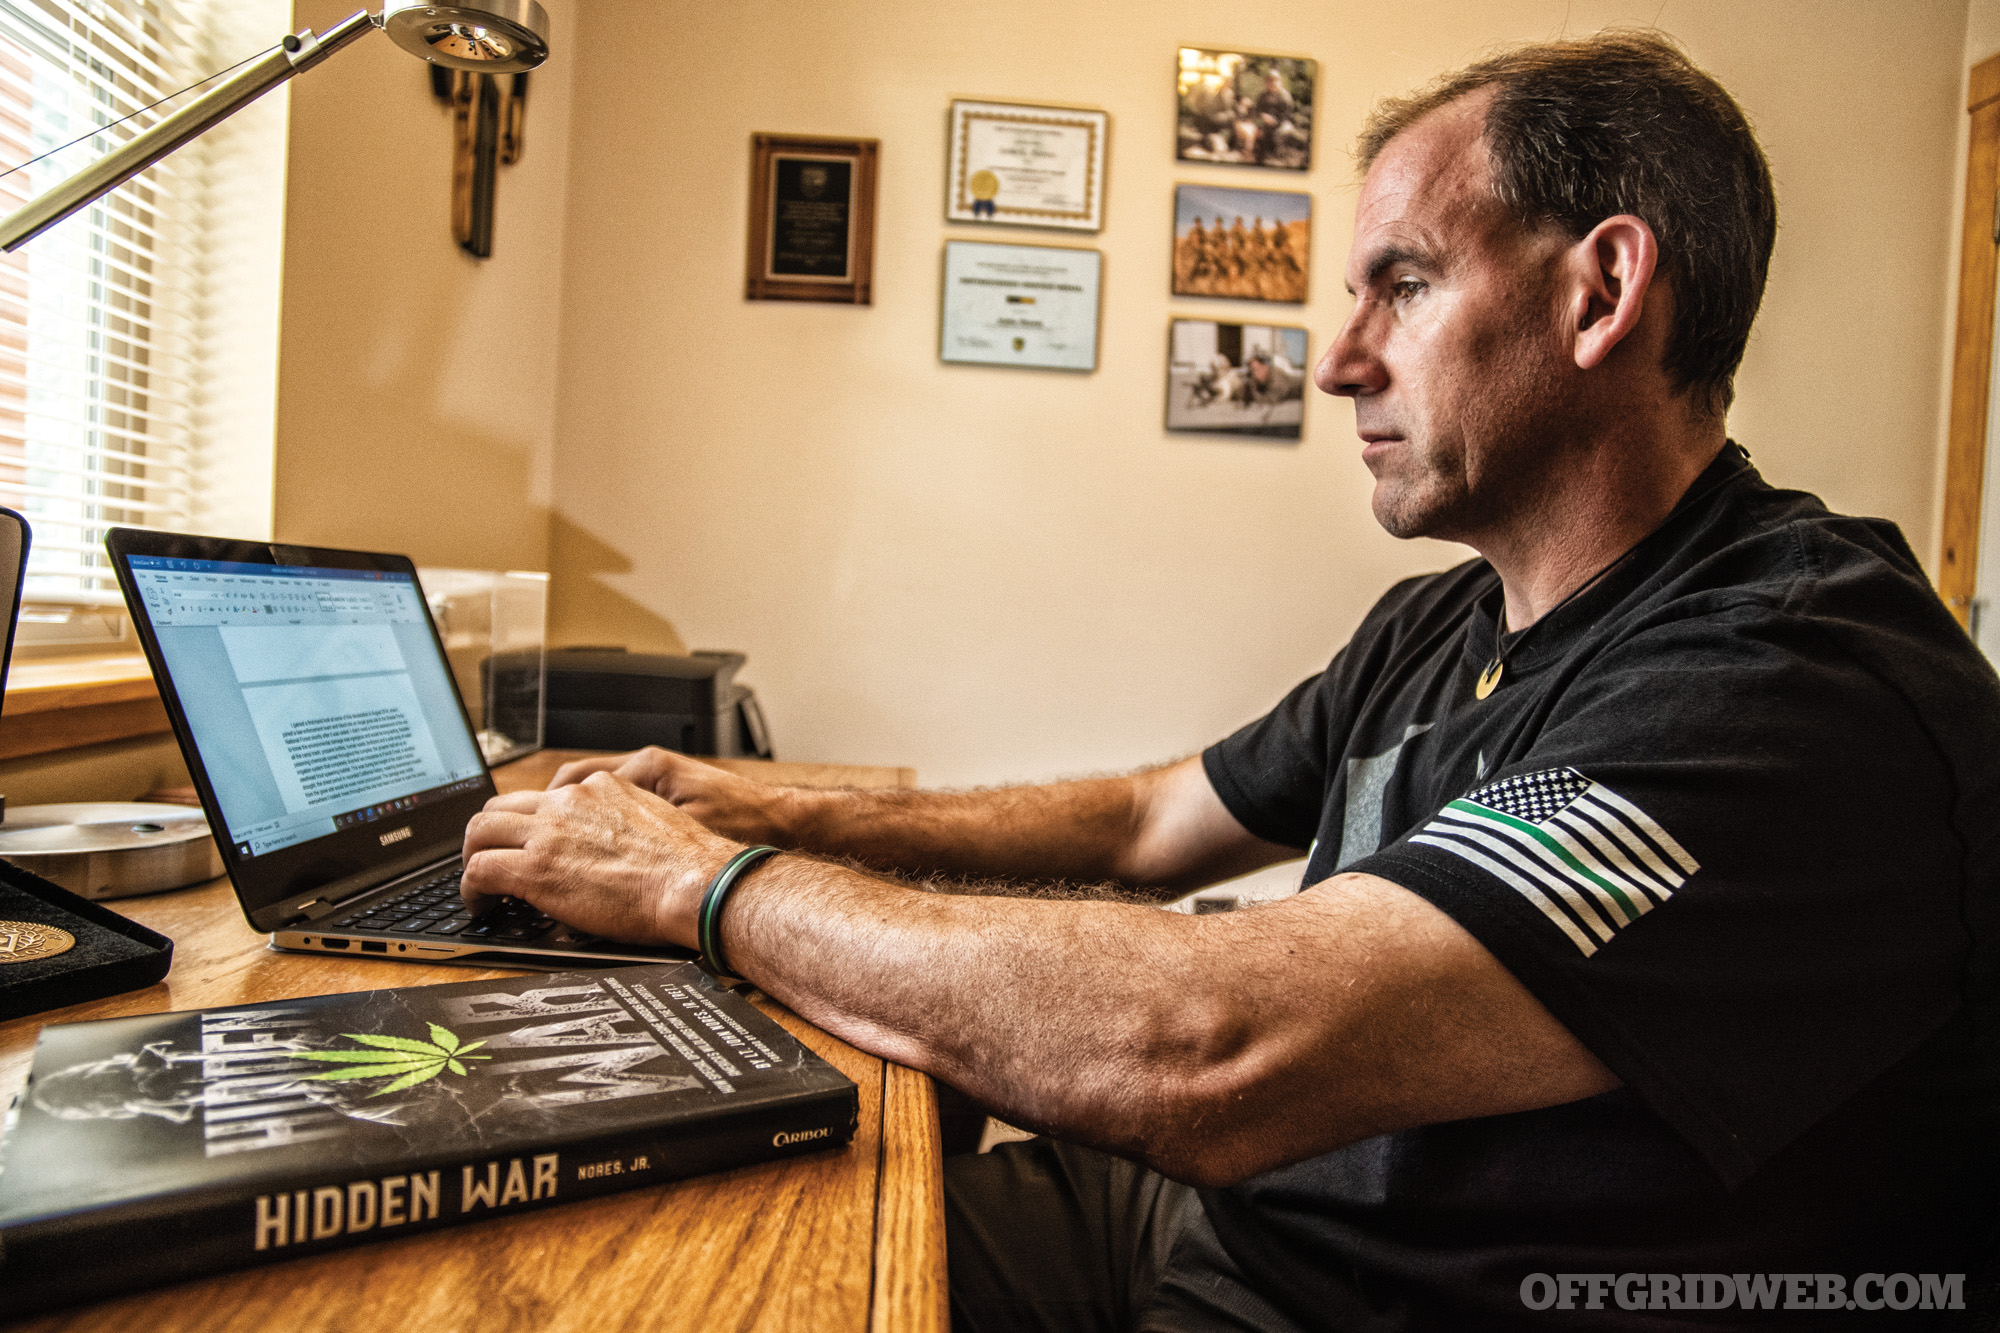
JN: I’ve got two. War in the Woods wasn’t planned. It came about at the request of people starting to see the cartel/trespass marijuana-grow front and black market stuff in Silicon Valley. I found my first grow site in 2004. When I went into that site and saw the level of devastation environmentally and the public safety threat from the growers we witnessed and didn’t have any contact with that day, that completely changed my perception of what my efforts and our agency’s efforts needed to be.
The first chapter of War in the Woods goes into this. A very good friend of mine who’s a wildlife biologist was working on his master’s thesis, by observing this transect of two creeks in Coe Park that spanned about three miles and is one of our last viable migrating steelhead channels left in the Bay area. He was studying frogs and their vitality, and I got a call in April from him that the creeks were running the previous week just fine, and all of a sudden one side of it was bone dry and everything in it was dead. Keep in mind that steelhead trout are endangered species, so I was super concerned about this. He found black pieces of plastic and other debris that had washed down and didn’t know what it was.
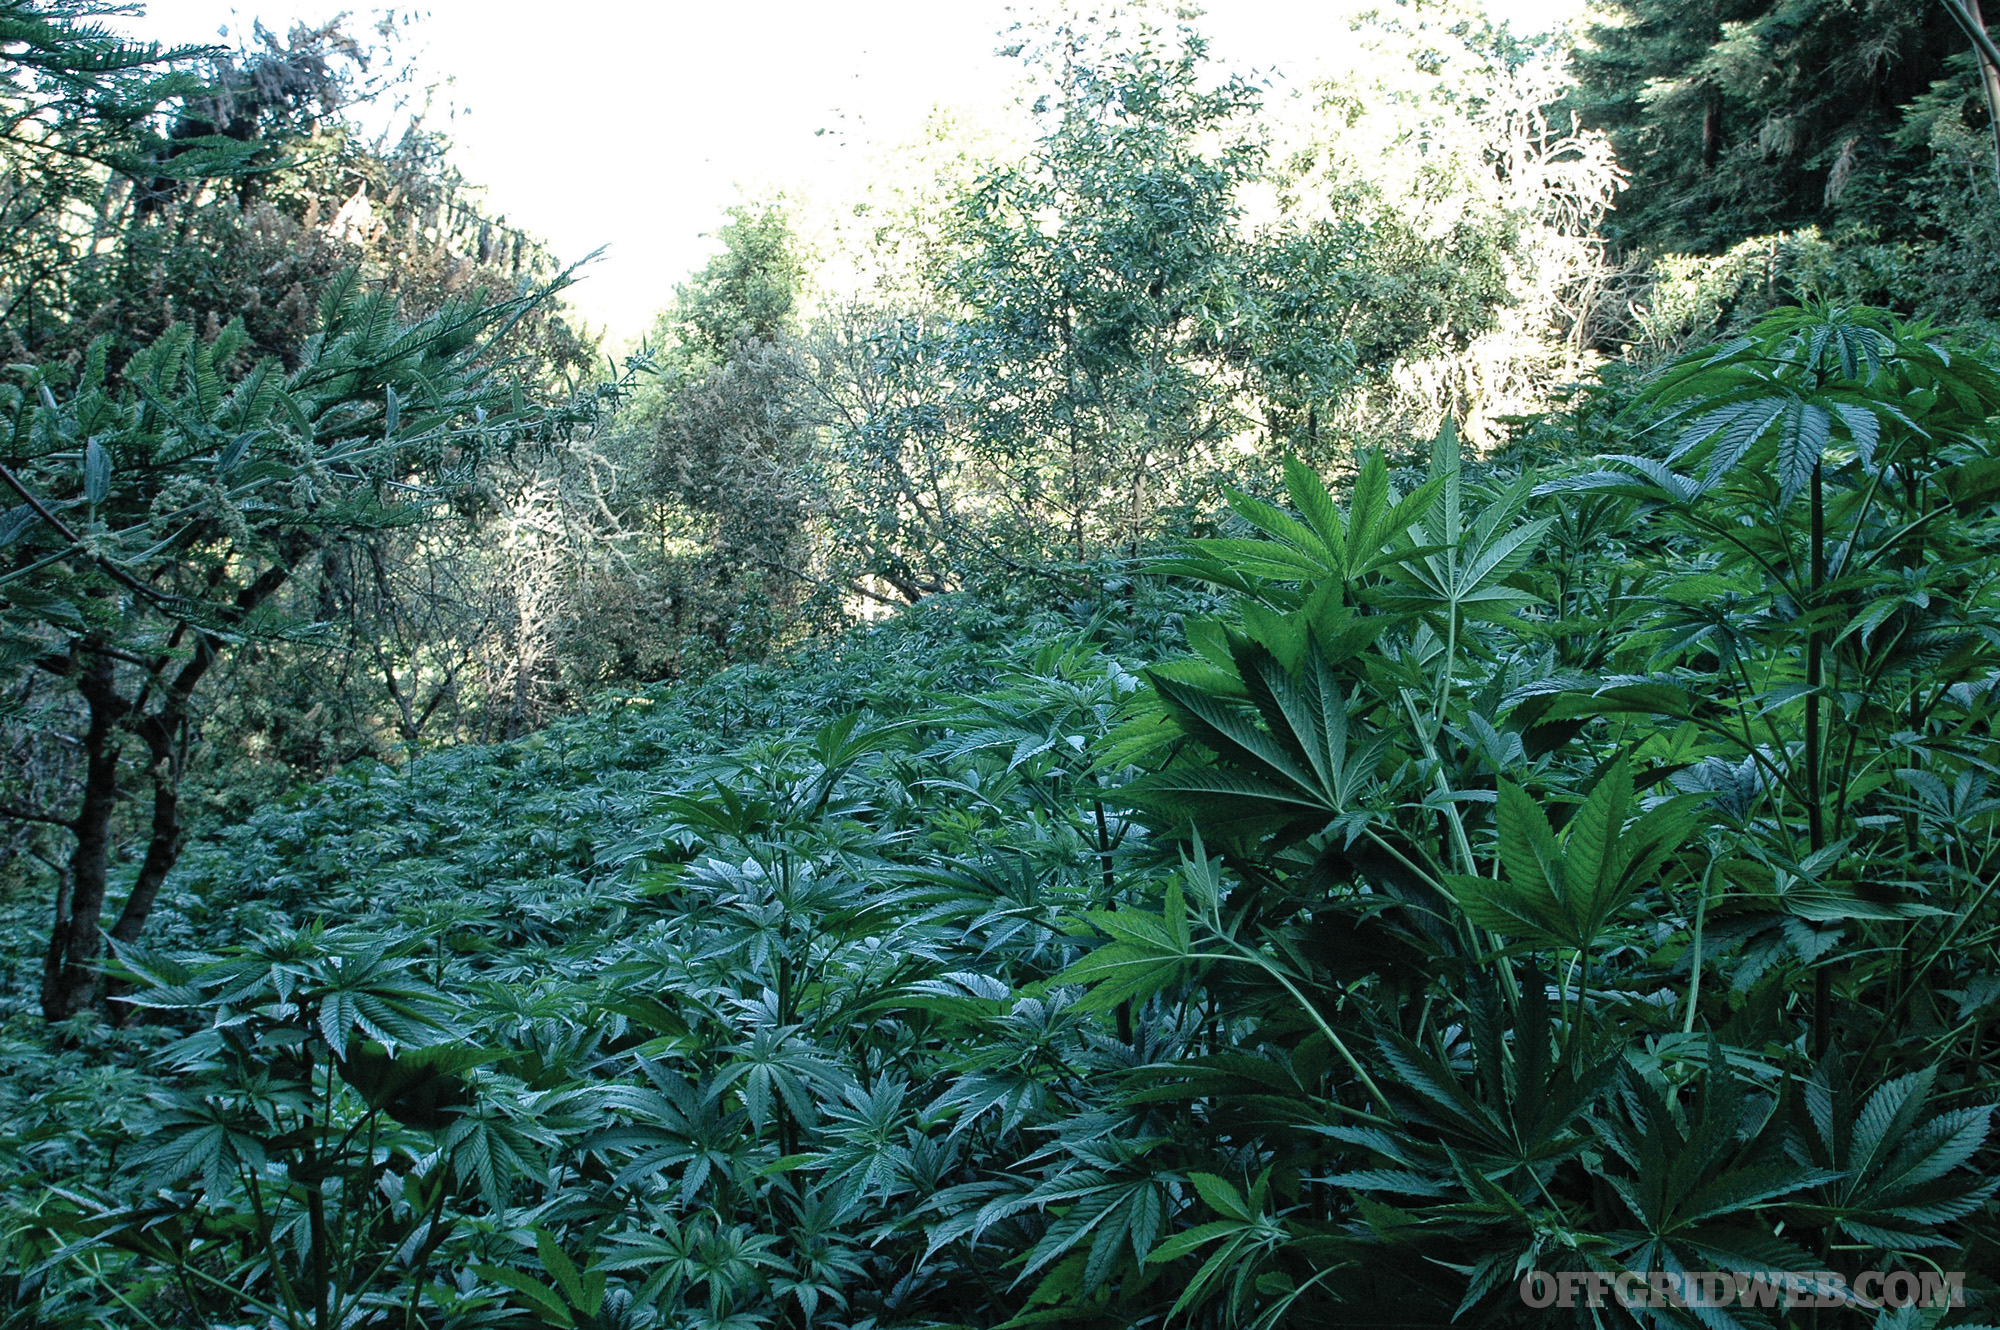
The next day we went up to the top of the canyon to get to the creek at its source. I expected to see an illegal water diversion from maybe a rancher or a development where someone was trying to create their own pond. We dropped down the canyon and found this beautiful creek dammed up with a garden hose and siphoner in it that was basically diverting it down the edge of the creek. So, we started following the diversion about 100 yards down, and I started to see some 2- to 3-foot marijuana plants.
Then, we saw a couple cartel growers, and these guys had long rifles — one had an AK, they had knives on their hips, and were in battle dress gear. This was on public land and an “oh crap” moment, because I had a civilian with me and we’re hiding on the bank of a creek. I had the red-dot on my AR carbine aimed at these guys, and I’m thinking if we got into a gunfight, it might be the crappiest moment of my career, if not the end of it. Fortunately, they didn’t see us, but I realized by the way they were operating that they weren’t the typical poachers.
We got out of there, called narcotics task forces, and started to integrate with drug teams — we became the guides to help those guys get into that canyon, do the eradication, and hopefully arrest these growers. We had a couple game wardens, the Santa Clara County Sheriff, and multiple different agencies. When we went in and did that raid they didn’t really put a lot of emphasis on catching these guys that I knew could’ve been caught and they ran off. We eradicated all the plants; it was a 7,000-plant grow. I’d already been on about 15 years and had done a lot of operations, but I’d never seen anything this devastating — and it was in my backyard. It was also against a type of poacher who was very violent, well-armed, and had complete disregard for public safety and environmental purity.
After we eradicated all these plants, we left and I looked around at the team leaders and remarked that there was still propane, a diverted waterway, the creek’s still dry, all these fish are dead, and there was all this trash. I didn’t even know yet about all the banned toxics that were there, and we had no idea we were potentially exposed to it. But they were like, “We don’t clean this stuff up, that’s not our job.” I thought that was total bullsh*t. The fact that we didn’t do any reclamation on the site to protect our wildlife and deter these guys from coming back really upset me. I talked to my chief at the time about it, and she agreed that if we’re going to get involved, we have to bring in that environmental component. That’s when we started to ramp up, and a handful of us began specializing in this with the sheriff’s department, Forestry Service, and other federal agents on these types of grow operations.
Fast-forward to August 5, 2005, which was only about the third operation we’d done after this one. We walked into a very fortified, very calculated grow site. My partner was shot through both legs by a grower who was lying in wait to defend their site before harvest time. It was a lot bigger than we thought. It was like 11,000 plants in one area and 32,000 for the whole mountainside, all spread out. So we probably got 20 growers, all armed, in a location that probably had no law enforcement presence in over a decade. The one shot that hit my partner did a lot of damage. I probably worked on him for three hours, trying to keep him from bleeding out before we had an air rescue. That gunfight shook up the perception of what game wardens do. The governor’s office was in disbelief about it. Nancy Foley, our chief at the time and very progressive, stuck to her guns and did a lot of TV interviews explaining that we were tactically trained just like every other officer and discussed that this wasn’t some mom-and-pop marijuana garden.
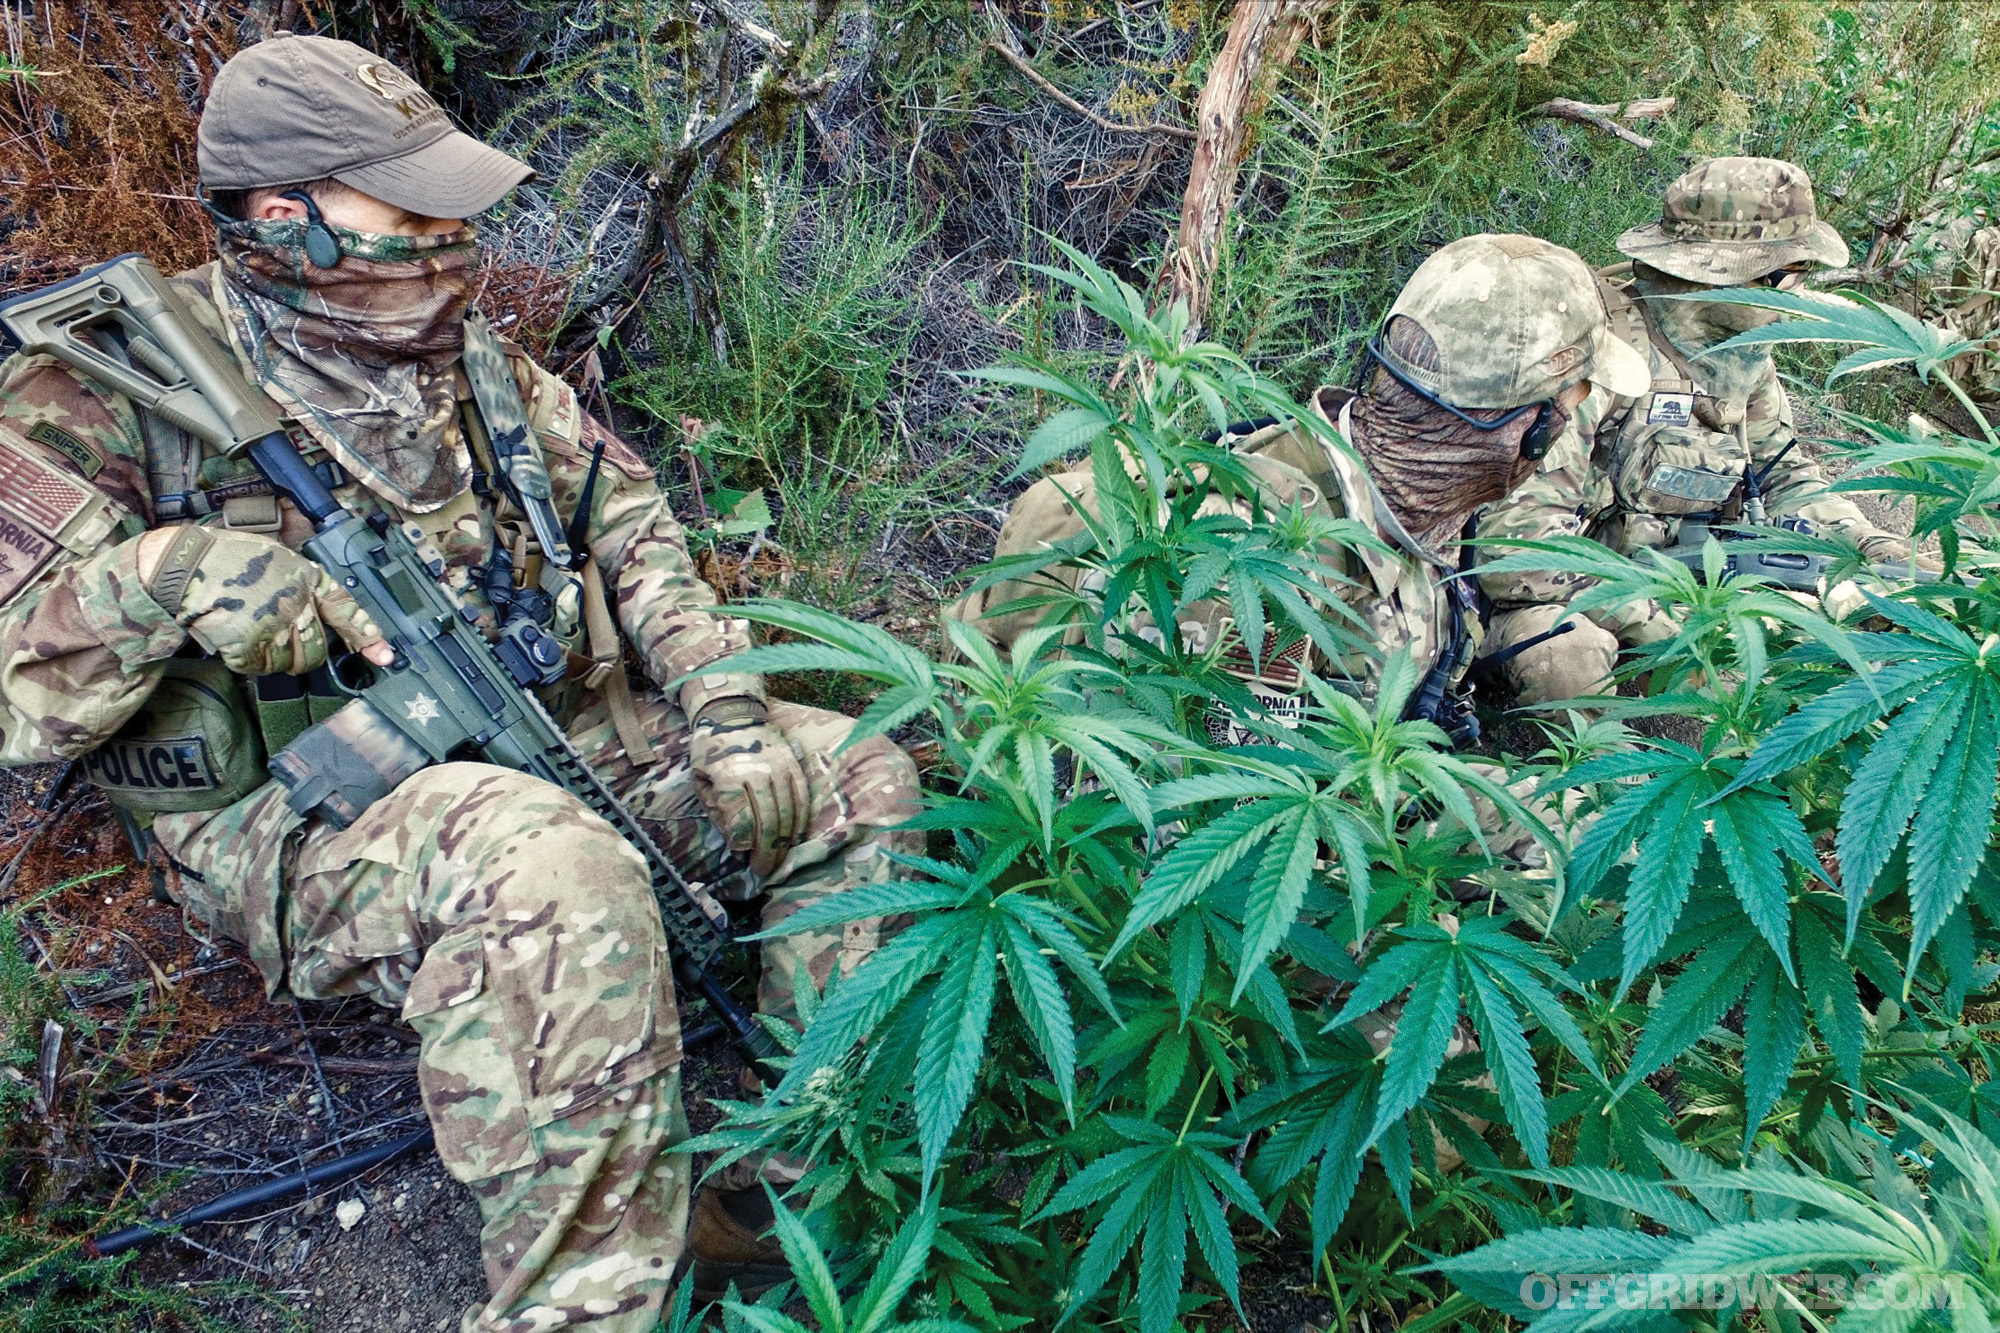
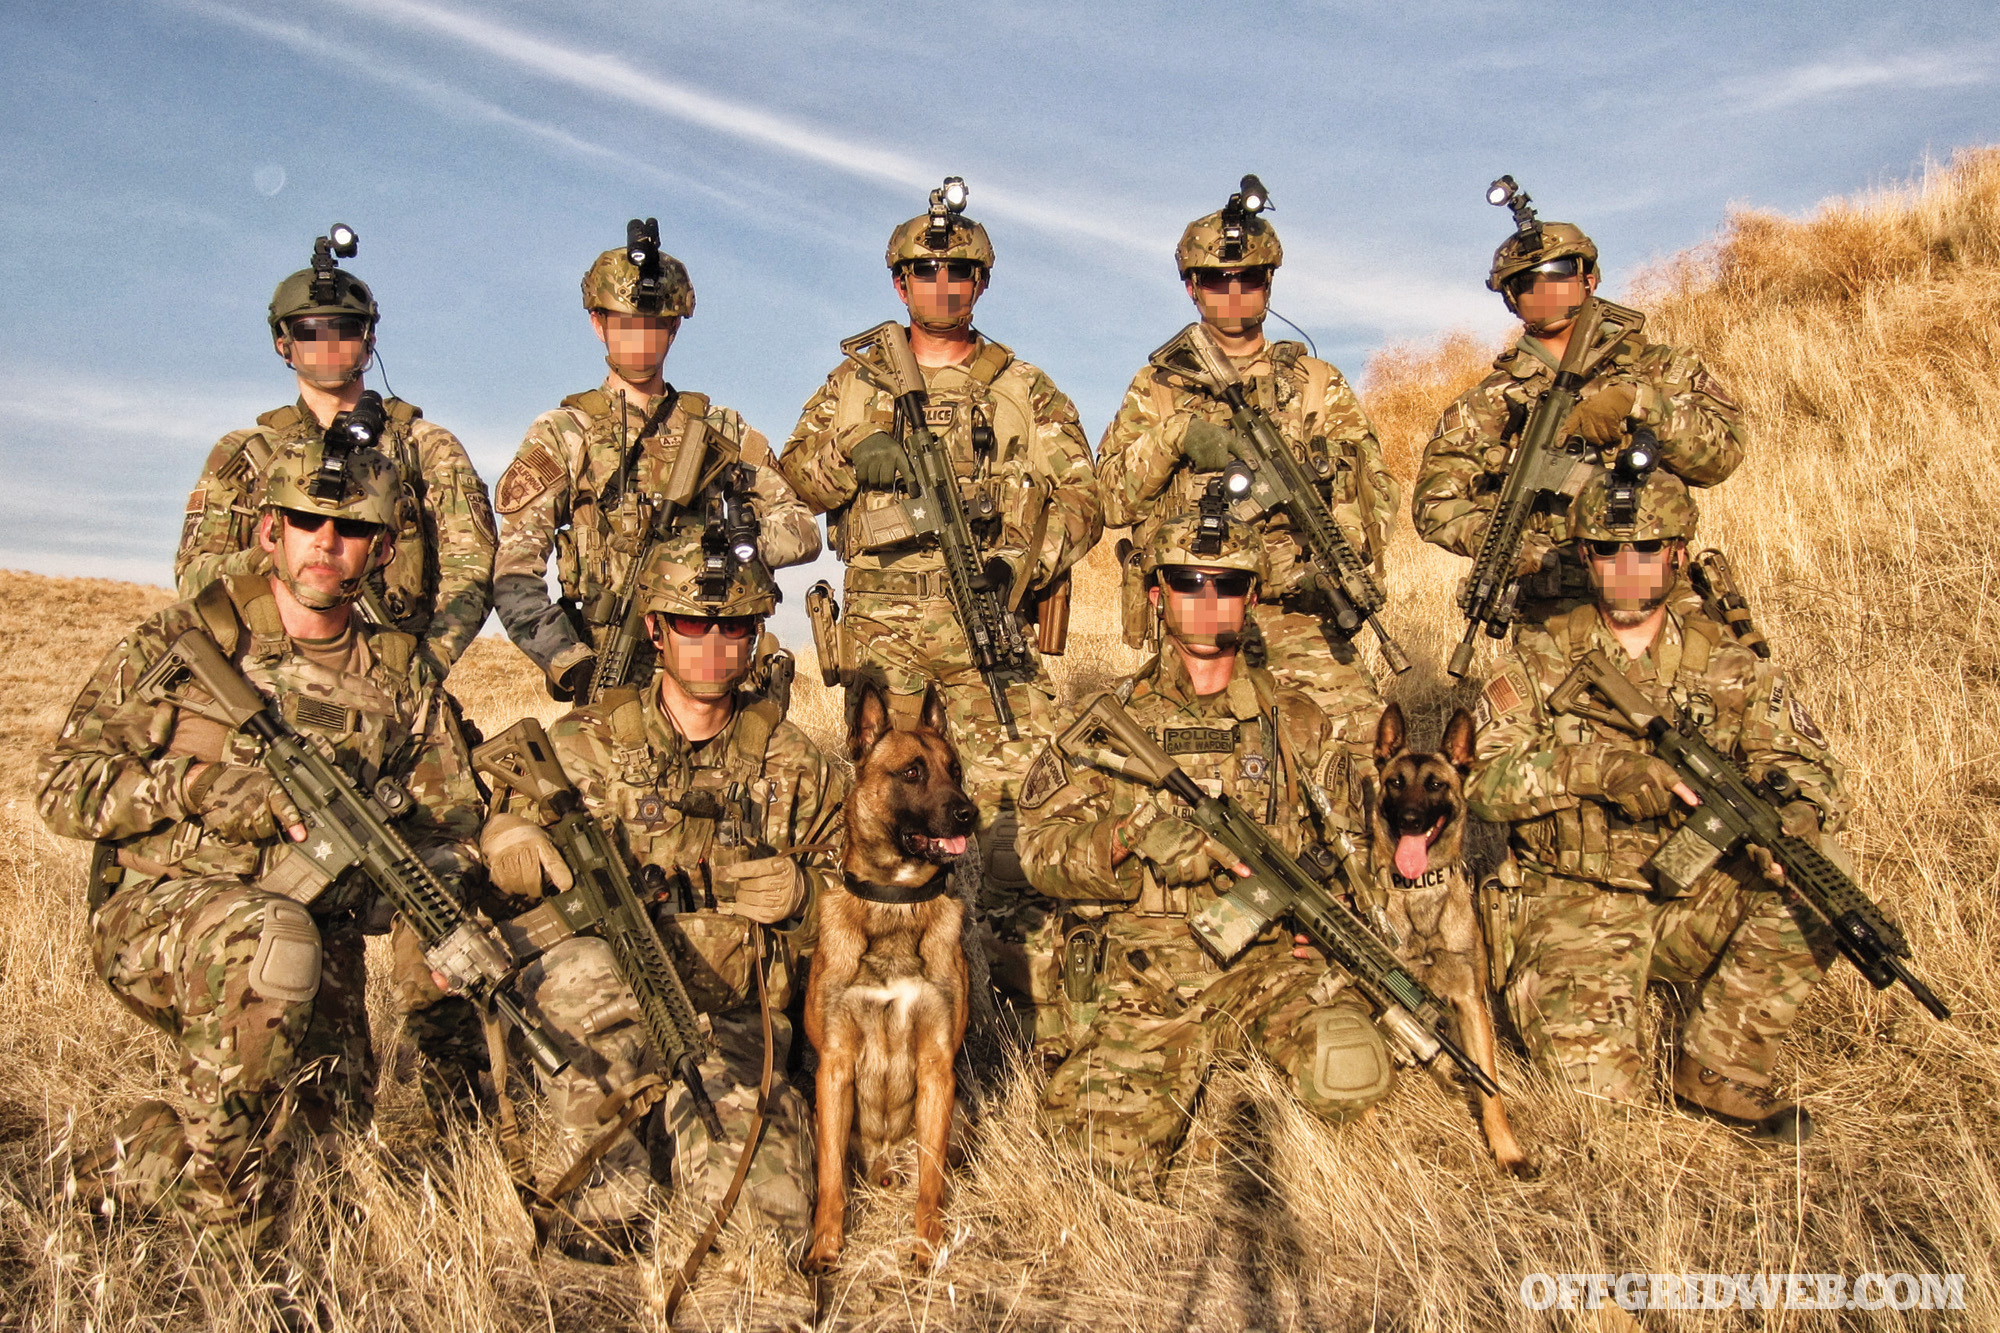
After we got ambushed that day, I knew we needed a specialized team with more trauma gear, more support, K9s, more air assets, and training to catch these guys safely and get them out of circulation. It changed everything, not only for us in California, but nationally. It was a long process of over a decade to get to the point where Hidden War, the second book, goes into. Another of my mentors who helped craft my career became chief in 2013 after Nancy’s retirement. I and another captain had a meeting with him and agreed we needed to test a tactical unit dedicated to doing this with no red tape, no traditional patrol duties, that worked strictly for headquarters with straight-line supervision to the top, basically modeled after SOCOM in the military.
I got to handpick 12 of us and incorporate our two best K9 handlers. Building that team and testing it proved it was effective, and six weeks into our pilot program we were just running out of money and looking for funding to keep doing what we were doing. We developed an operation called “Pristine,” where we worked every day of the month because the counter-drug 129th Rescue Wing out of Moffett Field had an airship or two and two ground crews to assist any law enforcement agency in California on an operation dealing with the cartels. They wanted to pick an agency who was really going to work hard to not only go chop down dope, but bring in the apprehension and environmental element — so they asked us.
In Operation Pristine alone, I think it was like 500,000 of these toxically tainted cannabis plants we eradicated, we caught around 200 guys, confiscated several hundred weapons, and did a lot of restoration. We proved ourselves throughout that process, and word got out very quickly because the military was talking up what we did together. There were so many things we’ve learned that I teach now to law enforcement and civilian groups.
War in the Woods goes into just finding the problem as a game warden, working side by side with other agencies, and being looked at as equals. We weren’t just the bird and bunny cops anymore. They saw us for the trained professionals we were, who could do a lot of hiking, hold up in the heat, and move around quietly, because we’d all grown up in the woods and learned how to track. In Hidden War, when we got to build the specific agency game warden team, some agencies and people within our own couldn’t get past the stereotype of what it was that we did — and that changed. It took about two years. We went full time January of 2014. The chiefs didn’t want to wait. They told us to develop all the protocol for testing, and that we’d be equipped and get all the support we needed. The gloves were off. We ran with it, and it was really effective.
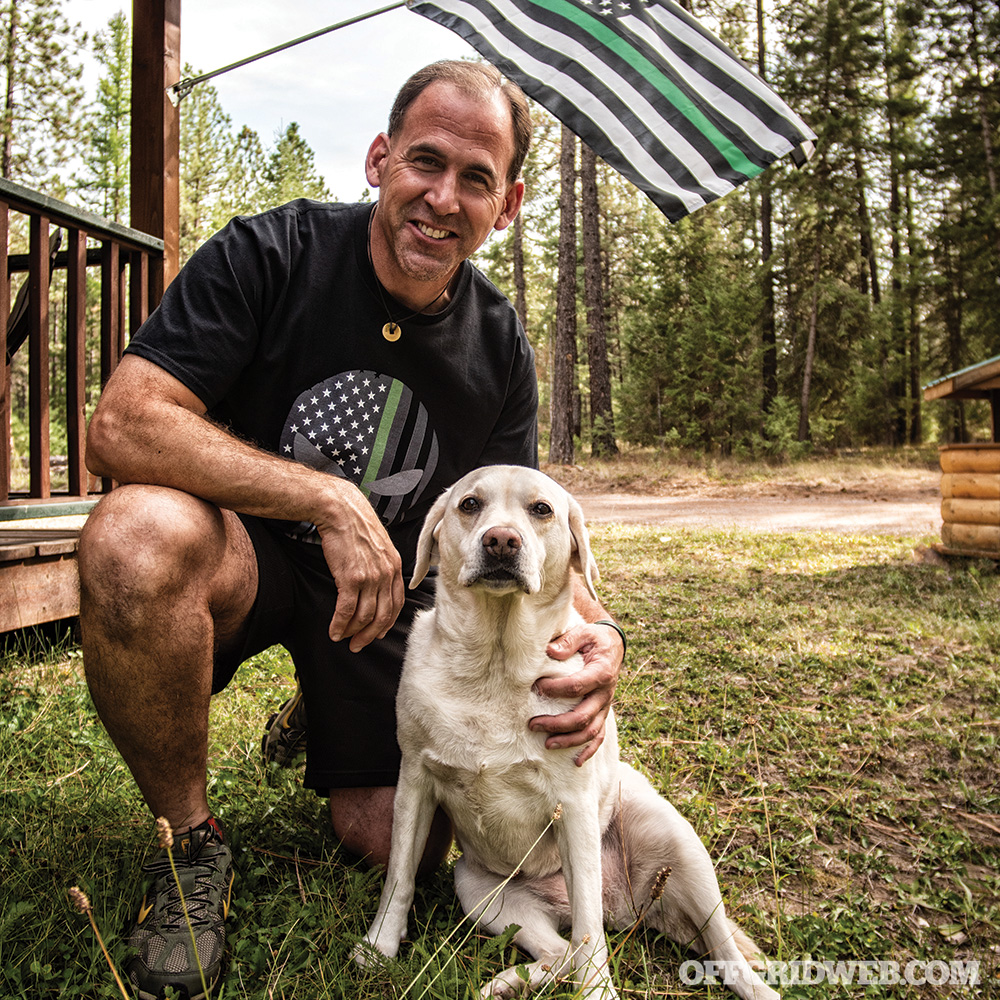
Since it’s been really successful; we don’t have that resistance anymore. When I speak to other conservation agencies throughout the country, it’s amazing to see how much this problem is popping up in other states and how ill-equipped they are to handle it. The whole thin-green-line thing that I’m all about in retirement is putting a good message out there, and I’m getting a lot of support for it. Hidden War goes into all the politics of building a non-traditional team and doing something that hadn’t been done before.
What do you think the biggest threats are to the resources you were tasked with protecting?
JN: Water, for sure. When it comes to the trespass marijuana grow problem, they’re diverting and putting the worst types of poisons in our waterways at the source headwaters. This carbofuran that’s banned in America and is a felony to possess, is the one thing besides the growers that the cartels need to smuggle up here. The other infrastructure they need is already here. Two tablespoons of this stuff can kill several miles of every living thing in a creek. Growers put a couple drops of it out in tuna cans for bears to find before they can get to the plants, and that’s enough to kill a 400-pound black bear.
It gets in the soil, the water that they pump to the plants; it’s sprayed all over the plants and looks like liquid paper. That’s not only an environmental crime, but it’s poisoning cannabis consumers because they’re ingesting it. It dissipates a little and falls off after it’s cut down, so you don’t necessarily see it, but it’s there. I’ve never seen so much concentrated dead wildlife, from big to small, in these grow sites.
Being a lifelong hunter, I know how critical genetics are in one area for deer to have a thriving population and a buck to have good genetics to put back big deer into the system. In one grow site, sometimes you see five or six trophy-sized animals that have ingested poison and their heads are on sticks like trophy caps. They’re just getting killed so they don’t impact their cash crop. That’s killing a herd for miles, because it can kill on contact and affects all the other biodiversity in the area.
Have you had any game wardens or others working these sites get affected by these toxins?
JN: We haven’t had anyone die, but we have had exposures where guys almost died. In fact, two years ago, a couple federal officers who were back east were exposed to carbofuran on plants, had temporary respiratory failure, and went partially blind. They were in the hospital for days. Had they not been immediately evacuated from the site and had the right injections, they likely would’ve died. When that happened, OSHA came in and looked at the protocol of how we deal with grow sites on a federal level, because this stuff is in forests all over the country, and we started to come up with more personal protection equipment requirements. That was the first wake-up call.
Even though there were others who’d had exposures that hadn’t made the news, we had two officers in California who had dropped into a grow and started to feel headaches, nausea, blurry vision, but they were OK because they got out quickly and were treated. We know now that a lot more people are getting exposed in the law enforcement realm and still having symptoms months after treatment. When the growers dilute it with liquids, it usually looks like Pepto-Bismol, and they carry it around in a water bottle in their backpack with a sprayer. They call it el diablo, which means “the devil.” They know it’s nasty, but they use it because it’s so effective at keeping everything off the plants. Since they’re not a legitimate cannabis group, they don’t care about health issues. They just know it’s really potent weed and is about half of what anything else costs on the black market, and they sell it all over the nation.
What do you think the biggest misconceptions are that the public has about the war on drugs?
JN: When people think of marijuana, many think it’s a waste of time. People wonder why we’re spending time on it with game wardens, and since it’s legal to leave it alone and the problem will go away. They think the war on drugs is a farce for revenue generation and to get cops jobs. These same organized crime groups out of Mexico are dealing in tainted cannabis all the country, but also in the off-season they’re cooking meth, dealing in fentanyl that’s killing thousands, dealing in human trafficking, and gun running to fuel the fight down in Mexico, so this is a bigger issue than just cannabis.
To talk about the war on drugs issue, the biggest misconception is that it’s not just a war on drugs, it’s a war on environmental destruction and threatening our public safety. Let’s not make it about drugs, let’s make it about environmental purity, the security of Americans within our borders, and the safety of everyone, even internationally. This whole issue isn’t necessarily about drugs; that just happens to be the black market product that’s fueling all this violence, environmental destruction, and is making it unsafe to be out in our wildlands. I was quoted by the Associated Press not long ago saying that if cherry tomatoes were on the black market and the demand was so high that they were $4,000 per pound, we’d probably have poisons on them, gunfights, and some war on vegetables. You could make it about any product there’s a desire to have, there’s no regulation, and you can’t get on the open market. The war on drugs has validity from the standpoint of environmental protection and public safety. Are we doing it correctly? Not necessarily. Is there any easy solution? In the last chapter of Hidden War, I go into the challenges of regulation and if it will it help in the cannabis world.
Like I spoke to Joe Rogan about on his show, because he’s obviously an advocate, if we’re going to legalize and regulate, we need to do it right. We need to do whatever we can do to eliminate a black market that’s gotten so big it’s generating massive amounts of environmental crime and public safety threats. If we’re going to do it, we’re going to have to do it in such a way that we don’t encourage more of a black market — which we’ve started to see in California and in other states with red tape, fees, and lack of trust in government by growers who’ve traditionally been in the black market after Prop 215 that goes back 20 years. They’re not registering or regulating because it’s too costly for them to do so. They’re staying in the black market still, but they’re not putting a bunch of poisons on their crops. There’s still that demand in many other states that want good weed, and they can’t get it through legitimate channels.
In addition to that, since we have regulated for two years in California, the cartel thing hasn’t slowed down at all. Those guys have just continued to see that the black market is thriving, and now there’s all this enforcement attention on growers who are regulating and getting registered. About one-quarter of the game wardens in my old agency are dedicated to cannabis enforcement. We were a tactical elite unit dealing with the cartel threat, so we’re not the private land inspection teams, but there’s watershed enforcement teams, marijuana permitting teams, all funded to just regulate and make sure everything’s done right under the new requirements. That’s taken a lot of enforcement pressure away from the cartels in public lands. We’re one of the few teams doing it. The Forestry Service is doing it, sheriff’s departments, and a lot of other regulatory units like DEA and BLM in certain cases, but they’re too overwhelmed to handle the unregulated growers.
The penalties for public land trespass grows went from a felony to a misdemeanor, and a misdemeanor to an infraction for a juvenile cartel grower. We’re seeing a lot of teenagers within the organization working with the older, vetted grow bosses on these sites, and they’ve watered down their crimes. The DAs can’t even prosecute this without environmental enhancements so we bring that in to get felony status of water pollution, deer poaching, or whatever the case may be. So when someone says, “Let’s just legalize it, and the problem will go away,” it’s not that simple. It’s something we have to look at federally and not just state by state. Every time we do something right in one state, another state sucks in the black market from the state that made a change, and it becomes a revolving cycle of never being unilaterally successful.
It seems like with proliferation and incremental legalization that the war on drugs is tougher now than it was 30 years ago. What do you attribute that to?
JN: The thin-green-line officers of Border Patrol agents, conservation officers, military, and park rangers haven’t grown in numbers, but public demand has. Population in America has skyrocketed in the last 30 years. I’m approximating, but the last statistic I read was 40-million-plus cannabis users in America, and that’s growing every day. A lot of that is black market users in states where you don’t have regulation. Law enforcement is taxed so much in other areas with limited numbers; I think that’s why it’s gotten worse.
One of the things we did in Hidden War was a comparison from when War in the Woods was published. We did a breakdown of how many game wardens were in each state, the total number nationally, and the population in each state. It’s been exactly 10 years in between books. We did that same analysis, and it’s crazy. We’ve gone up like 1,000 game wardens nationally, and you can only imagine how population growth and the impacts it’s had on our wildland areas. It’s kind of free game for the cartels, because they realize law enforcement is so overwhelmed. They keep doing their thing and understand they’re going to lose a few grows, but even if it’s two out of 10, they’re still going to make like $100,000,000 or more. Law enforcement just can’t keep up with it.
There’s tons of money being poured into the border wall. What kind of effect, if any, do you think it’ll have?
JN: I think a wall could slow things down if it was built the right way, but it’s not just surface level we’re dealing with. There’s an established tunnel system underground, stuff coming in from the coast on panga boats delivering dope, people, and weapons from Mexico into America. A wall could slow the flood down a little bit, but I don’t think it’ll solve the problem. In gathering intelligence and talking with the people we’ve captured, they laugh when we talk about border control. At best, it’s a speedbump on the I-5 freeway.
If they put up a few hundred-thousand dollars, they’ll get their operatives into America and pay a small amount for the money they’ll generate. Case in point, we’ve had multiple deported felons, classified as such because of heavy criminal history, and have deported them well into the double digits from site to site — and they keep coming back. Different K9s have apprehended the same guy multiple times. That makes me skeptical that a wall will solve the problem. The bigger thing we have to look at is what’s happening on both sides of the border. How can we hopefully have an impact down there with Mexico helping us on the problem?
Why do you think there’s so much resistance to federal legalization?
JN: I think it’s frame of reference and different contexts of what people consider drug abuse or how they classify marijuana. You have certain states with varied perceptions and, until we get the testing and things happen federally or more progressive states work together to address this problem, we won’t get on the same page of how we perceive what cannabis really is. Things like what the medical benefits are and if we’re going to test it federally to validate that it has medical benefits. If it’s going to happen federally, it’s not going to happen overnight, so what can we do on the ground to hold back the tide as best we can right now? Whether you’re for or against, let’s just take all that out of the equation and look at what’s going to be good for our public safety and environmental purity throughout the country. Let’s try to make some decisions based on that.
What involvement do game wardens have with wildlife trafficking in the U.S.?
JN: California is one of the most progressive Fish and Game agencies in the country with its training level, resources, and diversity of teams. In California, you have a little bit of everything. You have the coast, with abalone which are heavily threatened and there’s a black market for. Sturgeon eggs are very high dollar on the black market. There’s the ivory trade in L.A. and San Francisco, with people wanting legitimate ivory pieces for multiple reasons. All the states have these problems, and that’s why these teams were built. In California, we’d been doing that even before the formalized wildlife trafficking team had been built. It came about right after our MET team got built, and it’s been very effective to the point they’re out there doing covert buy busts and surveillance, catching everything from the things I just mentioned to people selling black bear gallbladders.
The ivory trade, though — that’s where these animals are so impacted over in Africa because there’s such a huge amount paid for a rhino horn or elephant tusk. By the time it gets into the black market, you’re talking hundreds of thousands of dollars, if not more, on just a few animals. That’s where we’ve embedded and are working very closely with the African officials and their game wardens. We’re sending people over there, communicating, and sharing information at the source. When we start communicating country to country and get into these black market circles, we now have a team that can go anywhere in the state and embed on a particular suspect as long as they need to, and basically intercept the ivory coming in. We’ve really stepped up the game with our federal colleagues.
I used to do a lot of covert undercover work on wildlife illegal sales and buys with our special operations unit. What we’ve learned is when you catch a guy like that red-handed at the source, the ripple effect it has on national and international commercial poachers is overwhelming because you never know who’s who. It doesn’t have to be ivory; it can also be prohibited reptiles or primates. We’ve had celebrities with an illegal primate that’s endangered and not supposed to be here, but they paid a huge amount of money and it got into the black market. There’s a black market for everything wildlife; it’s nuts. There’s tons of money in it, and second only to the drug trade when you look at the statistics.
What can private citizens do to aid in the conservation effort?
JN: Be aware, know who to contact if you run across this, and spread the message. The more people who can spread that message, the better. So few people know this is really going on and the magnitude of it. One thing we need to do is unify. The more people get involved and shed light on it, then you see more funding, more education, it getting in the press more. Then, we start to feel more empowered as citizens to stand up and say we’re not going to allow this. That’s how they can be a force multiplier. Hunters, fishermen, and outdoorsmen and women are our best reporting parties through things like the CalTIP Program to turn in poachers and polluters. Every conservation agency has a turn-in-a-poacher hotline. Use it. Help your game wardens out.
Explain how legal, regulated hunting and fishing assists in the conservation effort.
JN: Glad you asked that. What we need to remember is, even if you’re not a consumptive user of wildlife or don’t believe in hunting or fishing, try not to chastise those who do it ethically and legally. Conservation is based on a balance of species, natural depredation in the wild, and environmental changes. Ethical and legal hunters and anglers are actually helping all of those species numbers, because they’re buying into a program that has studied the population and determines how many need to be taken to keep the population in balance so too many don’t die of starvation or from predatory kills. That meat is being eaten, appreciated, respected, and done so humanely.
All of us as conservationists who hunt and fish — our license fees, ammunition, firearms, and the equipment we buy, percentages of that fund go right into agencies like California Department of Fish and Wildlife to study and make sure that population thrives. When we talk about the increase of urbanization and population, which leads to less open spaces, once we start to impact that through development, we’re impacting wildlife many times in a negative way because we’re leaving less habitat for larger numbers of animals within particular species to thrive. If we don’t manage, help, or support a species in a population increase where it’s depleted, as conservationists from all that funding at the agency level, it couldn’t be done without anglers, hunters, and conservationists.
That’s not saying everyone should be a hunter. I’ve spoken to preservation groups on the animal rights front as much as I’ve talked to people who are like-minded. It’s interesting when I talk to the Humane Society, PETA, or Mountain Lion Society in California and give a presentation on the cannabis thing and all the dead wildlife. We don’t get into a debate about it, because whether you hunt and fish legally and ethically or absolutely don’t want to, no one wants to see an animal die this way from a banned poison by someone who isn’t even here legally and working for groups committing felonious crimes all over the world, especially here in America. A majority of our tips to find these grows come from hunters, anglers, and hikers getting into those pristine waterways to check them out. They’re making one of the biggest dents by finding it and turning this stuff in for the sake of everyone’s wildlife, no matter where you sit on the spectrum.
What other non-drug-related threats should people know about that you’ve encountered in your line of work?
JN: You also have the environmental issues as well, with everything from rattlesnakes to wild animal attacks. Something that’s drug related that we didn’t really talk about is stuff like pungi pits, tripwires, boobytraps, and hidden holes. All outdoor public should know to be careful of where they’re at. Be aware of your surroundings and know that some of this stuff is on trails. There are boobytraps in and around roads, and it doesn’t even have to be drug related. It can be felons on the run, and they can have some nomadic camp where they’re trying not to be found. The public can run into that to. It’s a small amount of people who can be that threatening, but they’re out there.
I ran across that a lot, and we still do. We get the guy who has an arrest warrant or there’s a group of criminals doing something. Where are they going to go to get off the grid into an area that has as little law enforcement as possible? They’re going to get into our wildlands and remote areas. Who’s going to run into them? It’s going to be someone like the game warden.
About John Nores
Age: 51
Hometown: Silicon Valley, CA
Required reading list:
- Fearless by Eric Blehm
- Ghost Rider: Travelling the Healing Road by Neil Peart
- River by Colin Fletcher
- Into the Wild by Jon Krakauer
- Marine Sniper by Charles Hendersen
- Time to Hunt by Stephen Hunter
Favorite quotes:
- The woods are my church
- Change is inevitable, but growth is optional.
Favorite hunting: Big game
Favorite fishing: River or high altitude in Montana
Favorite firearm: Axial Precision Convergence and Himalayan rifles; Glock handguns
Favorite knife: My upcoming signature blade, the Thin Green Line Trailblazer folder co-developed, manufactured, and marketed by Mike Vellekamp’s VNIVES
Accolades:
- California Governor’s Medal of Valor
- San Jose State’s Criminal Justice Hall of Fame induction, 2018
- Regional Officer of the Year, 1999
- Nores’ MET and K9 Phebe were recognized in both the California Senate and Assembly in January 2017 with Resolution Awards for service, the first congressional resolution for our officers in the agency’s history
Childhood idol: Dad
URL: www.johnnores.com
Instagram: @johnnores





 Sheena Green
 Chad McBroom