Offgrid Preparation Knife Refinishing: DIY Acid Etching and Stonewashing
Including a knife as part of your every-day carry is pretty much a no-brainer. This cutting tool is useful for a nearly-endless list of tasks, whether you're opening boxes at work or splitting firewood in a survival situation. However, let's be real — it's not always all about pure functionality. It's nice to have a knife that both looks cool and cuts effortlessly. If that weren't the case, more of us would end up carrying around simple box cutters, and there wouldn't be as much of a market for high-dollar custom blades.
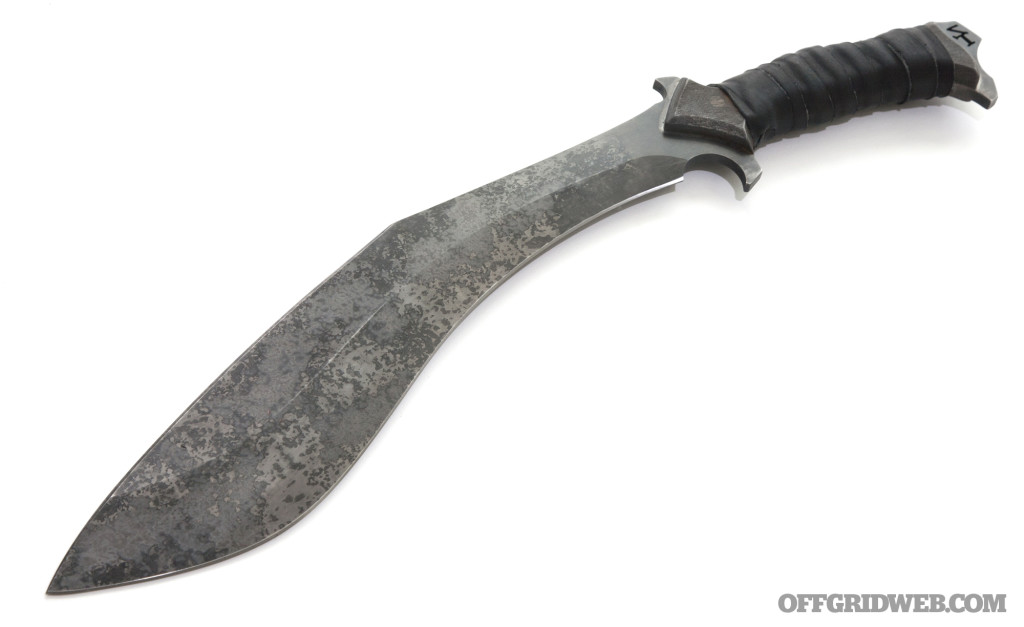
The cool splatter-finish on this Zombie Tools Vakra kukri was created through careful application of ferric chloride...
So, what do you do if you have a knife that works well, but is a bit aesthetically boring? You could retire it and buy a new one, or you could spend a little time and learn to customize your existing knife. Time-tested methods like acid etching and stonewashing are frequently used by major knife manufacturers, and with a little practice and around $100 in materials, you can use these techniques as well.
WARNING: Before you begin refinishing any blade, take every safety precaution. Be careful to ventilate your work area and wear protective gear. Research the type of steel and acid you'll be using, and any dangerous interactions they may have. Remember that you're dealing with powerful acid and/or fast-moving stone fragments, so protect your eyes and skin. If you don't take these precautions and hurt yourself, don't blame us. This is not an exhaustive guide — we encourage doing additional research to ensure your own safety.

Acid etching makes use of a chemical reaction between an acidic etchant solution and the steel of your blade. There are many variables here, such as the type of steel used, the type of acid applied, and the amount of time the blade is treated. Etching acids can range from powerful hydrochloric or sulfuric acid to much weaker acids — even household vinegar, citrus fruit, or mustard can be used effectively.
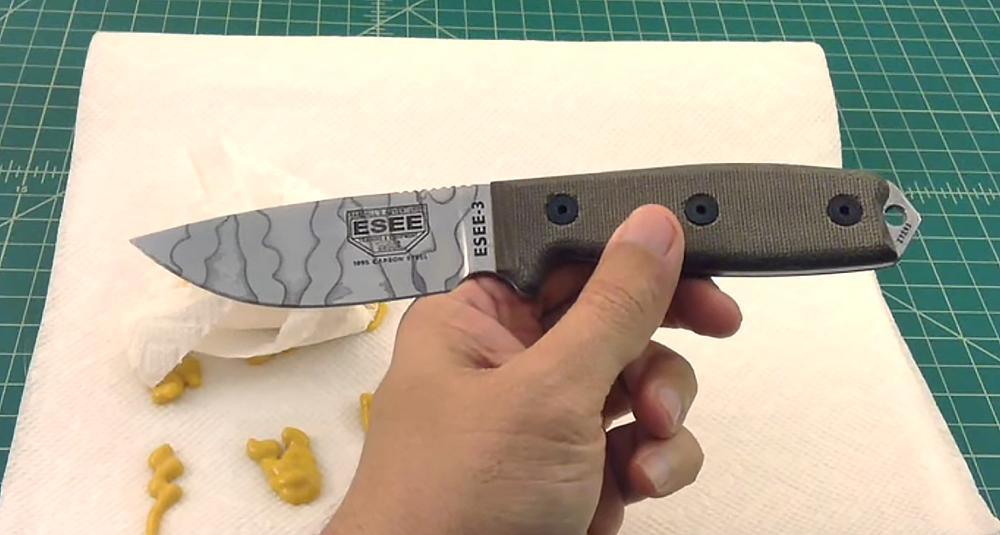
In the video linked above, YouTuber TheSmokinApe acid-etches an ESEE blade with French's mustard. Yum.
However, for the purposes of this guide, we'll discuss one of the most common acid etching solutions in the knife industry: ferric chloride. This etchant is available from most electronic supply stores for about $15 per quart, usually under the name PCB etchant (used for acid-etching circuit boards). Warning: while ferric chloride works well on steel, DO NOT use it with aluminum parts, as it can create a dangerous reaction. Again, research your acid and metal ahead of time to avoid unwanted reactions.
Above: Zombie Tools uses ferric chloride solution to acid etch its blades, yielding a dark and blotchy finish. You shouldn't expect to replicate this exact look without some serious trial and error, especially since Zombie Tools keeps the exact process they use on these blades a trade secret. However, basic acid-etching is also an approachable DIY skill.
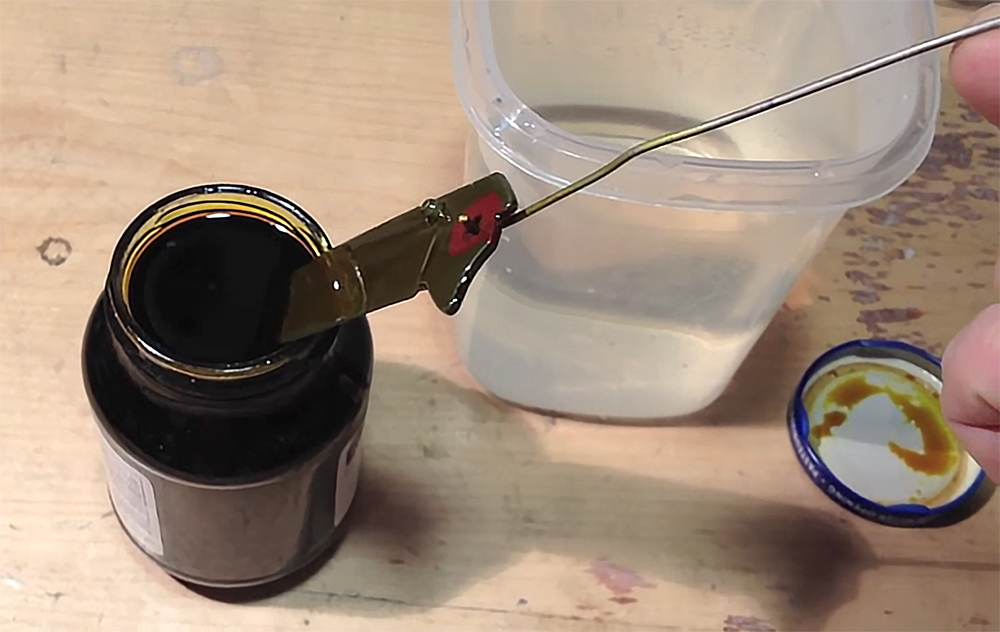
In the video at the end of this article, Smock Knives demonstrates both DIY acid etching and stonewashing.
Often heard in the context of denim fabric and jeans, stonewashing (also called tumble finishing) is a technique that works exactly as you'd imagine — an item is washed in tumbling or vibrating container with water, soap, and an abrasive material. With fabric, this produces a lighter, well-worn appearance. With metal, it can create anything from a finely-textured matte finish to a rough scratched-up look.
Above: In our recent tour of the Zero Tolerance knives HQ, we saw how the company uses large industrial machines to stonewash its blades. On a much smaller scale, it's possible to use a similar technique in your own garage.
The end result of stonewashing is highly-dependent on both tumble intensity and the media (i.e. stones) used. Extremely fine media, such as sand or walnut shell fragments, will produce an even matte finish — this is often considered tumble polishing rather than a true stonewash.
Bead blasting or sandblasting, which fires these abrasives from a pressurized nozzle, is also used to achieve these lighter finishes. However, these techniques will require an air compressor and media blasting setup, which can be expensive. So, we'll be focusing on the rougher side of the spectrum, as it's easier and less costly for beginners.
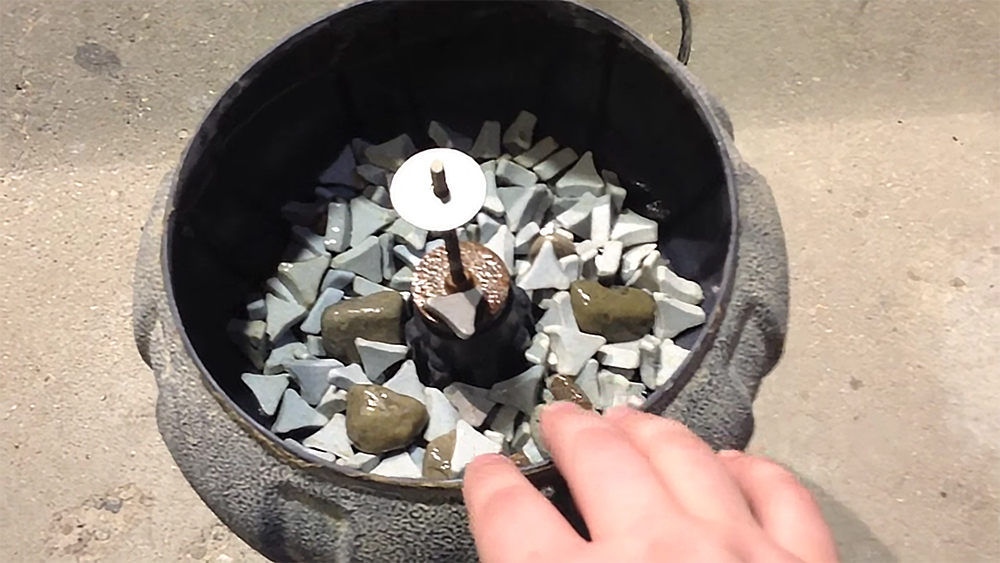
Stonewashing can be accomplished with under $100 in materials, and these items can be reused on future projects.
Heavier stonewashing media typically consists of literal stones or ceramic pieces, which produce a rougher worn appearance. Increasing the vibration or tumbling intensity or adding unevenly-shaped natural stones can enhance the roughness of this finish.
So, what do you need to acid etch and stonewash a knife? Here's a quick breakdown.
Acid Etch:
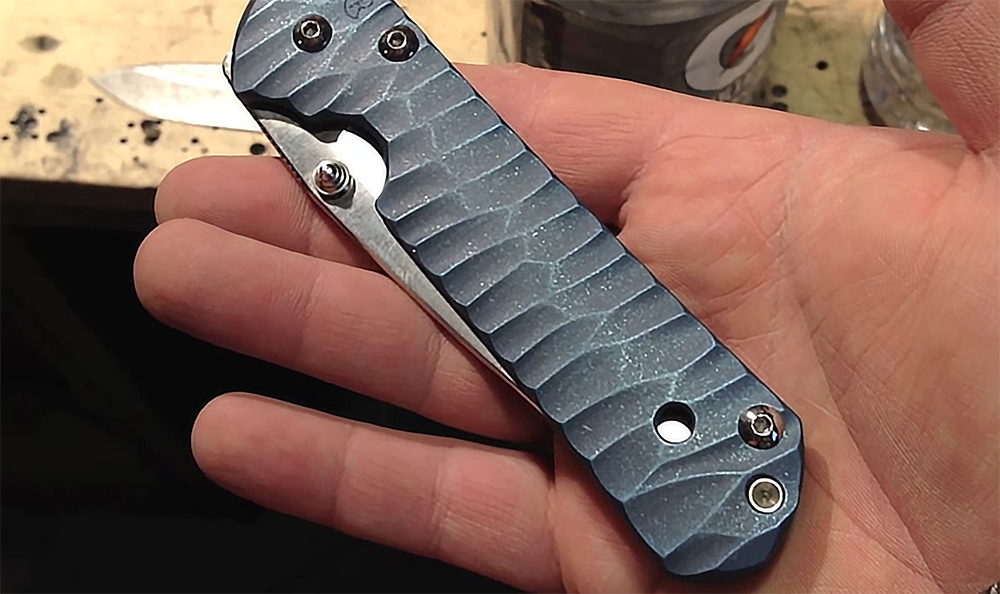
Other metal parts, such as handle scales, can be stonewashed as well. This handle was stonewashed, then anodized.
Stonewash:
Once you have these materials, the techniques are quite simple. Some fine-tuning and experimentation will be necessary to get the finish you're looking for, so start out with an inexpensive knife. The following video from Smock Knives shows how to perform the DIY acid etch and stonewash process on your blade (or handle, for that matter). We'll also summarize the steps below.
Acid Etch:
Stonewash:
Stonewashing can be used on its own, or applied after acid etching for a darker worn appearance.
After following the steps in this article, a reader named Alex sent us the below before-and-after photo of his Spyderco. We'd say it turned out pretty cool — nice work, Alex.
Planning to try refinishing one of your knives? We'd love to see the results. Snap some photos and email them to me.
 STAY SAFE: Download a Free copy of the OFFGRID Outbreak Issue
No Comments