In This Article
On rare occasions, truth is stranger than fiction. If the life story of Lieutenant General Adrian Carton de Wiart was made into a movie, it would almost certainly be dismissed by the general public as a laughable exaggeration of reality. We can't say we'd blame them, either — without previous knowledge of the historical accounts, watching an actor portray this incredible journey of warfare and survival would seem unrealistic at best.
A 2015 BBC article compared Carton de Wiart's story to that of an “unkillable” comic book hero, and one British military veteran therein likened him to Robocop. The Oxford Dictionary of National Biography refers to him as “a figure of legend”. Sir Winston Churchill even wrote the foreword to his autobiography, calling him “a model of chivalry and honour”.
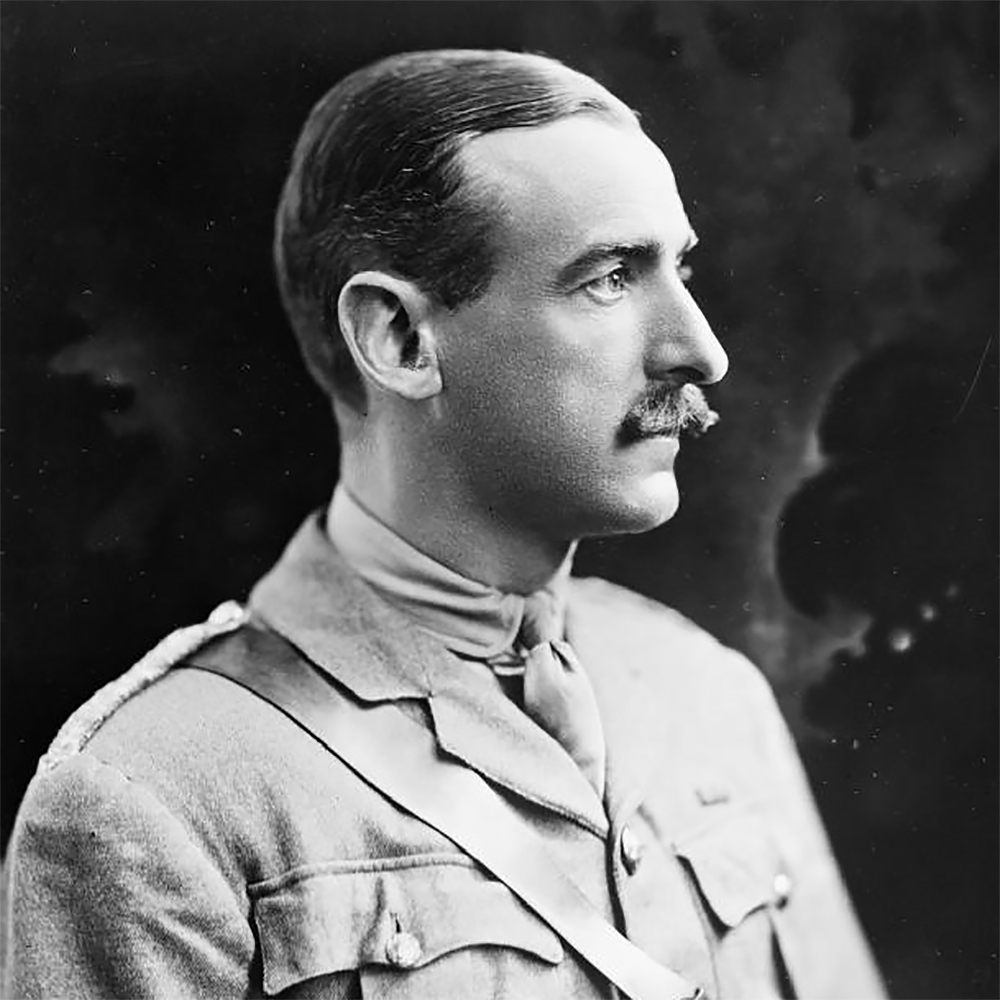
A portrait of young Adrian Carton de Wiart. Photo credit: Wikipedia / IWM.org.uk
So, who was this man, and how did his real-life experiences become the stuff of legends? Read along as we summarize his incredible life story.
Birth & Early Military Career
Adrian Carton de Wiart was born in Brussels, Belgium in 1880, to wealthy aristocratic parents. His mother died when he was six years old, leading his father to move the family to Cairo, Egypt. There, young Adrian learned to speak Arabic fluently. He was eventually sent away to a Catholic boarding school in England, and continued on to study law at Oxford college.
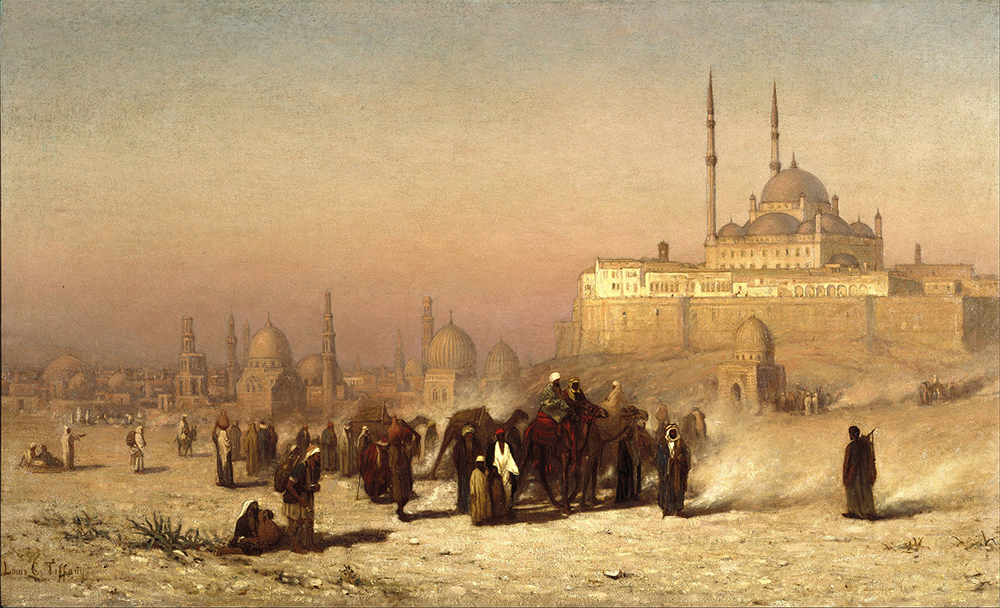
A painting of Cairo, Egypt by artist Louis Comfort Tiffany in 1872. Source: Wikipedia / Brooklyn Museum
While a law degree from Oxford would be an impressive accomplishment to most, it wasn't enough for Carton de Wiart. At age 20, he left Oxford without telling his father, and decided to enlist with the British Army. He wasn't yet old enough to enlist, and wasn't even a citizen (subject) of the British Empire, but that didn't stop him. After falsifying his name and age, he was soon headed off to fight in South Africa in the Second Boer War.
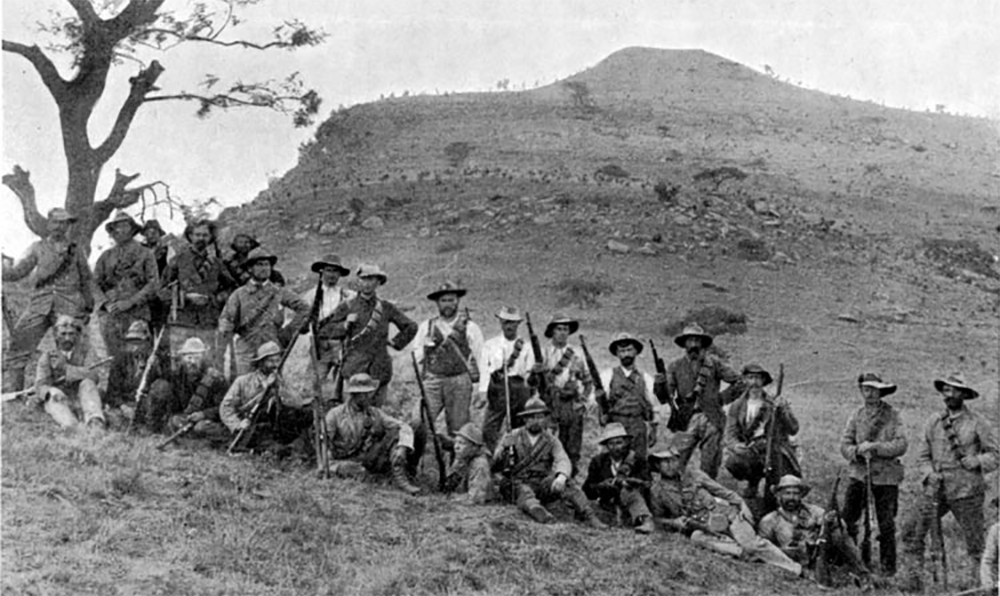
Boer militiamen, such as those pictured here, fought the British in modern-day South Africa. Source: Wikipedia /...
During his time in South Africa, Carton de Wiart was shot in the stomach and groin, and forced to return to England to recuperate. He returned to Oxford for a short while, then continued climbing the ranks in the British Army. By 1901, he had become a second lieutenant in the Royal Dragoon Guards; by 1904 he was a lieutenant; in 1910 he was promoted to captain. He also became a naturalized British citizen, married, and had two daughters.
World War I
The First World War broke out in 1914, at which time Carton de Wiart was serving as part of the British Camel Corps in Somaliland, now a part of present-day Somalia. His detachment attacked a fort held by enemy leader “the Mad Mullah”, and Carton de Wiart was shot twice in the head. One bullet destroyed his left eye, while the other struck his ear.
Aside from uttering a prodigious string of expletives, Carton de Wiart was relatively unfazed by this serious injury. General Hastings Lionel Ismay, who served with him during the conflict, wrote, “I honestly believe that he regarded the loss of an eye as a blessing as it allowed him to get out of Somaliland to Europe where he thought the real action was.”
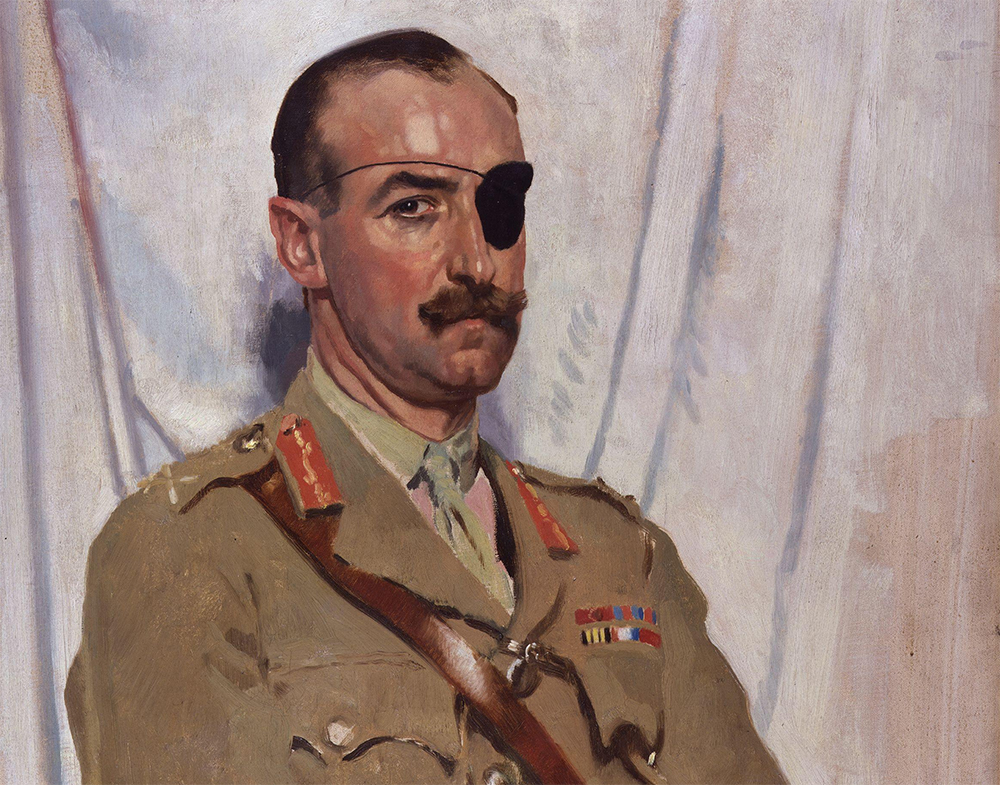
This portrait of Adrian Carton de Wiart was painted in 1919, and displays his distinctive eye patch. Source: Wikipedia...
After recovering in England, Carton de Wiart donned a black eye patch, then headed into combat yet again in 1915. He fought on the Western Front in WWI, and was injured seven more times, including gunshot wounds to the head, ankle, hip, leg, and ear. The most notable of these injuries was the result of a German artillery shell which mangled his left hand. A surgeon declared that the damage would not require amputation, but Carton de Wiart disagreed. In his autobiography titled Happy Odyssey, he wrote, “I asked the doctor to take my fingers off; he refused, so I pulled them off and felt absolutely no pain in doing it.”
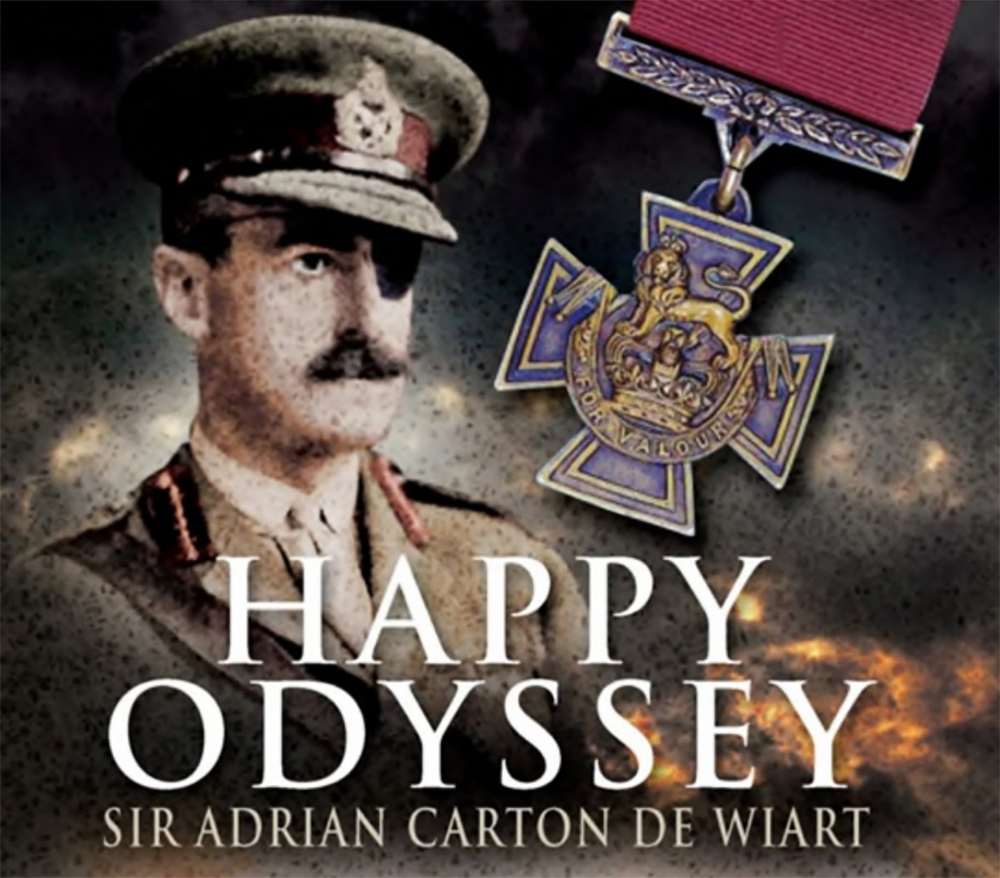
Somewhat ironically, Carton de Wiart titled his autobiography “Happy Odyssey”.
Later that year, the remainder of his hand was amputated. After another period of recovery in England, he returned to the war and led a battalion at the infamous Battle of the Somme.
Inter-War Period
By the end of WWI, Adrian Carton de Wiart had been promoted several more times to the rank of temporary brigadier general. In 1916, he received the Victoria Cross, the highest combat award of the British armed forces. Despite losing a hand and suffering many other grave injuries, he later wrote, “Frankly, I had enjoyed the war; it had given me many bad moments, lots of good ones, plenty of excitement.”
Carton de Wiart moved to Poland in 1919, and served as general in command of British armed forces within the country. Wiart's troops helped the Polish fend off hostile forces from Russia, Ukraine, Lithuania, and Czechoslovakia. Once Poland achieved stability, he retired from the military and settled down peacefully for 15 years. Unfortunately, Poland would soon become anything but peaceful.
World War II
In 1939, the Germans invaded Poland, and Carton de Wiart was forced to abandon his home. He later wrote, “They took all I had, my guns, rifles, rods, clothes, furniture, but they could not take my memories.” At first, he attempted to assist Polish leadership, but the situation spiraled out of control quickly. While evacuating from Warsaw, Carton de Wiart's convoy was raked by Luftwaffe machine gun fire, killing the wife of one of his aides. Nevertheless, he managed to make it to Romania using a forged passport.
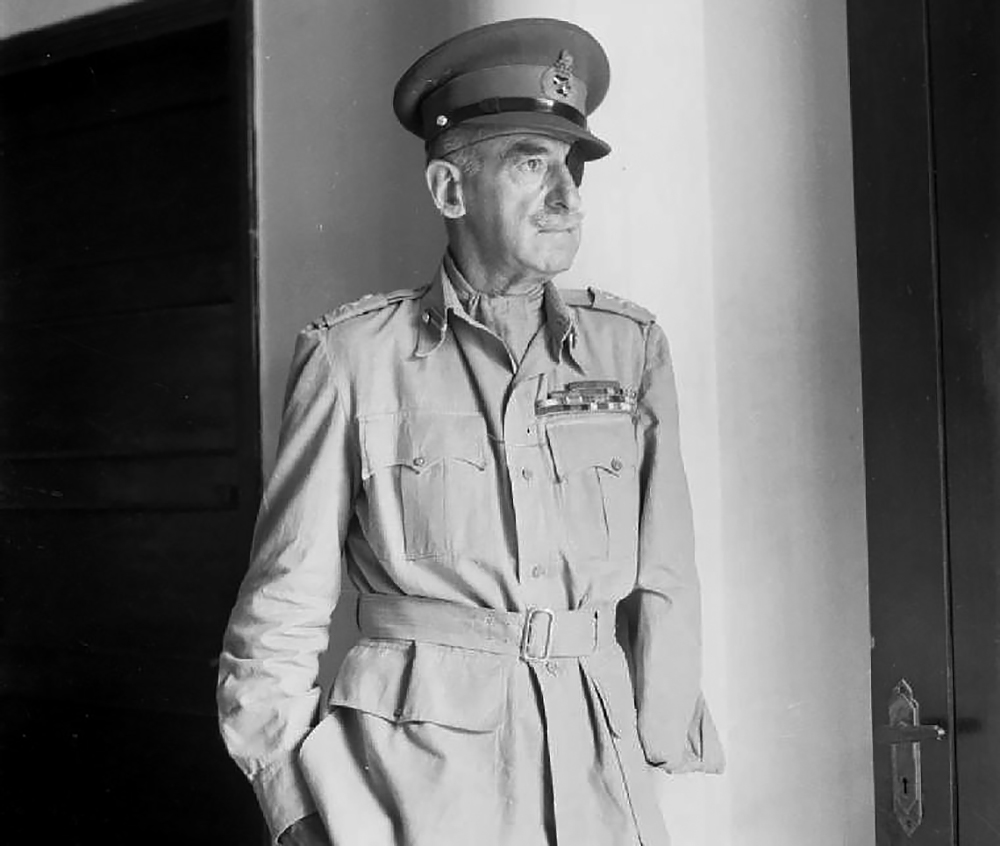
A portrait of Adrian Carton de Wiart during WWII from the Imperial War Museums. Source: Wikipedia / IWM.org.uk
Carton de Wiart returned to the military as a colonel, and was soon promoted to major-general. He was dispatched to lead troops in Namsos, Norway; the trip was yet again interrupted by gunfire from a Luftwaffe fighter plane, which fired on his aircraft. Fortunately, the plane was already on its final approach before landing, so he was not injured. Heavy bombardment by the Germans eventually forced the British to evacuate Norway.
In 1941, 60-year-old Carton de Wiart was sent to negotiate with the Yugoslavian government. However, during his journey, his plane was shot down over the Mediterranean Sea. He was knocked out cold, but reawakened and swam to shore as the plane sank into the sea. Italian authorities captured Carton de Wiart, and he was sent to a POW camp, where he would remain for more than two years.
During this time, he was a troublesome prisoner. He made five escape attempts, one of which granted him freedom for eight days. Though he didn't speak Italian and had a very distinctive appearance, managed to blend in until he was eventually recaptured. The Italians released Carton de Wiart in 1943 as a gesture of peace to the British.
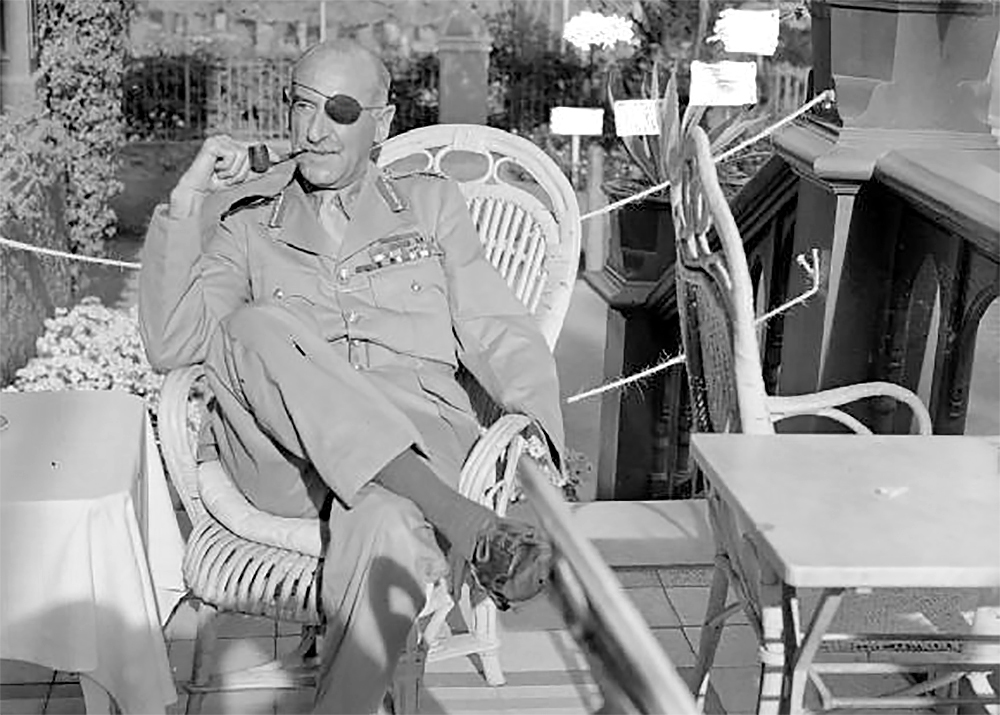
A photo of Carton de Wiart in 1943. Source: Wikipedia / IWM.org.uk
Post-War Period and Retirement
After returning home, Carton de Wiart met with Prime Minister Sir Winston Churchill, who requested his assistance in a diplomatic position. He was promoted to lieutenant general, and became Churchill's personal representative to Chiang Kai-shek of China. The Chinese leader would eventually also offer him a job, but he declined, and retired in 1947 at age 66 as a lieutenant general.
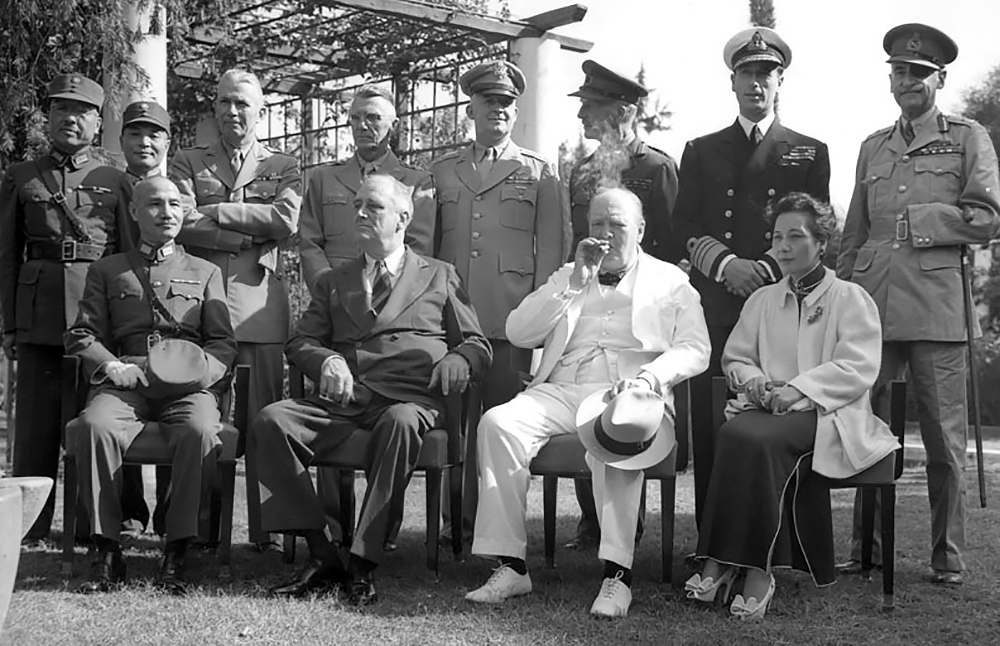
Carton de Wiart (pictured top right) along with Chiang Kai-shek, FDR, and Churchill. Source: Wikipedia / Jim Hudson
On his way home after finalizing his retirement, Carton de Wiart stopped in Rangoon (present day Myanmar). While walking down some stairs, he slipped on a coconut husk mat and fell. He wrote, “I hit my head on the wall knocking myself almost unconscious, broke my back, crushing a vertebra, and was very lucky not to break my neck.” Yet again, he would survive these injuries and return to England to fully recover. Doctors who treated him also reportedly found and removed large amounts of shrapnel from his old wounds.
Carton de Wiart's first wife died in 1949, and he remarried two years later at age 71. His second wife, Joan Sutherland, was 23 years younger than he was at the time. The pair settled down in a historic home in the Irish countryside, and on June 5th, 1963, Adrian Carton de Wiart died peacefully. He was 83 years old.

Carton de Wiart's array of medals, including the prestigious Victoria Cross (bottom left). Source: Royal Dragoon...
Today, Adrian Carton de Wiart is known as one of the most-decorated (and most-wounded) British military officers of all time. Despite an immense list of injuries and setbacks that might crush a lesser man's spirit, Carton de Wiart refused to accept defeat. In the foreword to Happy Odyssey, his friend Sir Winston Churchill wrote the following:
“Although repeatedly wounded and suffering from grievous injuries, his whole life has been vigorous, varied, and useful. He is a model of chivalry and honour and I am sure his story will command the interest of all men and women whose hearts are uplifted by the deeds and thoughts of a high-minded and patriotic British officer.” – Winston S. Churchill
As survival-minded individuals, we have much to learn from the positivity and unflinching determination of Adrian Carton de Wiart.