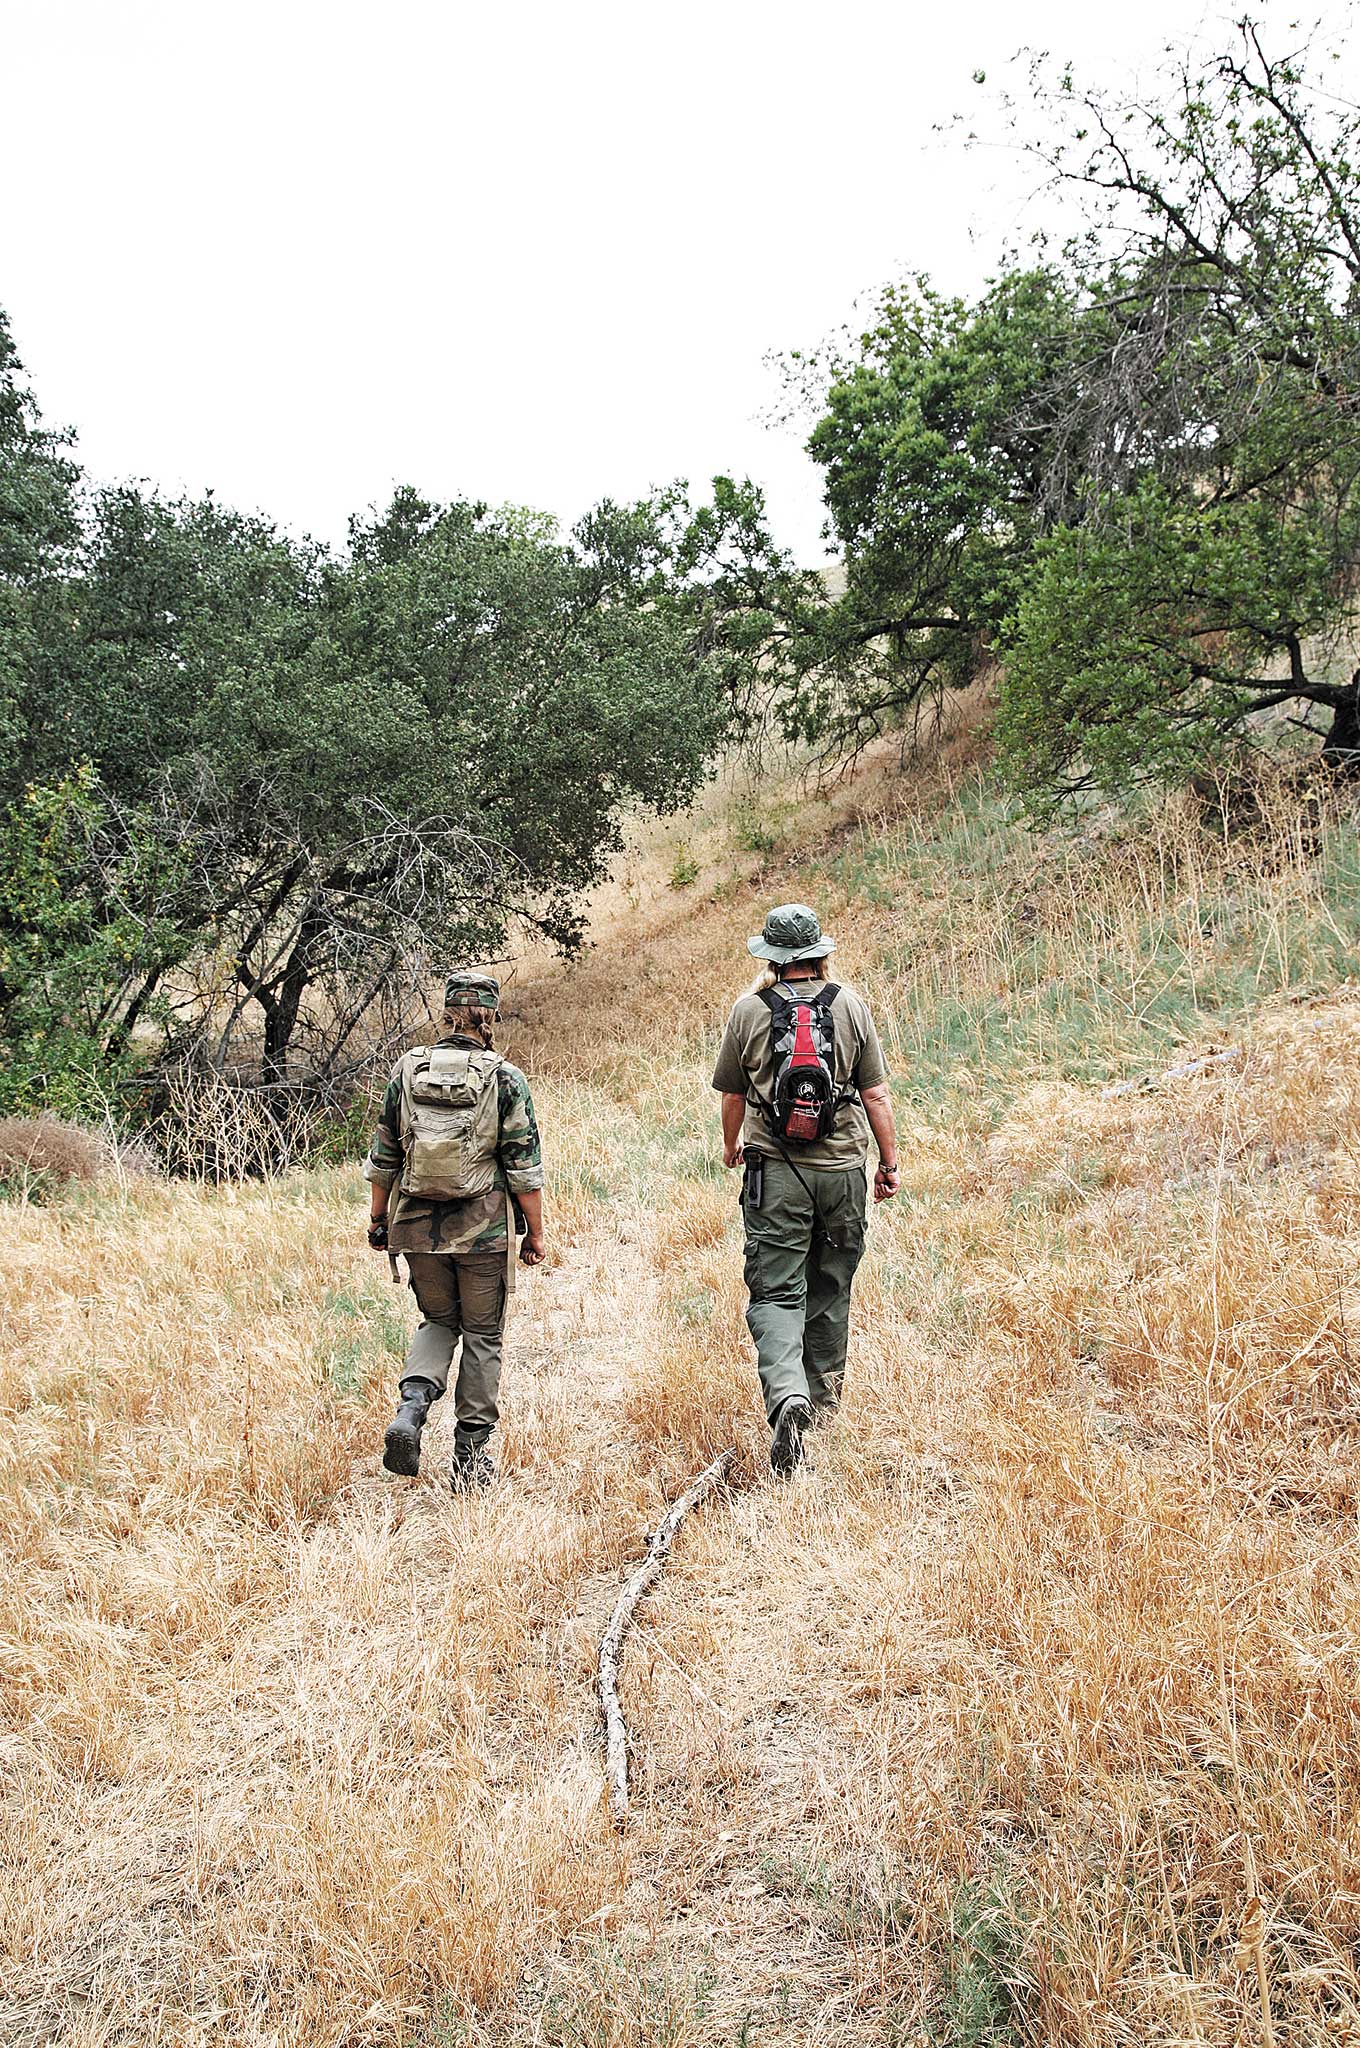
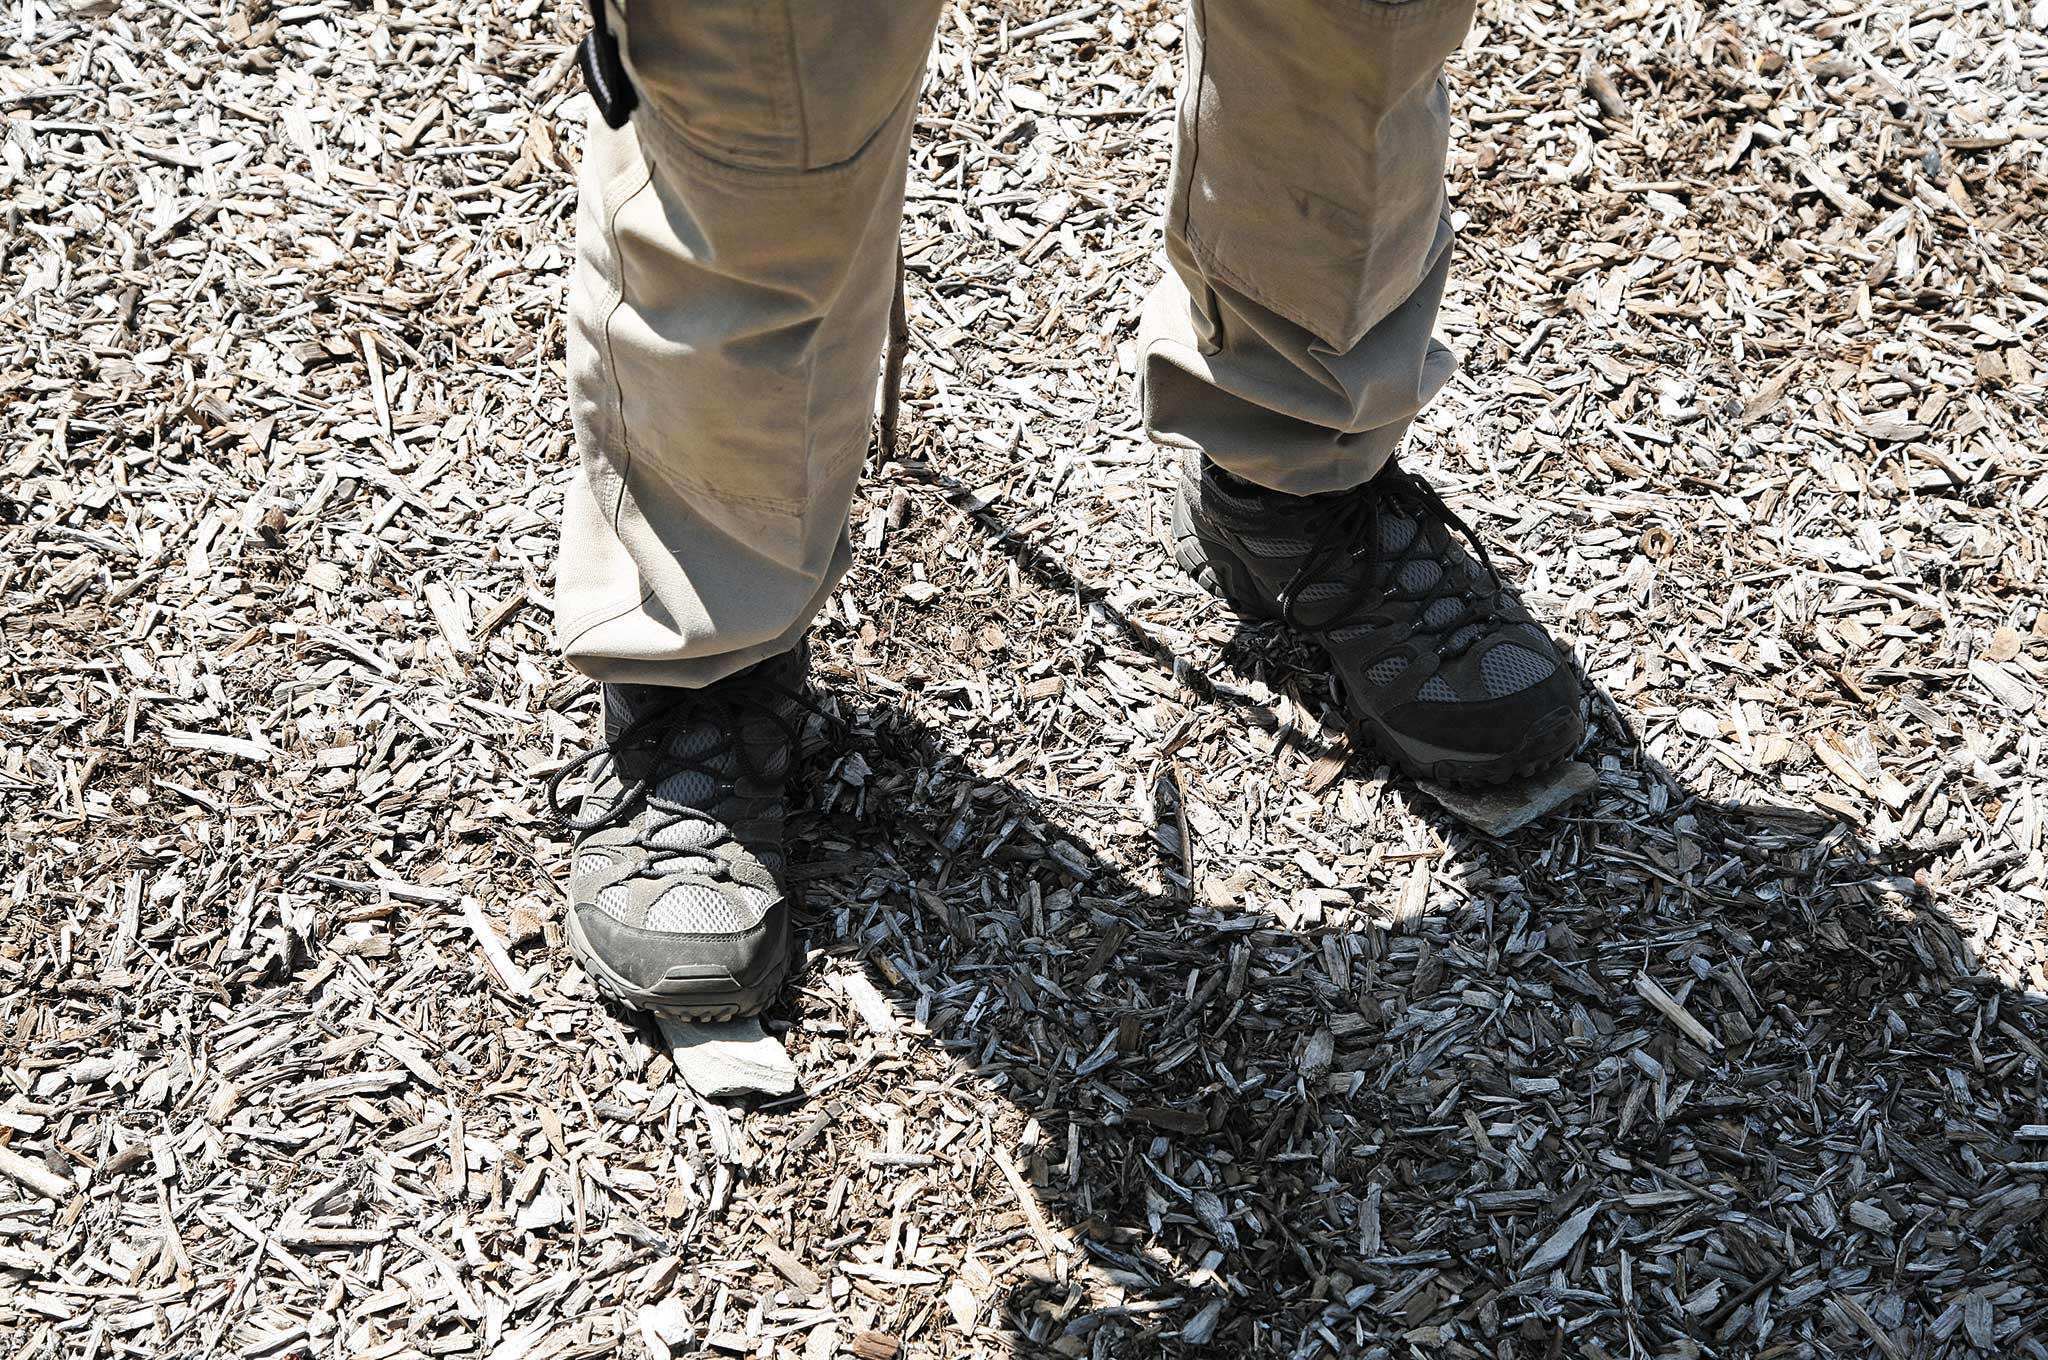
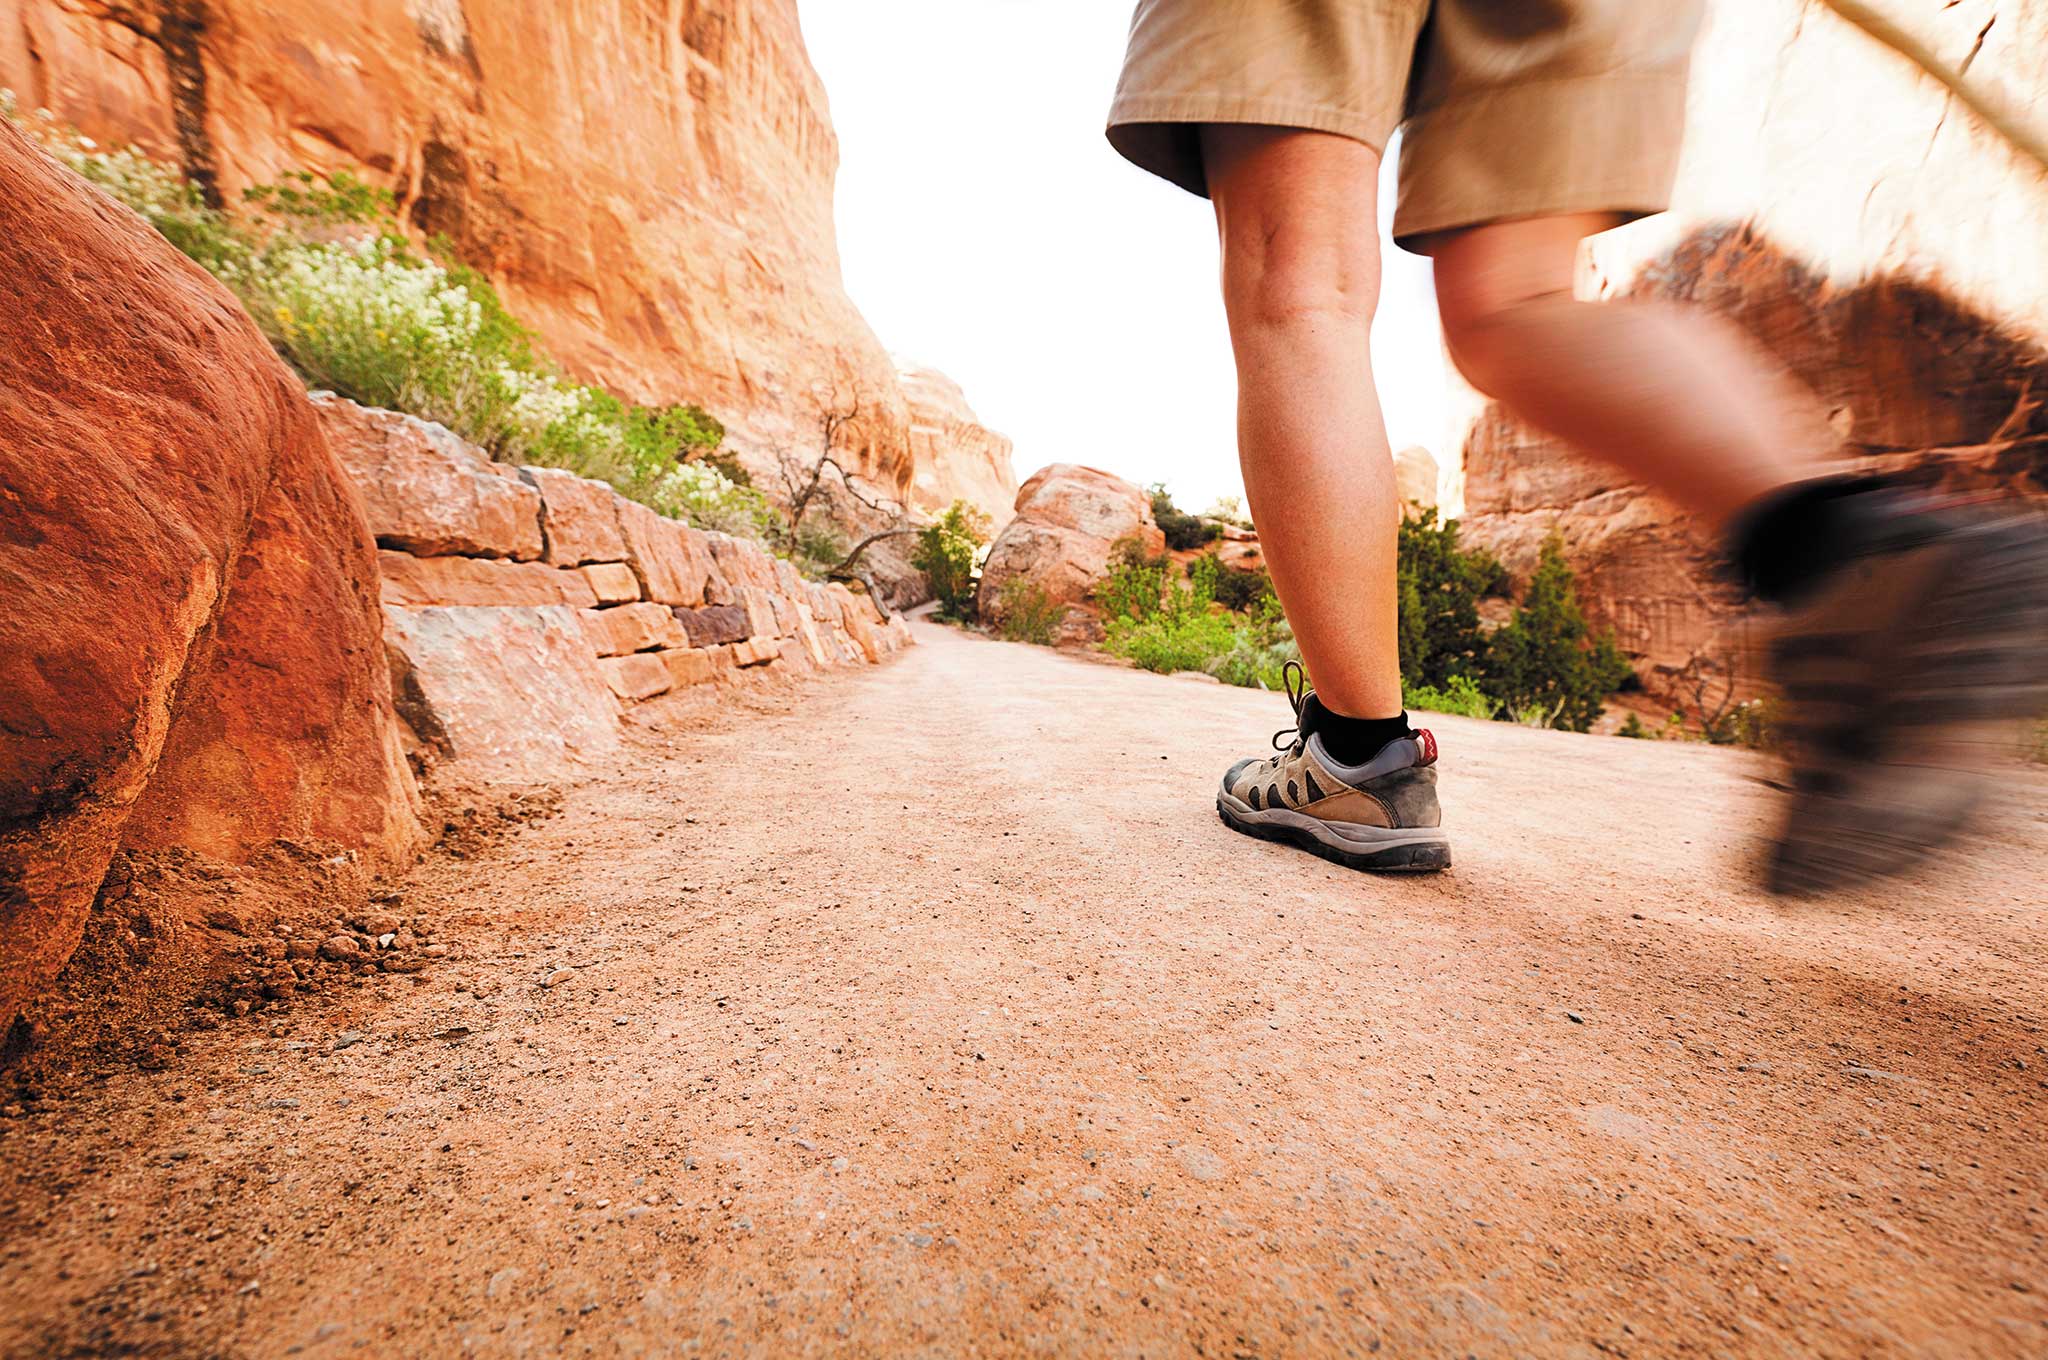
Imagine yourself on a day hike, a pastime that millions of Americans enjoy each year. You’ve gone camping for the weekend, and set out from the campsite to explore the terrain and observe the natural beauty that surrounds you. You’ve got your backpack with a hydration bladder, snack food, knife, cell phone, and even a map and compass — plenty of supplies to get you through the day. You have it all planned out and know you can be back well before sunset, so you hit the trail with a smile on your face.
As the hours pass, you decide you’ve had enough hiking for one day, turning around to follow your tracks back to camp. The sun sinks closer and closer to the horizon, and suddenly it hits you — at this rate, you should have been back by now. Your surroundings seem familiar enough, but out here, everything does. Fighting back the onset of panic, you pull off your backpack and check your supplies. Barely any water left. No food. A smartphone that reads “no signal.” Damn it. Sure, you’ve got the map and compass, but it’s been years since you’ve actually tried to use them. Your heart drops into your stomach as you come to grips with the fact that you’re lost. Decision time — what are you going to do?
This scenario might seem like fiction, and let’s face it, nobody really expects it will happen to them. However, even in the age of cell phones, GPS, and ever-expanding urban sprawl, it continues to happen. And, tragically, it continues to take the lives of those who are unprepared. We think you see where this is going — knowledge is power, and if you know how to handle being lost, your odds of survival increase dramatically. With this in mind, there’s one question that must be answered before all others when you’re lost: Do you stay where you are and wait for rescue, or do you get going and attempt to find your own way to safety?
Making the Critical Decision
So, how do you know whether to stay or go? It’s a difficult question — one that will become even harder when it can mean the difference between life and death.
It’s important to note that almost all wilderness survival guides recommend that you stay put unless circumstances prevent doing so (we’ll go into those circumstances shortly). Hunkering down and making yourself as visible as possible for search-and-rescue teams should always be your default option. This makes it much easier for you to be tracked down from the ground and/or located by aircraft. Also, inexperienced hikers who try to find their own way out often get themselves even more lost, exhaust themselves physically, or injure themselves. That said, there are some factors to consider before deciding to stay put.
The first item to consider is your physical condition. Do you have any injuries or medical problems that could potentially become life-threatening within the next few days? Low on insulin? Need your asthma inhaler? Attempting to move may accelerate your injuries, but also has the potential to get you to safety faster if you’re not far from civilization. Secondly, consider whether anyone knows your approximate location, and how long you’ve been gone. If so, there’s a strong possibility that they will send for help once they realize you’re missing. Finally, consider your supplies and knowledge. If you’re not physically or mentally prepared to navigate to safety, trying to do so may get you into more trouble.
As you can see, deciding whether to stay put or keep moving is far from a cut-and-dry choice. Every situation is different, and all the variables must be carefully examined before making a final decision. However, once you have decided what’s best, you’ll need to know what to do next. OFFGRID got a hands-on tutorial on how to handle both survival strategies at Krav vs. Wild III, a wilderness survival camp hosted by the Krav Maga Worldwide Force Training Division. Instructors were made up of current and former law enforcement and military special operations forces members who have extensive survival experience. Read on to find out how to tackle each survival option.
Staying Put to Survive
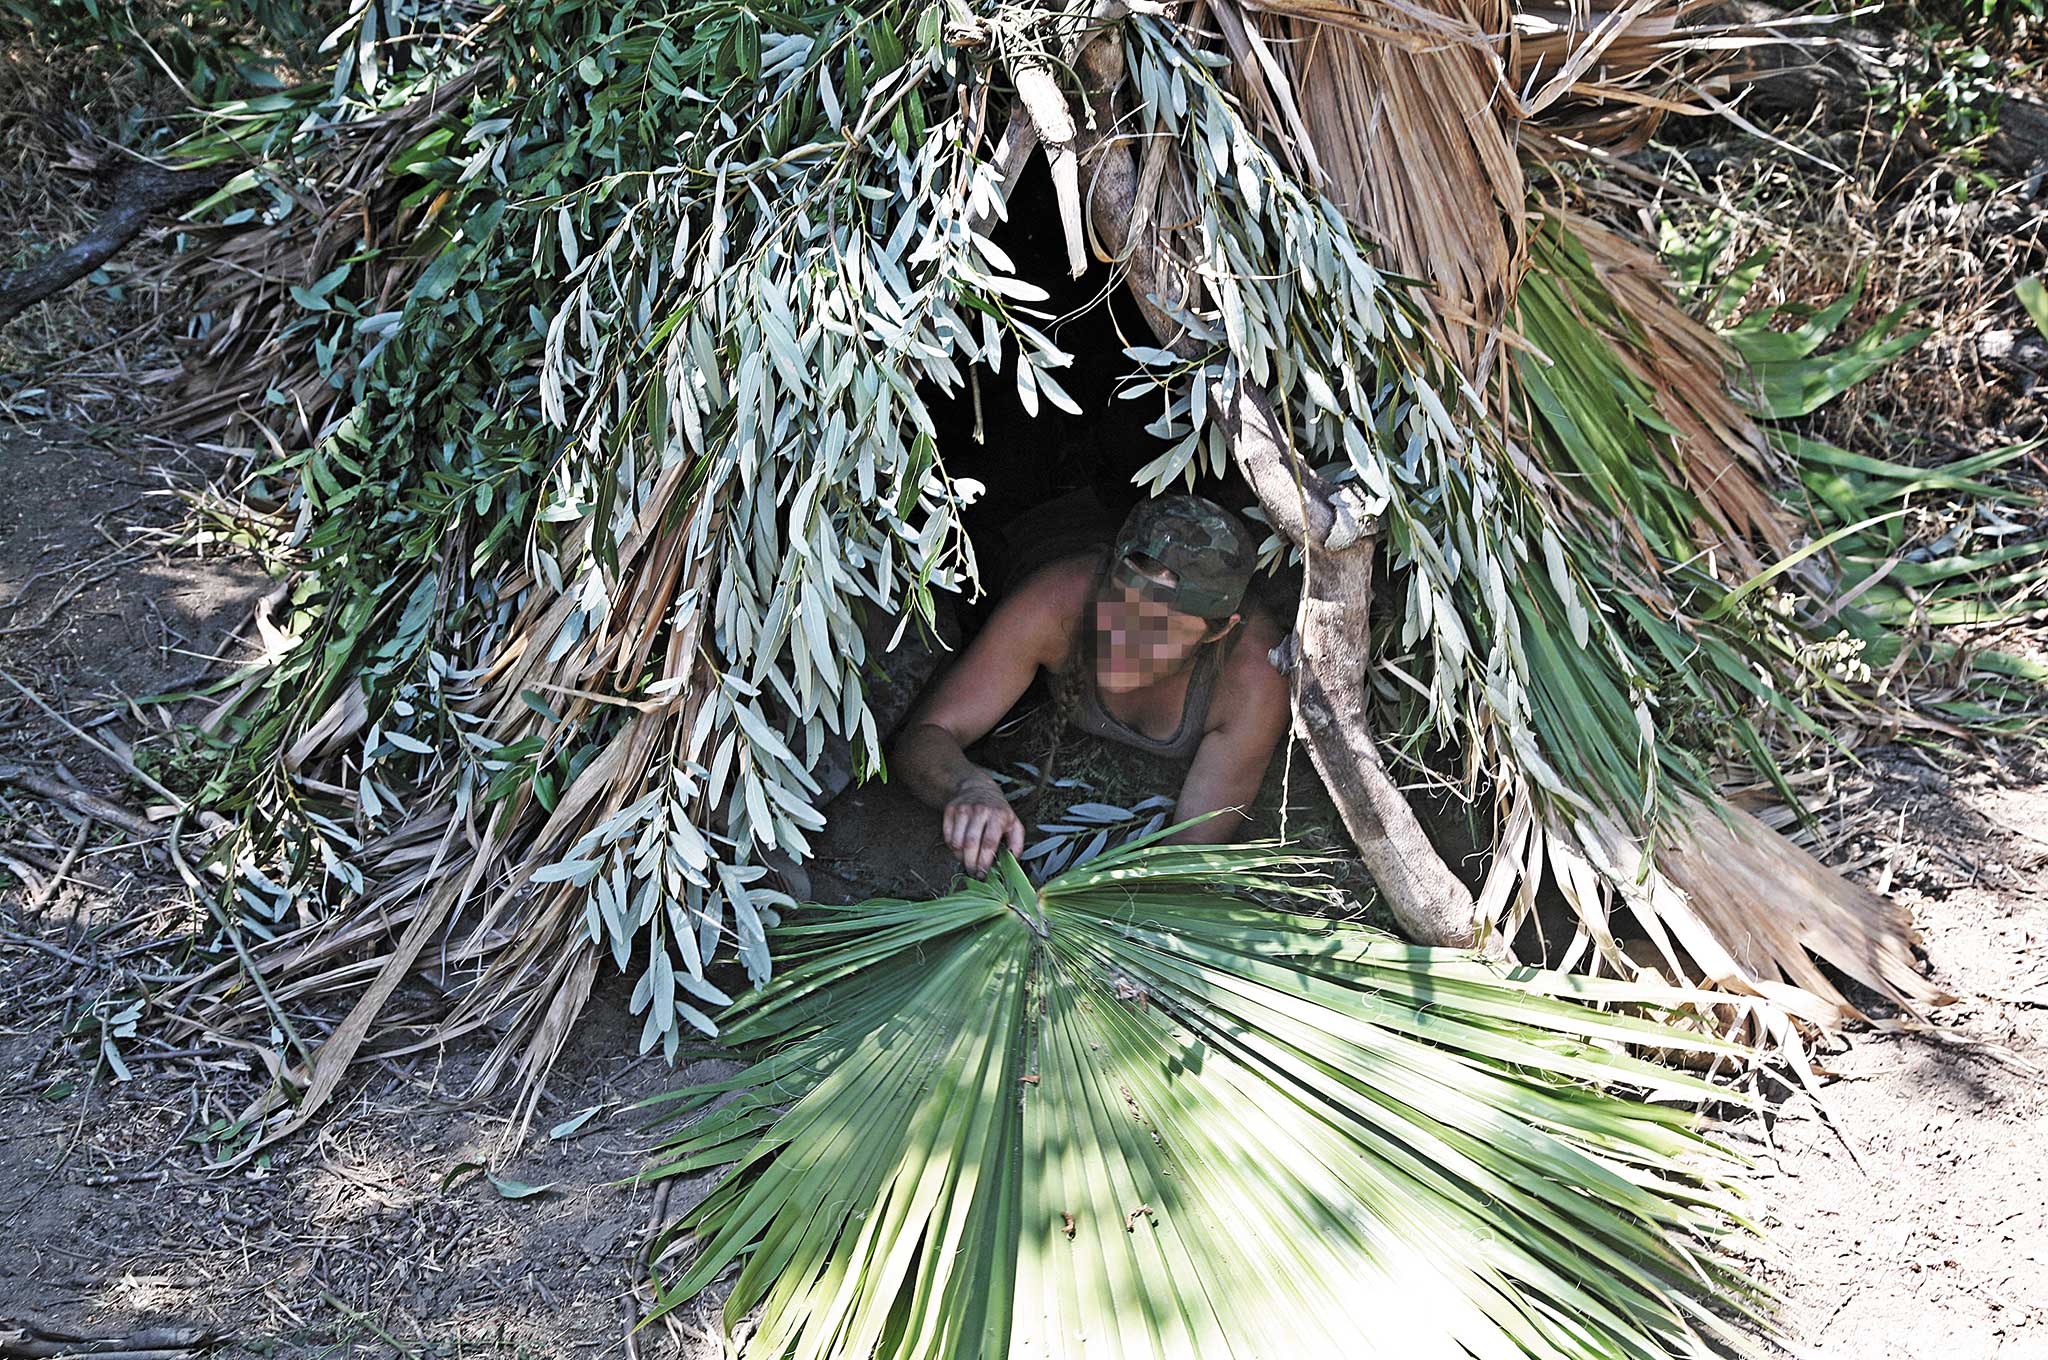
If you choose to stay where you are, priority No. 1 is to find shelter. Building a good shelter is not easy, but even a shoddy one can offer protection from the elements and also provide a significant morale boost while you wait for help to arrive.
First, you’ll need to find an optimal location for your shelter. For the sake of this demonstration, we chose a clearing near a tree line and found a fallen log that would provide a natural starting point for our frame. The location makes us visible to aircraft and its partial shade prevents excessive sweating while building the shelter.
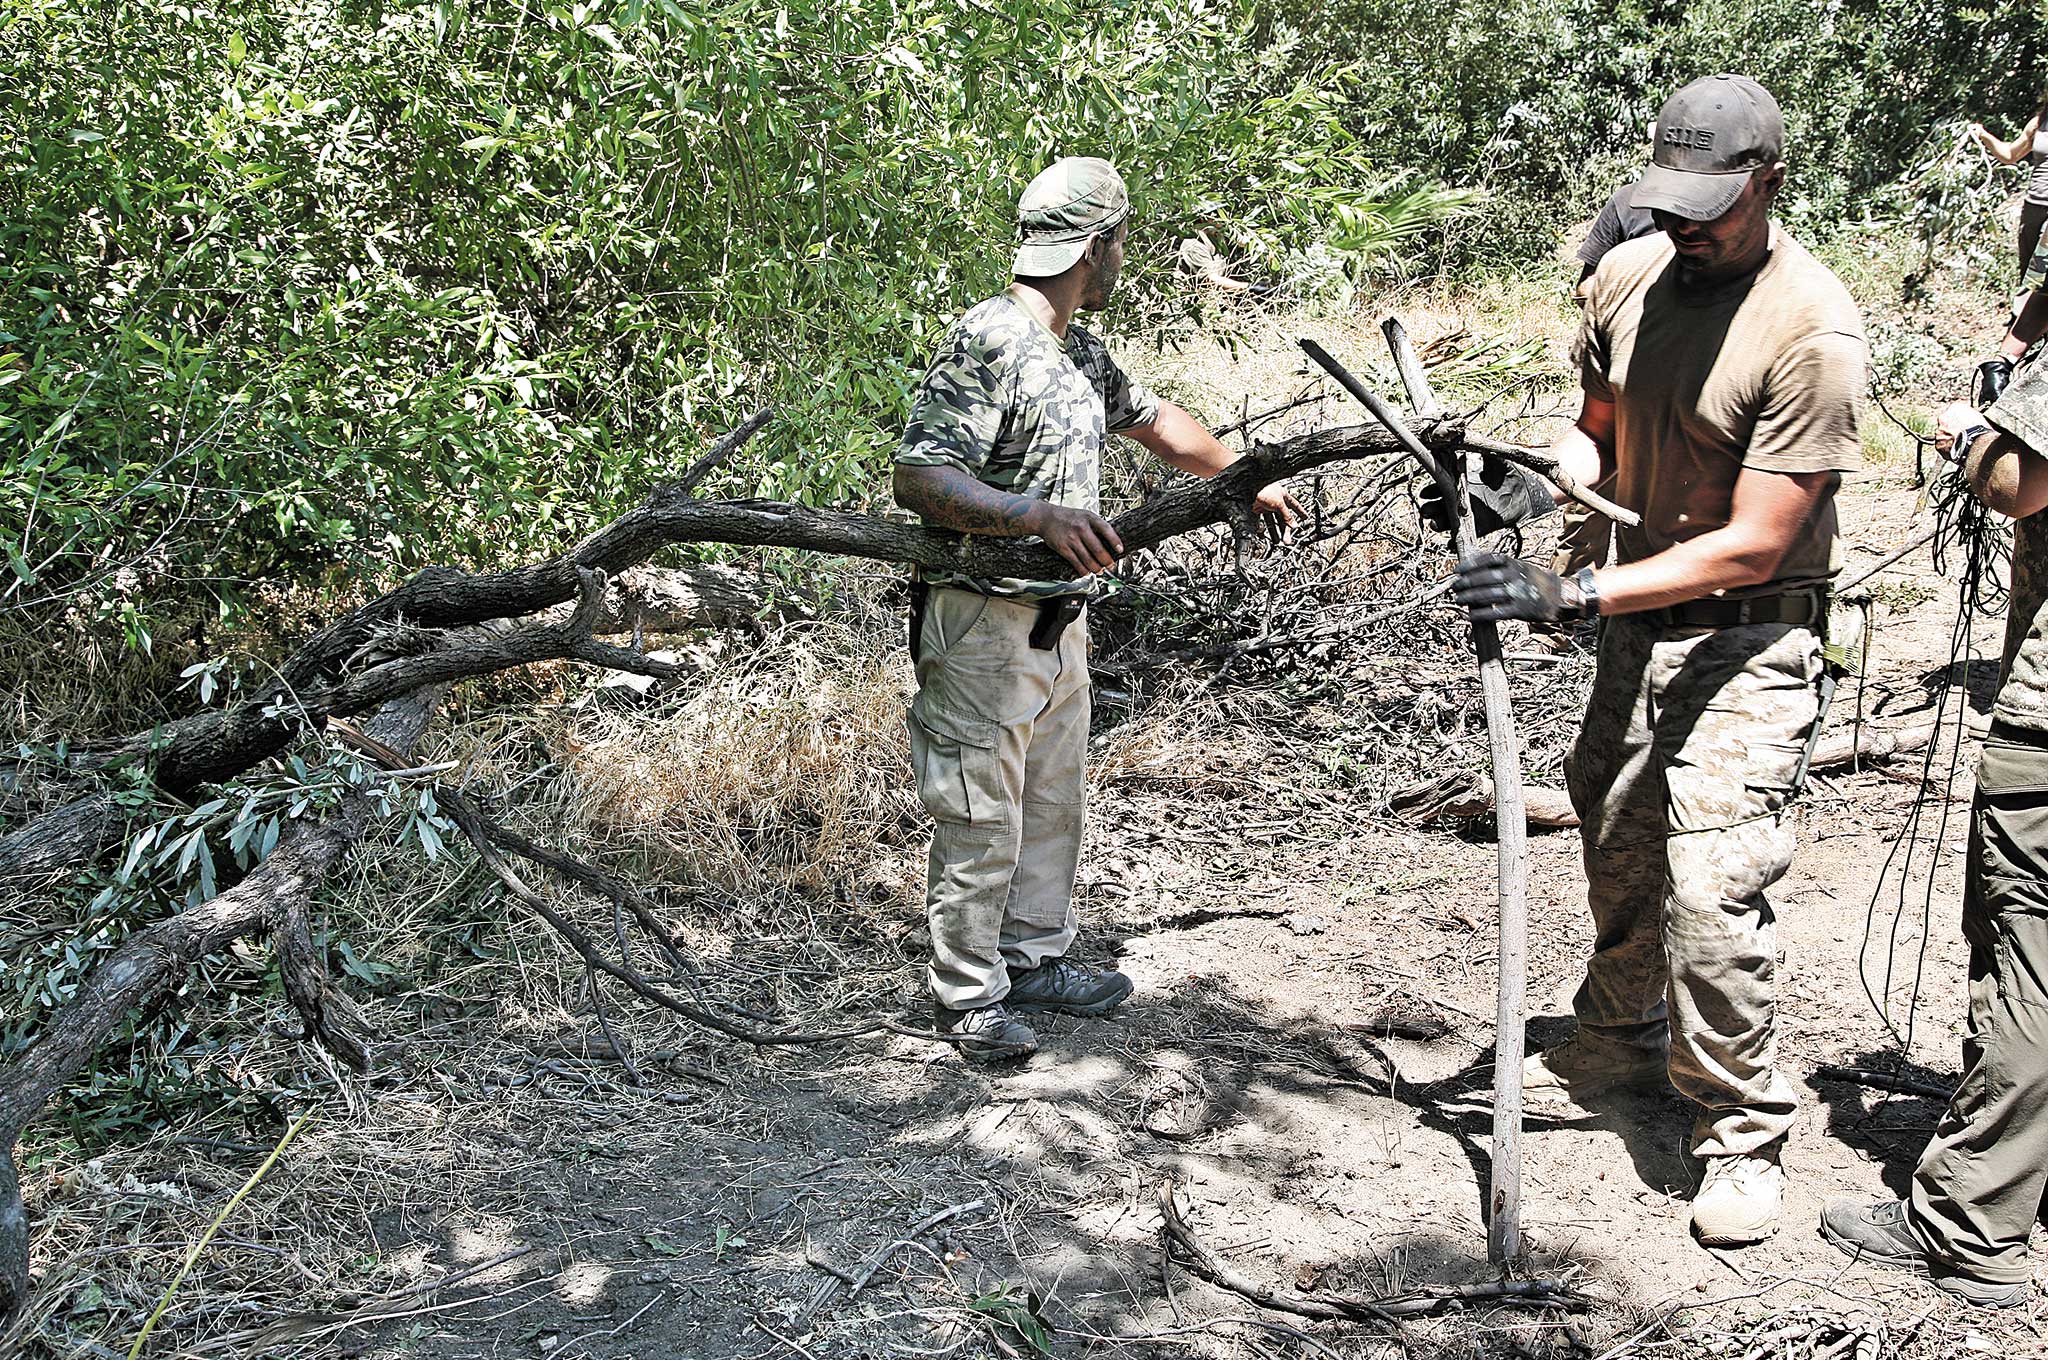
One of the simplest and sturdiest improvised shelter designs is known as an A-frame. It consists of a single roof beam, with two crossed upright supports at each end. In this case, we opted to rest one end of the roof beam on the fallen log, simplifying the design and giving it enough elevation to cover our feet.
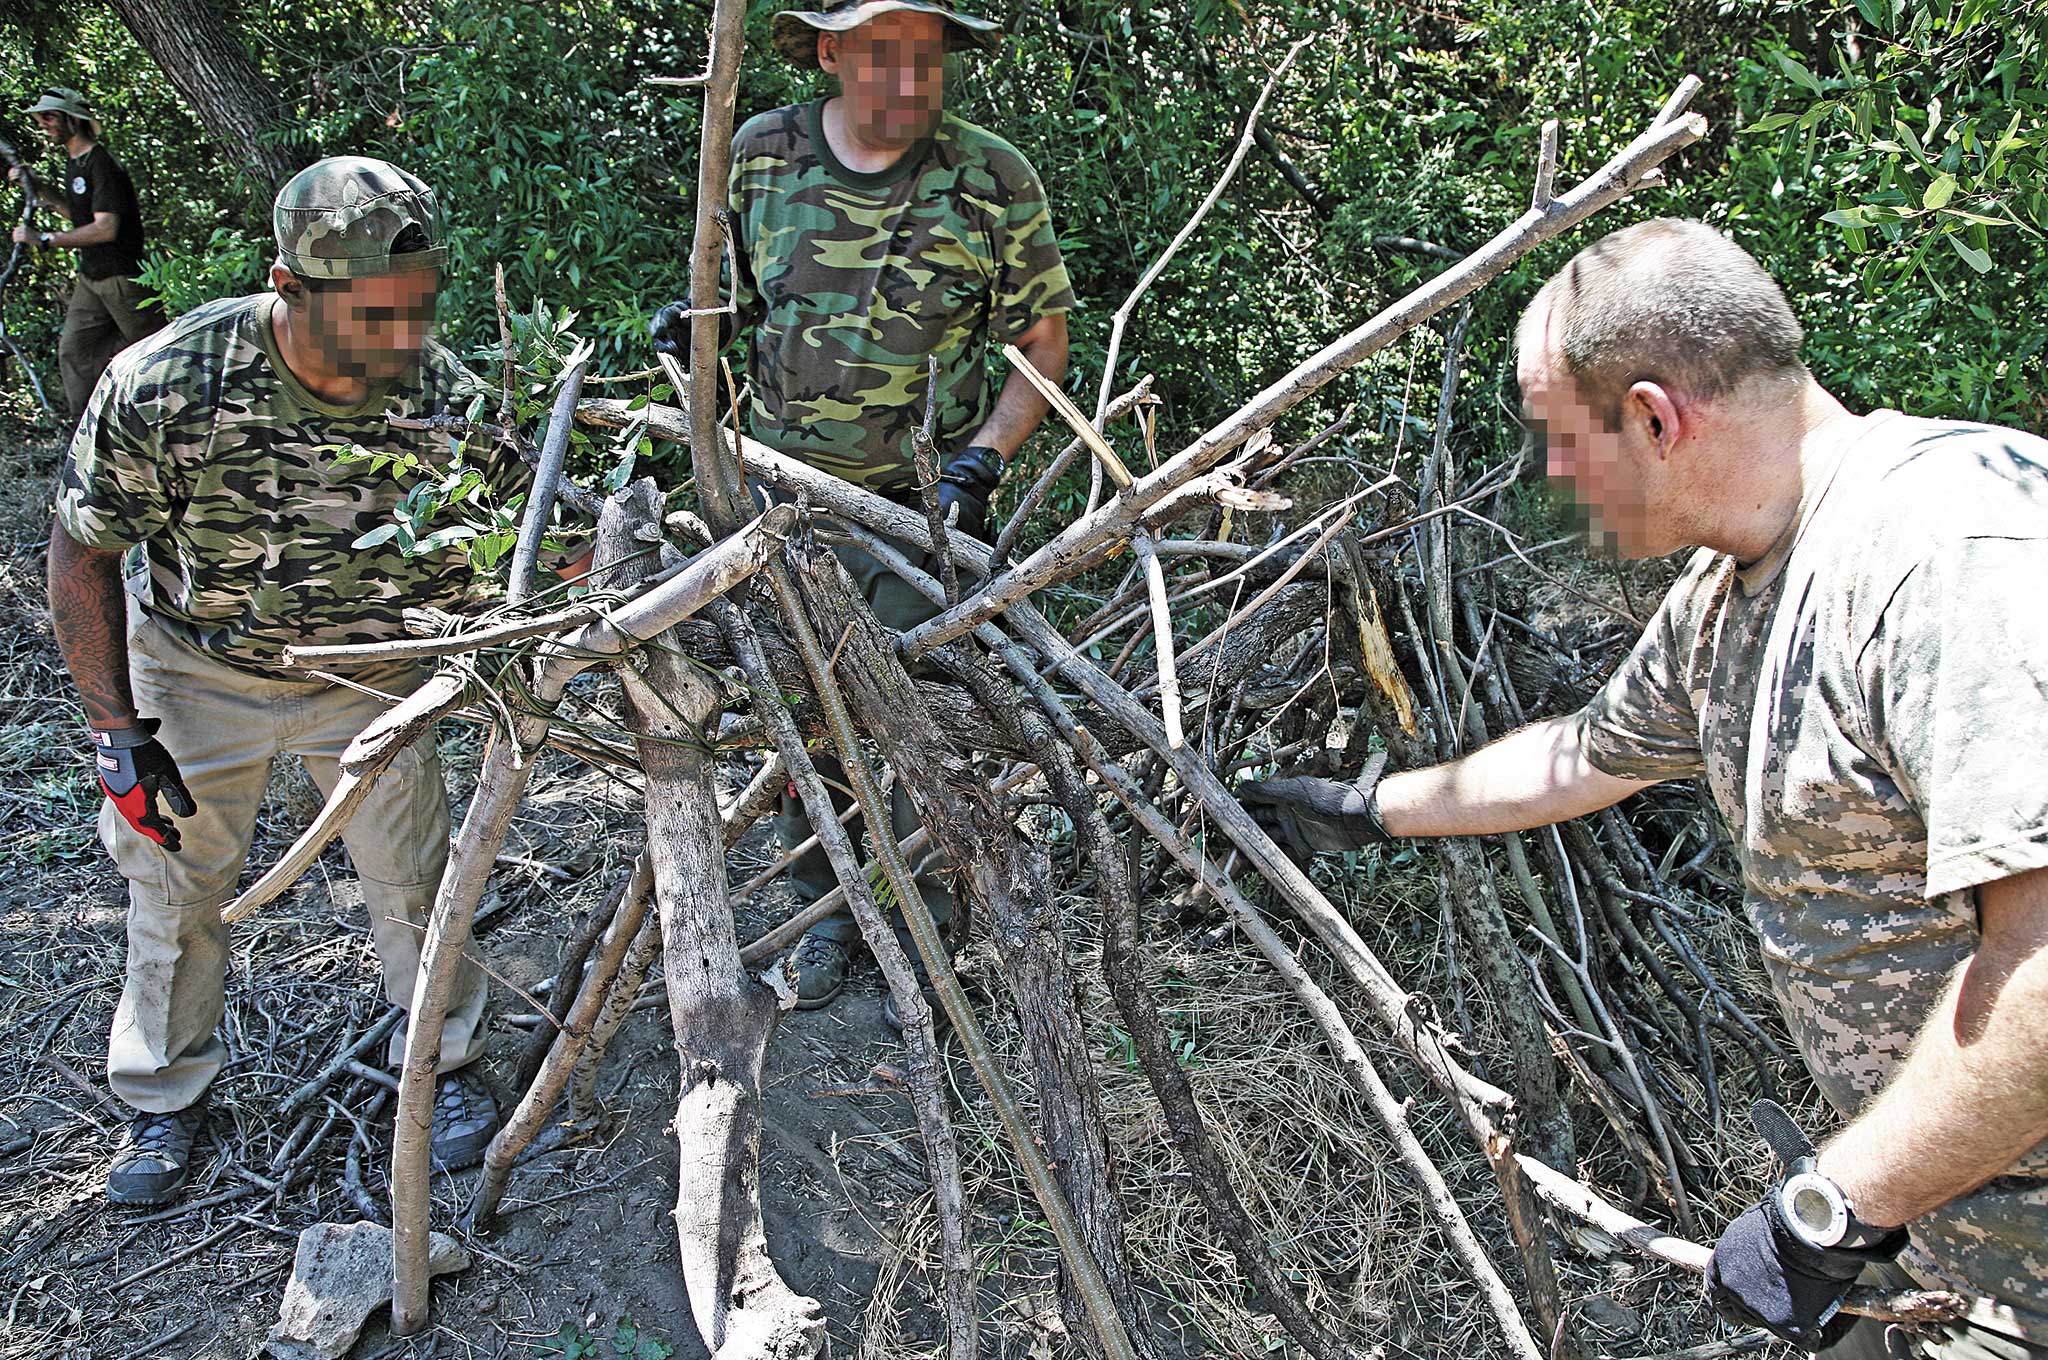
Next, additional branches were added along each side, forming supports for our roofing material. Then, brush was gathered and layered on each side of the A-frame from bottom to top, ensuring water would be diverted off the shelter if it rained. Large leaves, such as palm fronds, are ideal for this purpose.
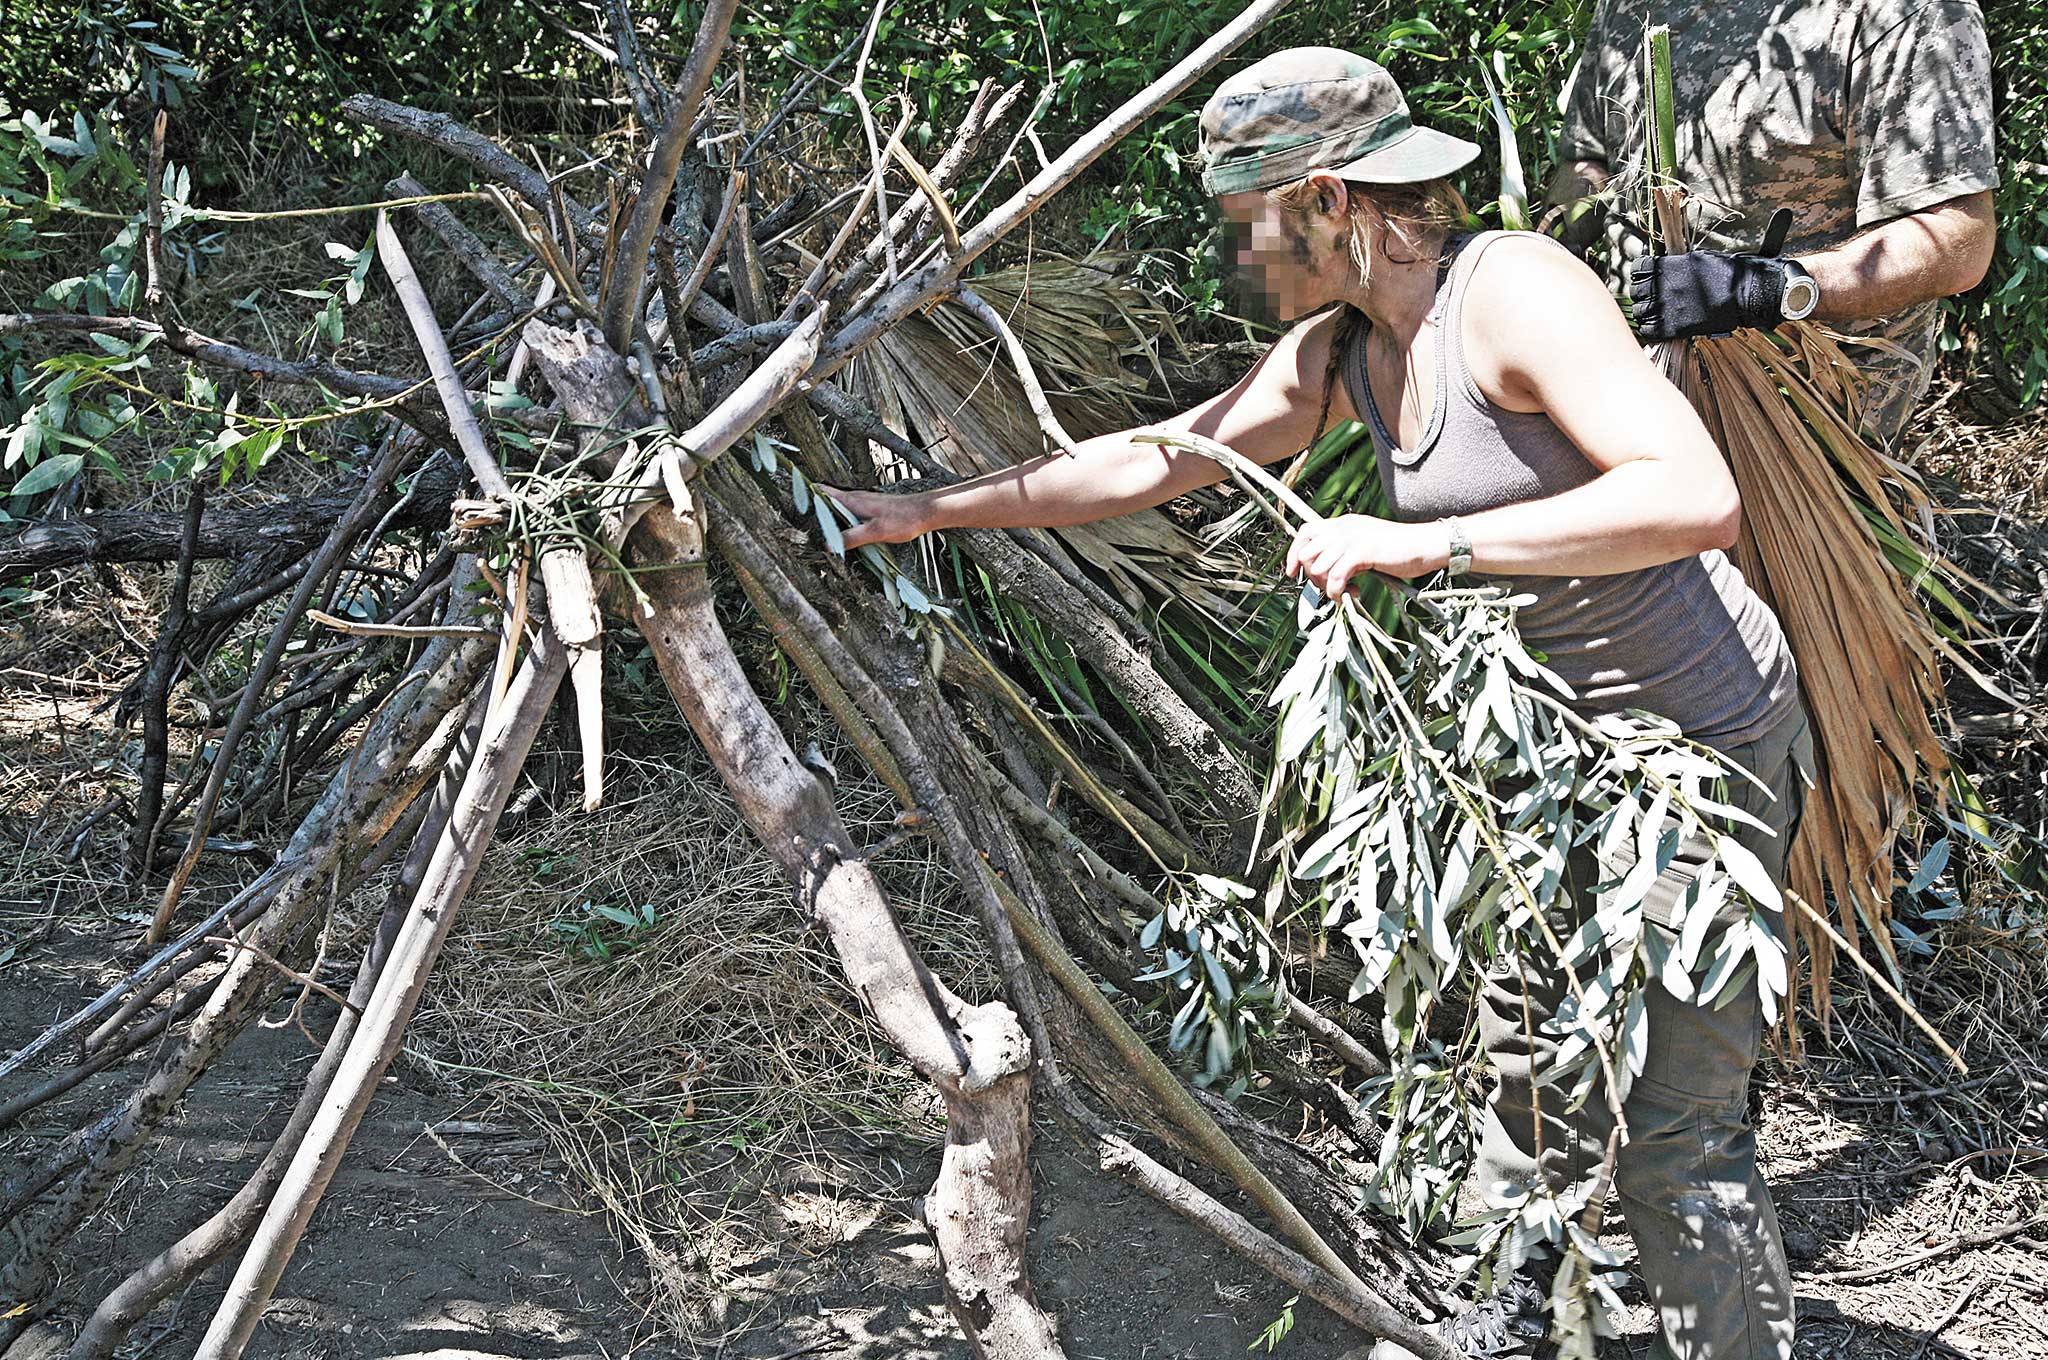

Finally, soft plant material was placed inside the shelter to serve as bedding. A good rule of thumb for this step is to gather as much as you think you’ll need — and then double it, since the bedding will compress considerably once you lie on top of it. This will make the shelter more comfortable and prevent loss of body heat caused by the cold ground.
Once you have completed your shelter, you can focus your attention on finding a viable water source, starting a fire, and searching for food. It could be days before rescue arrives, so it’s best to plan ahead and keep yourself occupied.
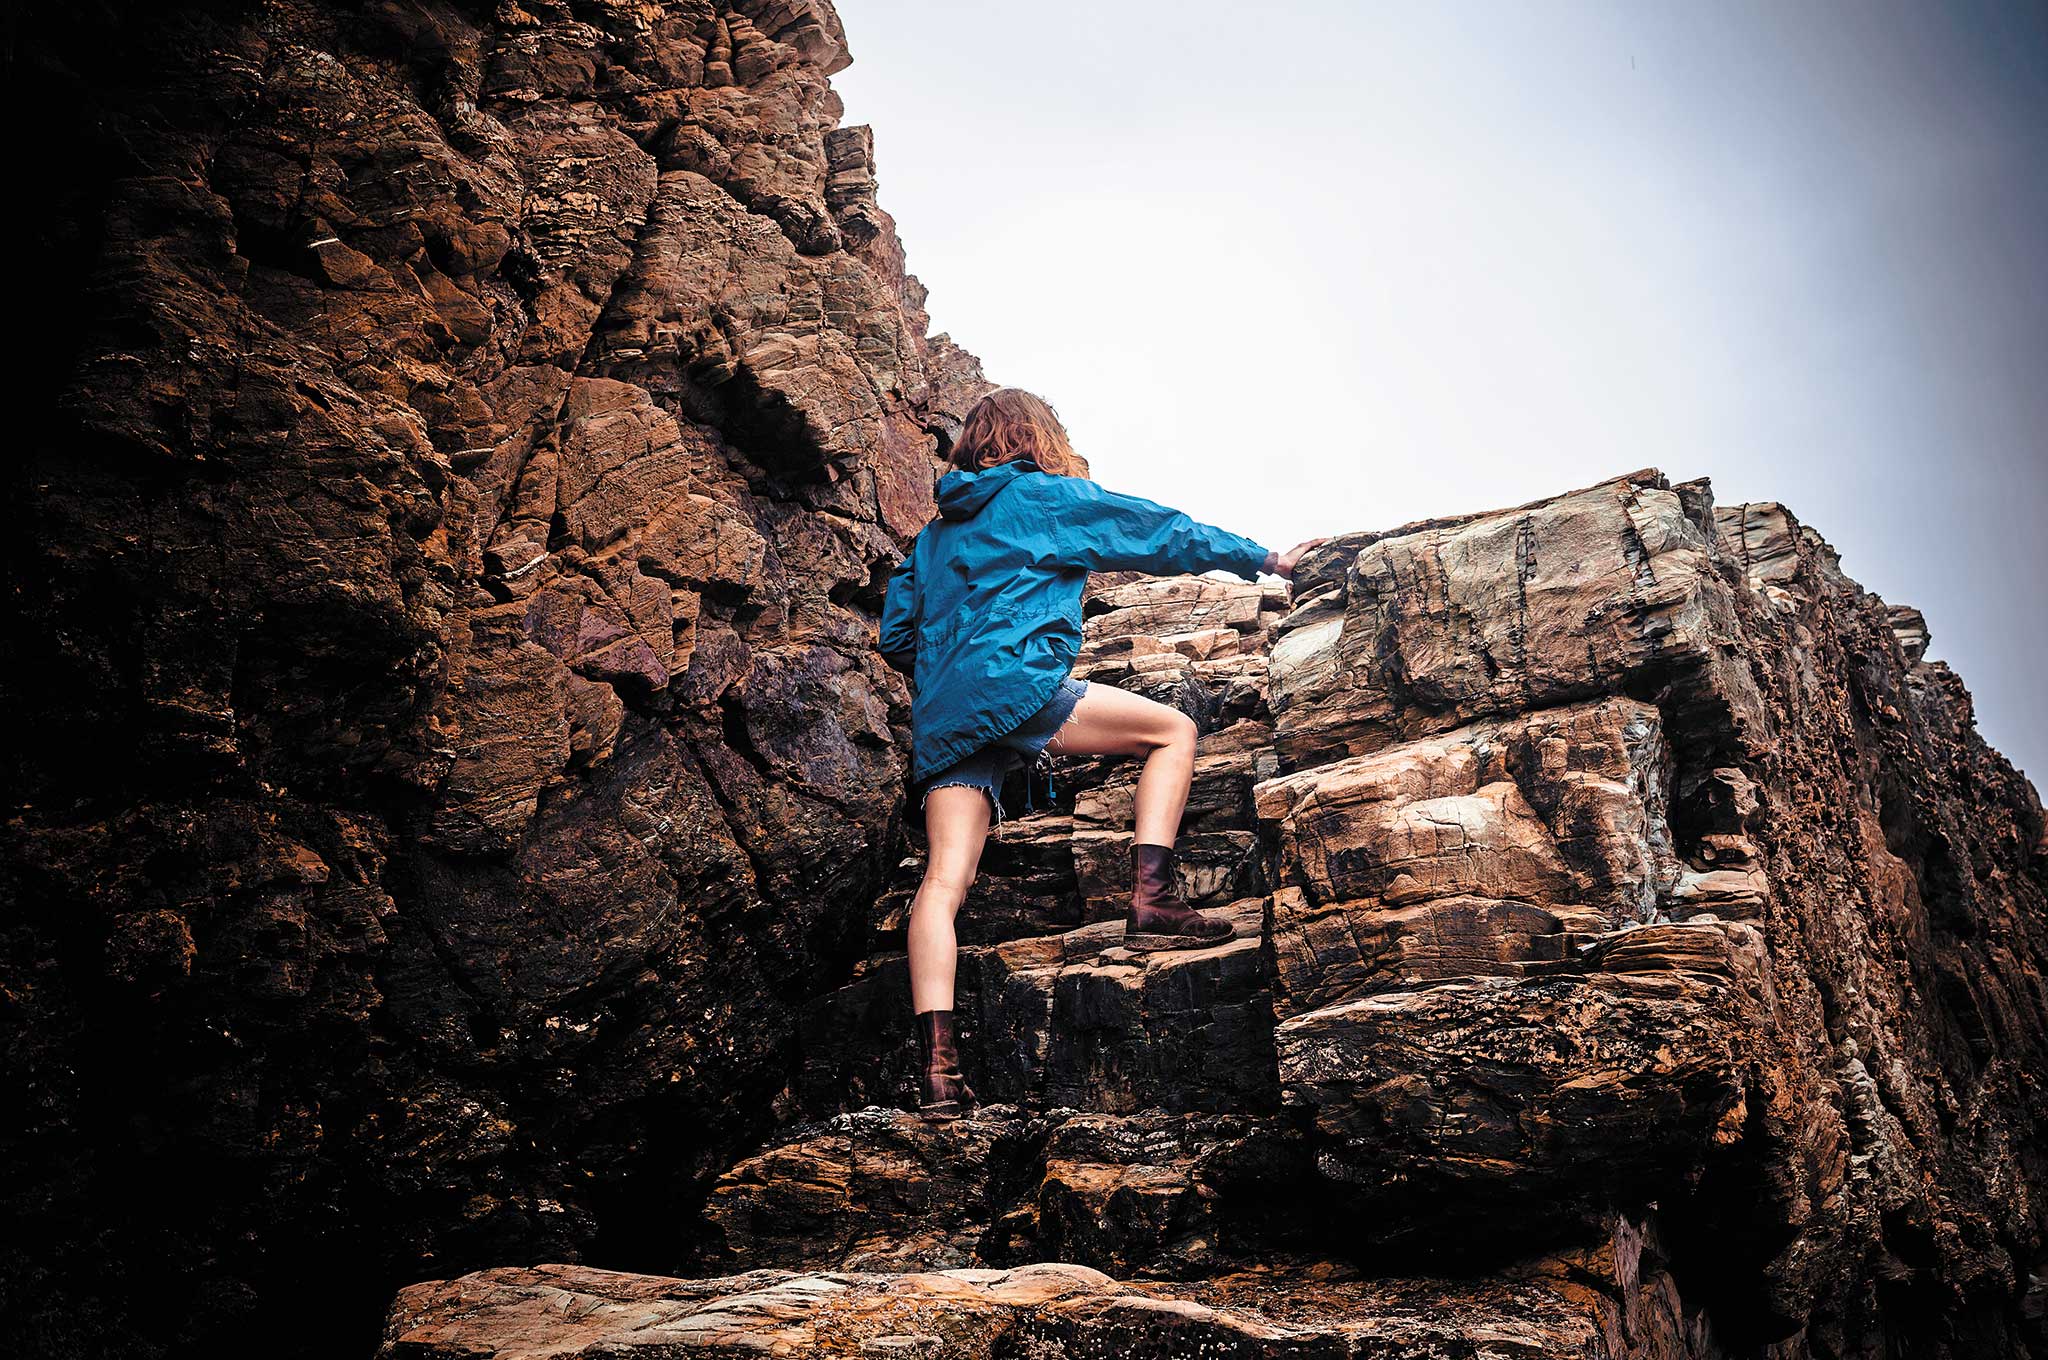
So, what if you choose to find your own way to safety? This option carries a greater risk of worsening your situation, but also a greater reward — after all, in this scenario, you know your original campsite is less than a day’s hike away. Also, the fact that you have a compass and map makes navigating to safety more appealing. Although it’s more difficult to navigate successfully without these items, it can be done. (See the sidebar for more information on finding north without a compass.)
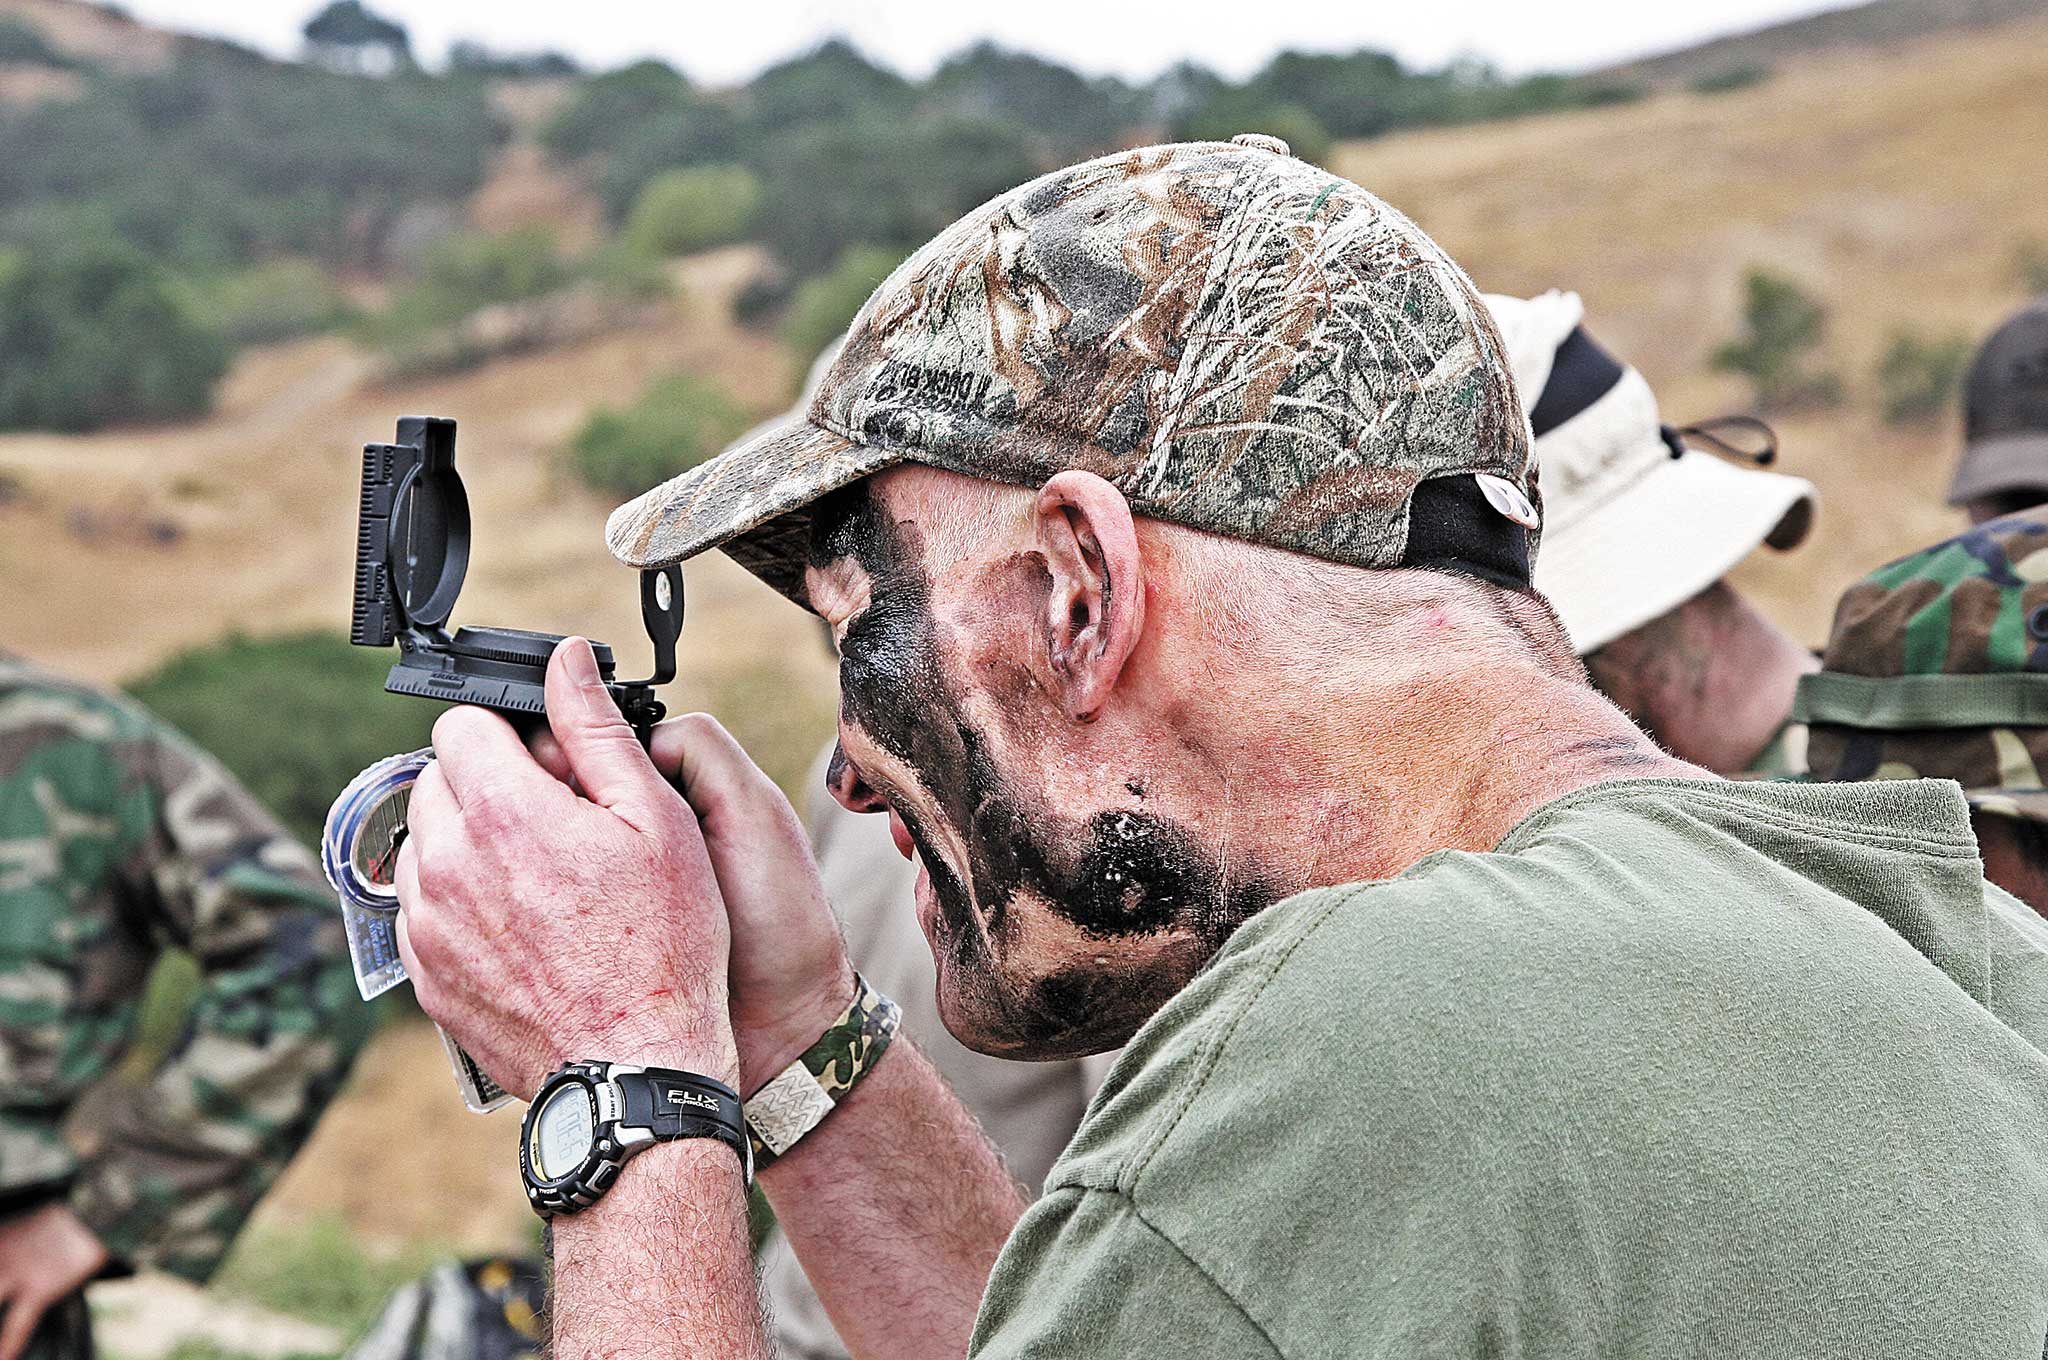
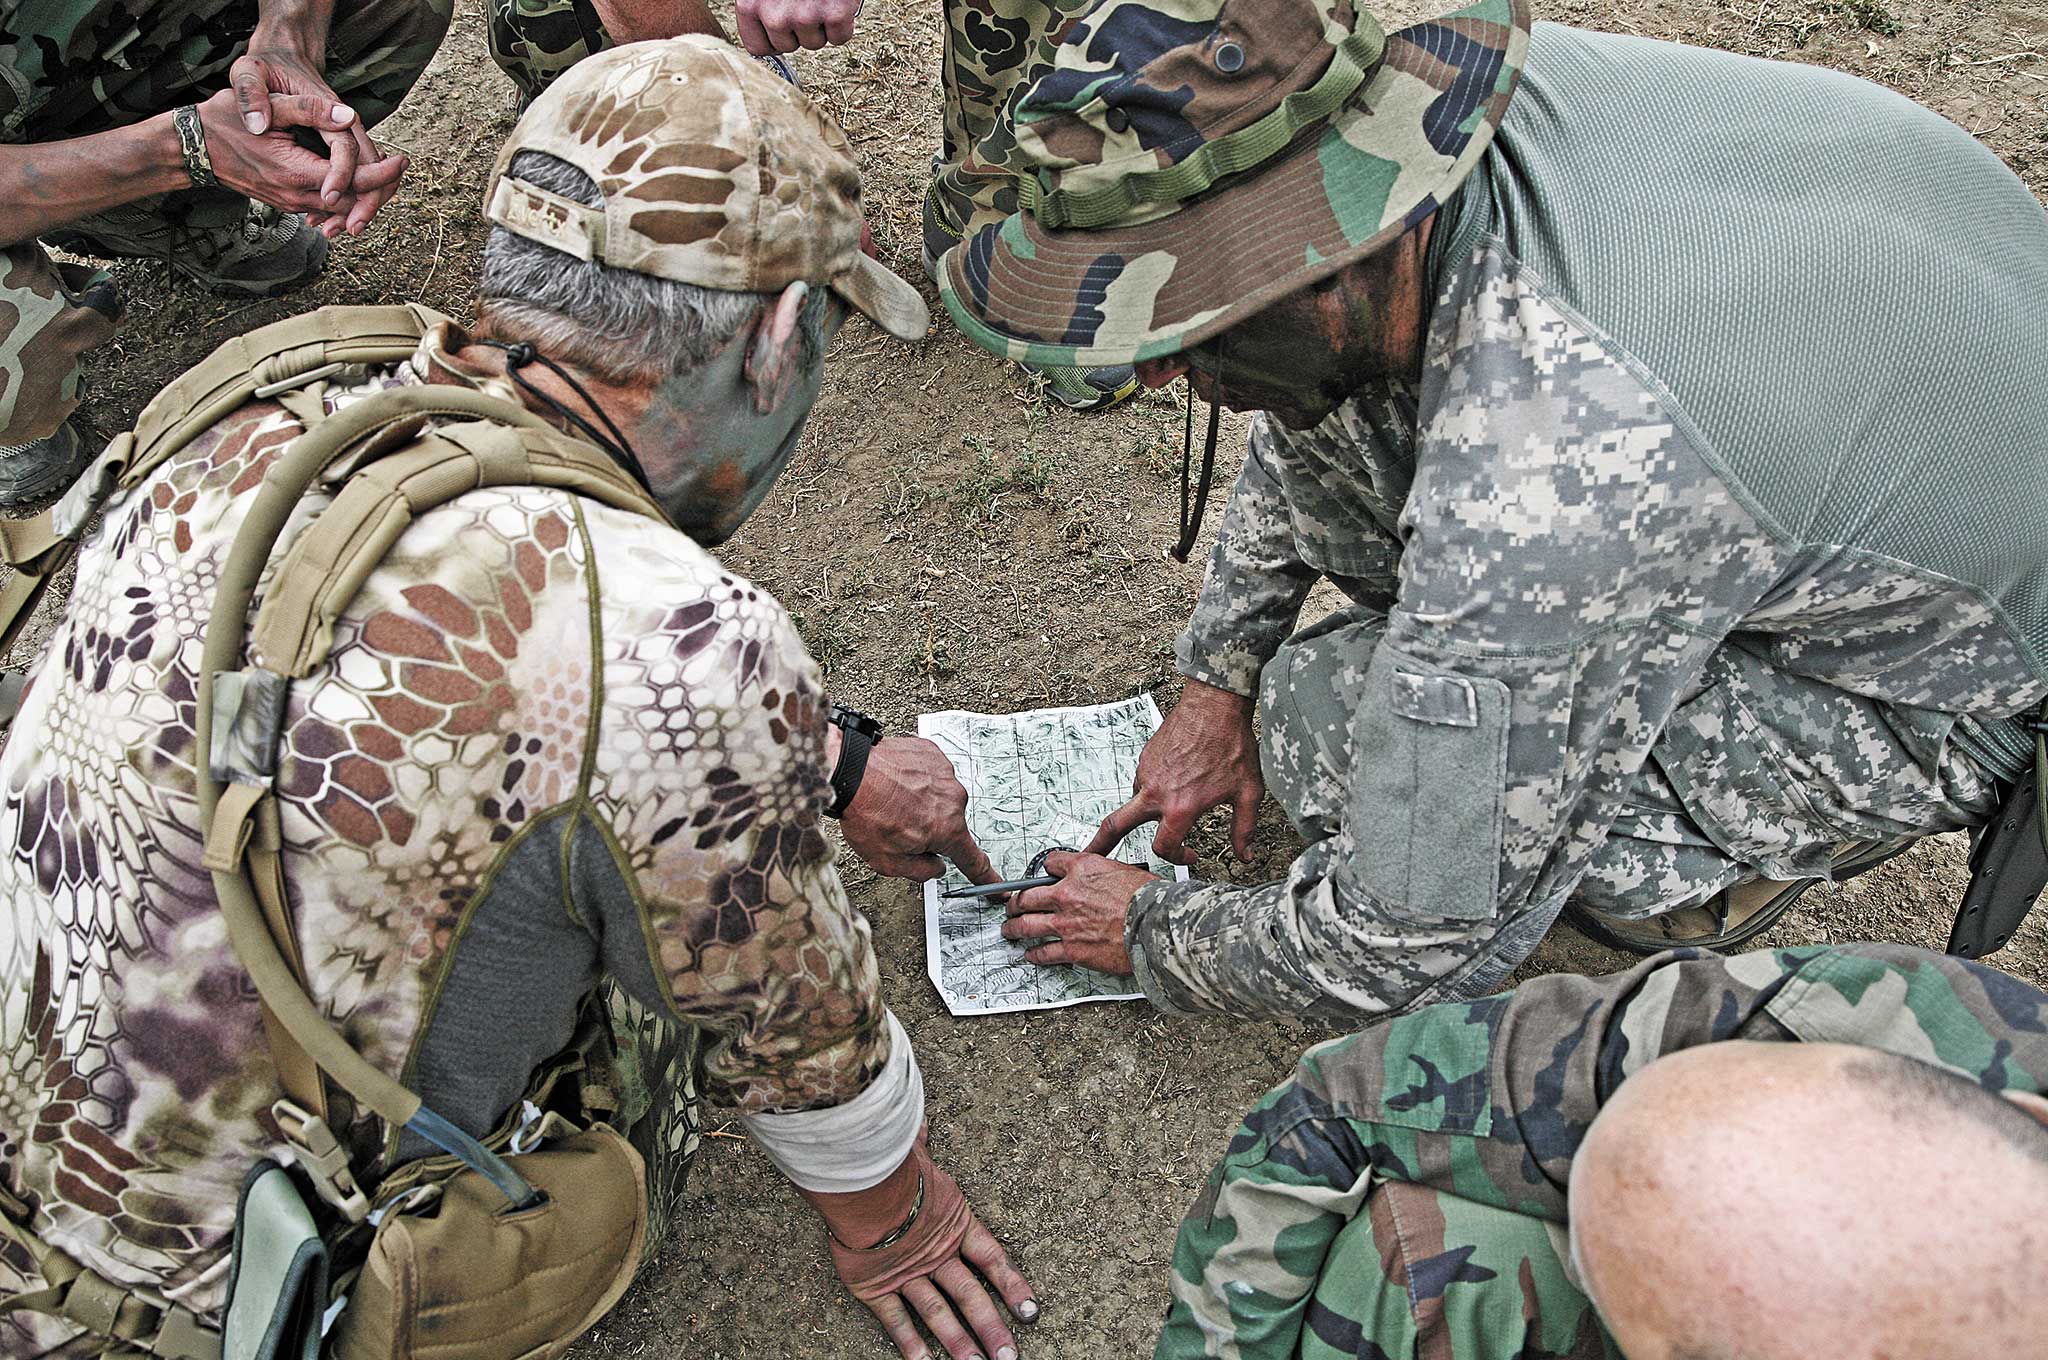
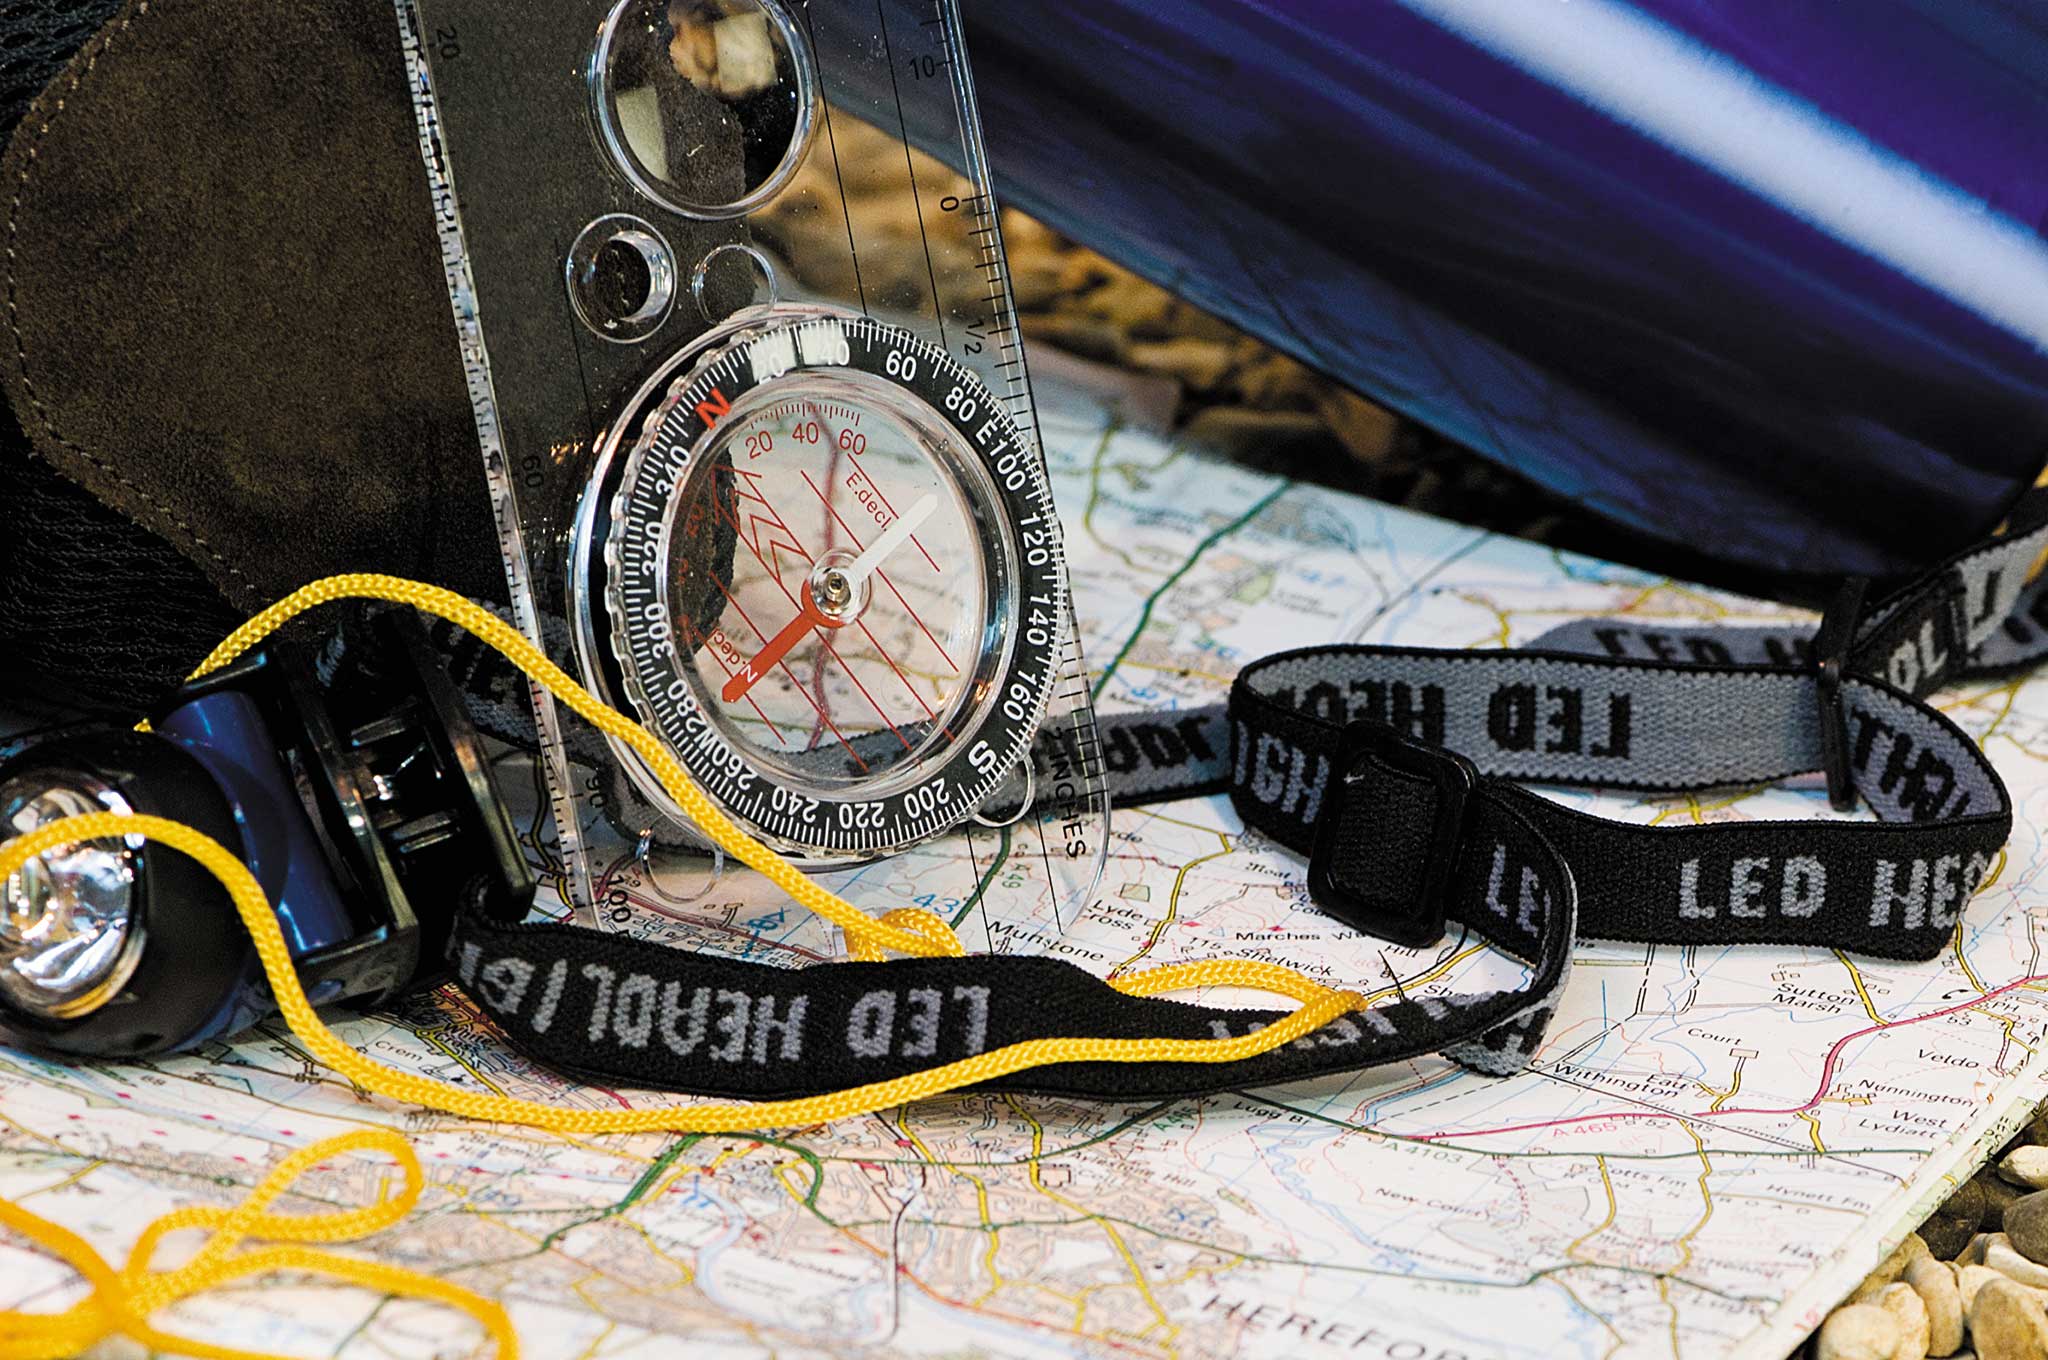
First, you’ll want to pull out your compass. There are several different compass styles, but we recommend using a lensatic type, which features folding front and rear sights. They enable you to easily set a precise course to a visual landmark, such as a distinctive tree or a rock formation on the horizon.
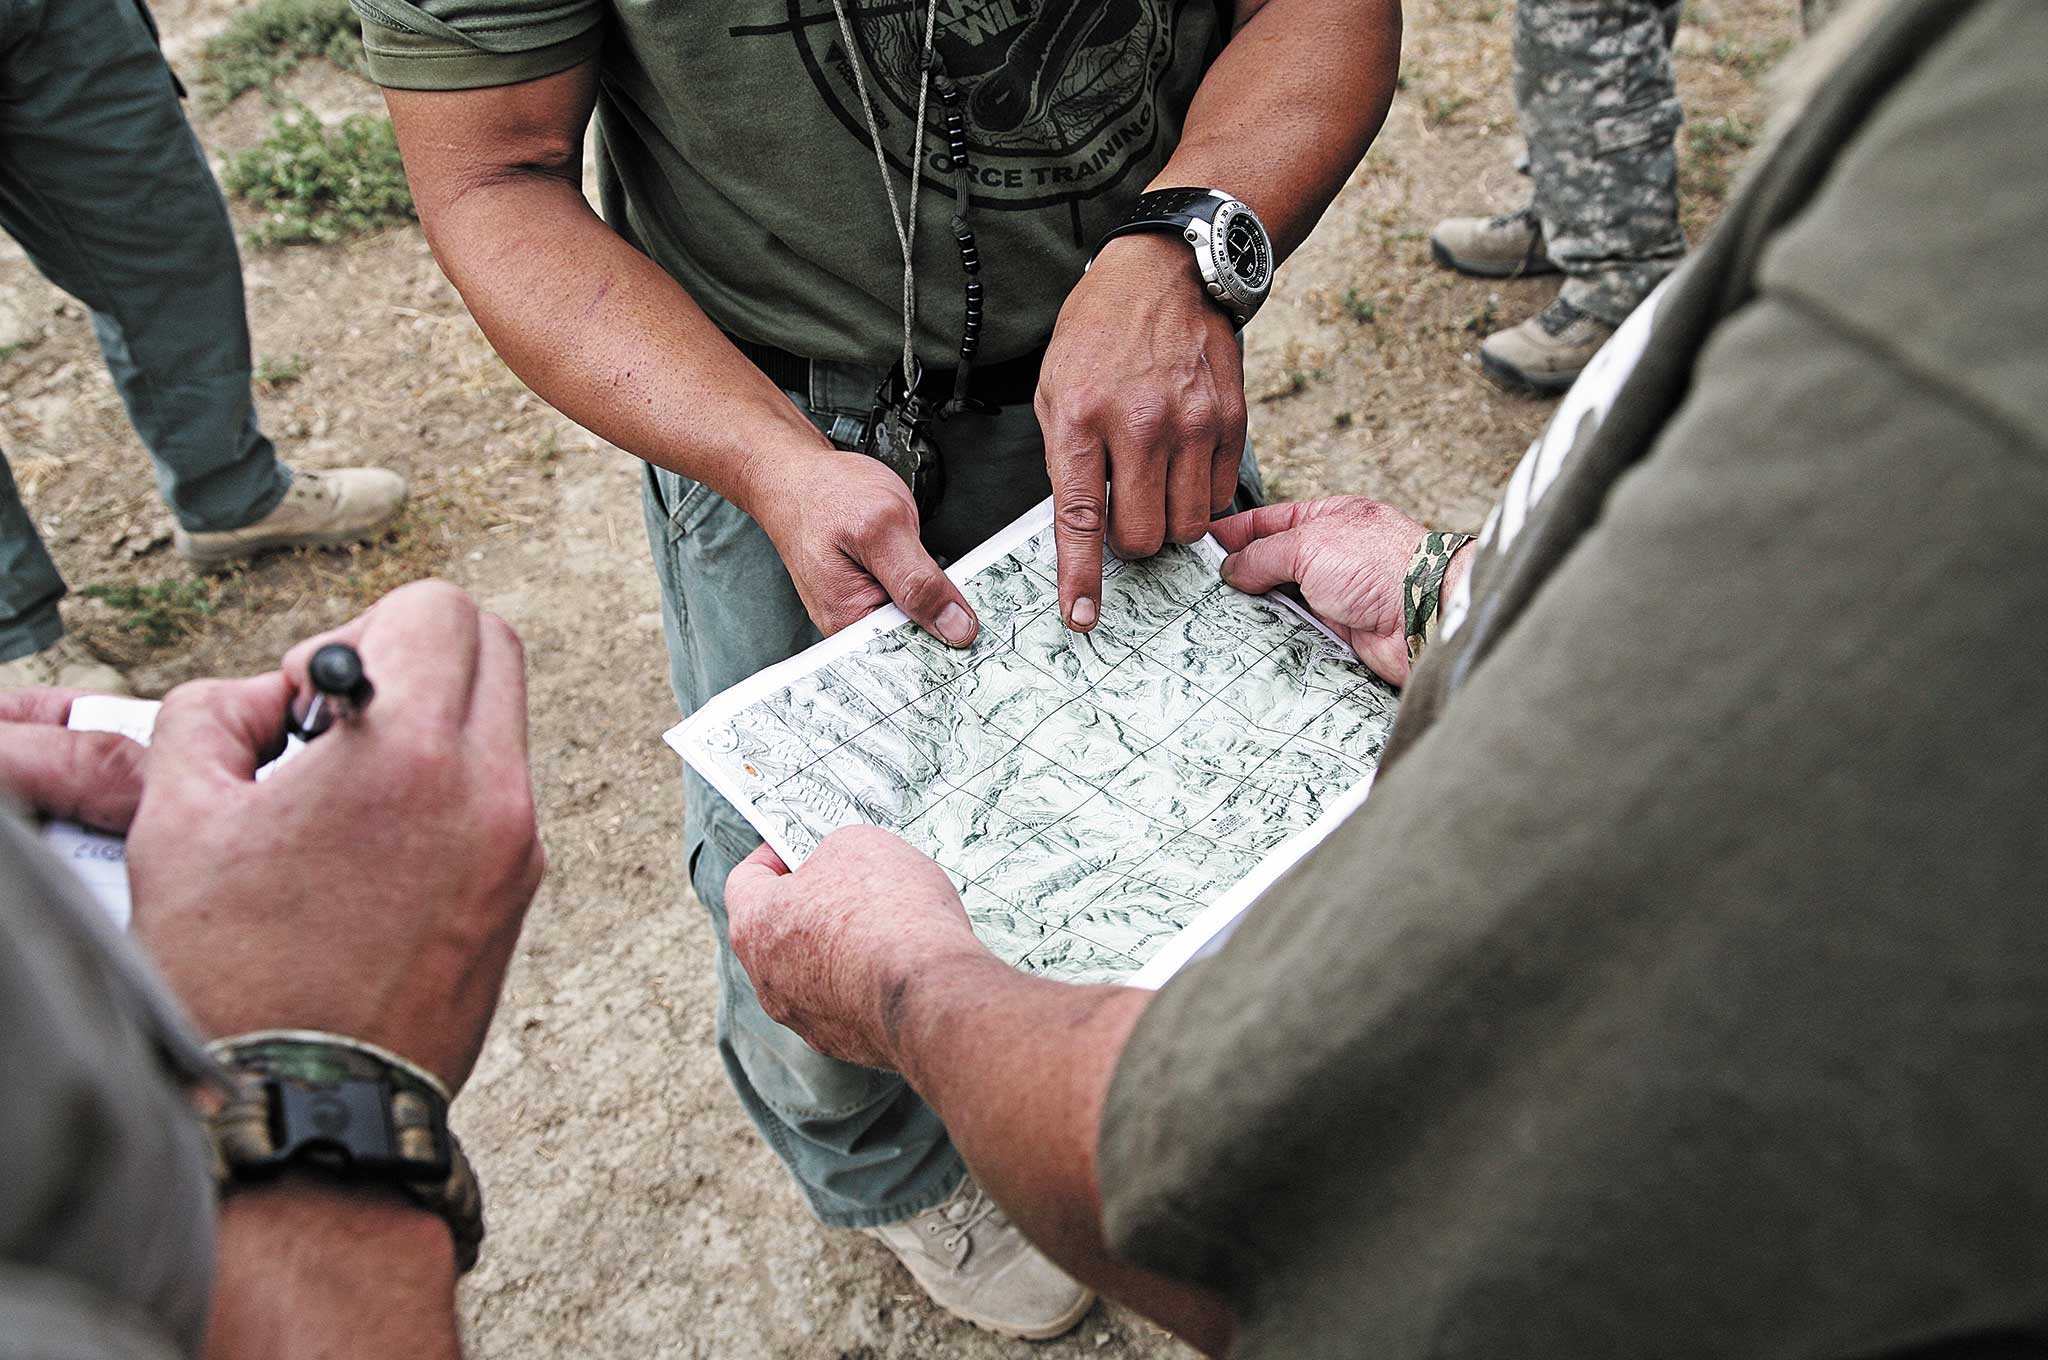
Next, take a look at your map. In this case, we have a topographical map that indicates changes in elevation — certainly helpful, but not mandatory. Place your compass on the map and align north on your compass with north on the map. Assuming your declination is set correctly for your geographic location, you are now oriented correctly with true north. You can typically find your area’s declination printed on the map itself — our Southern California location required a 14-degree declination correction on the compass. (Keep in mind, the declination can change every year due to the constant change in Earth’s magnetic field.)
Now that you know True North, you need to triangulate your location to determine where you are on the map. Choose a visible terrain feature (such as a hilltop or saddle), identify it on your topo map, and use your compass to find an azimuth on the map toward that feature. Draw a straight line on the map along that azimuth, then repeat this process with another landmark at least 60 degrees from the first. The intersection of the two lines will indicate your approximate location.

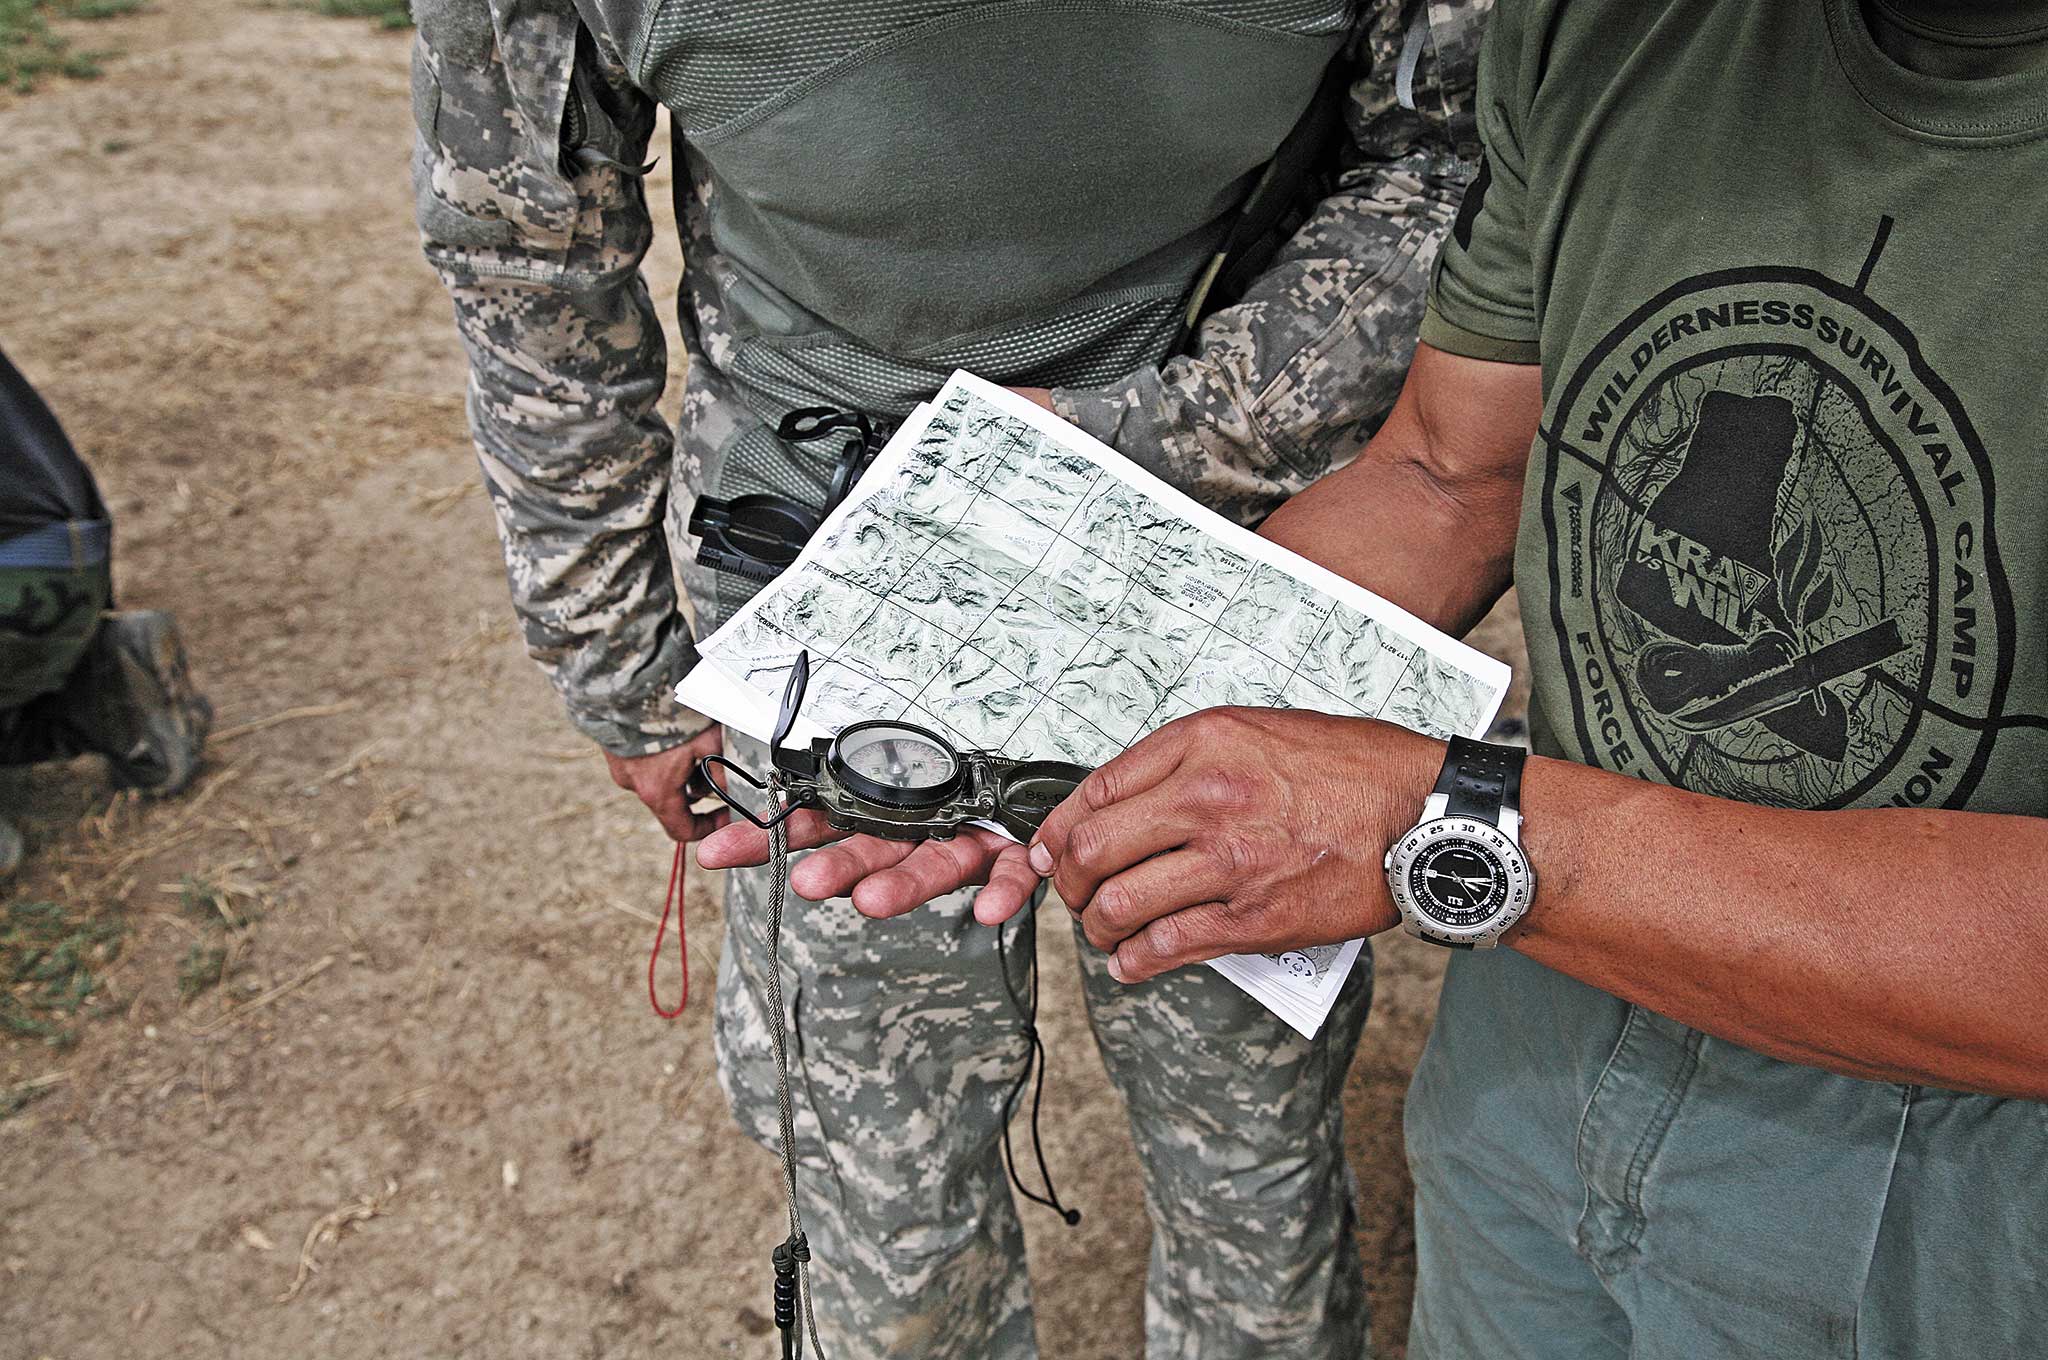
Once you know True North and your location on the map, set an azimuth to where you want to go. A lensatic compass can be held up to your cheek, and an azimuth can easily be set toward any landmark in its sights. Simply aim the sights at the target, then check the degree reading through the rear sight lens. This 0- to 360-degree reading is known as an azimuth. Once you have the azimuth in degrees, place the compass back on your map and draw a line in that direction. Now you know where you need to go and can move toward it safely.
Even if you don’t know where your original camp was on the map and can’t return there, these techniques can help you find a nearby roadway, body of water, or move to higher ground for visibility. However, they can be confusing to a first-timer, so it’s wise to practice these land navigation techniques as much as possible. That way, if your life someday depends on it, you’ll be ready.
Human Compass
If you’ve ever been camping or earned your orienteering merit badge as a kid, you’ve probably used a compass. Maybe you can even use one properly and know the difference between True North and magnetic north. Or perhaps you just learned how to use a map and compass by reading OFFGRID. Whatever your experience, navigation of the non-GPS kind is an important survival skill. But what happens when you don’t have a compass or the one you packed is broken? Here’s a brief look at how you can find north using nothing but a stick, a rock, and some sunlight. Note: This applies if you’re in the northern hemisphere. If you’re in the southern hemisphere, you’ll be facing south more or less.
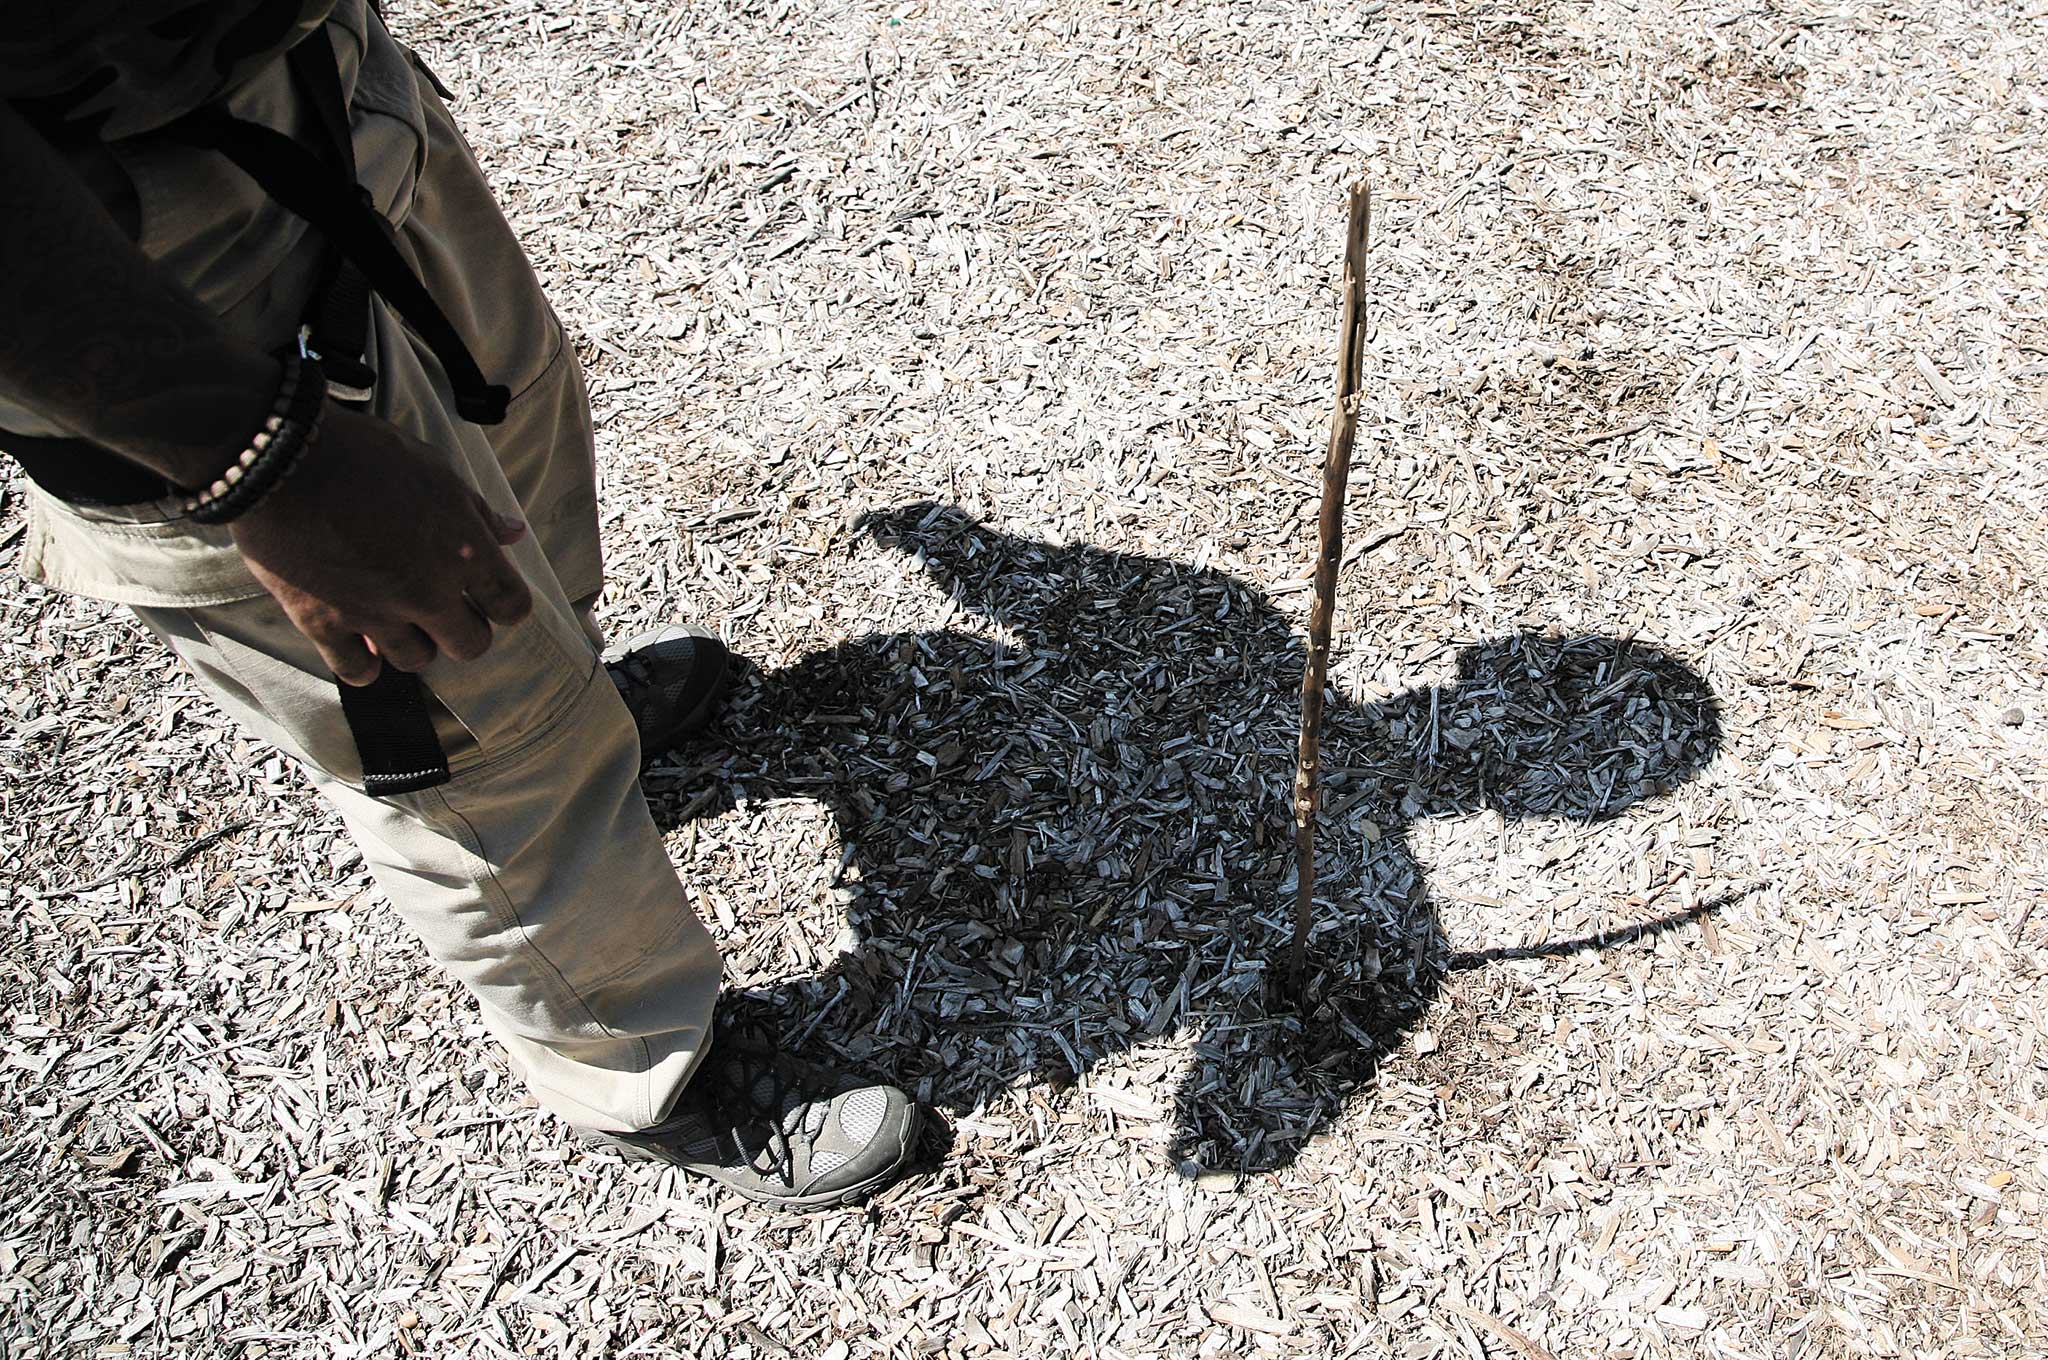
1. Place a stick upright in level ground and observe the stick’s shadow.
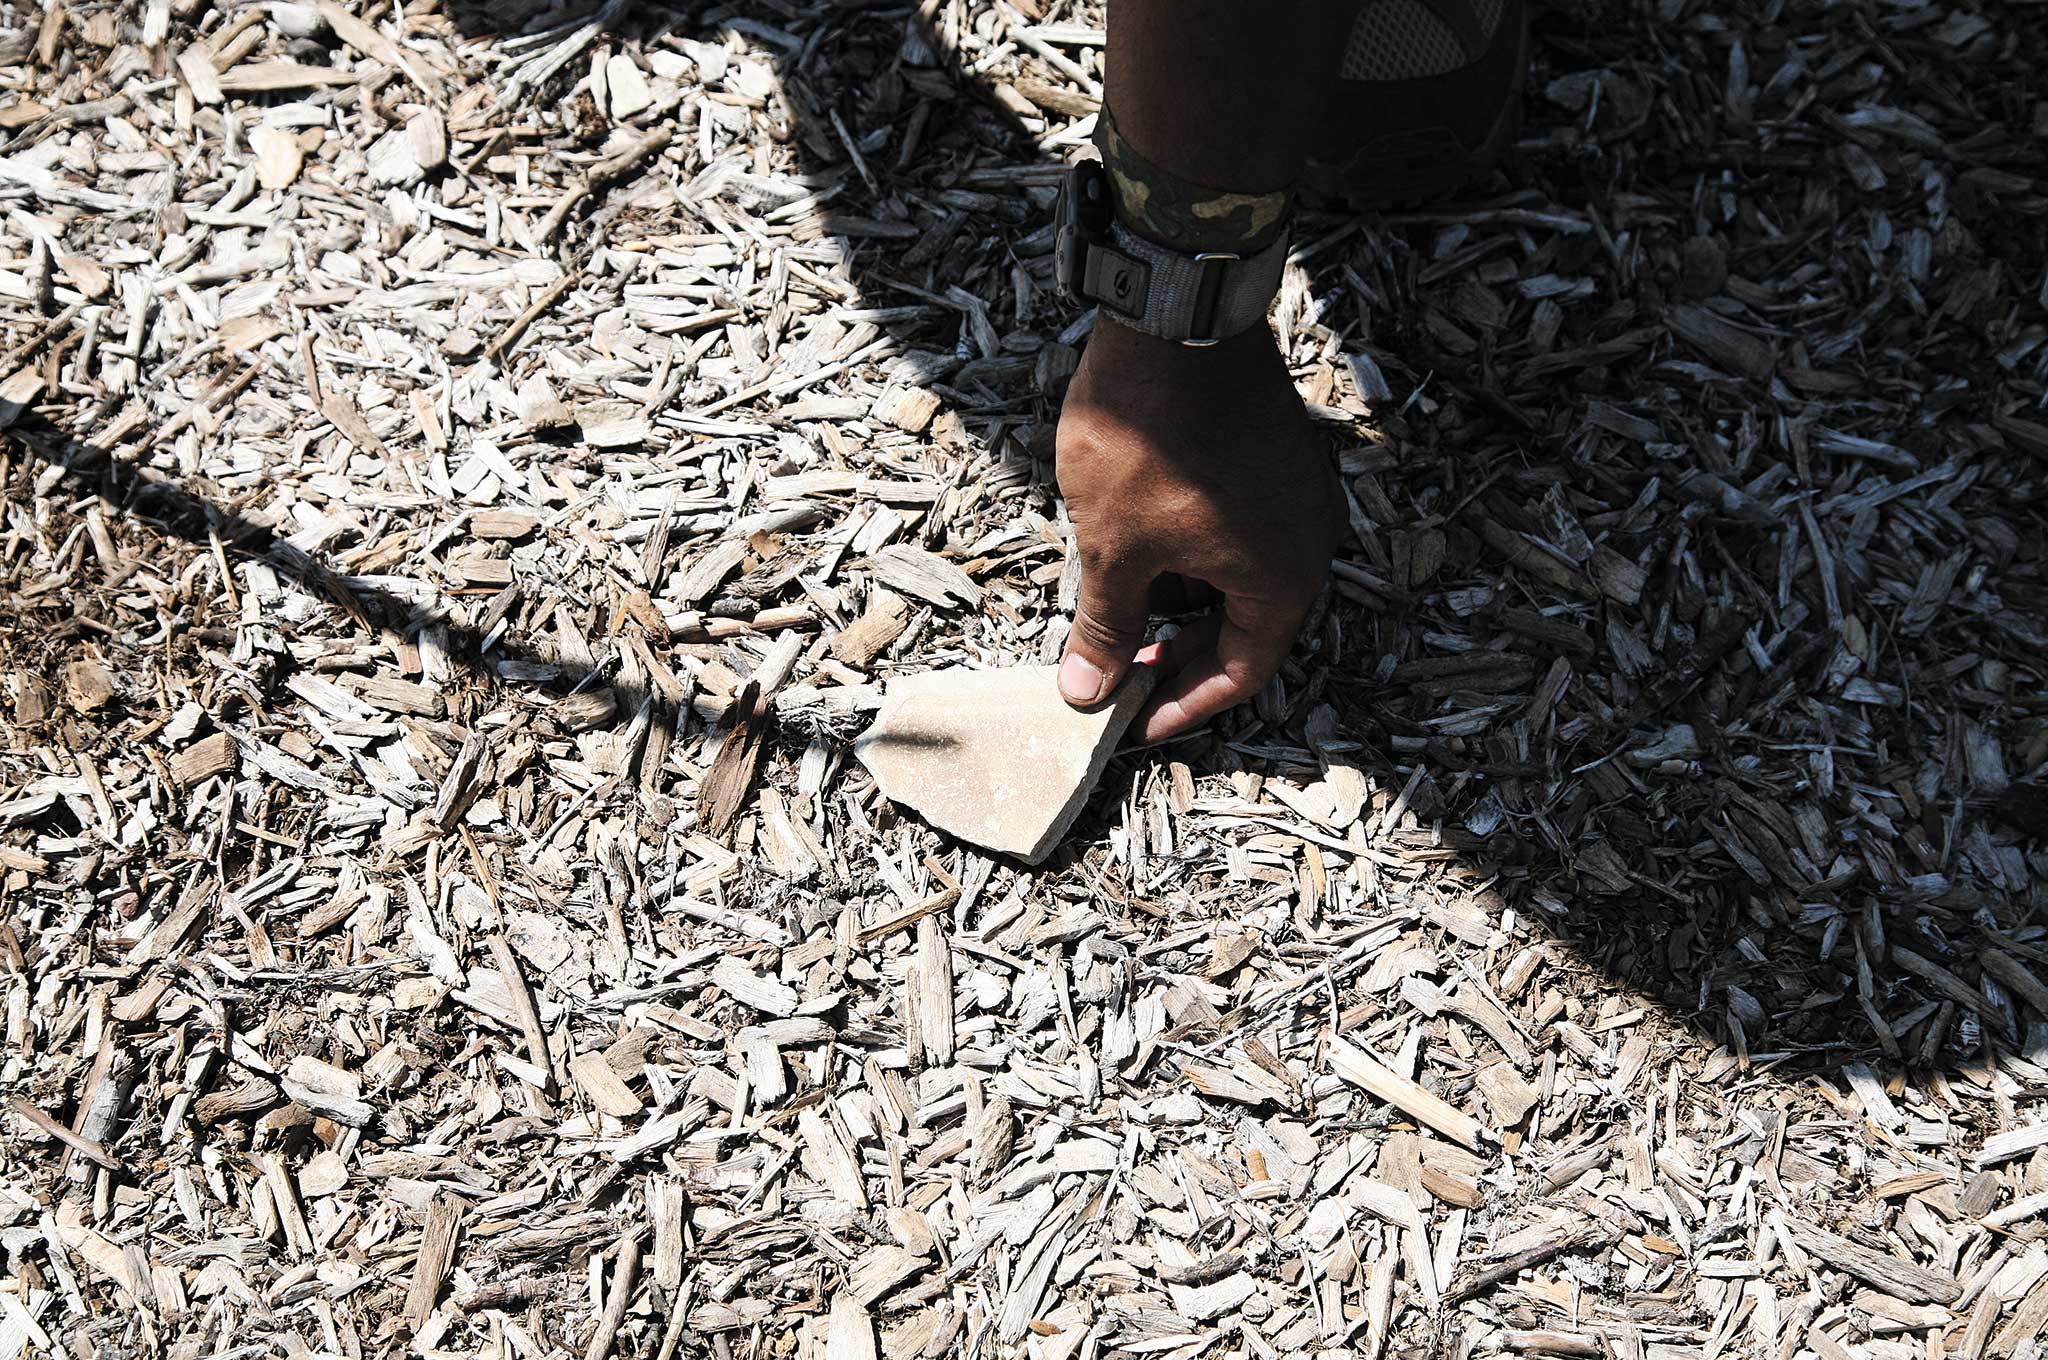
2. Place a marker, such as a stone, at the tip of the stick’s shadow.
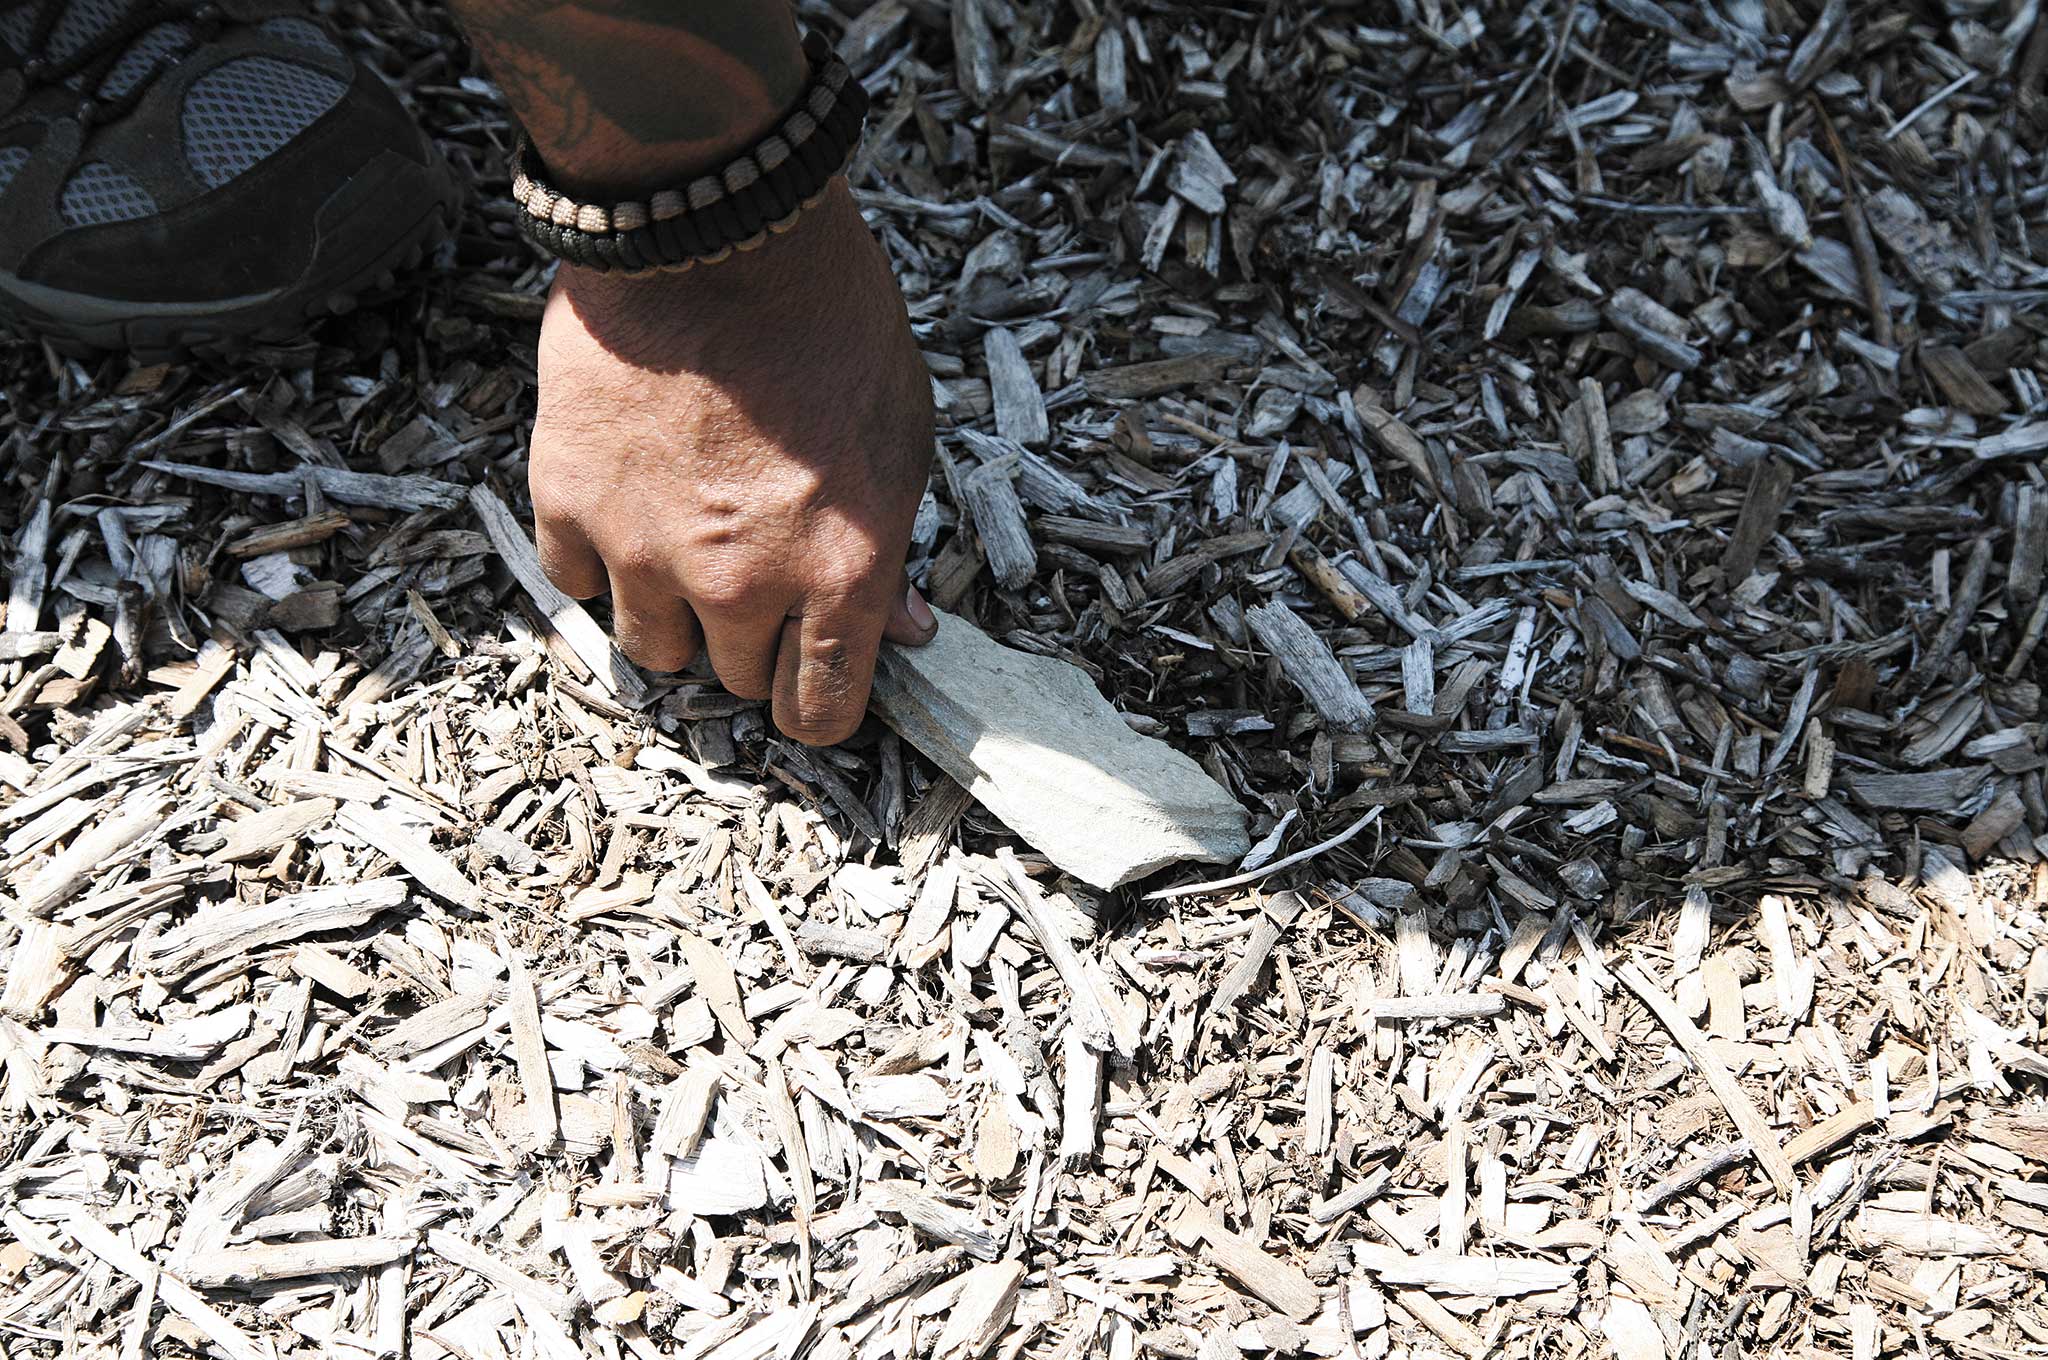
3. Wait 10 to 15 minutes then place another marker at the shadow tip’s new location.
4. Stand with your left toe to the first marker and your right toe to the second marker. You are now facing north approximately.
Dangerous Hiking Mistakes

Lacking sufficient hydration:
Miscalculating how much water to bring is an all too common occurrence. Water is life, and you want to live — always bring more than you need.
Underestimating trail difficulty:
Beginners especially tend to overrate their hiking abilities. Honestly evaluate your fitness level, research the trail before you hike, and start out on easier trails until you can work your way up to more difficult ones.
Failing to prepare is preparing to fail:
Put some forethought into what you might need if things go awry. Sure, it’s warm at the trailhead, but up near the peak the temperature might drop by 20 or more degrees. What if you twist your ankle? Do you have extra water or other provisions?
Having a lone wolf attitude:
If you hike solo, be sure to notify someone of where you’re going and how long you expect to be gone. Personal locater beacons are also a smart choice to carry.
Wandering off-trail:
Staying on marked trails is the safest way to go. Conversely, going off-trail can be a quick way to get lost or injured. If you do choose to go off the beaten path, be sure you are prepared for the added dangers and unexpected consequences.
Source
Krav Maga Worldwide Force Training Division > www.kravmaga.com
