In This Article
Warning!
This article is meant to be a quick overview on improvised water filtering and not a detailed guide. Techniques, concepts, and photos shown here are for illustrative purposes only. Consuming water of questionable quality is potentially dangerous and you do so at your own risk.
As noted by nearly every outdoor enthusiast and reputable survival teacher, clean drinking water is at or near the top of the priority list. There are many good reasons for this, so we want to help you be able to use and drink whatever H2O you find in an urban or semi-urban environment during a crisis or post-crisis situation.
For the purposes of this story, we’ll assume that you’ve practiced some common sense and found water from a relatively safe source — but you’re not 100-percent sure if you should consume it. How do you know if it’s safe to drink? Can you cook with it or drink it?
Consuming it straight from the source is definitely not a good idea unless you want the runs, a crippling illness, or worse (see “Germ Warfare” elsewhere in this issue for more on microscopic pathogens). No doubt you’ll need to filter the wet stuff…which is easier said than done if life as we know it has crumpled at our feet or gone up in a mushroom cloud. When commercially available filters aren’t available, you’ll have to roll up your sleeves and improvise.
Filter Materials
When attempting water treatment, you’ll need to first filter it through different media to remove most of the particulate matter. Sift out the larger contaminants, then the smaller, then the microscopic. Once that’s completed, you’ll need to heat or treat the H2O depending on available resources. Therefore, you’ll need to obtain some items to repurpose for your DIY water treatment system.
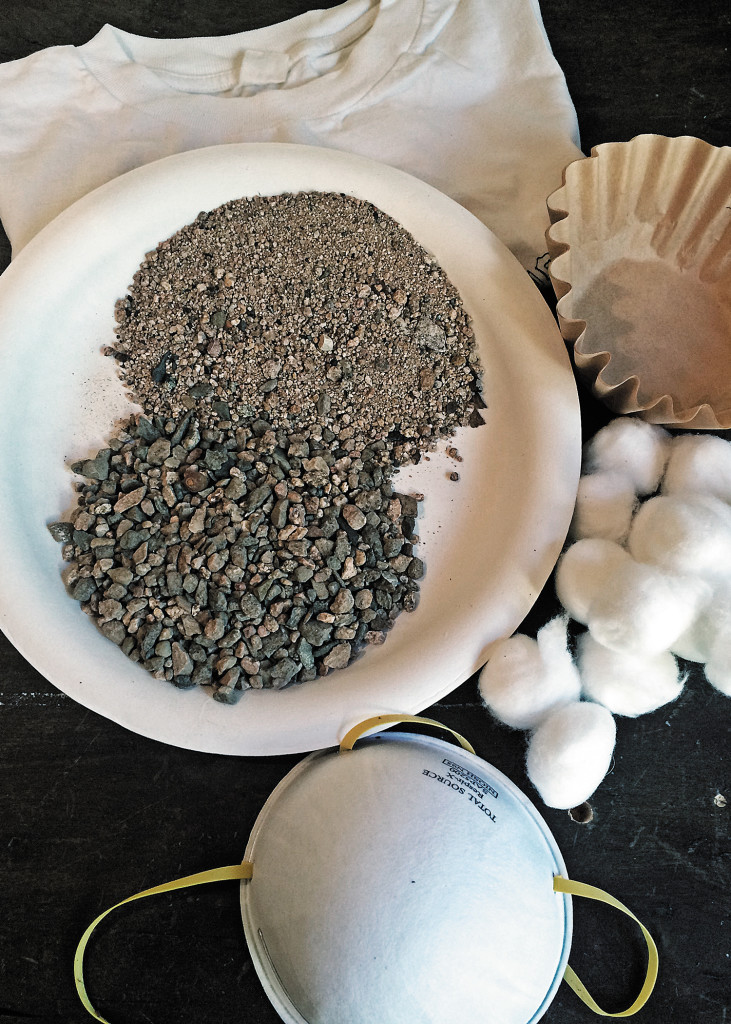
Filter Media: You might not realize it, but there are dozens of everyday items lying around that could be used to filter water. Here are some common examples:
- T-shirts
- Towels
- Stockings
- Bandanas
- Pillow stuffing
- N-95 mask
- Coffee filters
- Fridge water filter
You could also use earthly materials, too, like gravel, sand, and charcoal. While they’re not as abundant in concrete jungles like New York City (unless you happen to be inside a Home Depot when stuff hits the fan), they’re great to use if you can find them.
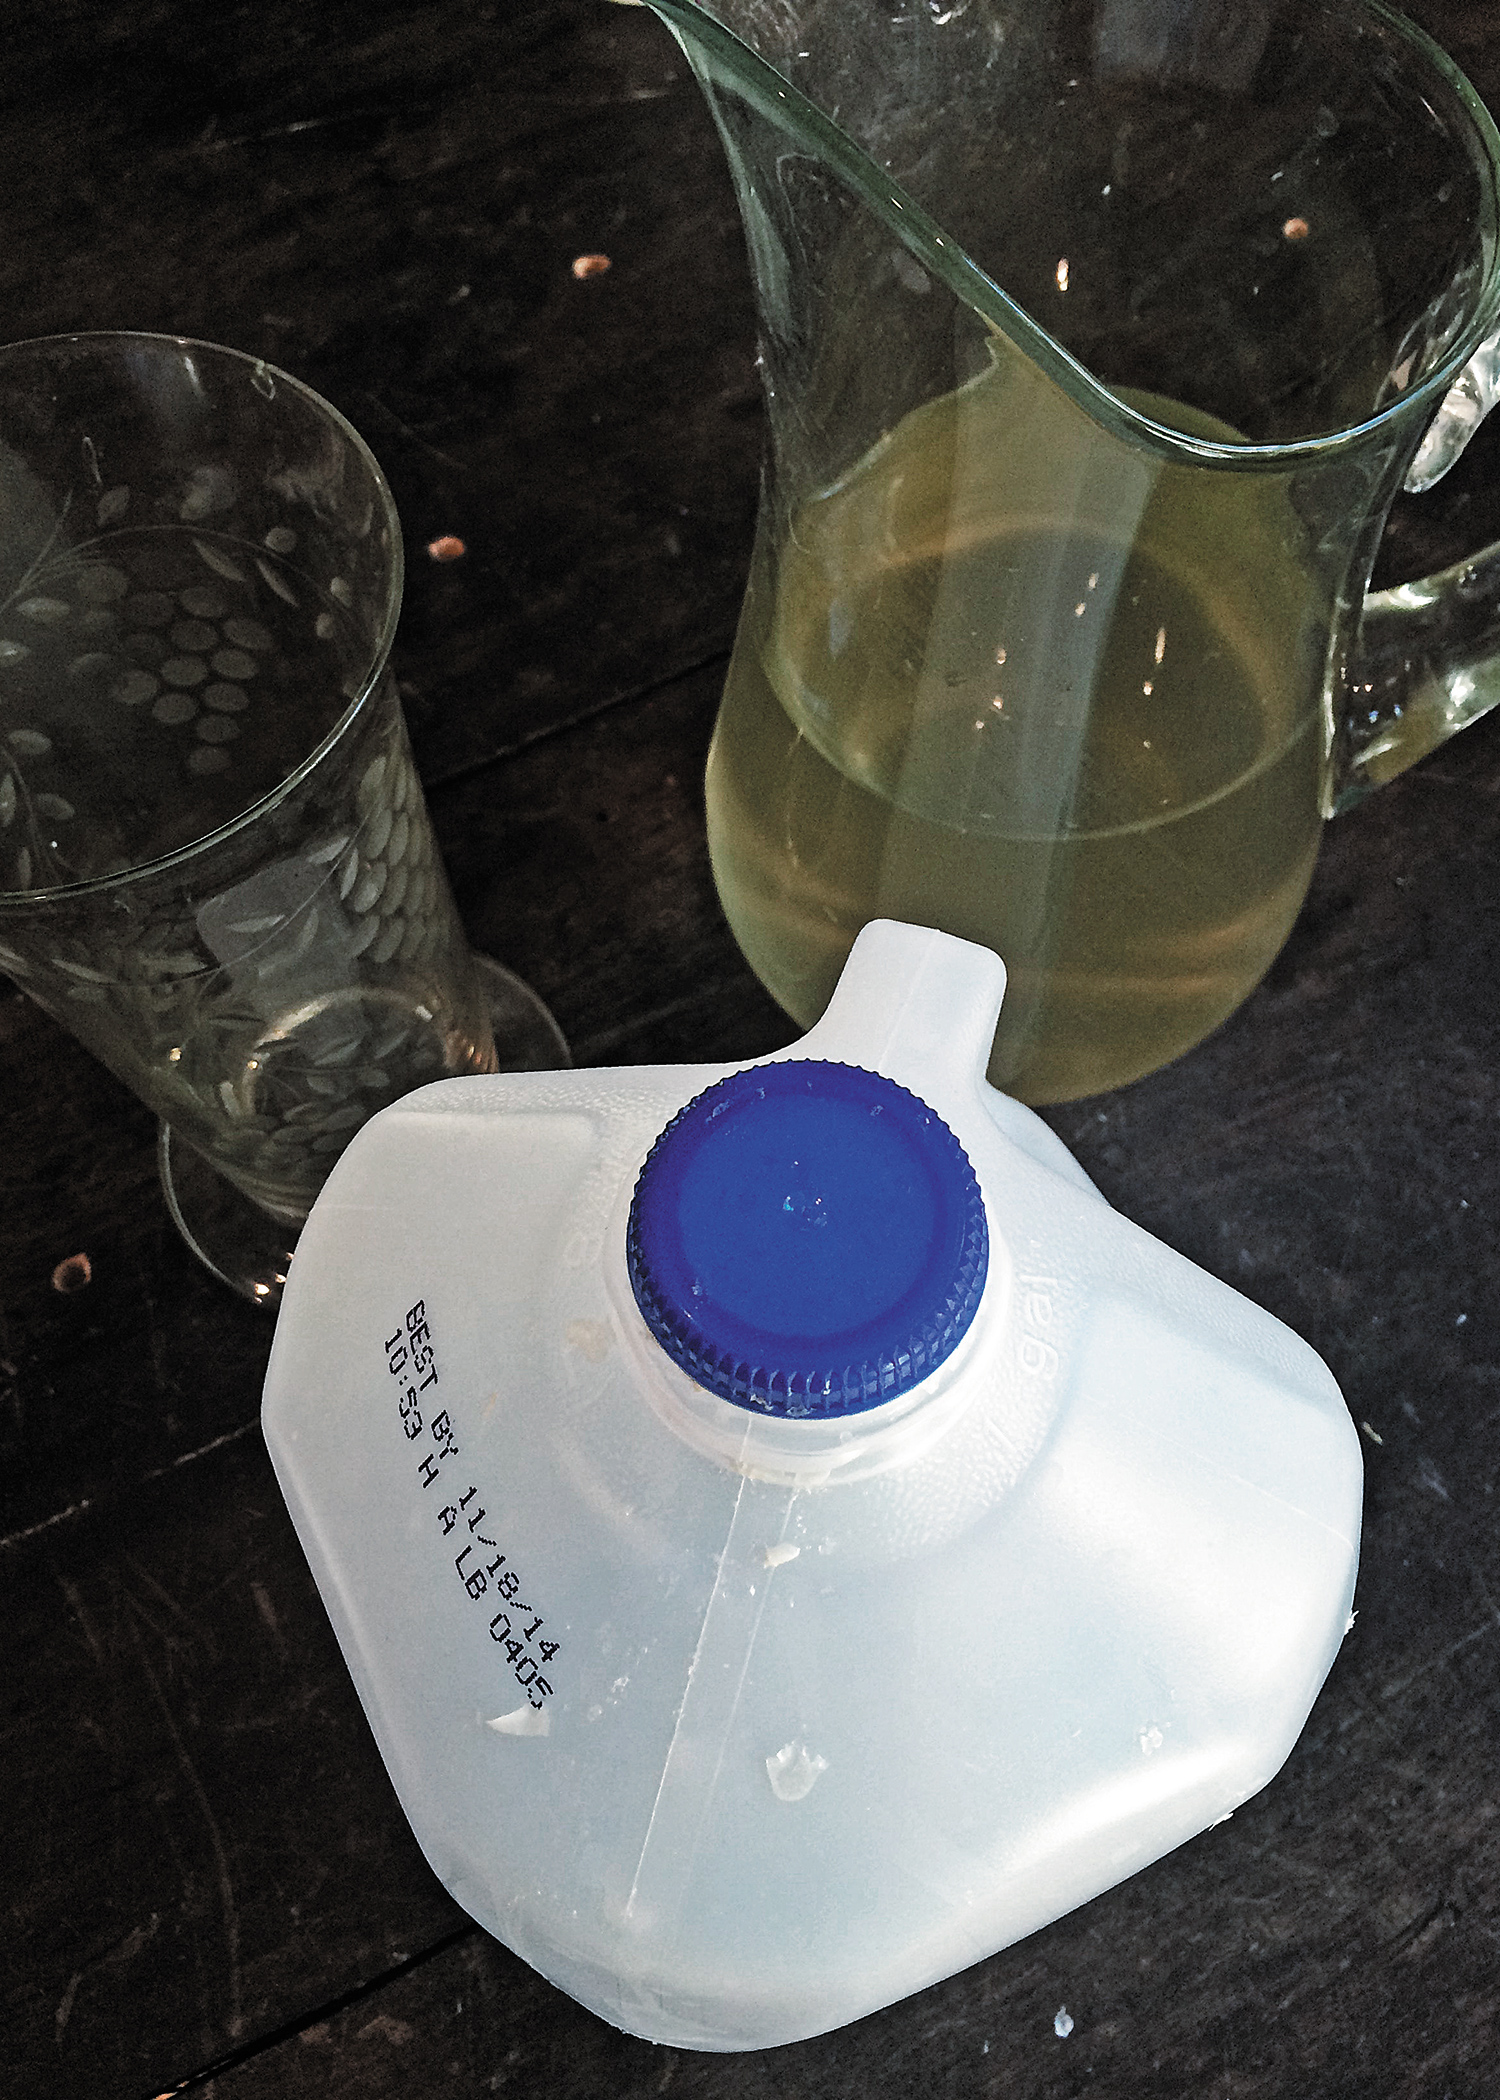
Water Containers: Next, you’ll need at least two containers that can hold H2O. Consider any of the following:
- Plastic soda bottles
- Milk jugs
- Buckets
- Empty bleach bottles
You could even use pots or pans for one of the containers, but plastic works best because you can cut it or poke holes through it as needed.
Filtering Techniques
First Filtering Stage:
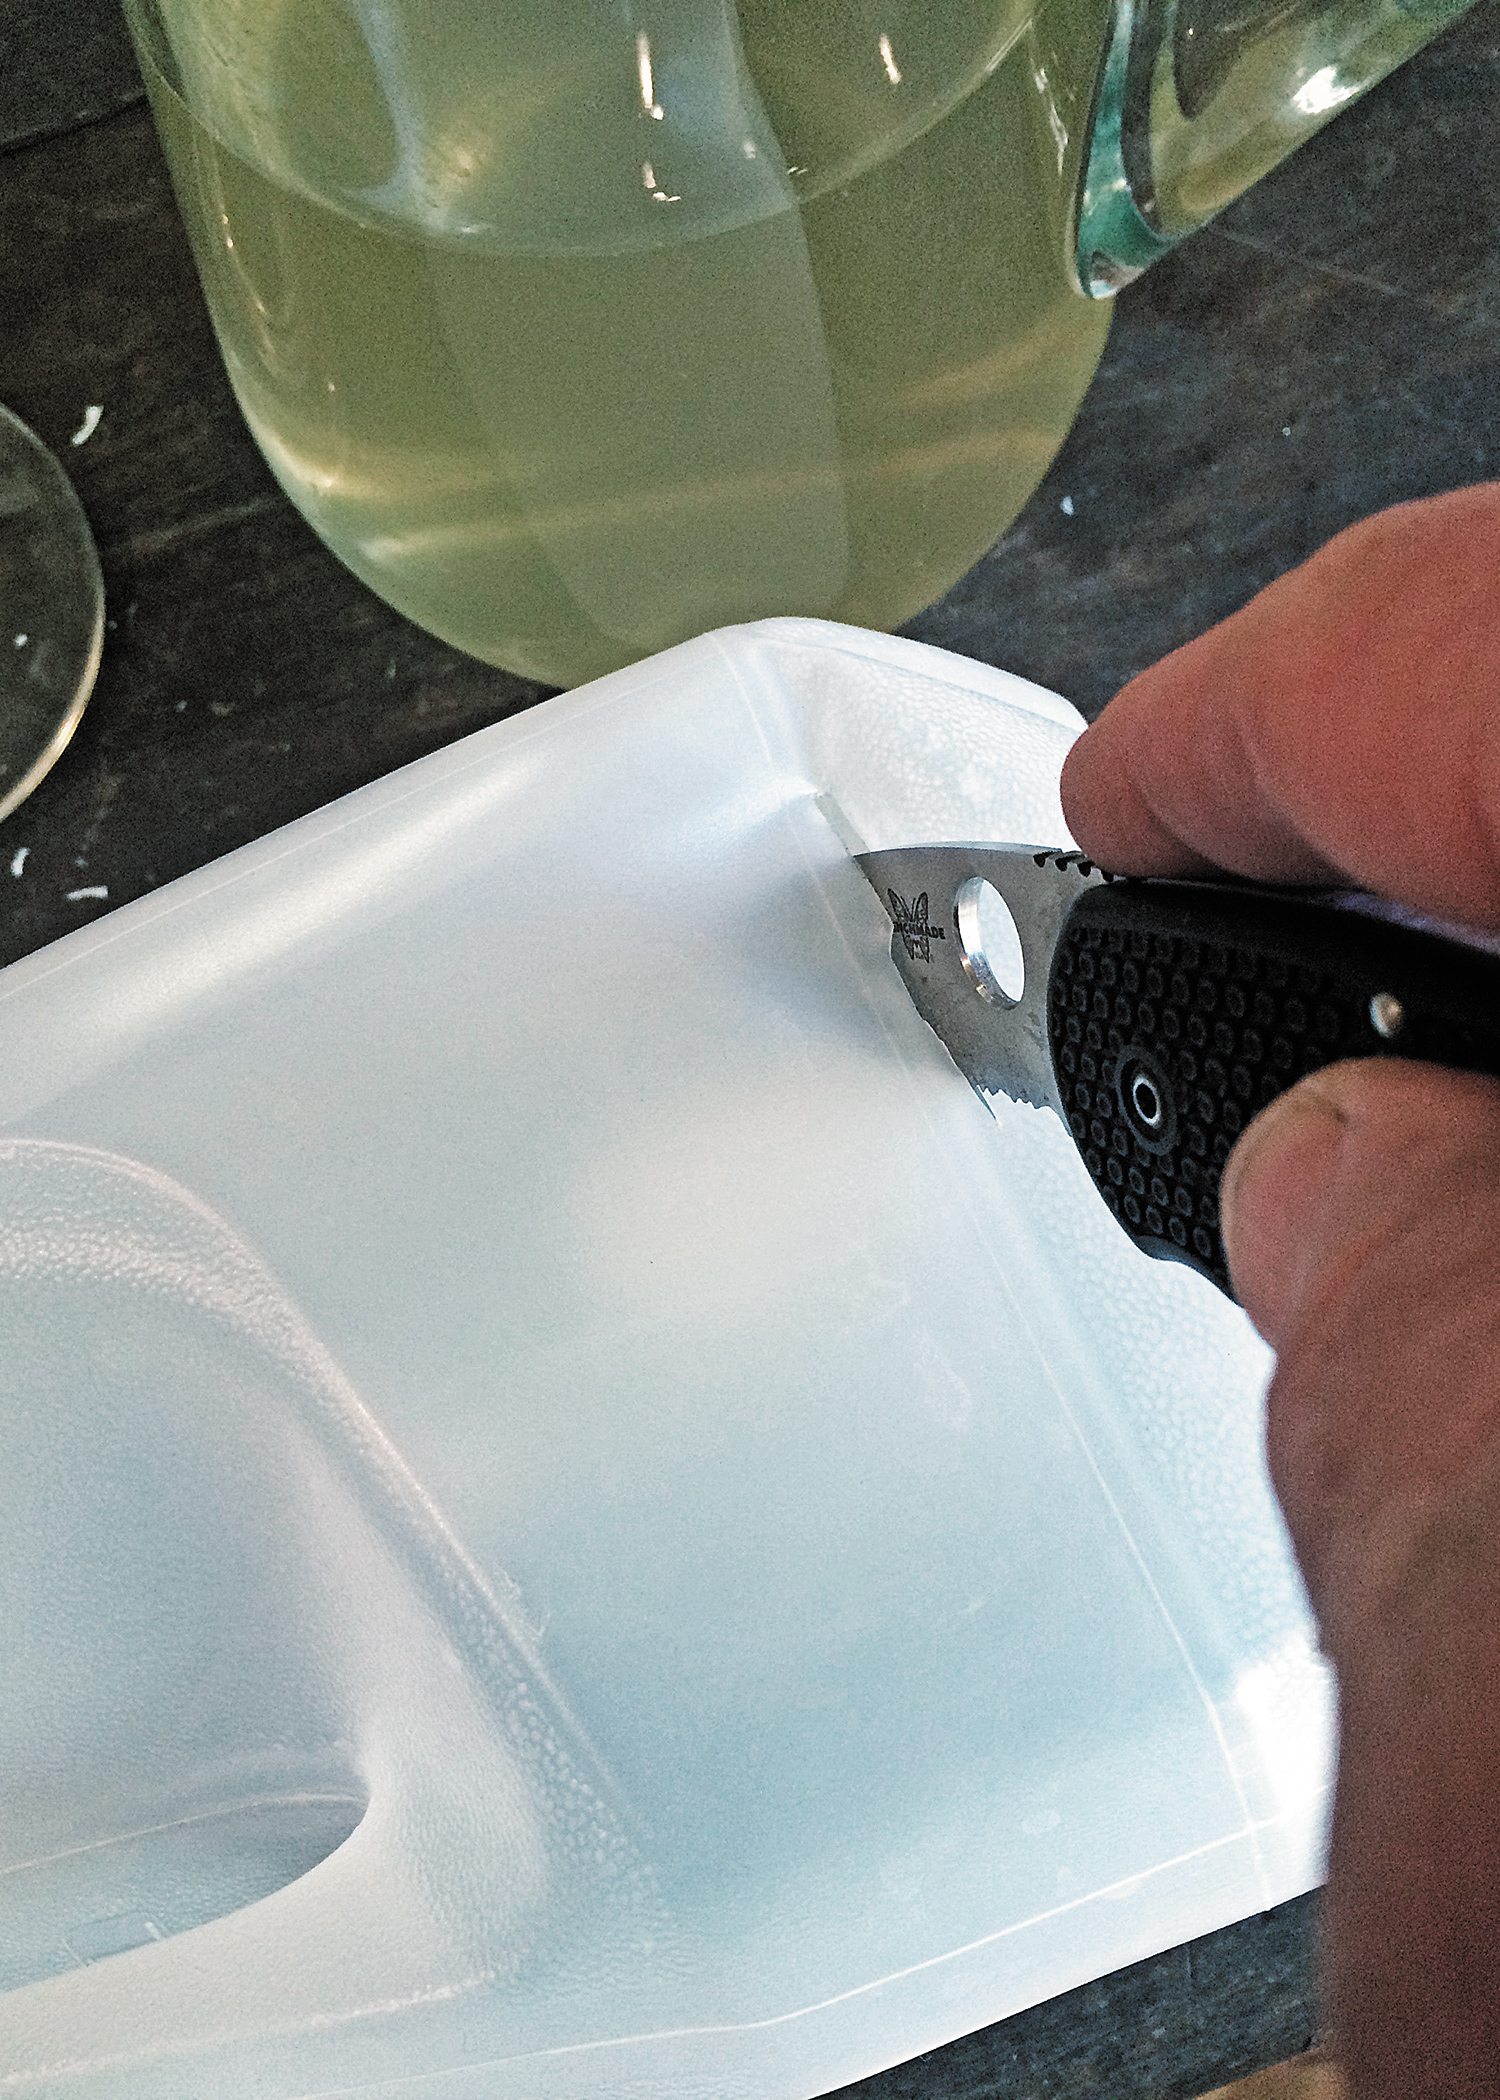
1. Take a milk jug or large soda bottle, with a cap if possible, and remove the bottom by cutting it off carefully with a sharp knife or scissors.
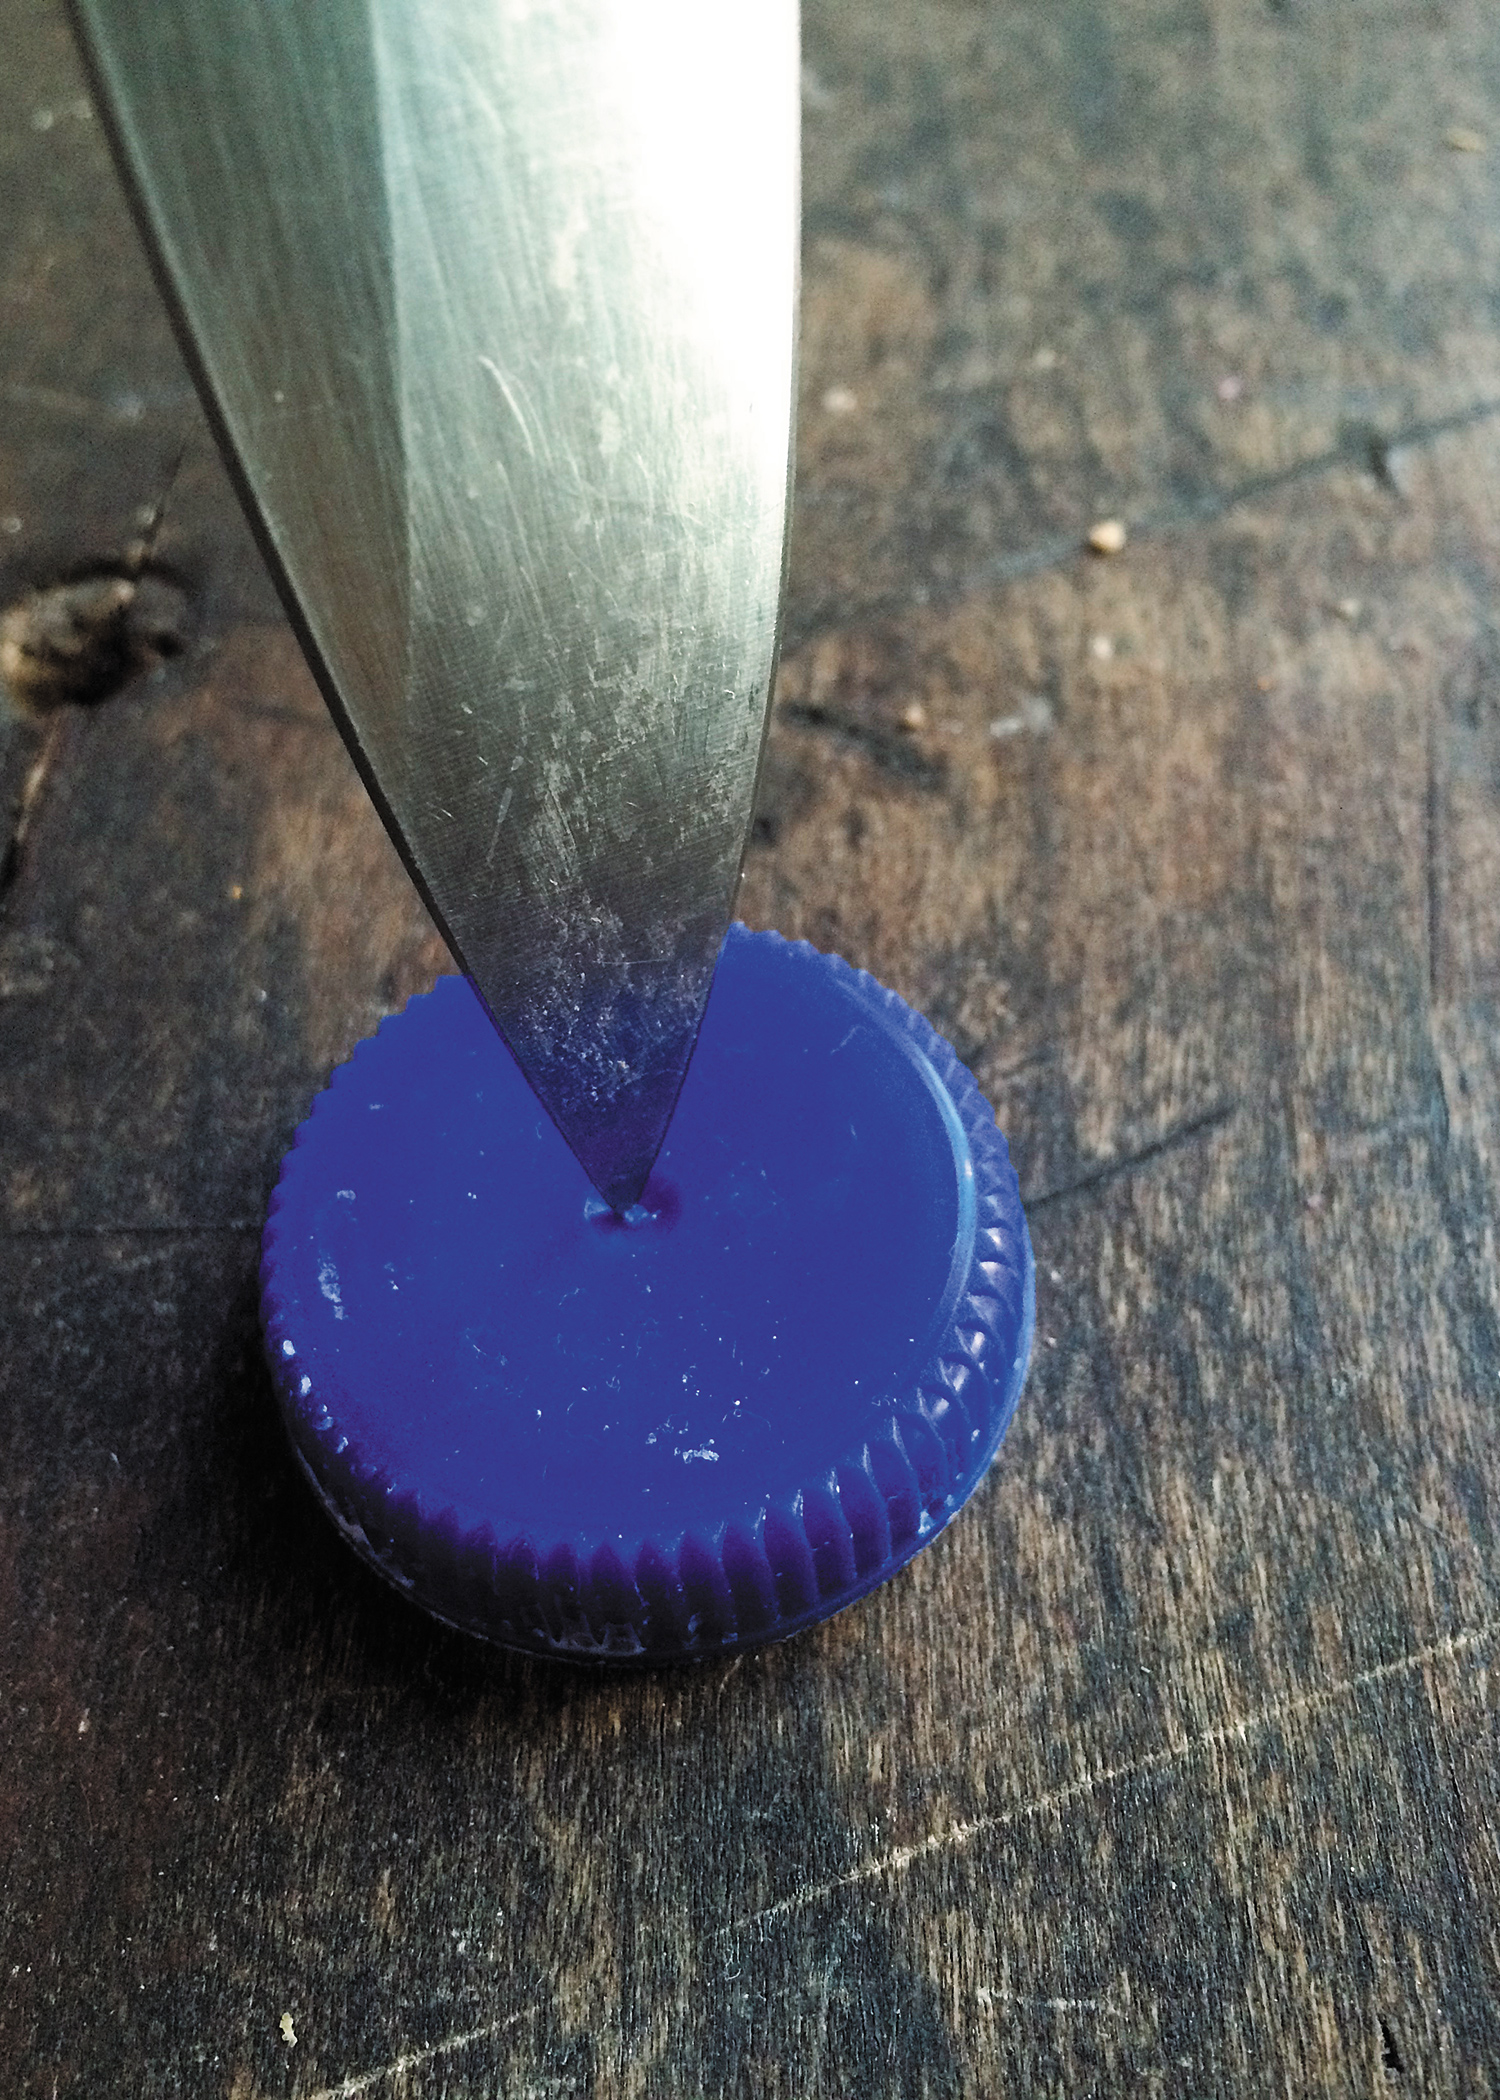
2. If the cap is available, make a hole in it by setting it on a flat surface and placing the tip of a knife on the top of the cap. While carefully holding the cap, twist the knife around while applying pressure until you make a small hole. Once a small hole is in the cap, place it back on the bottle and turn the open side up.

3. Next, place the finest filtering element available, like a coffee filter, an N-95 mask, or tampon (see “Bloody Ingenious” elsewhere in this issue), at the bottom of the container (closest to the cap).
IMPROV: If there’s no coffee filter or N-95 mask handy, you can substitute paper towels.
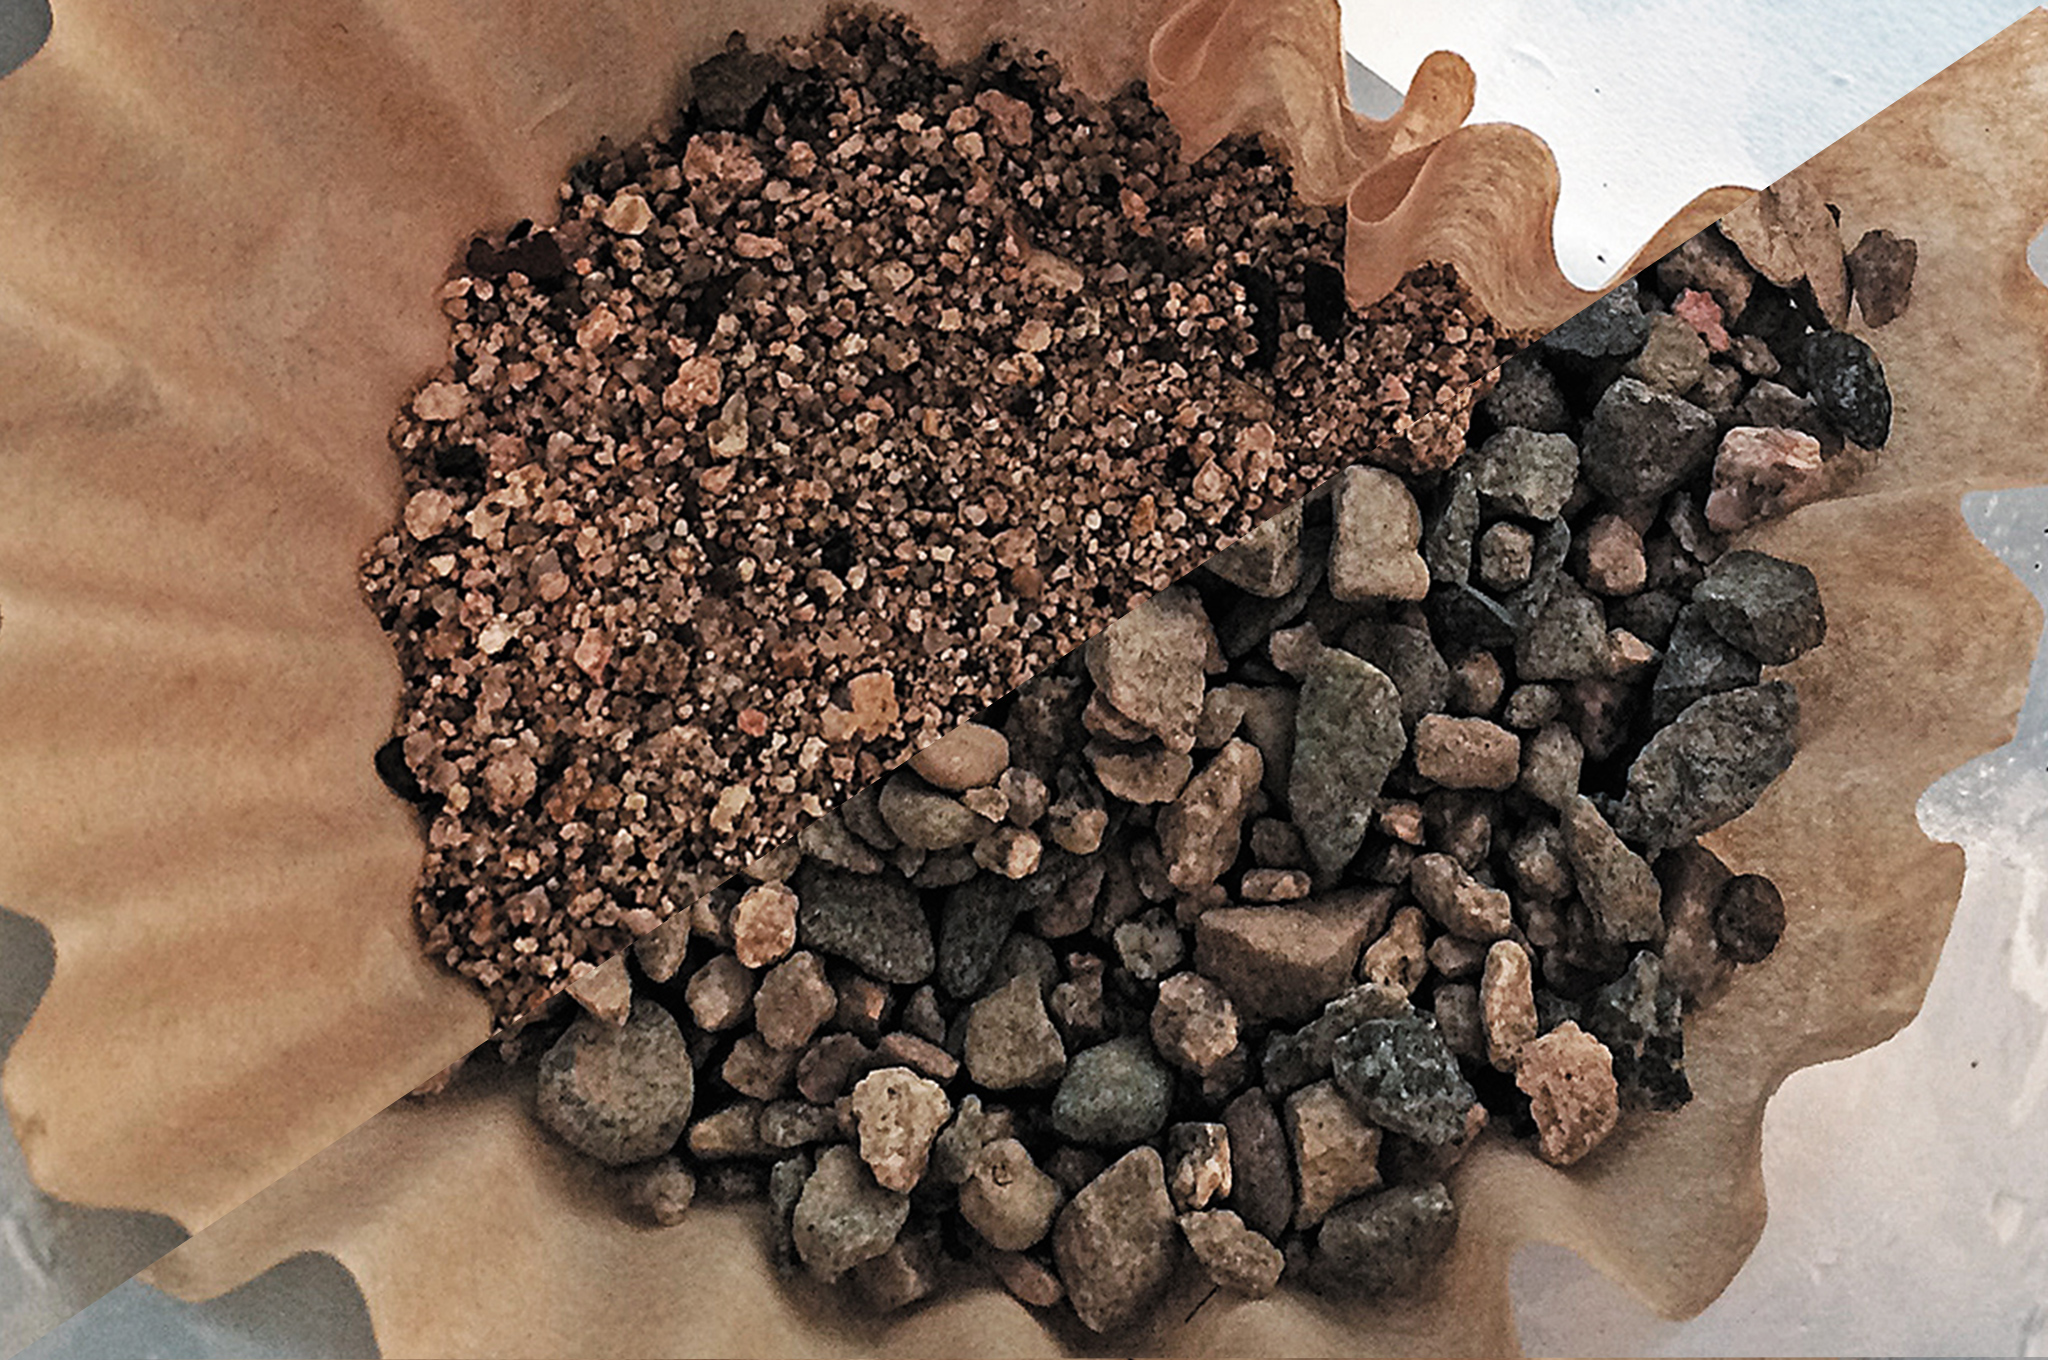
4. Then take the charcoal (if available), smash it into fine pieces, and place it inside the filter material. Cover the charcoal with about 1 inch of sand and cover the sand with about 2 inches of gravel.
IMPROV: Can’t find enough gravel, sand, and charcoal? Replace them with cotton balls, cloth, or pillow stuffing.

5. Slowly pour the water you’ve found into the improvised filtration system so as not to disrupt the filtering elements. This should eliminate most of the sediment or particulate matter and prepare us to move on to the next step of filtration.
Second Filtering Stage:
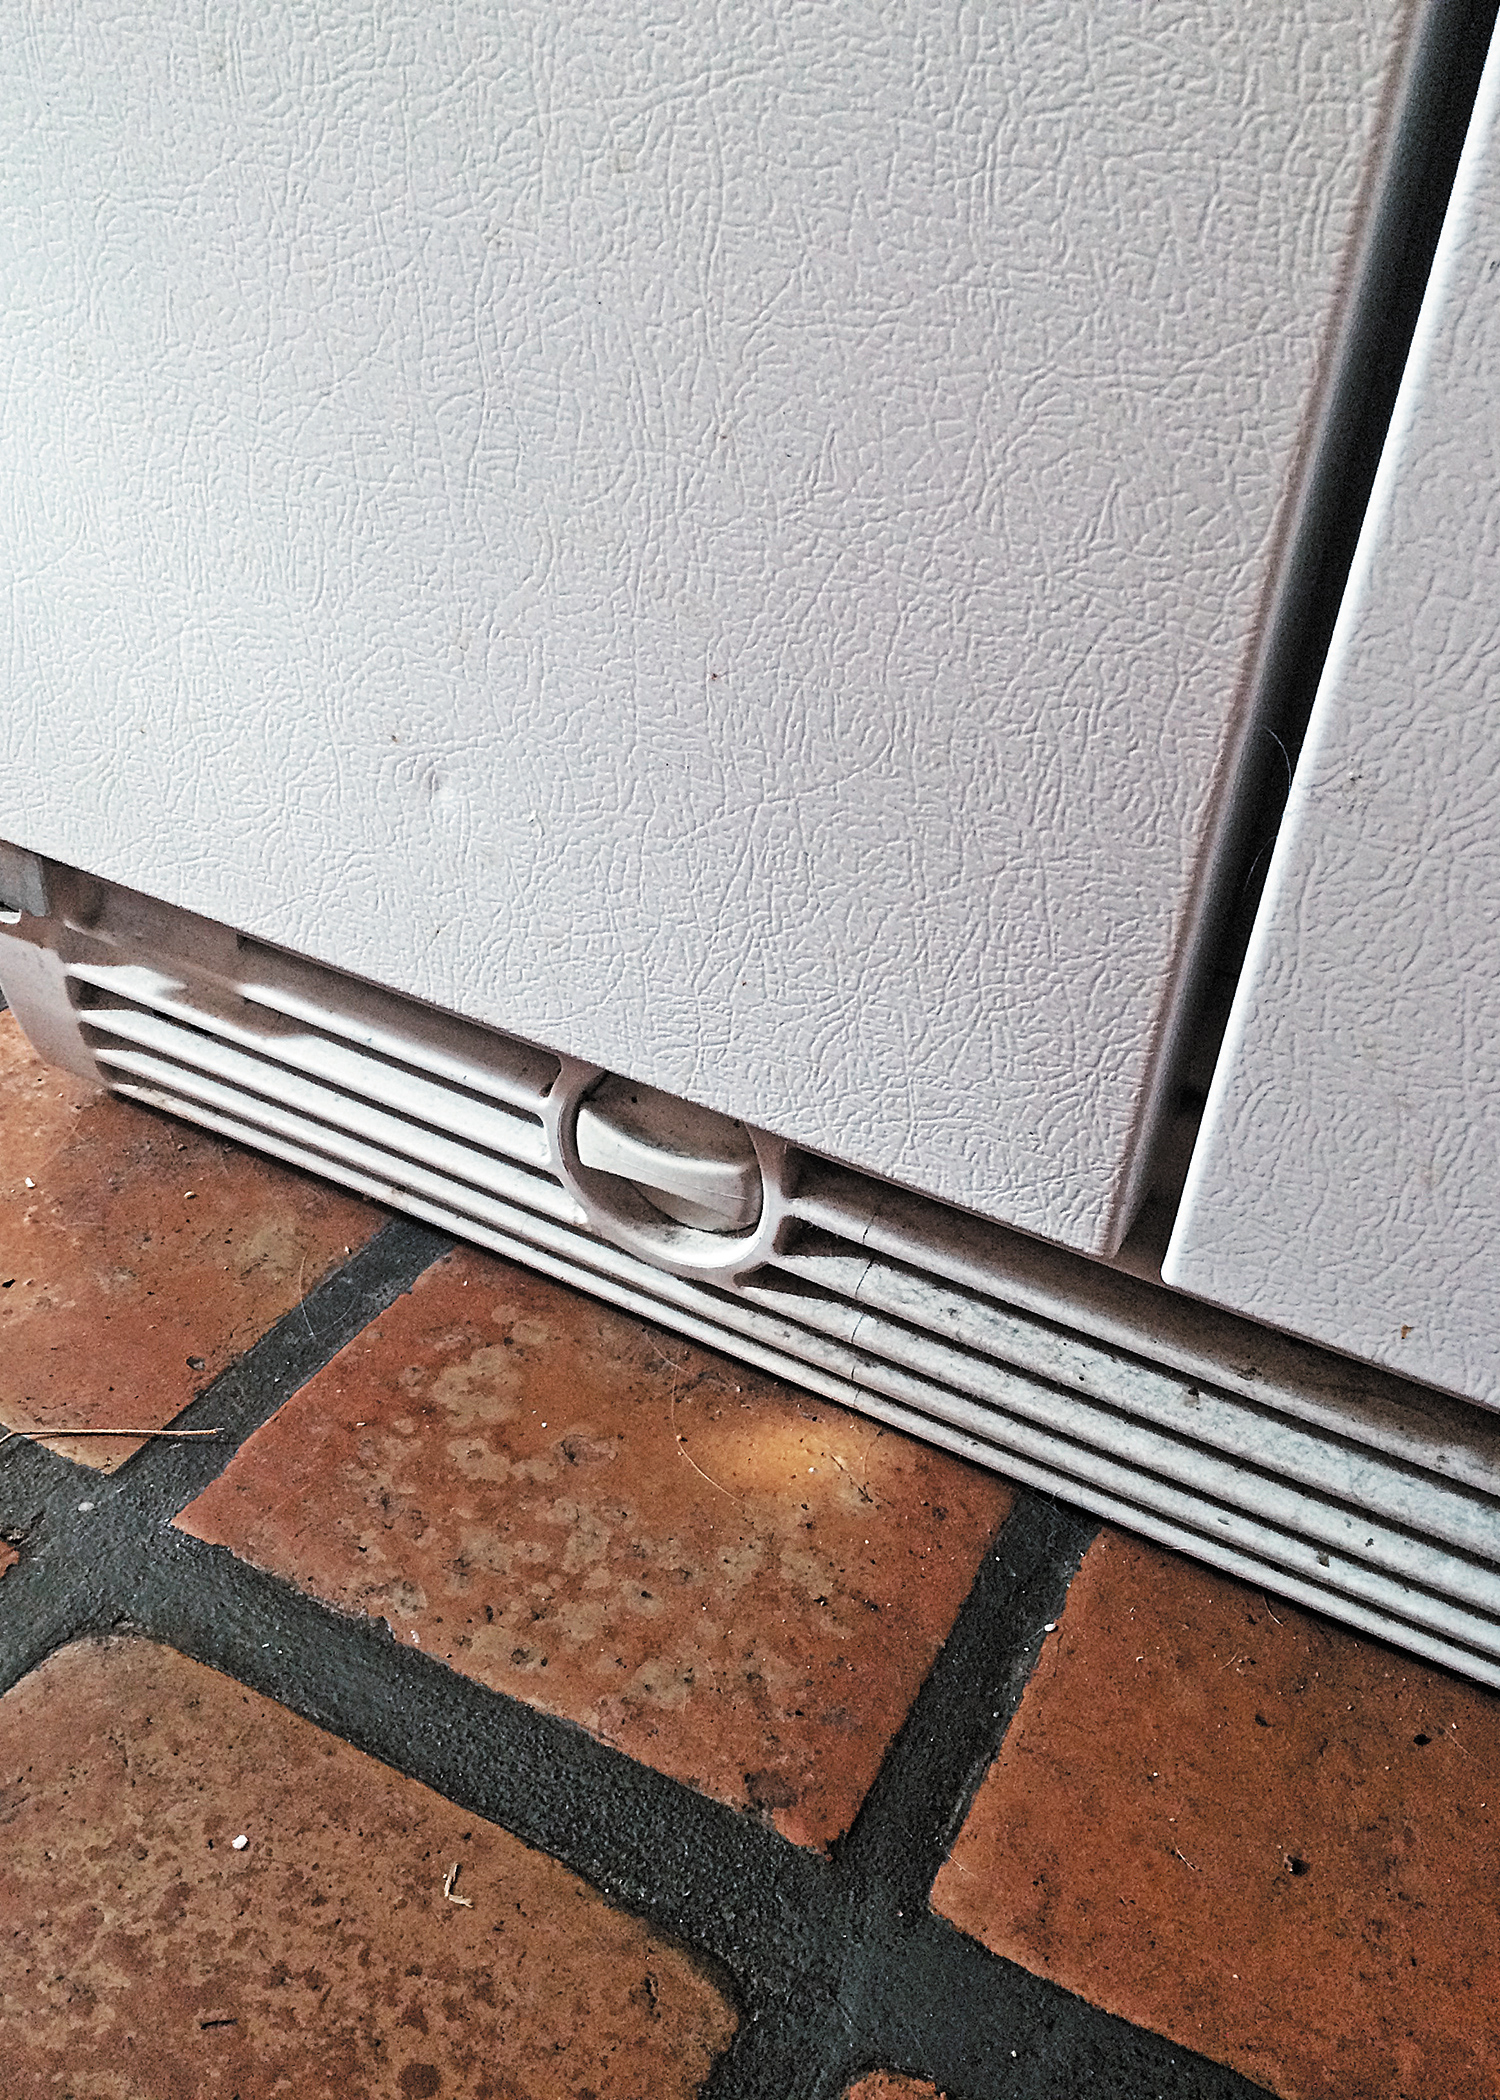
1. Many homes have refrigerators with built-in water dispensers. Where there’s a water dispenser, there’s probably a water filter as well. Usually the filter is either a carbon or ceramic filter — both will work well for our needs. (Coincidentally, most businesses have coffee makers with either an in-line water filter or paper coffee filters.) Find the filter element and remove it. Usually it twists out of its receptacle by spinning it counterclockwise. The best type has a hole in only one end.
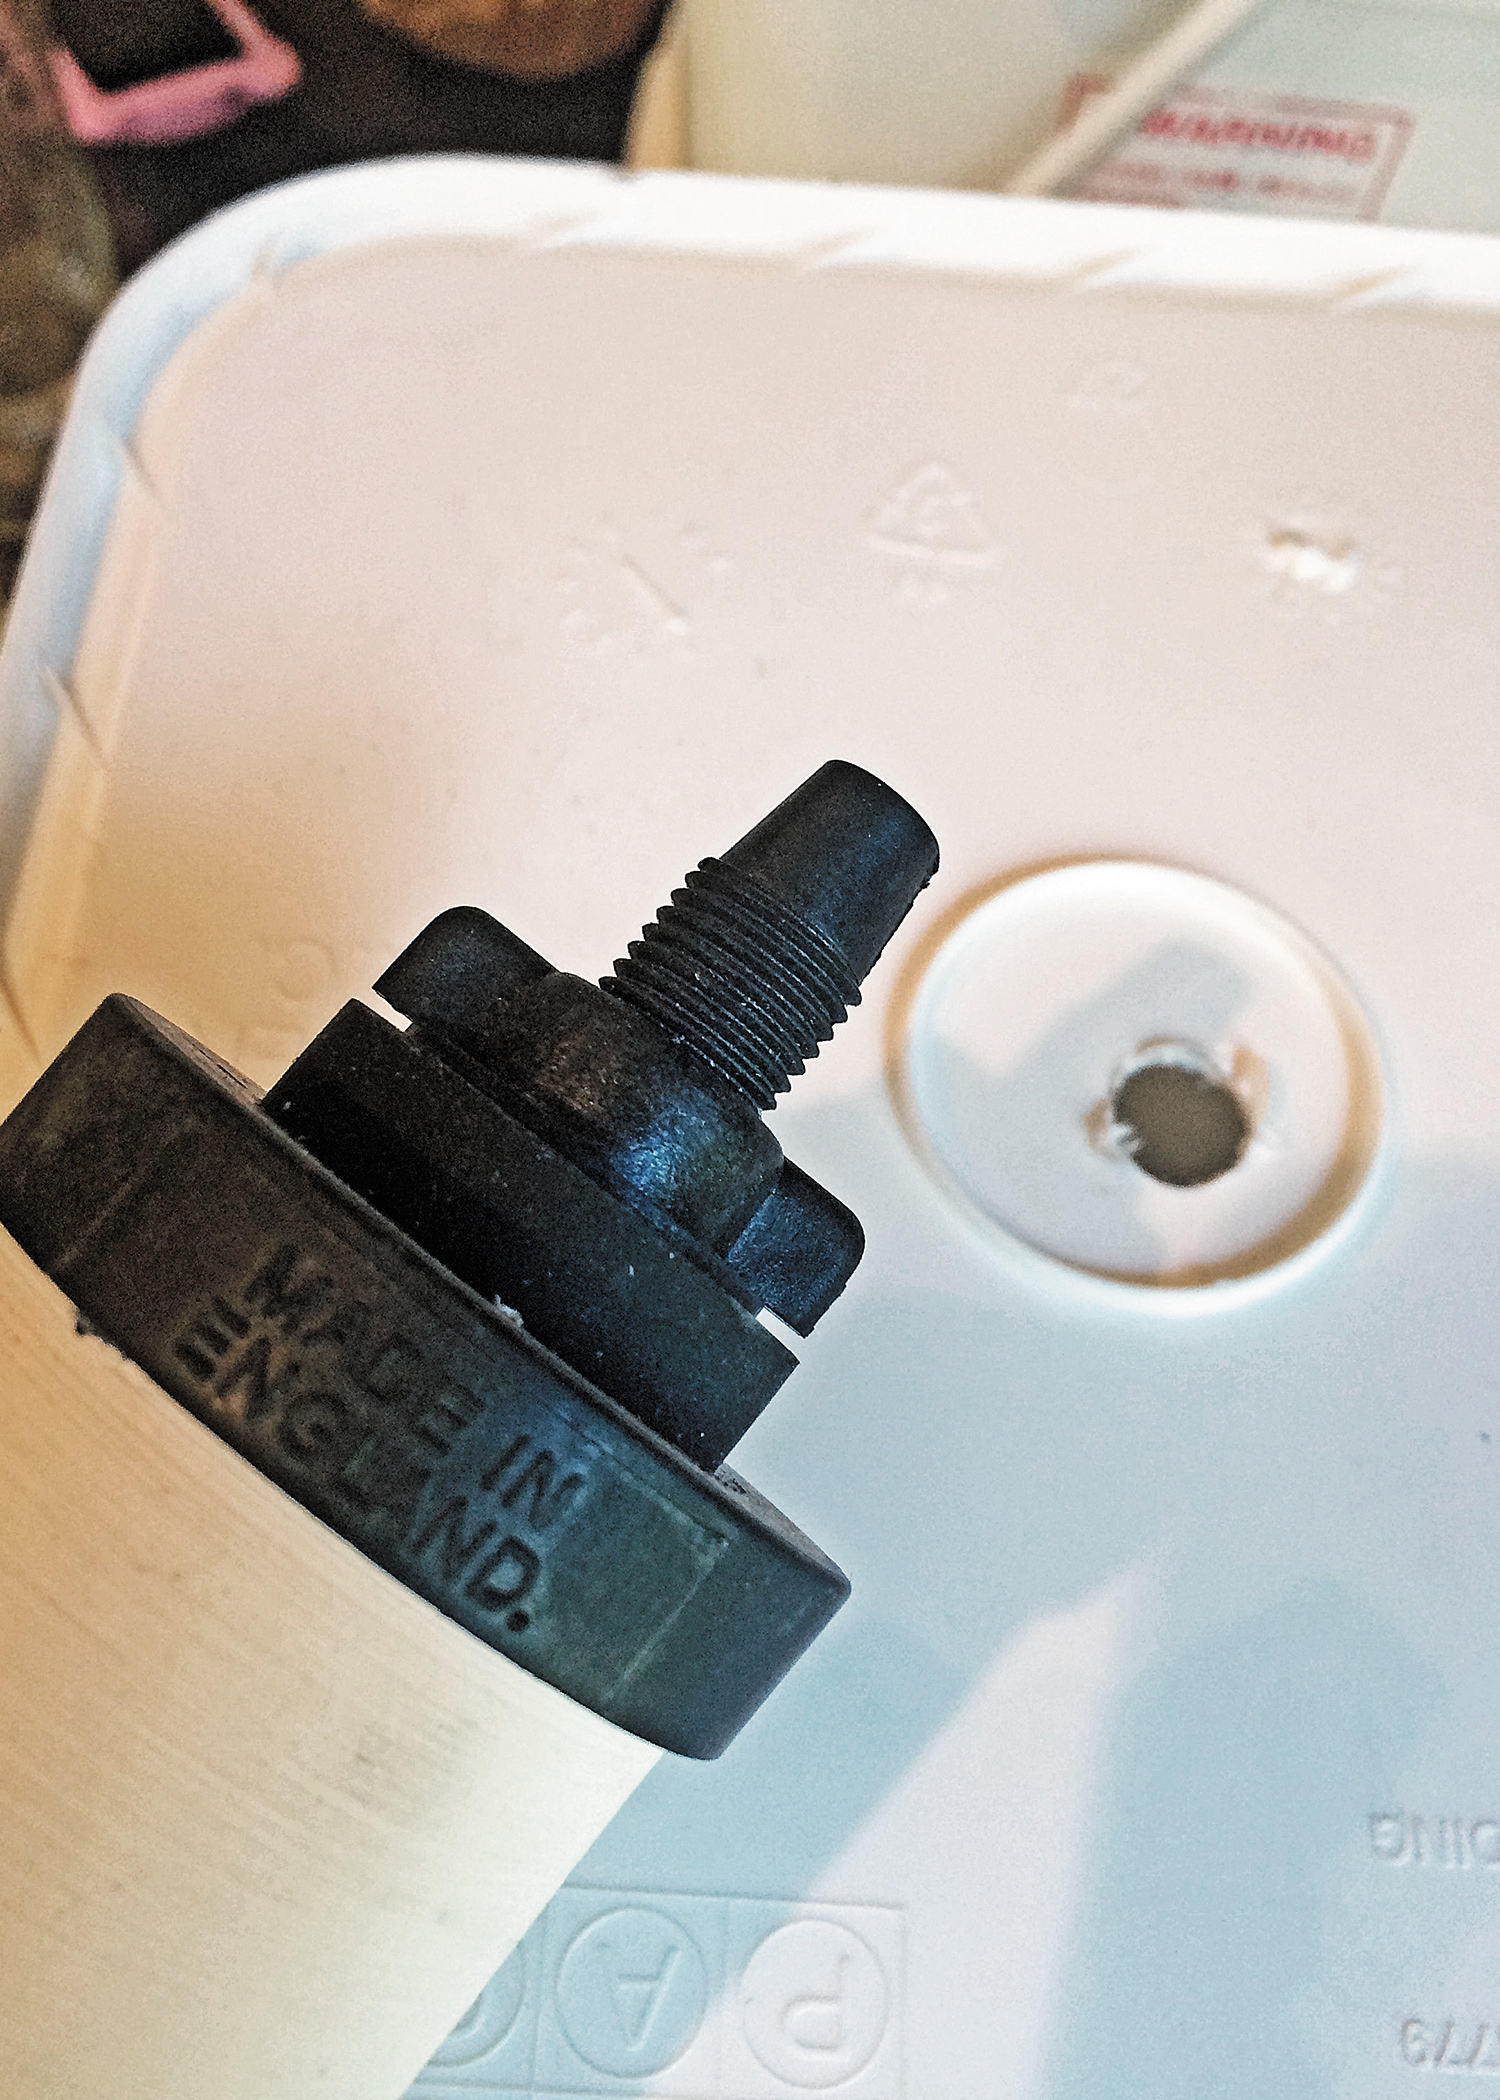
2. You will need two buckets (or some equivalent), one of which you must punch a hole in the bottom. Before you make the hole, identify the size of the threaded portion of the fridge’s water filter — then carefully make a hole in the bottom of the bucket that’s just slightly smaller than the threads of the filter.
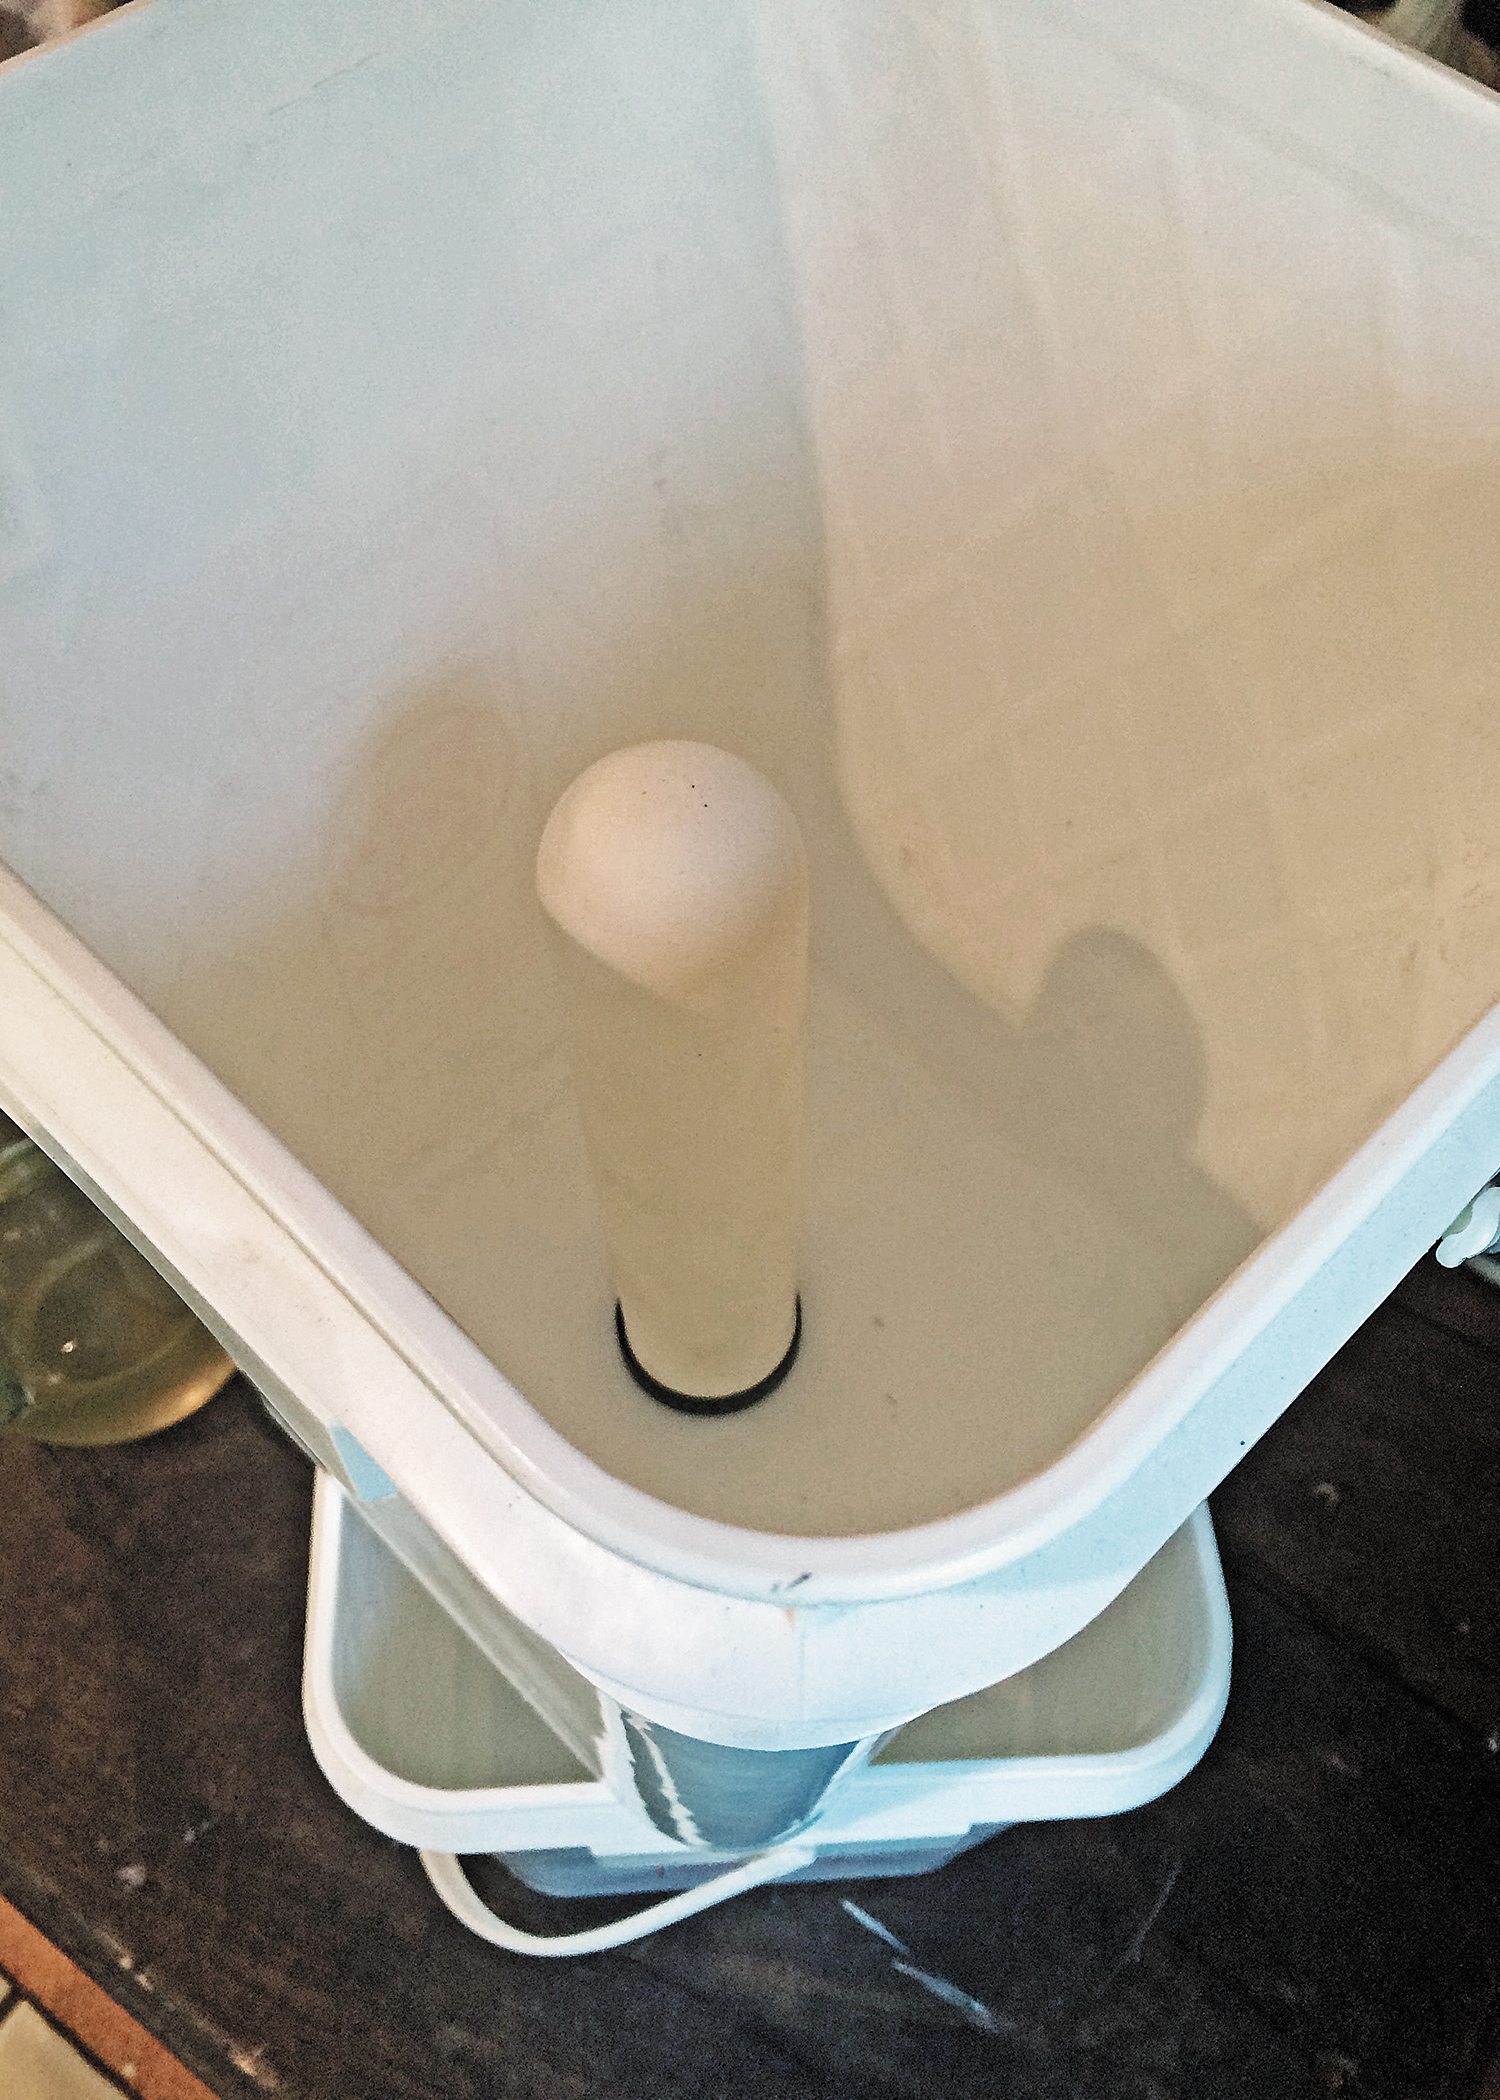
3. Once that’s done, place the threaded portion of the filter over the hole and, while applying slight downward pressure, turn the filter clockwise, allowing the filter to thread itself into the hole in the bucket. Once this has been completed, take your other bucket (with no hole) and place it beneath the first one to capture the water that comes through the filter.
4. Take the H2O from your first filter setup and pour it into the bucket with the second filter, allowing it to flow through the ceramic or carbon filter into the container below. You have now filtered your questionable liquid twice. It should be fairly clean now, but if it’s not clean enough at this point, repeat the process until the water is clear or nearly clear.
Treating or Heating
Once you’re satisfied with the clarity of the filtered water, you can now heat it or treat it to be sure it’s safe to drink.
Chemical Treatment: If you have access to regular household bleach (which you always should), you’re in luck. Bleach works great at treating filtered water. It doesn’t take much, so go easy. In fact, it takes about only two drops of bleach per quart of water or eight drops per gallon. Remember, a quart is equal to four cups, so a little goes a long way! Bleach kills 99.9 percent of all germs, so it’s very handy. Iodine tablets could also serve the same purpose, but household bleach is more versatile.
Heat Treatment: However, if you don’t have bleach on hand or want to take it to the next level, you can heat the filtered water to be extra sure it’s safe to consume. If you have power or a camp stove, this last step is easy. But if you’ve just bugged out or are trapped away from home, you’ll have to create a stove. For your improvised heating element, consider the following:
- Medium metal can, e.g. 1-pound coffee can
- 1-quart paint can (without paint residue)
- Small soup can
- Large ceramic coffee mug
Once you’ve found your desired improvised stove, set it aside. Next grab a roll of toilet paper and pull out the cardboard sleeve in the middle, without unrolling the paper. No, this isn’t a magic trick. Grab the cardboard insert with your fingertips while holding the roll and simply pull the tube out of the center. (Save the cardboard for a different use — hey, any item can become a post-apocalyptic commodity if you’re creative enough.) Compress the toilet tissue and place it inside the can so it’s snug inside. If it won’t fit, slowly remove layers of tissue until it does. If toilet paper isn’t available, sub in a rolled-up washcloth or hand towel.
Next, pour denatured alcohol or 91-percent isopropyl alcohol over the tissue or cloth towel and carefully light the improvised stove. Be aware that the flame might be present, but not visible. The alcohol is what burns, and the tissue or cloth serves only as a wick. If you don’t have denatured or isopropyl alcohol available, you’ll have to use whatever flammable liquid is available.
Now pour your filtered water into a pot. You can’t place the pot directly on top of your improvised stove, as it will restrict oxygen flow and extinguish the flame (a handy trick to remember when you need to safely put out the fire). Instead, position your DIY stove between two stacks of bricks (or empty ammo cans) and make sure they’re slightly taller than the stove. Then place the pot atop the bricks. If you’re outdoors, especially in the cold, it’s important to block out the wind around your improvised stove. It takes much longer to heat the H2O if you don’t.
Make sure you heat the water to 160 degrees Fahrenheit, a temperature at which pretty much no germs can survive. (No thermometer, no problem, see the “Temperature Test” sidebar.) Obviously, it’s important to let the water cool before attempting to consume it. And always be careful whenever an open flame is present and be cautious of any hot surfaces.
Conclusion
Lastly, keep containers of powdered drink mix on hand, like Tang, Hi-C, Gatorade, Emergen-C, or hot cocoa. Why? One, it makes pond water taste a lot better, which is more palatable for your kids. Two, it adds electrolytes and potassium to the liquid, keeping you more energized. And, three drinking water alone could flush out necessary minerals if you’re not careful, which can be dangerous in a long-term survival situation.
Whether you have a commercially available filter or had to McGyver your own from scavenged parts, filtering water can make all the difference in a crisis event. But it also takes common sense and the right attitude. Don’t obtain H2O from places that are clearly contaminated with toxins. Do stay calm and get creative with the resources in your environment. The proper mindset is the most important resource you have. So, stay positive, adapt, and find a solution…or you’ll become part of the problem.
Temperature Test
One life-saving fact: Most organisms can’t survive in temperatures above 140 degrees, which is especially helpful when heat treating water you’ve just filtered. But just to be safe, heat it up to 160 degrees. How do you know if the water is 140 or 160 degrees? It’s not like you’ll have a thermometer in a SHTF scenario.
When the liquid is heating, air bubbles form on the bottom of the pot. At approximately 140 degrees, the first little bubbles break loose from the bottom. The first medium-sized bubbles form and begin to release to the surface at approximately 160 to 170 degrees. This is important to know because on an improvised stove or with limited heating fuels, you might not get your water to a full rolling boil. Once you can count 10 medium-sized bubbles reaching the surface, you can be confident that the water has been properly treated.
Financial Water Planning
You might be wondering, “How can I buy a water filtration system, a self-sustaining garden, and a solar-panel system for when the grid goes down — and still afford to pay the mortgage?” Stop! Those questions are much further down the road and not something you need to worry about yet.
Instead, focus on the survival priorities (food, water, fire, and shelter) and slowly integrate all of them into your lifestyle. For example, this author bought a ceramic water dispenser for about $30. It’s the kind that holds 3- or 5-gallon bottles. In order to have enough water on hand for an emergency, he buys cases of 1-gallon bottles at the market. It’s usually less than $6 for a case of six 1-gallon bottles — approximately $1 per gallon. He and his family go through about a case per week, so he buys a few cases at a time and marks the date on the sides. He cycles the water so no case is stored for more than 180 days. He adds to the cases by buying one more than he needs each time, until he has about 20 cases on hand. The cases can be stacked on top of each other so they don’t take up a lot space, but brings peace of mind knowing there are more than 100 gallons of water available at any given time.
Note: Be careful to purchase water only in clear containers for storage, because the opaque containers aren’t designed for water and shouldn’t be used if you can avoid it.
Another thing his family did was purchase three 55-gallon drums for water storage. This water can be used for cooking, cleaning, and bathing. He changes the water once a year so it’s always fresh enough to drink in an emergency. He changes one drum in the spring, one in the summer and one in the fall so none of them go bad. Also, he adds a ¼ cup of household unscented bleach per 55 gallons to keep the water fresh.
So for less than $200 spread over a span of a few months, you can have a supply of water to sustain your family in a crisis. Remember, you can survive for weeks without food, but only days without water. Get moving and get your water plan into action.
5 Methods of Water Disinfection
The Centers for Disease Control and Prevention list five methods for water disinfection.
1. Heat: Once water has been boiled up to 160 degrees Fahrenheit for 1 minute, it’s safe to drink after it has cooled.
2. Filter: Filters that are sized between 0.1 and 0.4 microns will remove bacteria, but not viruses from water. Special hollow fiber filters can remove viruses, while reverse osmosis filters remove both bacteria and viruses and can also remove salt from water, handy if you find yourself around seawater.
3. Chemical: Tablets or packets of powder can be used to disinfect water. This method usually combines chemical disinfectants such as chlorine or iodine and may take several hours before all the germs are killed.
4. Ultraviolet Light: Measured doses of UV light are effective in disinfecting small amounts of clear water. Be careful when the water is not clear, as UV light is less effective in cloudy water.
5. Solar Radiation: Water can be disinfected with the solar radiation of sunlight. Fill a clear plastic bottle, lay it on a reflective surface (such as aluminum foil, shiny side up), and let it sit. The water will be safe to drink after at least six hours in bright sunlight. This technique only works with water that is clear, not cloudy.
Source: http://wwwnc.cdc.gov/travel/page/water-disinfection
About The Author:
Jim DeLozier — designer of the Survivor Trucks — is an all-inclusive continuity consultant who helps people prepare for anything and everything. Jim and his team design and build vehicles, structures, and shelters. They also train people in everything from martial arts and long-range precision shooting to power generation and hydroponics/aquaponics.
www.SurvivorTruck.com/consulting/
